

Salvagedcircuit
-
Posts
1389 -
Joined
-
Last visited
Content Type
Profiles
Forums
Gallery
Everything posted by Salvagedcircuit
-
Heck yeah man!
-
Removing rear interior molding
Salvagedcircuit replied to Spinnakerblue89's topic in MJ Tech: Modification and Repairs
Do you mean these: https://www.auveco.com/christmas-trees There are "christmas trees" on the back of the rear plastic trim panel that goes underneath the back cab window. Mine were white though. -
Hahaha, funny indeed. Flare nut wrench escaped my mind . The fittings on mine my master cylinder were rounded over, but the flare nut wrench made all the difference. I ended up replacing all the fittings anyways because my lines were shot, but its definitely an invaluable tool to have.
-
It looks like you already soaked them in penetrant, but make sure to use brake line wrenches. They do provide a lot more leverage on those tiny annoying brake line fittings.
-
Another alternative is to use a brake pedal from a 96+ that has provisions for the new style brake light switch. I did that on mine and other than having to probe out the connector to determine the right contacts, the brake light switch works so much better than the original '88 brake light switch.
-
Little Red Wagon
Salvagedcircuit replied to eaglescout526's topic in Member Projects: Your Comanches
Oh man, I wonder if that's the mysterious source of my ignition chime module not working. I was welding in the door hinges last weekend and I removed the door ajar switches so nothing melted. I cleaned up the terminals on the door ajar switches with a fiberglass pen and applied ox-guard for good measure. After everything cooled off, I assembled everything and for the first time, I head a buzzing sound when I put the key in the ignition and turned the cylinder. It did it about 3 times and then I could not replicate it. Crazy. I wonder if it's the same point of failure. -
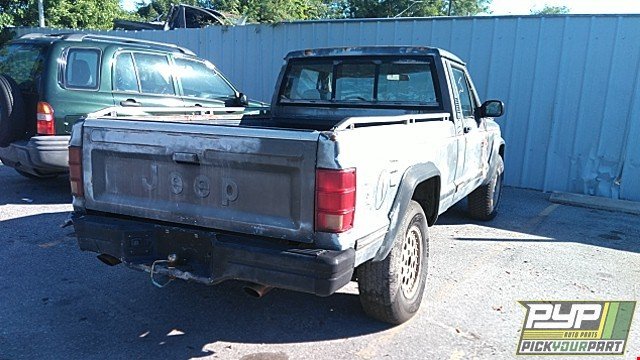
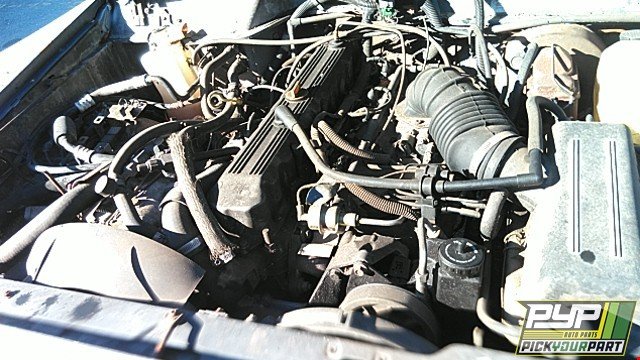
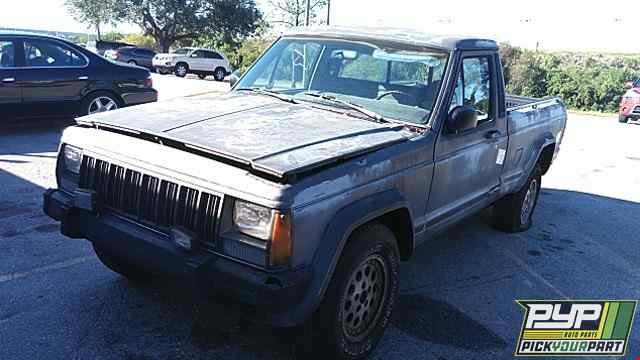
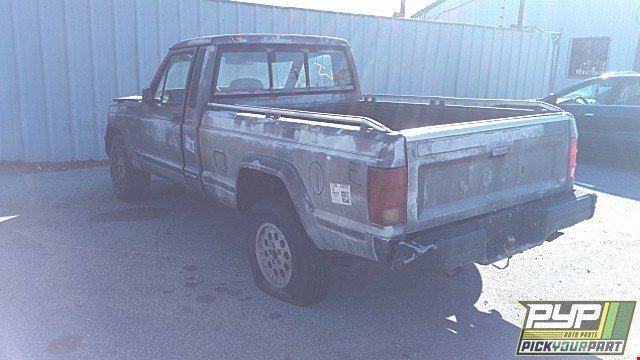
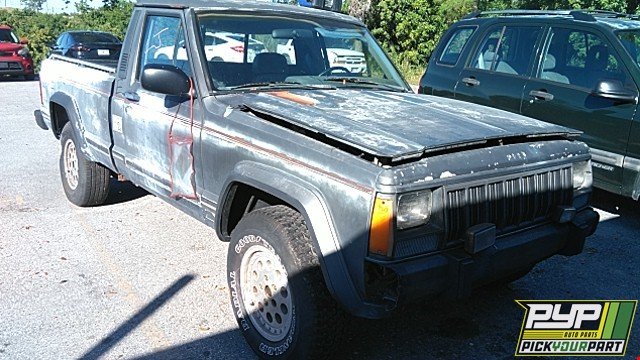
Firefox developer mode is the answer you seek F12 > pick an element (ctrl+shift+q) It gives you the image string. Right click > open in new tab. There are nubs in the pizza wheels. It could be an eliminator.
-
Keep it Stock Stupid
Salvagedcircuit replied to GonzoTheGreat's topic in Member Projects: Your Comanches
Do you happen to know the bushing part number? Thanks Looking good! -
Woah boy is that clean! nice finish!
-
Luckyyyyy Dog!
-
Project “Tomahawk”
Salvagedcircuit replied to ghetdjc320's topic in MJ Hardcore Tech: Epic Journeys to Greatness
The mighty has awoken -
Nice job on saving her from the scrapper! Nice score
-
Need a second opinion on this color.
Salvagedcircuit replied to 512tr's topic in MJ Tech: Modification and Repairs
That's a great photo! it deserves a spot on the Comanche's Earning Their Keep Thread -
1990 Comanche Eliminator
Salvagedcircuit replied to pizzaman09's topic in Member Projects: Your Comanches
Nice work! I should check mine. I think mine is a bit wet back there... -
the kids had tons of fun at Disney. :) I survived... I think... lolol
Salvagedcircuit replied to Pete M's topic in The Pub
Sounds like someone won the best uncle of the year award. Nice Job Pete -
It sure sounds like it ended up in the right hands. Congrats on the new ride I'm sure you will enjoy her
-
Man this guy's got it. Dang. If I ever had the budget to make a stroker street comanche, I'd definitely get an engine combo from him. crazyyy.
-
If you do get new door gasket material, keep in mind it makes closing the door take more effort. You will need to apply more force to close the door until the new gasket ages a bit and deforms from being under pressure. In the short run, you may actually be better off getting a decent looking gasket from a junk yard like the guys mentioned above. Sorry I forgot to mention this earlier
-
Maybe try reaching out to steelerubber or Precision Replacement Parts and they will sell you the very generic door rubber moldings cut to size. worth a shot! I just did the door gasket on my comanche and the one on my astro van. The gasket material was nearly identical from two different places.
-
Oh no. That's unfortunate. I'm still logged in and everything seems to be working fine otherwise.
-
This just showed up on facebook marketplace and I couldn't believe it. I read about comanche's being used as dealership parts trucks, but I've never seen one myself, especially one belonging to the dealership my folks got their grand cherokee from. From what it seems this comanche was retired just recently and it was replaced by a sprinter van. I called up the dealership to find out why they had it so long and they told me it was because it would not die and that it did not need commercial plates. It worked great moving the big items back and forth between locations. Gosh I wish I had known earlier, I would have grabbed it. Time to call up some nearby dealerships
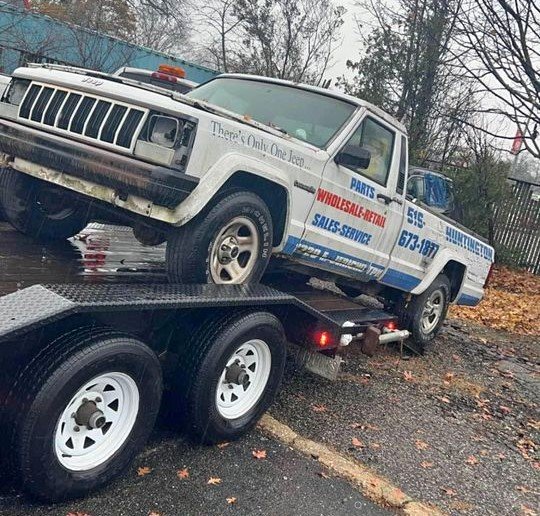
-
My 1989 Cheromanche
Salvagedcircuit replied to AZJeff's topic in MJ Hardcore Tech: Epic Journeys to Greatness
@AZJeff excellent, excellent build Your Comanche was the inspiration and tipping point for my MJ build. Before I was a member here, I read the averagesquad writeup and told myself, yep, I'm doing that. It took me a while to realize this was your build -
Broke down in the middle of the night
Salvagedcircuit replied to dreaminbohemian's topic in MJ Tech: Modification and Repairs
Ooof. Try and clean everything up with degreaser and an old rag and check for damage again, It may not look as bad as you thought. Definitely check the brake lines and make sure there are no nicks or dents in them. -
Upgraded Headlights
Salvagedcircuit replied to GrandComanche's topic in MJ Tech: Modification and Repairs
I first grabbed the yellow euro-style retrobrights from an ebay seller who had the pair up new open box for $90. Well worth it. I just got the clear ones used from someone on marketplace and they are well used but at least I don't have to be concerned about getting pulled over now. There's no rule I could find against yellow colored lights in NH or NY state, but it's one of those things where you don't want to give them a reason. Frankly I hate the look of morphed alien head style aliexpress import headlights, so these were a great alternative to the original sealed bulb design. I believe they are just yellow DOT lenses. Forgive my lack of worldly-ness but I don't know what ECE means Is it an outside US approval body? -
Upgraded Headlights
Salvagedcircuit replied to GrandComanche's topic in MJ Tech: Modification and Repairs
If you have any questions, I have two sets of the retrobrights. One is the 5x7 euro style, one is the clear style. The led module is made out of aluminum with a copper heat pipe running through it. The led module is removable with 2 torx screws. There is an o-ring seal and it seals against the front outer housing. There is thermal paste between them. One of mine has a little less thermal paste than I would have liked, so I added more. What is strange is the outer housing is a fused combination of a clear Polycarbonate lens and a plated dicast housing. The housing has weight like it's cast zinc or something similar but has the look and feel of metalized plastic. The die cast part is also silver painted. The silver paint does rub off with an eraser and is not very scratch resistant. I asked holley how they made the euro versions, they actually dyed the Polycarbonate yellow. There's no way to make a yellow lens clear. I can post some photos if you are interested. Otherwise I'm happy with them.