

A-man930
-
Posts
1506 -
Joined
-
Last visited
-
Days Won
3
Content Type
Profiles
Forums
Gallery
Everything posted by A-man930
-
Project “Tomahawk”
A-man930 replied to ghetdjc320's topic in MJ Hardcore Tech: Epic Journeys to Greatness
Curious how/why you're going this route? As soon as I looked at the boostwerks Comp Mount in person I figured I had a front skid plate better than OE right there. Though, I suppose it doesn't really protect the pitman arm... -
rear floor pan replacement question
A-man930 replied to ratrapp's topic in MJ Tech: Modification and Repairs
Not sure how much you're dealing with, but this is what I had to do for the rotted rear-ward portion of my floor. Just some 18ga sheet butt-welded to extend the replacement pan.


-
Thanks! It was pretty rust free before I got in there, just full of dirt. Shop vac, needle scaler, air hammer (for rattling loose as much junk as possible), sandpaper, and I might have even stuck a media blaster in there (can't recall).
-
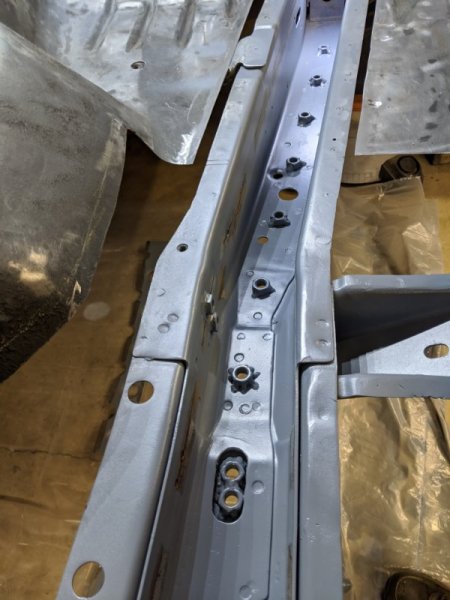
I'm gonna be "that guy"... should have addressed this when you had the floor out! I encountered this same problem years ago and managed to keep it all together with just those "extra" bolts on those brackets inboard of the frame rails. Seriously, that was the best time to do a proper, full-strength repair. Unfortunately, any other method is going to be less than ideal in some fashion. As mentioned, installing rivnuts large enough will be difficult and you run a very good chance of those developing the same issue as you're dealing with now (spinning). The slot and plate idea suggested by AZJeff is the most likely to be strong enough and hold-up over time, though, cutting slots in the frame rail isn't exactly without it's own drawbacks. When I had the floor out it got 12mm nuts welded in the factory locations and all the way to the back of the cab for future skidplate attachment points:
-
All burned-in! I think I'm gonna figure out a way to brace the inner fenders against these things. They're beef.

-
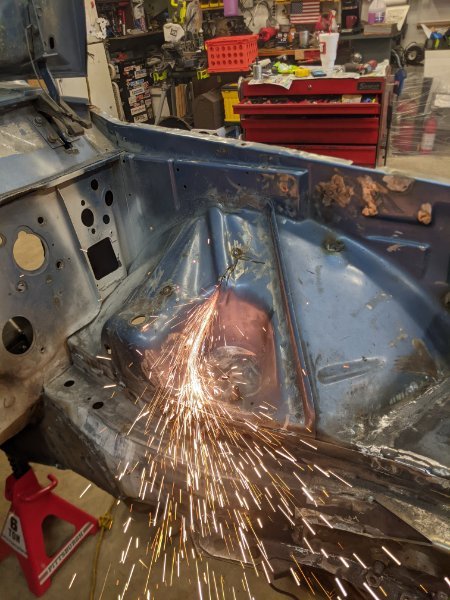
Had an 8 hour session with my iron worker friend, tons of progress was made and I'm excited. CFM Industries coilover buckets are tacked-in: Chassis-side 3-link mounts are complete aside from some cleanup and blending. Time will tell if the design places them in an appropriate location, but if nothing else it looks like they'll take a beating. Also tied the inboard and outboard frame plates together on the underside. I may do a bit more on the passenger side to mirror the OE track bar bracing, but it's probably fine and honestly I'm tired of making plates 😂




-
I see you use CAD as well! 😎 That's "Cardboard Assisted Design" btw
-
Fixing Connector Problems -- A Suggestion
A-man930 replied to AZJeff's topic in MJ Tech: Modification and Repairs
Good advice here. +1 for 4rcustoms wire! -
Project Uncompahgre - 1989/1999 MJ
A-man930 replied to USN_JeepMJ's topic in MJ Hardcore Tech: Epic Journeys to Greatness
Thanks for sharing your parking brake details -
Been getting the control arm brackets installed over the last week or so.


-
Love the update. Thank you for sharing! One thought though: I find it hard to believe that the 0w40 contributed to any failures... by design, there's no reason you shouldn't run 0w40 year-round actually. In the end, all those oils you've listed are 40-weight oils - the 0w just doesn't become as thick with lower temperatures...
-
I intended to take some "finished" pictures of my Dakota seat conversion, but I suffer from tunnel vision when I'm in the middle of a project and forget about the camera... I'm happy with the outcome; they sit low enough and are quite a bit more comfortable than the stock seats.


-
We've all been there. Similarly, I often find myself doing the "lay under the truck and dream-up/design things in my head" routine. It's hard to explain when the wife sees you in the same position 20min later... I've even fallen asleep like that.
-
HVAC box refurb questions/advice
A-man930 replied to A-man930's topic in MJ Tech: Modification and Repairs
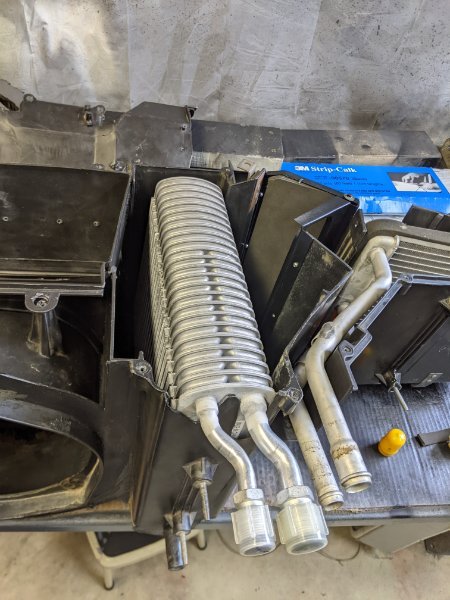
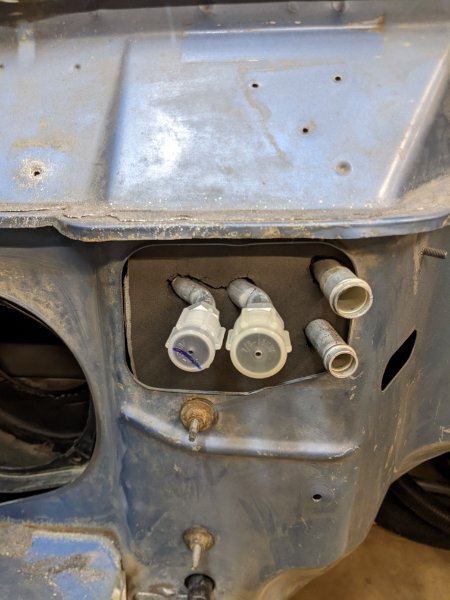
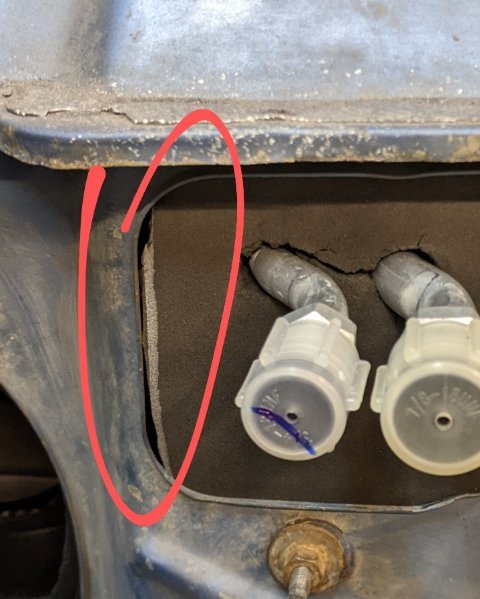
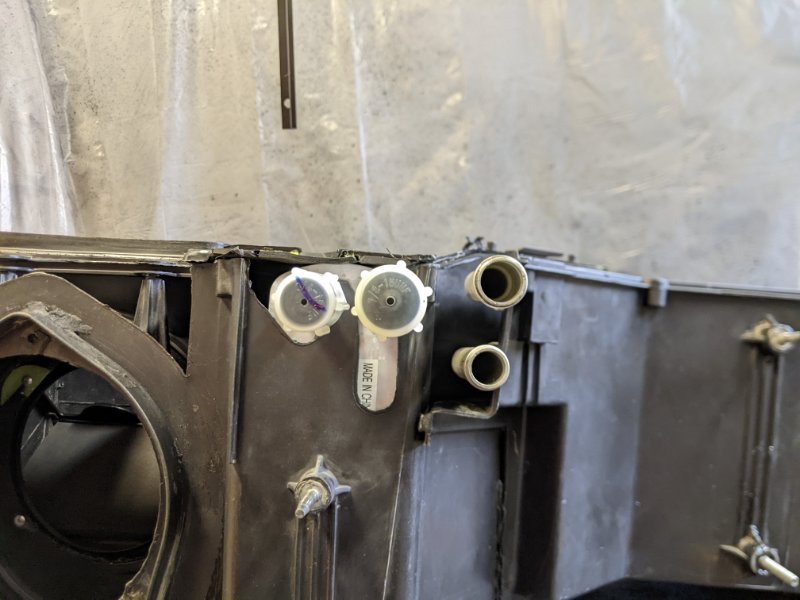
Made a bunch of headway today! Evaporator came in; It sits just a little too tall in the box so I used a heat gun to soften the bottom corner opposite of the drain of the box for a little more clearance, the lines are arranged differently (side-by-side) so the foam gasket has to be remade. And after all that, I have to AGAIN remake the gasket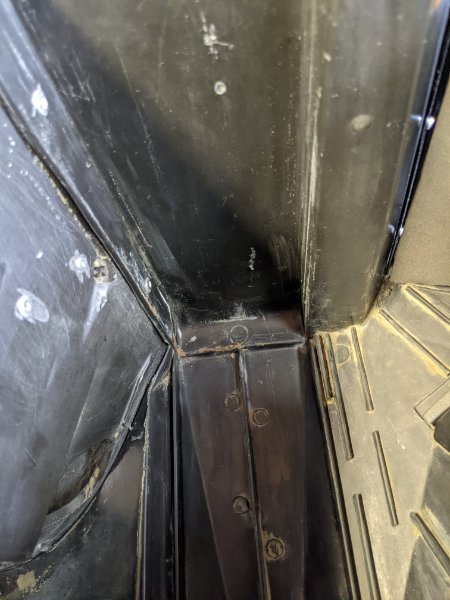
-
Sorry to be that guy, but the shaft from the column to the box is the intermediate shaft... the sector shaft is inside the steering gear: Anyways, carry on. Tight fit for all that!

-
HVAC box refurb questions/advice
A-man930 replied to A-man930's topic in MJ Tech: Modification and Repairs
What hoses were you missing? The ductwork or vacuum hoses? -
Same here! It's anything but flat or straight!
-
I'm stealing that one.
-
Very nice! Just goes to show you can fix almost any of this stuff if you aren't intimidated.
-
HVAC box refurb questions/advice
A-man930 replied to A-man930's topic in MJ Tech: Modification and Repairs
I should have known this was how it would end up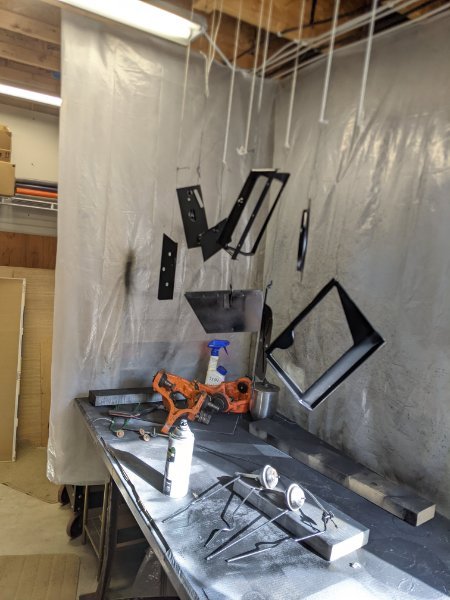
-
HVAC box refurb questions/advice
A-man930 replied to A-man930's topic in MJ Tech: Modification and Repairs
This piece was somewhat more difficult to remove. Lots of patience required, it'll be good knowing all the metal parts inside aren't going to rust away for a while longer.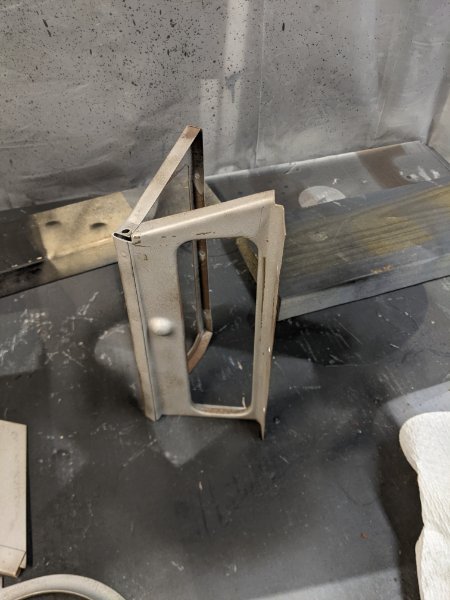
-
HVAC box refurb questions/advice
A-man930 replied to A-man930's topic in MJ Tech: Modification and Repairs
I love having a blast cabinet!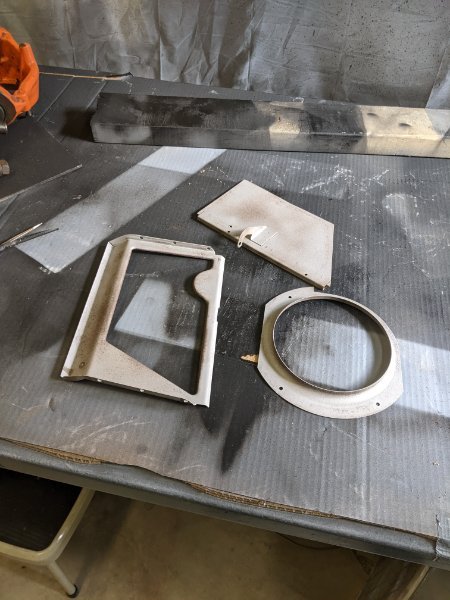
-
HVAC box refurb questions/advice
A-man930 replied to A-man930's topic in MJ Tech: Modification and Repairs
Well I couldn't help myself. This stuff just looks so crusty in there and there were only a few rivets to remove. Though I did crack part of the housing