Eagle_SX4
-
Posts
1217 -
Joined
-
Last visited
Content Type
Profiles
Forums
Gallery
Everything posted by Eagle_SX4
-
Bench seat head rest upgrade
Eagle_SX4 replied to Muncher's topic in MJ Tech: Modification and Repairs
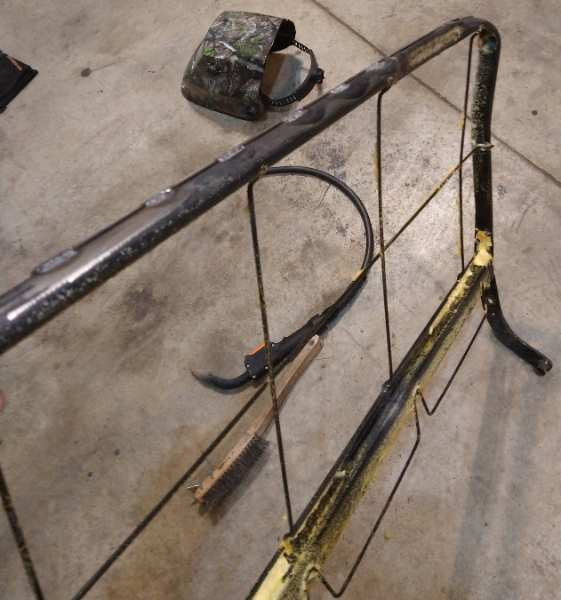
My seat had been recovered at some point in the past and the new cover included zippers on the back so it was really easy to remove. I have never taken off a factory cover. There should be either a zipper or some clasps of some sort along the bottom of the frame then the cover will pull straight up and come off. The foam is fairly easy to remove. After you get the cover off, use a utility knife and cut from the back side, a single line across each of the cross bars/springs. It is really easy to see where to cut as most of the foam is on the front side of the frame. Once you have traced/cut along all the frame/springs the gently push it from the back to the front and removes the foam. The foam was injected over the frame so it might be slightly stuck to the frame. Just use you fingers and separate the foam from the metal. Finally assess the the damage and weld up the broken area. Then add some reinforcement along the back side so it won't break again. I used some angle iron welded across the back. I would advise against adding any metal to the front of the frame as it will interfere with the foam when reassembled. -
I had a similar issue recently. It turned out my cap had cracked and was leaking. Definitely check your cap for cracks.
-
I checked my early 87 and couldn't find a 3rd steering brace (build date Feb 87).
-
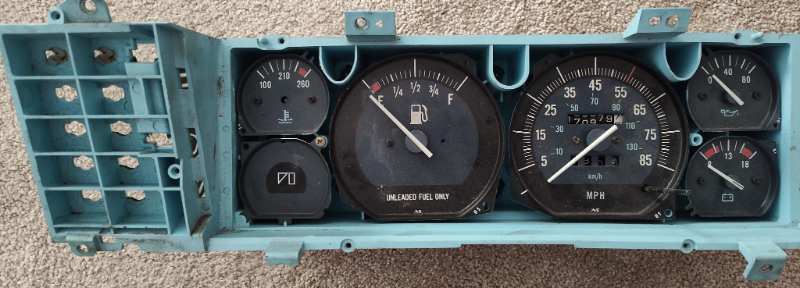
This is what I have. It is a renix erra with the cable speedometer. You can have it for the price of shipping.
-
I have a one that is torn apart and missing a few gauges but the housing is in good condition. I will get some pics later tonight.
-
I found one one ebay for $22.
-
It is called the Resistor Cover. Item #14 in the diagram. https://www.moparpartsgiant.com/parts-list/1987-jeep-comanche/heater_air_conditioning/blower_motor_and_housing_heater_and_air_conditioning.html I have never seen one in person but now I want one.
-
Help get my truck running.
Eagle_SX4 replied to camjeep3's topic in MJ Tech: Modification and Repairs
If you have spark but no start you can always check the timing and make sure the distributor is properly indexed. -
Great job on the truss. If that axle doesn't have a drain plug I would suggest adding one while you have it all torn apart.
-
Why is the rear wheel so far back off centered?
Eagle_SX4 replied to Ricky8227's topic in MJ Tech: Modification and Repairs
Get a pick of the front leaf spring mount. It looks to be to far back. My guess is that a previous owner used XJ lift leafs and moved the front mount back to line up with the rear hanger. Also measure how long the leafs are along the top. Factory Comanche springs are 26 inches in front of the axle 31 inches behind the axle. XJ Cherokee springs are 23" in the front 28 5/8" in the back. This thread has a good pic of where the front mount should be for the short bed. Appears to be about center of the front 2 bed mounts. I did see your other post about fender flares and the factory flares won't bolt back to your bed without some welding. The entire mounting flange has been cut off. But the good news is you can buy patch panels to fix those. https://www.quadratec.com/p/key-parts/rear-fender-panel-comanche-mj -
I also have that Kenwood radio. It fits well no need to trim the dash bezel just don't use the included trim price and you are good to go. I mounted mine by drilling some extra holes in the factory bracket and mounting the original bracket to the new radio. It may take a few tries to get it perfectly square with the dash bezel.
-
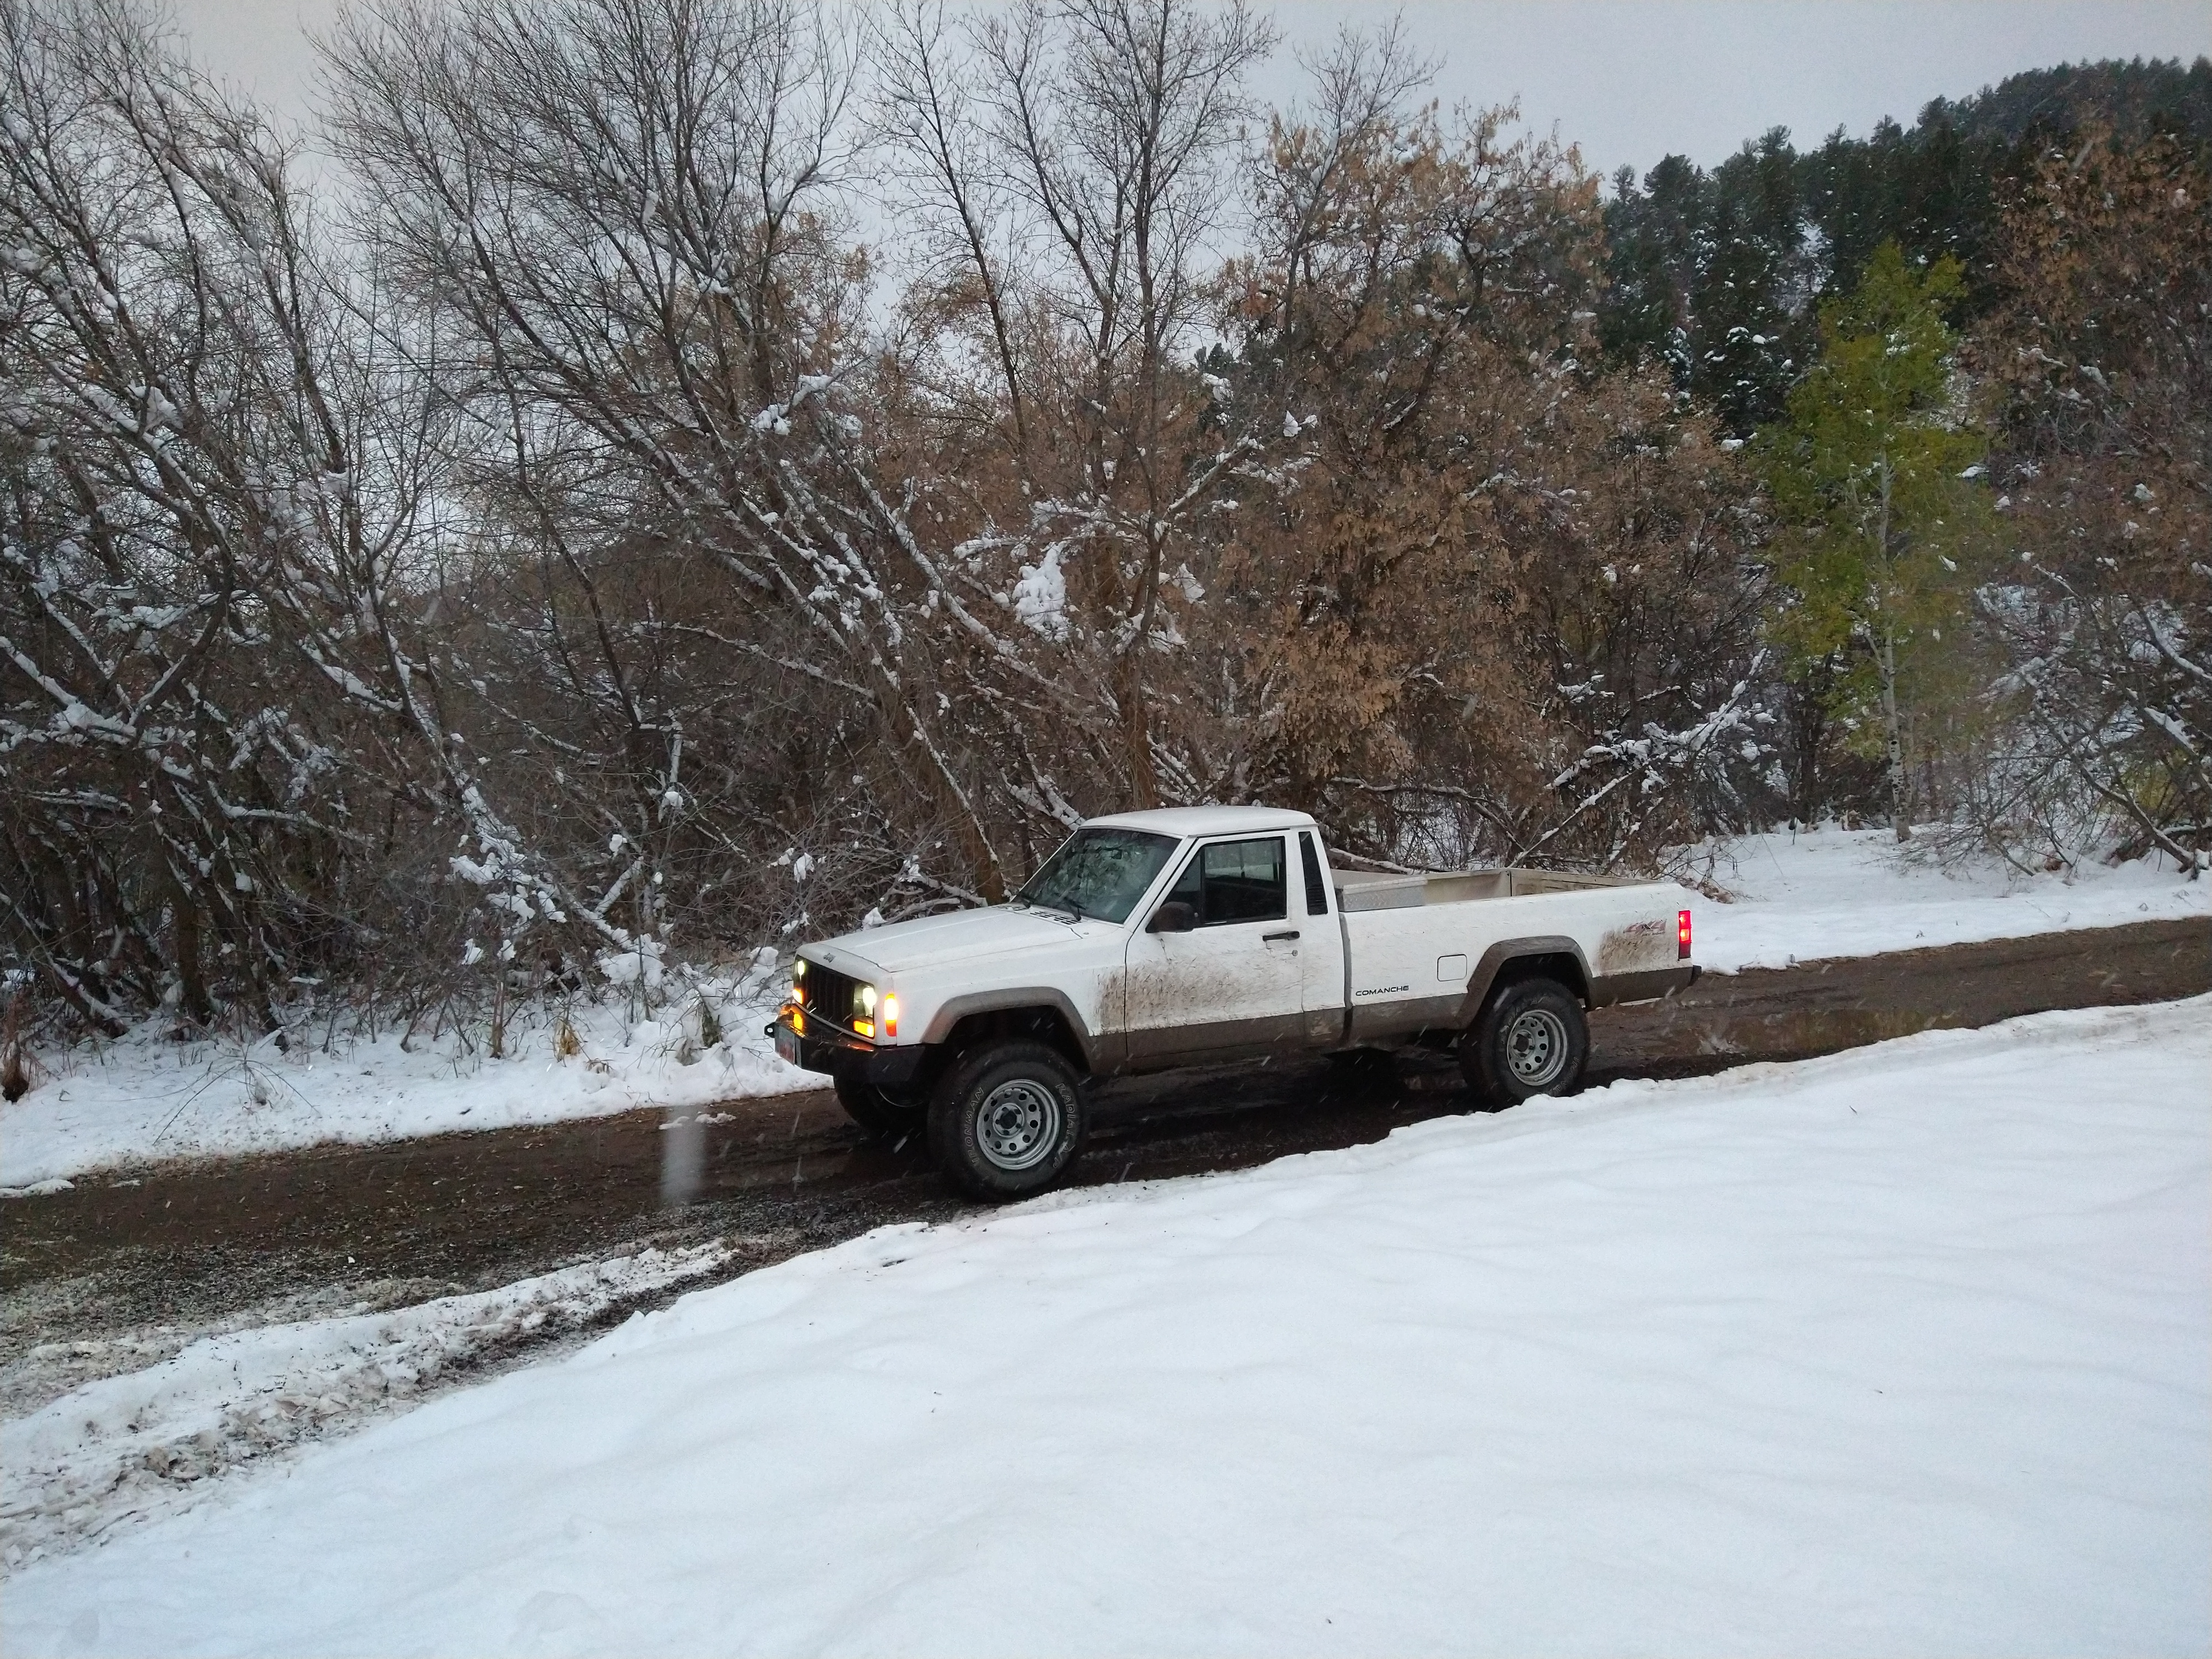
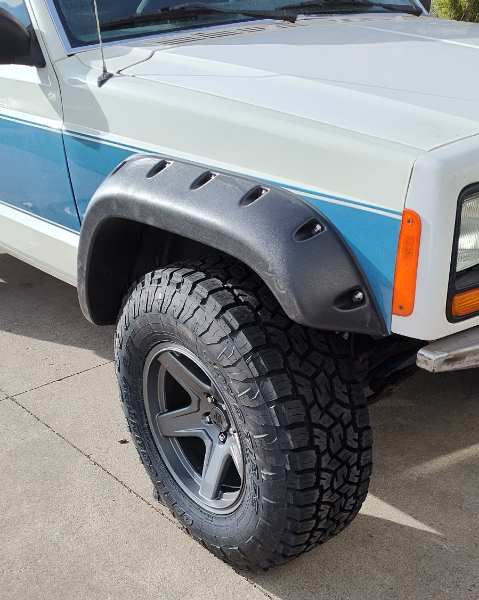
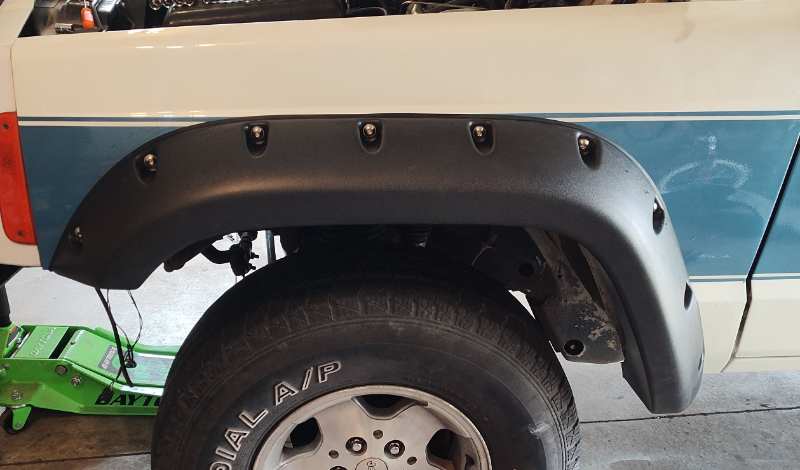
I am impatient and couldn't wait, so I got some new 33's (285/70r17 on 17x9 wheels with -6mm offset about 4.75" backspacing) fitted with some bushwacker pocket flares everything seems to fit nice. I have 1.5 inch of lift in the front and no lift in the back. The tires would not have cleared the front without these flares. I think the rear may have been fine with the factory flares but I put the bushwacker flares on the back as well.
-
Got some new tires. 285/70r17. They fit well with the bushwacker flares.

-
How to lower the rear 1.5-2 inches?
Eagle_SX4 replied to Ricky8227's topic in MJ Tech: Modification and Repairs
Start by getting some shorter shackles. Those appear to be longer than factory. The factory ones are 4 3/8 eye to eye. Not sure what springs those are but the Comanche never came with 6 leafs. Pulling a leaf would lower it. -
That's not a good sign. I know that on the 91-95's the check engine light is operated by the computer grounding the circuit. Maybe your computer isn't grounded. Definitely check all the grounds you can find. Take them apart clean them and use some ox-gard when putting them back on.
-
It may be that the bulb is just burned out. It doesn't take to much effort to pull the 91+ clusters (no speedometer cable to deal with). You don't even need to buy a new bulb just to check it you can just swap one of the others in its place.
-
Since you have a 91 have you checked the codes?
-
I just used a piece of 5/8 heater hose as a cushion. I bent the tab where the rubber bumper should go up slightly. Then slid the hose over the end of it. Not as much cushion as a rubber bumper but better than nothing.
-
Map differences renix to 96ish
Eagle_SX4 replied to knever3's topic in MJ Tech: Modification and Repairs
This thread talks about the map sensors. -
Decided to go with the bushwacker pocket flares. Got the front ones installed today.
-
If you have a plastic tip by the speedometer then don't pull the cable out of that side just pull the cable off the transfer case and grind that side down.
-
Your inner cable is probably to long. It expands and lengthens when hot. I had the same issue with the cable in my Eagle. I trimmed it down a bit on the end. The issue has gone away.
-
Bench seat head rest upgrade
Eagle_SX4 replied to Muncher's topic in MJ Tech: Modification and Repairs
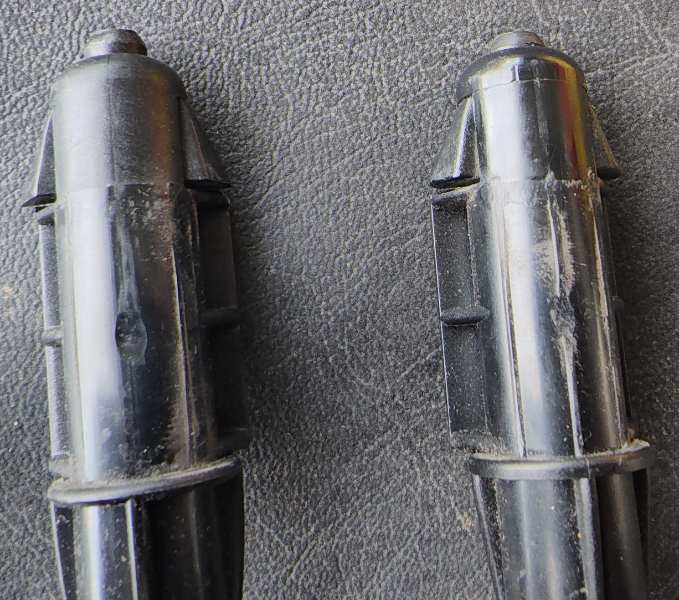
Here are some pics of the inserts.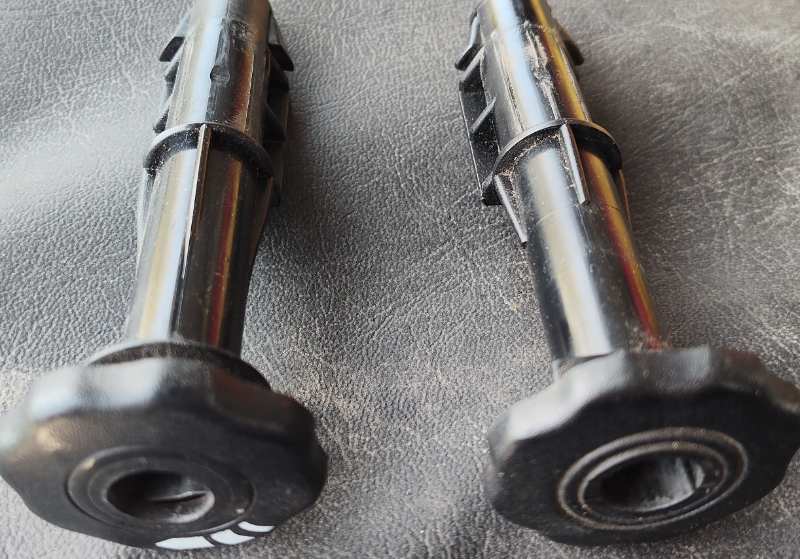
-
Bench seat head rest upgrade
Eagle_SX4 replied to Muncher's topic in MJ Tech: Modification and Repairs
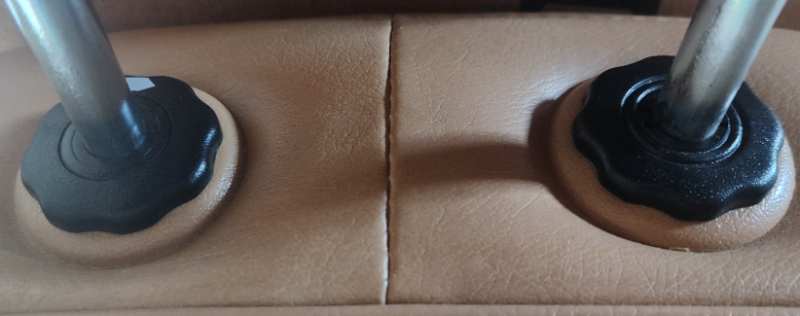
Here is a pic of the bracket that is welded on the bucket seats. There are plastic sleeves that slide into those and head rests slide into those. This is a pic of the bucket seat head rests assembled.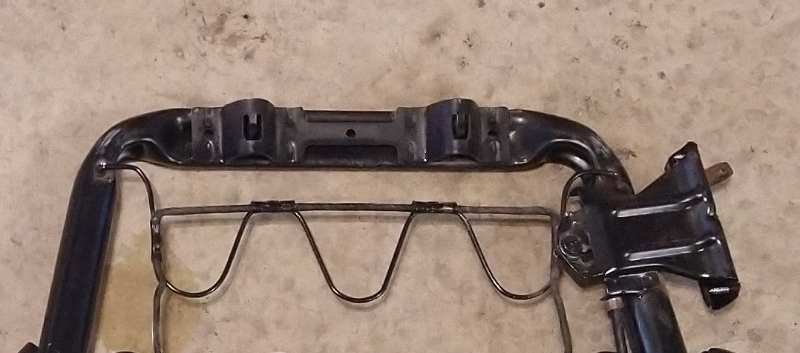
-
Bench seat head rest upgrade
Eagle_SX4 replied to Muncher's topic in MJ Tech: Modification and Repairs
The foam on the seat back can be removed you just need to cut a single line along the frame and springs from the back side. The foam will be able to be reused and I never had any issues with it afterward. I had to remove mine in order to weld it back together.