
boxyjeep
-
Posts
726 -
Joined
-
Days Won
1
Content Type
Profiles
Forums
Gallery
Everything posted by boxyjeep
-
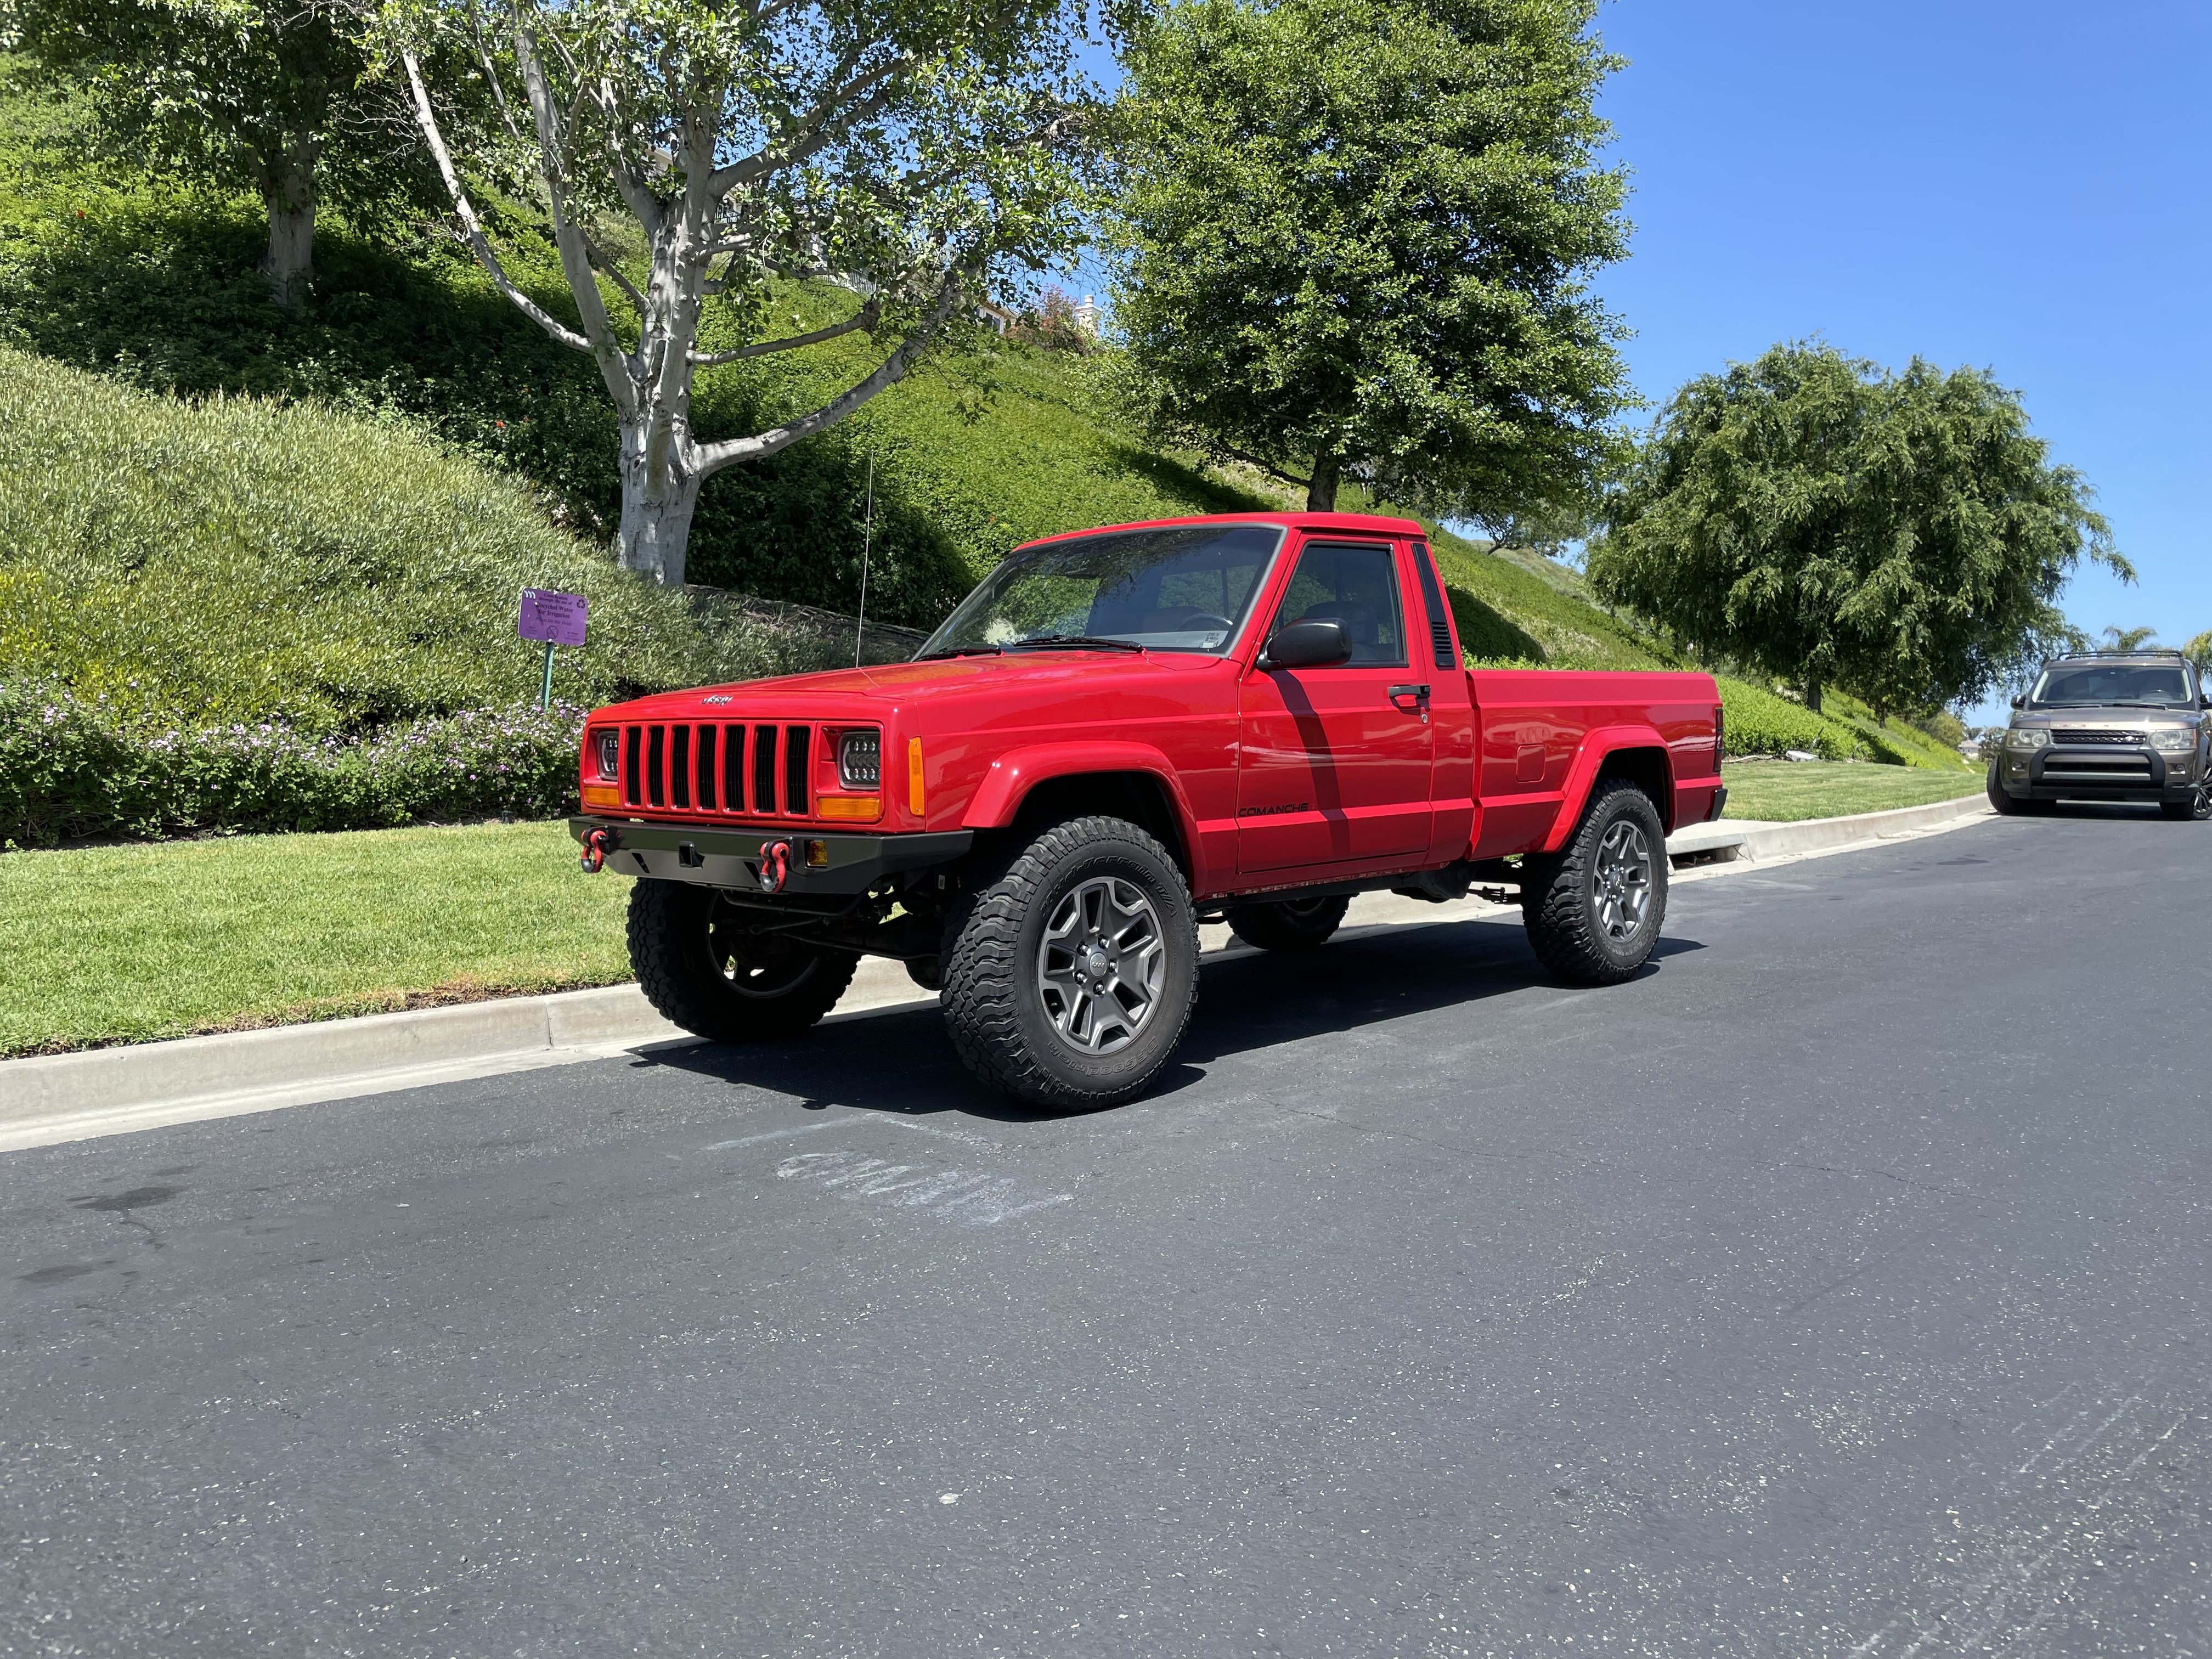
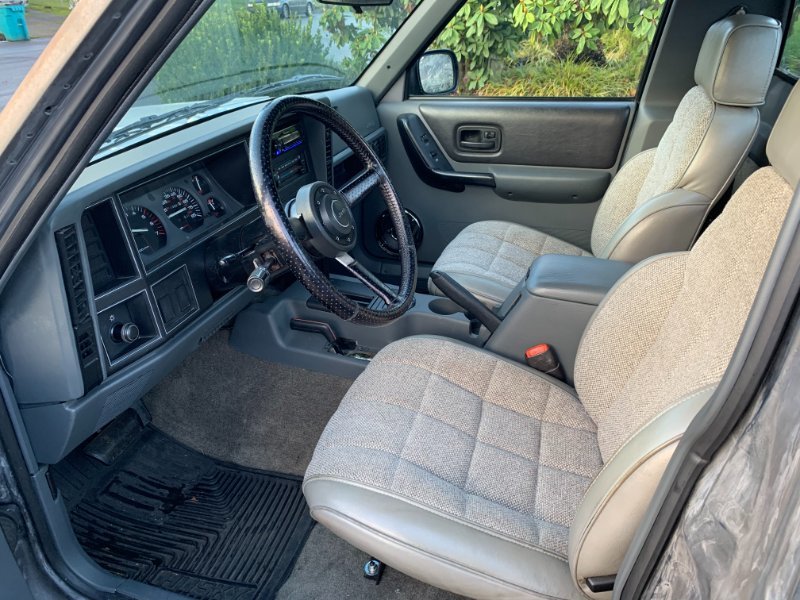
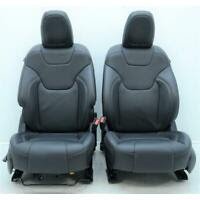
 I've been making some good progress on my 1988 Comanche Pioneer (build thread here) and finally pulled the trigger on a seat upgrade. The truck originally came with a blue interior and bench seat. Since then I've converted to buckets, replaced the carpet and headliner, and cleaned/painted the dash and panels (among many other things). The original buckets that I used were from an older Cherokee Laredo that I was super lucky to find in a junkyard in near mint condition. Despite this, I found these seats to be super uncomfortable and they made it impossible to get behind the seats. Original interior when I bought the truck in 2018: Cleaned-up and newer buckets, carpet, headliner, console, etc. installed: Despite looking good, I really wanted a more comfortable set of seats. I was initially looking for Wrangler Rubicon seats that had the ability to tilt forward, but these only came in 2-door Wranglers and are very difficult to find in leather trim. Eventually, I found a nice set of Jeep KL Limited front leather seats on eBay. They had an embossed "Jeep" logo and were heated, had drivers-side power adjustment, and the passenger side would fold flat. After receiving them, it was clear that the seats would be a tight fit and seat tracks would need a lot of adjustment.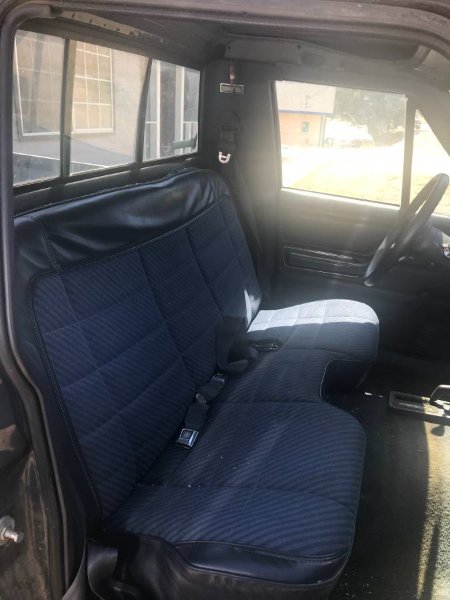
-
Comanche Dawn
boxyjeep replied to Limeyjeeper's topic in MJ Hardcore Tech: Epic Journeys to Greatness
Beware of the salt on the roads in the winter! You don't want that thing to rust. -
Still on eBay for a large sum: https://www.ebay.com/itm/325154099933?hash=item4bb4b1d2dd:g:jcUAAOSwCAxiXs1f
-
86-92 Jeep MJ Reproduction Tail Light Housings
boxyjeep replied to Dzimm's topic in Vendors- members making products for MJs
Retire from your day job, you'll be printing money at this point -
Not entirely period correct
-
That's awesome--how did it get included in the show?
-
Been following this on IG. An inspiration for sure!
-
Wow, you’re taking on a lot for your first project! Best of luck and excited to see how it works out.
-
You can fully bypass that valve and just go straight to the heater core. It provides no value.
-
Door Removal/Bolt Upgrade?
boxyjeep replied to CrustyBoy's topic in MJ Tech: Modification and Repairs
These with a cheater pipe attached. https://www.amazon.com/gp/product/B01F78UTAA If they are rounded off, you'll have to cut the heads off. -
That hole is for the speedo cable.
-
My first project car: A 1988 Comanche.
boxyjeep replied to vanquishings's topic in Member Projects: Your Comanches
I'd try to drill that broken bolt and use an easy-out to get it out. I had an issue with mine rounding off the threads--ended up tapping it to a larger size. For the PS pump, you can just use 3 longer bolts that go all the way through. You don't necessarily need to have a PS pump with threads and 6 smaller bolts. This will also make it a lot easier to adjust the belt tightness. -
1988 SoCal Jeep Comanche Build
boxyjeep replied to boxyjeep's topic in Member Projects: Your Comanches
Haha, I haven’t road tested it yet, so results are still pending. That said, the pedal feel is much more solid after bleeding. This is the guide I followed for the rear prop valve delete (obviously modifying for the Wilwood valve). -
Just did this on my truck and went with a Wilwood prop valve and WJ booster/master. Thanks for the guide!
-
1988 SoCal Jeep Comanche Build
boxyjeep replied to boxyjeep's topic in Member Projects: Your Comanches
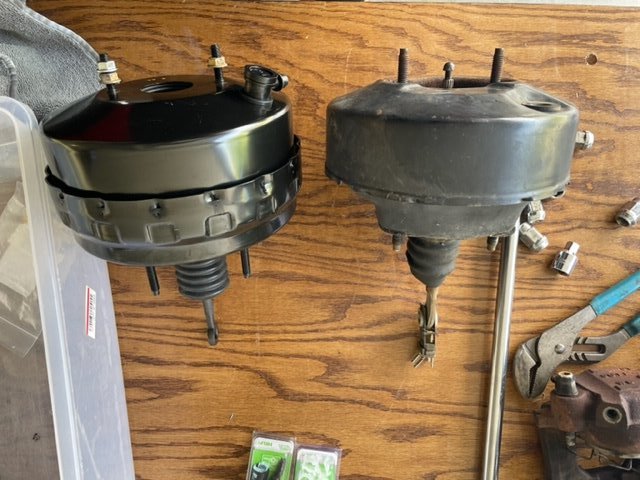
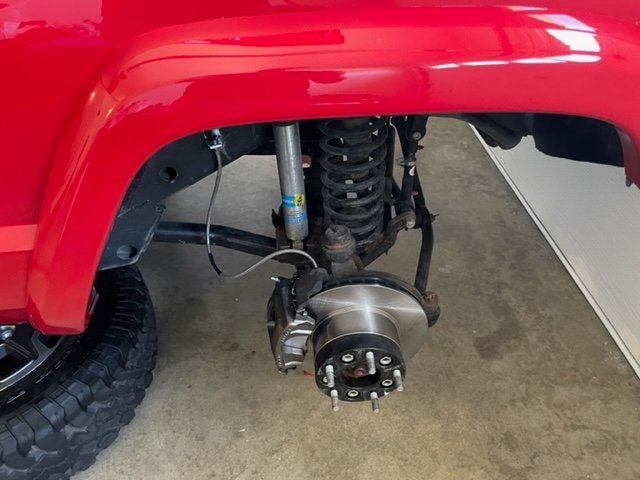
I just wrapped up my brake upgrade. I installed new front rotors and calipers, stainless steel lines, and upgraded the brake booster and master cylinder to a WJ model. I also ditched the rear load-sensing valve and installed a Wilwood adjustable proportioning valve. I haven't taken it out yet, but pretty happy with the brake feel after bleeding the system. New master cylinder, booster, and prop valve installed: Before and after boosters (WJ on left): New rotors, calipers and SS brake lines: I didn't replace anything in the rear other than pulling out the load-sensing valve and installing a longer stainless steel brake line. I may do a disc conversion at some point, but for now this should be fine.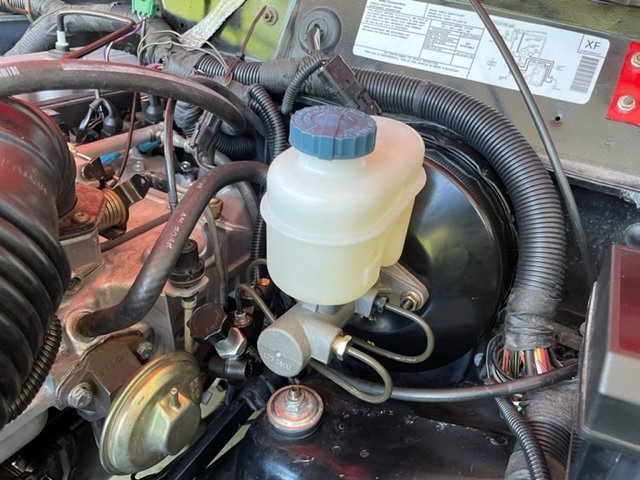
-
1988 SoCal Jeep Comanche Build
boxyjeep replied to boxyjeep's topic in Member Projects: Your Comanches
I kept the Brown Dog mounts (frame side). I purchased the engine-side mounts, but didn't end up using them. The welds weren't amazing and I couldn't justify ~$350 for that, so I returned them. The frame side mounts are still doing well, although the rubber bushing is definitely a bit rough. -
SRT Comanche build
boxyjeep replied to ghinmi's topic in MJ Hardcore Tech: Epic Journeys to Greatness
Awesome build. The theme is SRT, so hopefully it's getting an SRT engine.... -
Project Uncompahgre - 1989/1999 MJ
boxyjeep replied to USN_JeepMJ's topic in MJ Hardcore Tech: Epic Journeys to Greatness
Need some video with sound of it driving. -
I've seen that one for sale for awhile. Pretty beat, but it is an elusive '92 with short bed and inline-6. Clean it up and do a 4wd conversion and you're good...
-
1988 SoCal Jeep Comanche Build
boxyjeep replied to boxyjeep's topic in Member Projects: Your Comanches
Didn’t get a chance to take any pics, but you can kind of see it at the end of the row ~10:50 in this video. They have the show every week, so I’ll be sure to take some pictures the next time I’m there. -
1988 SoCal Jeep Comanche Build
boxyjeep replied to boxyjeep's topic in Member Projects: Your Comanches
Decided to take it out this past weekend to a local car show in Orange County, CA (South OC Cars and Coffee in San Clemente, CA - https://www.southoccarsandcoffee.com/). This is a pretty busy show that takes place every Saturday morning and I was surprised to have quite a few people interested in the truck and asking questions (despite this being an event with a ton of supercars). Unfortunately, when I got home I discovered that the serpentine belt jumped a tooth on the harmonic balancer. It looks like it's being caused by PS pump being misaligned--either the pulley is starting to come off the shaft or it isn't tightened down all the way. Also discovered that the 22lb injectors are insufficient. After warming up, the truck would frequently go into a lean condition (per REM). I bought a set of 24lb units and should have them this week. I'm planning to address the injectors, brakes, and pulley this weekend. Slowly making progress towards improved drivability. -
Thanks for posting this. I switched over to all LED bulbs and used 50-ohm resistors inline for it to work. That said, the hazards don't work. I'll order the flasher and see if that helps.
-
Control arm drop brackets
boxyjeep replied to KBRAY88MJ's topic in MJ Tech: Modification and Repairs
Not something I would cheap out on. Go with either RC or RE. The other brand is a no-name Chinese clone. Likely with cheaper metal and weld quality. Alternatively--spend the time and money now on a long arm kit. -
Wideband O2 Through REM
boxyjeep replied to Parei_doll_ia's topic in MJ Tech: Modification and Repairs
Very interested in this. I just installed an ATK 4.6L stroker and have been trying to find the right size injectors with a frequent lean condition. I wonder if a problematic O2 sensor could be the issue. -
April 2022-The Grabber Blue Eliminator
boxyjeep replied to 89 MJ's topic in Comanche of the Month (MJOTM)
Awesome build. How are you using the REM to trigger the electric fan?