

ghetdjc320
-
Posts
5212 -
Joined
-
Last visited
-
Days Won
1
Content Type
Profiles
Forums
Gallery
Everything posted by ghetdjc320
-

Project “Tomahawk”
ghetdjc320 replied to ghetdjc320's topic in MJ Hardcore Tech: Epic Journeys to Greatness
I had an 05 nsg370 on my tj rubicon. It has an integral bellhousing so I didn’t consider it a swap candidate. I’m sure it would hold up to most 4.0 based strokers though. Good overall tranny. Early models had a reverse gear recall -
Project “Tomahawk”
ghetdjc320 replied to ghetdjc320's topic in MJ Hardcore Tech: Epic Journeys to Greatness
That’s right! The speedtek gearset also has a fully splined 3-4 hub. The nv3550 which has seems to be on par with the ax15 strength wise is rated at 300 ft lbs but at a gross vehicle weight of 7200lbs. Axle gearing and torque curve will also play a big factor. -
Project “Tomahawk”
ghetdjc320 replied to ghetdjc320's topic in MJ Hardcore Tech: Epic Journeys to Greatness
Interesting tidbit of info for those wanting to build the ultimate AX15. So Marlin Crawler has been building Toyota R series trannies for a long time and have a few worthwhile upgrades. They developed a first gear thrust washer that is significantly improved and a worthwhile upgrade along with an upgraded front bearing retainer which will also handle more torque. These two items supposedly increase the torque rating to somewhere in the 450ftlb range and they claim to be using their upgrades on 500hp rock racers without issue. They have other items such as billet shift forks with a better sleeve engagement design but that doesn't necessarily improve and actual torque handling. The next fail point on some of these is the main shaft. Speedtek auto racing in Australia has made a 1000nm gearset (rated at approx 740 ftlbs of torque). I spoke to them and they can provide the whole gears from the main shaft through 5th gear and offer first gear in a 3.4 or 2.7 ratio with 5th being a .71 OD. These closer ratios would be awesome for a street Comanche. for a daily driver or weekend crawler, the 3.4 first would be ideal along with the slightly taller .71 5th gear. You can also choose your own custom input shaft spline count from the Jeep 10 spline to the GM 26 spline (nice for gen3/4 swaps). All in all, you can build the heck out and ax15 with the speedtek gears and the marlin thrust washer and bearing retainer setup. these upgrades will set you back a few grand but you'll have a near bulletproof transmission capable of handling loads of torque. If used for racing applications or fast shifting, maybe add the marlin shift forks. -
Rocker arm bolt tightening 88 jeep 4.0 6i
ghetdjc320 replied to fiddlermj's topic in MJ Tech: Modification and Repairs
19 ft lbs while the valve is closed -
A couple of quick shots from the parts riffle might be better . The engine basically needs fuel and spark. If yours starts intermittently, then you’re likely getting some but not enough of one or the other. Both that coil and the fuel pump need consistent reliable electricity. So first check your battery. I suspect some people have an already low battery but because they clean up connectors or grounds, they manage to eek out a bit more current. Still doesn’t change the underlying battery as a possibility. As a battery’s voltage decreases, the current requirements of each component can increase. That’s when your wiring starts to really get tested. Test the voltage at the terminals while cranking. And once you get it running, test the voltage across the terminals while running. Next suspect would be coil or pump. Grab a coil and just return it if not needed or used. Fuel pump is a bit more involved but also entirely possible. You can chase your tail on all sorts of sensor readings that can all be simply due to a low/bad battery. Also worth checking the state of the plugs and wires, cap and rotor. CPS would also be in my list though maybe a bit further down.
-
Another crank, no start issue...
ghetdjc320 replied to acfortier's topic in MJ Tech: Modification and Repairs
Awesome! Glad to hear you got it working. Maybe plan for another battery soon as well -
Another crank, no start issue...
ghetdjc320 replied to acfortier's topic in MJ Tech: Modification and Repairs
May be time for a new battery. Most parts stores just test the standing voltage but they really need to be load tested under a heavy cranking load. Hopefully you can just return whatever isn’t needed/used Its entirely possible your issue lies elsewhere but a couple a quick stops to the parts store may save a ton of time chasing phantom issues. -
Another crank, no start issue...
ghetdjc320 replied to acfortier's topic in MJ Tech: Modification and Repairs
Just remember, all of this can be due to battery not giving a full 12v during cranking Grab a replacement coil from the auto parts store and throw it on along with a good battery if you have an extra or a jump. It’s really hard to catch that 5v pulse on a regular meter. I’ve tried, and was also convinced of a bad ecu. Have had this happen on 3 HOs so far. Each time it’s been either coil or battery. -
Another crank, no start issue...
ghetdjc320 replied to acfortier's topic in MJ Tech: Modification and Repairs
If you haven’t done so yet, check the battery, ground and power cables along with the main harness connections. It’s been my experience that each time I go down the rabbit hole tracing resistance, sensors and circuits 90% of the time it’s something much simpler like a bad battery, loose ground, power or corroded connection. Any one of those factors will throw off all subsequent readings and will make it seem like your problem lies elsewhere. Ensure the pcm is getting a solid 12+v even while cranking. If you trace out that diagram I put in the second post, you may be able to track the culprit. Is the fuel pump running? If you pull a plug, can you check for spark? The engine only needs a few minor items to actually fire. Tracking down which one of those basic items you’re missing will probably get things moving the right direction. And for some odd reason, I’m still suspecting your coil . Probably because I had an accel one die on my HO also. -
Another crank, no start issue...
ghetdjc320 replied to acfortier's topic in MJ Tech: Modification and Repairs
I doubt the ecu is the culprit. Those things are fully potted and rarely have any issues. -
Project “Tomahawk”
ghetdjc320 replied to ghetdjc320's topic in MJ Hardcore Tech: Epic Journeys to Greatness
Good to know. I might mix and match some items then. I have the 91+ MJ fuel sender installed with the 0-90ohm sweep and will reuse probably all the existing cluster and just swap the speedo. I had the police package speedo in my last MJ but didn’t like that the font on the bezel didn’t match the rest of the dash. Was getting close to having a Dakota digital HDX custom panel made as it has been really hard to find this uk spec gauge. -
Project “Tomahawk”
ghetdjc320 replied to ghetdjc320's topic in MJ Hardcore Tech: Epic Journeys to Greatness
Interesting. I’m assuming the senders are the Sam it’s just the gauge faces that are different? Out of curiosity, why do you prefer the C reading I’m on the temp? -
Project “Tomahawk”
ghetdjc320 replied to ghetdjc320's topic in MJ Hardcore Tech: Epic Journeys to Greatness
Yep, UK spec. Been waiting a very long time to find one of these. Will be harvesting the speedo to use in my cluster -
Project “Tomahawk”
ghetdjc320 replied to ghetdjc320's topic in MJ Hardcore Tech: Epic Journeys to Greatness
Score!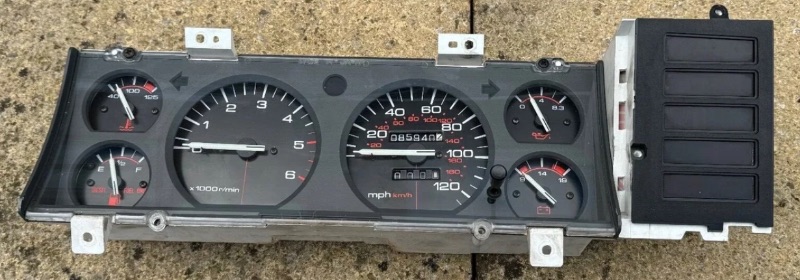
-
Why the use of two different primers? Epoxy is all you need so long as you have clean metal.
-
You can apply your base and clear right over the epoxy primer. Epoxy primer is a great all purpose sealer and surfacer. Works great on bare metal, or over well prepped existing finishes.
-
Dana 35 non c-clip ring gear
ghetdjc320 replied to TheSiLvAPython's topic in MJ Tech: Modification and Repairs
The ring and pinion are the same. The brakes for the non c clip axles are typically the larger 10” drums vs the later 9” drums. -
Comanche Dawn
ghetdjc320 replied to Limeyjeeper's topic in MJ Hardcore Tech: Epic Journeys to Greatness
Do you have a picture of the section you removed? -
I got mine from coverking. Just a standard XJ unit. Fit was great. Now I also have a ceramic UV blocking film on the windshield itself. It’s completely clear. Just wanted extra protection for the dash incase I didn’t deploy the sun shade.
-
Dana 35 non c-clip ring gear
ghetdjc320 replied to TheSiLvAPython's topic in MJ Tech: Modification and Repairs
Yes, they are the same -
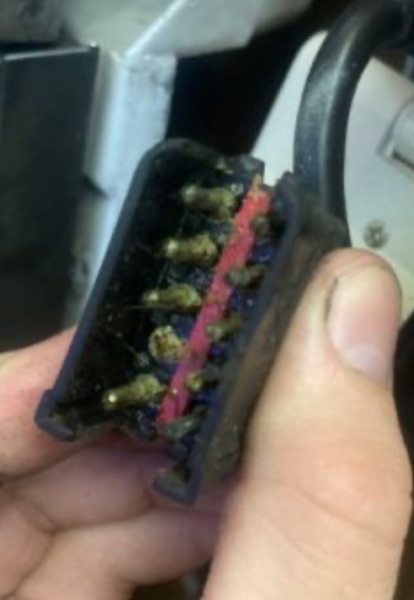
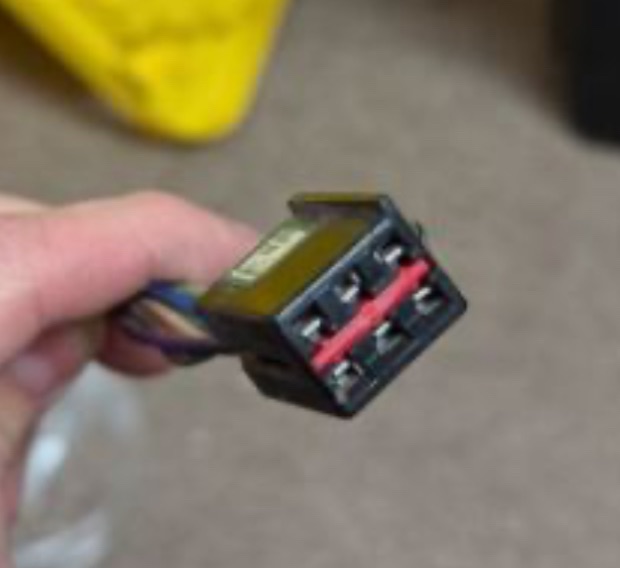
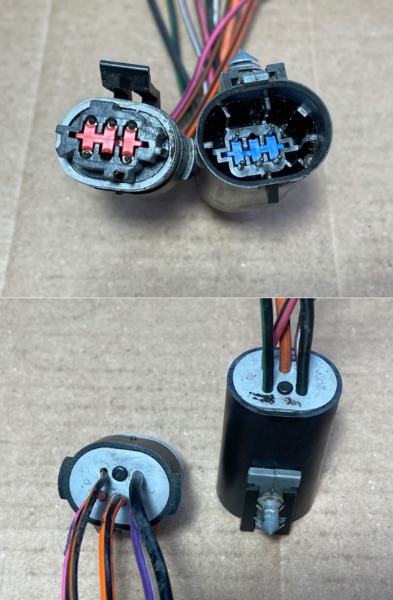
Electrical connectors compilation
ghetdjc320 replied to ghetdjc320's topic in MJ Tech: Modification and Repairs
Good find. Will need to locate the supplier -
Turn Signals no longer working
ghetdjc320 replied to EdJarHead's topic in MJ Tech: Modification and Repairs
Do the blinkers just come on but not flash? Check each bulb and socket. They are a common cause of these sort of issues. -
What’s a good upgraded radiator?
ghetdjc320 replied to Strokermjcomanche's topic in MJ Tech: Modification and Repairs
Mishimoto hands down unless you can fit a Novak core. Cold case is another good option. Keep in mind that so called “high flow” pumps and “high flow” tstat housings can be the culprits of many cooling issues. Stock pump, 7 blade mech fan and the late model 10 blade XJ fan (the oem Mopar one) with a good 30-40A power supply will keep it cool. -
Big Ton Leaf Springs Source?
ghetdjc320 replied to robfg67's topic in MJ Tech: Modification and Repairs
Even the GS 4 leaf “replacement” pack lifted my MJ about 3” over stock. Didn’t really settle much, maybe 1/2”. However I kind of look at this as a good alternative option to the other lift spring options. If you’re looking for a 2.5-3” lift and want to preserve the factory rake, get 2.5-3” lift front XJ springs and grab the GS rears. If you want a little less rake but not dead level, use a 3” front spring and a full length XJ add a leaf (takes a very slight mod to fit just right). If you need a factory style spring with zero (or less than 2.5-3”) lift, go with Alcan -
Electrical connectors compilation
ghetdjc320 replied to ghetdjc320's topic in MJ Tech: Modification and Repairs
Ok, we’re going to find these little wiring unicorns