


ghetdjc320
-
Posts
5079 -
Joined
-
Last visited
-
Days Won
1
Content Type
Profiles
Forums
Gallery
Everything posted by ghetdjc320
-

Bigger window upgrade parts?
ghetdjc320 replied to EUREKA's topic in MJ Tech: Modification and Repairs
I hadn’t seen a kit before either but came across one on eBay about 2 months ago and bought it. $38 total shipped. Bought it from “oldbarnclassicsllc” on eBay. The weatherstripping included was actually in great shape and the best part is that they were genuine oem parts. -
Why not a junkyard short block and take it to the machine shop yourself?
-
From my observation of doin a fair bit of metal and body work on these trucks here are my areas of concern: most all panels are spot welded together. This creates seams that are not water tight and easily trap water. These seams are everywhere. The factory method to address this was to sloppily apply seam sealer to the inside cab seam around the floor and the floor1firewall transition inside the front wheel well. The seam sealer around the cowl under the fenders is very poor in every MJ/XJ I’ve seen. As it fails, it allows water to trickle into the cab and rot from the inside. It’s quite a crap design in terms of preventing rust. When replacing panels now that used to have a pinch weld seam, I’ve switched to using an automotive panel bonder. Works much better and prevents the issue. If your not doing any panel swaps, take time to go over all the joints with some fresh seam sealer. A 2 part sealer works best. An oscillating tool with an adhesive removal blade will make short work of removing any failed or poorly applied sealer. If you were going to use bedliner/lizard skin or similar, spray it inside the cab after sealing it thoroughly and addressing any rust. Unless you’re doing a rotisserie restoration and going over every seam under the truck, I wouldn’t recommend and type of membrane material (like bedliner or lizard skin) as it will trap moisture in the seams. Paint would be preferable but the downside is it’s chip resistance as the underside will get pelted with stones with normal use. A stone guard type paint would be good there. POR15 actually works very well in this regard but has trouble adhering to clean or painted metal and would require a fair bit of prep. And you must use a good respirator if spraying that stuff as it’s quite vile. The bottom of the bed is another story and it very well could be bedlined with proper prep. Once the finish is done, get a good inner frame sprayer and shoot cavity wax, bar and chain oil, diesel, or lanolin coating inside the frame rails and inside plug holes like the ones located over the rear wheels in the inner fender.
-
I have a pair of NOS 2dr window switches with bezels. PM if interested
-
What year is your D35?
-
Anyone?? Maybe this is in the wrong section??
-
Door Removal/Bolt Upgrade?
ghetdjc320 replied to CrustyBoy's topic in MJ Tech: Modification and Repairs
It’s much easier to just remove the fender and use the impact with a torx bit. Doesn’t take very long at all to remove the fender. I’ve also used the 1/4” ratcheting socket slipped over a torx bit but it’s very hard to get enough pressure to keep from slipping the socket on the head. -
Tagging @natander2ksometime on this. Saw in another post that there was some discussion about a possible MJ takeover in Moab in September. Anyone have any more info? I should be able to make it around then. If it’s going to happen, what are the dates? Who’s organizing? And what are the events? Be nice to do a few trail rides and maybe a meet and great show.
-
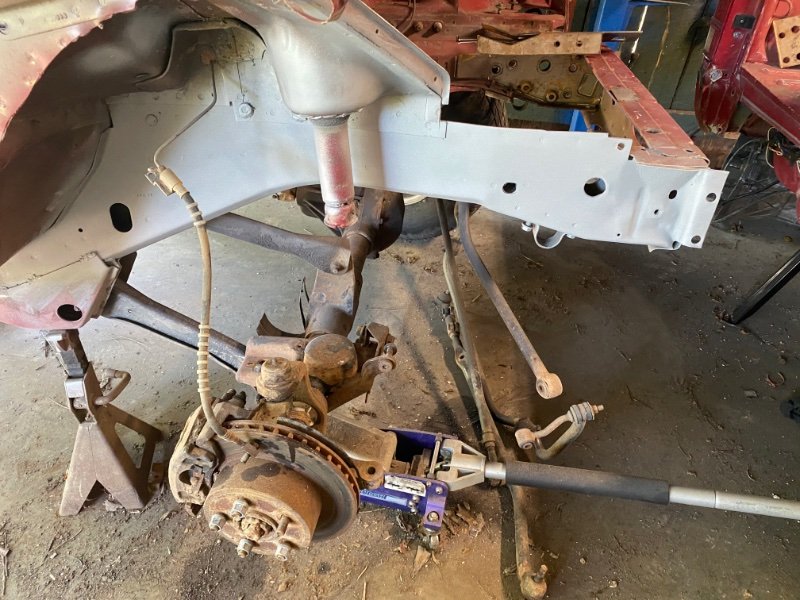
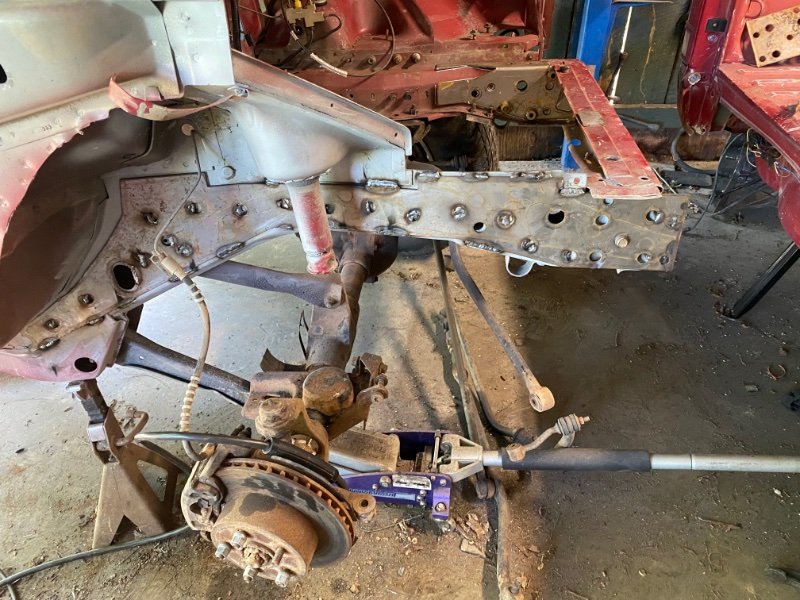
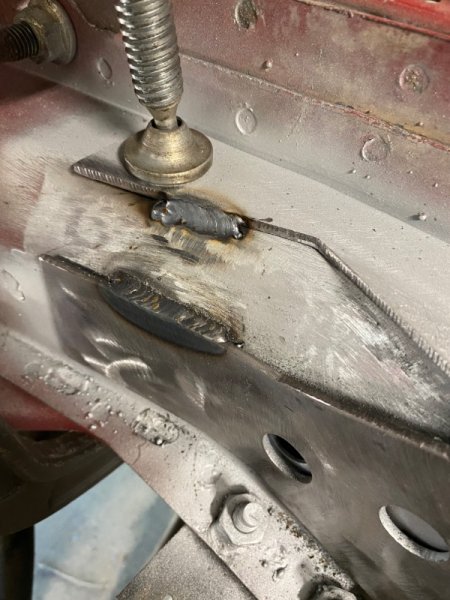
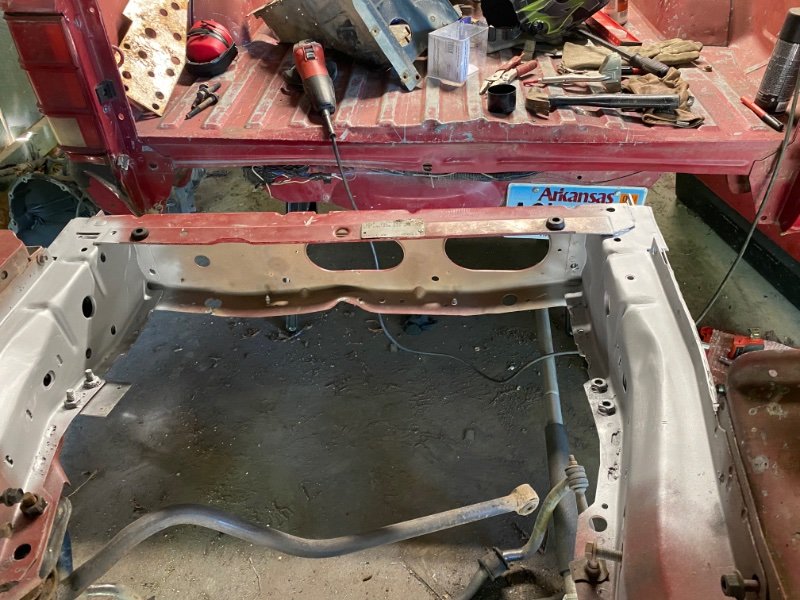
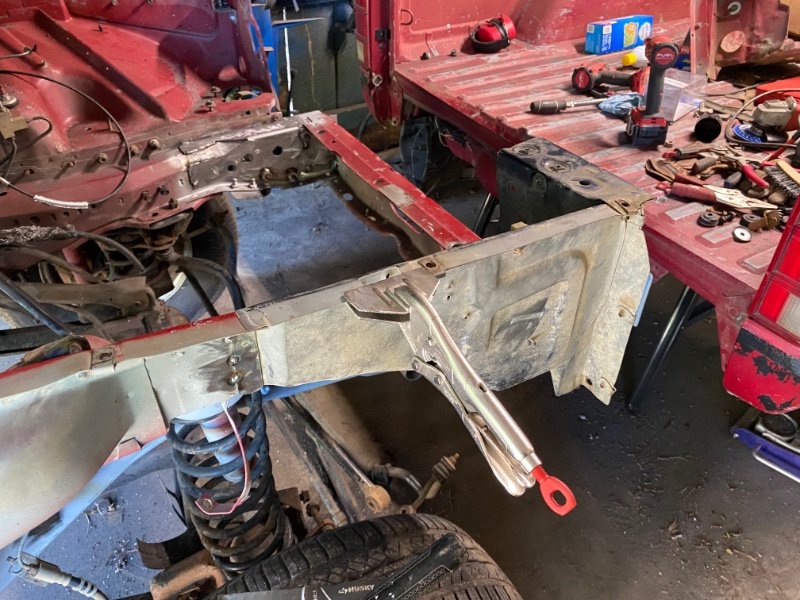
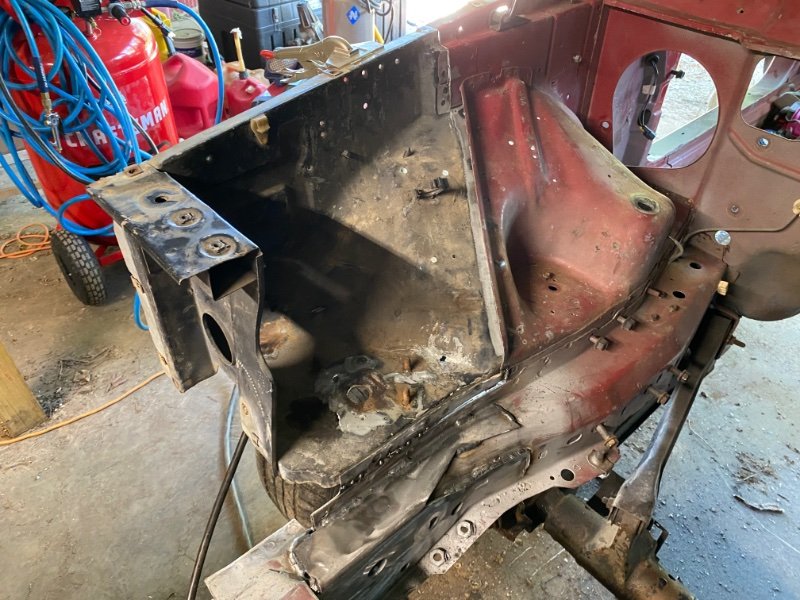
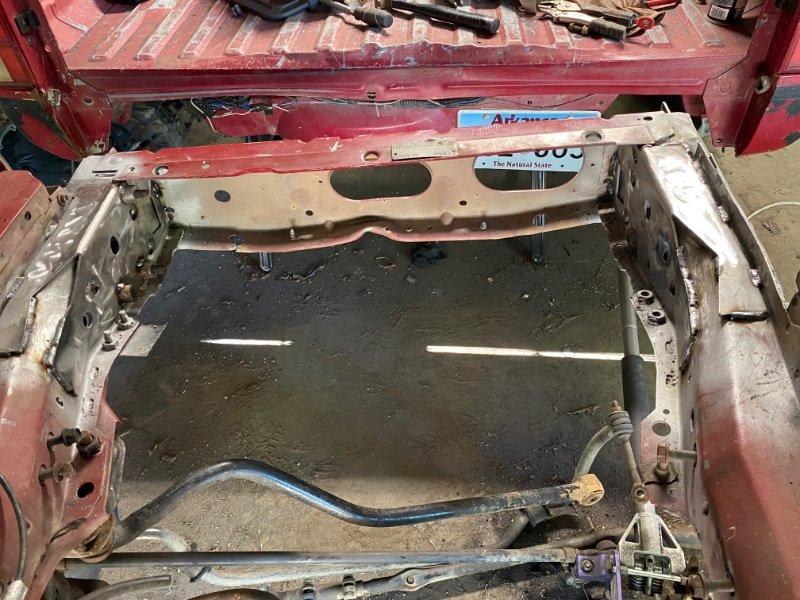
Project “Tomahawk”
ghetdjc320 replied to ghetdjc320's topic in MJ Hardcore Tech: Epic Journeys to Greatness
And… more metal work. I really like these inner frame plates!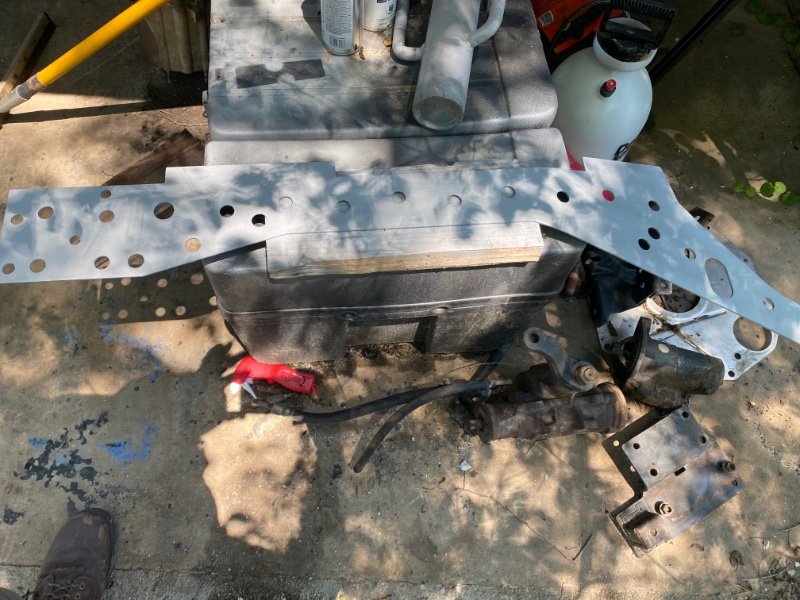

-
Project Uncompahgre - 1989/1999 MJ
ghetdjc320 replied to USN_JeepMJ's topic in MJ Hardcore Tech: Epic Journeys to Greatness
Tell me more! There’s going to be an MJ takeover? -
LS and Holley guys!
ghetdjc320 replied to krustyballer16's topic in MJ Tech: Modification and Repairs
I’m here too. Built several Holley efi systems and in the process of swapping in an LS6 -
Big 7 alternator shroud question
ghetdjc320 replied to farmboi's topic in MJ Tech: Modification and Repairs
What about placing a plastic or rubber washer under it? -
Front end play, track bar
ghetdjc320 replied to 87MJJeep's topic in MJ Tech: Modification and Repairs
Where are you placing the “cure” at? Can’t see the purpose on a Y link steering system. That was more for the YJ style system with the inverted T since the tie rod would roll when the drag link applied turning force to it. -
Dana 44 Axle Shaft Replacement
ghetdjc320 replied to gdobble7's topic in MJ Tech: Modification and Repairs
Is the bearing retainer fully seated? -
Big 7 alternator shroud question
ghetdjc320 replied to farmboi's topic in MJ Tech: Modification and Repairs
Eeks that’s close. I’d recommend that you add a couple of layer of heat shrink around the base of that terminal on the cable to prevent any possible arcing to the alternator body. Also, flip that cable connection so the wire itself is further from the alternator body. Could also use a piece of plastic and just drill a hole in it to use as a mock shroud -
Water Pump Recommendation?
ghetdjc320 replied to CrustyBoy's topic in MJ Tech: Modification and Repairs
That was GMB high flow that was a two piece impeller design (at least my GMB high flow was like that). The flowkooler has been a billet spiral one piece impeller for a great many years. Whether or not Hesco originally designed the first billet impeller on a 4.0 water pump I don’t know but a very large number of hesco’s parts these days are rebranded markups. -
Water Pump Recommendation?
ghetdjc320 replied to CrustyBoy's topic in MJ Tech: Modification and Repairs
I believe the Hesco and flowkooler are practically the same unit. The Hesco bored thermostat housing was also an issue contributing to overheating. The oem system can’t really be significantly improved upon without a significant capacity upgrade in the radiator. Novak or the old JeepSpeed Griffith come to mind. Otherwise, the oem components are the way to go imo. Best system I ran was ac delco gold water pump (or the oem Mopar), Mopar hoses (with the anti-collapse spring), Mopar 195 t stat with air bleed hole, oem 7 blade mech fan with oem shroud, later xj style 10 blade e fan and a Mishimoto radiator. AC full blast in the tropics going up long steep grades with zero issues. It’s just been my experience that most of these cooling system “upgrades” don’t work well as stand alone “upgrades”. Even on a stroker I’d go with a stock system (maybe mishimoto or cold case radiator) -
Water Pump Recommendation?
ghetdjc320 replied to CrustyBoy's topic in MJ Tech: Modification and Repairs
I also ran the AC Delco Gold pump after pulling a flowkooler. The flowkooler requires significantly more fluid capacity ie much larger radiator. -
IIRC NTK is Mopar OEM. Always had good success with NTK
-
Door Removal/Bolt Upgrade?
ghetdjc320 replied to CrustyBoy's topic in MJ Tech: Modification and Repairs
You’ll have to remove the fender for access. It’s the only way to take them out straight. The bolts that are closest to the inside of the door can be removed from inside the jamb. The remaining 4 can be accessed using the holes in the hinge with the fender removed. Keep removing them in increments until they are all loose. If it’s stripped too badly to be removed correctly, you can drill them and use a screw extractor but you have to do that through from the fender side as well. Whatever bolt you use will need to be a button head so the door can shut all the way. You can use an Allen or hex head bolt but they are more likely to strip than a good torx head bolt. Team Cherokee has oem replacements or you can go aftermarket and use Fastenal or McMaster Carr. I’ve never had a problem with the oem bolts even on very rusty rigs as long as I remove them through the factory provisions and stay square on the bolt. -
Transmission swap- Peugeot for Zumbrota?
ghetdjc320 replied to Seth's topic in MJ Tech: Modification and Repairs
Your transfer case itslelf would swap over if you changed the input gear but it’s typically not worth the cost vs one that already has a 23 spline. You can also look on eBay for a complete swap from DeadJeep. Keep in mind that the xj/mj ax15 clocks the transfer case slightly lower on the drivers side for clearance. -
How is my MJ lifted? How do I choose shocks?
ghetdjc320 replied to 87MJJeep's topic in MJ Tech: Modification and Repairs
There is a way to measure your exact ride height in the diy section as well. With that info you could order up a generic shock meant for 2” lift or you could always go with a custom length that isn’t application specific. If your open to spending the money on a set of good shocks, checkout Accutune off-road. They will valve and tune an “off the shelf” shock to your rig. They have the specs on Comanches as well. -
10 Hole Rim "Jeep" Center Cap Replacement Decals
ghetdjc320 replied to Lucas7667's topic in MJ Tech: Modification and Repairs
Just to be clear, this is going to be for the turbine wheel covers. It’s a bit larger than the turbine version -
Bosch 69302 - Electric Fuel Pump
ghetdjc320 replied to youngfred's topic in MJ Tech: Modification and Repairs
Running a consistently low tank can shorten the life of your pump. Also allows more room for water vapor which is worse than ethanol imo. -
Luk is my go to. Whatever clutch I get though, I’ll get a National, Timken or Koyo throw out bearing if the kit doesn’t come with one of those specifically.