
ghetdjc320
-
Posts
5212 -
Joined
-
Last visited
-
Days Won
1
Content Type
Profiles
Forums
Gallery
Everything posted by ghetdjc320
-

HVAC Unit Vacuum Pigtail
ghetdjc320 replied to Salvagedcircuit's topic in MJ Tech: Modification and Repairs
That pic looks familiar. Those two vacuum lines go straight to the hvac panel. The black one is the master feed that the control deck uses to operate all the vacuum motors on the hvac box. The white one is for the heater core bypass valve. -
I’m back stateside for now. Sent you a PM
-
My cross cab and passenger door harness are all HO era. But none of the rest of the wiring is either HO or Renix. It’s all custom wiring from Painless.
-
Yes, power everything on this one. That would be awesome if you do!
-
Project “Tomahawk”
ghetdjc320 replied to ghetdjc320's topic in MJ Hardcore Tech: Epic Journeys to Greatness
Yep -
Project “Tomahawk”
ghetdjc320 replied to ghetdjc320's topic in MJ Hardcore Tech: Epic Journeys to Greatness
Bed is in epoxy now. Body work next
-
Project “Tomahawk”
ghetdjc320 replied to ghetdjc320's topic in MJ Hardcore Tech: Epic Journeys to Greatness
The topside of the bed is going under the knife now.
-
I know this is a total crapshoot but I’m looking for the drivers side power door harness for a 91+ 2dr xj or Comanche. I have the cross cab and the passenger side but just can’t find the drivers side. In a pinch I’d take a 4dr one but would much prefer to use the right harness. Tagging everyone I know who collects rare parts, I’m sure I’m missing some some: @Strokermjcomanche @Red Mistress @Gjeep@saveevryjp1998 TIA
-
Project “Tomahawk”
ghetdjc320 replied to ghetdjc320's topic in MJ Hardcore Tech: Epic Journeys to Greatness
More pics… My body shop supplier recommended I try the PPG CRE epoxy primer. This stuff is like industrial strength. Can’t believe how well it sticks. Mixed it up 2:1:.5 and sprayed with Devilbiss FL gun with a 1.8 tip. Started at 30psi but it sprays better around 25psi the way I have it mixed and with my desired fan and flow settings.


-
Project “Tomahawk”
ghetdjc320 replied to ghetdjc320's topic in MJ Hardcore Tech: Epic Journeys to Greatness
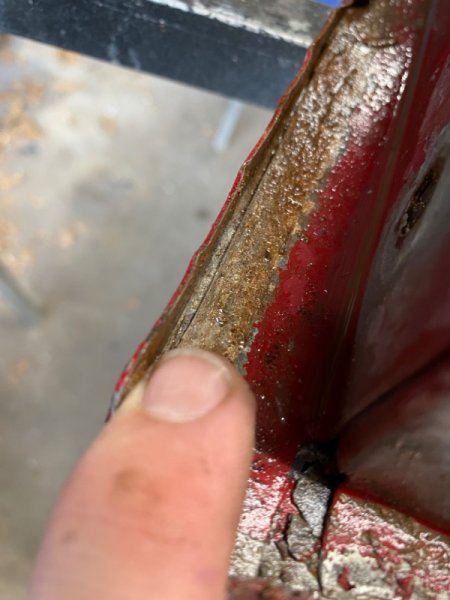
Both doors prepped for primer. You will need to remove the small U channel in the window channel to install the one piece glass. I also had a couple of repairs to make on my doors. For some reason, all the Comanches and XJs I’ve seen develop a crack at the same spot in the door. Added 2 auxiliary drain hole near the front and rear of the door. Also filled the inside lower seam with POR15 and allowed it to seep down into the pinch joint. I don’t want water in the door in the first place, but if some moistures manages to get in, it will not start rusting there.


-
Project “Tomahawk”
ghetdjc320 replied to ghetdjc320's topic in MJ Hardcore Tech: Epic Journeys to Greatness
Yes I am. Actually working on doors at the moment. Pics to come -
Comanche Dawn
ghetdjc320 replied to Limeyjeeper's topic in MJ Hardcore Tech: Epic Journeys to Greatness
I don’t at the moment but I’ll get one in the next few days. For the quick draw bellhousing, I suggested to Chad that they clearance it a bit for the firewall. On my LS6 it fits with the motor mounts in the middle position but I’ll be moving it to the full forward position to raise the transmission a bit more. Chad said they’d change the casting on the next run though. -
Project “Tomahawk”
ghetdjc320 replied to ghetdjc320's topic in MJ Hardcore Tech: Epic Journeys to Greatness
If anyone is interested, here is a way to build a much more stout tailgate. The weight gain was negligible but the strength and panel flex is so much better than stock. Inside of the panels will be POR15’d before reassembly. Probably going to use 3m panel bond aside from a few strategic welds to prevent rust forming in the pinch seams, an issue that just plagues these Jeeps.


-
Project “Tomahawk”
ghetdjc320 replied to ghetdjc320's topic in MJ Hardcore Tech: Epic Journeys to Greatness
Inside tailgate panel straightened.

-
Project “Tomahawk”
ghetdjc320 replied to ghetdjc320's topic in MJ Hardcore Tech: Epic Journeys to Greatness
Hammer and dolly work on the tailgate for about 3 hours yielded very good results. Here is a before and after

-
Project “Tomahawk”
ghetdjc320 replied to ghetdjc320's topic in MJ Hardcore Tech: Epic Journeys to Greatness
Second coat finished and masking removed. It’s very important to remove your masking before the liner cures
-
Project “Tomahawk”
ghetdjc320 replied to ghetdjc320's topic in MJ Hardcore Tech: Epic Journeys to Greatness
First coat of Raptor is on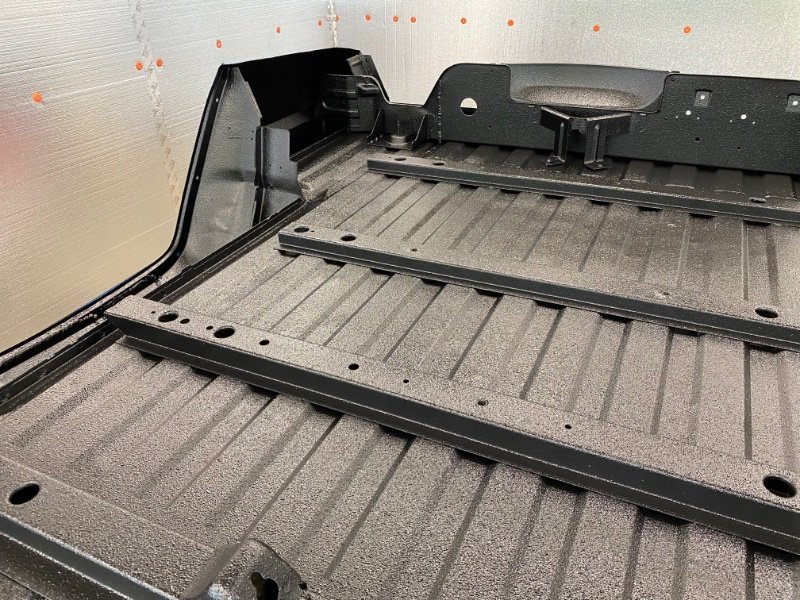
-
Comanche Dawn
ghetdjc320 replied to Limeyjeeper's topic in MJ Hardcore Tech: Epic Journeys to Greatness
This is the pump I ended up grafting onto the sending unit.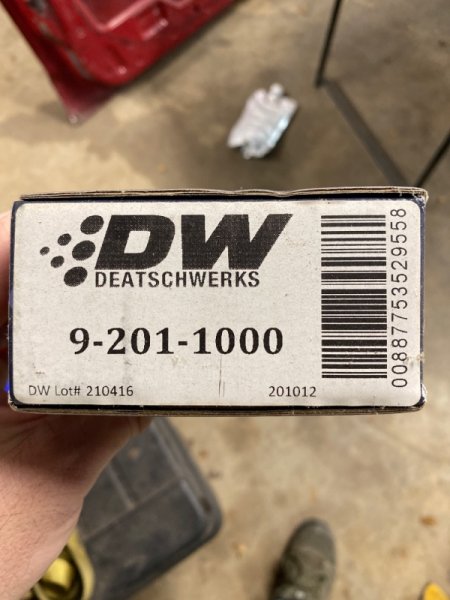
-
Project “Tomahawk”
ghetdjc320 replied to ghetdjc320's topic in MJ Hardcore Tech: Epic Journeys to Greatness
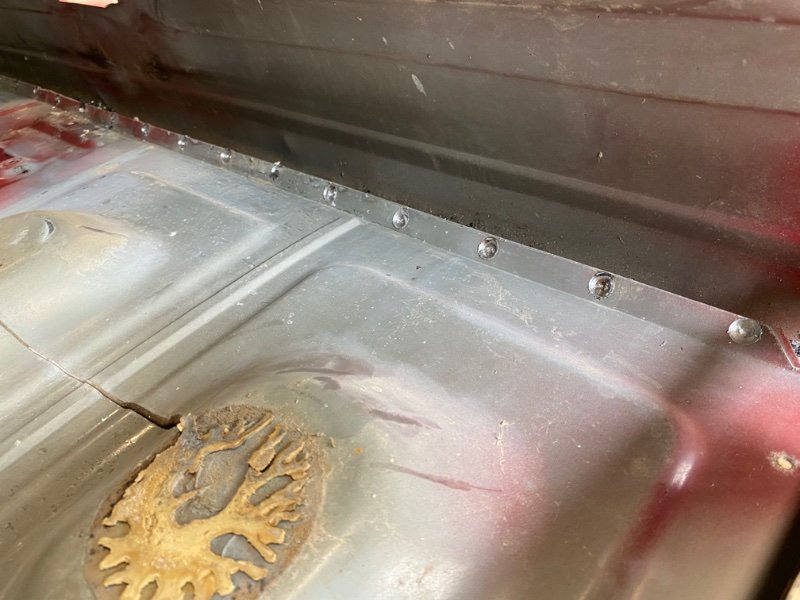
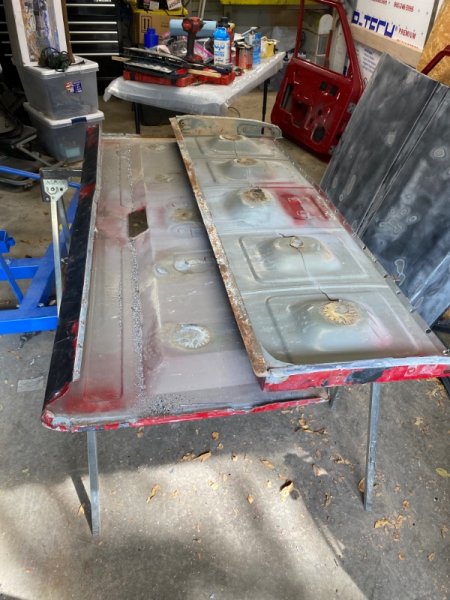
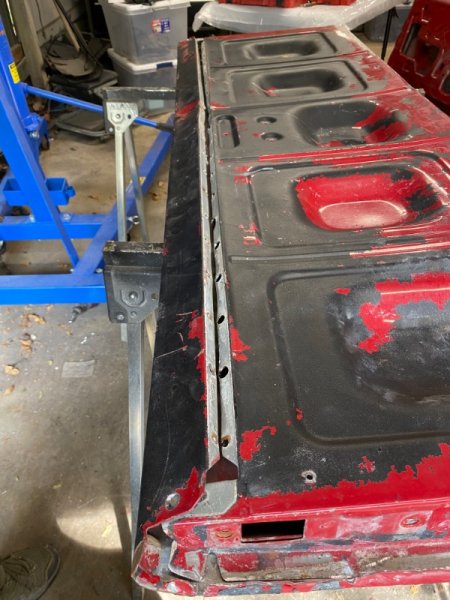
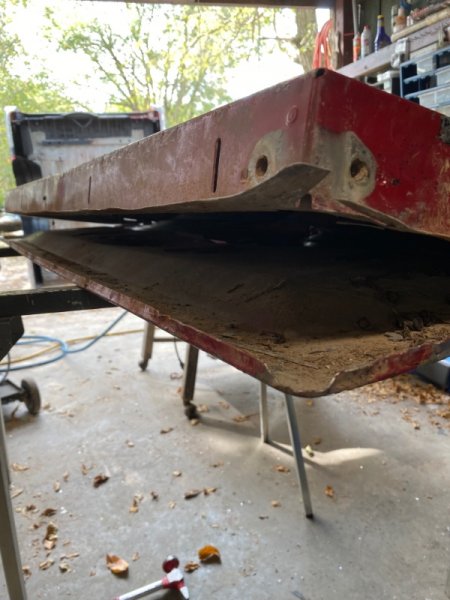
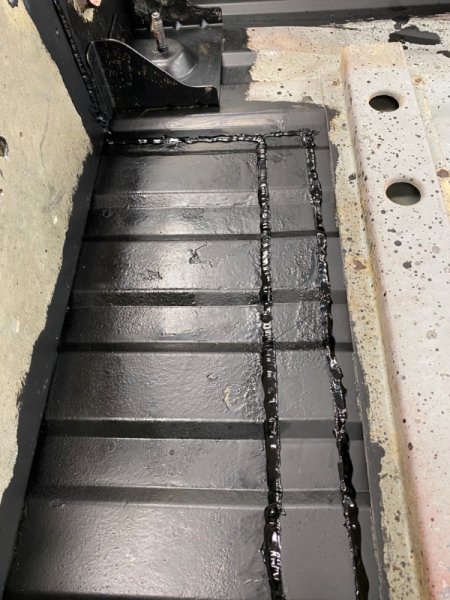
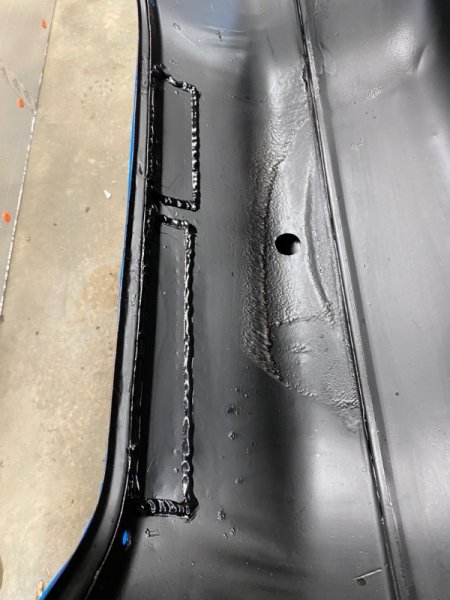
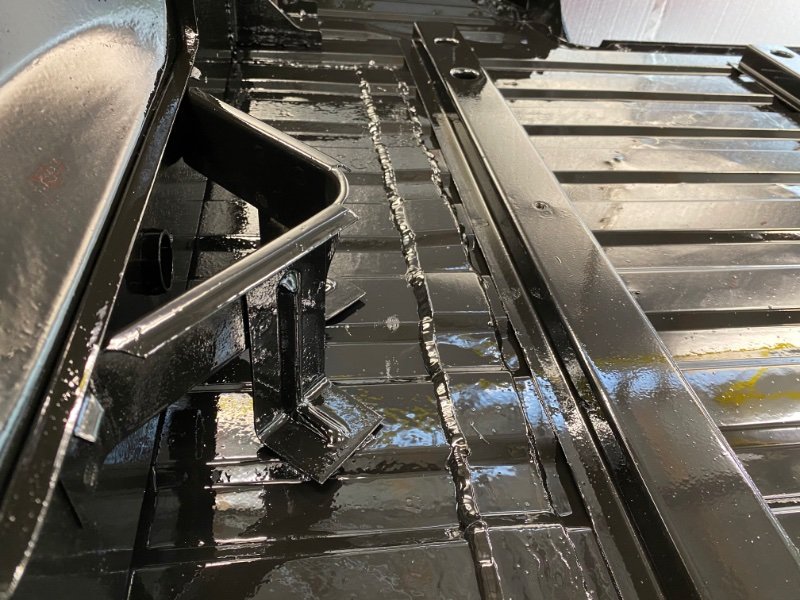
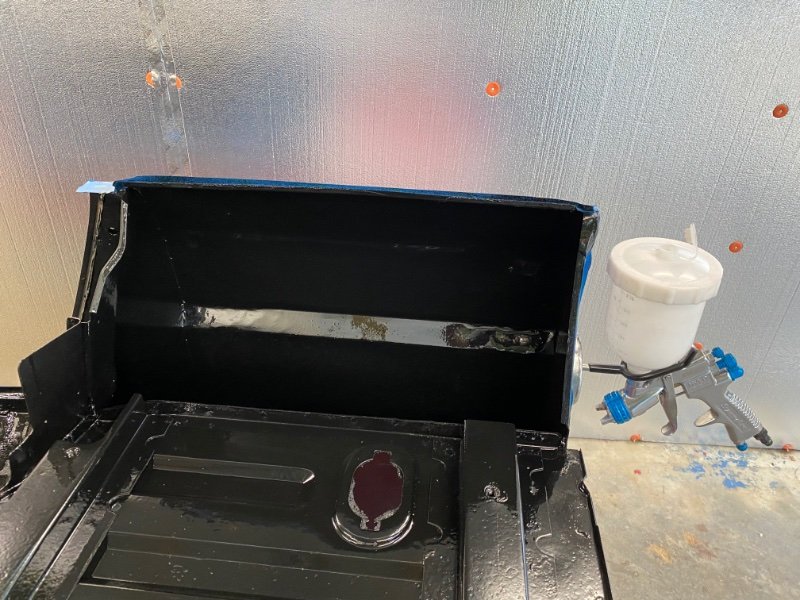
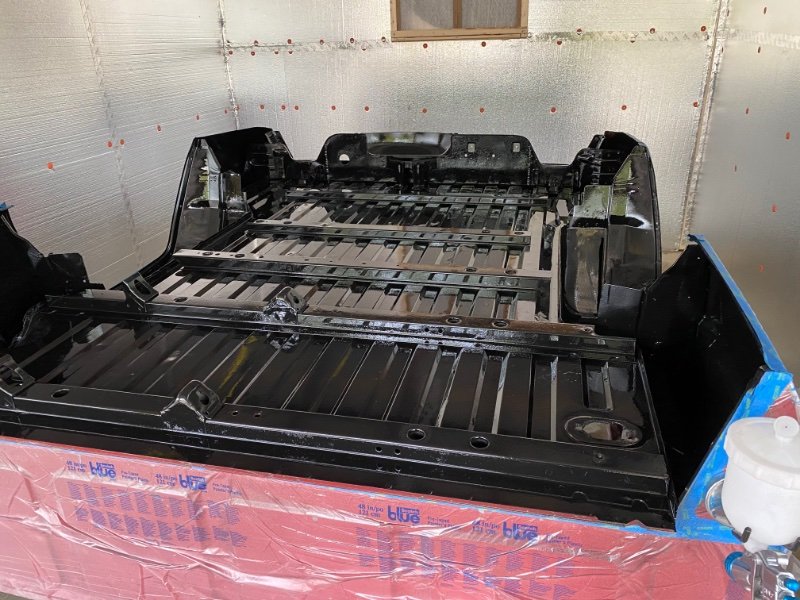
Tailgate has been disassembled. Very tricky to straighten this one but I’ll take the time to get it done right. Added some pics of disassembly so you know what is needed if you decide to do it yourself. The entire underside of the bed has now been POR15’d with 3 coats plus 5 coats in the wheel wells. Rhino lining will be next. Will let that cure fully before flipping the bed over to do the rest. All the patch panels in the wheel wells and bed have been seam sealed with 3m heavy bodied 2 part sealer.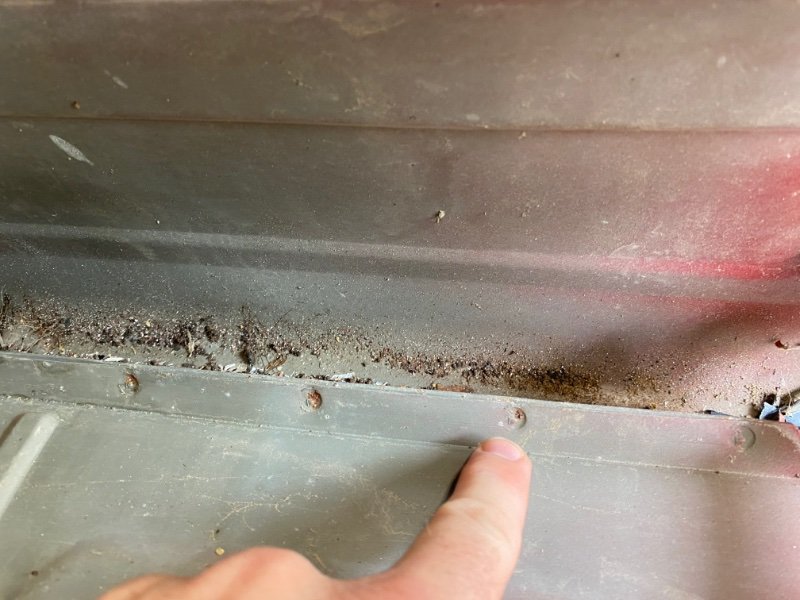
-
Project “Tomahawk”
ghetdjc320 replied to ghetdjc320's topic in MJ Hardcore Tech: Epic Journeys to Greatness
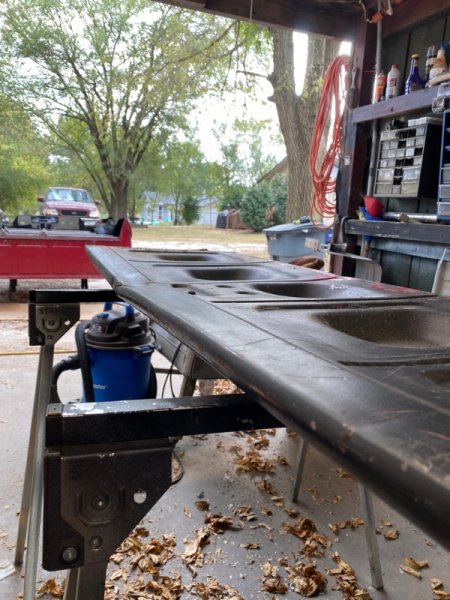
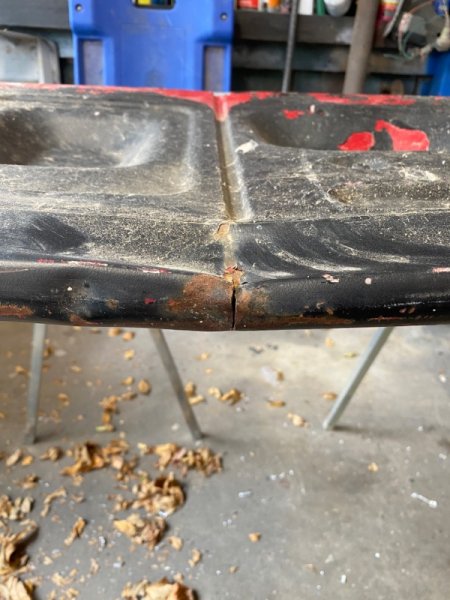
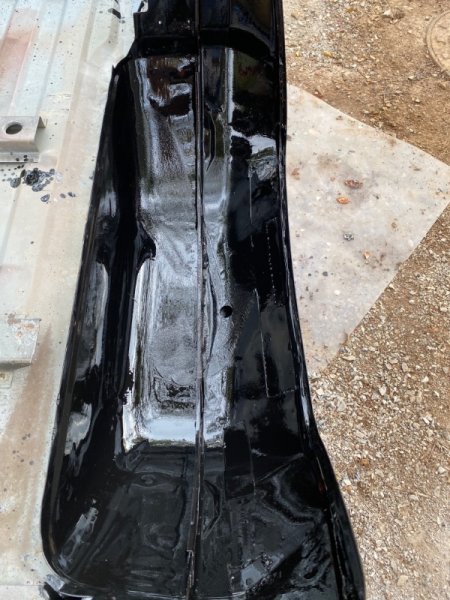
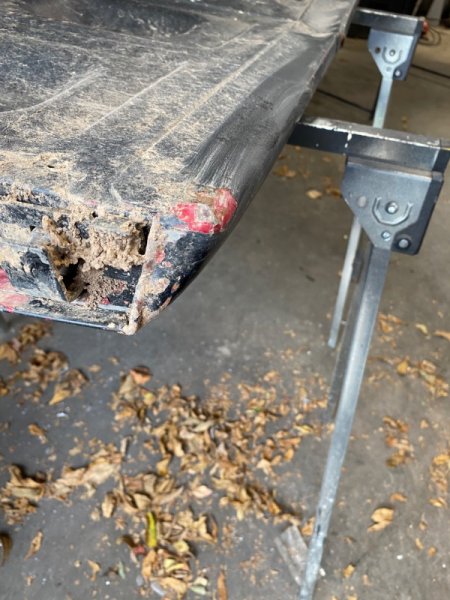
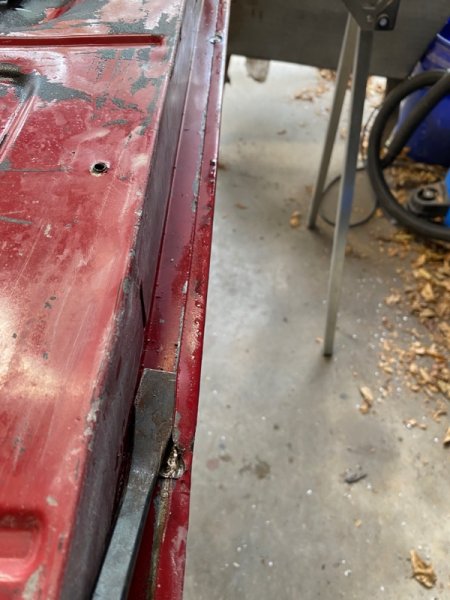
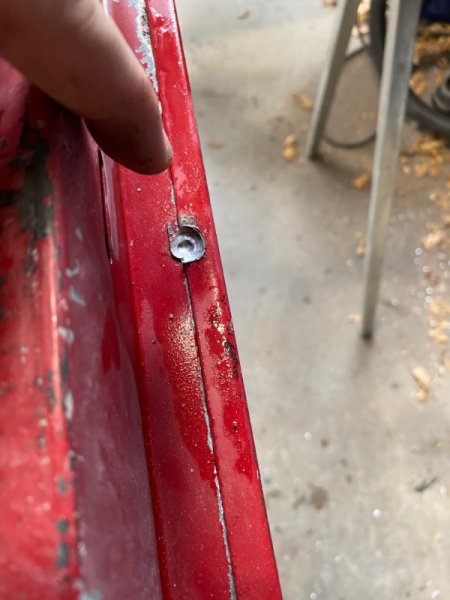
Finalizing some details on the underside of the bed before lining. Had to straighten many seams and dents from years of abuse. Wire brushed the whole underside and use a red scuff pad as far as I could into the wheel well areas then water blasted it all. Por15’d all the problem areas and will let that cure overnight before lining the underside. Once that cures it will be flipped over and the top side will be worked on. Also started disassembling the tailgate and separating the shell. This one is in seriously rough shape but I’ll see what I can do.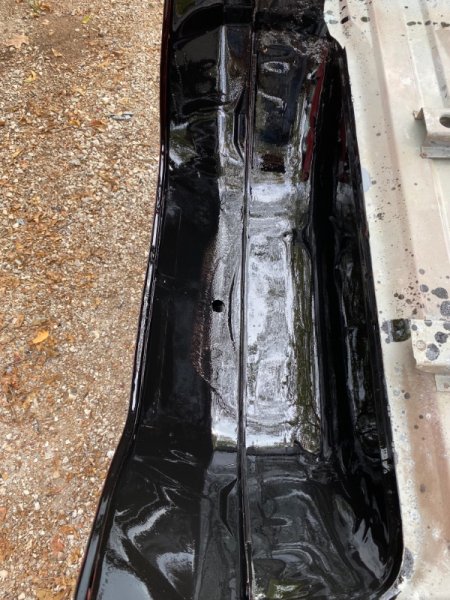
-
To me, the bed corners are a problem point for off-roading much more than the bedsides. Proper installation will avoid any rust in that area. After all, almost every single pinch seam on these rigs is an unfinished, water trapping rust point.
-
Yeah, that’s a good old D35. If the knuckles on the front axle are pre 90’ I’d grab those. Lots of good parts still there from what I can see
-
Project “Tomahawk”
ghetdjc320 replied to ghetdjc320's topic in MJ Hardcore Tech: Epic Journeys to Greatness
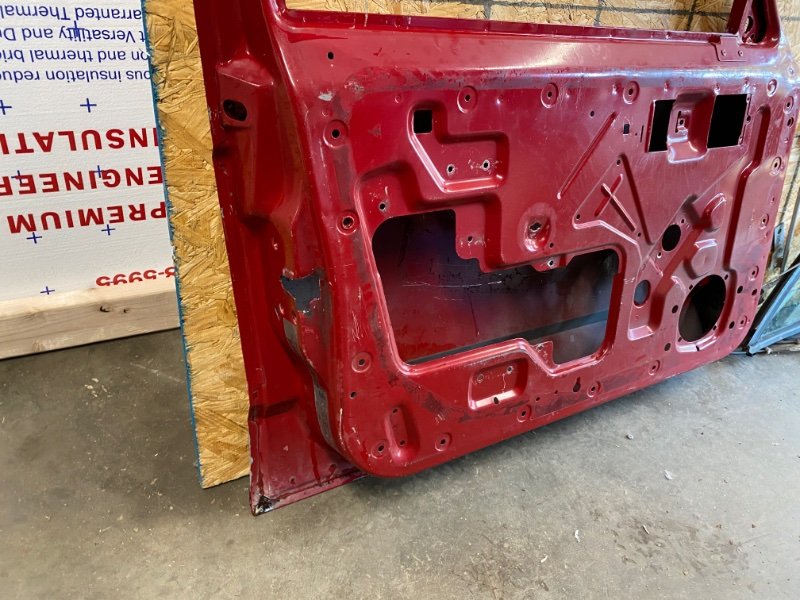
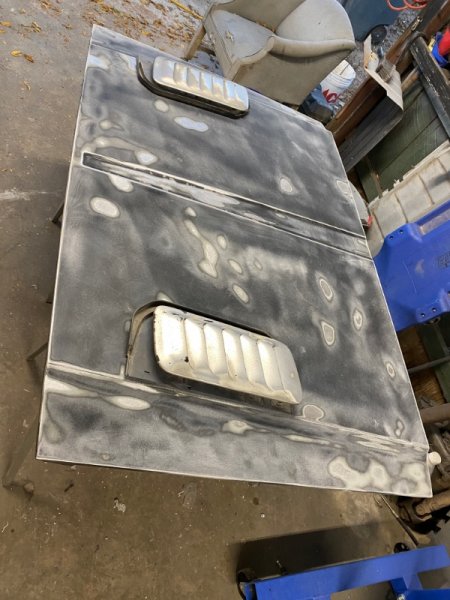
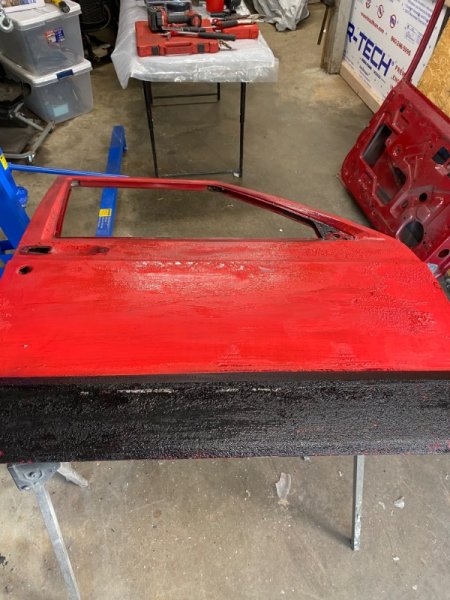
Body work has started. Doors have been stripped of absolutely all hardware down to the factory shell. Going to be running full size windows in these to delete the factory stationary vent window and give me a full size window for once. Also doing electric locks and windows. Managed to strip off the old bedliner paint that someone had shot over the eliminator graphics. That stuff is nasty to remove. Here is also a small sample of what to expect for the hood. And yes, those are original 98 5.9 ZJ louvers. Going to play around with fitment as the ones I’ve seen installed seemed too far forward. Further back is a bit more agressive. Seems like they were trying to avoid the hood support structure but I don’t mind modifying that to get just the right look. By the way, if anyone needs a set of manual window regulators that work I have two to get rid of.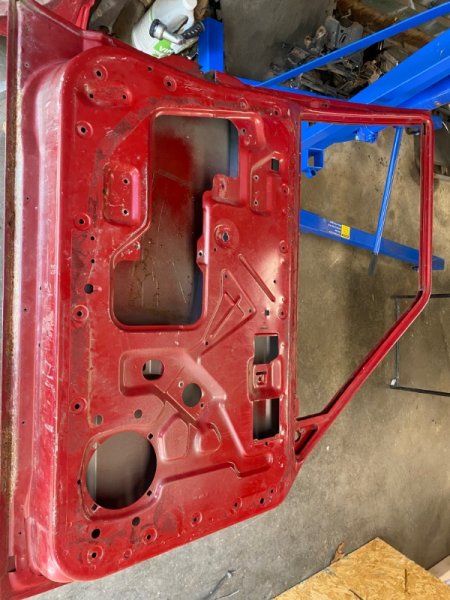
-
Replacement Cab Heat shield
ghetdjc320 replied to Salvagedcircuit's topic in MJ Tech: Modification and Repairs
I’d just recommend steering clear of the mass backing from acc. Mine turned to crumb in about 3 years and was an absolute mess. -
Project “Tomahawk”
ghetdjc320 replied to ghetdjc320's topic in MJ Hardcore Tech: Epic Journeys to Greatness
Getting all sealed up