


ghetdjc320
-
Posts
5212 -
Joined
-
Last visited
-
Days Won
1
Content Type
Profiles
Forums
Gallery
Everything posted by ghetdjc320
-

Project “Tomahawk”
ghetdjc320 replied to ghetdjc320's topic in MJ Hardcore Tech: Epic Journeys to Greatness
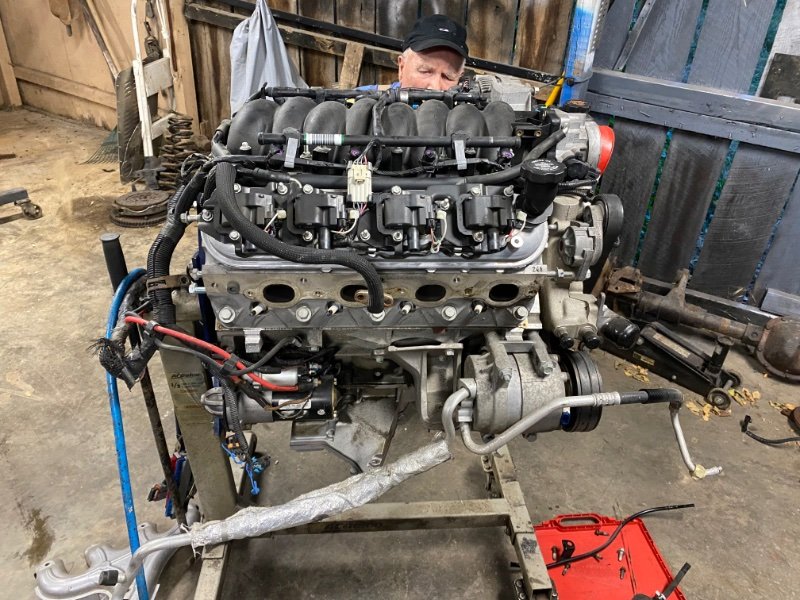
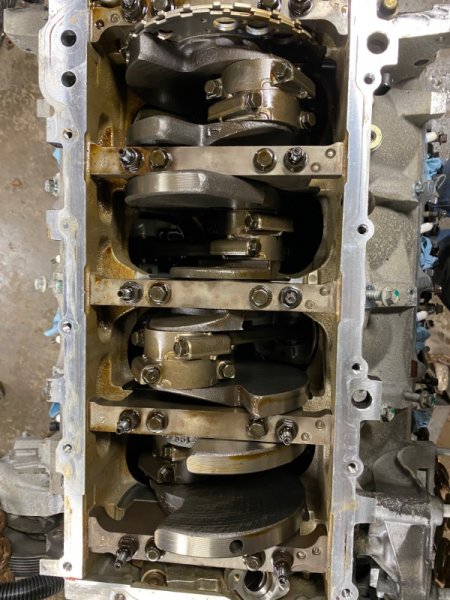
Tranny prep finished and engine prep begun. This engine is very clean inside. 60k original miles and it shows. Crosshatching is still clearly visible in all cylinders. It’s really nice to work on an all aluminum engine. Much easier to maneuver and zero rust to deal with.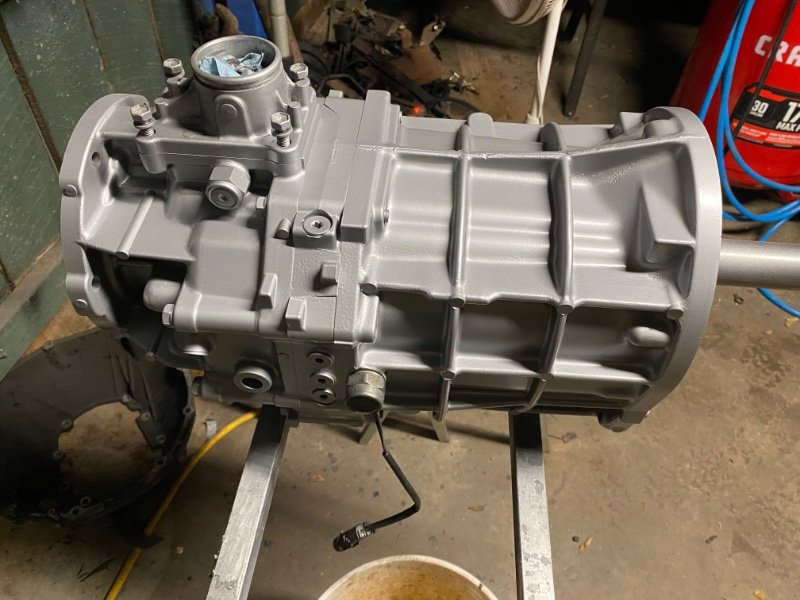
-
Project “Tomahawk”
ghetdjc320 replied to ghetdjc320's topic in MJ Hardcore Tech: Epic Journeys to Greatness
Transmission polished and clear coated.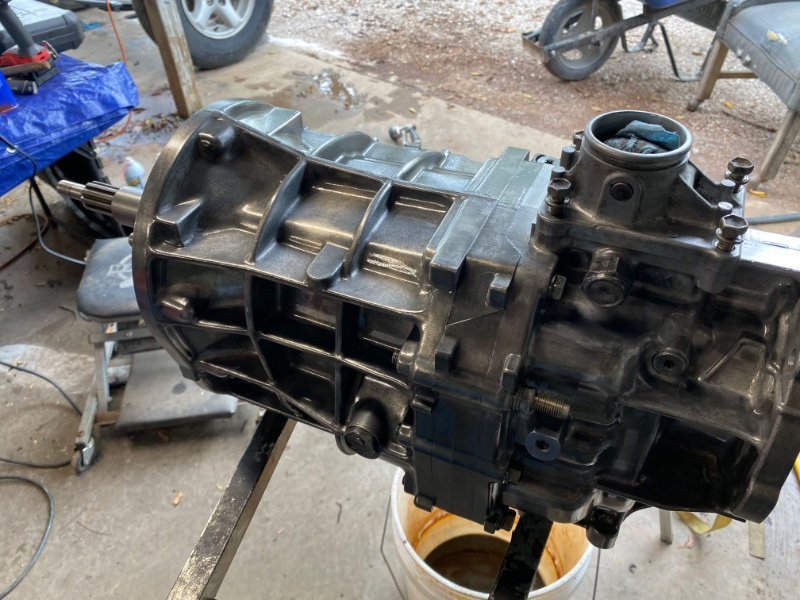
-
Project “Tomahawk”
ghetdjc320 replied to ghetdjc320's topic in MJ Hardcore Tech: Epic Journeys to Greatness
That’s rough! It’s a sad day indeed when a project can’t be finished. -
Project “Tomahawk”
ghetdjc320 replied to ghetdjc320's topic in MJ Hardcore Tech: Epic Journeys to Greatness
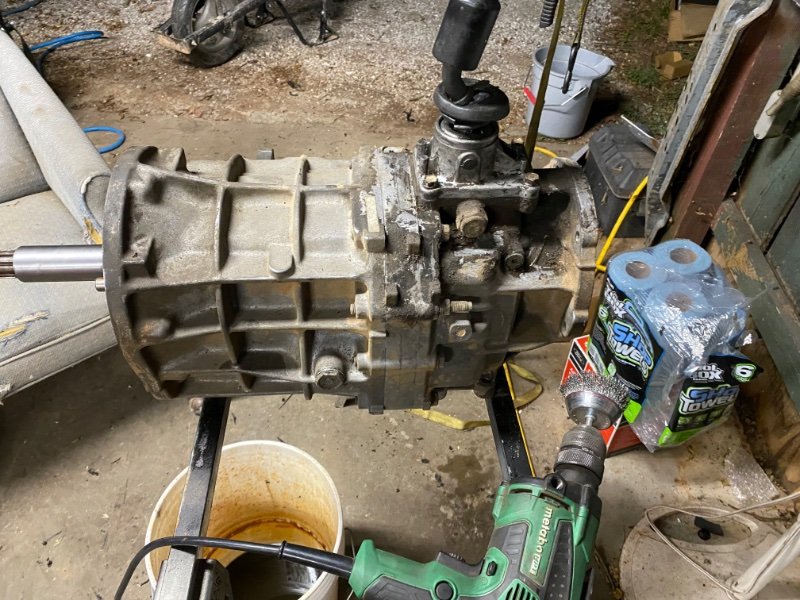
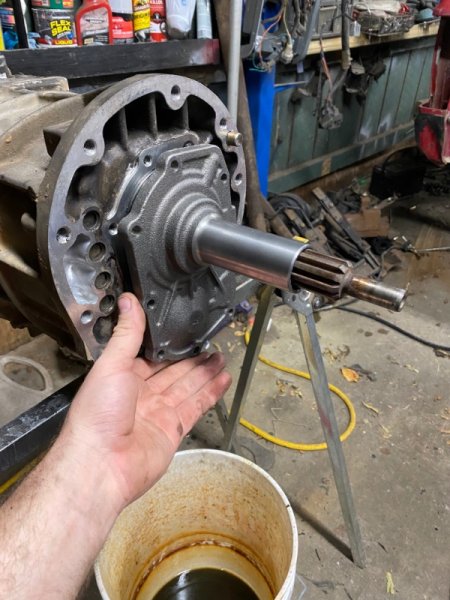
Been cleaning up the ax15. I’ve been contemplating sending it in to MarlinCrawler for a rebuild with the chromo thrust washer and full contact billet shift forks. After doing considerable research on these granny’s over a few years, it does not appear there is any difference in the gearset itself over the years. Even new models seem to use the same gear composition. It’s also worth noting that torque handling figures are with a gvw of 7200. This MJ should be about half that or or less. The oil was clean with zero metal flake or particles. Main bearings under the retainer also look great. I think I’m going to clean it all up, replace the seals flush out the inside and run it with some redline mt90. I have a sneaking suspicion that it may have been rebuilt as it just looks too clean inside. It shifts very smooth with clear positive engagement. If it fails, I’ll send it off to Marlin but it just seems like a waste at this point. Plus only 90k original miles and the suspension, gearing and tires were all stock. Plan on polishing up the case and clear coating it. Same goes for the np242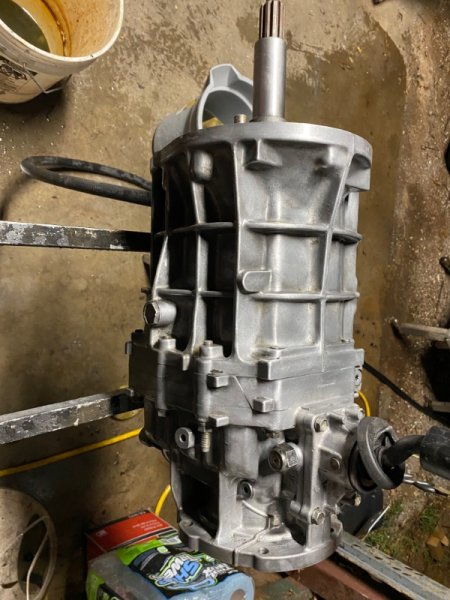
-
Project “Tomahawk”
ghetdjc320 replied to ghetdjc320's topic in MJ Hardcore Tech: Epic Journeys to Greatness
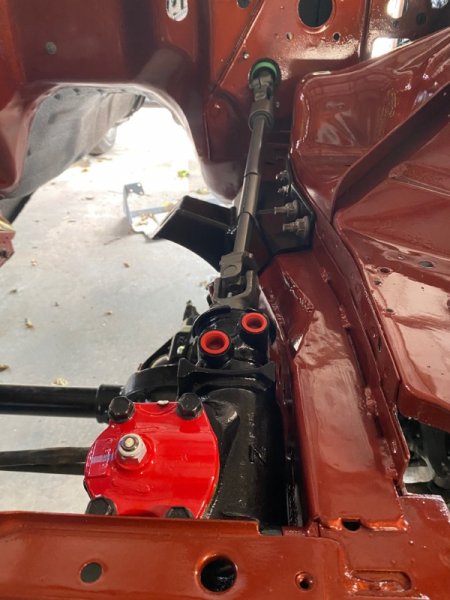
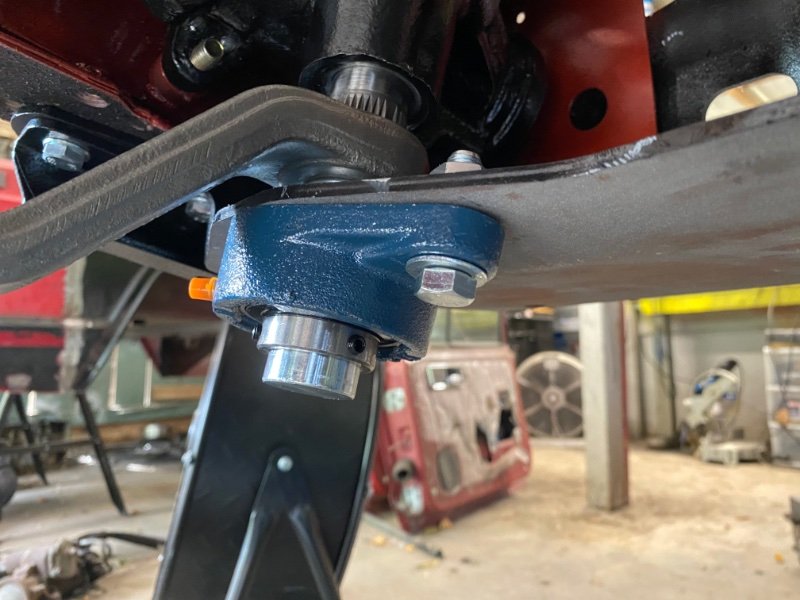
This is actually part of the boostwerks hidden winch setup. That is one amazingly well build piece of kit. I wish he was still making them. I had the Ironman kit on the last MJ. If everything else has no play, it feels like a good rack and pinion system. That’s why I’ve been spending so much time restoring and designing the steering and brakes. Trying to have the best road handling possible with very respectable off-road performance as well. -
Project “Tomahawk”
ghetdjc320 replied to ghetdjc320's topic in MJ Hardcore Tech: Epic Journeys to Greatness
-
The critical thing is that the mounting points for drag link and track bar, if adjusted, are done so equally. In other words, if you drop the track bar frame side mount, then get a drop pitman that equalizes that drop for the drag link (not that I’m recommending drop pitman arms but they have their place). If you raise up the track bar mounting point on the axle side then raise up the drag link on the knuckle. Looking at how bars “look” parallel is irrelevant. I would never install a bolt on bracket on the axle side of the track bar. Think about this, the frame side track bar mount had 4 large grade 10.9 bolts holding it to an area with significant reinforcement. The axle side should be just as strong. The stock track bar mount metal was far too thin for rigorous use. We often see track bar bolt holes wallowed out even with stock track bars with clevite joints. Now imagine a heim joint with almost zero give. It will put even more stress on those bolt holes. The steering stabilizer mount is the same thickness metal but has far less welded contact area and is not a suitable place to mount a bracket that will take an equal or greater pounding than stock. Properly welding on a correctly engineered ota track bar mount is the way to go. Imagine your track bar bracket shearing off when your doing 55 around a corner. Not worth the risk imo. If there was a simple bolt on approach for the axle side, then you would see the more reputable companies selling competing products.
-
Project “Tomahawk”
ghetdjc320 replied to ghetdjc320's topic in MJ Hardcore Tech: Epic Journeys to Greatness
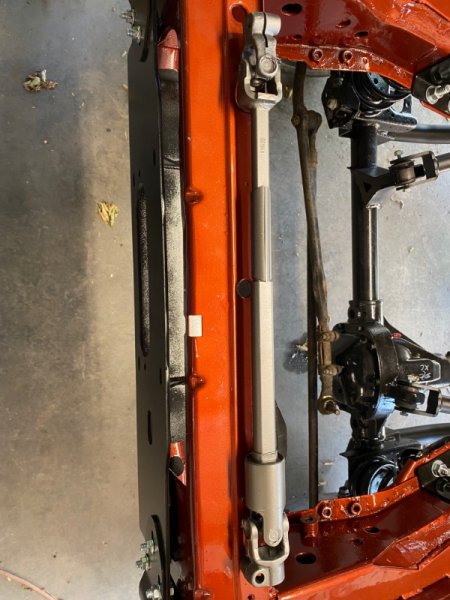
Steering column and shaft restored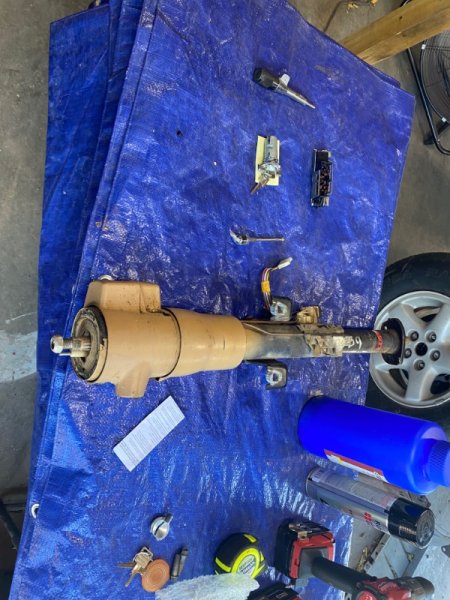
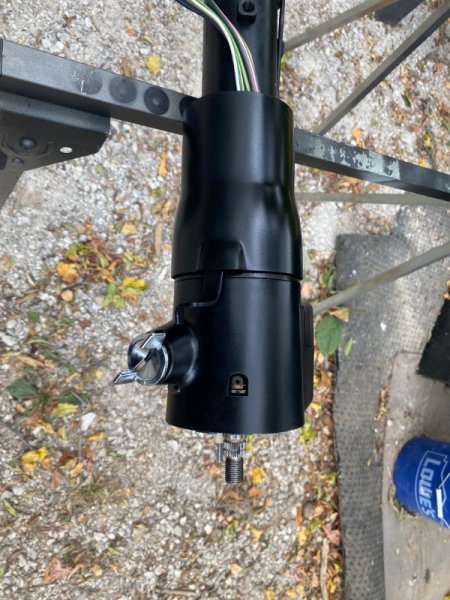
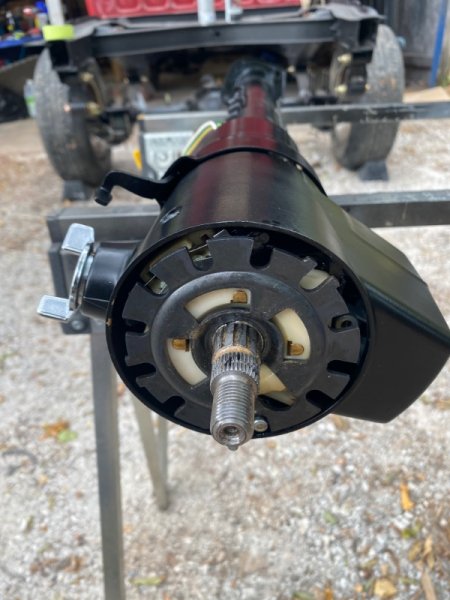
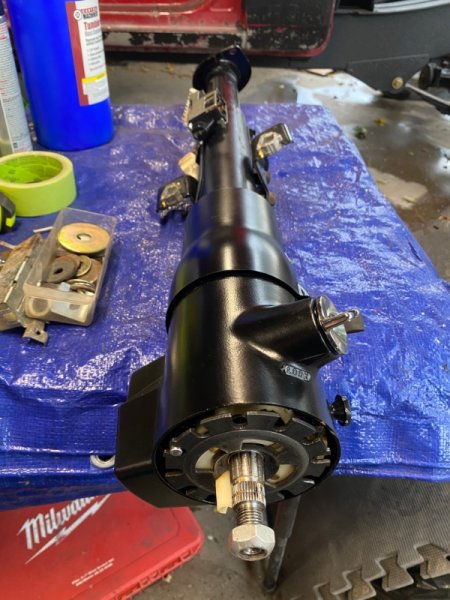
-
Rough country would be bottom of my choice for a track bar. Their reputation for sub-par joints on an item as critical as a track bar is a non starter for me. And that tie-rod style adjuster sleeve on that thing seems like a horrible design. Are you wanting to ditch the oem track bar bracket at the frame side? If so, I’d look into the core4x4 track bar kit. They have a version for stock ride height from what I’ve seen. The design is similar to the rough country version but without an adjuster sleeve (which does not belong on a track bar). Core has a good reputation for strong well built components. Whichever model you go with, keep in mind that although the length of the track bar may work with no lift, the bracket may require a lift to clear. And you also need to be sure that your drag link and tie rod are parallel. Many aftermarket brackets lower the mounting location at the frame side.
-
RPMs swing wildly on actron ODB1 scanner
ghetdjc320 replied to Lewis E's topic in MJ Tech: Modification and Repairs
Keep in mind that there are very few devices that can accurately pull data from the sbec2 diagnostic port. There was an older model otc scanner that had a pretty decent Chrysler emulator on it. Otherwise, I’d take all the data you pull with a grain of salt. -
RPMs swing wildly on actron ODB1 scanner
ghetdjc320 replied to Lewis E's topic in MJ Tech: Modification and Repairs
I’d just ignore the scanner if it’s running smooth. If your ais and tps remain steady then the rpm reading is somewhat irrelevant. It’s nice you have readings on the rest. Just use your dash tachometer or a timing light to know your true rpm. -
Under dash courtesy lights
ghetdjc320 replied to Whitaker717's topic in MJ Tech: Modification and Repairs
https://teamcherokee.com/courtesy-lamp-bracket-oem-set-cherokee-comanche-1984-1996/ -
Project “Tomahawk”
ghetdjc320 replied to ghetdjc320's topic in MJ Hardcore Tech: Epic Journeys to Greatness
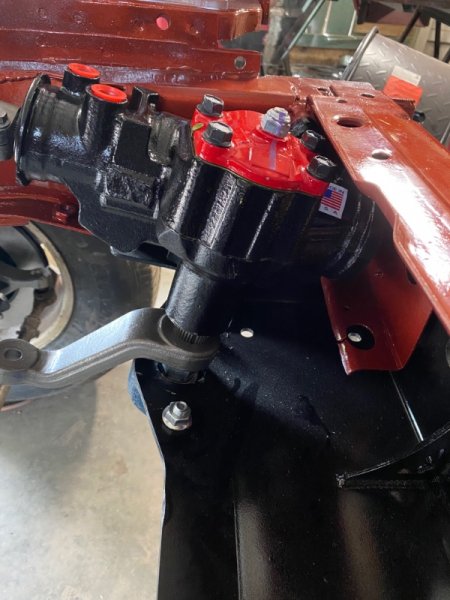
12:1 Redhead steering gear. Love the little note of assurance lol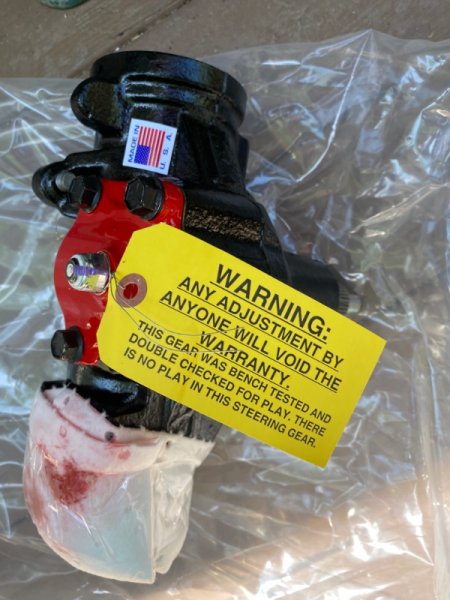
-
Project “Tomahawk”
ghetdjc320 replied to ghetdjc320's topic in MJ Hardcore Tech: Epic Journeys to Greatness
-
Project “Tomahawk”
ghetdjc320 replied to ghetdjc320's topic in MJ Hardcore Tech: Epic Journeys to Greatness
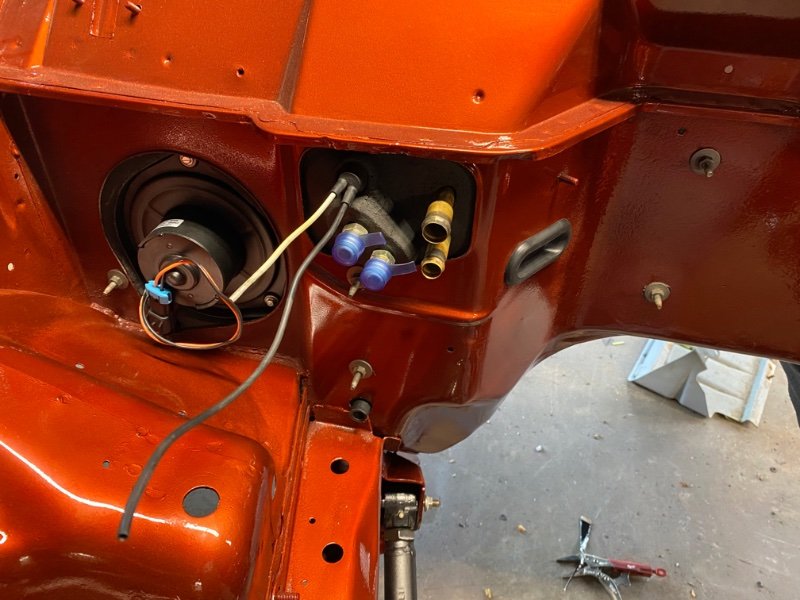
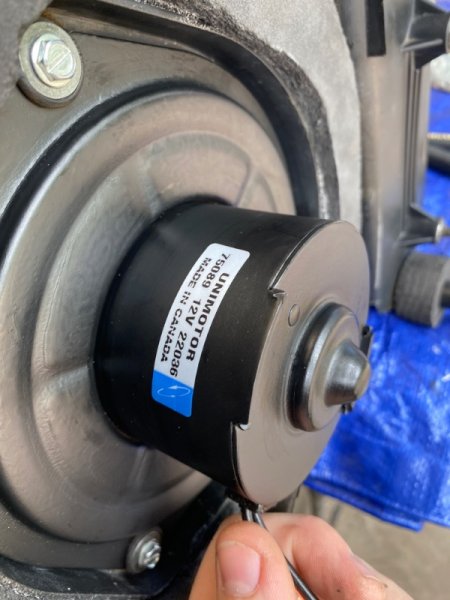
Dynamat and 1/2” dynaliner finished on firewall. Will also be doing dynamat and liner on the trans tunel. The horizontal floor surfaces will get no dynamat but will get dynapad below the carpet. I don’t want anything that can ever trap water under it. Not that this Jeep will list ever leak in the next few decades but it’s peace of mind. Last time I dynamatted the floor it was a disaster to clean up. Hvac box is also back in place. It has zero air leaks now and should be ice cold and plenty hot on demand. I will be using a nos heater valve as the stock hvac box design does not provide a barrier between the heater core and the evaporator core when the blend door is open to just cool. Obviously, no air gets blown through the heater core when the blend door is open on the ac side but since there isn’t really any barrier, radiant heat will warm your ac system a bit. The heater valve is a bit problematic but it does the trick. As a side not if anyone is following parts: the four seasons blower is a very nice unit and has an updated fan design with more blades. It also has the opening for the fan to blow into the motor to keep it cool during extended use. The evaporator core is also a four seasons unit for a 90 Comanche. It is an updated plate and fin design but is not a drop in fit. See previous pictures to note the extensive foam work required to seal the evaporator and get the air forced through it. As for the heater core, the stock unit is copper. If you can save it it’s probably better than most repop units out there. I did and acid flush through mine and flushed it with clean water several time along with compressed air. Zero leaks and a perfect oem fit.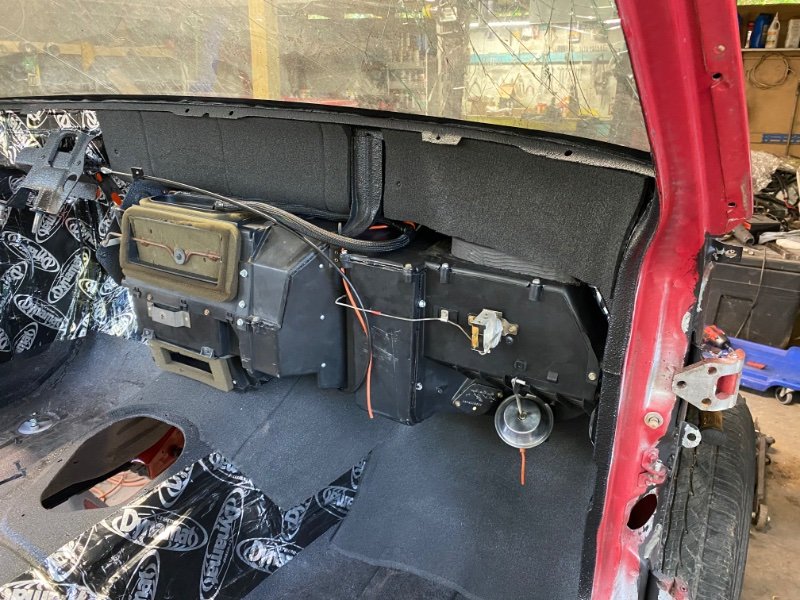
-
Project “Tomahawk”
ghetdjc320 replied to ghetdjc320's topic in MJ Hardcore Tech: Epic Journeys to Greatness
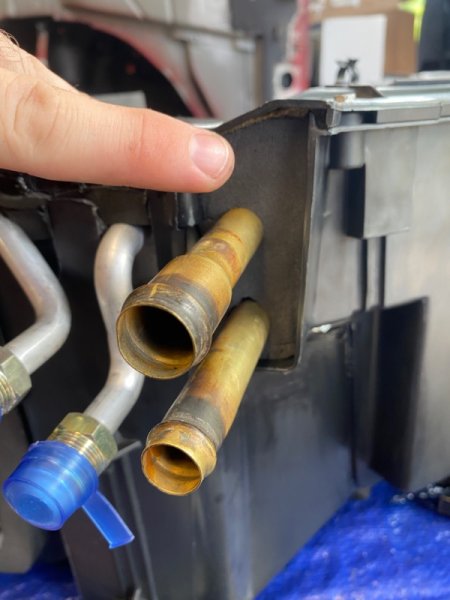
There are a few strategic places to add a 5/8” number 10 sheet metal screw to hold the heater core to the ac housing better. Firewall is coming along.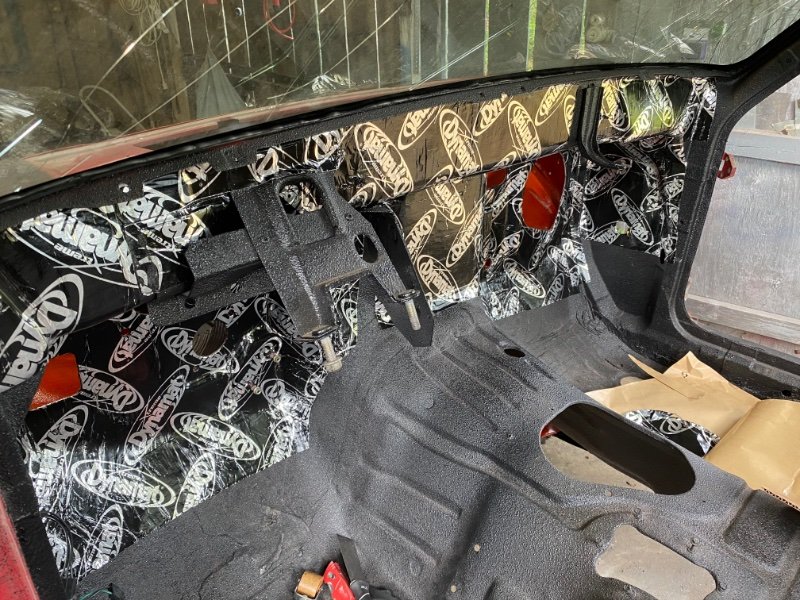
-
Project “Tomahawk”
ghetdjc320 replied to ghetdjc320's topic in MJ Hardcore Tech: Epic Journeys to Greatness
Hvac box restoration in progress. I add a lot of extra sealing around these plate and fin evaporators. There is no room for the blower to throw air around the evaporator now. All the seams have been sealed up. Made replacement gaskets for the air intake and the firewall seal. Also added a 1/8” minicel gasket to the blend door on each side. The hvac should function better than factory when I’m finished.


-
Keep in mind most flow rates are measured at 3 bar (43.5psi). The stock MJ system should be 19lbs at 39psi. The only really advantage on a stock engine would be better atomization if the injector has multiple holes.
-
Project “Tomahawk”
ghetdjc320 replied to ghetdjc320's topic in MJ Hardcore Tech: Epic Journeys to Greatness
BWE hidden winch/steering brace, motor mounts, control arms and front axle are now all in. Plenty of adjustments to make but nice to have it be a roller again.


-
Project “Tomahawk”
ghetdjc320 replied to ghetdjc320's topic in MJ Hardcore Tech: Epic Journeys to Greatness
Much appreciated! -
Project “Tomahawk”
ghetdjc320 replied to ghetdjc320's topic in MJ Hardcore Tech: Epic Journeys to Greatness
Motor mounts and track bar mount are in. The frame rail at the track bar mounting point has been heavily reinforced as I’ve noticed it to be a weak point. Dynamatting the interior and rebuilding the hvac box. Also mounting the hidden winch and steering brace setup. I’ll be running a RedHead 12:1 steering gear with a 35lb valve. The goal is to have rack and pinion level steering precision.


-
Project “Tomahawk”
ghetdjc320 replied to ghetdjc320's topic in MJ Hardcore Tech: Epic Journeys to Greatness
On a side note, picked up a vibration tumbler setup with abrasive media to clean up hardware. Grabbed it at harbor freight. Works exceedingly well and lets me reuse a lot of oem hardware which, in many instances, is better quality and fit than what one finds on the shelf.
-
Project “Tomahawk”
ghetdjc320 replied to ghetdjc320's topic in MJ Hardcore Tech: Epic Journeys to Greatness
Much appreciated. I’m considering doing custom MJ builds in the future actually. -
Project “Tomahawk”
ghetdjc320 replied to ghetdjc320's topic in MJ Hardcore Tech: Epic Journeys to Greatness
I’ll gather the part numbers for that. The thick gaskets are 1” minicell 2lb foam. Inside the box the lining is mostly open cell foam 1/8” thick. I assume that may be more of a sound baffle than anything as it offers little insulation. There are a few other seals such as those around the heater core and ac evaporator. I have ordered the replacement thick foam already. The gasket that goes around the ac evaporator lines is specially molded. Fortunately mine was in excellent shape. The open cell foam lining inside the box was also in very good shape and will be thoroughly cleaned with a mixture of simple green and the water. -
Project “Tomahawk”
ghetdjc320 replied to ghetdjc320's topic in MJ Hardcore Tech: Epic Journeys to Greatness
I’ll see what the next build holds for colors.