


ghetdjc320
-
Posts
5212 -
Joined
-
Last visited
-
Days Won
1
Content Type
Profiles
Forums
Gallery
Everything posted by ghetdjc320
-

Project “Tomahawk”
ghetdjc320 replied to ghetdjc320's topic in MJ Hardcore Tech: Epic Journeys to Greatness
And front gears and locker complete: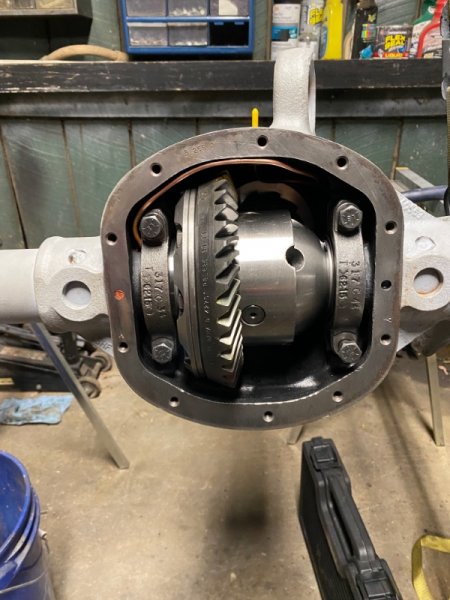
-
Project “Tomahawk”
ghetdjc320 replied to ghetdjc320's topic in MJ Hardcore Tech: Epic Journeys to Greatness
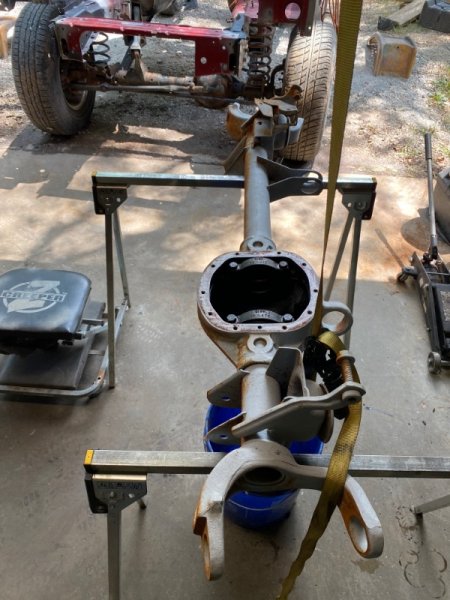
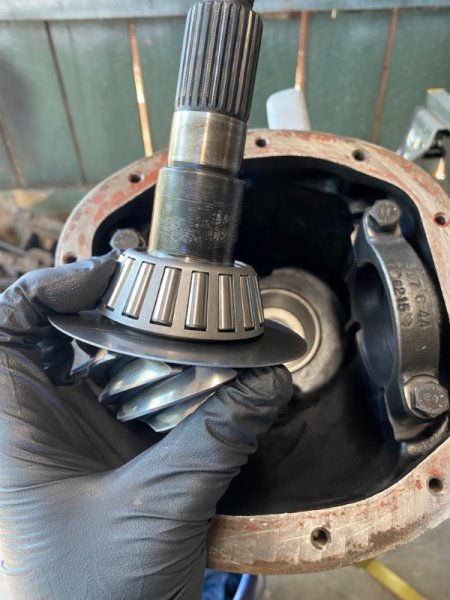
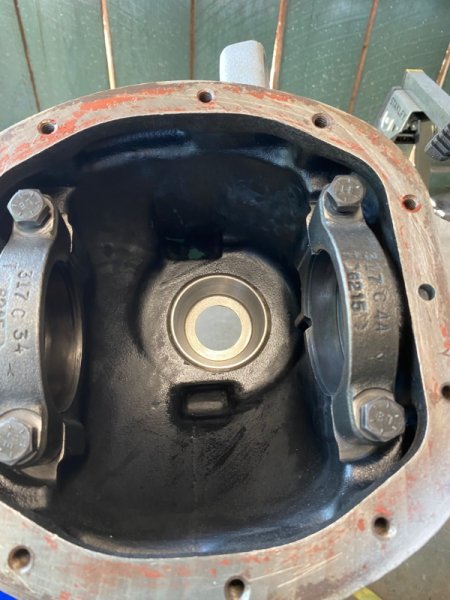
Front axle being built. An important reminder that I had forgotten myself is that the factory had a set of different sized oil slingers to choose from. When I pulled the pinion, there were no shims to set depth, only preload. Turns out the oil slinger was .058” vs the one in my kit which was .030. Had to add .028 in shims to get the correct (or at least maintain factory install spec) pinion depth. Preload was non existent as the bearings were shot. Aimed for 20 in lbs of rotating torque.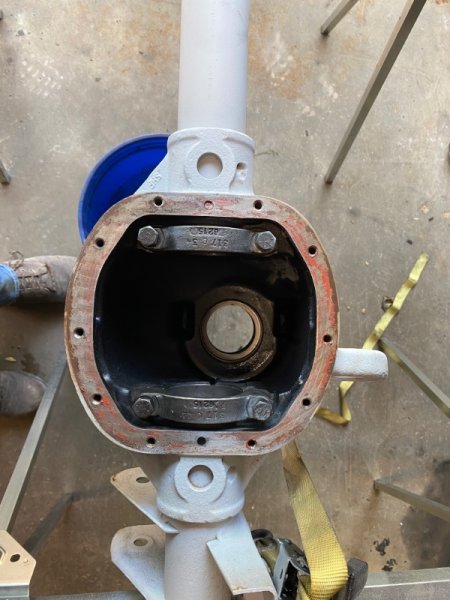
-
Oh boy. Would be nice to have a 3rd for the collection
-
I was just wondering about you actually. We’ve missed your tech comments for sure! Glad to hear you’re ok
-
JTEC ECU Connectors and Pins
ghetdjc320 replied to Torq_Shep's topic in MJ Tech: Modification and Repairs
Do you want to pin out a stand alone harness directly to the JTEC connector housings? -
stupid gas guage question
ghetdjc320 replied to ruralandalone's topic in MJ Tech: Modification and Repairs
The other wire is the fuel pump. Should be ground, sensor resistance, and fuel pump -
Project “Tomahawk”
ghetdjc320 replied to ghetdjc320's topic in MJ Hardcore Tech: Epic Journeys to Greatness
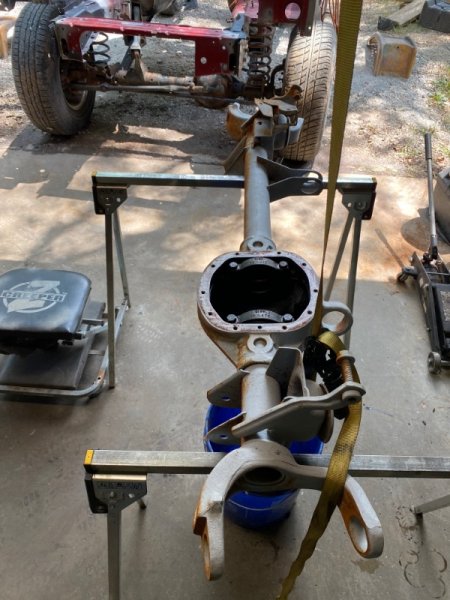
Ready to start on the front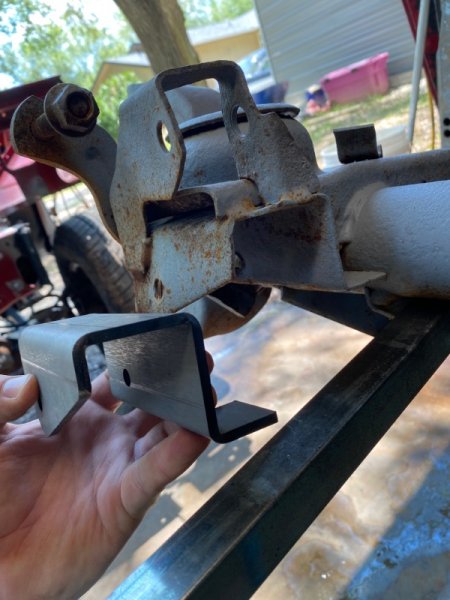
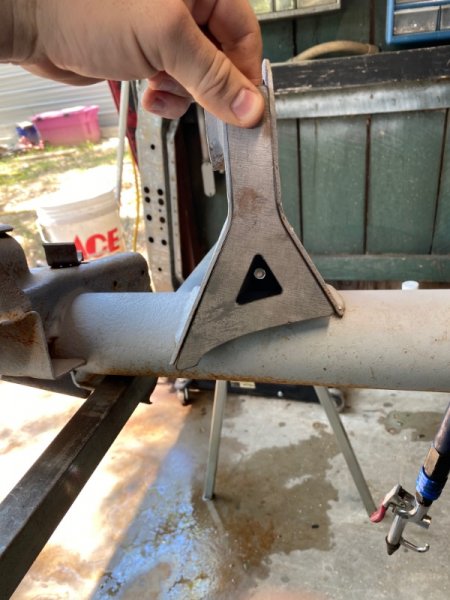
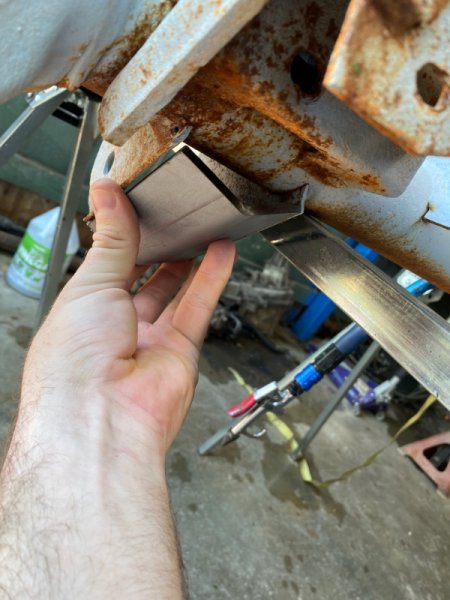
-
Project “Tomahawk”
ghetdjc320 replied to ghetdjc320's topic in MJ Hardcore Tech: Epic Journeys to Greatness
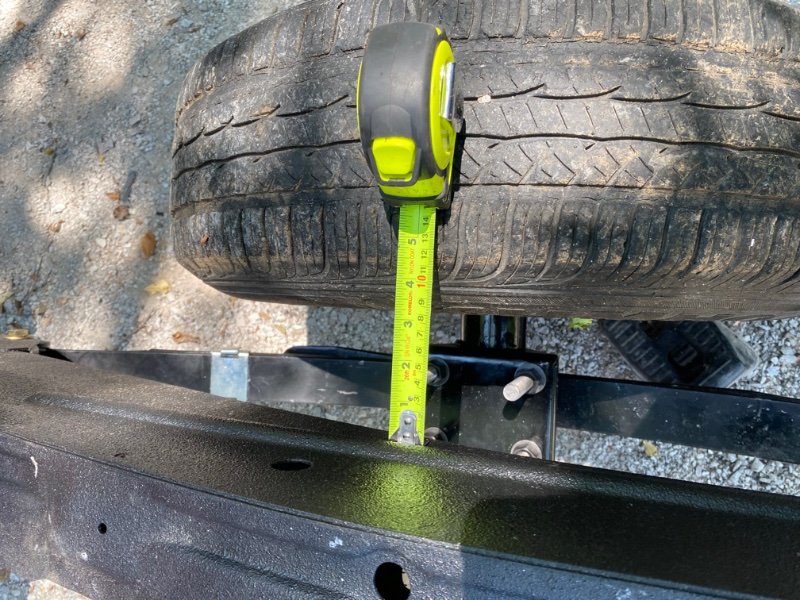
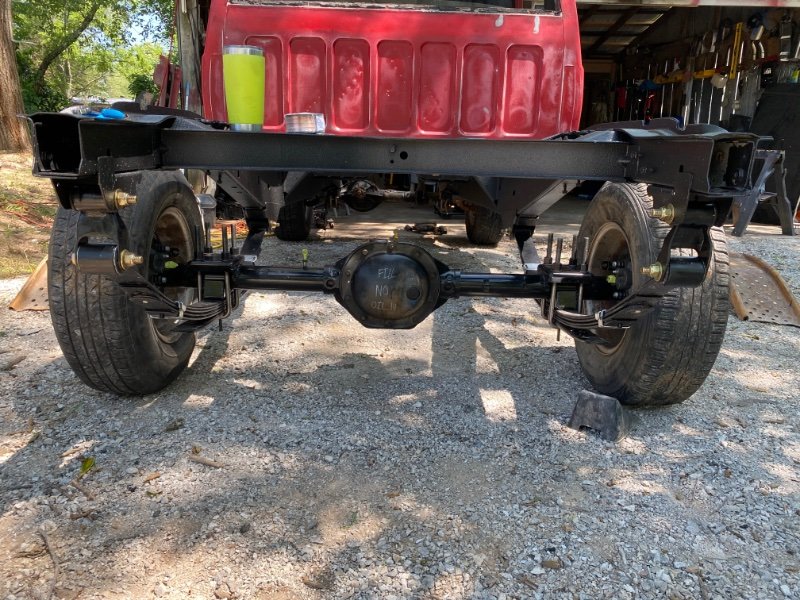
It’s a roller again! Took a few shots for reference as to how a KJ 8.25 fits under there. It’s a better width for the rear of an MJ than even the stock axle which always looked too narrow to me with the stock wheels. Really like how the springs turned out also. installed all new spring tip glider pads as well. For reference, I used grade 8 9/16x4.5” bolts for the shackles and 9/16x5” for the front leaf eyes. Nylock nuts and washers.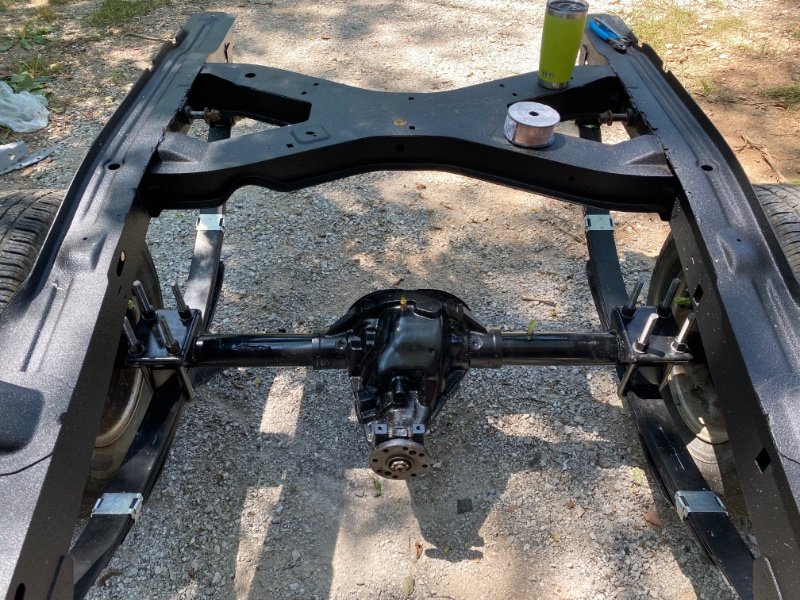
-
It seems we’ve hashed this out before a few times. In short, prices are going up. Given the demand and very limited supply, Comanche prices are headed higher. There may be a few selling cheap either because they don’t know what they have or they get nervous about being able to sell or it’s a rust bucket. But those are becoming the exception vs the norm. It’s generally a good thing for Comanche owners.
-
Project “Tomahawk”
ghetdjc320 replied to ghetdjc320's topic in MJ Hardcore Tech: Epic Journeys to Greatness
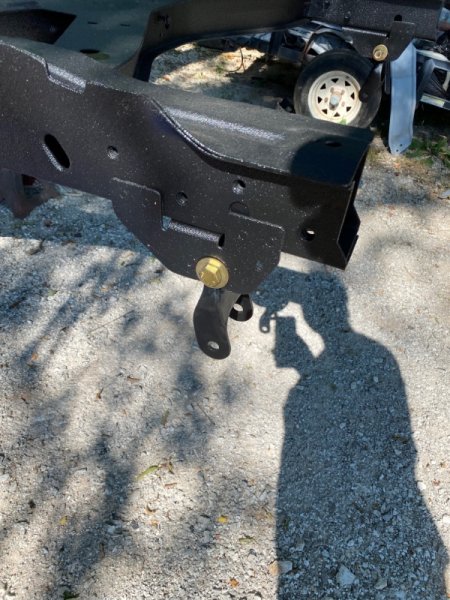
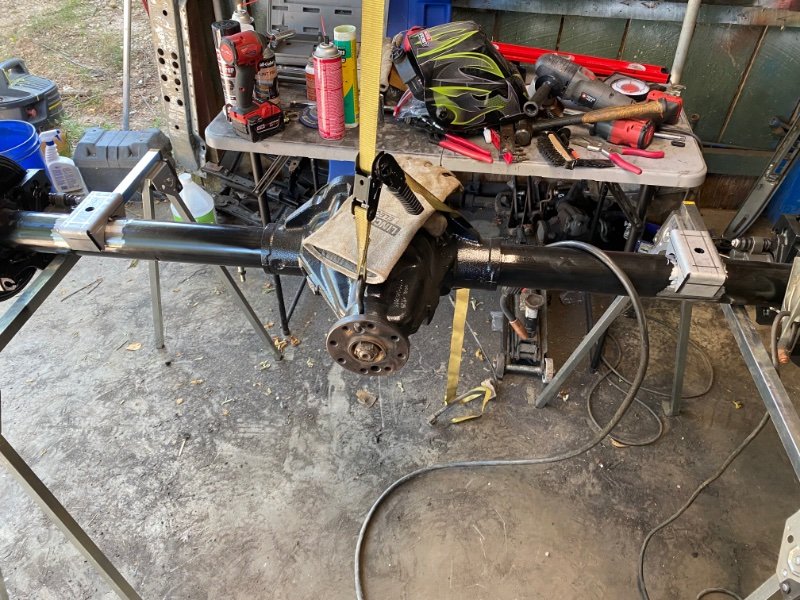
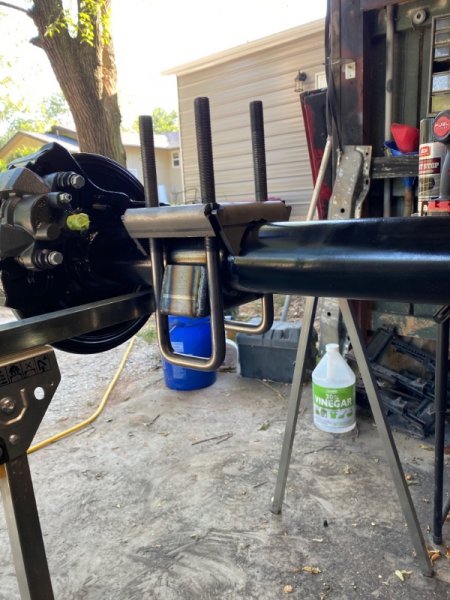
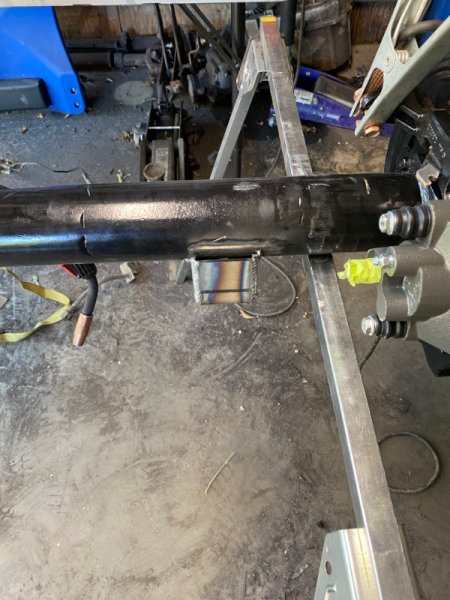
-
Rusty's Long Arm Question
ghetdjc320 replied to Warren99's topic in MJ Tech: Modification and Repairs
Those braces are more essential than the little bit of plate that would need to be removed. -
I just tested all the links and they work fine for me. Perhaps try opening them on a different device if you have one. You can also copy and paste the link since the whole address is there.
-
Let me know when you have the version with different sockets. That’s what I’ve been waiting for
-
Thanks for the update. I’ve turned this post into a Poll to see if we can get some confirmed numbers here from CC. I’ll have my work cut out for me but I intend to be there.
-
Project “Tomahawk”
ghetdjc320 replied to ghetdjc320's topic in MJ Hardcore Tech: Epic Journeys to Greatness
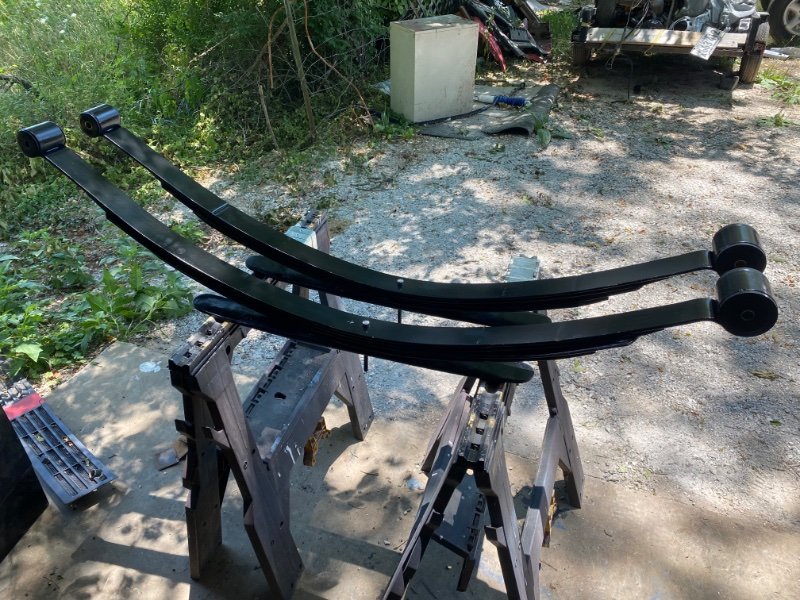
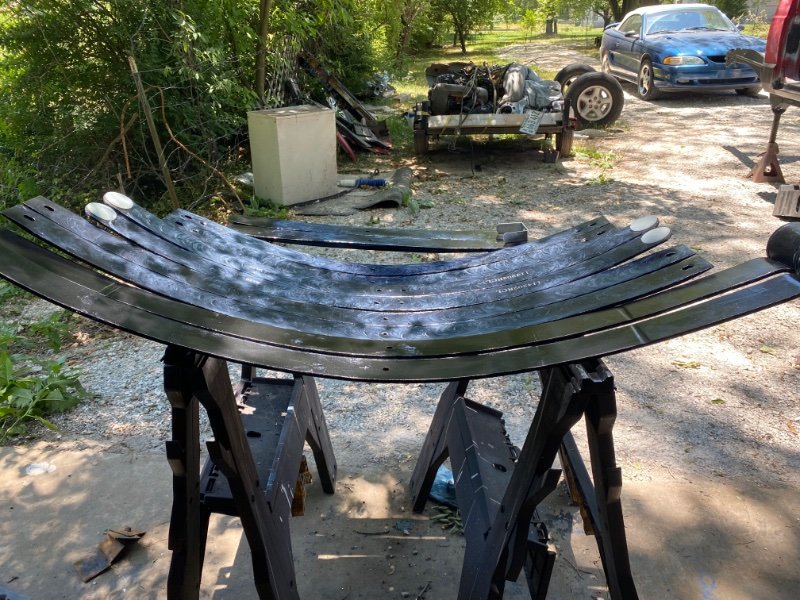
All new bushings installed. Leaf pack assembled. I redrilled the BDS springs with a 2” offset to correctly center on the MJ pack. The BDS springs don’t really have more than maybe .5” free arch than the oem pack. They also aren’t any thicker. Being that we are adding 1 leaf to the main 3 leafs that support the weight at ride height, I believe we are just increasing the overall load capacity which should net approx 1.75” of lift. This is similar to what happens when swapping in a 4 leaf General Spring set. The actual leaves are thicker on the GS set though making it a much stiffer pack. This BDS setup is exactly what I was looking for overall.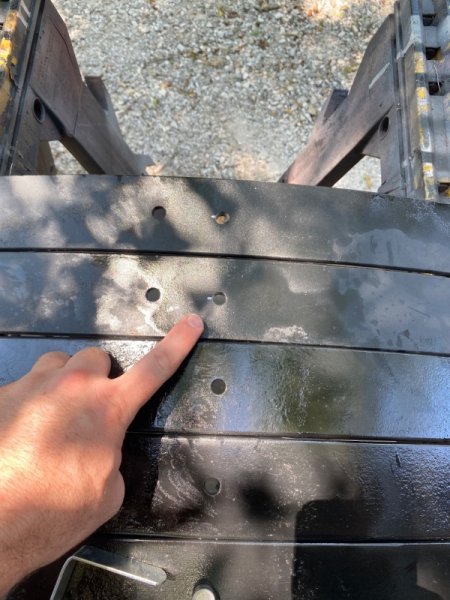
-
1990 Comanche Eliminator
ghetdjc320 replied to pizzaman09's topic in Member Projects: Your Comanches
Just make sure not to loose the bolts. They are specially designed shoulder bolts. -
I’ve removed 3 so far. I’d recommend taking it to a pro if you plan on reusing the window. It’s easy enough to cut through the urethane but the frame itself is a pinch seam for several panels and has many catch points for the wire to get stuck.
-
1990 Comanche Eliminator
ghetdjc320 replied to pizzaman09's topic in Member Projects: Your Comanches
That’s right. Factory had a blue filter that helped produce a green tint that matched most of the rest of the lighting on the truck. That’s also why there are blue bulb covers in the instrument panel. -
1990 Comanche Eliminator
ghetdjc320 replied to pizzaman09's topic in Member Projects: Your Comanches
You can put another piece of paper there along with a blue colored page on the bottom. That will give you less bleed through and an original greenish glow from that incandescent bulb -
The metal there is quite thin. There are lots of small pieces that will need to be cut but they cut very easily with a disk
-
I’ve also come across some at the hardware stores recently. I bet McMaster would probably have some also
-
My thoughts exactly. I don't think I would have torn it apart but now that you have, replace the bearings. Use plenty of assembly lube. Why wasn’t your oil pump working?
-
Brake lights won't work
ghetdjc320 replied to Rick Jeep's topic in MJ Tech: Modification and Repairs
Remove all the bulbs and check the contacts. Try reinstalling them one at a time and keep testing your lights. Also, lets see if @Pete M can move this to the modifications and repairs section. -
Rear windowshield install
ghetdjc320 replied to Myles Cyncora's topic in MJ Tech: Modification and Repairs
Window urethane is what you want to use -
Bronze MJ coin
ghetdjc320 replied to Pete M's topic in Craigslist/Marketplace/eBay... i.e. Not Your Stuff
I believe that is the original package. My NOS coin is just like that