
farmboi
-
Posts
31 -
Joined
-
Last visited
farmboi's Achievements
Can Spell Comanche (2/11)
-
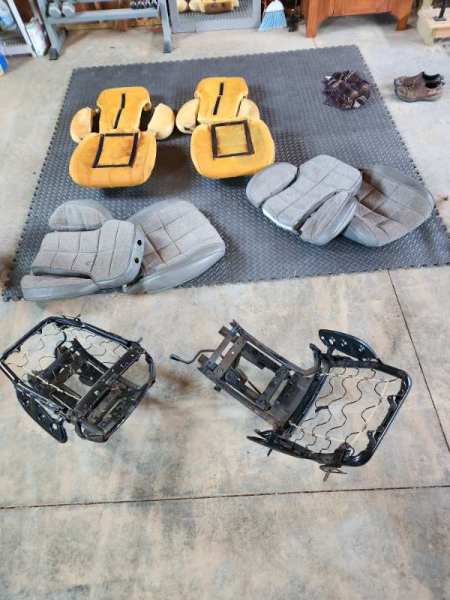
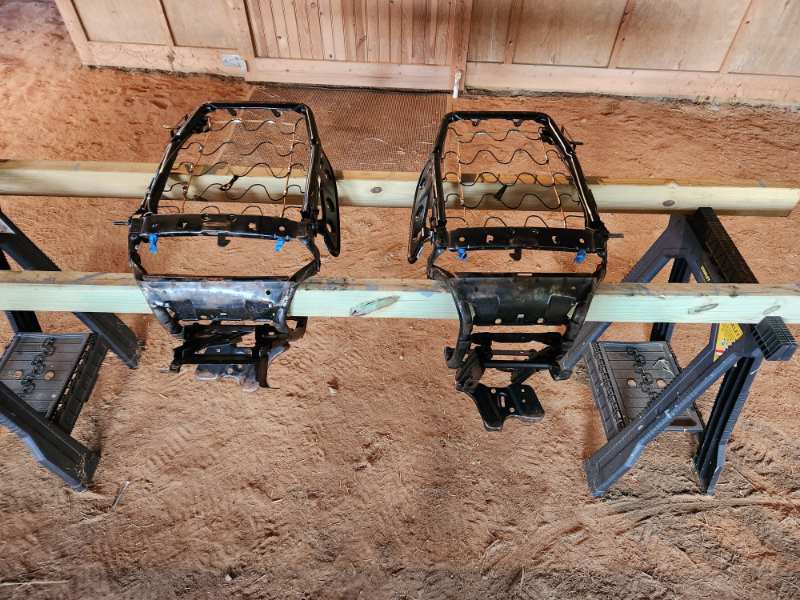
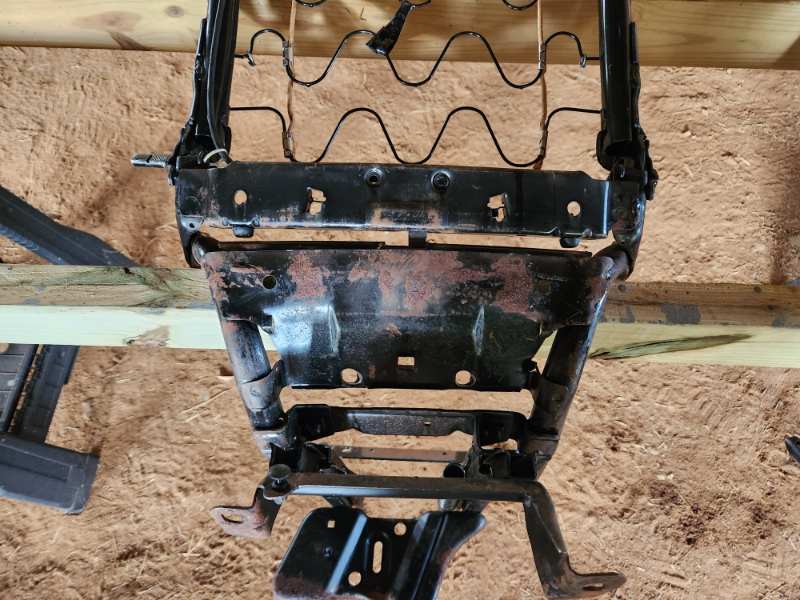
While they’re apart, I re-welded a couple spots that had popped loose. Going to remove the surface rust from the frames and hose them down with rustoleum before reassembly.
-
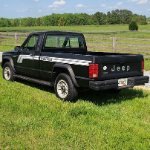
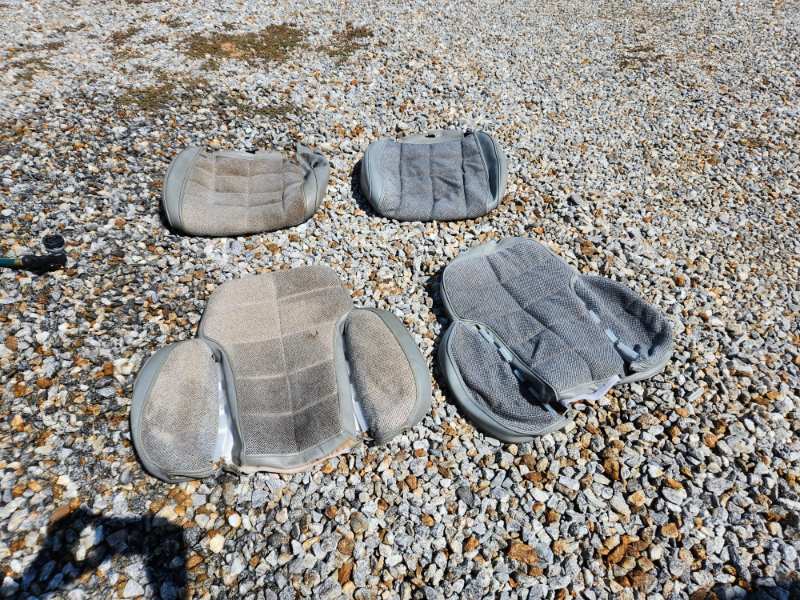
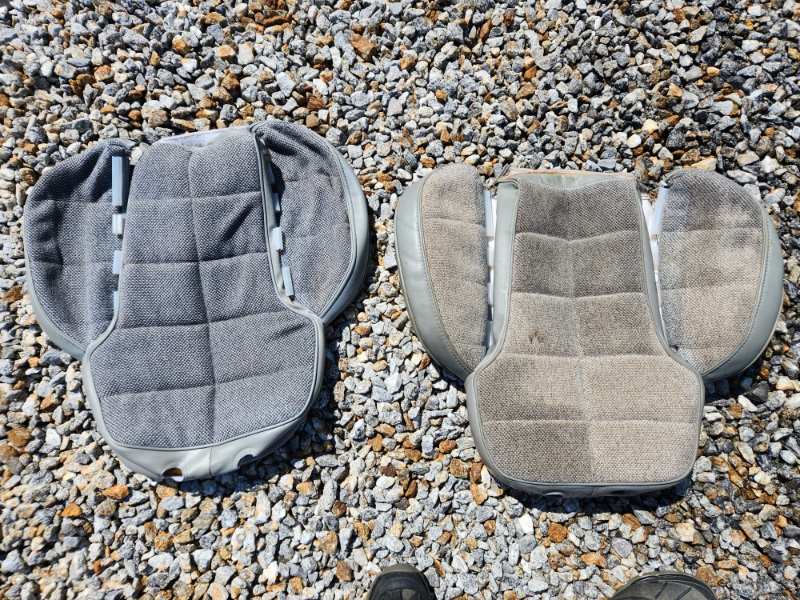
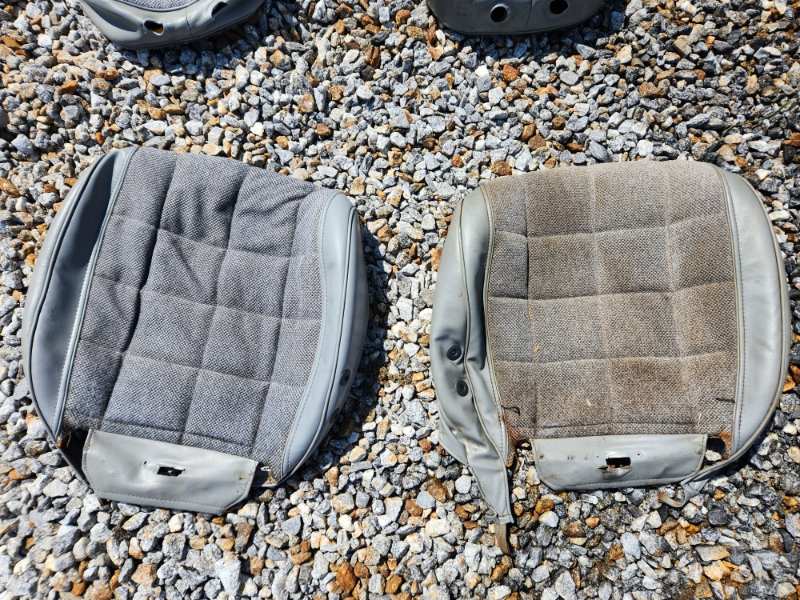
Got a deal on a set of actual Comanche buckets, so I won’t be putting the bench back in. I know people talk about how well these cleans up but it really exceeded my expectations. Used purple power and just the pressure from the hose nozzle and WOW. After that I ran them in the washing machine on delicate and hung them on the fence to dry. They look great.
-
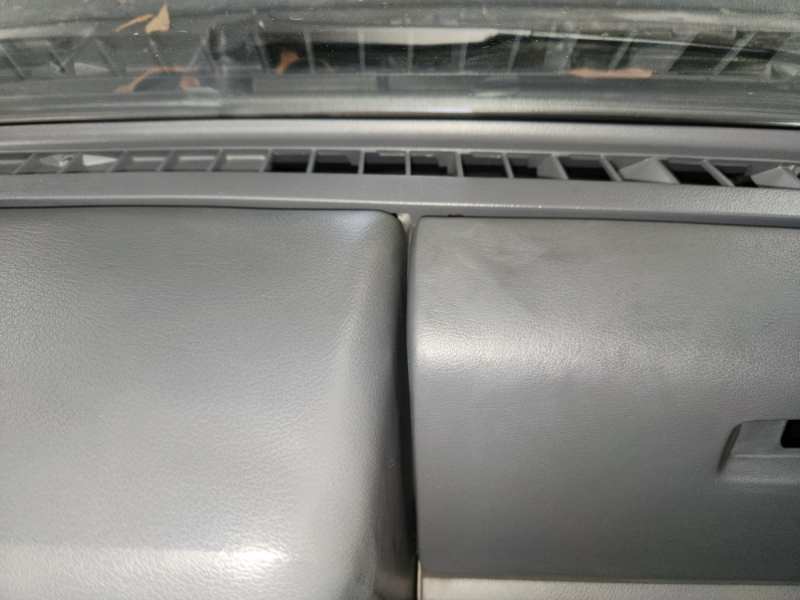
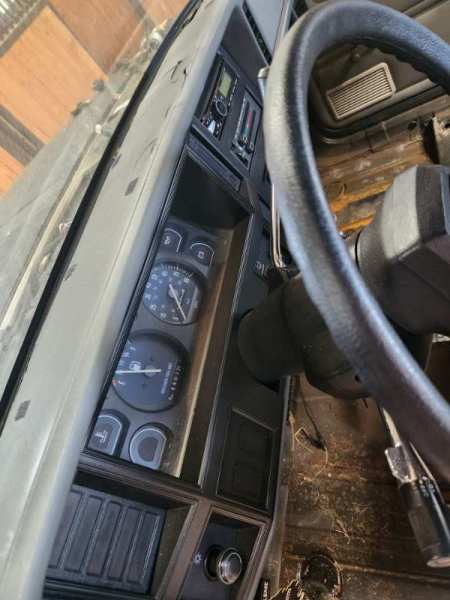
Finding a defroster bezel that matched the new dash proved impossible. They were all heavily faded / sun damaged. Found a spray paint at HD that matched really well; ‘Orion gray’ by Behr. It only came in gloss so had to tone it down a bit with some satin clear. Really happy with the result. I think the color was discontinued unfortunately, as they didn’t have any when I went to buy some more.
-
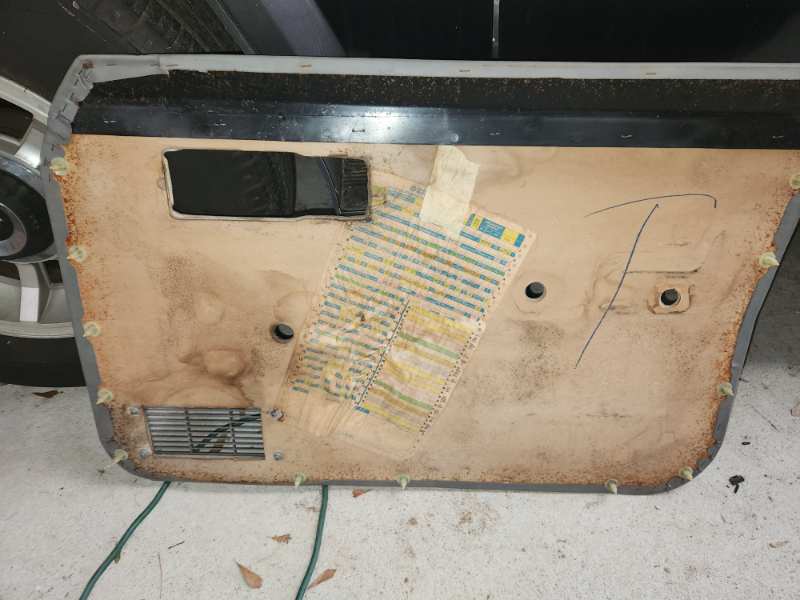
The driver’s door was the cause of most of the noise while driving. Given the hole where the door check should be, I expected that those pieces rattling around in there would be most of it. Also found that a repair had been done at some point and they just dropped all the trash inside, which didn't help. Pulling the door card I did find the build sheet mostly intact and with minimal moisture damage. So that was cool. The last couple rattles were fixed with some mesh cable sleeve and cloth tape.

-
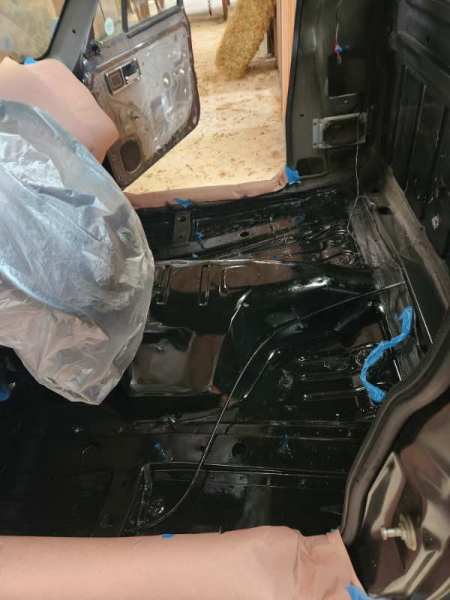
The floor was in pretty great shape anyway but did the typical preventative treatments and hosed it down with a couple coats of paint.
-
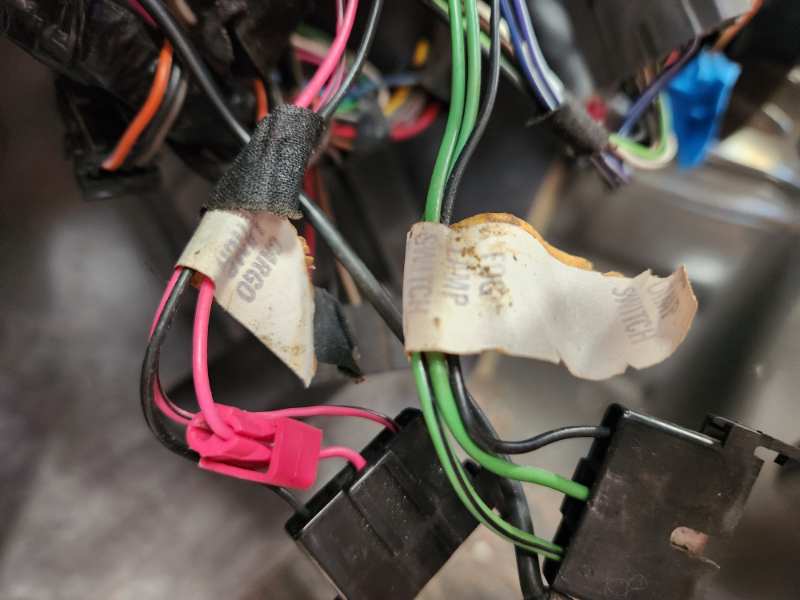
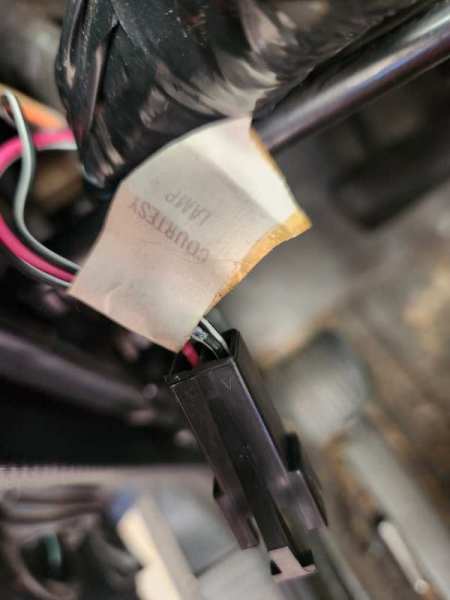
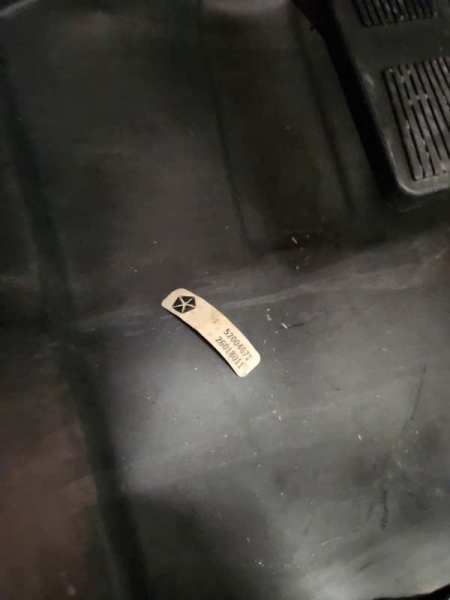
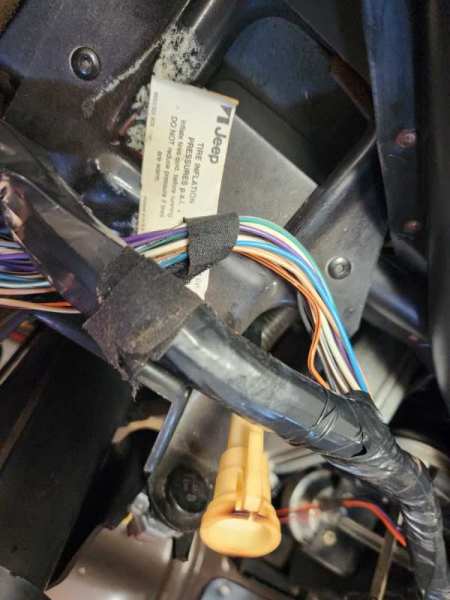
No shortage of tags. Lots of wires still had their I.D. tags on them which I thought was pretty cool. There was a tire pressure decal tucked in there and another decal fell out as I was moving stuff around.
-
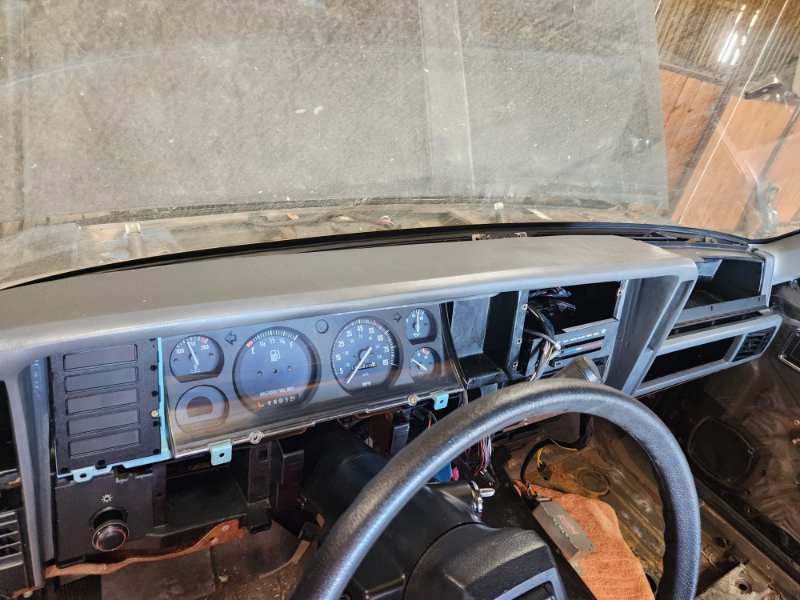
I decided to go with a ¾ cluster. I’ve got a PRNDL, so ¾ made it easier on me. I remember using a trip odometer a few times back in 80’s before the novelty wore off, meh I don’t need one, and a tachometer won’t really be missed much either. End result is a bit of a bastardization, but I got the gauges I wanted, and it was a fairly easy swap just moved my speedometer/odometer over and only had to mess with the PRNDL fuel gauge slightly to make it work/fit. Added in the requisite sensors and everything works as it should. Plan to put the fuel needle back on when I fill the tank.
-
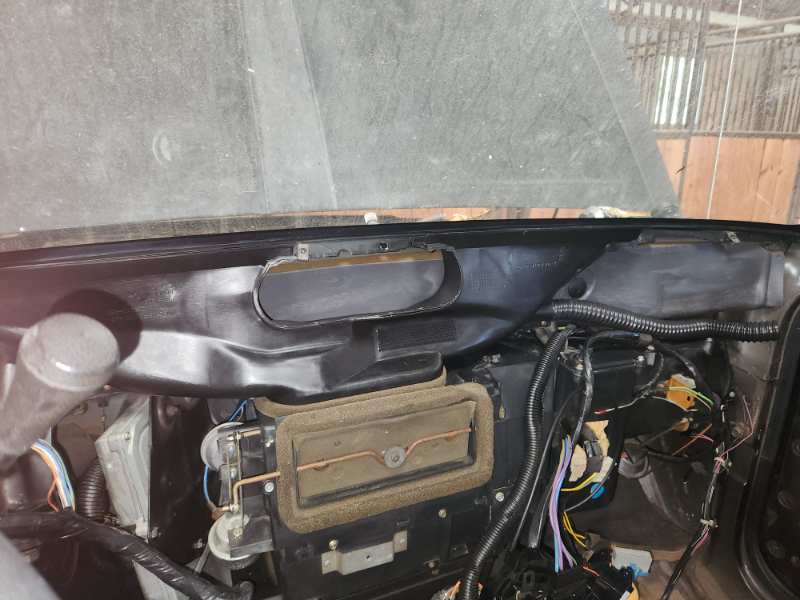
While it was out, I took the opportunity to remove all the aftermarket splices from the previous owner over the years, hoping that’ll rectify the parasitic power draw(s) that keeps killing my battery. Also did a fairly thorough cleaning and wiped everything down.
-
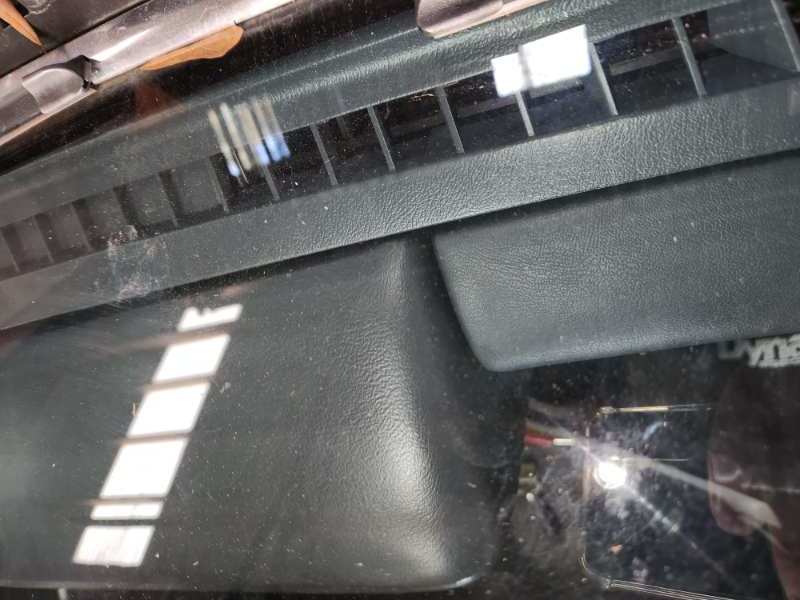
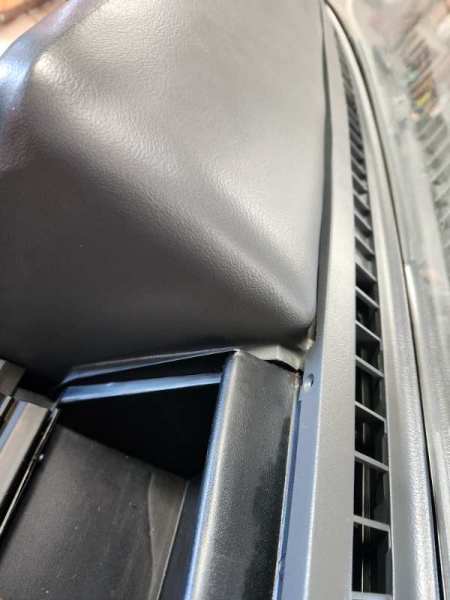
Dash swap was actually way easier than I thought it would be. Originally bought a dash online because the local junk yard rarely has any but UPS destroyed it. Then one came into the junkyard, so went and pulled it (and it was cheaper). Tutorials for this are great but I actually learned quite a bit by pulling one at the junkyard that helped at swap time, so kind of worked out for the best.
-
The dash was pretty rough and needed to be replaced. Figured while I was at it, I might as well upgrade to a cluster with some gauges.
-
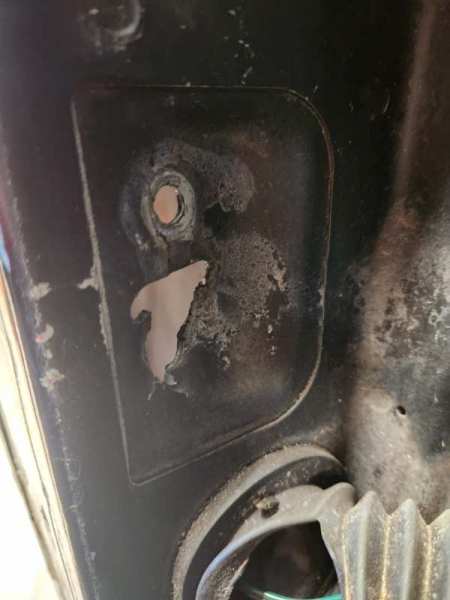
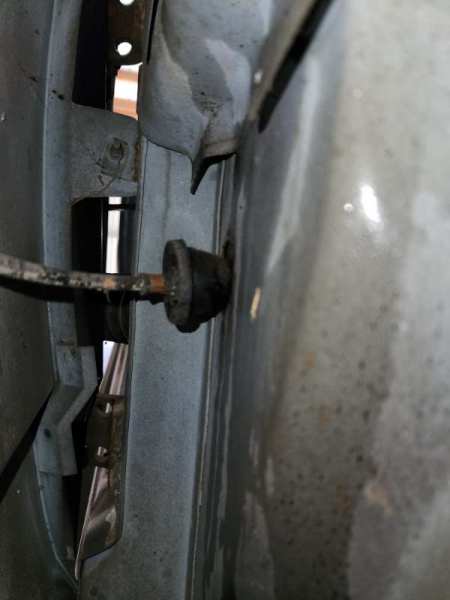
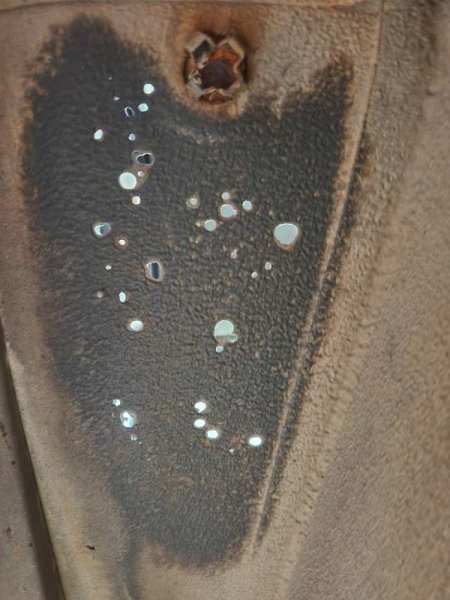
I ended up having 3 small leaks that needed attention, all on the passenger side. 1. Top of windshield dripping directly onto floor. The rubber floor kept it from doing any real damage over the years. Siliconed it. 2. Antennae grommet through side wall (pics). Replaced grommet. 3. Rear cab seam. Will replace seam sealer when I pull bed to paint it. Smeared some rtv on it to make sure that's what/where it was, which sealed it for the time being. First pics show grommet popped out; second pic shows trickle of water coming in there.
-
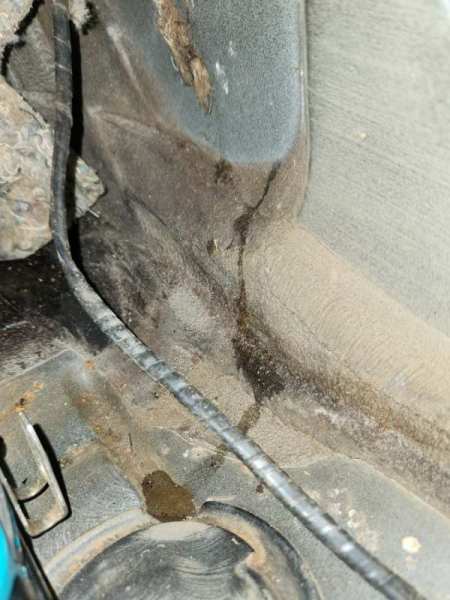
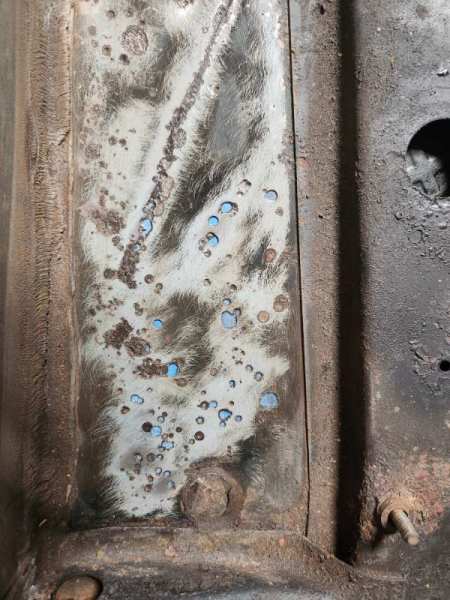
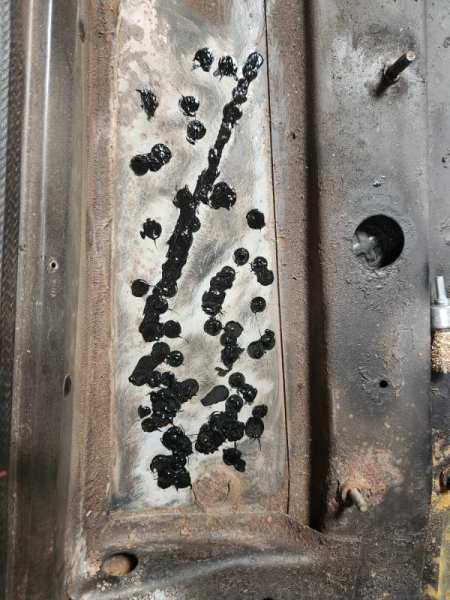
I did find a cluster of small spots on the passenger side where the rust ate all the way through the floor. The largest of them about as big around as a pencil. It wasn’t visible from underneath because the undercoating was still intact. I poked them out, cleaned them up with wire bore-type brushes and drill bits and then put painters tape underneath and filled with POR patch. Some weren’t all the way through, just divots, but I went ahead and filled those too.
-

Replicating MJ Bumper Caps
farmboi replied to White_Comanche's topic in Vendors- members making products for MJs
This has been awesome to watch. Can't wait to see the finished product. -
Here are some pics I had saved from ebay so I'd know what I was looking for once I got to the junk yard
-
Thanks for all the input. I don't have any to duplicate, so I'll try the junk yard again. Hopefully I can find a decent set to pattern off of.