pizzaman09
-
Posts
1506 -
Joined
-
Last visited
Content Type
Profiles
Forums
Gallery
Everything posted by pizzaman09
-
What portion of the sensor doesn't fit? The sensor body or the electrical connection? That part number appears to be correct.
-
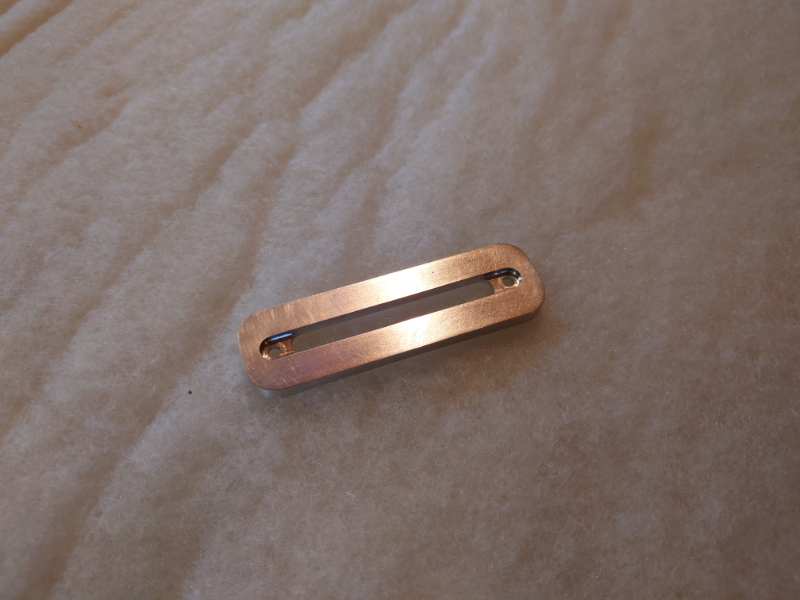
Both seats assembled with heating pads and replacement upholstery, just need to finish the second aluminum fold forward trim piece.

-
Check to make sure something isn't catching the throttle linkage, either in the footwell or engine bay.
-
new heater core valves are available
pizzaman09 replied to Pete M's topic in MJ Tech: Modification and Repairs
The picture on the eBay add is kinda different, that is why I have been asking these questions. I replaced mine with an identical to original one that I just purchased from I think Rock Auto. -
new heater core valves are available
pizzaman09 replied to Pete M's topic in MJ Tech: Modification and Repairs
Is that supposed to be a replacement for this valve?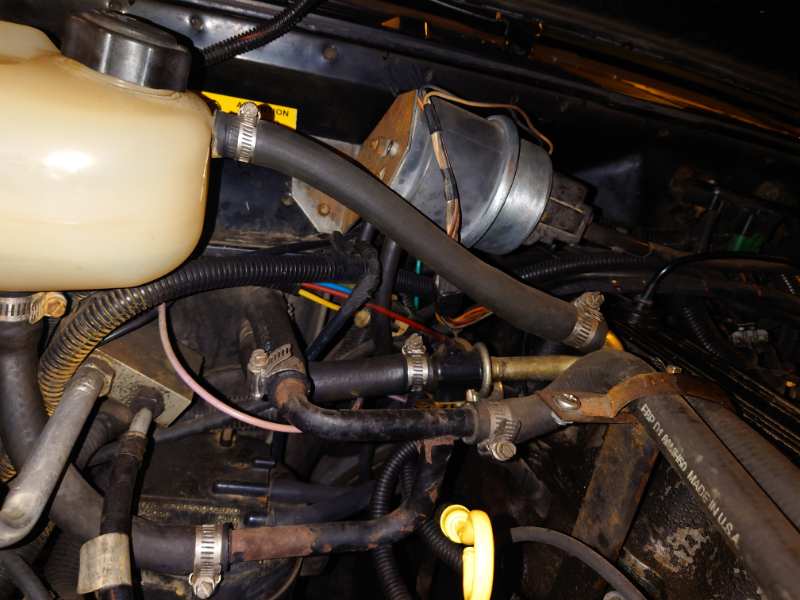
-
new heater core valves are available
pizzaman09 replied to Pete M's topic in MJ Tech: Modification and Repairs
Where does this part live? I wonder if mine is working as it takes a long time to get heat out of the heater. -
link for donating to help fund CC
pizzaman09 replied to Pete M's topic in MJ Tech: Modification and Repairs
Sent! -
If I didn't have probes small enough to fit the back of that sensor, I would probably just unbend a couple of paper clips and then use some alligator clips on them.
-
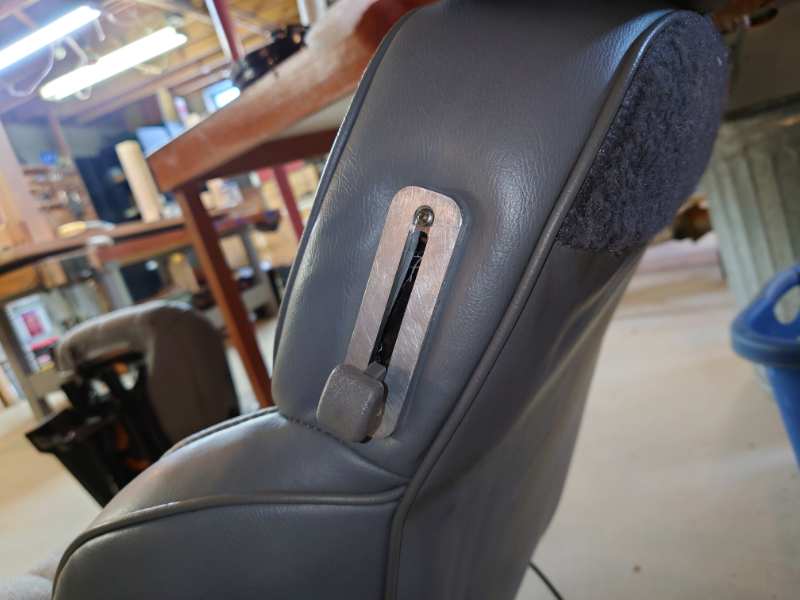
Machined an aluminum trim piece for the fold forward lever. I may decorate it yet, possibly engrave it with the word Comanche.

-
Cruise control switch/stalk, can't find one
pizzaman09 replied to knever3's topic in MJ Tech: Modification and Repairs
Yep, just pull it out. The new one can be fished down from the top, it's easier with a stiffer wire. If you end up with a very floppy wire version, then maybe fish a stiffer coper wire down first then pull the new wire down by taping it to the new cruise wire. -
Cruise control switch/stalk, can't find one
pizzaman09 replied to knever3's topic in MJ Tech: Modification and Repairs
The red connector you have circled is the connector. -
Blend door issue I believe
pizzaman09 replied to Whitaker717's topic in MJ Tech: Modification and Repairs
I'd be tempted to suggest you should check for vacuum leaks first, the system defaults to defrost if there is not enough vacuum. -
projectunclelou Badge removal...
pizzaman09 replied to Heath's topic in MJ Tech: Modification and Repairs
Adding heat should help, I'd try that along with the puddy knife prying. Just don't overheat the emblem. -
I'm not sure I'd bother with an HO cam, they are extremely similar to the Renix cam. https://www.angelfire.com/my/fan/Jeep4.0Camshafts.htm
-
Project 'Uncle Lou' 1988 Jeep Comanche 2.5L manual 4x4
pizzaman09 replied to Heath's topic in Member Projects: Your Comanches
That is a nice looking CAD delete kit. -
Unplugging the O2 sensor would put the ECU into a lookup table mode that just makes a safe guess as to how much fuel to supply if it's not getting a signal from the O2. I'm guessing it would be very rich and not allow for good fuel economy. The reason an O2 sensor could get a bad reading is an air leak upstream to it will make the signal not correct.
-
The other thing that comes to mind, is if you have a cracked exhaust manifold. That could tell the O2 sensor the incorrect info. To check this you could unplug the O2 sensor and see if the sudden off throttle issue remains. I also wonder if the MAP or throttle position sensor are not working correctly. Have you checked to see if the throttle position sensor needs to be reclocked to get it to be at the right reading when the throttle is closed? There is a cruiser tip for checking it with a multi meter. https://comancheclub.com/topic/73467-8-–-tps-testing-and-adjusting/
-
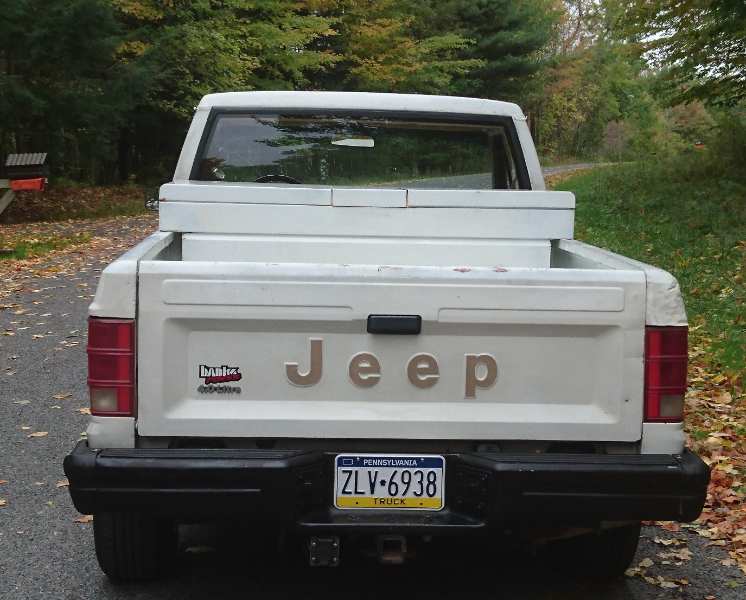
It wasn't a dealership sticker on it, but my first MJ had a rad Banks power sticker on it. It has a nice Banks header thanks to the previous owner trying to get it to pass California emissions.
-
Valve float is a real thing in like 99% of engine designs. There is a maximum RPM where the valve spring can not accelerate the valve closed fast enough to follow the cam profile. This means the valve is floating off of the cam profile. Depending on if the engine is an interference engine and if the clearance between piston and valve is tight, will determine if you can damage a valve by colliding it with the piston. That said, it's really hard to get a stock 4.0L spinning fast enough to float the valves, you have to have a complete lack of sympathy for noise and vibration to do that.
-
Nothing wrong with a double failsafe. The heated seat wiring comes with a 10A fuse per seat. They pull about 6A on high. The wiring has a ground, a primary positive wire for connecting to an always on power source, and a relay with a trigger that you connect to an ignition controlled source.
-
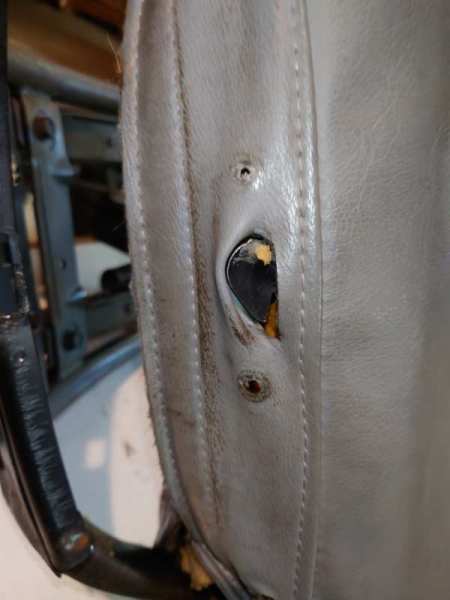
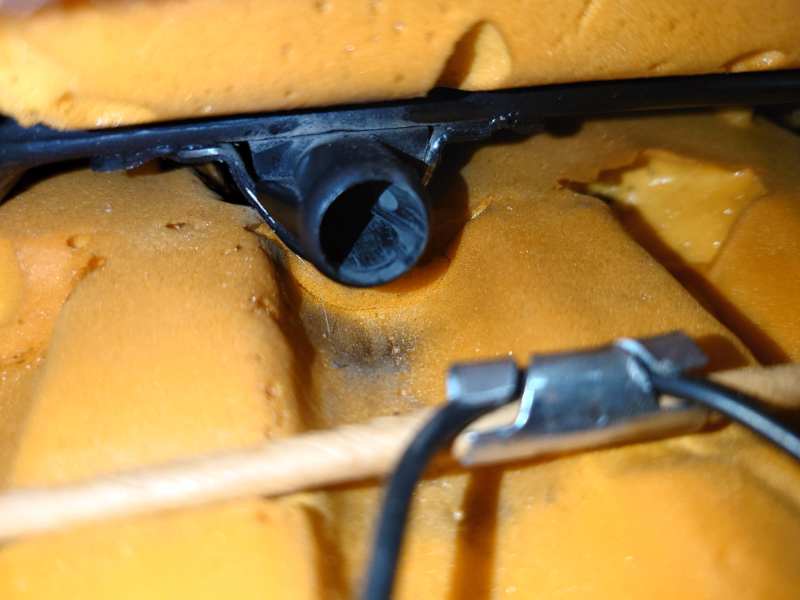
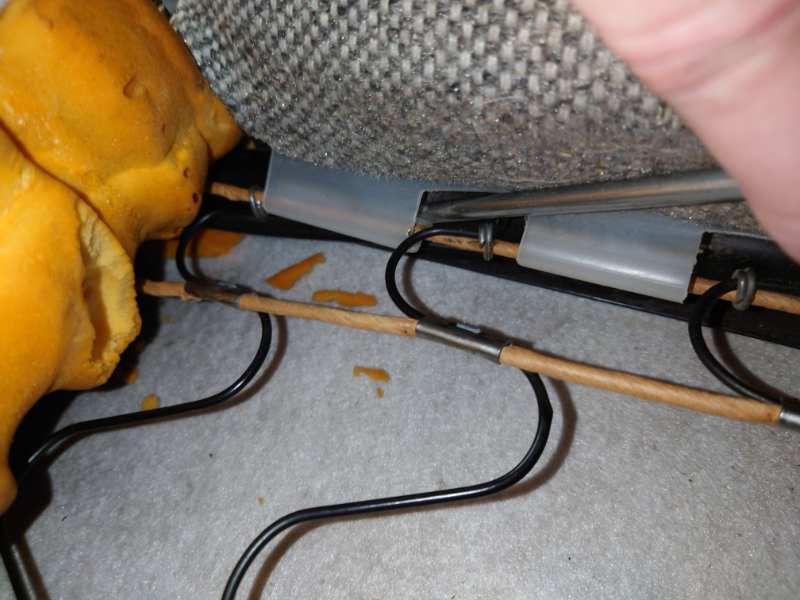
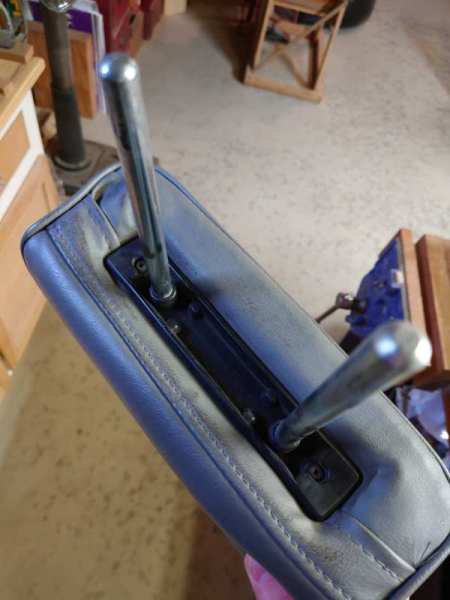
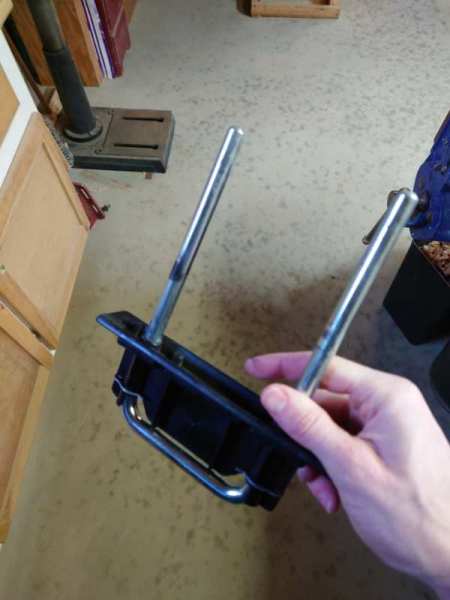
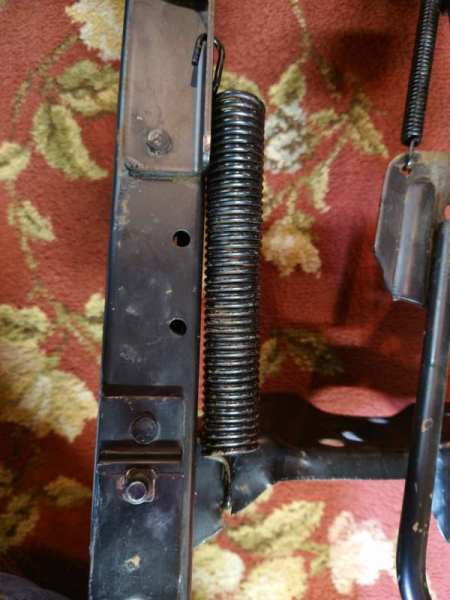
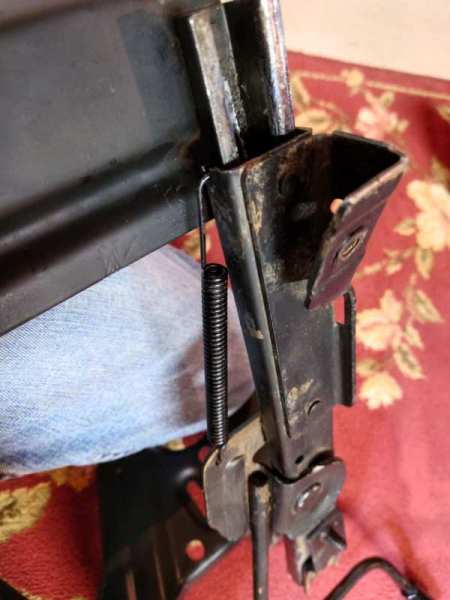
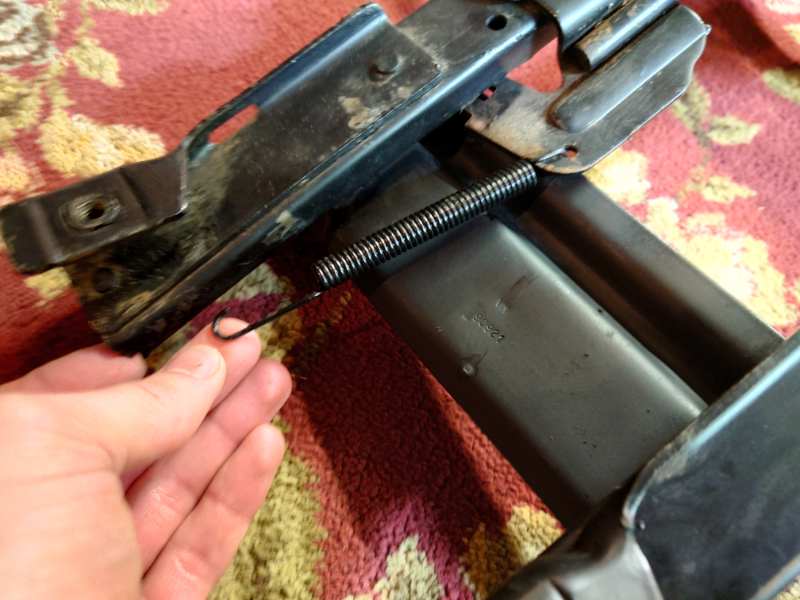
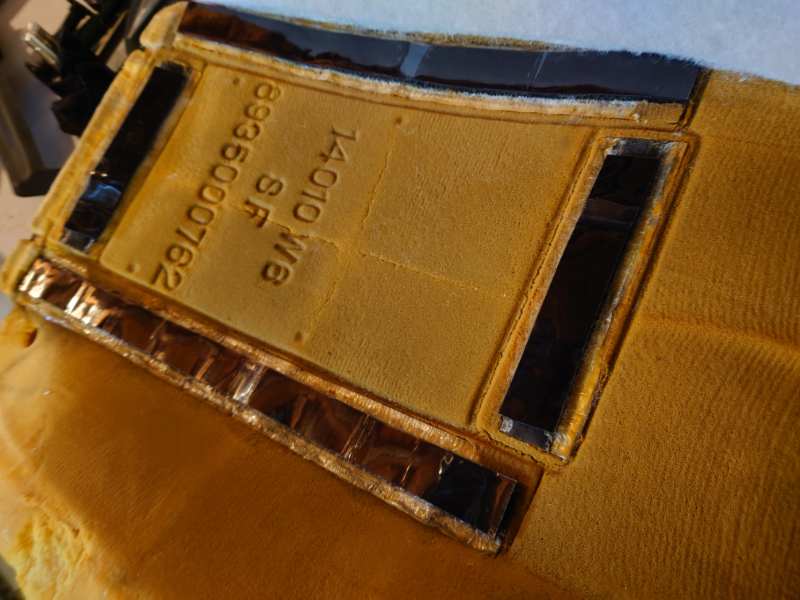
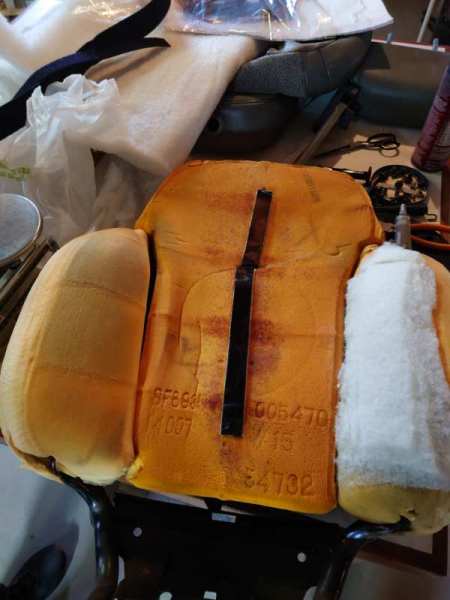
While the seat rails are out, clean up the tracks. Take the springs out. The big one is easy, just grab the center with your hand and move it towards the frame slot, shown at the bottom of this photo. The lever spring is under a fair bit of tension. I lined up the rail with the the valley of the cross rail below to hook a screwdriver or such on to pop the spring from its slot. This is the orientation of the lever spring. I ran lots of hot water down the rails with dish soap while actuating them back and forth to break up the hard original grease. Then I used some paint thinner to brake up more of it while sliding the rails. When it was all clean, I put some really nice white lithium grease everywhere and actuated it. The big spring rail was a bit tight as the roller bearings had long eaten into it, I took some channel locks and gave the u shaped rails a little squeeze to narrow them up to make them slide freely. Cleaned up the extra lithium grease and it moves way way smoother now.
-
The heating pads have thermostats in them to regulate the temp.
-
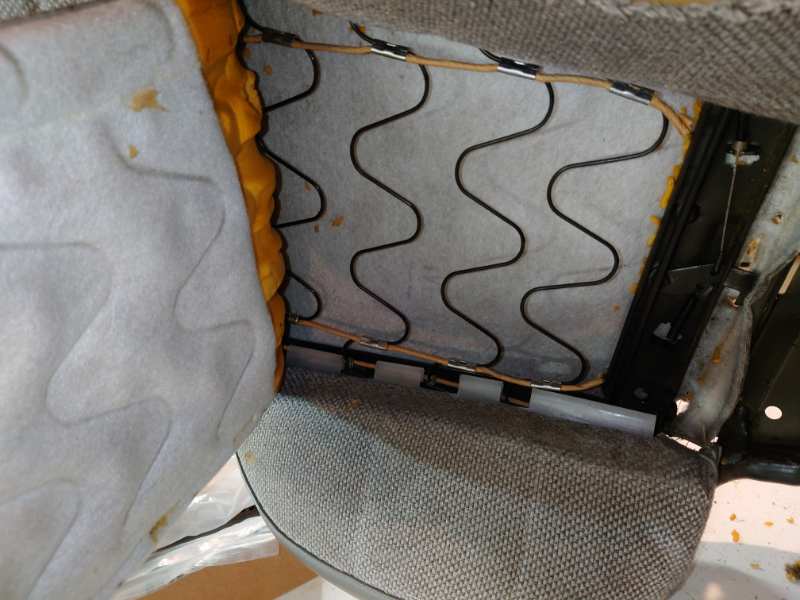
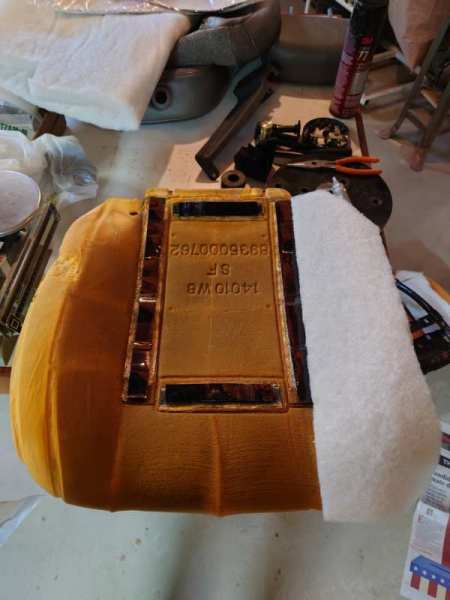
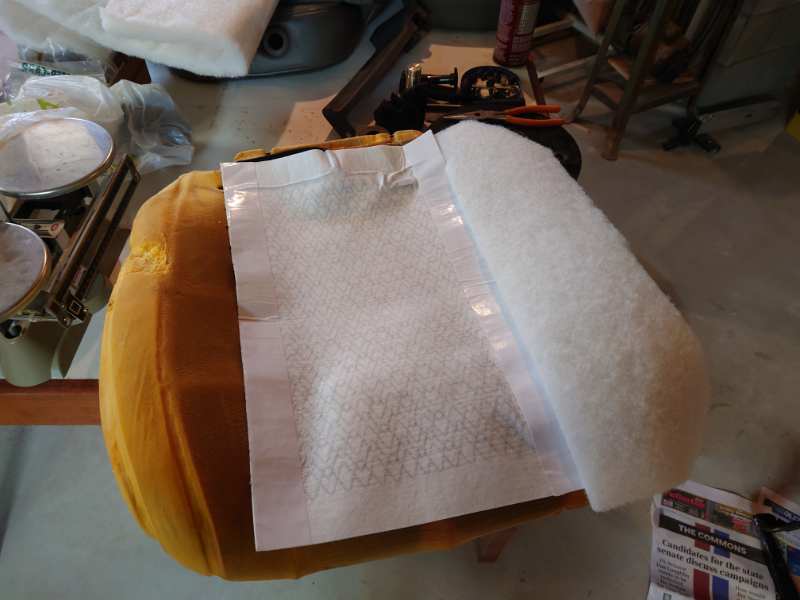
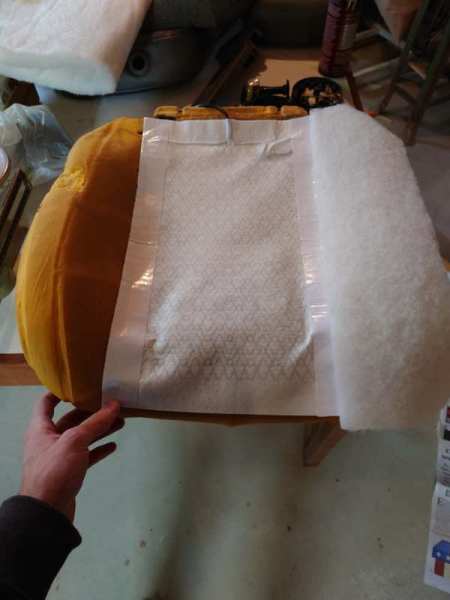
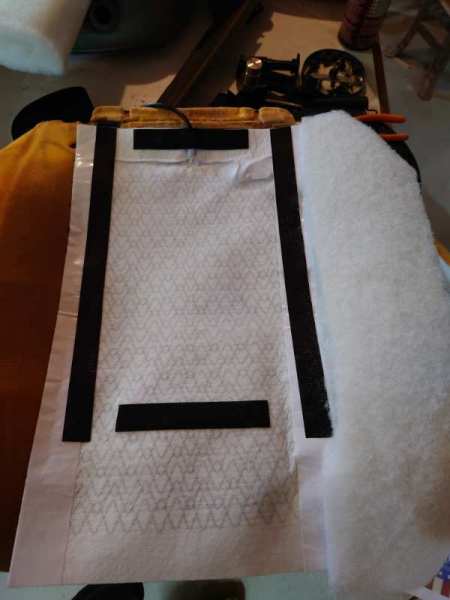
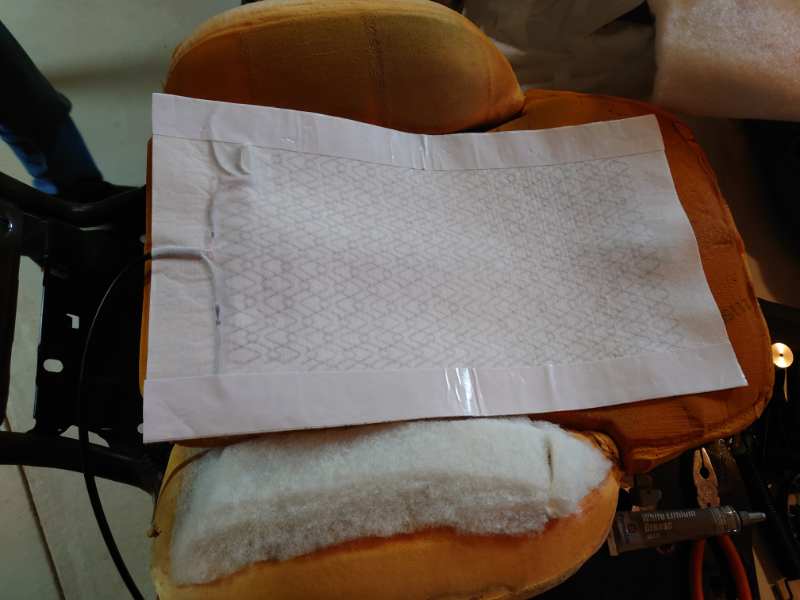
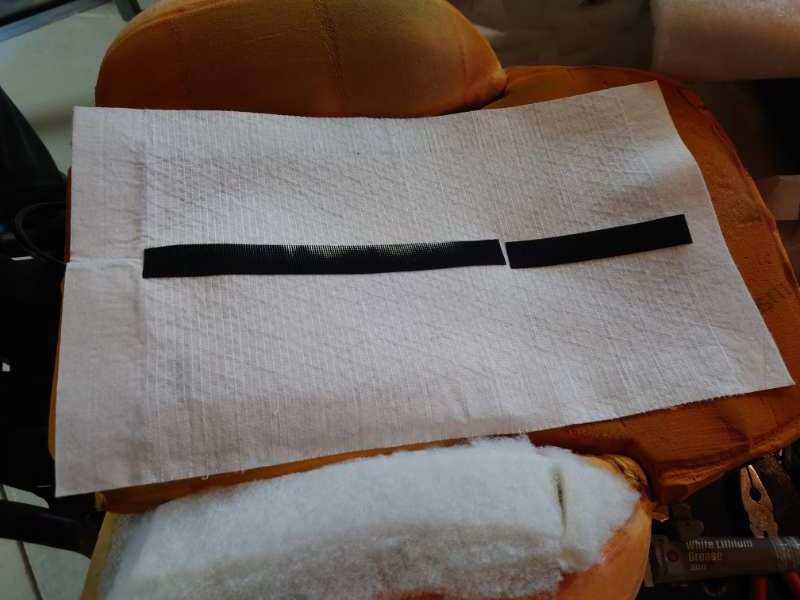
Now the fun part, installing heated seat pads! The Eliminator wing back seats are really well setup for this, simply use adhesive backed fuzzy Velcro to attach the seat pad to the original Velcro on the foam and then use the adhesive backed hook Velcro on top of the heated seat pad in the same pattern. You will note that I used some fiber coil and 3M super 77 spray adhesive to fix up my collapsing door side bolster. Additionally I used spray adhesive to fix all of the cracks in the foam, there where many... The heated seat pads are pretty awesome, carbon fiber resistive heating elements. Placed the hook side Velcro on top of the heated seat pad precisely over the original Velcro underneath it. The upper seat back has a single piece of Velcro down the center. Just do the same thing of using adhesive backed fuzzy Velcro under the heated seat pad. The pad has sticky adhesive down each side, I used it on this piece with the sticky towards the foam, it's upside down in the photo below. Apply loop side Velcro down the center of the heated seat pad.

-
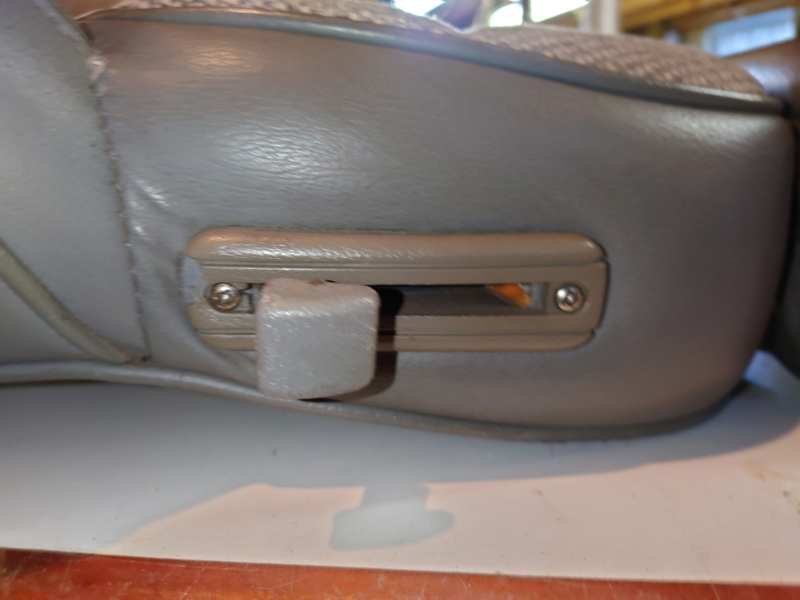
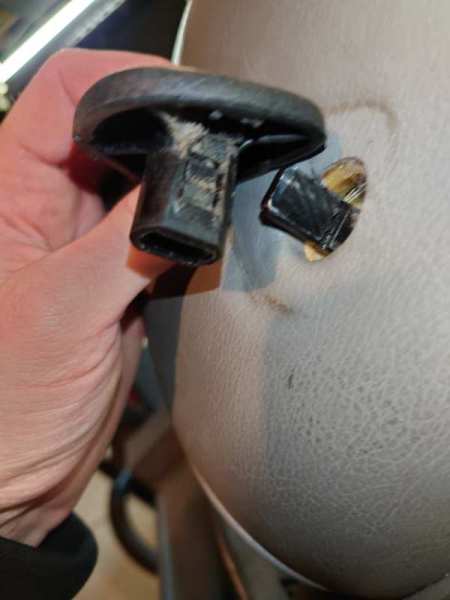
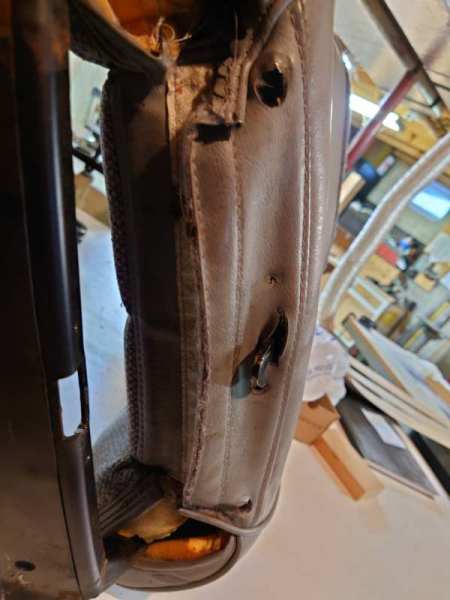
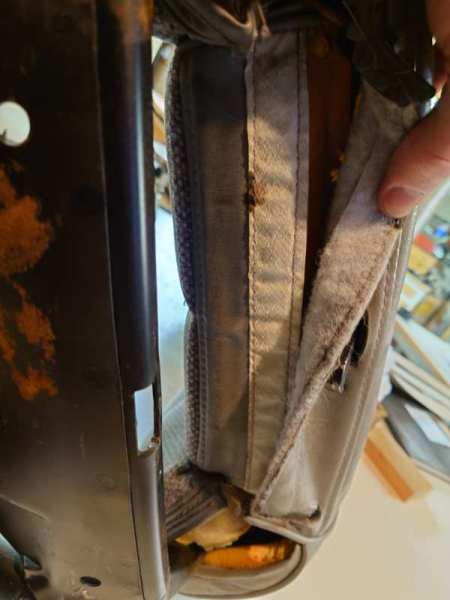
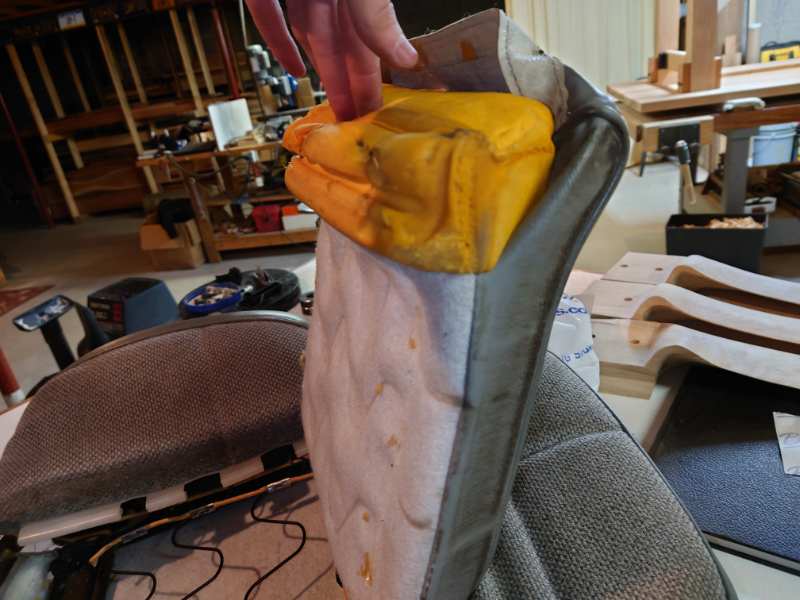
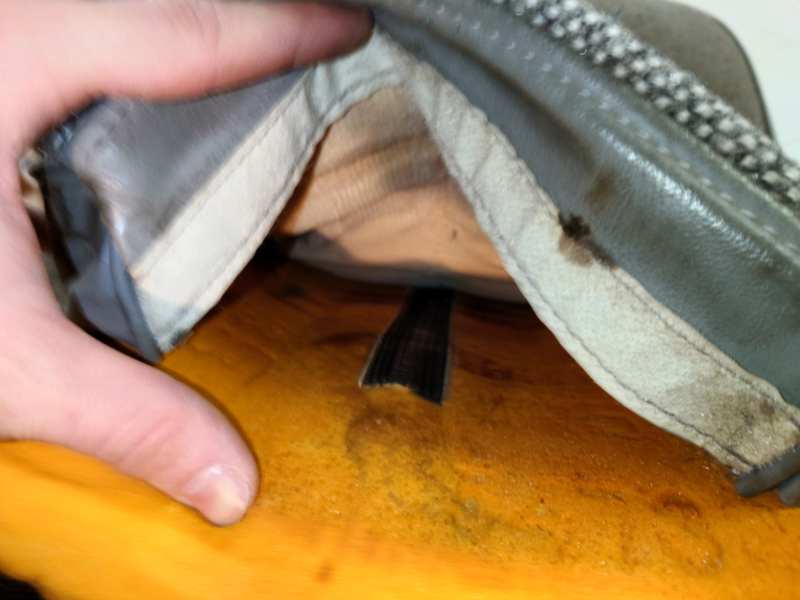
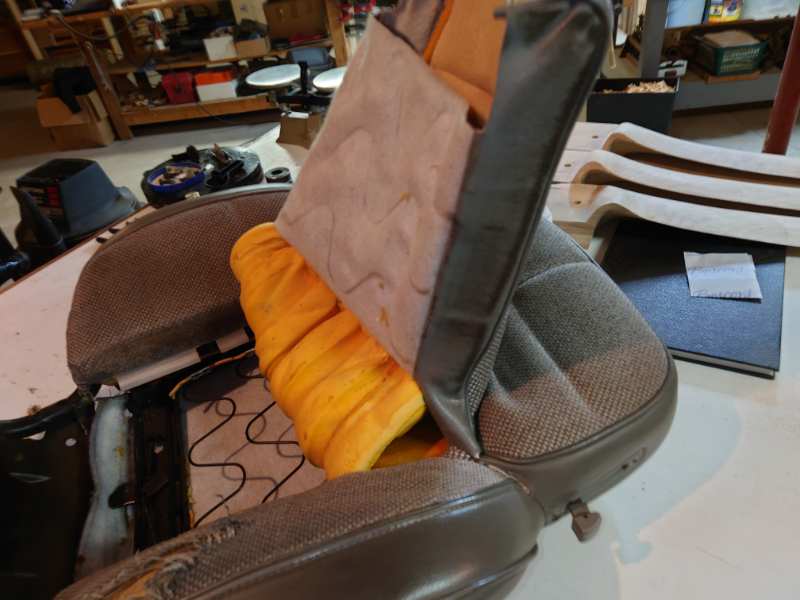
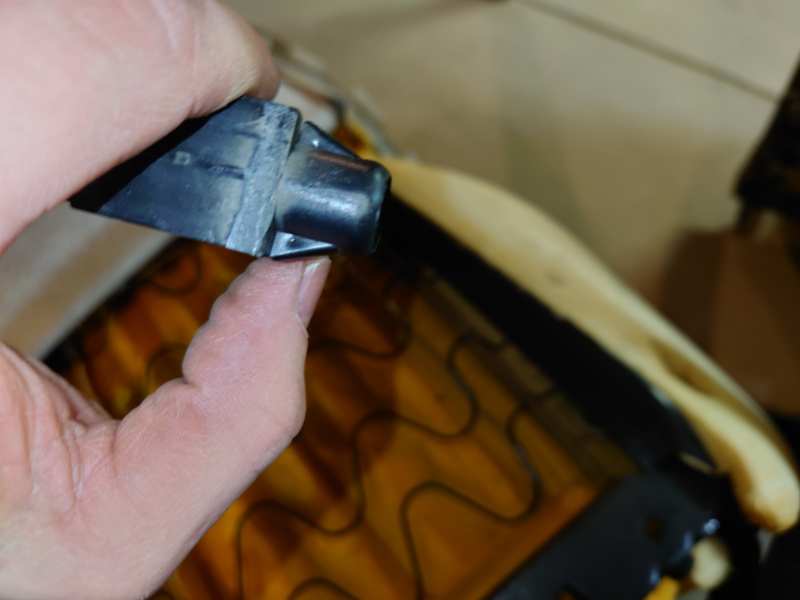
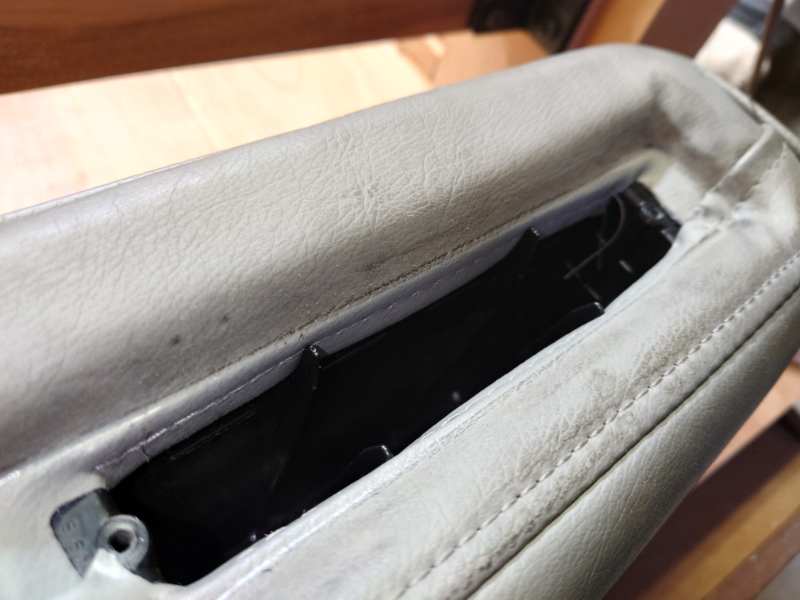
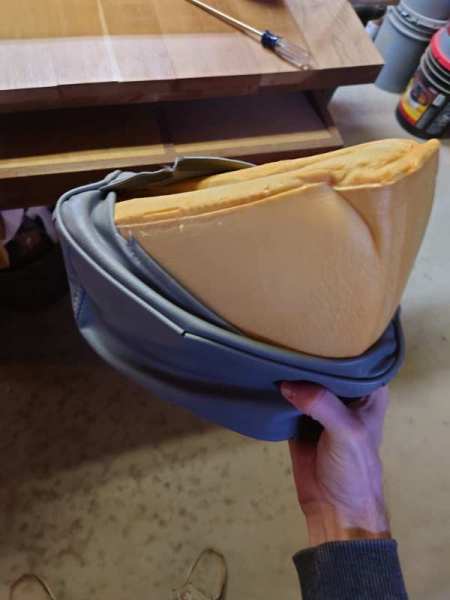
For the upper seat, remove the trim around the fold forward latch lever. You should drill the backside of the handle to get out the roll pin, my trim was broken so I didn't care and will deal with the consequences later. Two Phillips screws. The seat recline handle just pulls off, do it carefully, oddly the snap appears to be well designed for two way install/uninstall. Pull apart the Velcro at the seat bottom Actuate the fold forward latch while carefully lifting the vinyl over it, actuating the lever some makes it way easier. The backrest center section should now be free to be lifted up, this allows access to the side bolster clips. There is one lone strip of Velcro up the center of the back rest, wiggle your hand up between it and the upholstery to loosen it. Now just stuff the foam back through the tube of upholstery until the center section is free of the foam. To disconnect the side bolsters there are four white plastic clips on each side, start near the seat bottom and unclip each one from the brown paper wrapped wire, they are fairly easy. I used a screwdriver to get the highest one started, but used my hands to finish uncliping it once started. The headrest needs to be removed. The headrest plastic guides have two sping clips holding them into a triangular hole. They are a bit of a pain but not impossible to do with your hands. Once I got the clips started I pushed them out from the inside with some needle nose pliers. This picture better shows the clips. At this point I didn't take any more photos but basically I wresseled the upholstery off of the top, I tipped it towards the folder forward lever side to allow me to slip it over that through the slot in the upholstery. The headrest is super simple, two screws hold the bottom plate on, remove. The center u shaped bar and plastic lifts out. The headrest upholstery slides into a couple of slots to hold it neatly in place. Remove the upholstery from the headrest through the hole. New upholstery goes on as expected. It's challenging to stuff, make sure you get the foam core installed the right way around. Be careful where you push stuffing the foam back in, I broke the molded in plastic on my passenger side headrest, though not in an important location.