


neohic
-
Posts
5277 -
Joined
-
Last visited
-
Days Won
2
About neohic
Recent Profile Visitors
8453 profile views


.thumb.jpg.1c80a5acd72f01d3b9ded3bfb499d0c9.jpg)


neohic's Achievements
")
Obsessive Comanche Disorder (9/11)
-
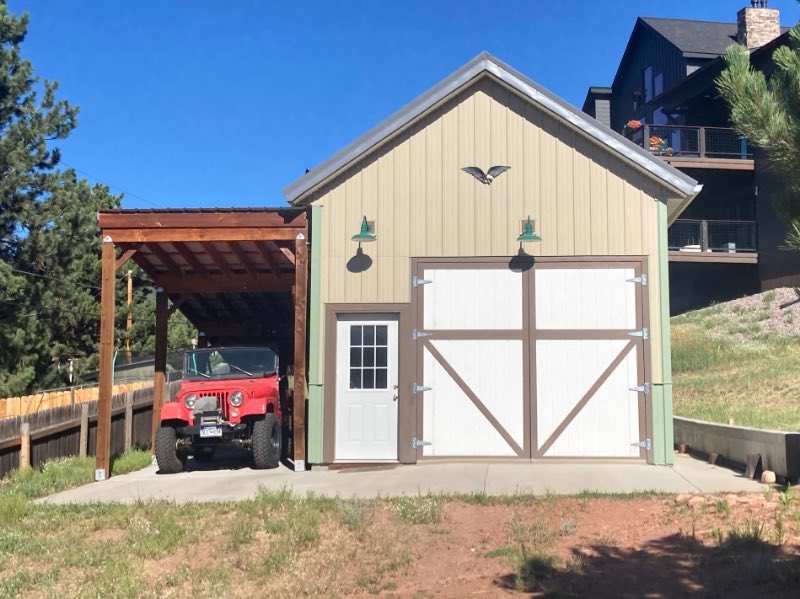
No real updates, but theres been a few changes in storage. Otherwise still just the same ol’ shop.
-
Agreed! Lots of time in refining though. Thats also a part of CJ ownership… compromises.
-
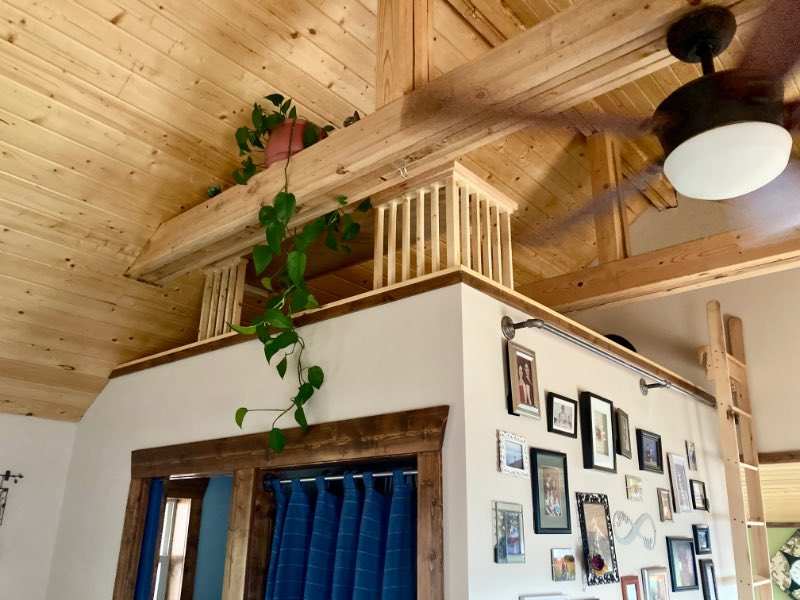
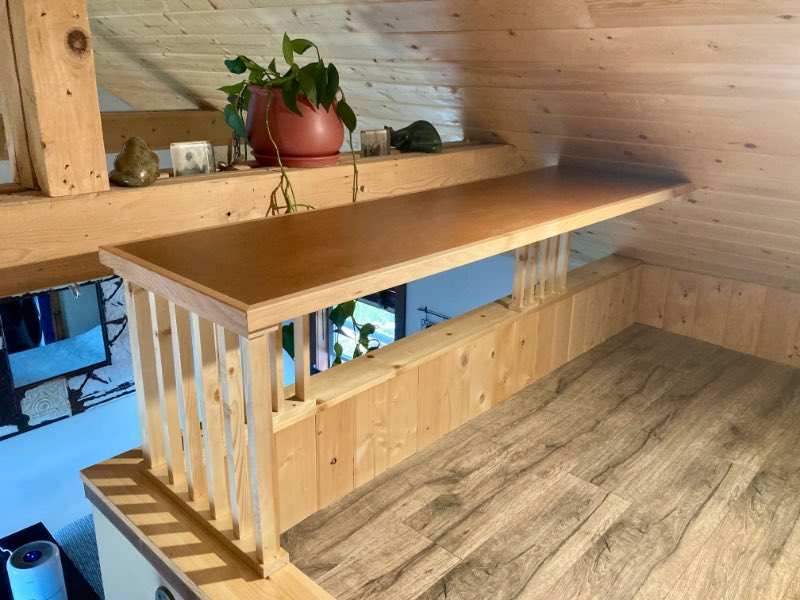
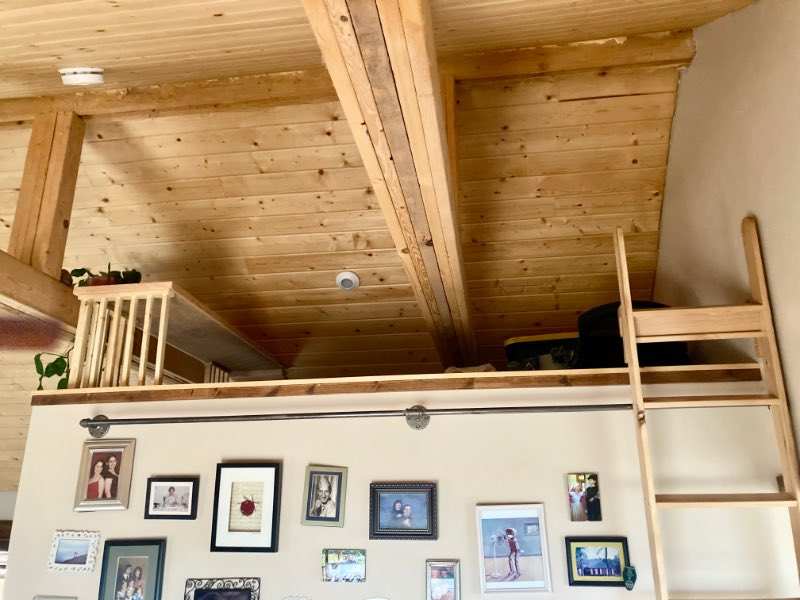
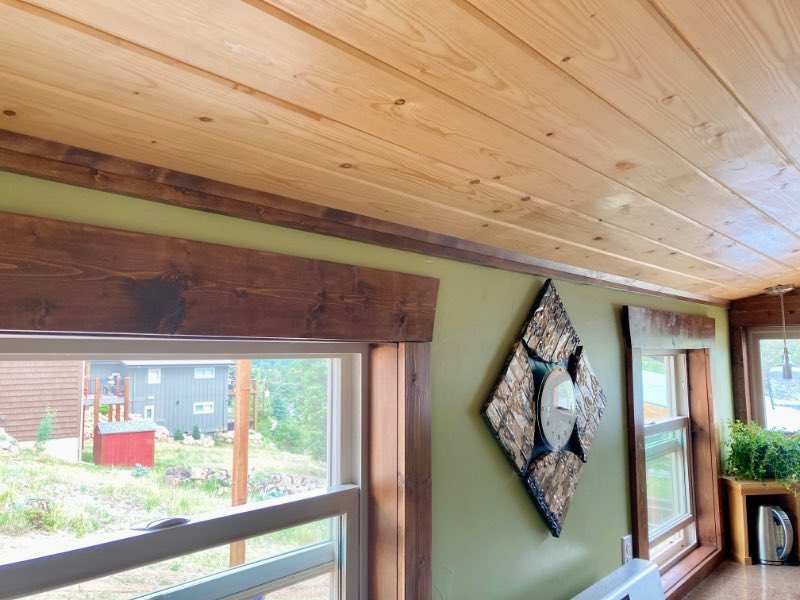
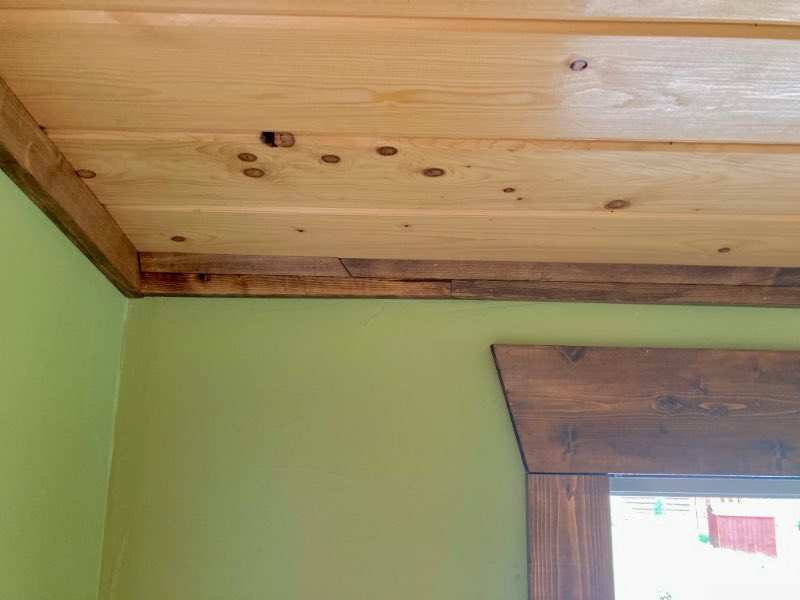
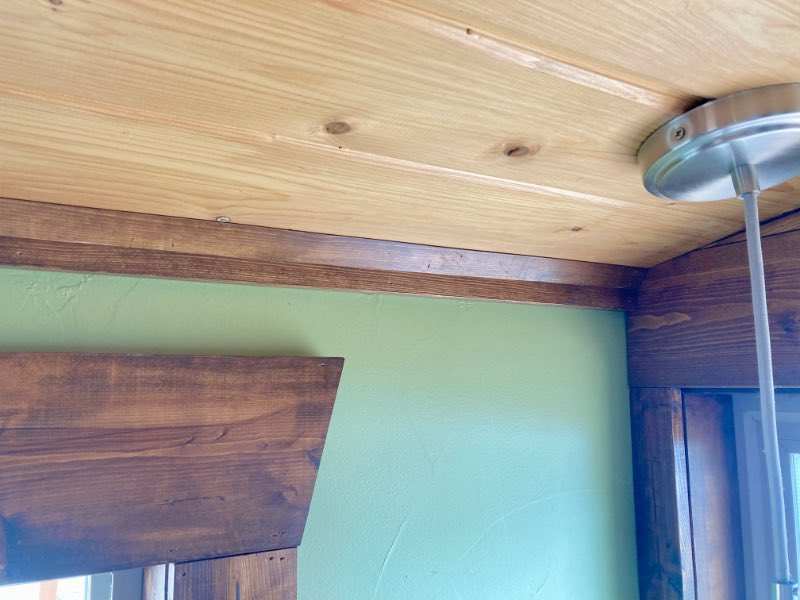
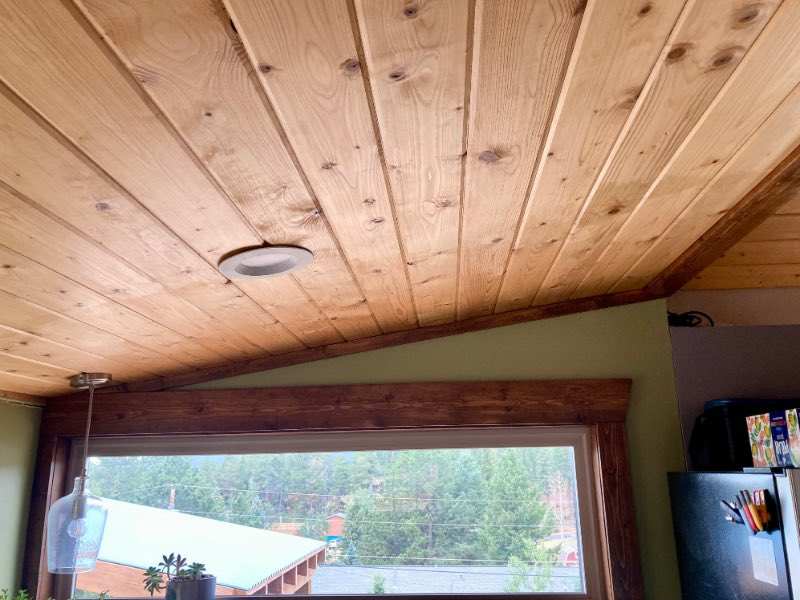
More trim today and a surprise “can you raise my desk?” project. Years ago when my wife started working from home I turned the storage loft into an office. Originally, I made a low desk to give her more room. Now she wanted a standard height desk for a standard height chair. You know… while I’m there. Thats pretty much the look the rest of the ceiling will have… eventually. Same as I did the kitchen with the dark trim running around the perimeter against the light ceiling, the trim for the wall cap had been finished for years and I just needed to install it.
-
YES!! Sure does! Proper winch for a CJ.
-
-
Do you think it’ll be ready for a shakedown run next Saturday? A small group of CJs are headed for China Wall in Florissant for the day.
-

July 2026 - The Clean Machine in Progress
neohic replied to 89 MJ's topic in Comanche of the Month (MJOTM)
I sure do love an ‘86 with an oddball drivetrain! -
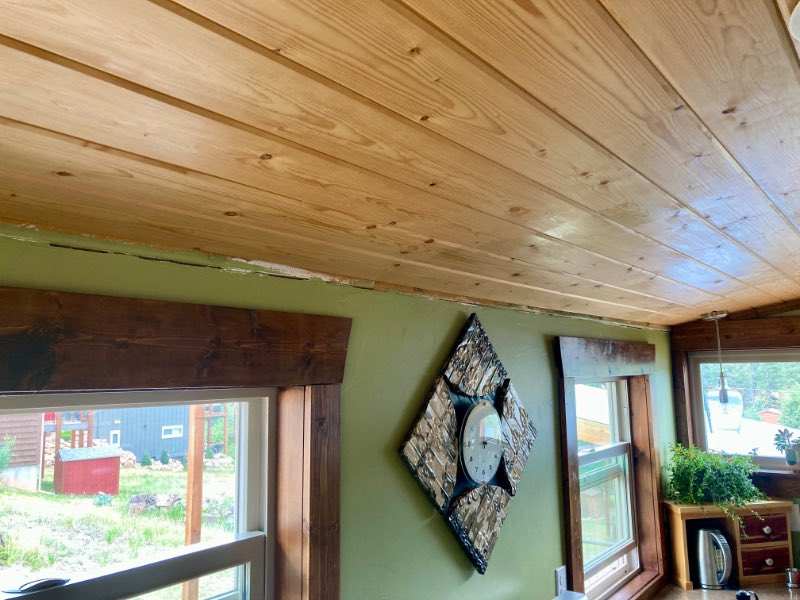
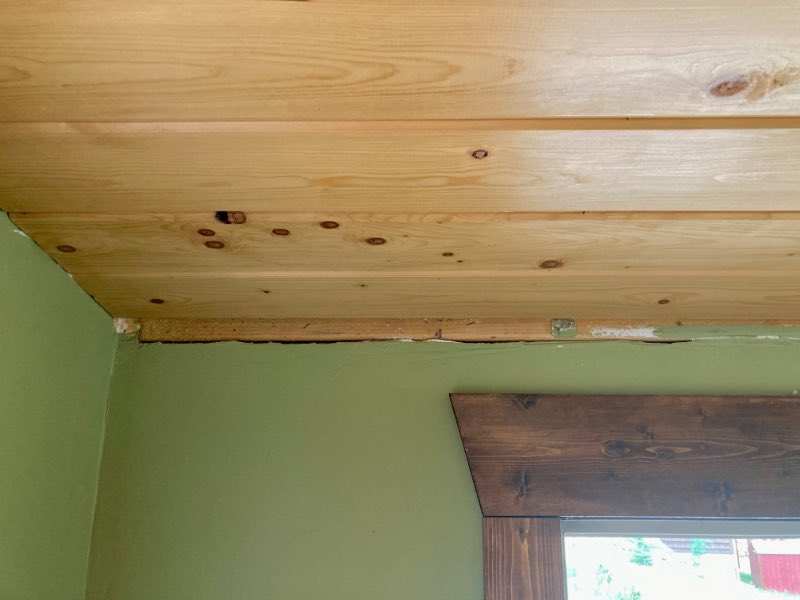
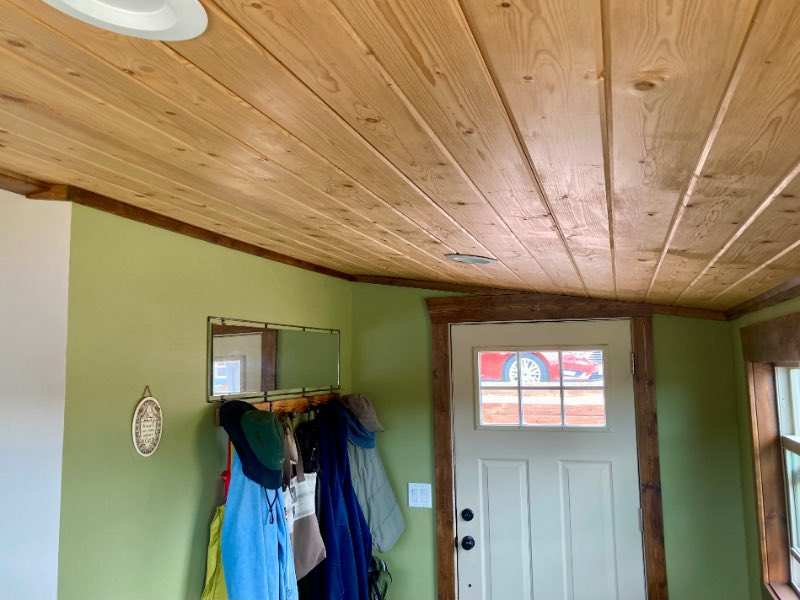
Probably enough trim for the next few years. This used to be a porch but I turned it into the kitchen during the remodel (rebuild?). The long wall has been a problem ever since I was hanging drywall knowing that it was going to be an issue with how the top plate was framed. It was the same problem but backwards when I was working on the siding that at one end of the wall the top plate stuck out a 1/2” at one end and was flush at the other. I had to get creative with the trim on trim, but otherwise the rest of the walls only needed the darker upper trim where it meets the ceiling. Odd to say, but my kitchen is currently finished!… for now. Finishing trim in a house has been the kiss of death for me in the past for when the ‘for sale’ sign goes back in the yard. Granted, I’ve got zero interest in leaving anytime soon, but theres maybe 40% of the trim to finish yet.

-
-
Flat tow the truck with the Subaru?
-
Decently priced too. https://www.craigslist.org/view/d/coeur-alene-1986-jeep-comanche-turbo/44XwCqozheVDC6wsfzfiMf
-
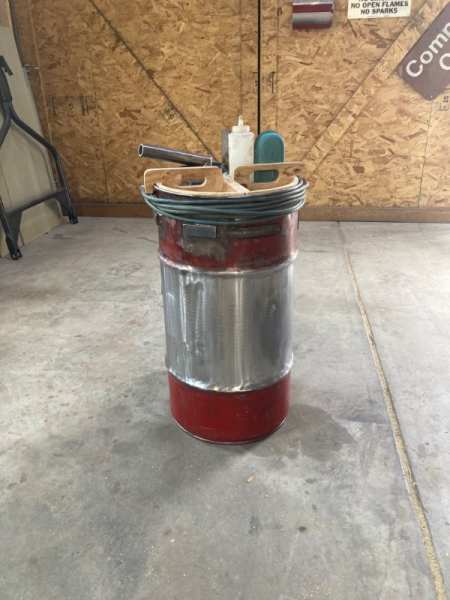
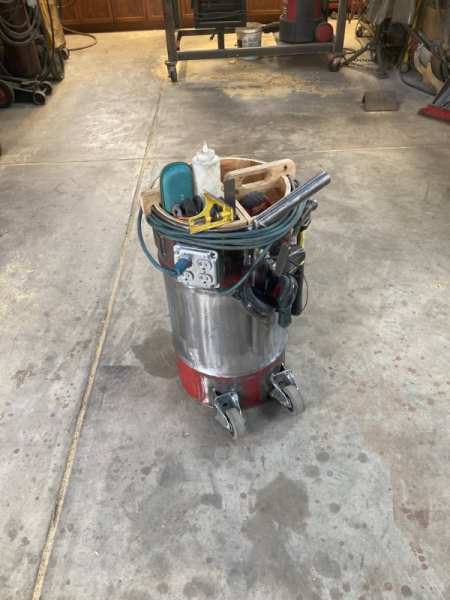
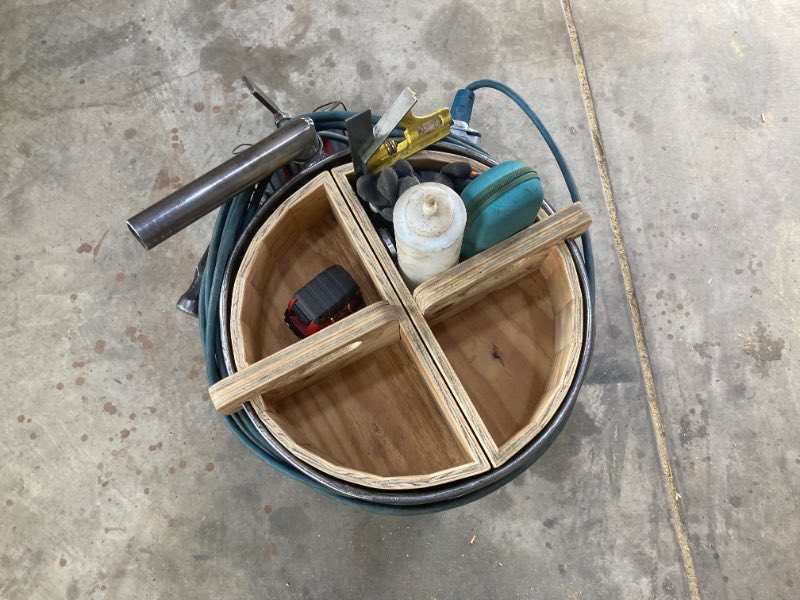
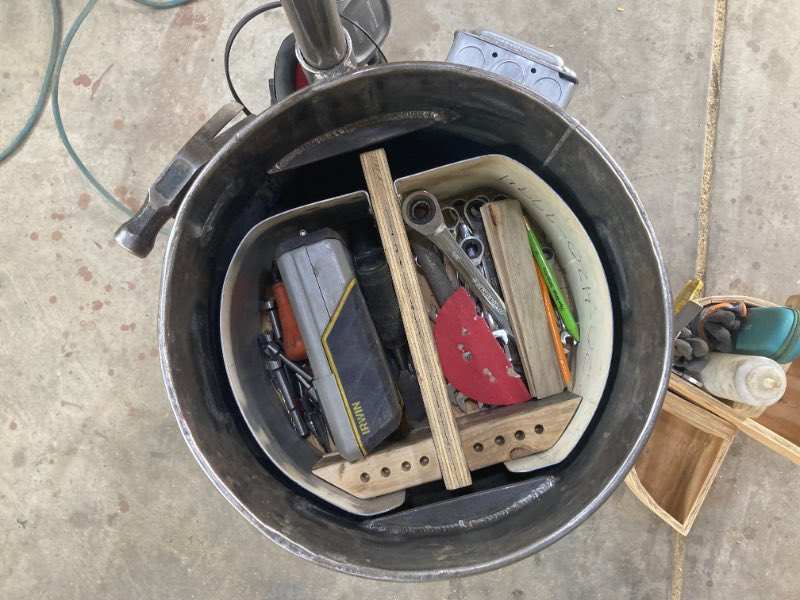
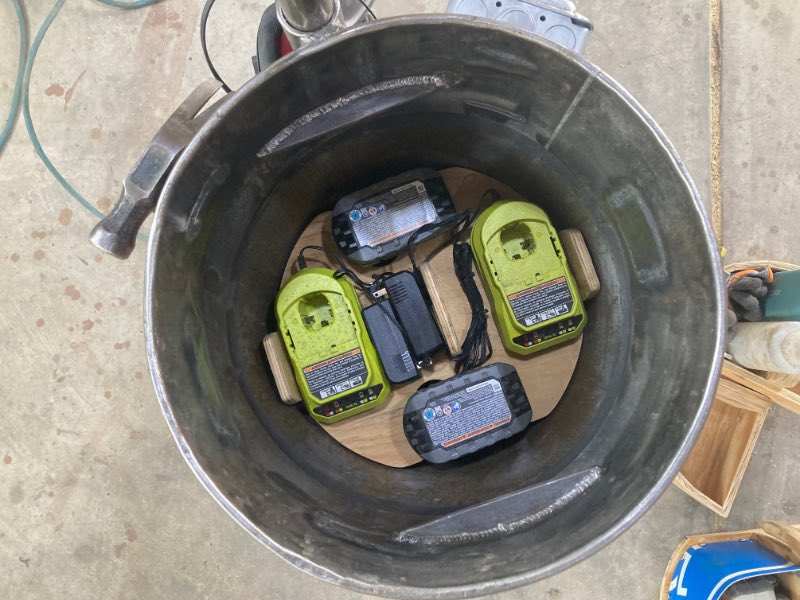
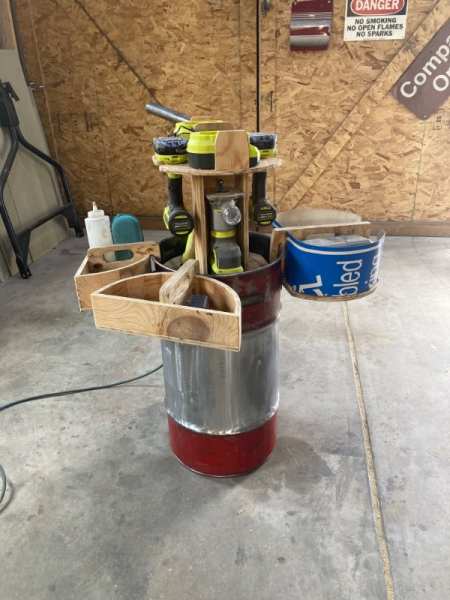
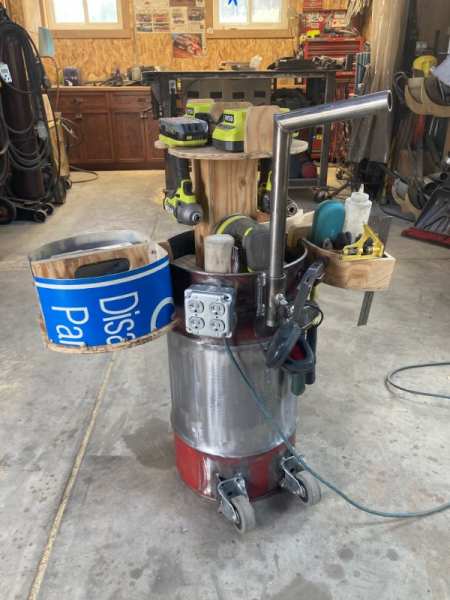
I made a weird toolbox because I need a mobile toolbox but I didn’t want to go buy a toolbox. It looks busy but I kinda dig it. Everything was on hand in my shop so sometimes it was very much designed based on which direction I looked first. Packs up tight for how much stuff there is in there! IMG_9569.mov
-
Geez! Did someone just keep a humidifier running 24/7 in that truck?
-
Rear Fenders - What options do I have?
neohic replied to MuXJ's topic in MJ Tech: Modification and Repairs
There was a DIY post on this a while back. Otherwise, TJ and JK flares have been talked about too. @1999MJ did it best with sanding his rear flares. Bunch of the pictures are dead but towards the end of the thread is where sanding the flares comes up. -
1975 Brutally Simple Daily Driver
neohic replied to neohic's topic in Member Projects: Other Cool Stuff
Thanks, gang! CJs are awesome when they’re already a bit rough that nothing is sacred. I’ve got a completely different mentality when it comes to modifying this and my Eliminator, and it makes for a fun outlet! The only thing I wanted to keep with a spring swap was the charm of the Jeep and I think anything but leaf springs would’ve changed that. Coils would’ve performed better, but theres just something about those big ol’ rock fangs sticking out front.