
OldSch88L
-
Posts
360 -
Joined
-
Last visited
-
Days Won
1
Content Type
Profiles
Forums
Gallery
Everything posted by OldSch88L
-
Not exactly today, but in the last few weeks, restored the parking brake pedal assembly (springs+Jeep ZJ park brake switch) painted pedal arms and all new pedal bushings, installed a new clutch master cylinder and steering intermediate shaft. Oh, and replaced the glove box latch that broke and kept me from opening it... Real fun...
-

Tire sizes, lifts and pictures
OldSch88L replied to Dammerung's topic in MJ Tech: Modification and Repairs
Thanks a lot man! It's far from being there yet, but it's somewhat the end goal hahaha!!! Back to the topic; to all the people who posted pictures, which rear lifted rear leafs brand seems to keep the wheels the most centered in the wheel arches? -
Hey guys, it's getting real close to that moment; if all goes well, I'll get my MJ off the road next autumn/winter and start disassembly for the frame straightening and repair, I just want to make sure, is the M.R.278 shop manual the one with the frame and chassis blueprints and measurements? I'm looking to buy one of those soon!
-
Tire sizes, lifts and pictures
OldSch88L replied to Dammerung's topic in MJ Tech: Modification and Repairs
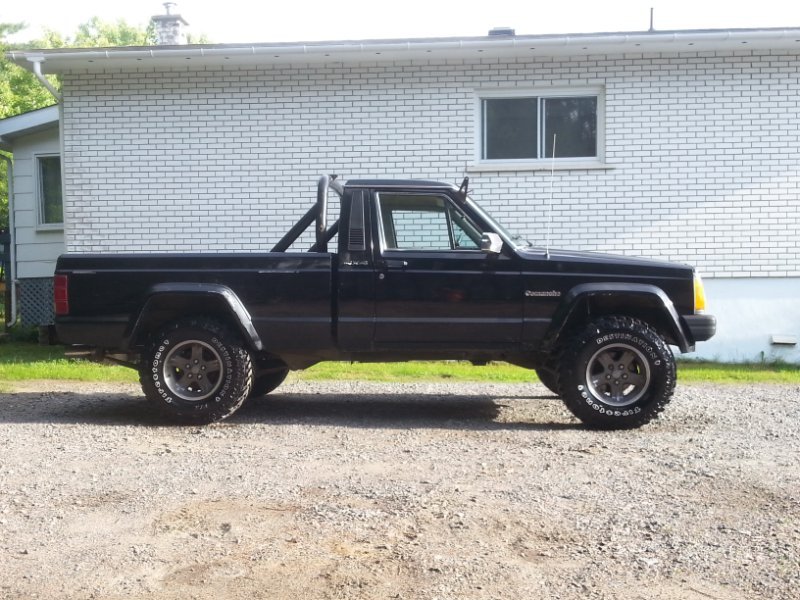
31x10.50-15 on Jeep Ravine wheels, with 3- ish inches lift. Got WJ arms, but still rubs at full lock, although it's on the swaybar this time.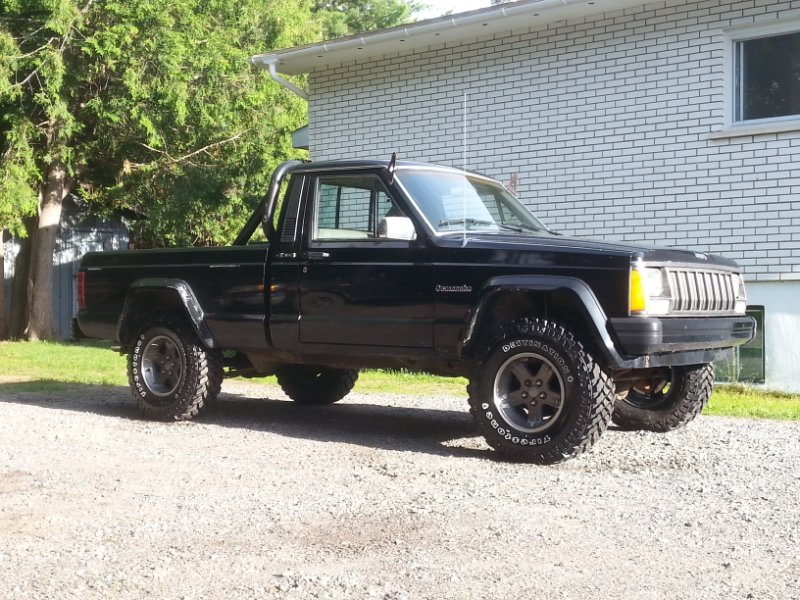
-
HELP! Wiring issue after putting dash back in
OldSch88L replied to Prestin_xj's topic in MJ Tech: Modification and Repairs
You said you swapped in a new dash... Was it an XJ dash by any chance? Something similar happened to me, swapping a complete XJ dash with harness and fusebox in my MJ. The wires on the XJ bulkhead connector don't all line up with the Comanche one. I had to find pinout diagrams from both an XJ and MJ to know where to reposition the wires in the connector. -
I don't remember the exact number of degrees between a TJ and XJ pattern, but you end up with enough meat between the holes. I've been running a clocked TJ AX-5 for like 4 years with no problem so far.
-
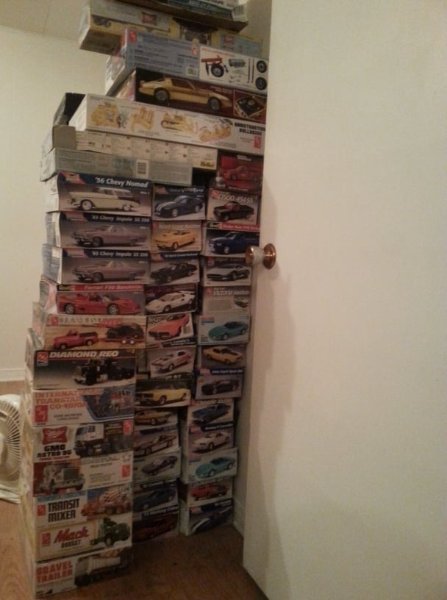
Yes, I guess I'm into scale models. That's my statch, I also have a huge box of glue/paint-bombed kits I messed up as a kid that I want to restore and re-do. For Jeep content, I only have the Lindberg ZJ Grand Cherokee Limited and a Monogram Jeep CJ-7.
-
1987 Comanche SWB 2.5l (Betty) Build Thread
OldSch88L replied to thousender's topic in MJ Tech: Modification and Repairs
Start with the lift you really want first, because then you will most likely need rear axle shims to correct the pinion angle. Once everything checks out, take your driveshaft measurements with the truck resting on its wheels, preferably with a full tank of gas. I got lift shackles on my MJ, and while cheap, I'm not a fan. The rear is now stiffer because the lift shackle has less angle than the stock one; at least that's my theory. And for 4-5" of lift, don't bother with WJ arms, as they'll be to short. Go right away with adjustable arms and save yourself the headache when comes the time to do the alignment. I have a 3 or 3.5" front lift with WJ arms, and my 31s rub the back of my flares when turning because my front axle is a bit too much set back. I need at least longer lower arms to solve this as I'm maxed out with caster adjustment shims. -
https://www.rockauto.com/info/43/TS10077C__ra_p.jpg
-
The photo from my previous post is of the parts I actually used, and worked perfectly. If you check the next photo on RockAuto, you clearly see the notches to orient the connector properly.
-
But the weird thing is, once warmed up the EGR turns on and off as it should...😞
-
With the extreme cold we've been getting the last week, I noticed that my 2.5 was having a hard time starting and stay running. According to the REM, the EGR is always on when I'm having trouble, leaning out the engine. If I don't give it some gas, it runs rough, the idle goes down and stalls on me. On the rare times the EGR is off on start-up, it starts and runs great, has a high idle and rich mixture that settles once the engine warms up. What conditions must be met to trigger the EGR? Also, once at operating temperature, I noticed the idle getting just a bit rougher when the EGR kicks in, with a hint of a hot oil smell everytime. Any ideas?
-
IIRC, the power wire from the battery to the solenoid has a fusible link, right?
-
Is it possible to save these armrests?
OldSch88L replied to 87Warrior's topic in MJ Tech: Modification and Repairs
It's called Spray NINE, sorry for the typo. https://www.amazon.com/Spray-Nine-26832-Degreaser-Disinfectant/dp/B0014COKYU Here's a link on amazon. -
Yep; plastic frame riveted on a metal cross brace. The foam pad is glued to the plastic and then the vynil is heated, glued and stretched over the pad.
-
Is it possible to save these armrests?
OldSch88L replied to 87Warrior's topic in MJ Tech: Modification and Repairs
I always get my interior parts looking brand new with Spray Mine. Just make sure to thoroughly rinse it with water to neutralise it once it's clean, otherwise it'll feel sticky and pick up skin oils and grime even worse. -
Ah! Reminds me of an MJ I saw in my area on marketplace a couple of weeks back... I try to stay up to date on prices and the few Comanches changing hands in my province. In summer 2020, there was this maroon, 2WD column shift 4.0 '88 long bed, slightly rusty with faded paint and rusty floors for sale for a cheeky (so I thought at the time) 6500$CAD. The guy who bought it patched the floor, did the brakes and put some Bassett wheels on, and put it for sale early october this year for 10500$CAD. Something like 2 weeks later, it pops up again for sale, from another guy in another city, this time in black. Fresh out of the spray booth with a quickie paint job; everything got hosed black, including all the trim. That shady guy even threw on some 4x4 badges, but he included a pic of the undercarriage where we can clearly see that the t-case, front driveshaft and diff are all missing. The price? Well 23500$CAD of course! Last week it was down to 18000$. The nicest unmolested survivors hover around 6000-9000$ around here, so I hope that seller has some patience!
-
Key Parts rear wheel arch patch
OldSch88L replied to howeitsdone's topic in Vendors- members making products for MJs
OMG WHAT??? My rear fenders have been repaired before (read "bondo'ed") and are now bubbling badly. I learned how to make patch panels in my auto body course a few years ago, and I can hold my own, but getting close to my frame/body/paint part of my restoratiion, I was deeply dreading this part!!! This post not only made my day, it made my whole year! -
Got one of those myself! I thought about doing a diesel swap before I got my 2.5 running, so when I saw a diesel XJ at the junkyard, I snatched it. Turns out the 2.5 runs so good (contrary to the P.O.'s saying) that I'm now on the fence as swap goes, and torn between keeping or selling the cluster...
-
Vent window seals available new?
OldSch88L replied to Jlindsey86's topic in MJ Tech: Modification and Repairs
Not to my knowledge; I'm in the same boat as you..😕 -
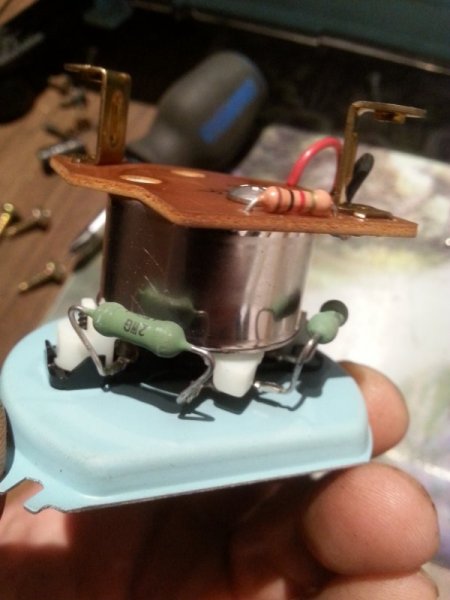
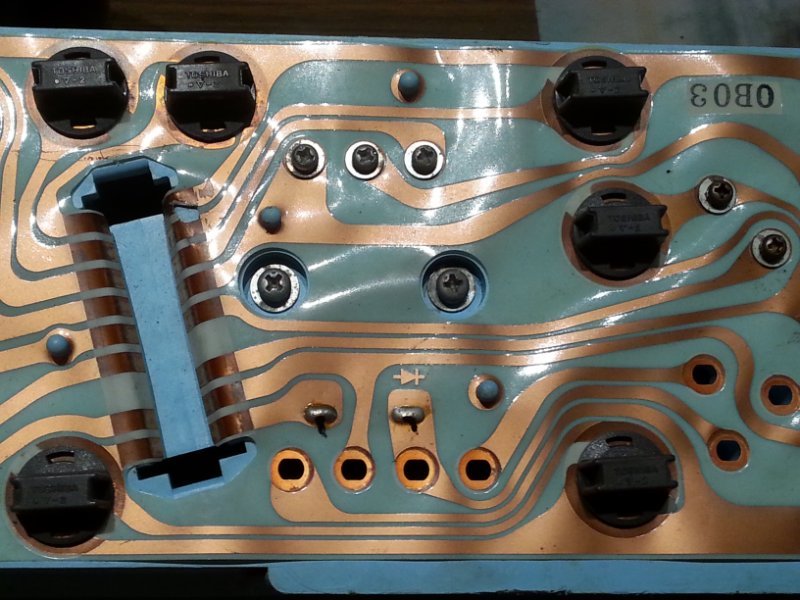
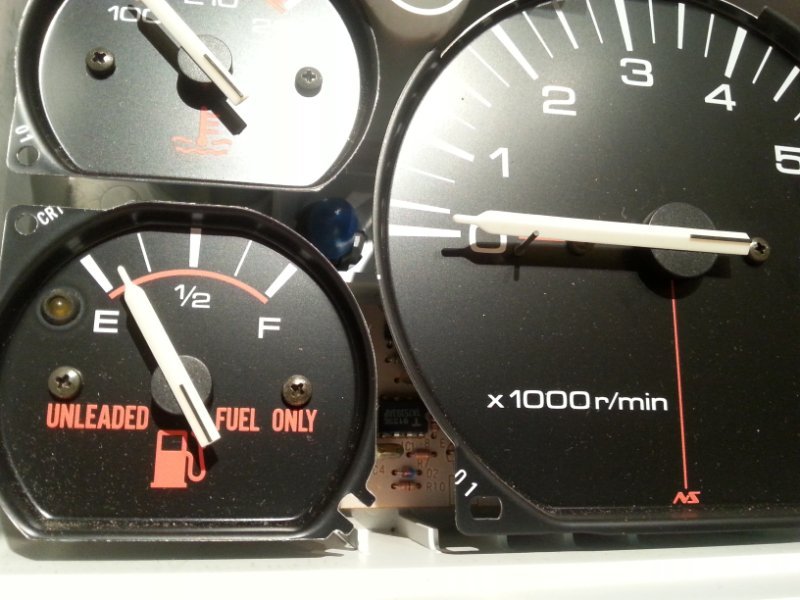
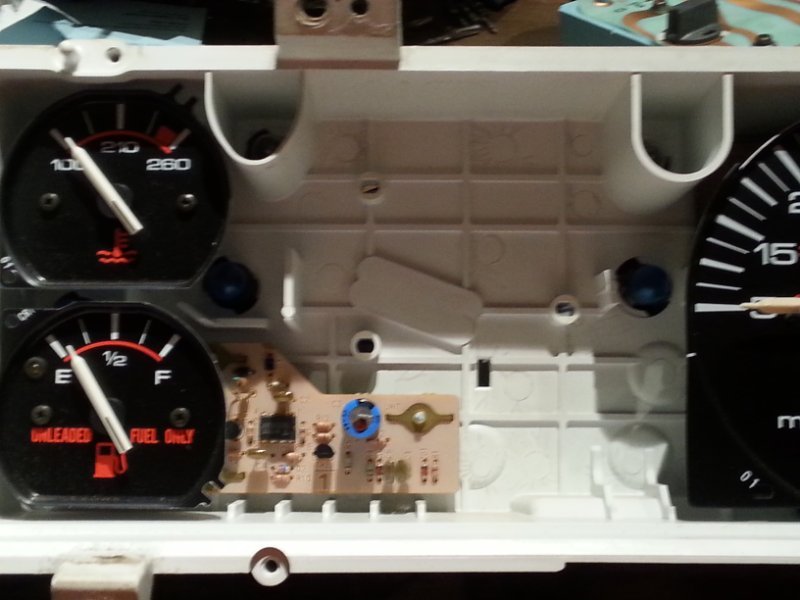
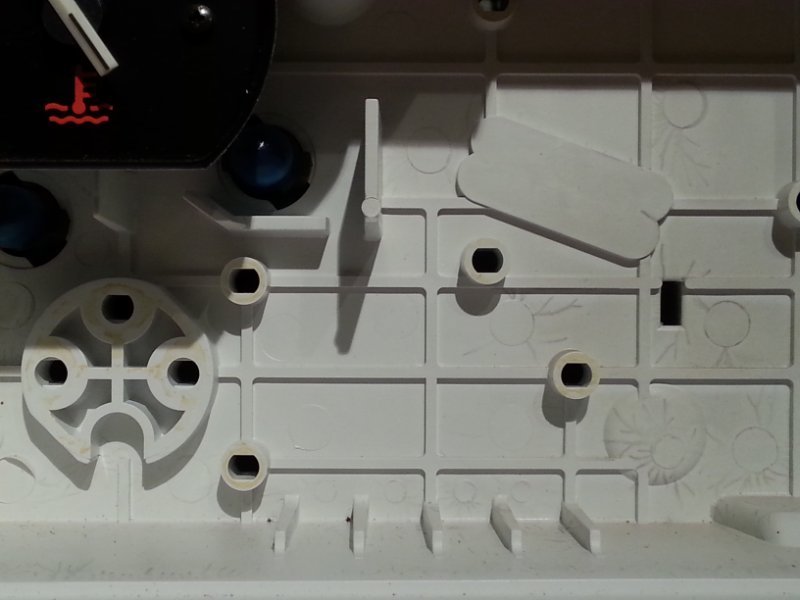
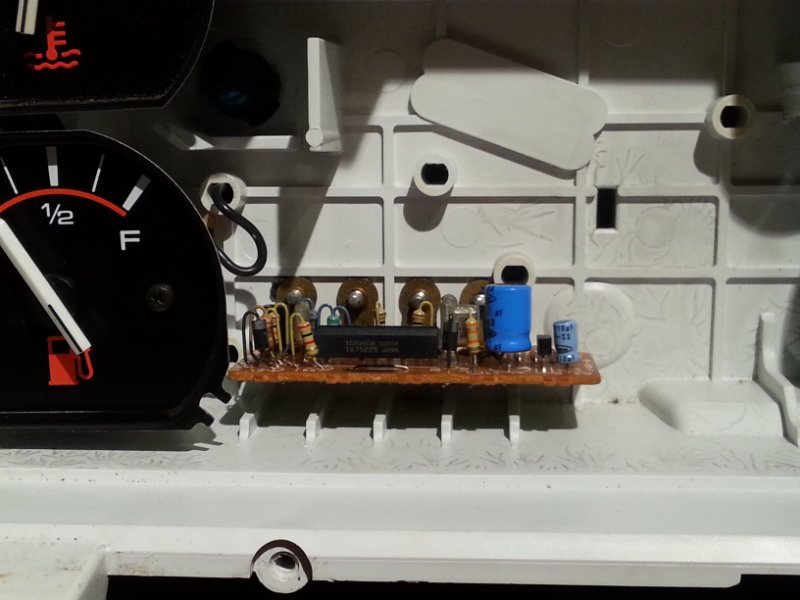
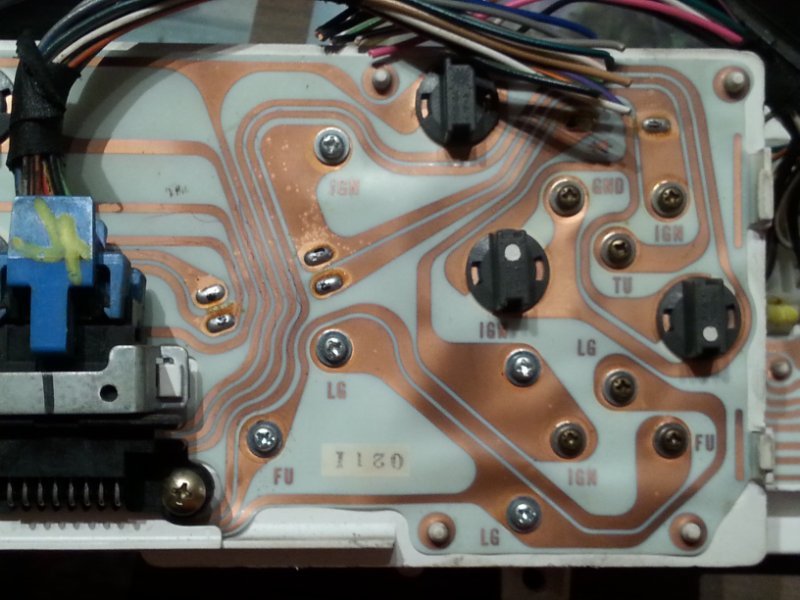
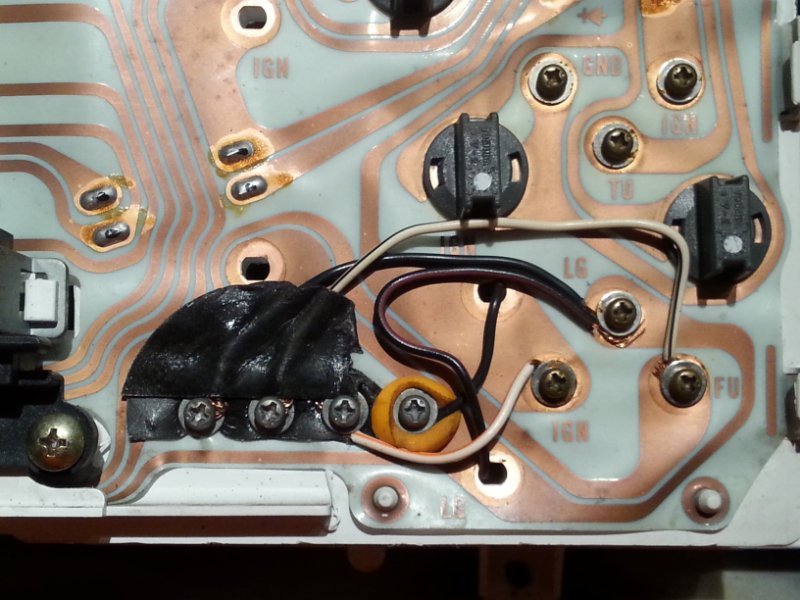
Just got done testing and everything finally works. This is for those who want a full cluster with electronic speedo in a Renix era Jeep, but also want a properly working gas gauge without sourcing a later model MJ fuel sender. As we know, a late cluster with a Renix fuel sender reads improperly, and backwards. I won't cover the electronic speedo convertion as info is easy to find, consisting of 3 wires; power, ground and signal. So you need to harvest the fuel gauge and its PCB from a Renix full cluster. The late cluster housing is shallower, so you need to cut off the brass tabs from the Renix gauge. Those are also contacts, so solder some wires in their place. The PCB is held in the Renix cluster with these 4 side-by-side screws: By taking out the late cluster's tach, you'll see these ribs, which it turns out are perfect to locate the Renix PCB in the right spot. Mark and drill the holes. I've put in some 2-sided tape to make sure the screws don't touch any tracers on the flexible circuit board. Also, remember the brass tabs we replaced with wires? Well, we now have some unused screw holes in the late cluster that we can use to route them to their contacts. You can use the last pic for wiring reference. Also, I suggest small eyelets on your wires to make your life easier. There you go, have fun!
-
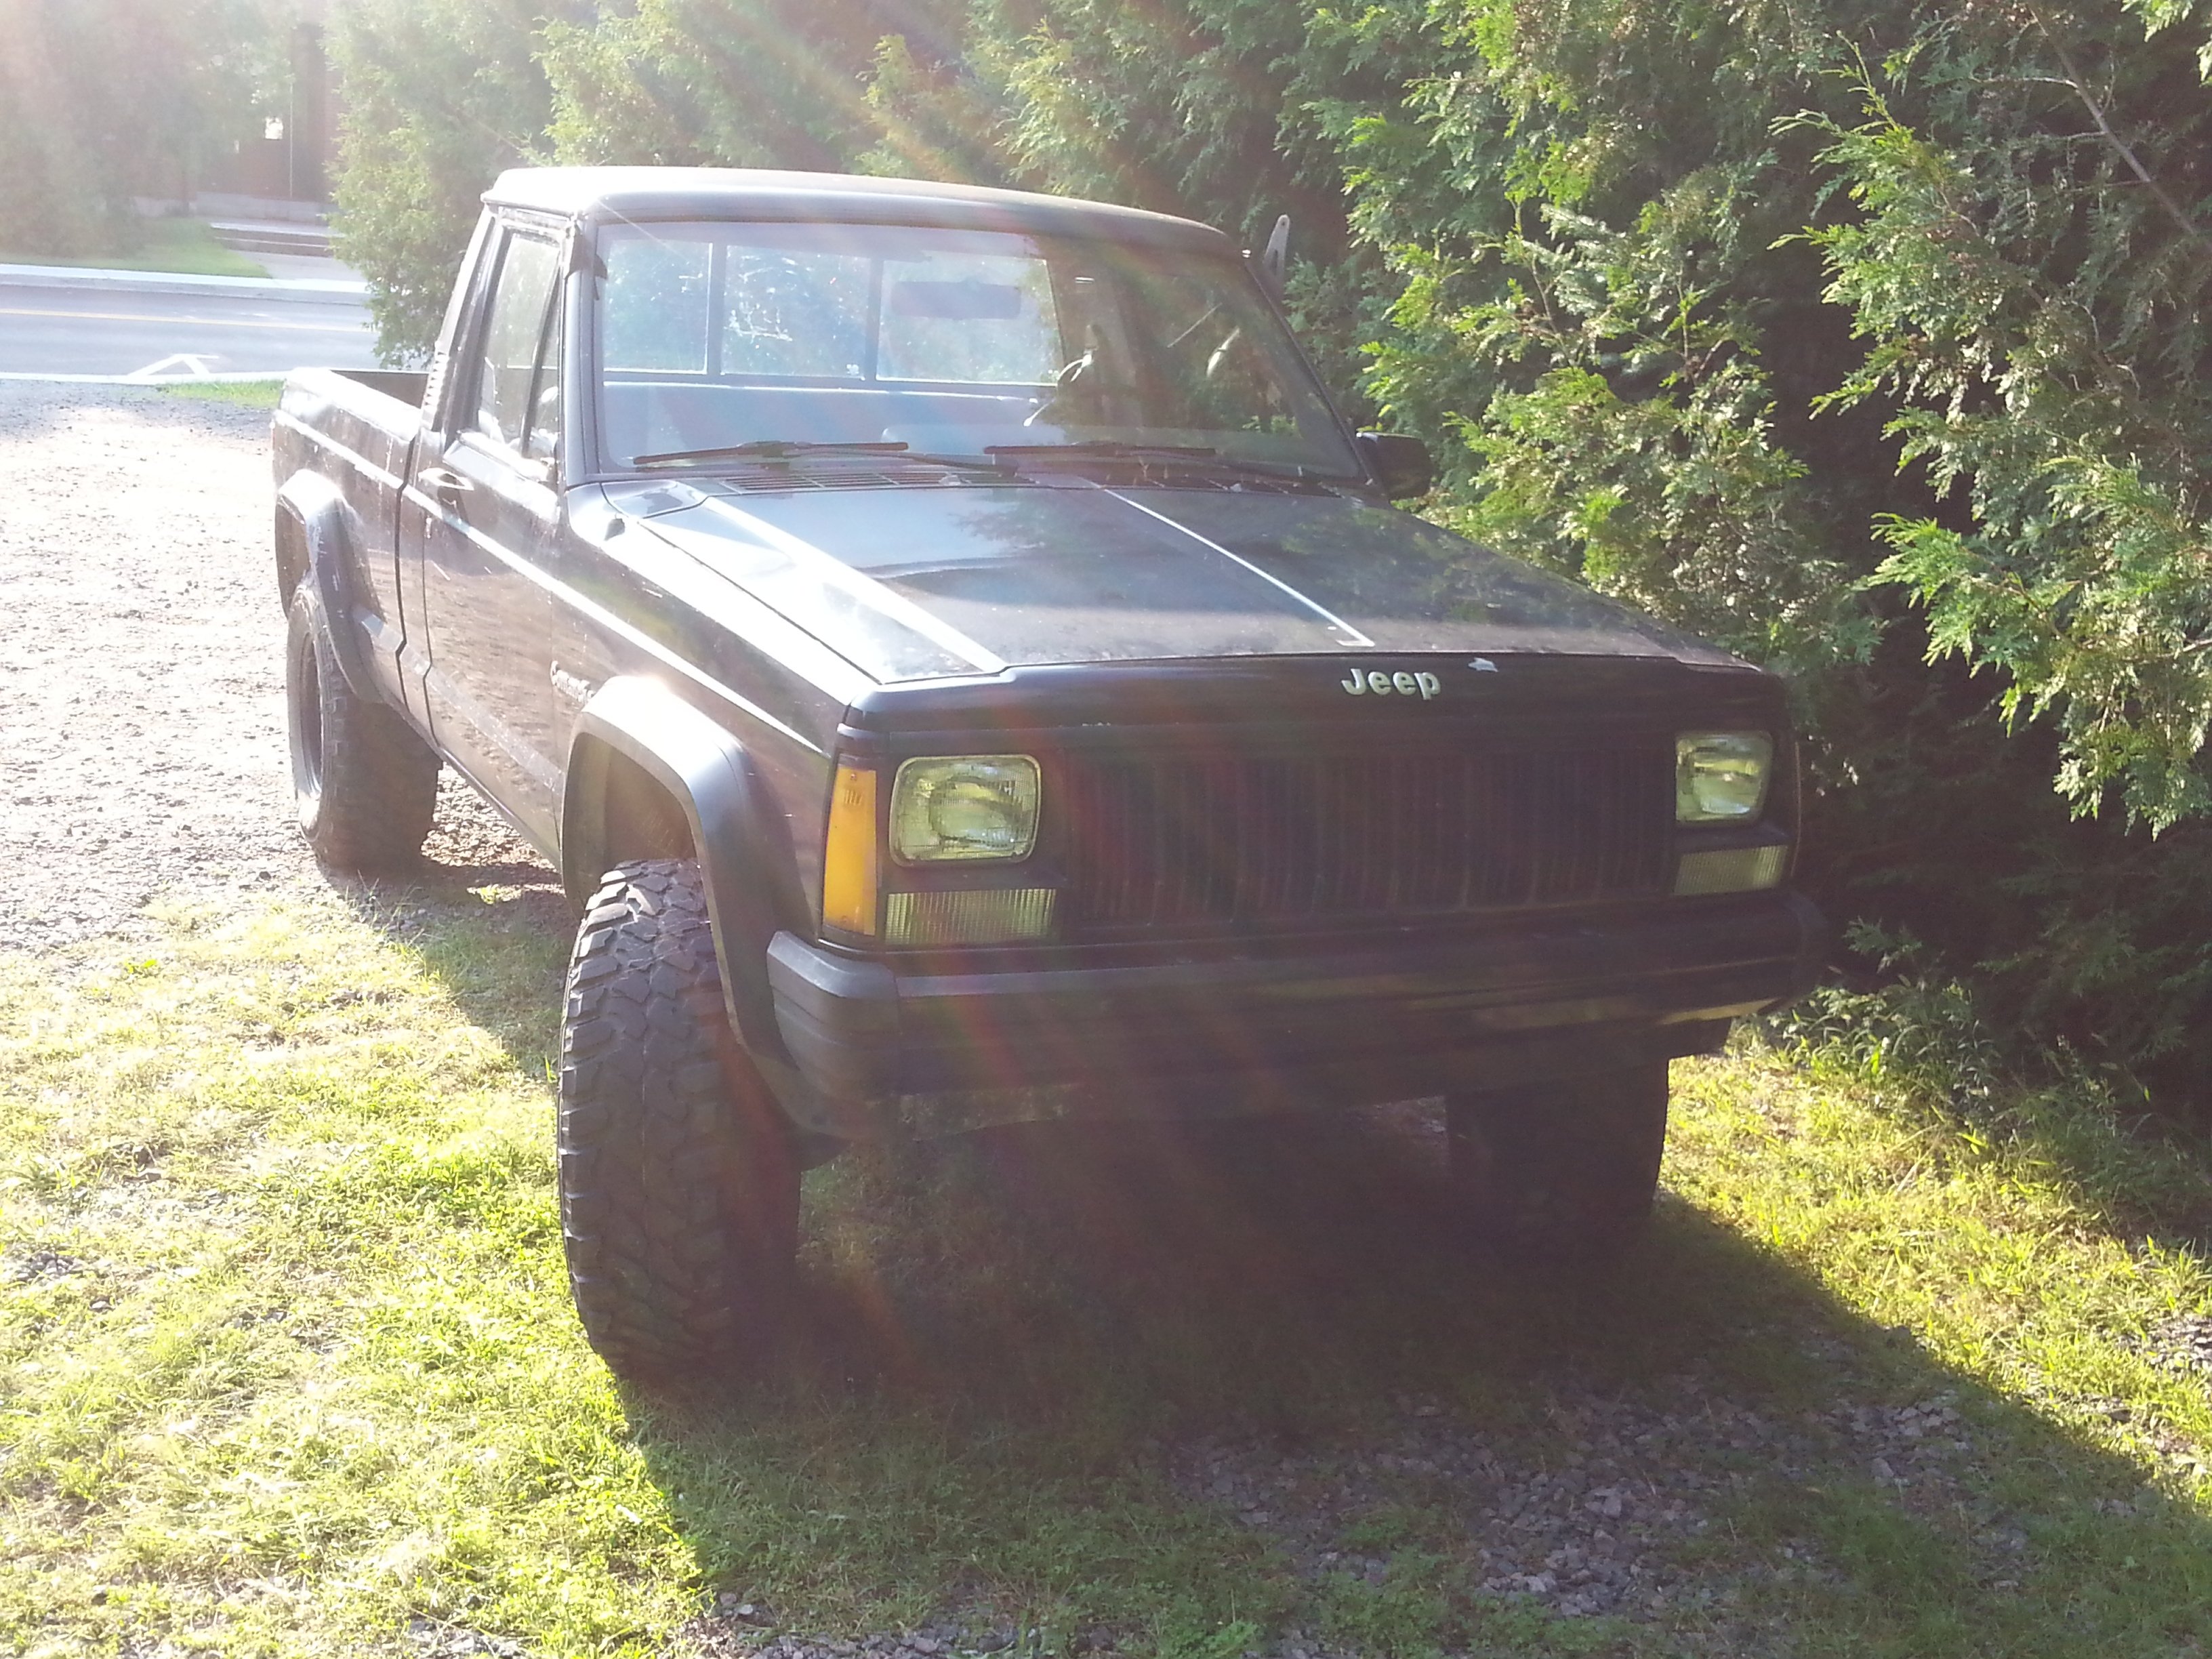
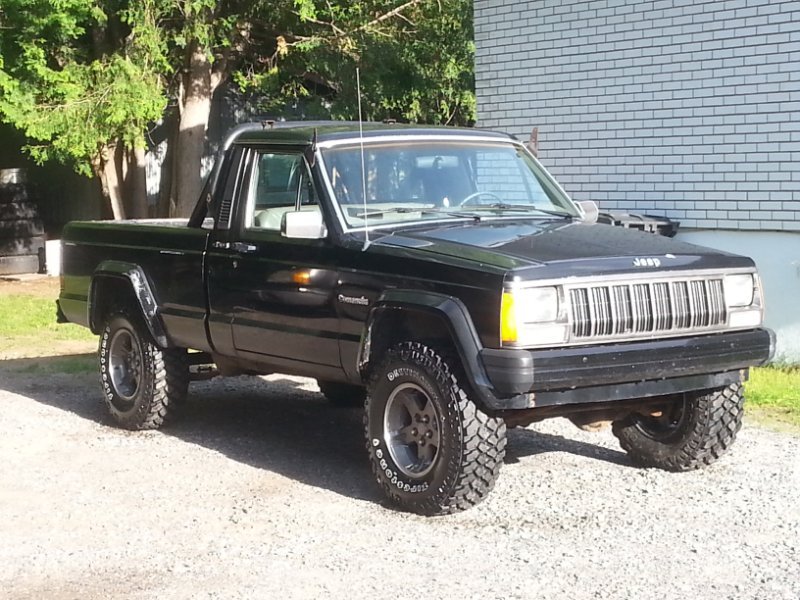
OldSch88L 's crooked 1988 Comanche
OldSch88L replied to OldSch88L's topic in Member Projects: Your Comanches
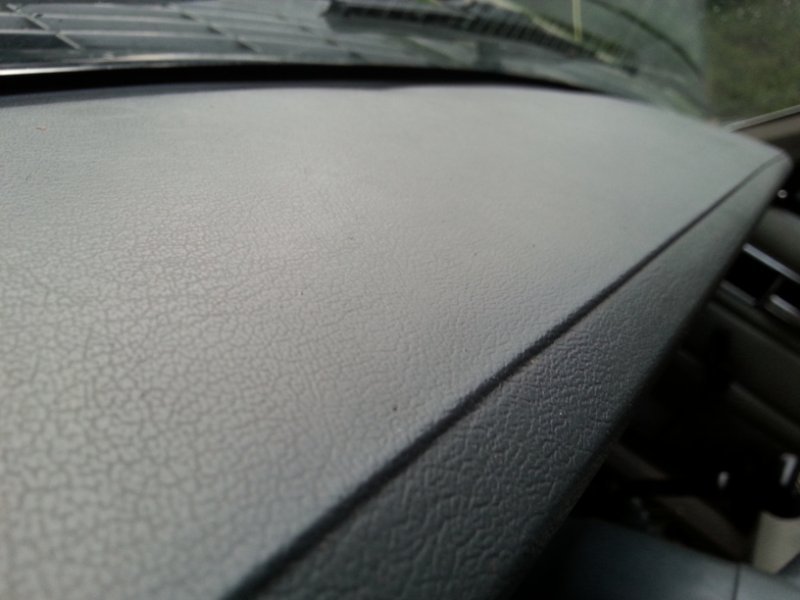
It's got a few cracks, and one of the ashtray's hinge tabs is broken, so the ashtray won't stay completely closed and sits crooked. A 1993 XJ just showed up at my local U-Pull yard, so I'll take a look asap! -
OldSch88L 's crooked 1988 Comanche
OldSch88L replied to OldSch88L's topic in Member Projects: Your Comanches
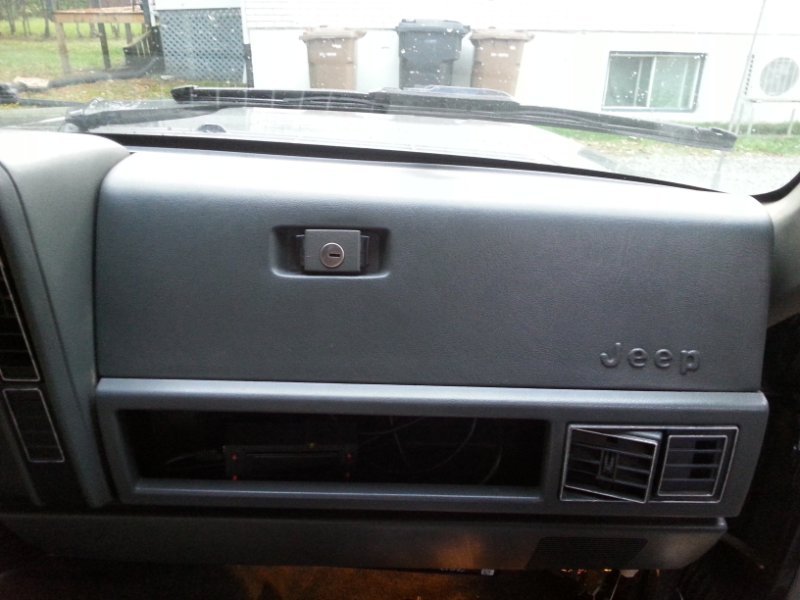
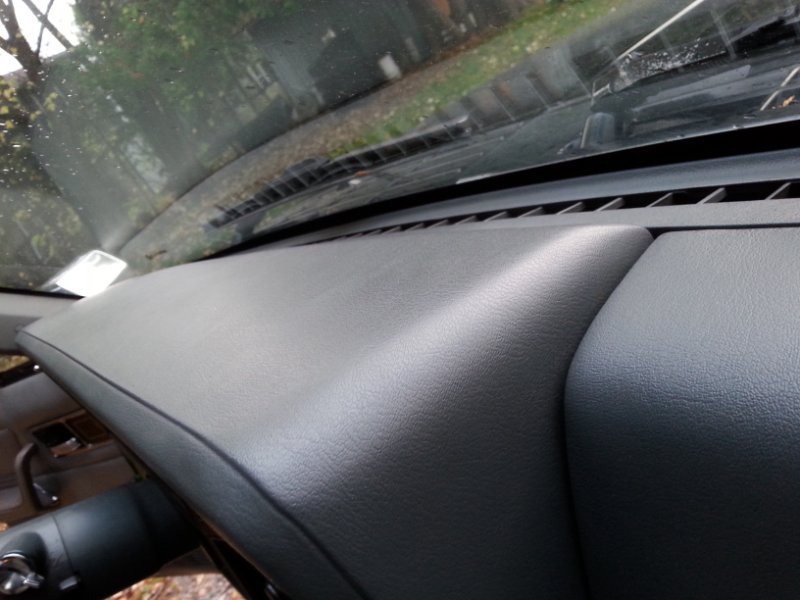
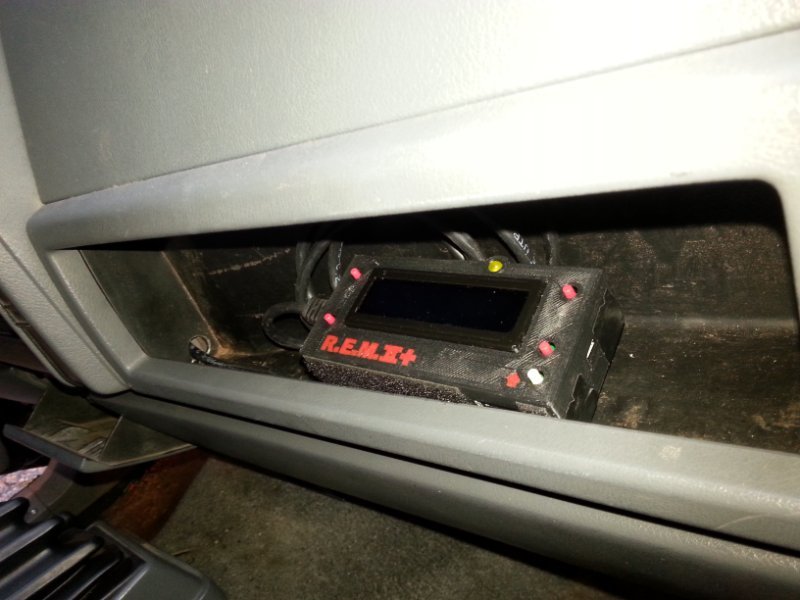
Well, the new dash is in for a short while, I just didn't take the time to take pics. So here whe are; while the dash was out, I also took the time to route and hide the REM wiring behind the dash, coming through the passenger side firewall grommet, and coming out in the cubby under the glove box. That dash is a real site for sore eyes, and I really love that new headlight sentinel function!! Now I just need to keep an eye on the incoming Jeeps to find an intact lower dash panel to replace my broken one, then the only remaining thing will be some minor seat cover repair.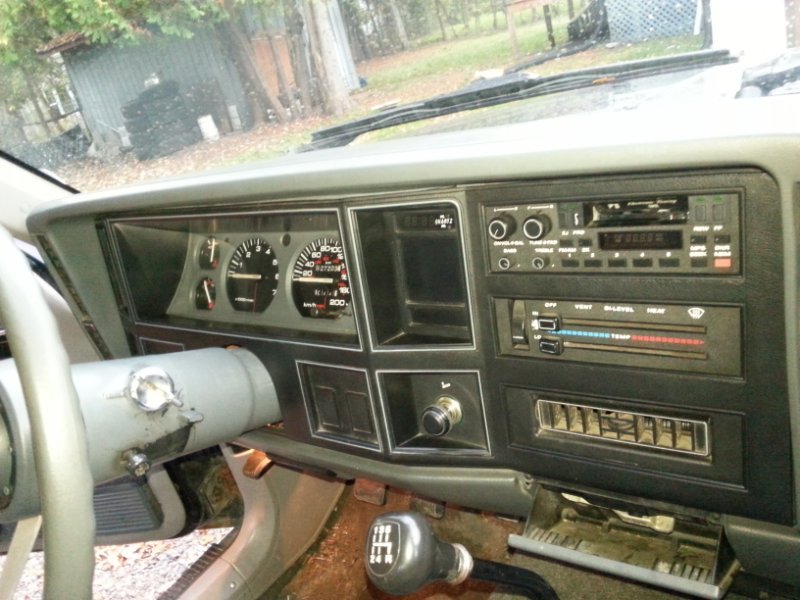
-
The only proper-looking thing I've seen is a body for those realistic looking RC rock crawlers. Otherwise, not much on the smaller scales. Even for plastic model kits, Jeeps are rare. There has been a J-Truck, ZJ, YJ, CJ and TJ model kits, but never any XJ or MJ, or even a kit with a 4.0 liter for that matter. I keep bugging companies such as Round 2 Models for at least an XJ model, but they seem more interested in creating those darn Star Wars and Star Trek kits...
-
I can't remember where, but somewhere on the web I found a pattern drawing for these shims; went through the scrap pile at work, and ended up making mine out from an old concrete saw blade. It's just shy of 1/8", put those in to free up some thin stock ones instead of buying more.