
OldSch88L
-
Posts
360 -
Joined
-
Last visited
-
Days Won
1
Content Type
Profiles
Forums
Gallery
Everything posted by OldSch88L
-
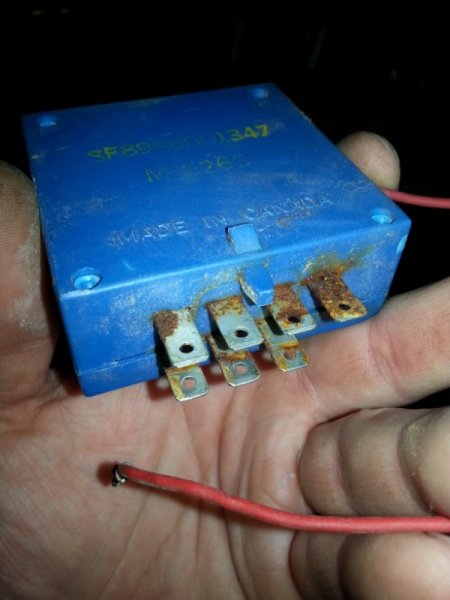
You guys are pretty much answering all my questions before I ask them haha! I was trying to figure out where that red wire plugged into,as I though it was just a regular blue module when I yanked it out of the wagoneer and only saw after that it had a wire hanging from it! Hope mine works, it looks a bit crusty inside...
-
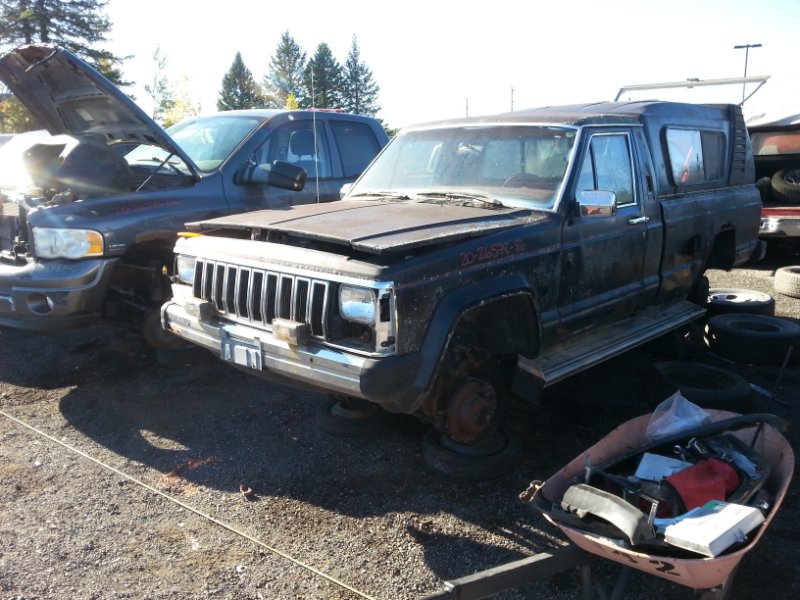
At the Kenny-U-Pull yard in Sainte-Sophie, Québec, Canada as of october 11th, 2020.


-
Yes it was an '86 IIRC
-
I couldn't get the window because of the bed topper, and I was by myself. The rear bumper was rotten and all twisted up, of course, like every other MJ I saw in junkyards. It's a shame because it was a factory chrome one. For the running boards I had no idea, I thought they were aftermarket! I might go back ans snatch them, but I don't remember exactly what shape they were in.
-
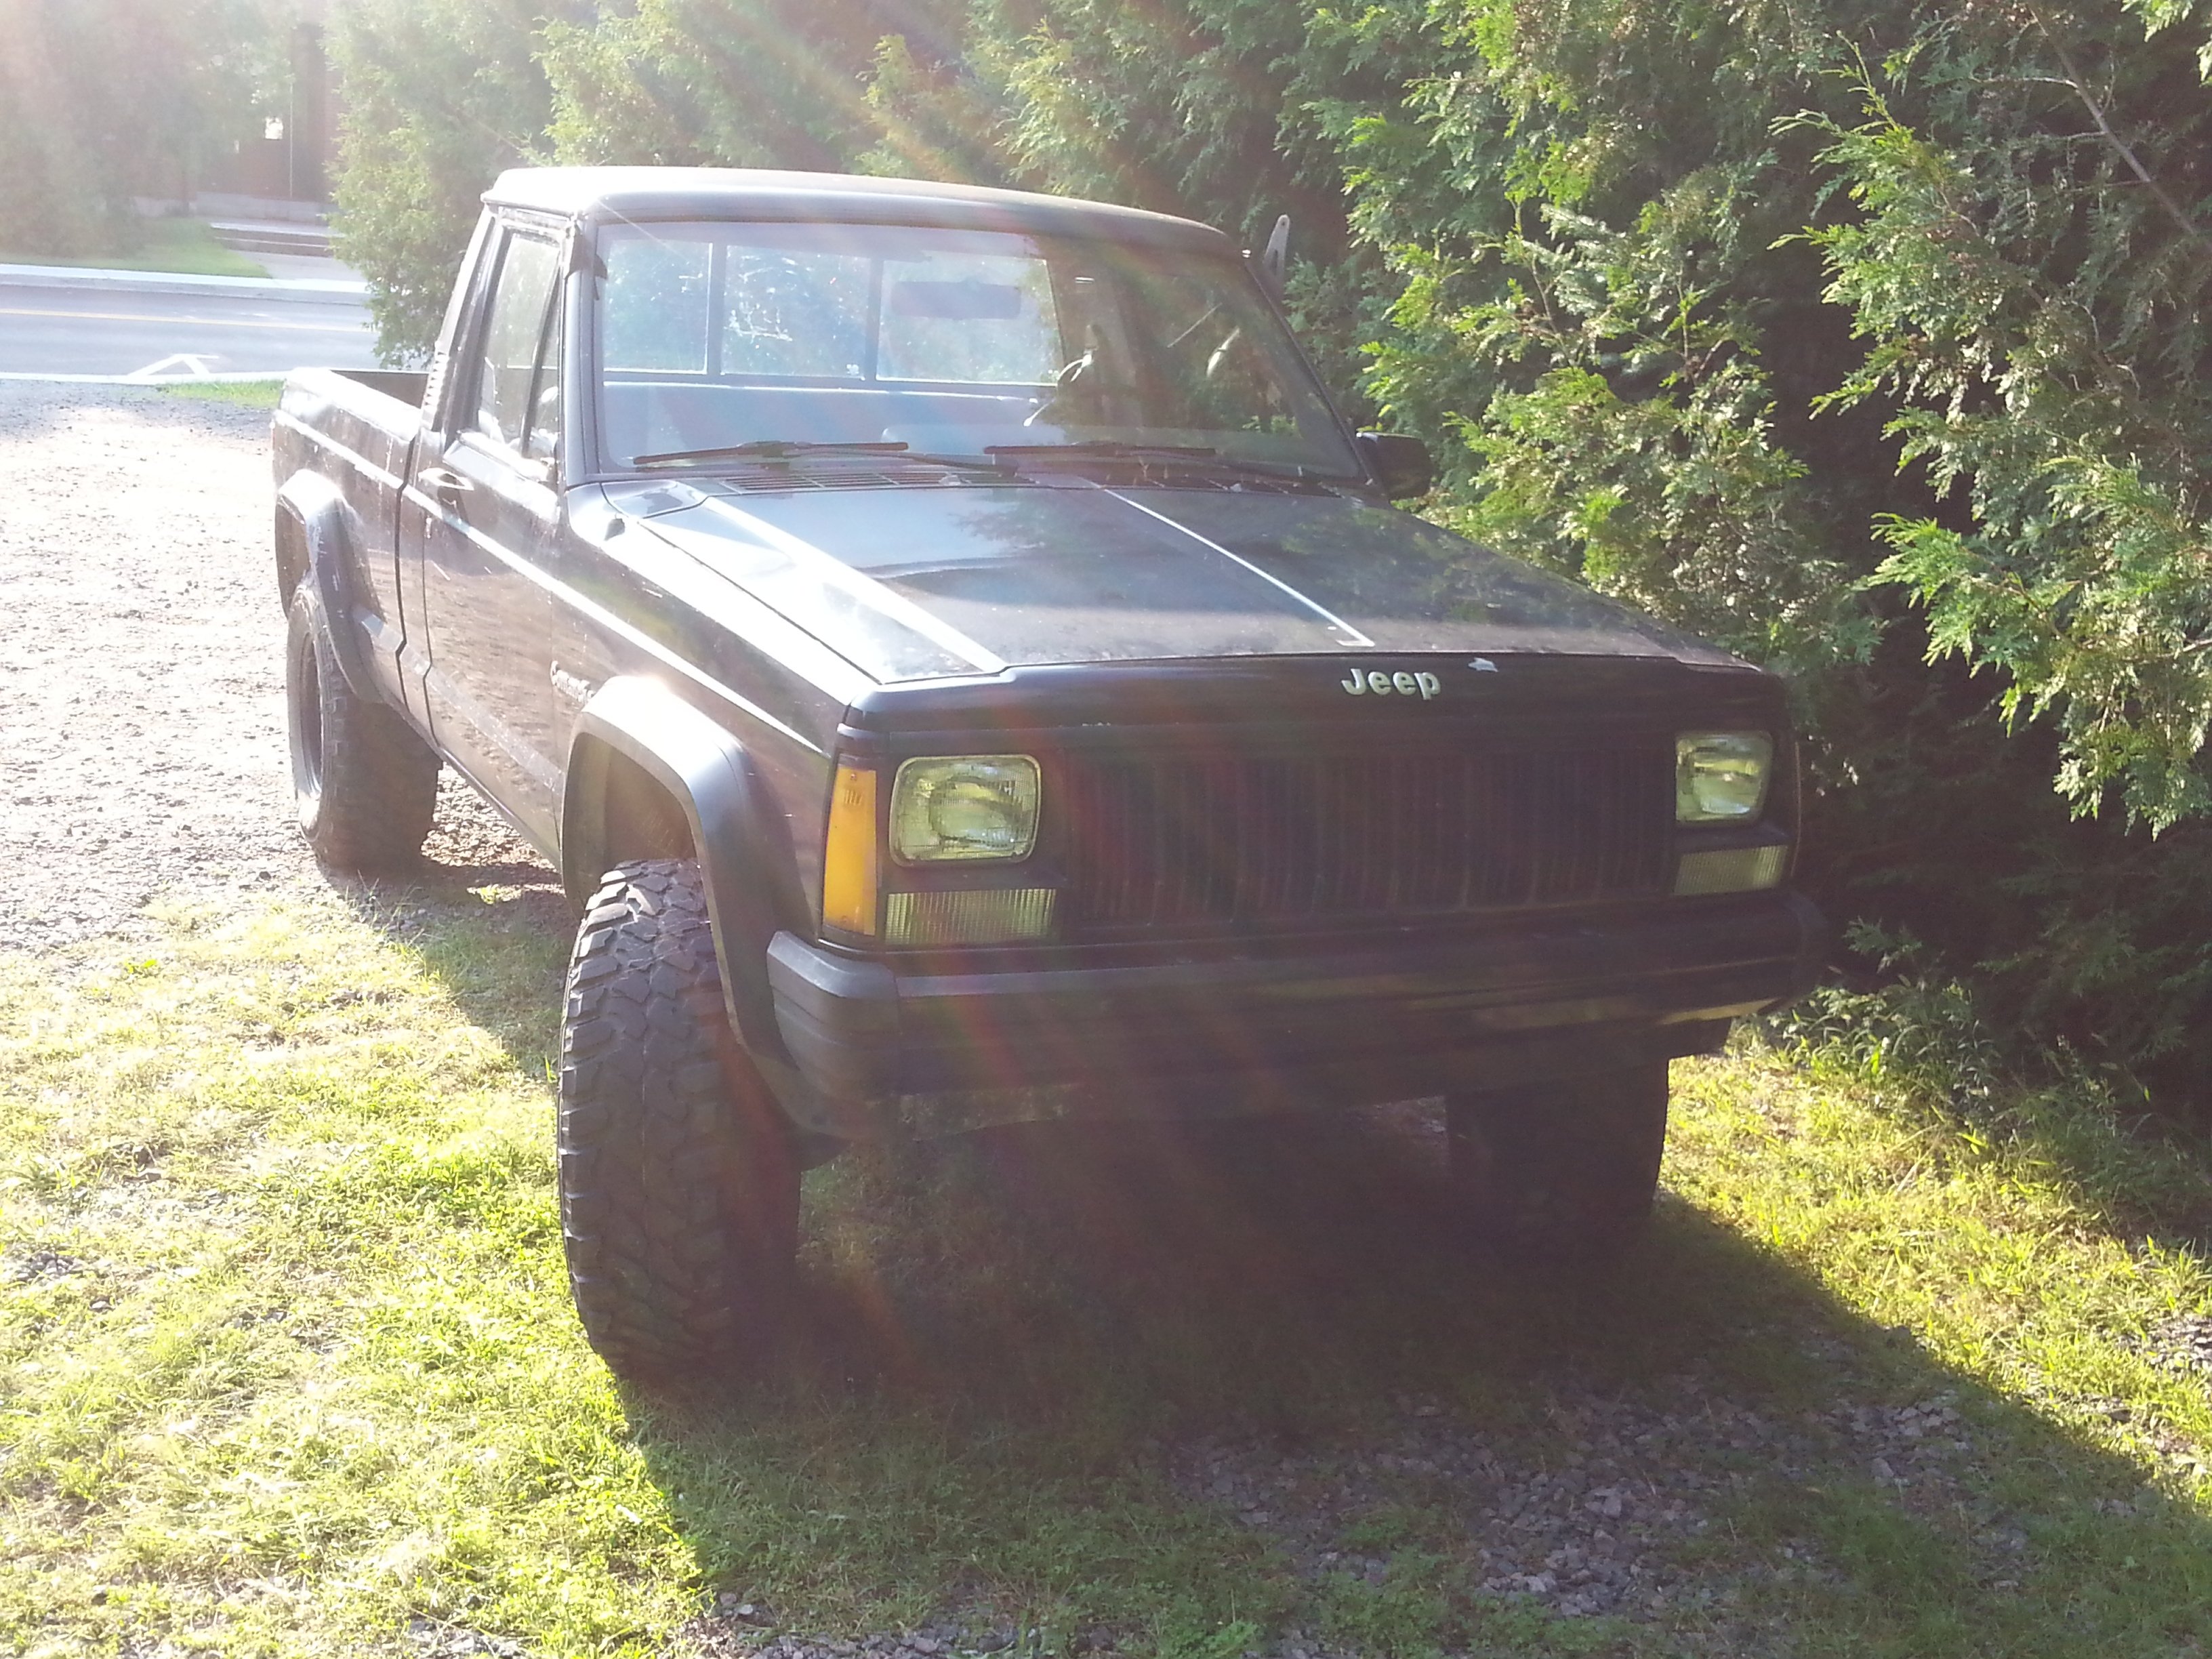
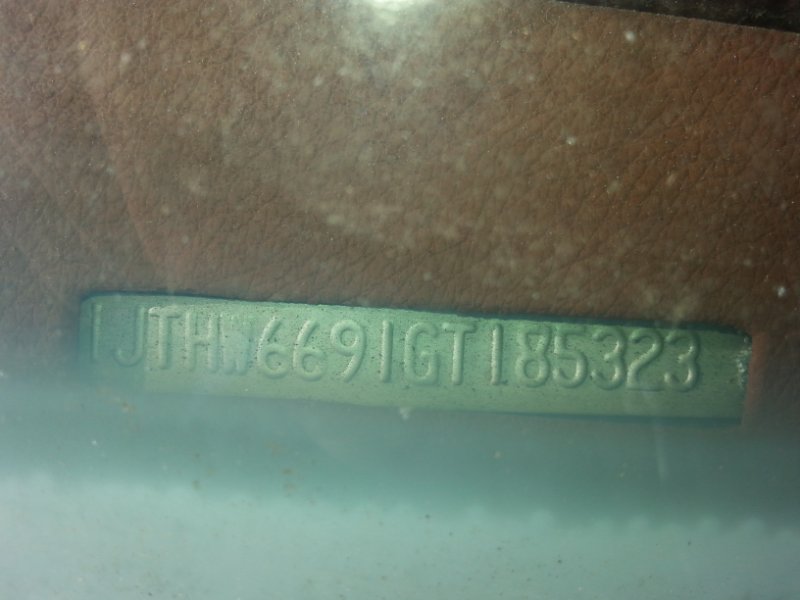
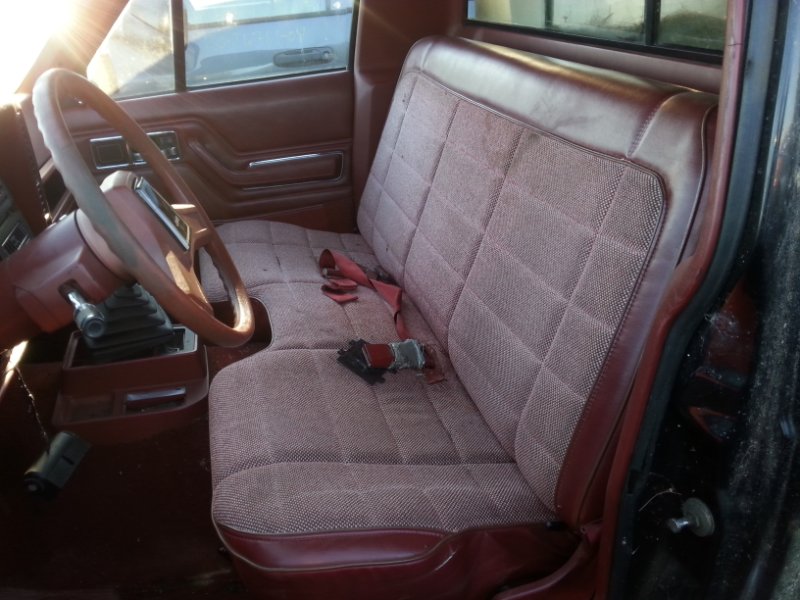
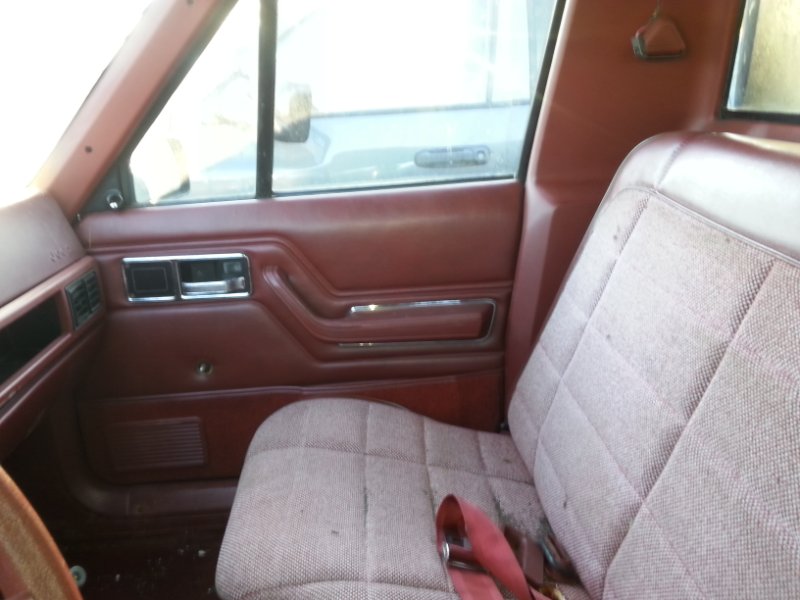
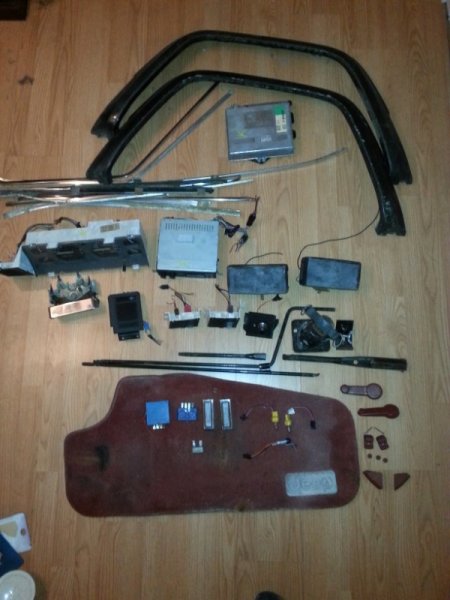
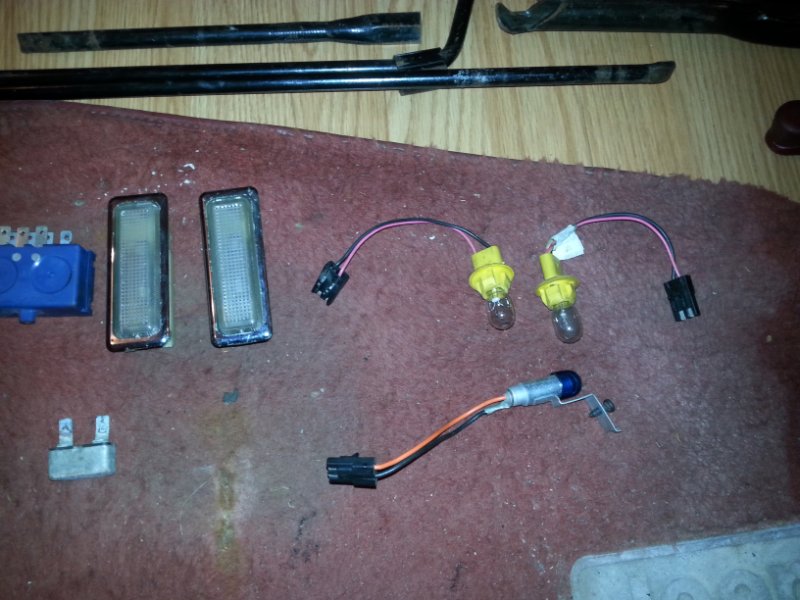
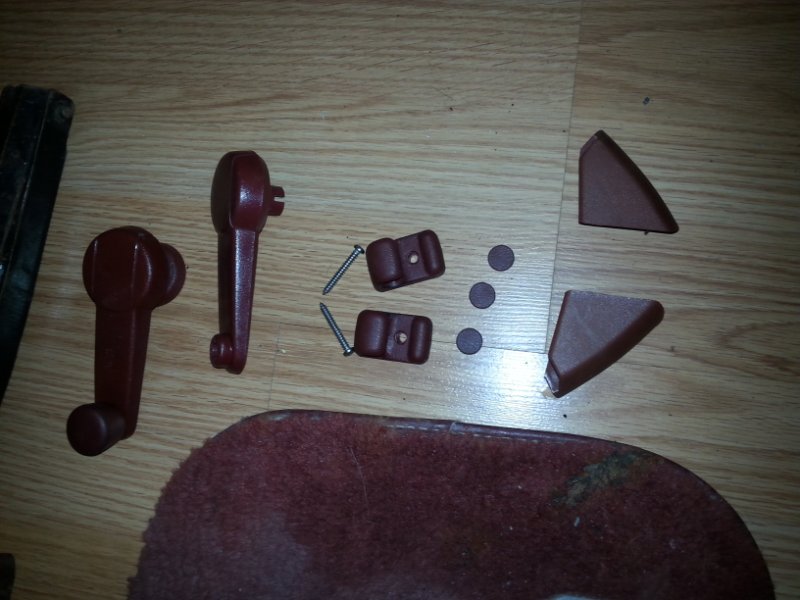
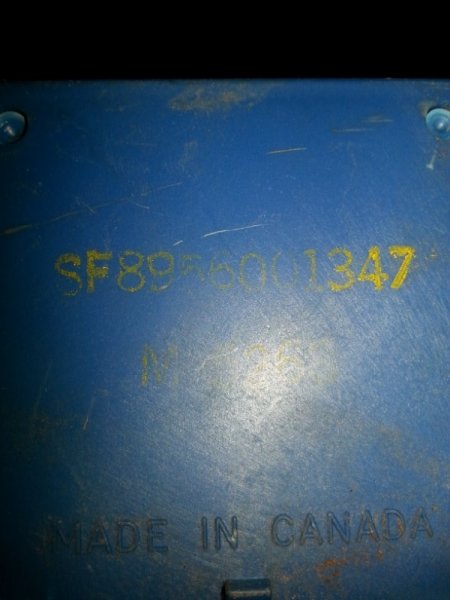
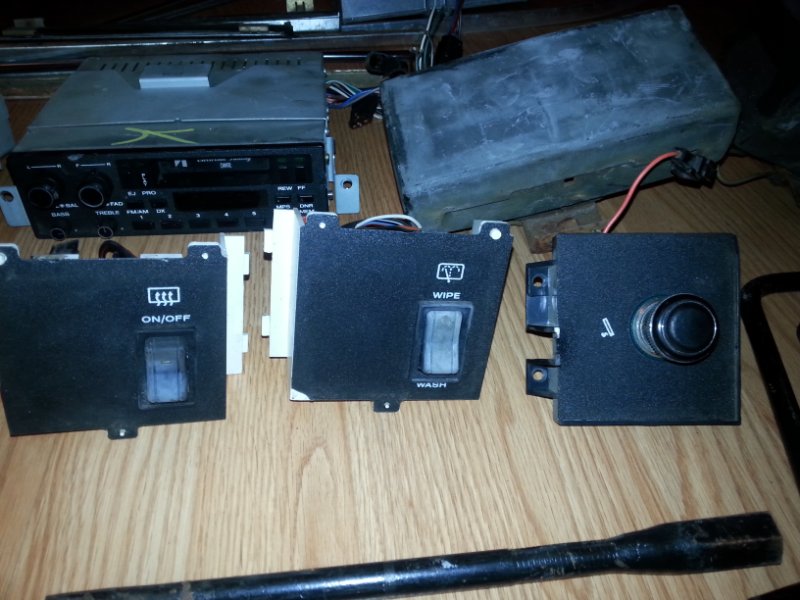
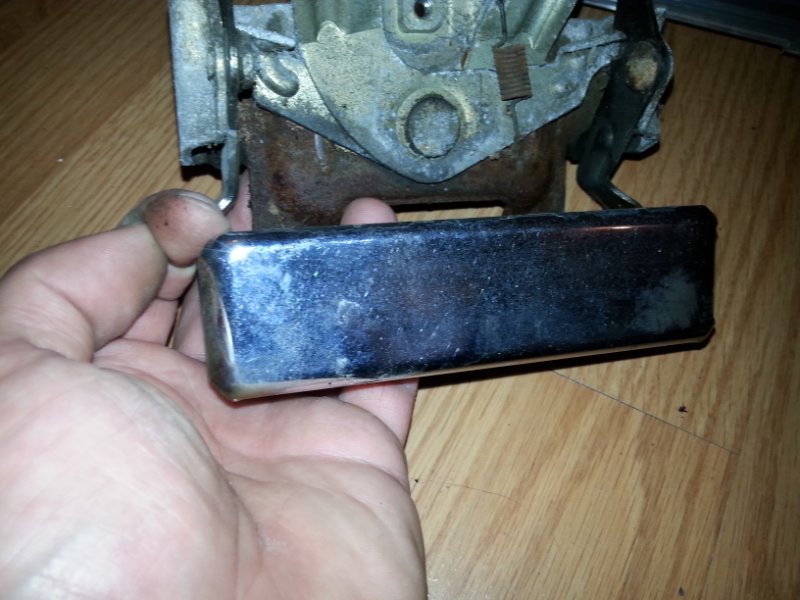
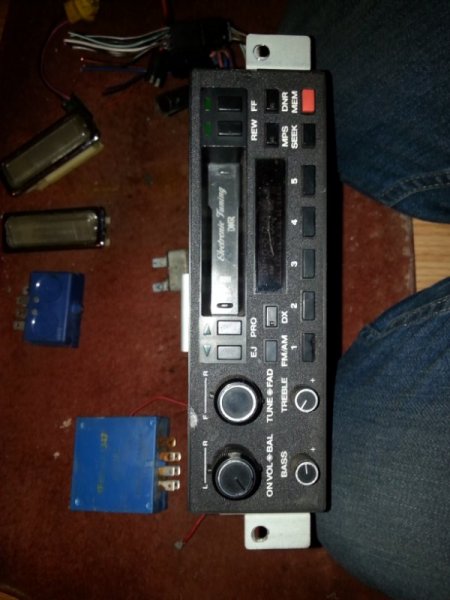
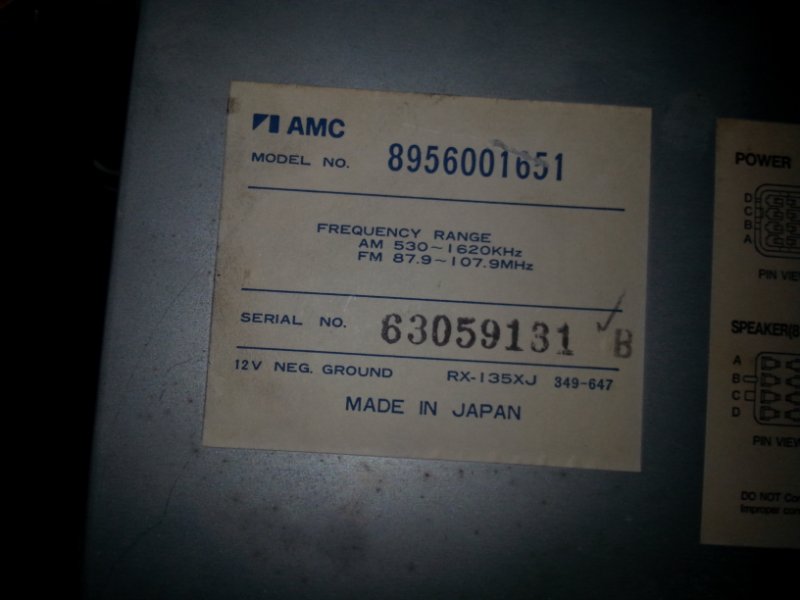
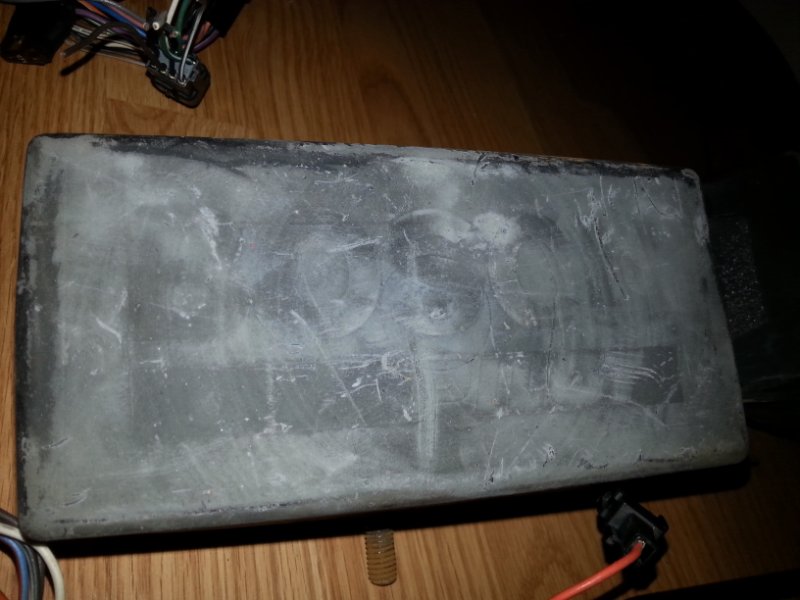
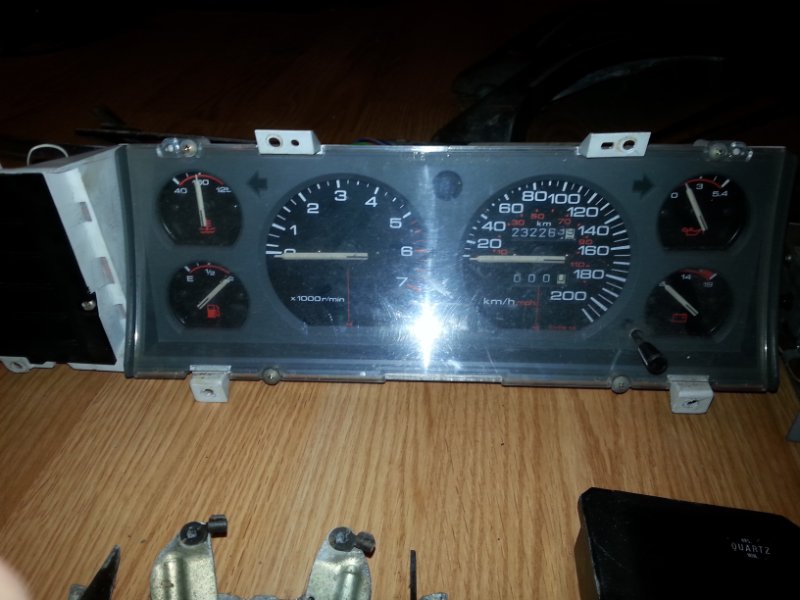
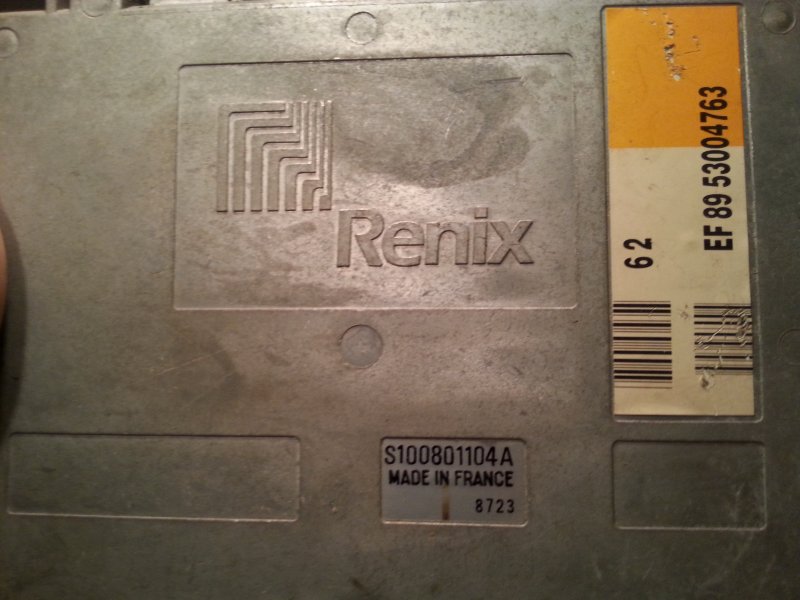
Some of you may know that over here in Quebec, Canada, Comanches and other vehicles from its era are few and far between because of rust. They're rare on the road and even more in the junkyards, so when I saw a Comanche, an XJ Wagoneer and a '96 XJ, I knew I had to go PRONTO, especially since the Comanche came in friday I think. I was like the 2nd person to get to it (which never happens usually), since it was already missing the cluster, but it was otherwise complete. Pretty sad cause this thing was in perfectly restorable condition and the interior was pristine, no smells, no cracks in the dash or the seat's vinyl section, and no tears in the bench's cloth. I scored a nice set of rear flares, all the window chrome parts which are moldy but otherwise no dings or pitting, a 2.5L Renix ECU, a sweet AMC cassete deck, chrome tailgate handle, a pair of Bosch driving lights with their original covers, but the reflectors will need restoring, a clock, courtesy lights, ashtray ans cigarette lighter lights, rear wiper and defrost switches and lighted panels from an XJ that I might use for fog light switches, factory Comanche jack and tools, two blue door chimes including the weird one with a red wire (?) that came from the XJ Wagoneer, window cranks, a pair of elusive visor clips, a nice set of pillar lights, grab handle screw covers, another wiper fuse or relay, a couple of round screw covers for the interior trim, and an OEM driver's mat, the passenger one was sadly gone. Oh, and I couldn't leave the XJ's deluxe cluster behind, so now that I found one in Km/H, I'll eventually sell the one in MPH that's presently in my Comanche. Some of this stuff will also eventually be for sale. So now, time for pics! I also took a shot of the VIN in case EagleScout wants to do its thing!

-
Really? I'll give it a shot since I've got both on hand! However, PB has been very good to me until now unlike WD40...
-
Good idea about drilling holes to stop the cracks. Also, something I've been thought in my auto body classes is that when welding something thicker like a frame, you should bevel your edges. Or in your case, try taking a thin cutting disk and bevel the crack. You then fill the bevel when welding, it might take 2 or 3 passes depending on the size of your bevel. You'll get better heat penetration and your repair will be spread over a slightly bigger surface. If the P.O. only welded on top of the crack, it's possible that it wasn't hot enough to melt the metal completly through and weld properly, leaving his repair only near the surface, and if he also ground it to make it flat, well, there's not much left to strenghten the crack after that. The unibody cars we practiced on at school commonly had 16-gauge "frame rails" IIRC, and teachers said we needed plenty of heat, and our little Lincoln 180 barely could keep up, so that technique also helped mitigate that. Oh, and a typical bevel should be 45 degrees each side of the crack. Hope this helps!
-
Also, simple but important tip I've learned the hard way. Don't wait until you're screwed before using PB Blaster and/or heat. Save yourself the headache and soak it in PB Blaster before attempting anything, and when ready to take it appart, heat up the nut before wrenching on it. I've been so many times in a world of hurt that as soon as I see a bolt/nut that looks remotely rusty, I do this now and save a lot of time. Especially on my Jeep, which I'm considering naming Murphy, because like Murphy's Law, everything that can go wrong, will go wrong
-
Will defenitely follow his thread since I want the same thing eventually. Just to be clear, other than adding a fairlead, these hidden winch mounts should let you keep the stock bumper, right?
-
Well I have a Dana 44 rear, but was able to buy "thick" gears, while in the D30 front I had to buy a new carrier because there was only standard thickness available. Note that both my axles came from a 6-cylinder truck with 3.07s, so 4.56s were past the carrier break on both axles. So, with a D35 with 4.10s, I don't know right off the bat if 4.88s will fit, nor do I know the carrier break for its 4.10 carrier. BTW, carrier break is the maximum gearset ratio you can put in before needing a different carrier. As the gear ratio numbers increase, the ring gear gets bigger, but the pinion gets smaller. If the pinion gets smaller, you must get the ring gear closer to it; so either by getting a thicker ring gear to compensate (if available) if you go past the carrier break, or get the proper carrier, which will have a thicker mounting surface that will allow you to get even crazier gears
-
I'm running 31s and regeared to 4.56s, and it's bang on like stock. So off of my head, I'd also say 4.88s for 33" tires.
-
Does it leave an oily shiny film like Armor-All and the others?
-
Alright, my time in the auto body industry brought me a lot of neat tips and tricks for both bodywork and cleaning/esthetics, but I can't solve this one. The old rubbery plastics like the steering wheel rim and door armrests were caked with crud, so my usual trick is Spray Nine which brings them back to as-new condition and color. However, the parts stay somewhat sitcky and catch finger oils and dirt even quicker. Anybody know of a trick to neutralize or seal the rubber/plastic after cleaning?
-

The be all end all radiator
OldSch88L replied to ghetdjc320's topic in MJ Tech: Modification and Repairs
Have you tried waterless coolant? -
Yeah, for now at least. With the way things are going, shipping is presently slow... I recently bought from Schardein, it shipped quickly through the US up to the border, and then kinda stalled at the customs. Took like 2 weeks and a half, so if I get paid this week, I'll get a used one shipped from a JY a couple of hours away from me, should be faster. However, if there's a snafu or something, I'll let you know if I need yours. Thanks again!!!
-
No worries man, I'm driving my beater Ranger for the time being. I just want my Comanche ASAP because first, I love the friggin' thing, second the heater absolutely cooks and the engine heats up fast whereas the Ranger may be starting to clog the heater core, and third, the clutch in the Jeep is in way better condition that the Ranger, plus the Ranger has an obnoxious exhaust leak at the flex joint that drives me crazy!!!! But I really, really appreciate youur offer; huge thanks to you good sir!
-
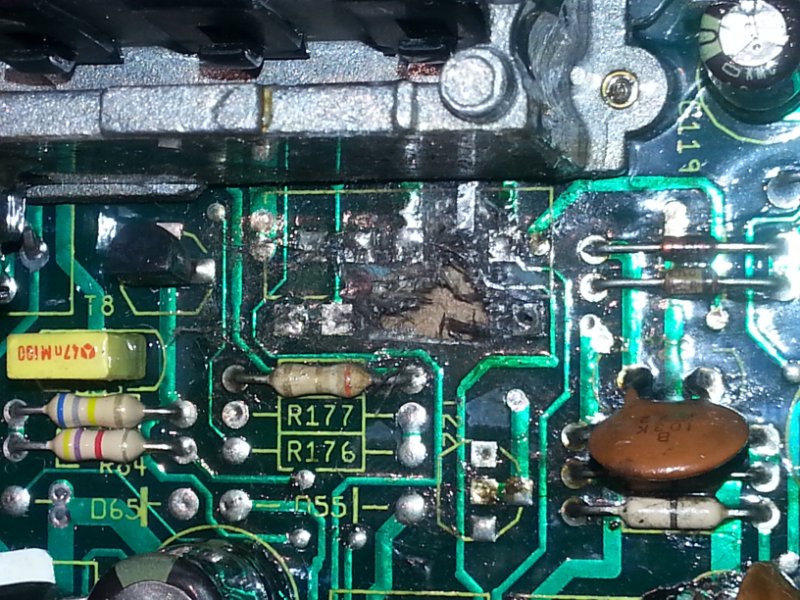
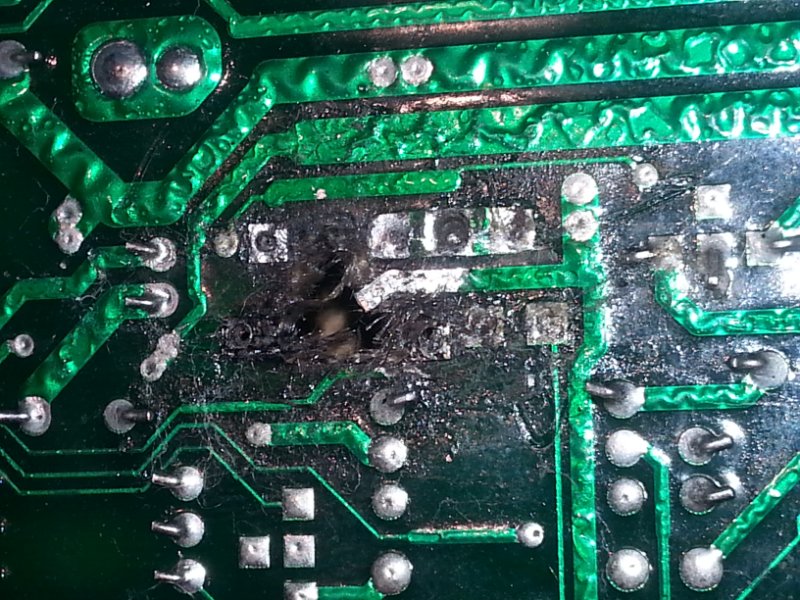
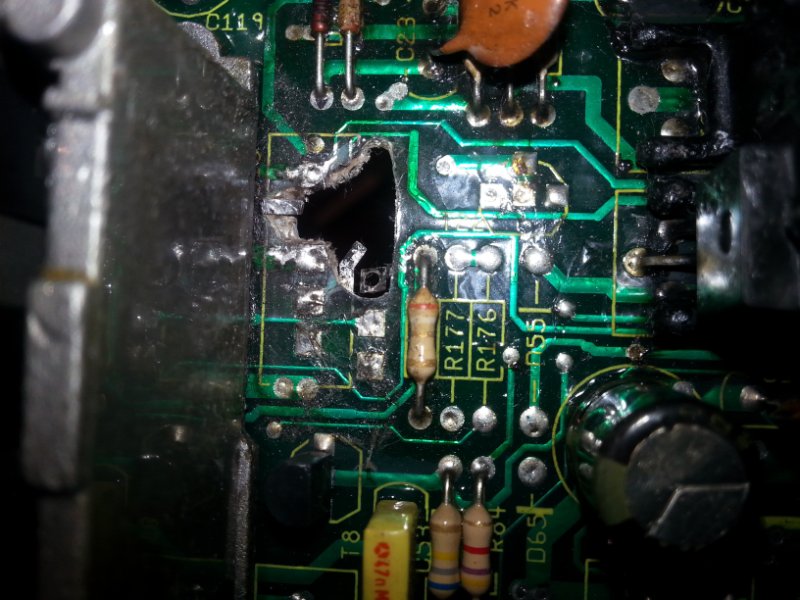
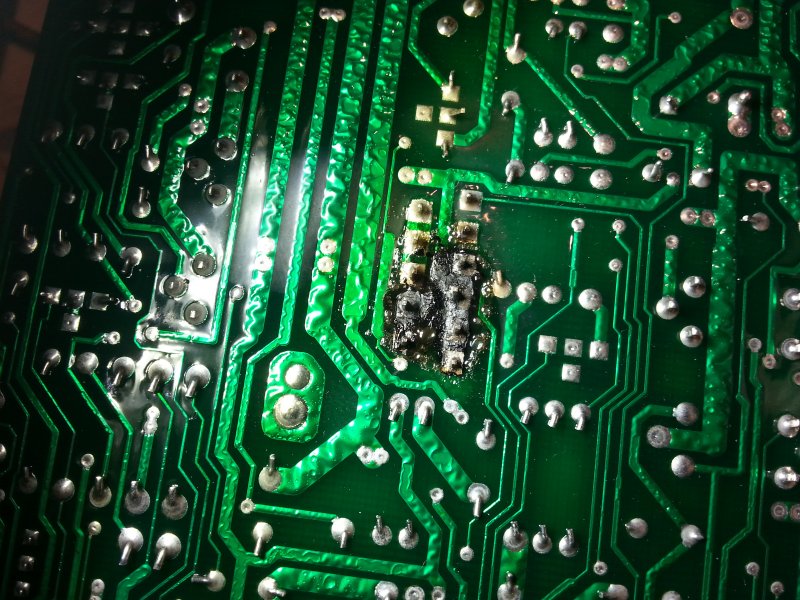
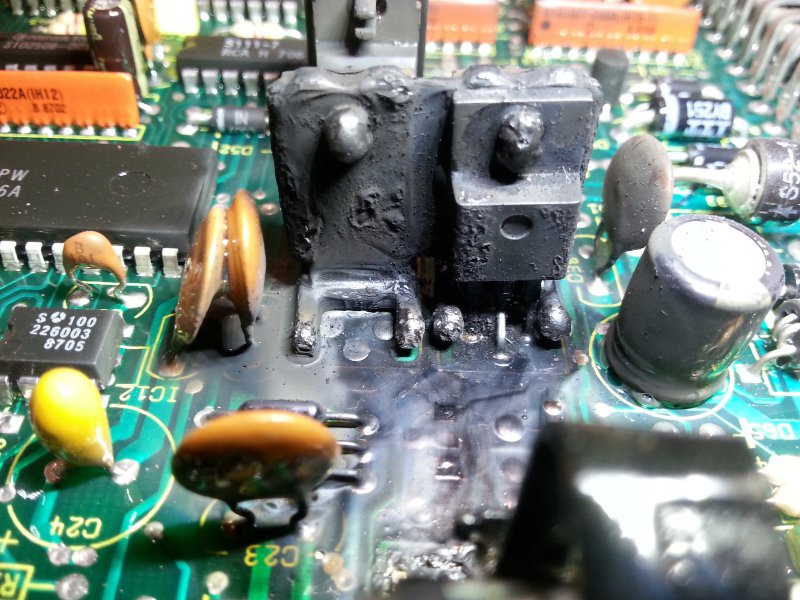
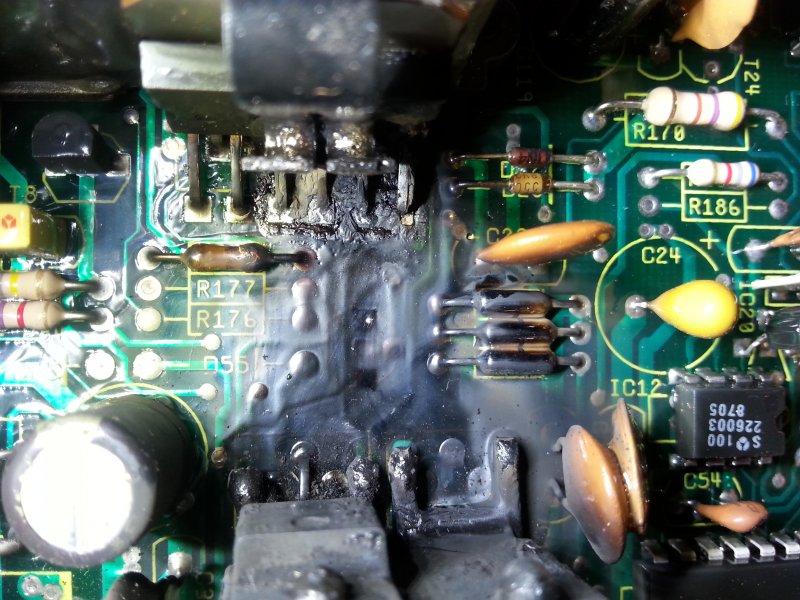
Hey guys, I figured I would give an update. I've spent some time online schooling myself about PCB repair. So far, I've removed the faulty chip, cleaned the soot, and scraped/cut away the charred board material, since it becomes conductive apparently. So I am left with what you see in the pictures. My employment insurance came to a stop without warning a few weeks ago, so I'm broke AF. Started a new job tuesday but won't have my first pay until this thursday I think, so I wasn't able to buy the new chip yet, plus I need a better soldering iron, fiberglass resin to rebuild the board as well as sourcing a place that sells copper foil tape to rebuild the tracers and "pads". Since this may take a while and I need my Comanche as soon as possible, I'll put this project on the backburner and buy a used ECU when I can. The good ECU will also be good for reference when rebuilding the tracers. No worries though, I'll pick up and finish this project as soon as I can! I figure it's gonna be a good skillset to devellop. Cheers!!!

-
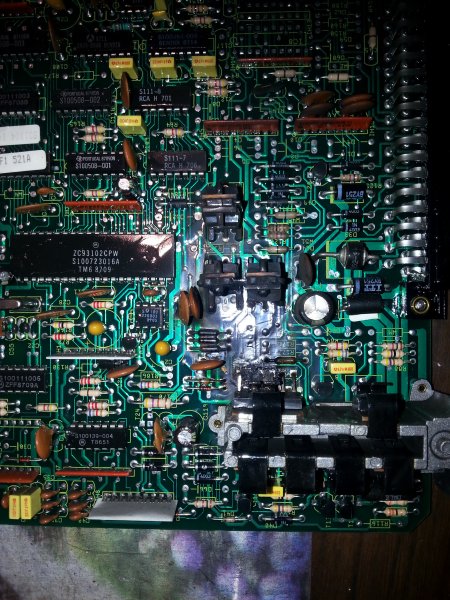
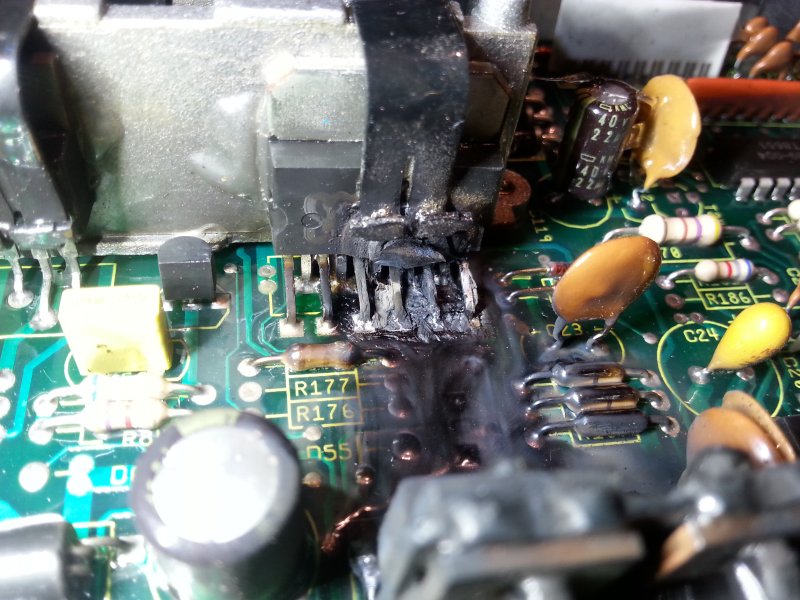
A little update. I did a bit of cleaning on the circuit board to remove the soot, turns out the damage is not as worse as it seems. All the tracers seem intact, the only real damage is to the ISA motor driver (that upright chip looking thing held on with a black metal clip on that big silver metal part) that blew and melted, and the board under it, which now has a small hole. On the melted chip, I could make out " SCC S452-2", so I went searching on the net. I stumbled on a french Renault Turbo enthusiast's site. The guy looks like an electrical whizkid, rebuilding his dead Fenix ( yes, their Renault ECUs from that era were also made by Bendix, they called it Fenix over there and Renix here) which is built exactly like our Renix ECUs, with the same components. He states that failure is really common for the ISA driver chip for both Fenix and Renix, when the ISA motor gets old and seizes up. He gives an alternative part number, ST Microelectronics TDA2004, which is plentiful and easy to find because it is common in the audio/radio/amp world, and has the same specs as the stock part. So, for sh*ts and giggles, I"ll order one (1.79$ on sale on the site I found) and try fixing it. At the worst, there's a JY 2 hours away from me that has 2 ECUs in stock. I'll keep you updated as I go along.
-
91253703_3107201699323891_5480655093223129088_n.mp4
-
My truck had an inappropriatly wired starter relay done by the P.O. where the relay was receiving constant power through the underhood lamp wire instead of the signal wire from the ignition switch. So yes, start with a draw test to at least find from what circuit the draw is coming from. EricTheCarGuy has a great how-to video on this on Youtube, as well as Matt from BleepinJeep as well, IIRC.
-
Wow, how would you that? The tracers on the PCB seem burnt, and the components are so melted that I can't see the part numbers anymore. And lastly, where would you go to find and buy these components?
-
Here's where I found the infamous info; I did just like you said for the adjustement, but I used this site's info to extend and retract the plunger. https://www.jeepforum.com/forum/f12/adjust-idle-speed-actuator-2492081/
-
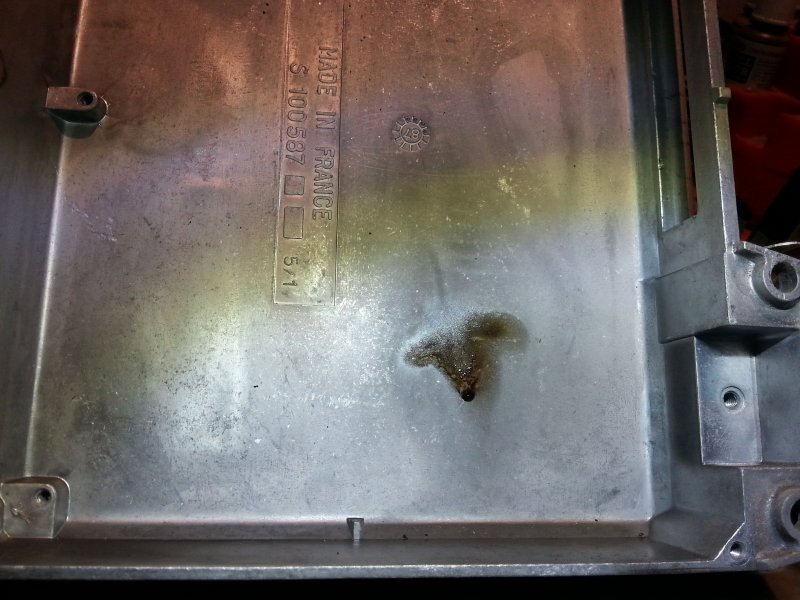
Just so I don't fry the next one, I want to be sure I am to blame, and not another part of the truck. Everything was fine before, but I was in the process of adjusting the TPS and ISA motor since they were both fully functionning but slightly out of whack. I read on another Jeep forum that you have to have the ISA plunger fully extended, and that you could do it from the diagnostic terminal with pin 11. Did that, adjusted engine speed to about 3500rpm with the ISA extended and unplugged, then shut the engine. Then, via pin 14 on the diagnostic port I fully retracted the plunger. When I started the truck, it wouldn't stay running because the plunger was retracted too much, so I had to give it gas to keep it running, and I started so see smoke coming from the dash at the base of the windshield, in the cluster area. The truck still runs but has no control over the ISA anymore. Bench tested the ISA and it still works, but I noticed that when I fully retract it by bypassing the ECU, it retracts too far and gets jammed. The motor tries to get it moving, but can't. Could this be what cause the ECU to burn a few chips and transistors? Here is the damage, and BTW, even with no power, that thing still stinks up my whole appartment
-
I'm in Canada; I don't have O'reilly's or Autozone over here... I got Napa, CarQuest and Benson. I also checked Rockauto and they don't seem to have any left for 4 cylinders, so I guess I'll go with used parts.
-
Yeah, they want like 300-350$ for a used one on ebay, no thanks!!! But wait a minute! I don't know where you found that carpart.com site, but it says there's one here in Quebec, maybe a 2 hour drive, for 75$ CAD!!!! Thanks a lot for the link!!!