


cruiser54
-
Posts
9413 -
Joined
-
Last visited
-
Days Won
14
Content Type
Profiles
Forums
Gallery
Everything posted by cruiser54
-
 Your O2 sensor is bad or is not getting heated by the red wire going to it. Or, the O2 sensor ground is no good. I'd like to see what the MAP sensor does when the throttle is opened.
 -
1987 Turn Signal Indicators
cruiser54 replied to DREADEDMONKY's topic in MJ Tech: Modification and Repairs
The ground point for the complete instrument cluster on your XJ or MJ is located up under the driver’s side dash. If you lay on your back and look up under there with a flashlight, without wearing a hat, you will see a black wire attached to a shiny piece of metal almost directly above the hood release knob. The screw will have either a ¼” or 5/16″ head on it. This ground point is responsible for handling the ground circuit for the following items: Dome lamps, seat belt and key warnings, transmission power/comfort switch, wiper switch, headlamp switch and delay module, fog lamp switch, cargo lamp switch, all instrument panel grounds and illumination, power windows and door locks, cruise control dump valve, and a few more things. The problem is that where the ground point is located does not share good contact with the chassis where the ground should be. The solution is simple: Make up a jumper wire with #10 gauge wire about 10″ long. On one end, crimp on a ¼” round wire terminal. On the other end, crimp on a 3/8″ round wire terminal. Remove the screw from the existing ground wire and attach the small terminal of your jumper so that the original wire and your new jumper share the same attaching point, one over the other. Look above the driver’s side plastic kick panel just forward of the top of the hood release knob. You will see an 8mm stud there. Attach the large terminal end there with a washer and nut over it tightened securely. Use a coating of OxGard at all ground contact surfaces when attaching the screw and nut. **Special note for Comanche owners: Make your jumper wire 12″ long and attach it on the driver’s side kick panel close to the fusebox on the 8mm stud.** -
Cooling system failing?
cruiser54 replied to Smokeyyank's topic in MJ Tech: Modification and Repairs
Yes. And it's possible a simple cap replacement on the pressure bottle could solve your problem. 703-1396 Volvo cap from Napa works well. If you do need a radiator, get NR 2802 from Napa. That way you can go to an open system and still have a bung in the radiator for the fan switch. -
Click on his attached page, you bonehead.
-
Double check the grounds for the relays. Have to be connected to clean and shiny metal.
-
91 Comanche 4.0 dies when warm (Fixed!)
cruiser54 replied to mfendley's topic in MJ Tech: Modification and Repairs
Has the name on it. -
Some of you guys have seen this numerous times. Some never. You don't need a mechanic to diagnose this. I’d be looking up ABOVE first, and VERIFYING the source of the oil leak YOURSELF. Everybody, who doesn’t own or have to pay for or perform your vehicle repairs, loves to poke their noggin UNDER the Jeep and come out bearing the false bad news that your RMS is leaking. Many mechanics, friends, and good old Uncle Bob seem to enjoy telling you it’s the rear main seal. Has a catastrophic ring to it, doesn’t it? A simple leak at the back of the valve cover or other source could produce the same symptoms. You don’t need to be a mechanic to figure this out. If you have good eyesight and a dim flashlight, you’re good to go on your own. Don’t jump on the RMS/oil pan gasket bandwagon right off the bat. Almost any oil leak on your 4.0 is gonna drip from the RMS area for two simple reasons: First off, the engine sits nose-up and any oil will run back to the RMS area. Secondly, the RMS area is also the lowest point on the engine. Simple physics and the old plumber’s adage apply here: “Crap flows downhill”. Valve cover gasket, oil pressure sending unit, oil filter adapter seals and distributor gasket, in that order, have to be eliminated as possibilities first. Revised 1-31-2016
-
Bad connection or bad fuel pump?
cruiser54 replied to ftpiercecracker1's topic in MJ Tech: Modification and Repairs
Have you ever done the fuel pump ground upgrade? The fuel pump and fuel tank sending unit ground at a sheet metal screw up behind the spare tire on an XJ, and behind the driver’s taillamp on an MJ. Not only is a sheet metal screw a lousy way to ground things, this ground path is long and travels through some connectors that are prone to corrosion and moisture. Locate the black wire on the HARNESS side of the fuel pump/sender 3 wire connector. Remove a 6″ length of the split loom covering. Strip back about 1/2″ of insulation from the BLACK wire. Take your new ground wire, preferably at least 14 gauge and 12 to 18 inches long as needed, strip it about 3/4″, and wrap it around the exposed part of the harness plug wire.Solder the connection. Tape it up and reinstall the split loom covering. At the other end of your new ground wire, add a crimp on eyelet. Attach the eyelet under a bolt that goes directly into the chassis. Be sure to clean the attaching point til shiny and apply OxGard to the contact surfaces. -
Newest little project MGB
cruiser54 replied to cruiser54's topic in Member Projects: Other Cool Stuff
Around $7,000 -
clutch pedal adjustment.....?
cruiser54 replied to rocketwheels's topic in MJ Tech: Modification and Repairs
But, the tab on the clutch pedal can bend and eventually break....Might be worth a look. -
91 Comanche 4.0 dies when warm (Fixed!)
cruiser54 replied to mfendley's topic in MJ Tech: Modification and Repairs
Good rule of thumb for early 90s HOs. If it has a Magnetti Marrelli coil, replace it. -
Newest little project MGB
cruiser54 replied to cruiser54's topic in Member Projects: Other Cool Stuff
I've driven a C before. Neat cars. -
Sprinkle some methamphetamine in the connector. Not really!!!!! You will see when you take the connectors apart there is a pin on one side and some round receptacles on the other side. Using a pocket screwdriver or something like that, tweak the round receptacles a bit so they're no longer round. That way you know there's gonna be a tight connection between them and the pins of the other connector. Also, you guys need to be aware of this product: https://www.amazon.com/Hosa-D5S-6-DeoxIT-Contact-Cleaner/dp/B00006LVEU
-
Hot hot hot! Comanche crank no start
cruiser54 replied to 88whitemanche's topic in MJ Tech: Modification and Repairs
Test the OUTPUT of the CPS. Ever cleaned your c101 connector? -
Hot hot hot! Comanche crank no start
cruiser54 replied to 88whitemanche's topic in MJ Tech: Modification and Repairs
Have you unplugged and plugged back in the CPS connector? -
Newest little project MGB
cruiser54 replied to cruiser54's topic in Member Projects: Other Cool Stuff
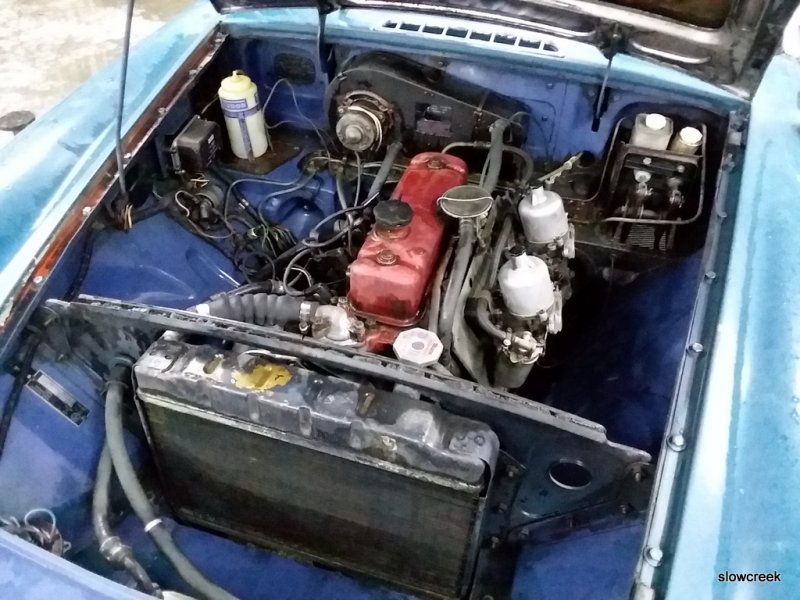
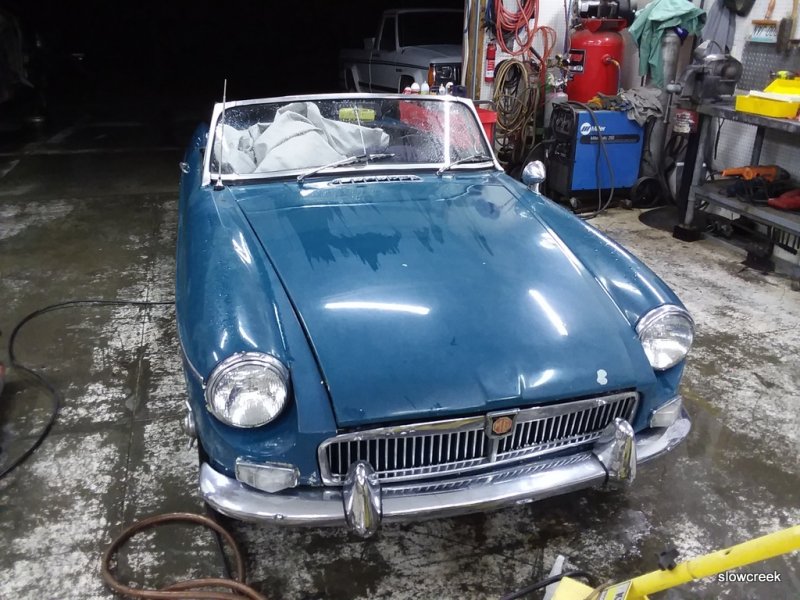
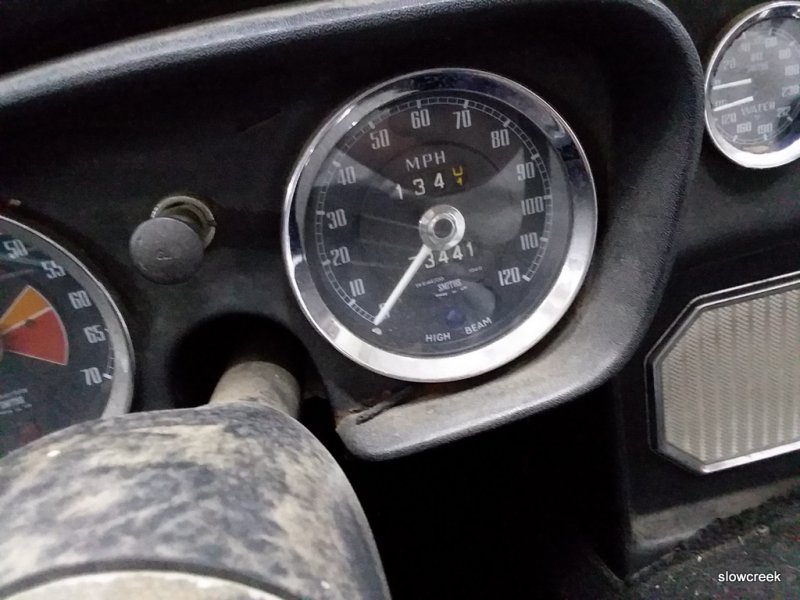
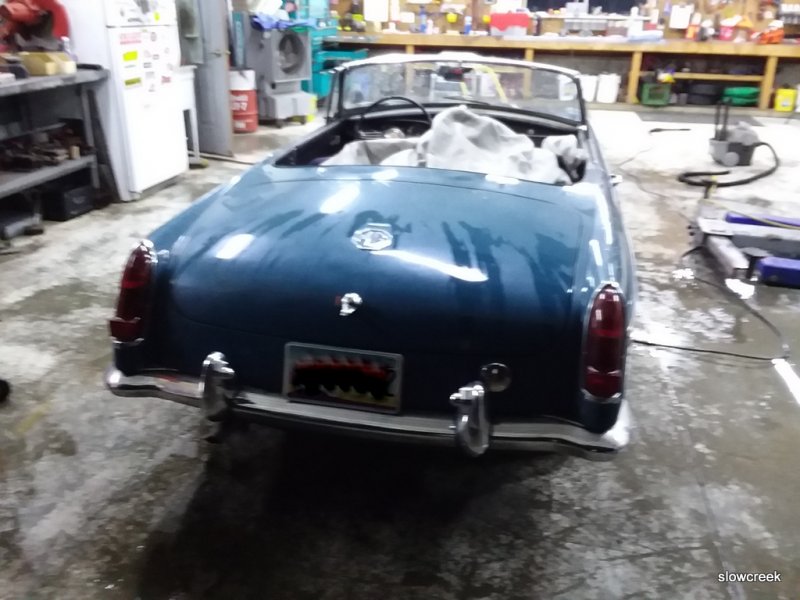
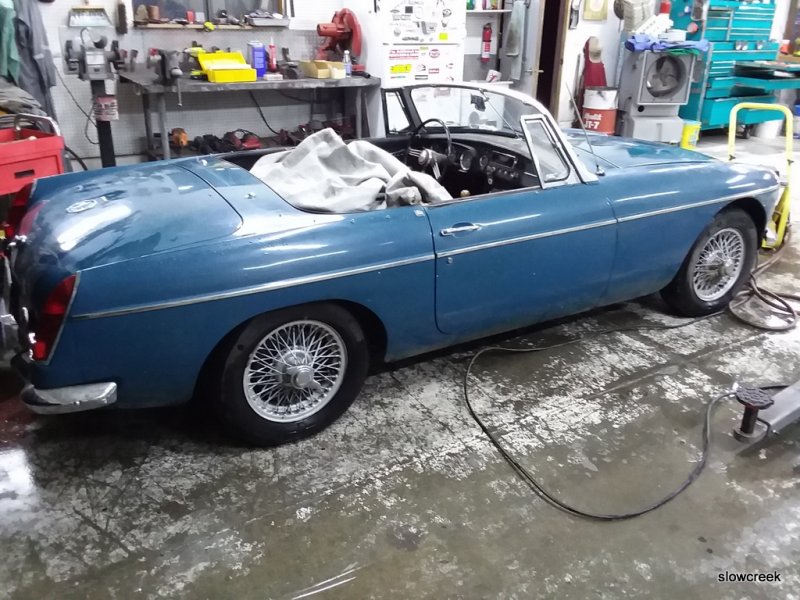
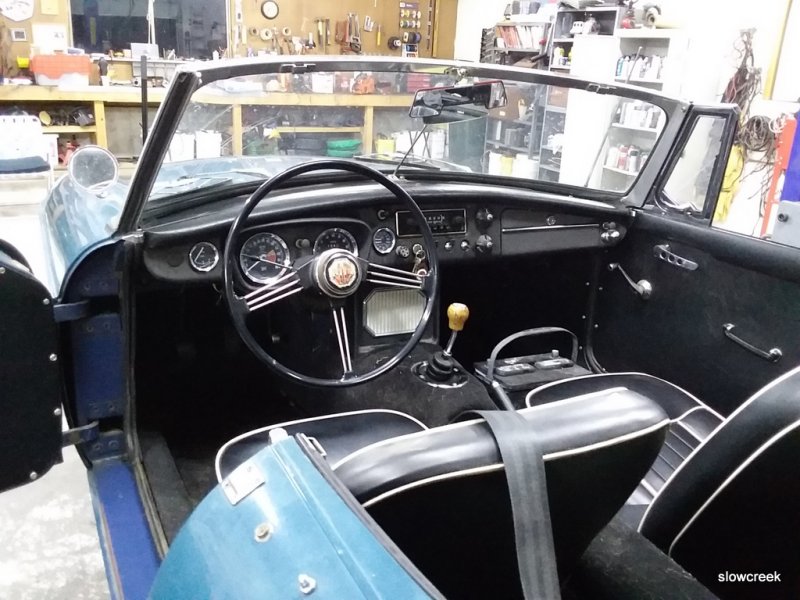
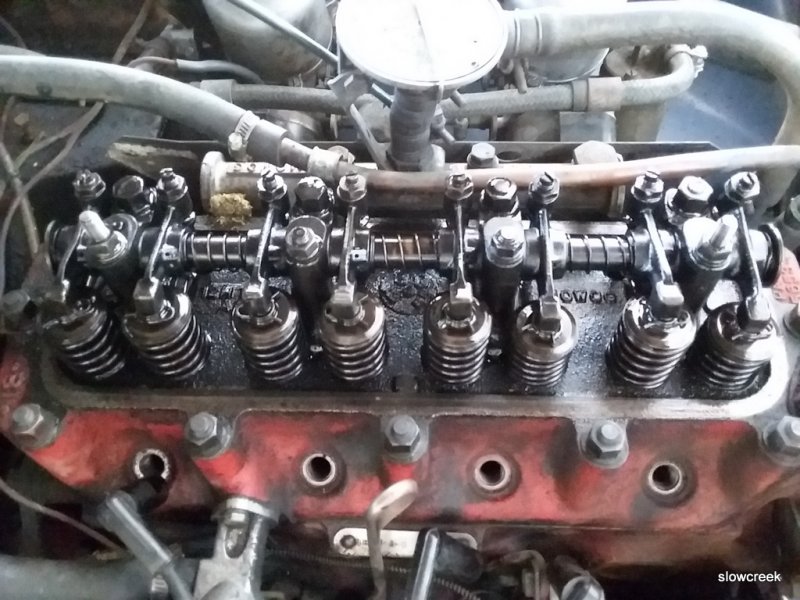
No rust except the pinholes in the left front fender. a buddy of mine called me one day and said he had a customer that offered him a 52 Chevy pickup, and would I be interested in it. I went and looked, bought it. The guy showed me the B and said he wanted to get rid of it also, so I bought it a few weeks later. It was dark in the barn, but I checked it out best I could with a flashlight. It's in way better shape than I thought. Put new front brake hoses on it, filled it with gas, greased the front end, checked all the fluid levels and started it up. Bled the clutch hydraulics, balanced the dual carbs and went for a ride. It's not like my Alfa Romeo by any stretch, but it's a nice driving car. I thought I could hear one valve tick, so I adjusted the valves yesterday. New valve cover gasket will be here today or tomorrow so I can button it up. I'm keeping a tab on things it needs. What little it needs is a short and inexpensive list. A guy or gal could buy this and start enjoying it right away. 3 year old tires still have the tits on them. -
Think about modifying the upper mounting hole in the new CPS. Also, tweak the connector pins where the CPS plugs in.
-
I'd be more worried about bending the tailgate than the strap/cable/lever strength. What's a 55 gallon drum of motor oil weigh?
-
Literally got it out of a barn. 1966 with 73K on it. Not much to do on it. I'm gonna sell it. Drives great.


-
Sorry to hear. But, being as you live in San Diego, it's probably in Mexico already.
-
Okay. Good job.
-
Strange idle symptoms and a foul exhaust smell
cruiser54 replied to BlackMJ90's topic in MJ Tech: Modification and Repairs
First off, check the line from the throttle body to MAP sensor. Any leaking vacuum there and the MAP tells the ECU to add fuel. Also, go to www.cruiser54.com and complete tips 1 through 5 before anything else.
-
Upgraded Braking System
cruiser54 replied to Cali Cruse's topic in MJ Tech: Modification and Repairs
This. Booster is the biggest bang. Then rear discs. -
Pete, those tips you refer to in the link are totally outdated. Best to use www.cruiser54.com. thanks.
-
Which engine do you have? The CPS can be tested. It's in one of the tips..... But, just for fun, unplug it and plug it back in and see what happens. The ground the taillamp is huge. Do it right away. There's a Tip for upgrading that ground also. Should be done. C101 connector refreshing is also huge. Do that.