cruiser54
-
Posts
9413 -
Joined
-
Last visited
-
Days Won
14
Content Type
Profiles
Forums
Gallery
Everything posted by cruiser54
-

Random high idle kills me!
cruiser54 replied to SuperSwede's topic in MJ Tech: Modification and Repairs
How did you adjust your TPS? Have you performed Tip 5 as shown on my website? Tip 1? -
Bypassing the fuel pump ballast resistor. WHY?
cruiser54 replied to Ωhm's topic in MJ Tech: Modification and Repairs
Correct. How many other vehicles run pumps without resistors..jpg.7974a758a6474d840bbb928abdc69d88.jpg)
.jpg.4f7ac38a971a3a1ad5f3da8981f85106.jpg)
.jpg.2c72be78d03db883bfcf85a23c329eb4.jpg)
.jpg.696ff3b6f851539026550ef5d53168d5.jpg)
.jpg.bdc23e1a41df056a0a50d0f2af23c3c0.jpg)
.jpg.5241f1f0d2ebf288a226a9fffd527b16.jpg)
.jpg.bc1f703a2d1ea483469829ae966df4af.jpg)
-
Neverending wiring issues...
cruiser54 replied to SIERRA051's topic in MJ Tech: Modification and Repairs
The ground point for the complete instrument cluster on your XJ or MJ is located up under the driver’s side dash. If you lay on your back and look up under there with a flashlight, without wearing a hat, you will see a black wire attached to a shiny piece of metal almost directly above the hood release knob. The screw will have either a ¼” or 5/16″ head on it. This ground point is responsible for handling the ground circuit for the following items: Dome lamps, seat belt and key warnings, transmission power/comfort switch, wiper switch, headlamp switch and delay module, fog lamp switch, cargo lamp switch, all instrument panel grounds and illumination, power windows and door locks, cruise control dump valve, and a few more things. The problem is that where the ground point is located does not share good contact with the chassis where the ground should be. The solution is simple: Make up a jumper wire with #10 gauge wire about 10″ long. On one end, crimp on a ¼” round wire terminal. On the other end, crimp on a 3/8″ round wire terminal. Remove the screw from the existing ground wire and attach the small terminal of your jumper so that the original wire and your new jumper share the same attaching point, one over the other. Look above the driver’s side plastic kick panel just forward of the top of the hood release knob. You will see an 8mm stud there. Attach the large terminal end there with a washer and nut over it tightened securely. Use a coating of OxGard at all ground contact surfaces when attaching the screw and nut. **Special note for Comanche owners: Make your jumper wire 12″ long and attach it on the driver’s side kick panel close to the fusebox on the 8mm stud.** Post navigation PREVIOUS POST -
YES! thanks for your service to our country.
-
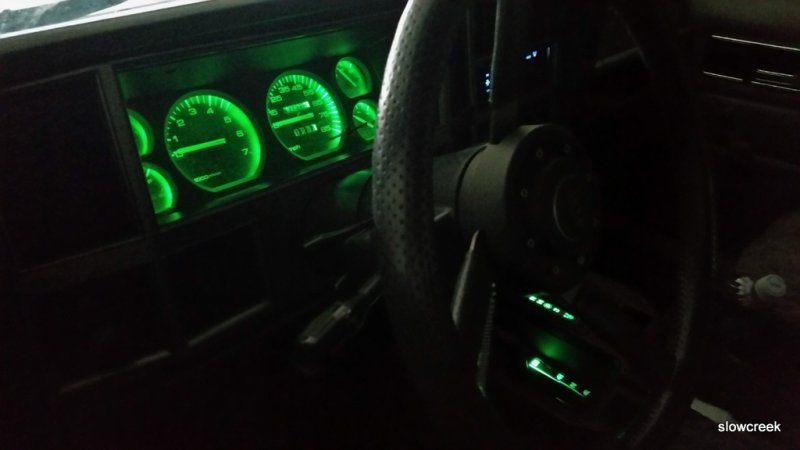
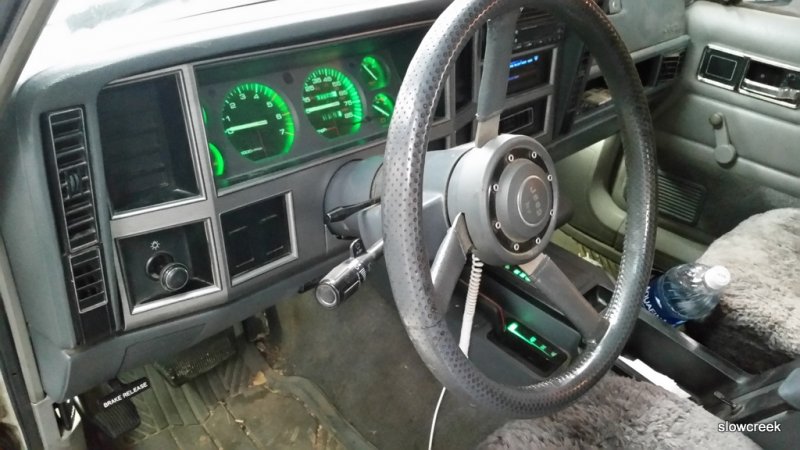
They're not that bright in reality. I have no desire to dim them ever.
-
Peugeot shifting issues
cruiser54 replied to jbellingham's topic in MJ Tech: Modification and Repairs
I don't remember on the Peugeot trans. -
Peugeot shifting issues
cruiser54 replied to jbellingham's topic in MJ Tech: Modification and Repairs
Yep. I fixed this issue on lots of medium and heavy duty trucks. Get the shift tower off. You will see 3 rails down in the trans. Get them all lined up so the slots are in the center. Reinstall the shifter. The cause is generally the tip of the shifter wearing and allowing it to slip off a shifter rod. -
Has anyone ever seen one of these?
cruiser54 replied to 86XL's topic in MJ Tech: Modification and Repairs
Thanks a poor attempt at a fix. The new cable comes with a clip on it. -
Mine don't dim. Got them from www.onewaylight.com. Neat and organized as a kit.
-
Acceleration hesitation
cruiser54 replied to Vineyard86manch's topic in MJ Tech: Modification and Repairs
This^^, And clean the ground at the firewall to bare metal and re-secure. Also, inspect these hoses and put a wrench on all the intake manifold bolts. they are famous for loosening up.
-
Simple Injector Troubleshooting
cruiser54 replied to coolwind57's topic in MJ Tech: Modification and Repairs
If they are the stock injectors which have a crimp and are prone to leaking fuel, replace them with a refurbished set of Volvo 0 280 155 746 injectors. -
wow!! What a project!!!
-
The real option is to find the truth in an owner's manual.
-
Jeep was very good about having their vehicles towable. XJs are a piece of cake to tow. I've not delved into the ZJs, but I bet they are also.
-
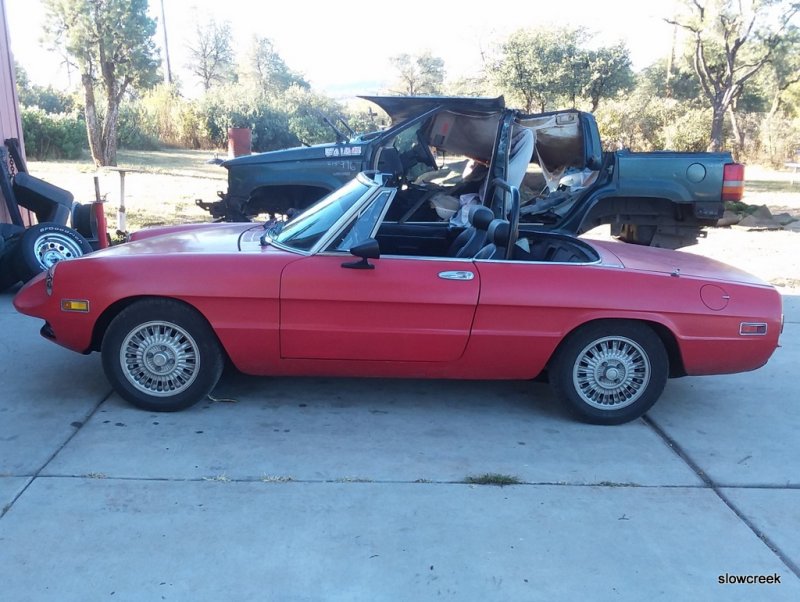
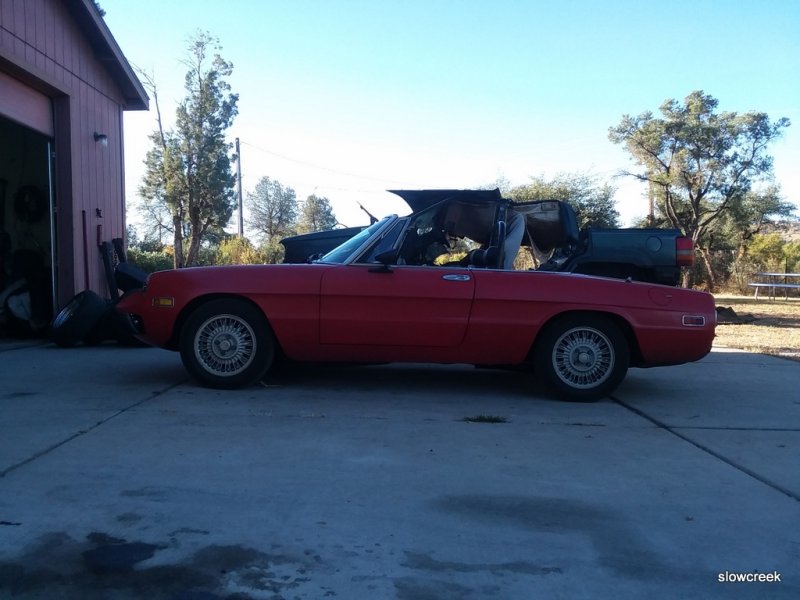
Alfa Romeo project progress
cruiser54 replied to cruiser54's topic in Member Projects: Other Cool Stuff
Appears I got the ride height to equal that of the European models. Took 2 tries on the front springs. I added adjustable upper control arms so I can change camber adjustment. Poly bushings in the rear suspension and Koni shocks all the way around. Handles wonderfully. rides smooth and comfy. Now for an alignment.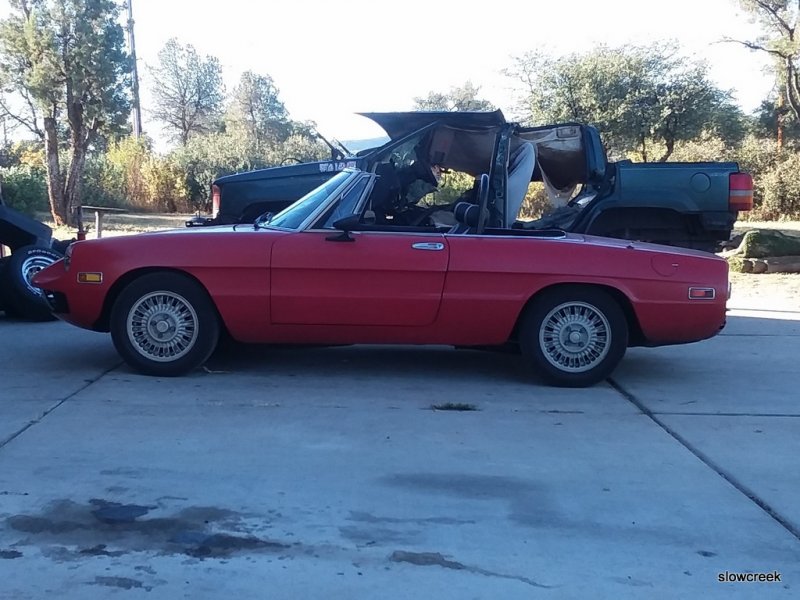

-
I think I have a timing issue
cruiser54 replied to dustytony's topic in MJ Tech: Modification and Repairs
Don't wait on doing the Tips. Do them first. The firewall ground is huge on the 4 cylinders for some reason. also, inspect the hoses below the throttle body and make sure your intake manifold bolts haven't loosened up.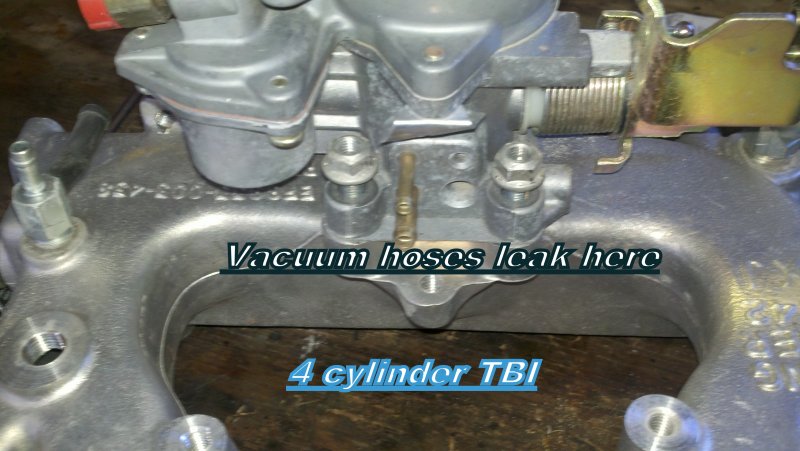
-
Durango box in my Comanche
cruiser54 replied to Jackrabbit41's topic in MJ Tech: Modification and Repairs
I have the ZJ box on mine with 32" tires. Works fine. Kinda sporty feeling and no issues with the big tires. -
This^^^^.
-
Cherokee vs Comanche Blower Motor
cruiser54 replied to Cali Cruse's topic in MJ Tech: Modification and Repairs
great. Think of the reduced load on the fan switch and wiring. -
Slow Windshield Wiper Operation.......
cruiser54 replied to Wild Comanche's topic in MJ Tech: Modification and Repairs
check this out: CRUISER'S MOSTLY RENIX TIPS IMPROVING BLOWER MOTOR PERFORMANCE NOVEMBER 28, 2015 CRUISER54 24 COMMENTS EDIT On 87 to 90 MJs and XJs, the blower motor’s factory grounding point is on the driver side inner fender under the sheet metal screw. This ground is shared with windshield wipers, front windshield washers, rear windshield washers, AC clutch relay, fan control relay, fog lamps, fan motor, headlamps, front turn signals, front side markers, and park lamps. So your blower motor has its ground point 10 feet away from where it is located!! What we’re going to do is leave that ground intact and also ground the blower motor on the passenger side inner fender much closer to the blower motor itself. This will also benefit the other components on the factory ground circuit. Take this opportunity to refresh the factory ground as a matter of course. Remove the screw, scrape the surface to bare metal and reinstall the screw securely. Here’s what I do to get the ground much closer to the blower motor and add another ground point to this overloaded ground circuit. Find the blower motor connector on the passenger side. Red and Black two wire connector. Find a location where the black wire can be made to reach the passenger side inner fender, and cut the wire. You may have to do some rerouting of the harness to achieve this. Take both cut pieces of wire and put them together into a yellow eyelet and crimp. Fasten the eyelet to a place on the passenger side inner fender with a sheet metal screw after applying OxGard to the contact surfaces. Be sure to scrape the attaching point on the fender to bare metal first. Your blower motor will now turn faster and last longer, and the other electrical components on the circuit will benefit from a better ground path. -
Even though I've never proclaimed to be a genius, here's something to help keep everyone on the same page. OCTOBER 30, 2015 SALAD 84 COMMENTS EDIT Renix CPSs have to put out a strong enough signal to the ECU so that it will provide spark. Most tests for the CPS suggest checking it for an ohms value. This is unreliable and can cause some wasted time and aggravation in your diagnosis of a no-start issue as the CPS will test good when in fact it is bad. The problem with the ohms test is you can have the correct amount of resistance through the CPS but it isn’t generating enough voltage to trigger the ECU to provide spark. Unplug the harness connector from the CPS. Using your voltmeter set on AC volts and probing both wires in the connector going to the CPS itself as shown in Figure 2 as Connector A, crank the engine over. It won’t start with the CPS disconnected. You should get a reading of .5 AC volts. If you are down in the .35 AC volts range or lower on your meter reading, you can have intermittent crank/no-start conditions from your Renix Jeep. Some NEW CPSs (from the big box parts stores) have registered only .2 AC volts while reading the proper resistance!! That’s a definite no-start condition. Best to buy your CPS from NAPA or the dealer. Sometimes on a manual transmission equipped Renix Jeep there is an accumulation of debris on the tip of the CPS. It’s worn off clutch material and since the CPS is a magnet, the metal sticks to the tip of the CPS causing a reduced voltage signal. You MAY get by with cleaning the tip of the CPS off. A little trick for increasing the output of your CPS is to drill out the upper mounting hole to 3/8″ from the stock 5/16″, or slot it so the CPS bracket rests on the bell housing when pushed down. Then, when mounting it, hold the CPS down as close to the flywheel as you can while tightening the bolts. Another little tip to save tons of aggravation is to stick a bit of electrical tape to your 11mm socket and then shove the bolt in after it. This reduces the chances of dropping that special bolt into the bell housing.
-
You can disconnect that sync sensor and not notice the difference. It's not a cam sensor anyway on Renix.
-
Cherokee vs Comanche Blower Motor
cruiser54 replied to Cali Cruse's topic in MJ Tech: Modification and Repairs
Here's one reason they melt: On 87 to 90 MJs and XJs, the blower motor’s factory grounding point is on the driver side inner fender under the sheet metal screw. This ground is shared with windshield wipers, front windshield washers, rear windshield washers, AC clutch relay, fan control relay, fog lamps, fan motor, headlamps, front turn signals, front side markers, and park lamps. So your blower motor has its ground point 10 feet away from where it is located!! What we’re going to do is leave that ground intact and also ground the blower motor on the passenger side inner fender much closer to the blower motor itself. This will also benefit the other components on the factory ground circuit. Take this opportunity to refresh the factory ground as a matter of course. Remove the screw, scrape the surface to bare metal and reinstall the screw securely. Here’s what I do to get the ground much closer to the blower motor and add another ground point to this overloaded ground circuit. Find the blower motor connector on the passenger side. Red and Black two wire connector. Find a location where the black wire can be made to reach the passenger side inner fender, and cut the wire. You may have to do some rerouting of the harness to achieve this. Take both cut pieces of wire and put them together into a yellow eyelet and crimp. Fasten the eyelet to a place on the passenger side inner fender with a sheet metal screw after applying OxGard to the contact surfaces. Be sure to scrape the attaching point on the fender to bare metal first. Your blower motor will now turn faster and last longer, and the other electrical components on the circuit will benefit from a better ground path. -
When it stays at one reading, the O2 sensor is not working. Check for battery voltage at the red wire with it running. Check the ground to the block at the same connector. Black is ground. Have you ever visited my website and completed tips 1 through 5?
-
Israeli Battle dressing!!!