
ThatJeepGuy
-
Posts
352 -
Joined
-
Last visited
-
Days Won
2
Content Type
Profiles
Forums
Gallery
Everything posted by ThatJeepGuy
-

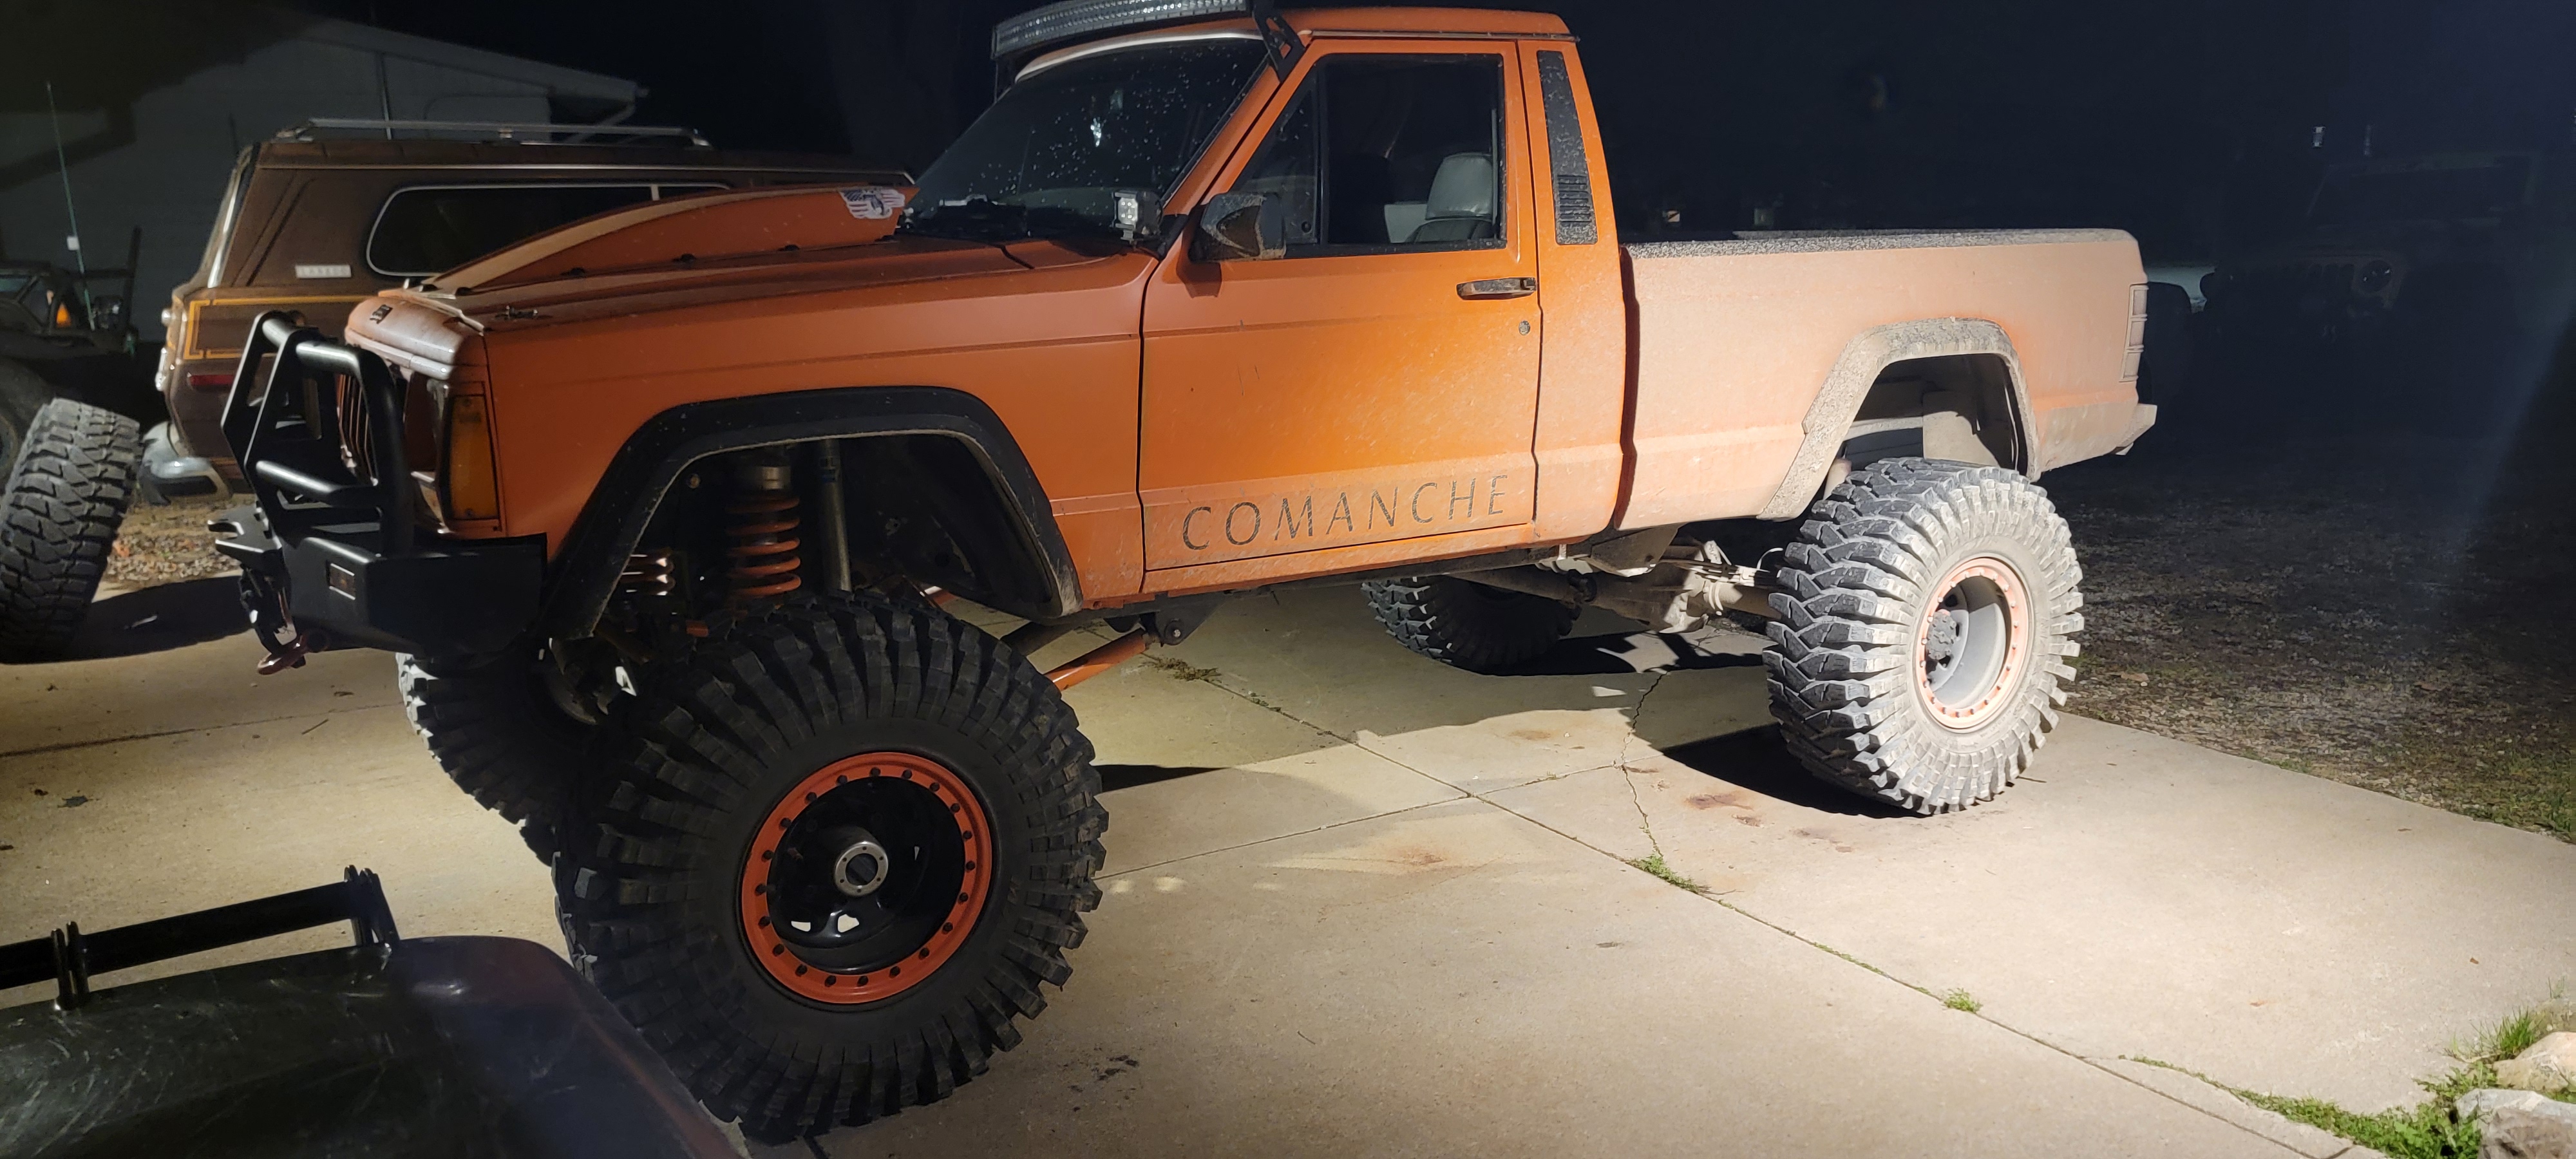
July 2025 - A 2000 Swapped Shortbed
ThatJeepGuy replied to 89 MJ's topic in Comanche of the Month (MJOTM)
Very clean execution. That color really looks good on this truck! -
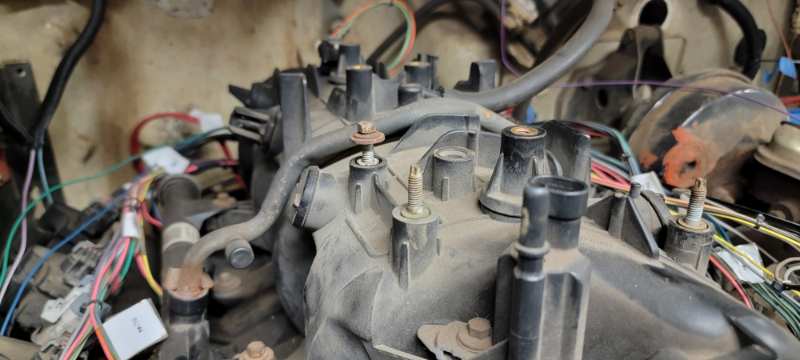
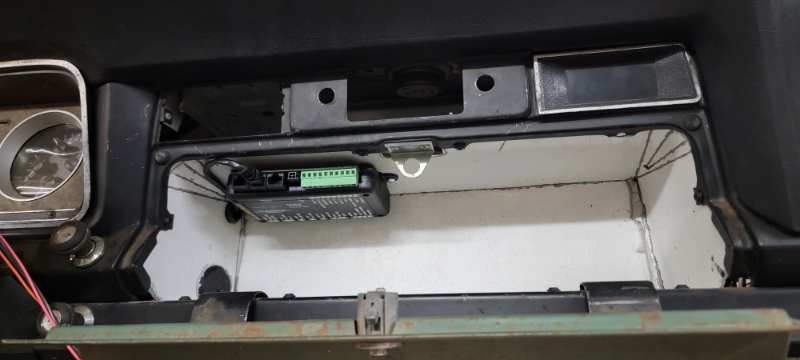
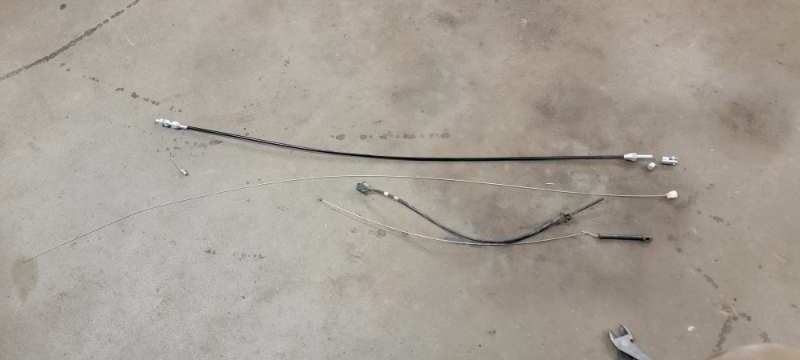
Soo its been a while... Decided to poke around this truck some and try to get a couple things done while ive been on vacation. Simple thing first - throttle cable Top one is a universal 36" cable from the Amazon. Bottom is the factory cable. Robbed the plastic retainer for the factory gas pedal and then re slung the cable through the sleeve. Next came the bracket for the intake manifold and too my surprise 2 of the 3 retaining threaded inserts were missing! This I'm sure is because this intake was originally from drive by wire truck. To resolve this i did what I think anyone else would do - canabalize the other intake I have to rob the inserts from and then heat and install them offcourse. Behold! Throttle cable inatalled! Next I set my eyes on the Dakota digital dash cluster which installs simply enough, thought its the wiring and the wire routing that makes this challenging. The overall interface design is very simplified, just finding a good spot for this little box was not. I wanted it clean mounted and accessible, I'll tell you now there isnt a great amount of real-estate for that inside the cab. Either footwell was off limits for my taste and mounting it to the inside of the firewall and bottom of the dash itself was not gonna fly. It fits well enough in the glove box soo I'm sold. The remainder of my time on this was spent painstakingly routing wires and then looming everything together making sure I avoid making wire nests that entangle the other harness(s). May formulate another itemized list of things needed to buy and also the things I still need to do and potentially make some consistent progress on this, we shall see


-
Lawn tractor crawling Sears Suburban
ThatJeepGuy replied to ThatJeepGuy's topic in Member Projects: Other Cool Stuff
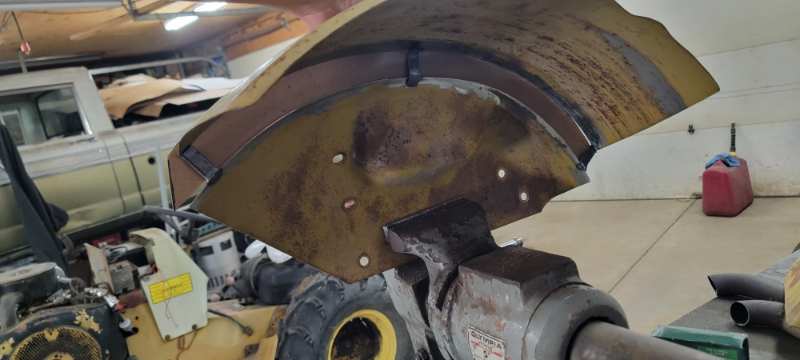
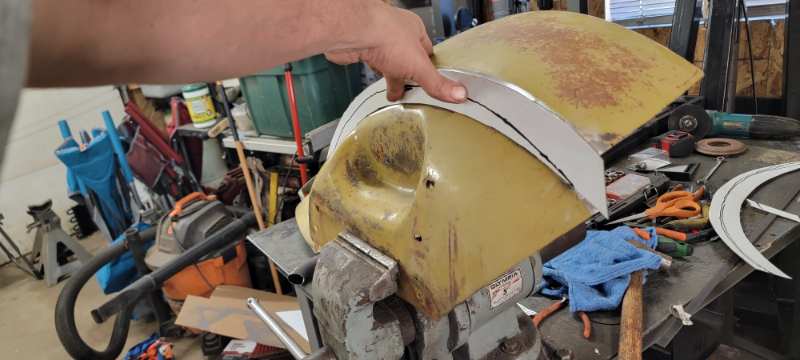
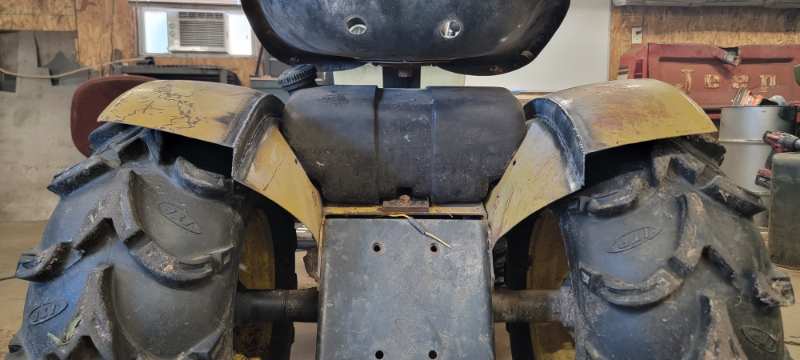
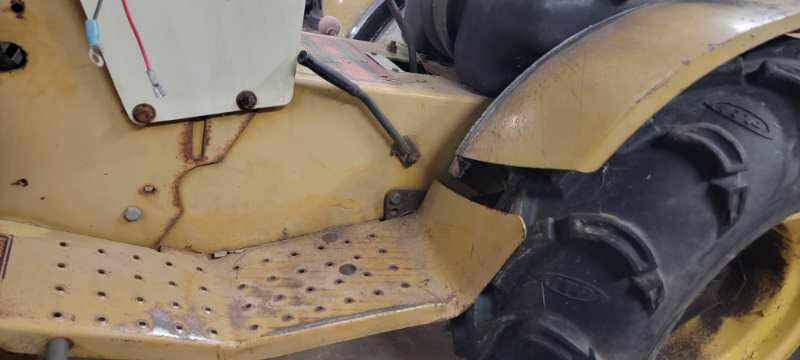
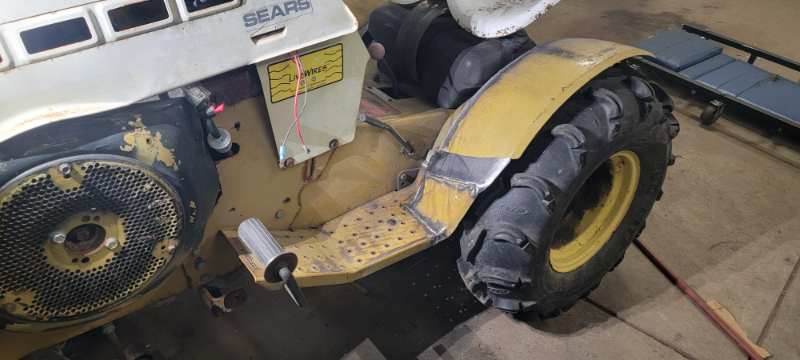
Fenders and tires clearance... These hog rear tires contact the fenders and while there is no suspension id rather have a little room to lessen the risk of a pinch point Soo i pulled the fenders off and mocked them up for a 1" lift This was tricky but turned out well enough. Next a bridged the gap between the footwells and fenders The front wheels is an entire endeavor on its own... I'll get to those on the weekend. Let's just say tire clearance and steering limitations are a big thing to overcome atm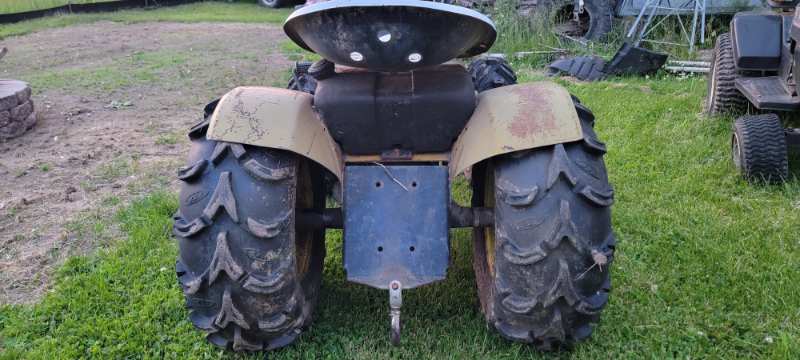
-
Lawn tractor crawling Sears Suburban
ThatJeepGuy replied to ThatJeepGuy's topic in Member Projects: Other Cool Stuff
No fuel shutoff anywhere on this one. I had the fenders off for some work and removed the tank to inspect the underside fuel line - zero shutoff. I would have the shutoff closer to the tank but the pickup tube is no surprise under the tank and into the chassis soo there isnt convenient access until you see the exposed filter. Can confidently say this isnt gonna be for everyone. This does however bridge the interest gap i have in lawn tractors and offroad crawling. I also have new housing development neighbors to impress ;) muahahahaha -
Lawn tractor crawling Sears Suburban
ThatJeepGuy replied to ThatJeepGuy's topic in Member Projects: Other Cool Stuff
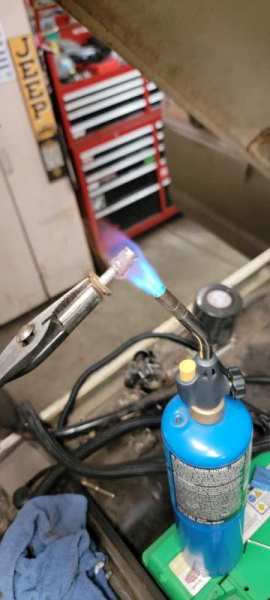
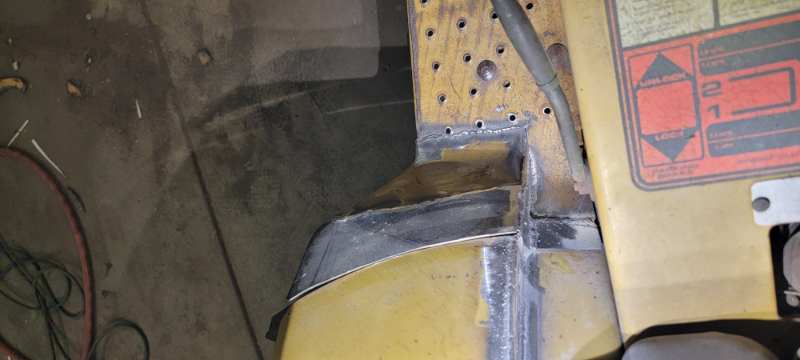
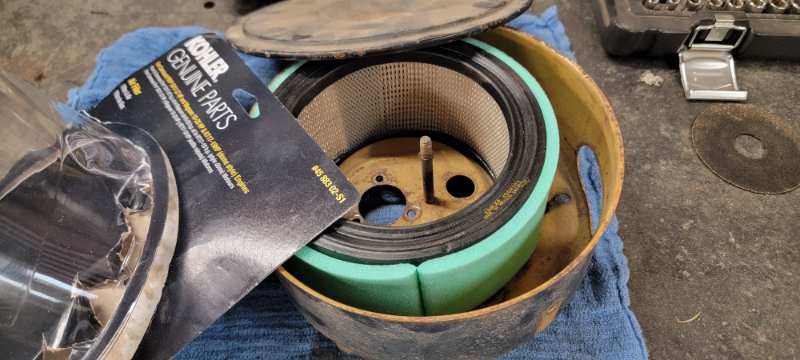
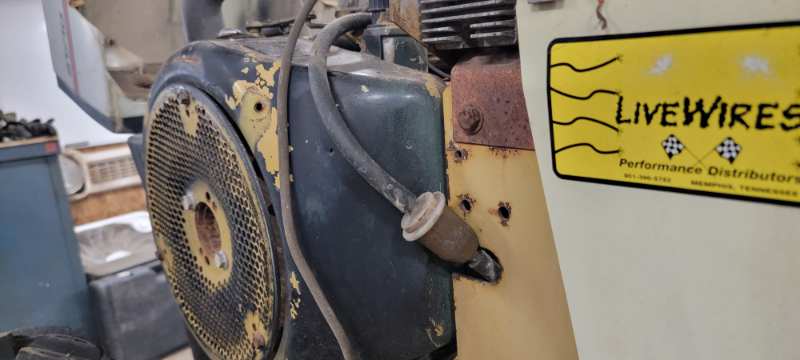
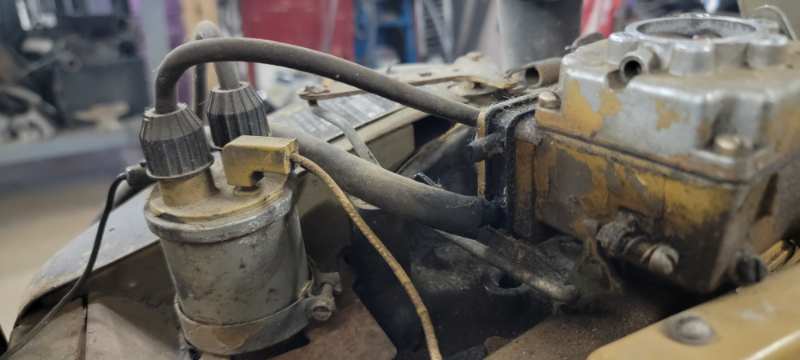
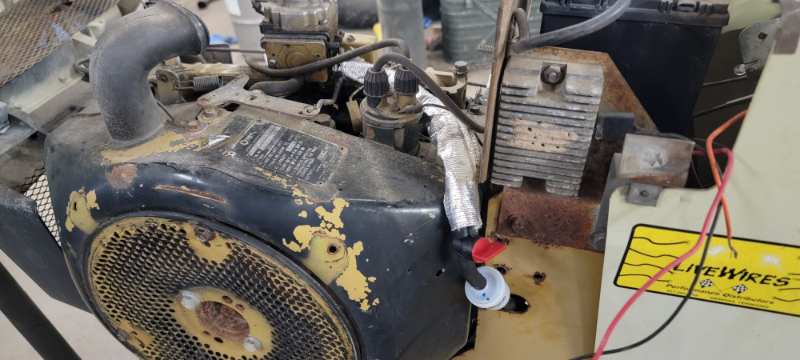
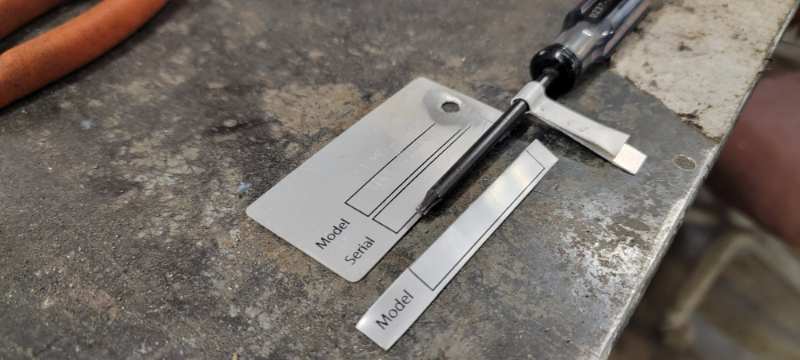
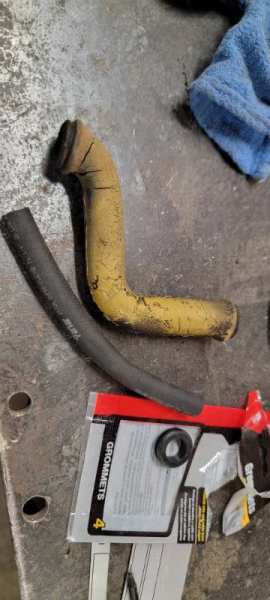
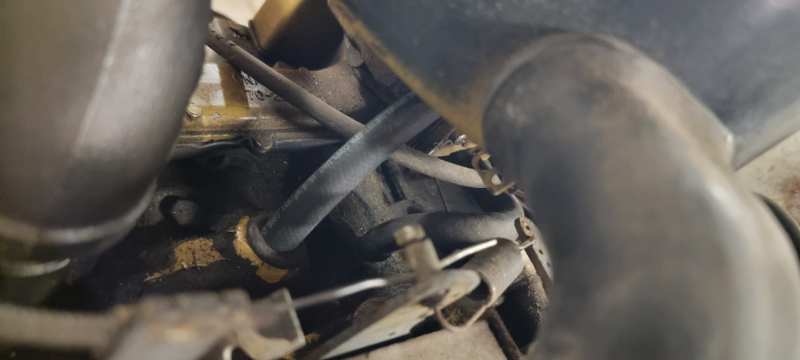
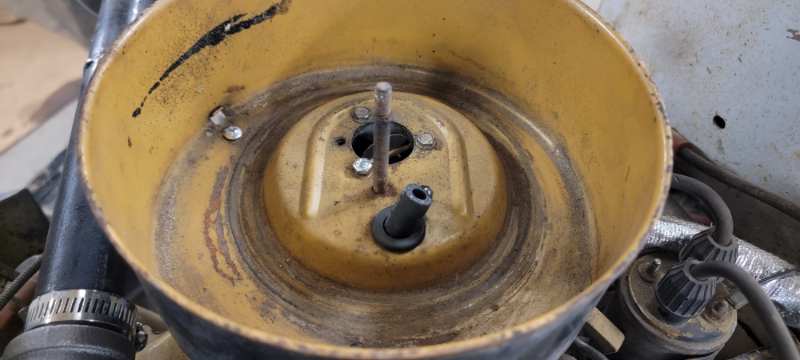
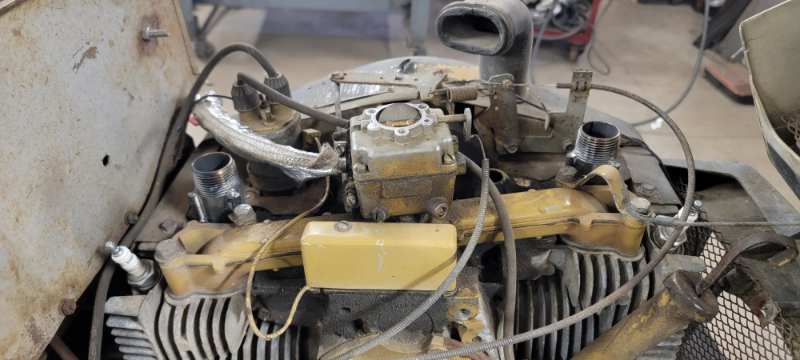
Prepare yourself for a picture heavy thread... Airbox not only had the wrong filter but was also barely holding on with the 2/3 screws. This filter should do the job a little better Dirty fuel filter This honestly shocked me... the fuel line was - in a way - just floating on the very edge of the fuel pickup barb on the carb. This tractor does run but barely and you had to keep the choke on the entire time Simple fix though, new filter and I always have a fuel shutoff in line on my tractors. I had a length of this heat shield and with the prior routing to the left of the coil, I didn't like the bends soo this more relaxed routing near the exhaust warranted the heat shielding in my opinion Throttle cable prior to this was just zip tied in place here, as you would guess it dramatically affected the power control of the engine. My creative solution was to take a small strip of aluminum tag, form it around a small diameter torx driver and then fasten it to the bottom of the airbox. Very simple and much more effective than the ziptie The last little thing was this vent tube from case to airbox. Very much dry rotted and without bothering for a factory replacement I nabbed some grommets and a small length of extra fuel line to connect the two. Running much smoother now! more to come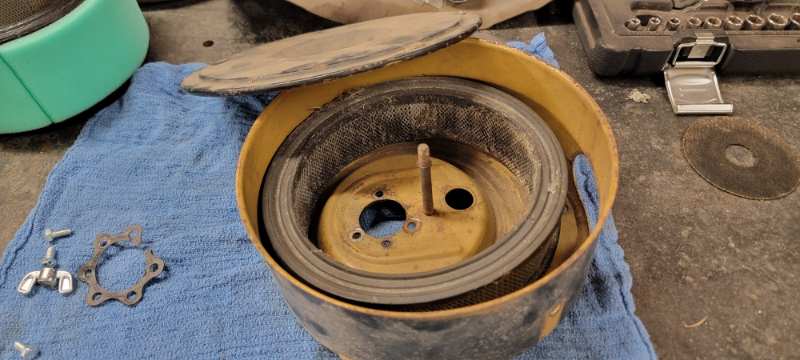

-
Lawn tractor crawling Sears Suburban
ThatJeepGuy replied to ThatJeepGuy's topic in Member Projects: Other Cool Stuff
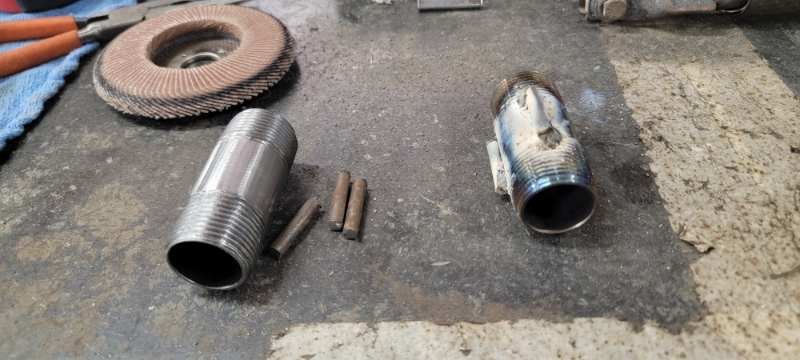
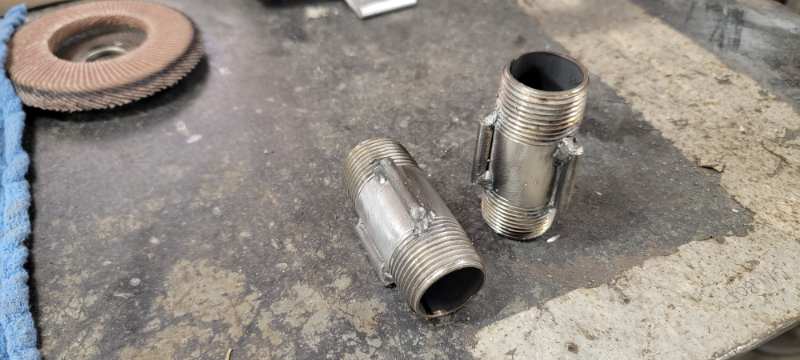
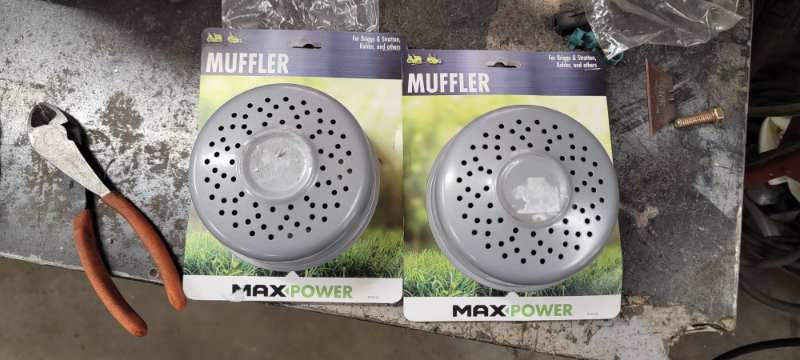
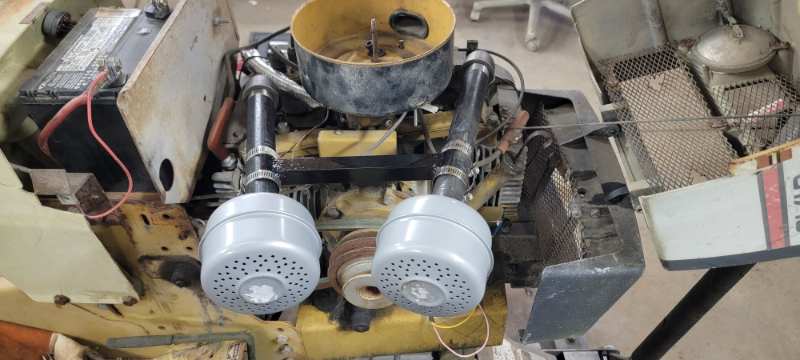
It sure has some major potential for my interests. Got a bit of the work done this weekend. We'll start with exhaust - this unit was straight piped to some flappy covers, while fun its also deafening to operate. Fortunately the 1" black pipe threads came out relatively simple after chopping the majority of the exhaust away and giving them some nudges with a nice pair of channel locks. Considering the factory muffler are all used on ebay and a few hundred dollars at that - it was time to embrace the old school black pipe setup! These are 3" long sections with some 1/4" steel rod welded to them for leverage assistance in the rather congested space of the engine. Getting a pipe wrench big enough in the space to handle these isnt ideal, these tabs sure make it easier though for pliers. From there i topped them both with street 90°s and then played with varying straight lengths unitl I was able to set 2 of these mufflers outside the hood Then I made a little spreader piece to keep them tied together and from potentially vibrating themselves free. It's now much more tolerable to run and operate. Spending around $60 for all the pieces to make it happen.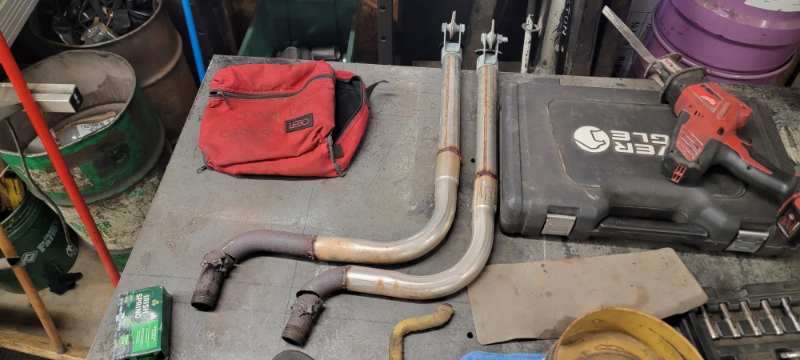
-
Lawn tractor crawling Sears Suburban
ThatJeepGuy posted a topic in Member Projects: Other Cool Stuff
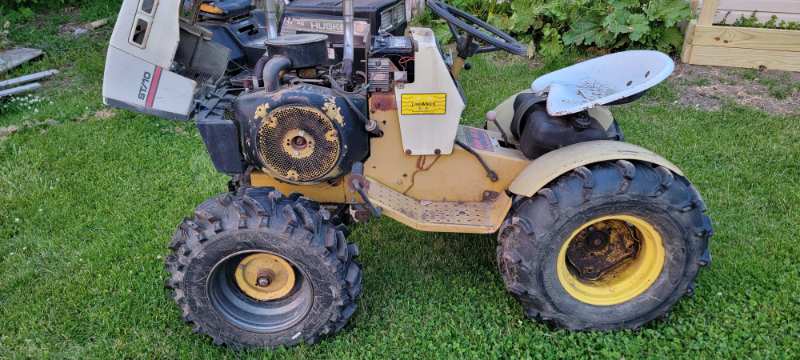
I suppose the jig is up, ive honestly been interested in this for some time now and finally decided to get my feet wet! There's plenty of mud mowers out there but who is out there crawling their lawn tractors? (Credit to OKoffroadmowers and their online content) While ive been sitting on an older Murray 18GT to make some changes to, I came across a Sears suburban SS16 with some nobby tires already installed and figured id explore this setup first. Plan is to revive and tune up this Sears unit a bit as its in a rather neglected state and then apply what I can appreciate to how I build the 18GT. While its seeming like a cheat to start with something already "built" by some opinions - this Sears unit is primarily original. Only real work that's been done was aggressive tires on the rear rims and then front quad wheels welded to the original tractor wheel hub. For my interests there is plenty of actual work needed to be done yet. Ideally these will be offroad crawling tractors to sustain a weekend overland trip on the state land/trails up north. My plan is to add armor like bumper(s), skid plates, storage options for offroad and camping gear and offcourse Lighting! I'm rather solo in this endeavor, perhaps I'll persuade my buddies to join - who isnt intrigued by some smaller offroad action with unconventional machines ;)
-
'97 up console install in '89
ThatJeepGuy replied to Colt6920's topic in MJ Tech: Modification and Repairs
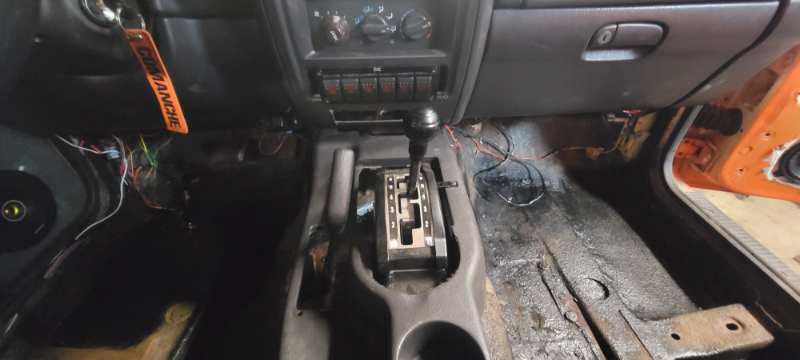
The 97+ console install i did on the fly in mine. This was with the cheapest amazon/ebay bracket I could find which i re tapped the 2 internal trim screws for 1/4-20 bolts. Very straight forward install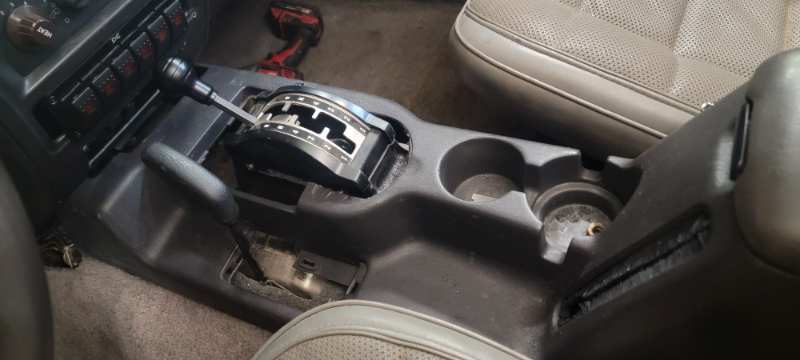
-
Hybrid cage cab brace
ThatJeepGuy replied to A-man930's topic in MJ Hardcore Tech: Epic Journeys to Greatness
Not to be the stick in the mud... but id refrain from welding the cab to the structure. Despite the level of plating you have going on (i absolutely digging that inner brace btw) I think your unibody is still going to see twist and that would transition into your cabs sheet metal, over time that fatigue and stress will start splitting seams and it won't be obvious where. I'd argue unless you have some perpendicular ties to your structure to counter the push/pull from flexing it will just twist against the back of the cab. My brother plated his unibody (XJ unibody) from tip to tail with 3/16's and some sections with 1/4". No interior cage nothing vertical and over the last 8 years we've watched the seams in the roof of the body slowly seperate. At this point the seams around his hatch mounts and rear qtr glass have visible air between the sheet metal. Same around the rear door seams in a couple spots. Granted this jeep is a LCG build on 4" and 39 tires but the twist still exists. Put the jeep on an rti ramp to your max and drop the tailgate/open your doors, open the hood, if you see deflecting in latching those then you absolutely still have flex in your total unibody -
1987 Comanche The Long Hard Road
ThatJeepGuy replied to ThatJeepGuy's topic in MJ Hardcore Tech: Epic Journeys to Greatness
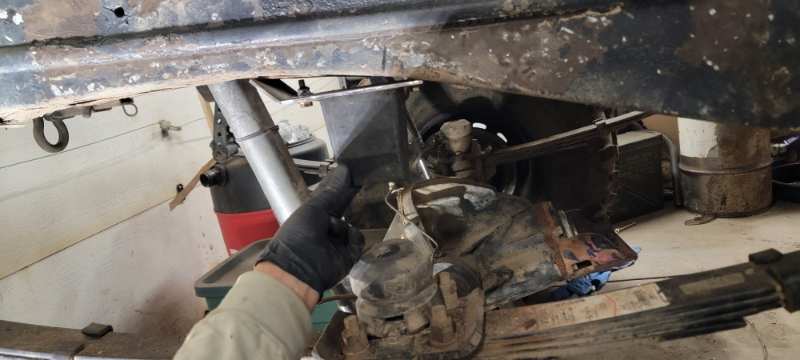
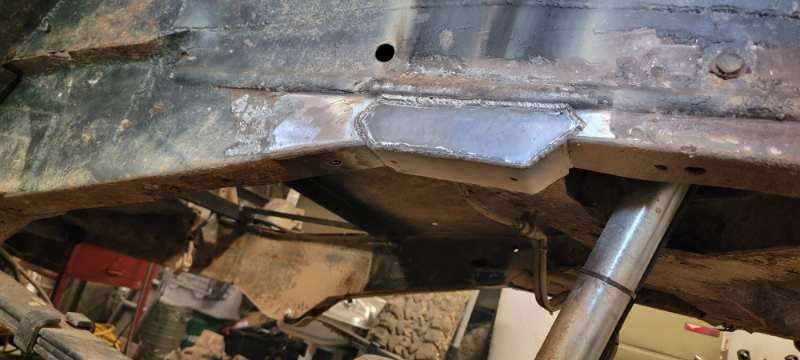
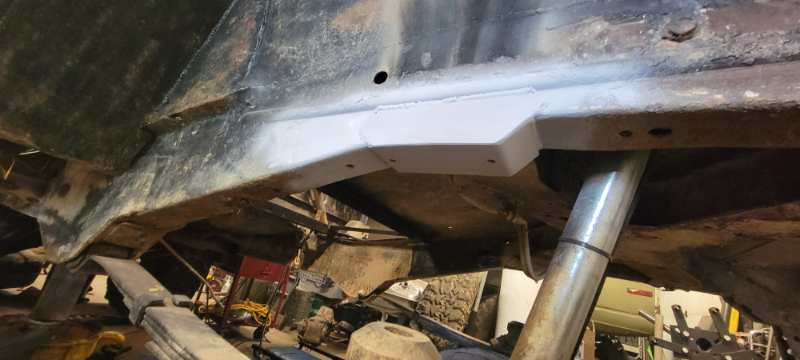
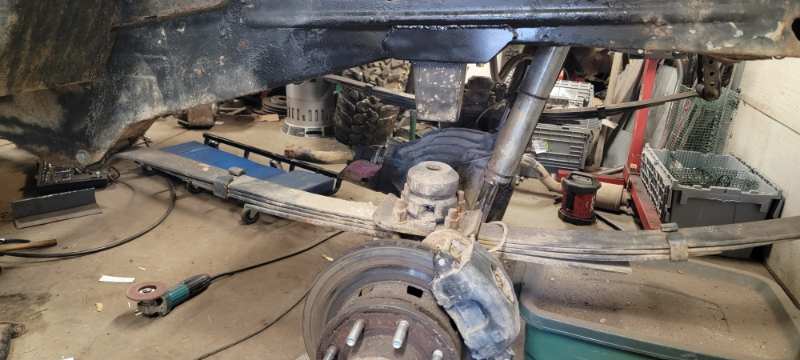
Soo I have found myself with another list of repairs. This last wheeling trip was a short one cutoff by multiple leaks. Steering box, transmission fluid and fuel cut me short. There was also a chunk from my driveline i needed to trouble shoot. Essentially had a teardown session then came to addressing a smaller project ive been wanting to address for a little while now - rear bumper stops! The old setup is factory upper in the factory location meeting a timbren rubber on the bottom. The timbren isnt my issue, it's the top setup. Currently when compressed the factory bushing only contacts the front corner of the timbren rubber. Soo to address this i bent some steel plate and mocked up the factory bumps to meet the timbren rubber flat and center. Then I boxed in the sides of the mount All finished Parts and plans to fix the other things are on the way!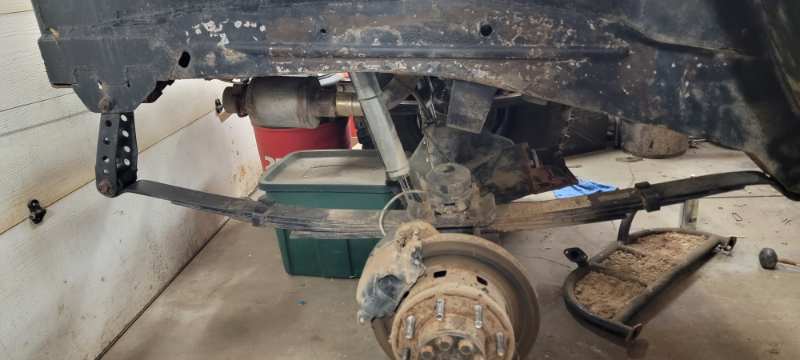
-
I'm eagerly waiting for productive garage time to add to the build threads but at the breakout of summer there is soo much yard and house projects that I clash with responsibilities all the time lately. Here's my truggy puking trans fluid all over my driveway - why IDK 🤷♂️... Then there's this playset I'm trying to finish up to keep my kiddos occupied.

-
Keep your eyes peeled for another longbed cab for cheap. They are not that scarce. I've had a very nice fitting longbed s10 fiberglass cab on a prior lwb MJ of mine.
-
What thickness steel for plating frames?
ThatJeepGuy replied to Eagle's topic in MJ Tech: Modification and Repairs
X2 on the same thickness peronal opinion, or slightly thicker. 1/8 or 3/16's to be on the heavy gauge side. Going over kill in sections per say 1/4" its "just a patch" will create weak points around the patch job. The thinner material will give out against the thicker material resulting in a bend or tweak. I've seen a number of jeeps tweaked and pulling themselves apart from the "overkill sections" approach. I'd argue it's just as important the Method to your madness along side the thickness material you chose. Spreading the coverage area to not deflect around points of leverage or fulcrum points. Example: don't butt-coverage plates around suspension or frame mounts. -
Loud grinding noise under braking
ThatJeepGuy replied to jeff351's topic in MJ Tech: Modification and Repairs
Check the inside lip of your wheels? Is your caliper shifting and touching the inside wheel surface? -
Adjustable track bar options for 0 lift?
ThatJeepGuy replied to EdJarHead's topic in MJ Tech: Modification and Repairs
Nature of the beast. Honestly stock replacements would be fine as well. Crown dual rate factory springs and the dorman factory leafs are a cheap solution -
Adjustable track bar options for 0 lift?
ThatJeepGuy replied to EdJarHead's topic in MJ Tech: Modification and Repairs
My theory now.... your coil springs are wore out enough to where you are technically below factory suspension height enough to where the axle is off center. If you think about it, a simple lift puck would separate the body form the axle more and therefor the axle would follow the ARC and the axle would shift closer to the driver side therefore centering the axle. Prognosis is you need a lift kit now ;) -
The flares won't be too difficult to come across. The mounting brackets how ever are a different story. I have lurked a long time hoping to find usable brackets with Zero luck and for as simple a function they serve I default to one day making them myself... the day has not come yet so plz if you locate a treasure trove of them share ;)
-
Adjustable track bar options for 0 lift?
ThatJeepGuy replied to EdJarHead's topic in MJ Tech: Modification and Repairs
^^ this would speed up things ^^ There is only one mounting hole for the track bar on your axle side bracket right? -
^^ that ^^ Saw it there, haven't decided on acquiring it yet or not. My kiddo was intrigued by the "T is for Turbo" book but not as enthused about putting his hands on the parts from the book.
-
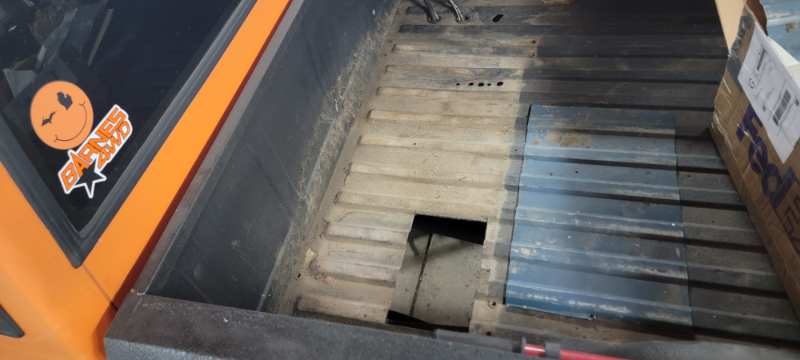
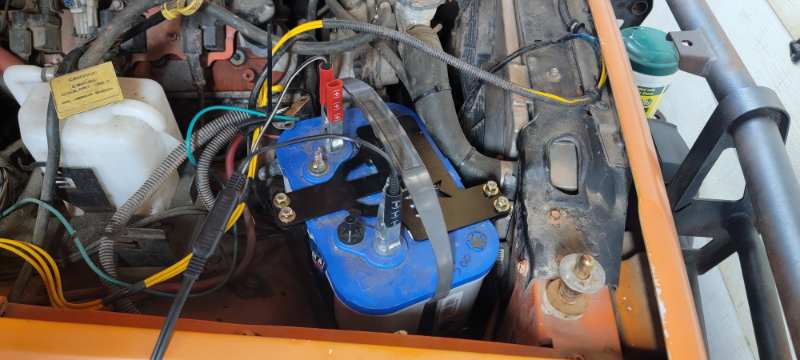
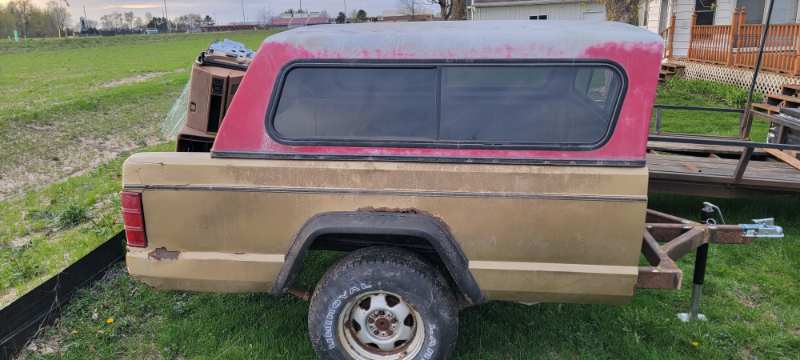
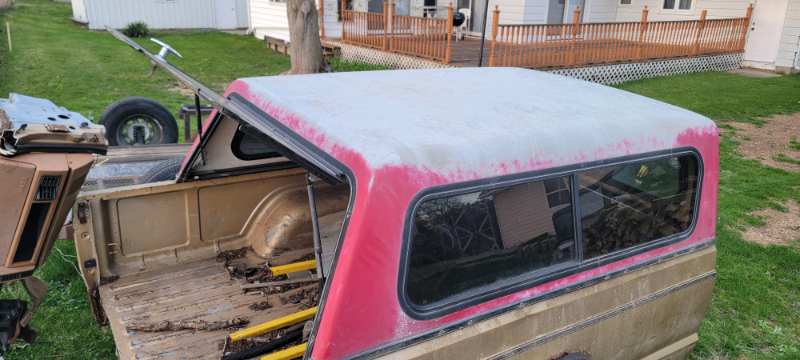
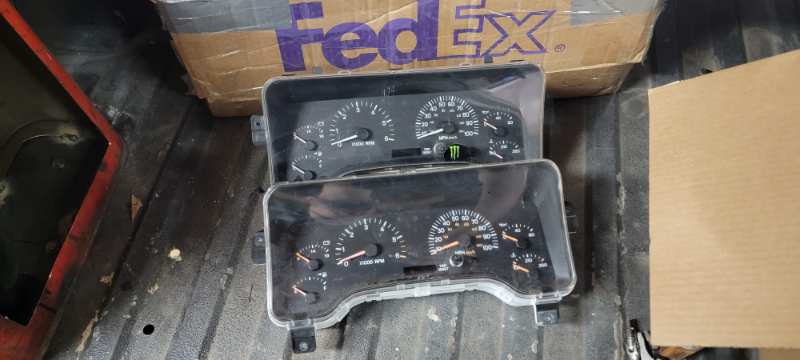
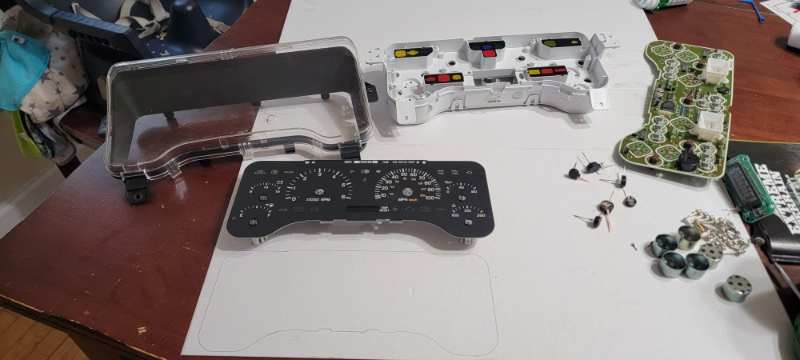
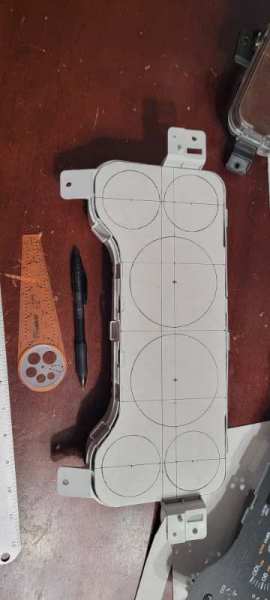
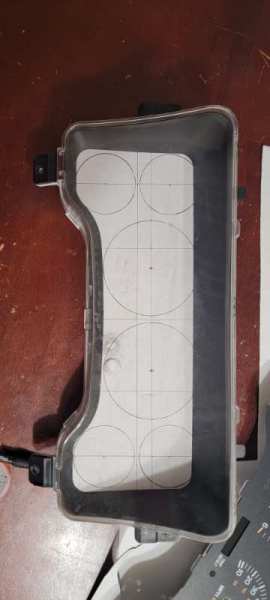
Slow weekend here I did get a couple pieces of old MJ bed to repair panels my way out of this hole. Swapped out the Barnes4wd universal battery mount for their XJ/MJ specific mount Did also score this fiberglass ranger topper for a mere $40 This will end up on the OJ but for now the MJ trailer can rock it for now Picked up a couple clusters to modify for custom gauges. While I'm aware of the autometer preformed cluster for aftermarket gauges I'm also Very much aware of its ~$110 price tag as well! For that price I'll explore this custom route for a little bit first. Teardown Mapped out Black trim bezel will need some clearance but I'm liking what potentially could be More to come!
-
Dryer sheets has worked well for me. I've done the Irish spring soap bars as well but eventually start seeing the naw marks in them - maybe they're cleaning up their teeth Why not as well post up a few peanutbutter/TP roll and water in a bucket traps in the area as well? If your not aware of that setup.... Google. Very effective and constantly working
-
Nice! The center caps especially
-
I could potentially get more made, it's something I had initially wanted to do but with constraints on who I was going through for the plasma table work and also cost of materials and my available free time I had to step away from it. I'll poke around to my local cut guy(s) and see about costs to do some more.
-
The first magazine publication of the Jeep Comanche
ThatJeepGuy replied to robfg67's topic in The Pub
Have you started combing ebay yet? -
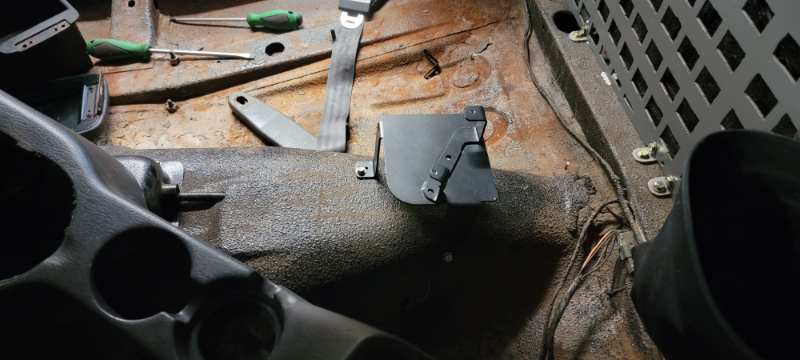
Are you talking about the interior molle panel?