
ThatJeepGuy
-
Posts
352 -
Joined
-
Last visited
-
Days Won
2
Content Type
Profiles
Forums
Gallery
Everything posted by ThatJeepGuy
-
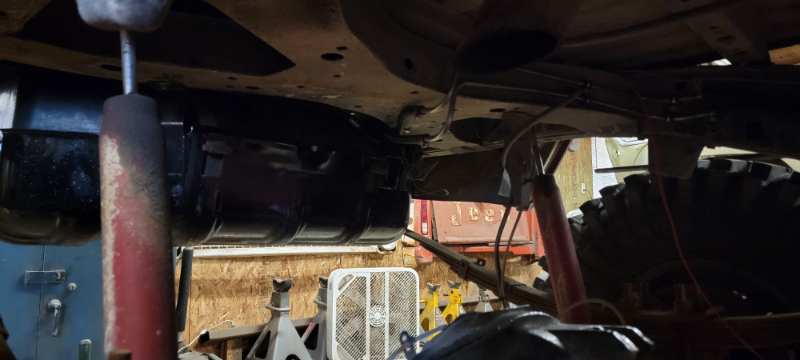
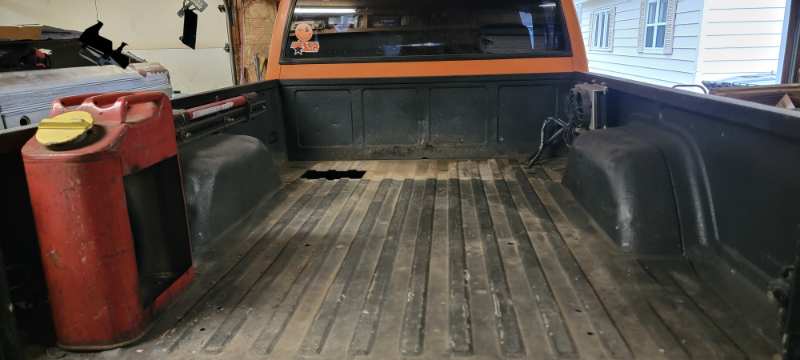
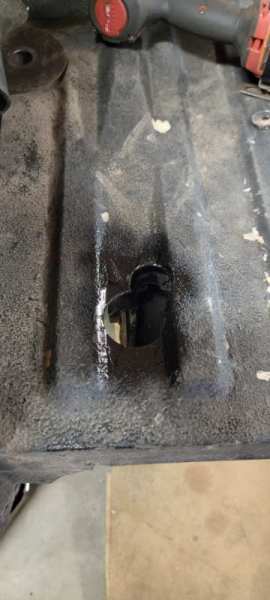
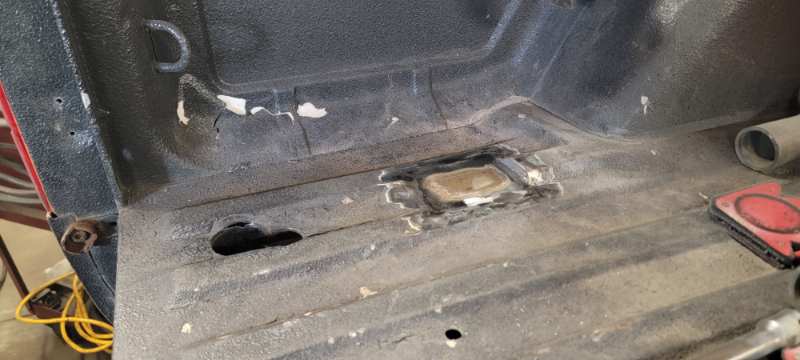
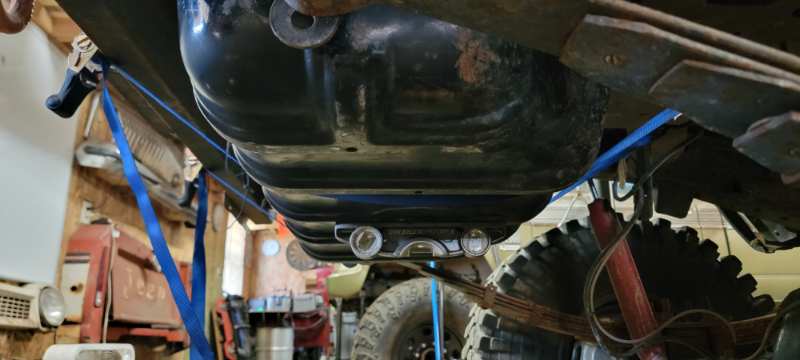
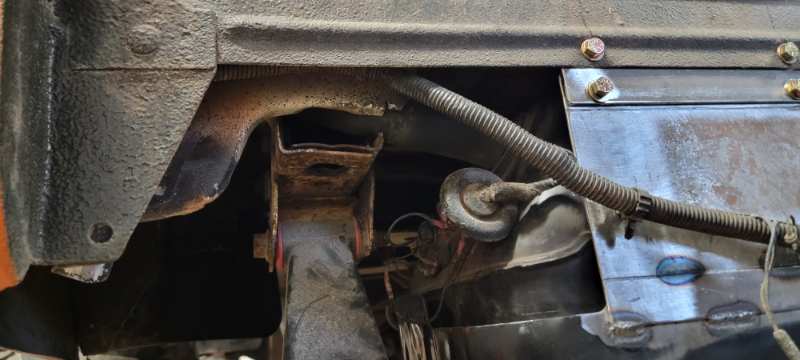
 Lastly came the final install and plumbing of everything! Fuel filler jerry setup, still need to affix the cutout section as an access door. Plan to store a bottle jack and small tool set for removing lug nuts - the bare essentials. Tank installed and filler hose connected I've kept all the stainless fuel lines from all of my part-outs over the years soo a pair of these factory MJ fuel lines worked out nicely for running the fuel from sender under the frame to the frame rail, soft line from there forward for the time being. Now you see me... And now you don't... but you do see the big hole that was made for the send/return lines - Yuck! Thats all for this weekend, there is a bit of cleanup in order because my garage is a disaster from this little project but we're not done yet, more to come!
-
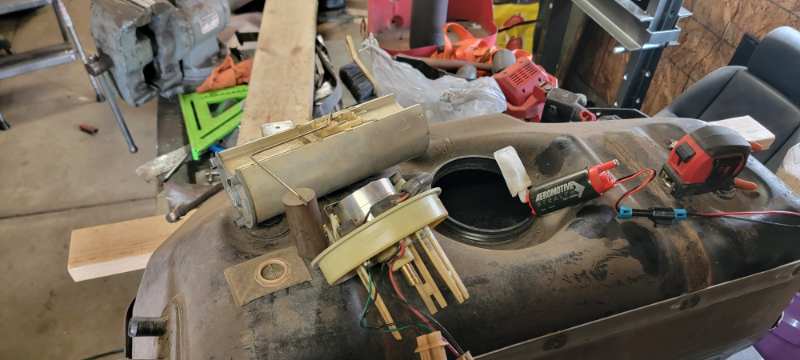
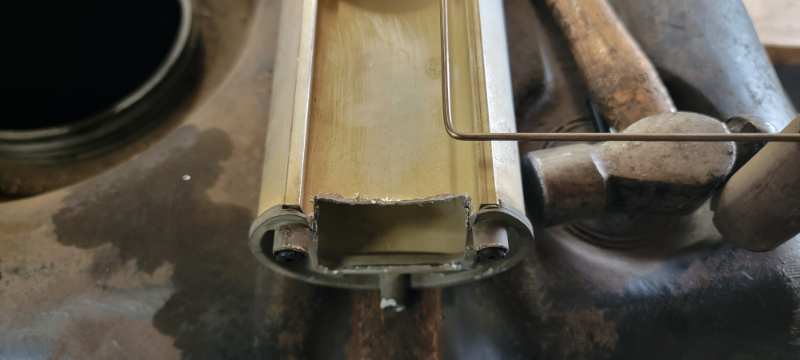
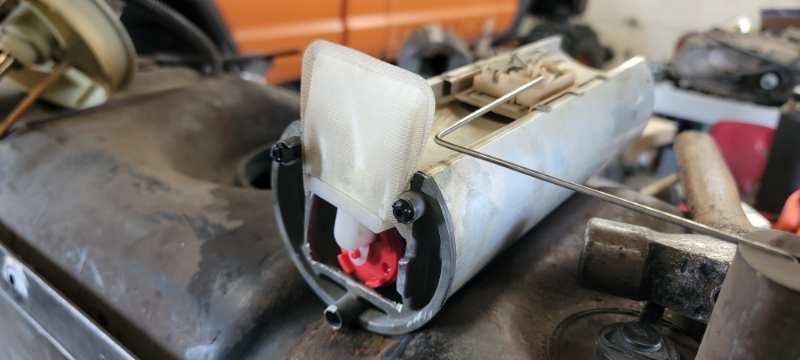
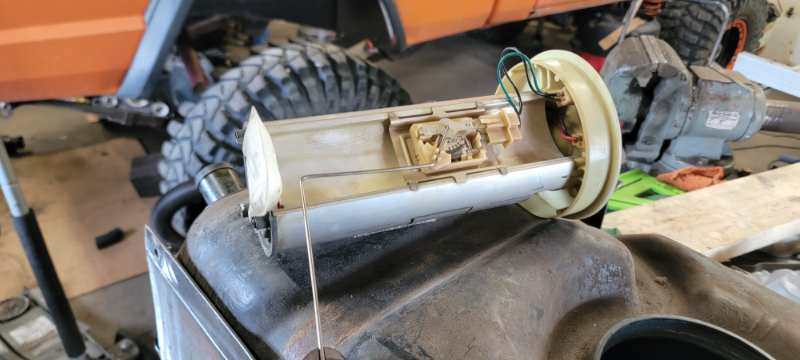
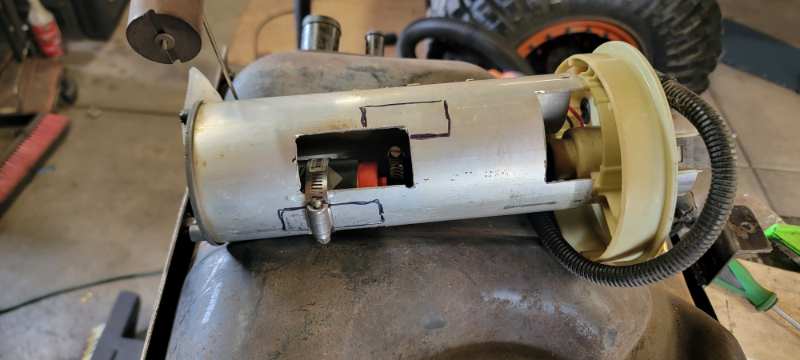
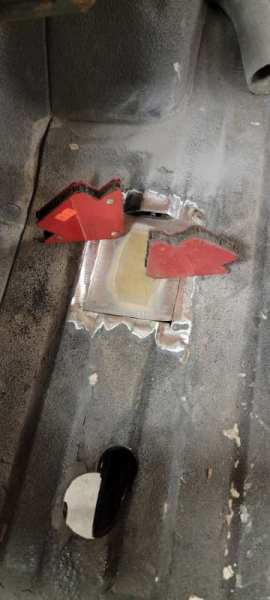
Next came the fuel sending unit. This ended up not being nearly as complicated as I had thought... I had previously modified the sending unit top section by removing the factory pressure regulator and then drilling out the center to make room for this Gforce V2 regulator bypass setup. Also pictured is the aeromotive 340 series pump. To utilize the areo fuel pickup sock I had to make some extra room at the bottom of the sending unit body It's a squeeze but it's sitting nicely With a few access holes cut this assembly came together nicely!
-
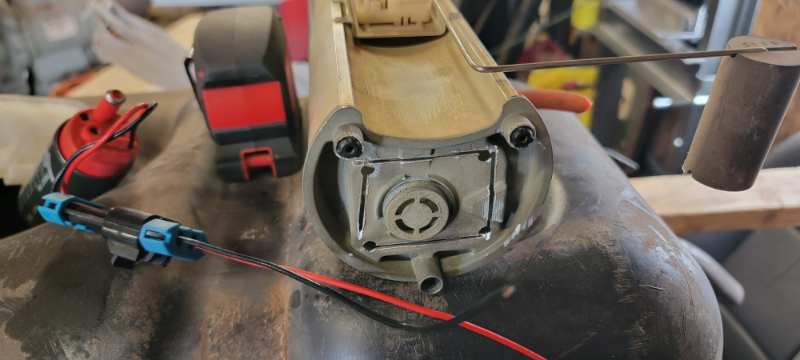
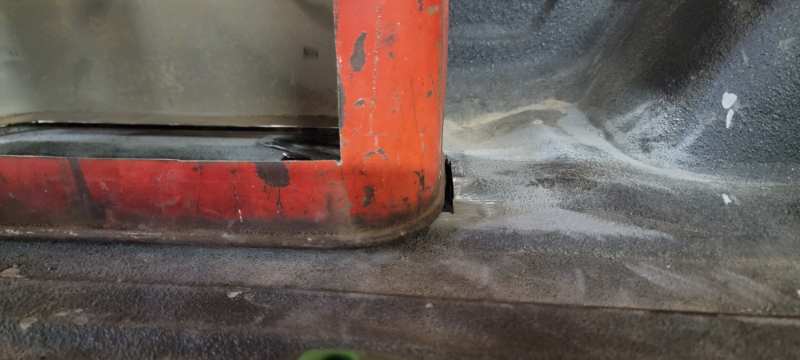
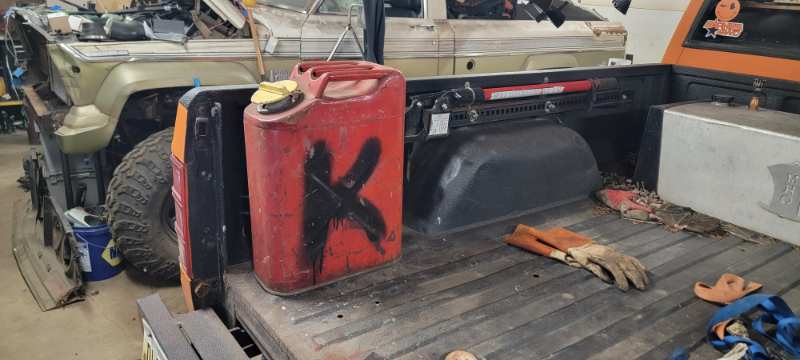
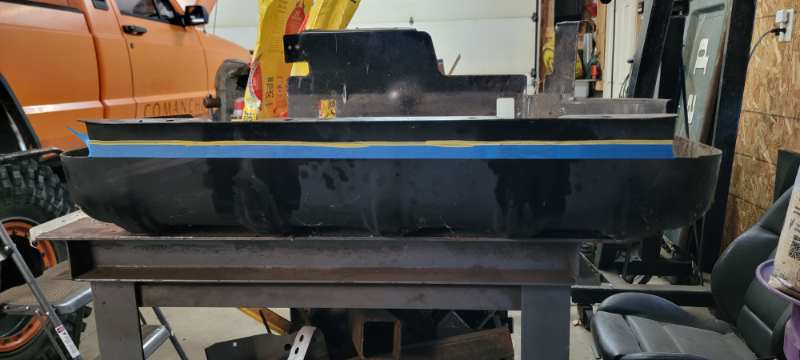
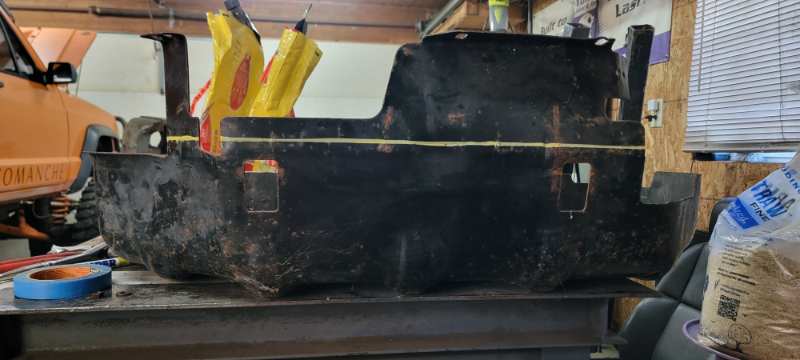
Jerry can fuel filler wasn't going to mount level with the bed thanks to this raised section for the frame so I notched it and welded in a donated piece of tan MJ hood
-
mini beast Project: Stock To Beast!!!
ThatJeepGuy replied to MiNi Beast's topic in MJ Hardcore Tech: Epic Journeys to Greatness
Wide chain time? Does your case pop out of gear even when your shift linkage is disconnected? Or adjust it more gooder to stay in gear 😜 -
Meh, just less grabby, not much room for positioning as it is let alone having a textured finish
-
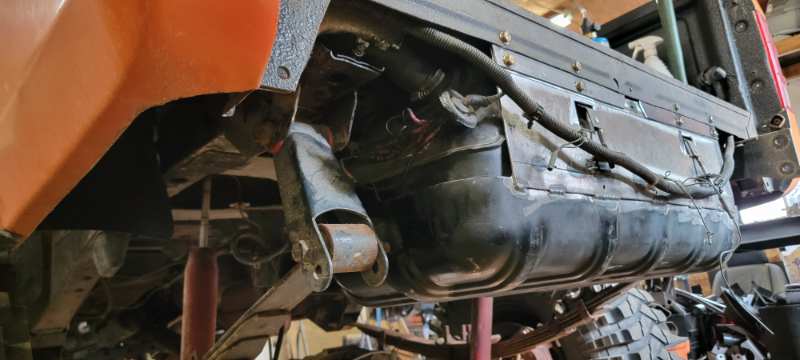
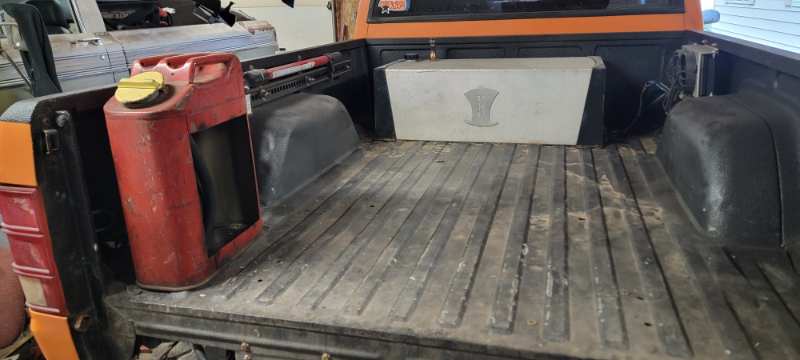
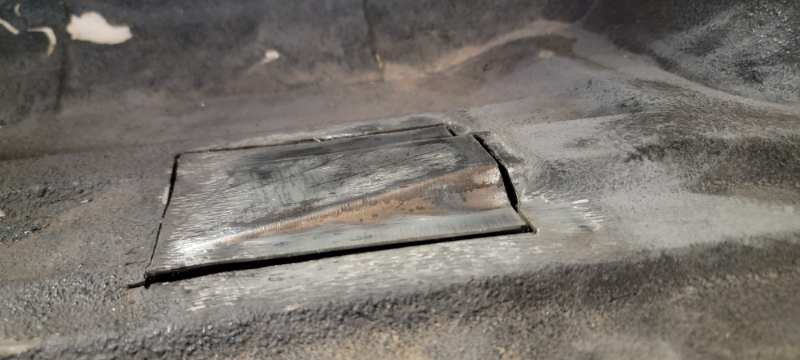
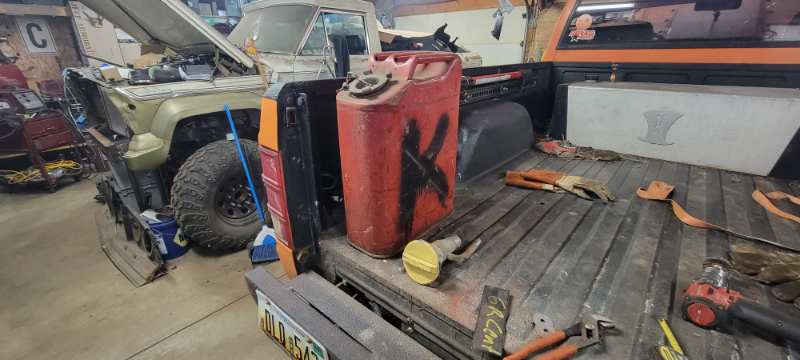
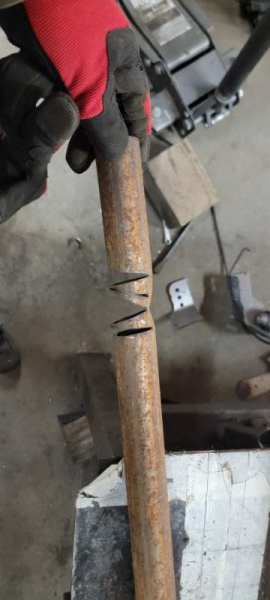
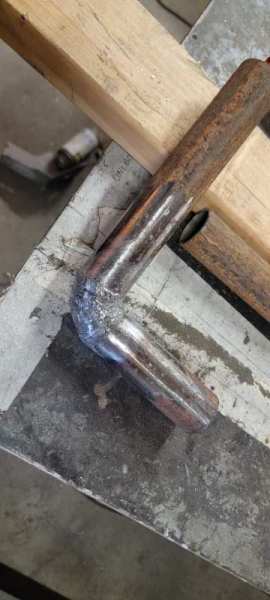
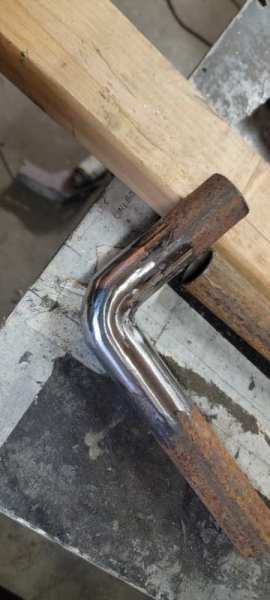
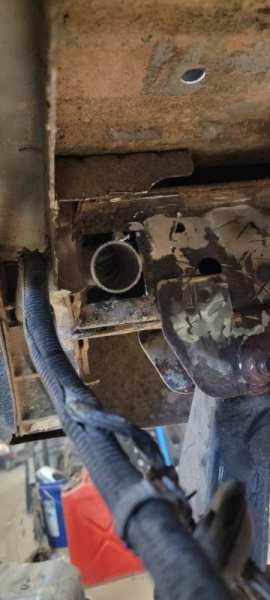
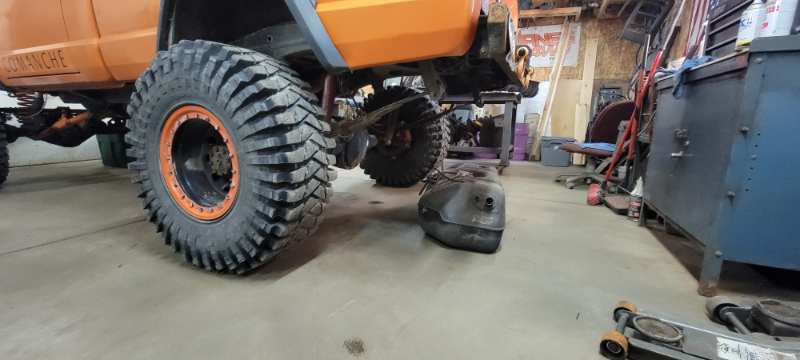
More TJ tank progress Modified the rear mounting setup and then leveled the tank. Made some simple brackets that secure the front of the skid plate to the exposed 1" lip of the unibody X brace. Then came the fuel filler setup. One of my old jerry cans and the gift that keeps on giving - Tan MJ parts! Old style fuel filler cap to boot! After plasma cutting out the threads from the jerry can cap I bolted the filler from the inside to the can. Next was getting the fuel to go from the bed and into the fuel tank. A custpm steel elbow is in order. Some leftover chunk of 1.5" hrew tube and some cuts with the grinder. Then we sprinkle the fluxore welds into place And spiffy it up some - good enough for me Little access hole which avoids the leaf spring mount, rear bed mount and also the mounting setup for the rear bumper brackets Some salvaged radiator hose will do for the time being until the new fuel filler hose shows up And that's all for the weekend folks! Tune in next week and see where I wind up with either finding an 05-06 TJ fuel sending unit assy to drop in OR try to be crafty and adapt an Areomotive fuel pump to my current 04 and older sending unit.
-
So did you guys pick it up as is or are you guys the ones responsible for the work done to it?
-
Yea my mistake, I forgot I shared the picture of that one here thanks to the sliding rear glass. I knew it had been around for a while now but never knew it came out of Wisconsin! Didn't get it with the drivetrain, it did initially have a motor still in it but when I haggled my deal, it didn't include it. No tailgate on it either but humor me, when did you haul it from WI?
-
March 2025 - Saved from Doom - Project TALOS
ThatJeepGuy replied to 89 MJ's topic in Comanche of the Month (MJOTM)
Nice work, rather inspiring I must say -
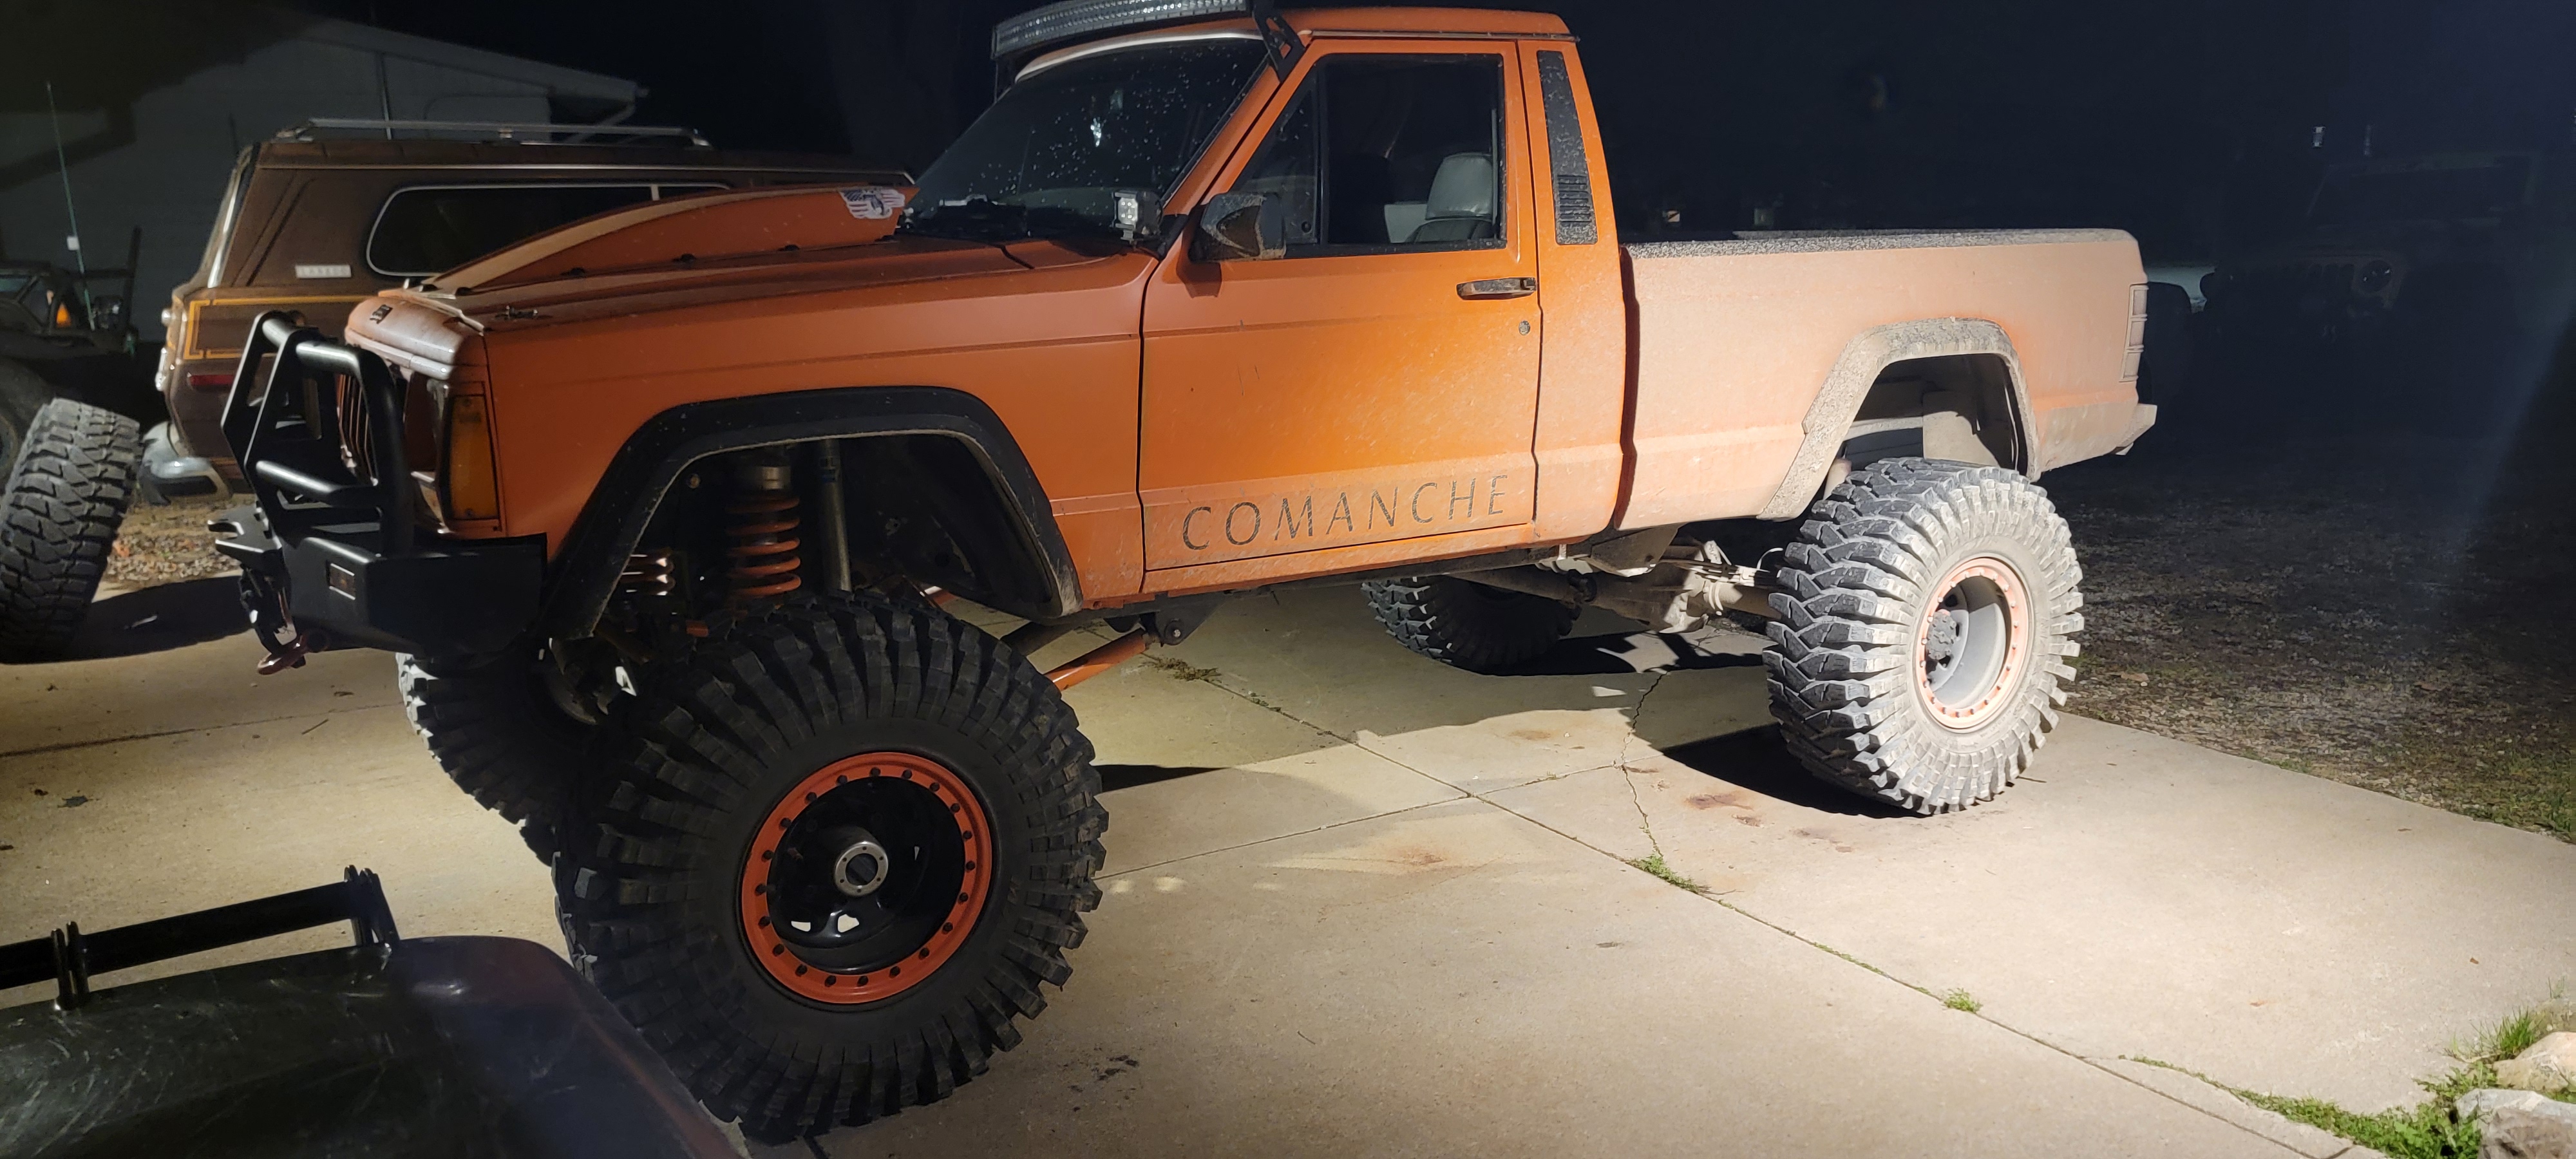
I think you've got a different orange MJ in mind?
-
Interesting placement for the XJ speaker bar.... love the looks of it though. Clean paint
-
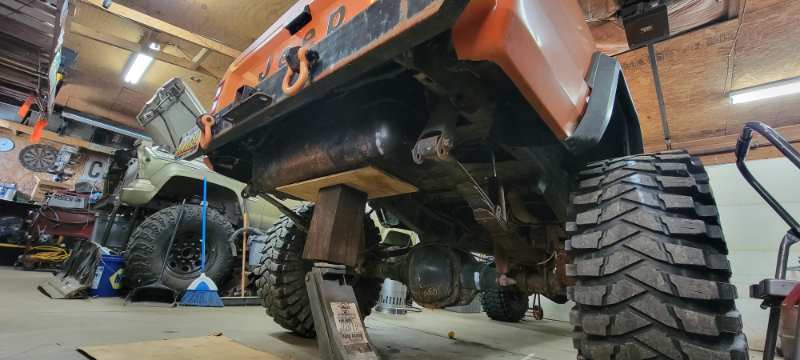
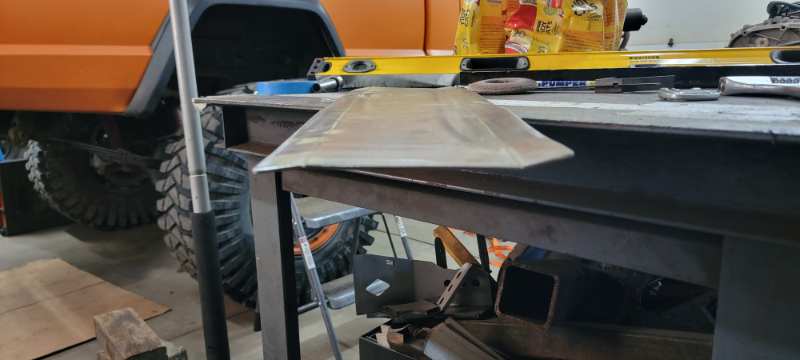
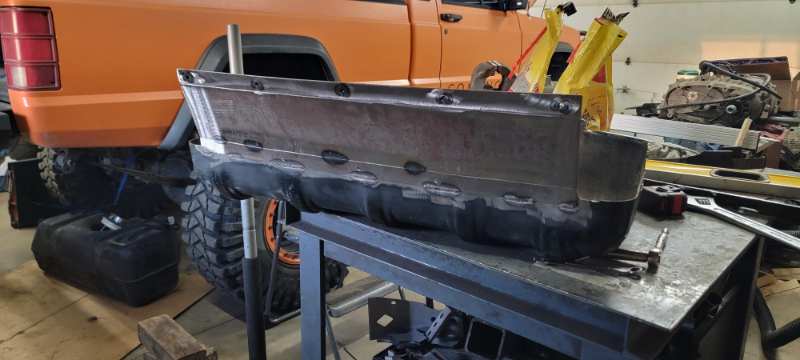
Well it's finally time! Prepare for custom install! Yup that's the spot right there Hit the steel skid with some death wheels cuts Then pre installed the assy for some reference marks and came to adding some steel to the rear so it will attatch to the rear of the bed. And there we have it, it's angled down atm but that will get remedied before I start figuring out the front mounts More to come on this- see you next weekend OJ
-
How to Straighten Bumper
ThatJeepGuy replied to James92's topic in MJ Tech: Modification and Repairs
Personally I think it's a fitting character for the patina your truck apparently has (peeling clear and faded). It'd be a shame to go soo far out of the way to straighten a lighter duty bumper like that to only have someone schmuck it in a parking lit a week later. No bad joojoo here but losers will do as they do best and run away from honesty/responsibilty. -
How to Straighten Bumper
ThatJeepGuy replied to James92's topic in MJ Tech: Modification and Repairs
Back it into a tree... gently, easy now don't get too carried away. -
How dare he deprive us of live updates
-
Why are we still talking about this? You should already be on your way there
-
We can't save them all. MJ bed trailer
ThatJeepGuy replied to ThatJeepGuy's topic in Member Projects: Other Cool Stuff
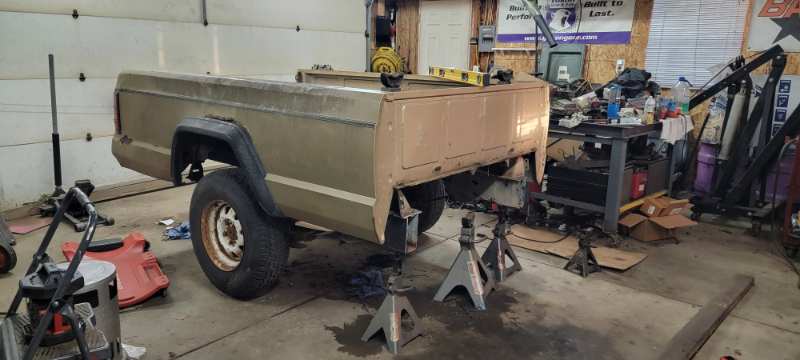
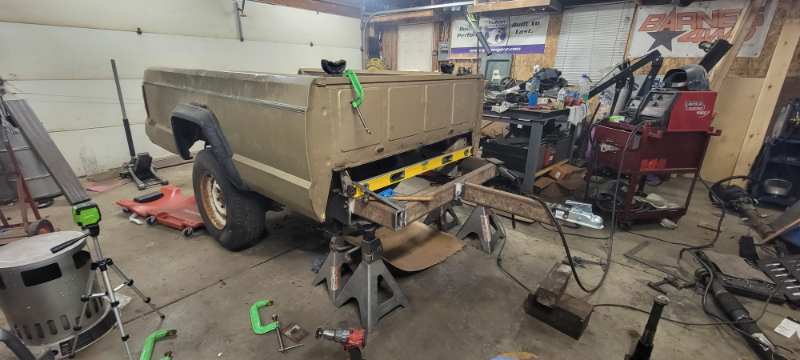
Decided to start with the day with these stubborn rusted on wheels. Just a touch of sketchy creativity here. Didn't take much till that very satisfying Pop! Occurred The other side didn't put up much a fight either. Glad I've hung onto a few of these factory jacJack's. Not much for in-progress photos but gussets on the top corners of the tongue. Then capped the face of corners and added a 2000 lb tongue jack. I'm roughly $110 into this now all thanks to the tongue mount and tongue jack. Still need to brace and cap the unibody rails before I move onto lighting/wires or how I'm going to address the lack of tailgate currently. Tailgate mounts are a little tweaked which has me leaning away from bothering with a factory tailgate and instead making my own "tailgate". More to come on all of this!
-
We can't save them all. MJ bed trailer
ThatJeepGuy replied to ThatJeepGuy's topic in Member Projects: Other Cool Stuff
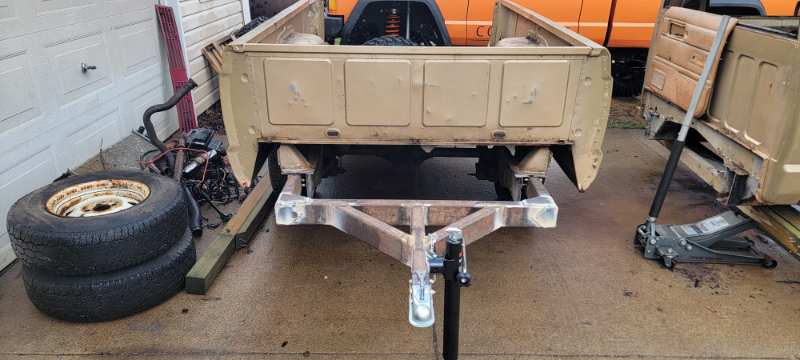
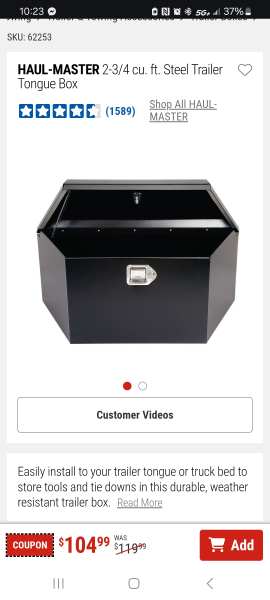
Overall weekend progress ended with a couple braces added to the tongue. Also a bit more welding. Still need to box out the frame rails and I'll be adding some corner gusset plates throughout. I was planning to swap the wheels/tires but it turns out the wagon wheels are absolutely rusted on. Gonna keep coating them in PB blaster throughout this week before I take the wood block and sledge to them. Also set my eyes on some harbor freight boxes potentially for the front end.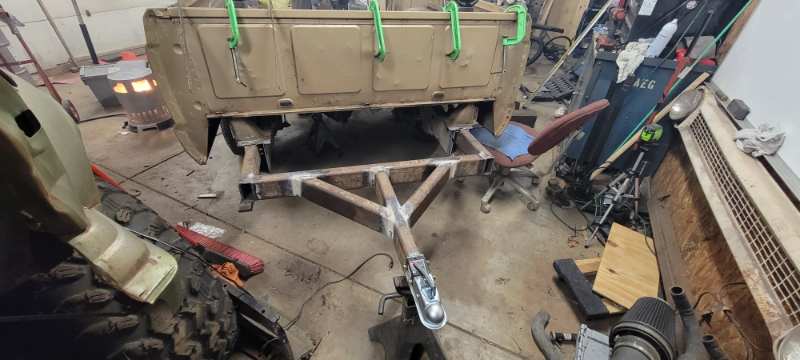
-
We can't save them all. MJ bed trailer
ThatJeepGuy replied to ThatJeepGuy's topic in Member Projects: Other Cool Stuff
100% other project kind of thread. My mistake on thread placement. -
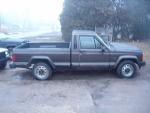
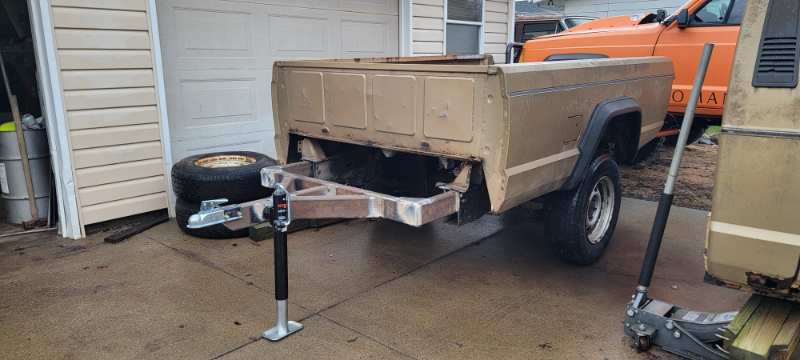
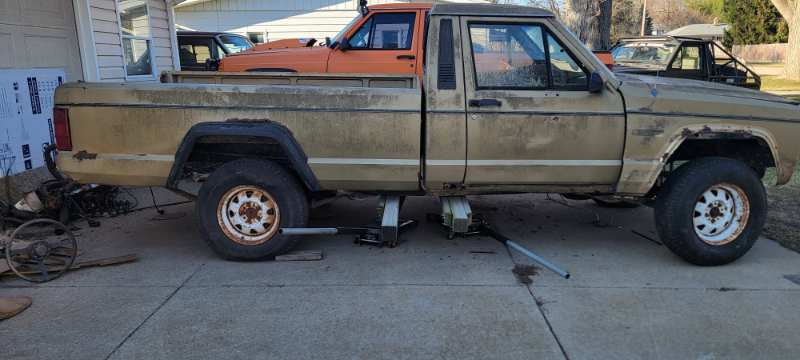
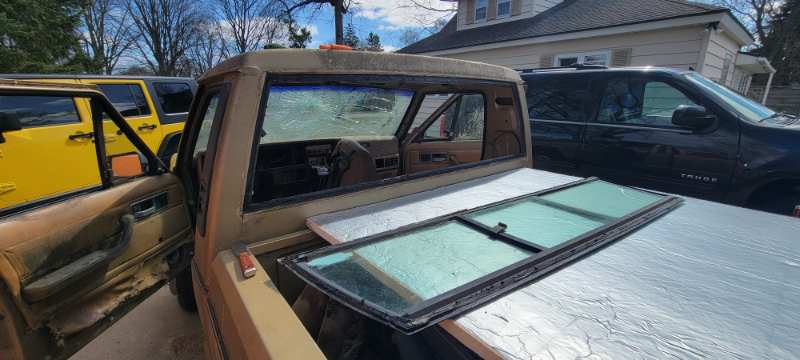
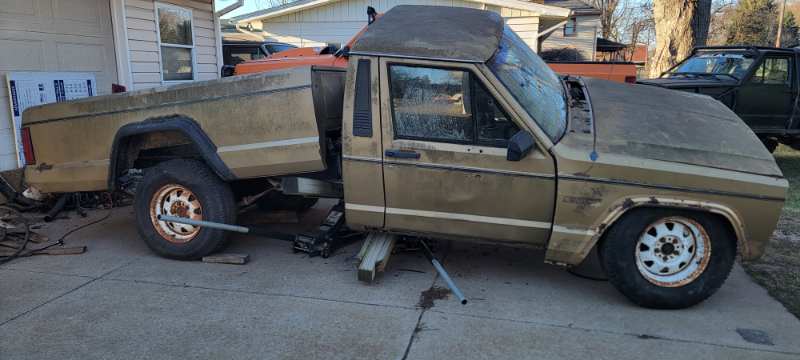
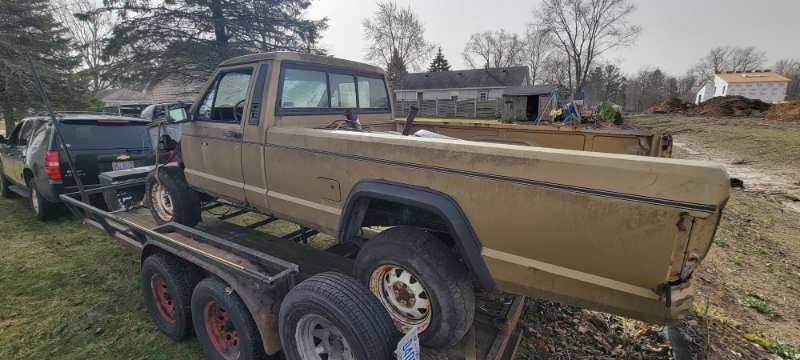
Bought this 86 just to salvage the sliding rear window from it. For $400 the price was just right. Not wanting another project truck to sit around and also Not wanting to deal with the tire kickers and project dreamers I made the decision it was time for an MJ bed trailer setup. This was an interesting experience. I've never pulled rear glass before and while I was initially intimidated, really was no big deal. Saved the seal as well Cut twice and measure not at all Tongue is built but very unfinished. This is just enough to have it mobile for the time being. Gonna keep my eyes open for used truck bed box if I don't just suck it up and buy the trailer tongue box I've been eyeing at Har or freight. More to come!
-
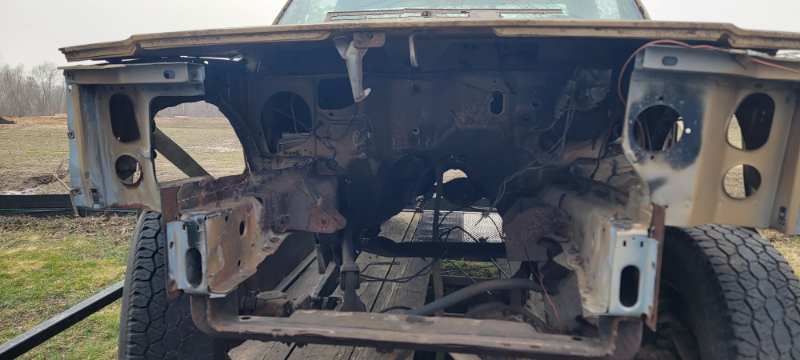
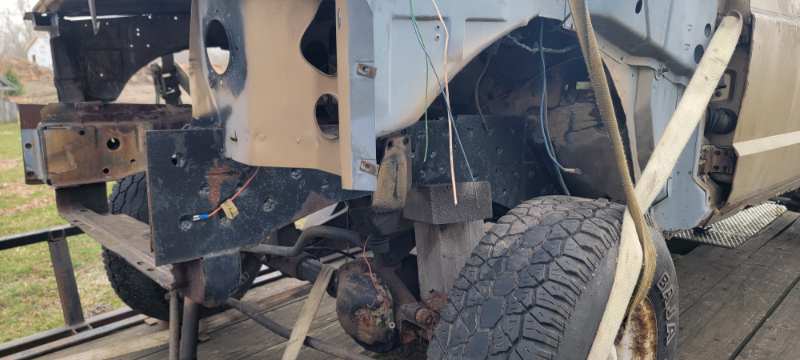
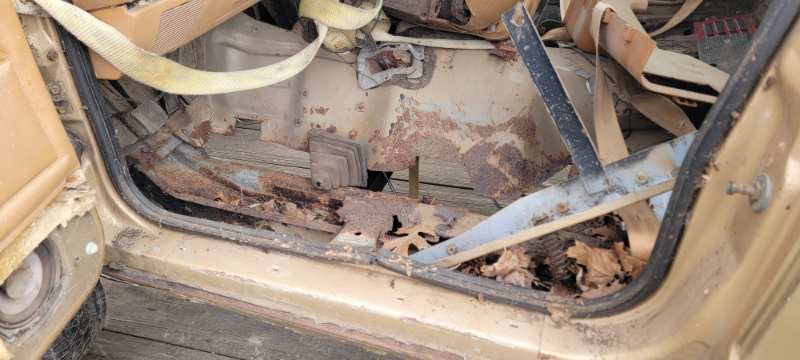
I had one years ago with a topper to boot. It definitely was useful but I came into a position of needing cash so I let it go. Never really regretted selling as it served it's purpose but as a result of having to buy this entire jeep primarily just for the glass - then also to my luck the unibody and bed on this one aren't terrible for being a MI truck - I'm not even going to bother trying to sell it (no title, no drivetrain, hacked floors and hacked front fenderwells from someone's booty work V8 swap). It'll serve me best if I just avoid the re-sell market and make the bed/rear frame more useful to me. Prolly chop the rear cab section like I have others and send the front section to scrap.
-
Yea sry, not intending to come off harsh, just the reality behind the numbers. I was actually driven to completely defy the ebay price initially becuase I didn't exactly agree with how much someone was asking for their 3 piece glass. Then I went down the hole of sourcing one for a better deal in spite of their price only to accept the reality of it. They aren't cheap because they are desirable! I actually still have the rear cab section of the white rusted out MJ I pictured earlier in this thread. To my benefit it had a sliding rear glass as well BUT i found it knocked over one morning (local hoodlum kids or the wind 🤷♂️) and 2/3 sections broke out of it. Funny enough this also drove me to re-aquire another MJ rear cab section I sold to a buddy of mine some 3-4 years ago. This one has a 1 piece glass but for the same $50 I sold it to him I could practice removing the window and ultimately salvage the rubber trim seal. This one still had the factory rear cargo lamp and interior trims in it *Bonus*! By the end of all this I should wind up with some spare parts, potential Sale/trade inventory, that 3 piece sliding window I've been wanting in my truck so badly and potentially an MJ bed trailer as well.
-
Best I could say is take a look at ebay. At the end of my glass deal if I end up still with a spare I'm going to be keeping it for just that reason. Really I'm not going to be willing to sell it for anything less than what I have into it and at that point you may as well play the ebay "make an offer" deal cuz it would be better than what I'd need to also ship it to you
-
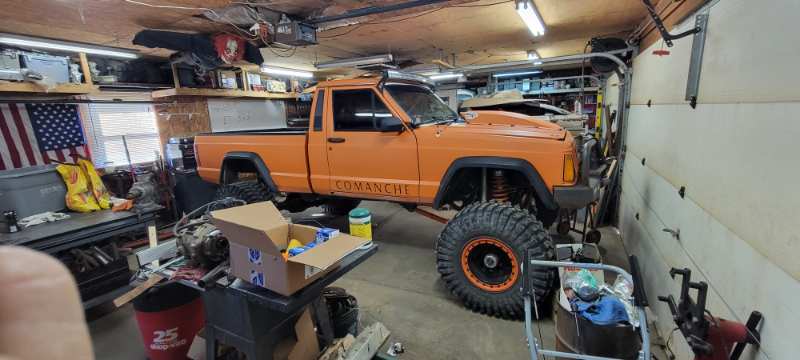
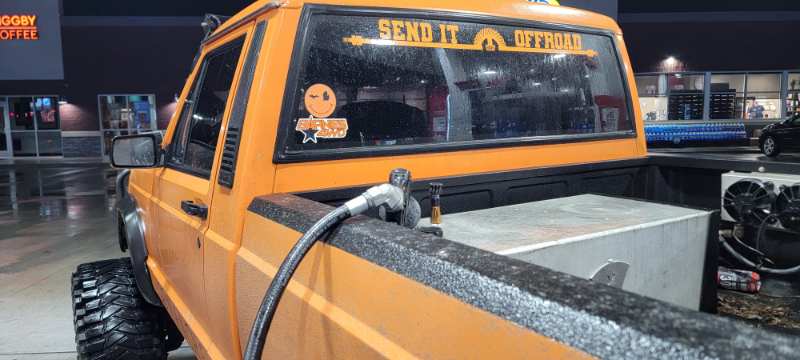
Spring is here, holy smokes it's been over a year since I've updated this! I think I can safely declare it's time for some change! This single piece window, the fuel cell and potentially the trans cooler gotta go! I'm sure ive said it in here before but i really want all the bed space back and while ive had a TJ tank setup sitting on my shelf for a while now (stuck undecided on how to mount it) i think its finally time to just remove the fuel cell and make it happen! At the same time why not relocate a trans cooler to the front of the jeep? The last bit - factory rear sliding glass! In my other MJ build (truggy) I have sliding rear glass and it's very nice on the warmer days with slow crawling - ive missed that option from day one with this Orange truck. Not doing as much crawling but the option for extra air flow through the cab is desirable. The fun part to acquiring another sliding rear glass becomes simple. Buy expensive salvaged glass from ebay or by luck - buy a whole truck locally and salvaged the glass yourself. Unfortunately I have done both 😑, Not only did I nab that tan longbed MJ ($400) i also to my surprise won an ebay "make an offer" listing for $330. Honestly not my original plan but here we are... Soo here's to springs welcomed warmer weather, a glass job with a spare to cover my a$$, a new fuel delivery setup and trans cooling setup and a future filled with en empty pickup bed.... or 2 empty pickup beds 😉 More to come!

-
I have a tan column for manual but no tilt