ThatJeepGuy
-
Posts
352 -
Joined
-
Last visited
-
Days Won
2
Content Type
Profiles
Forums
Gallery
Everything posted by ThatJeepGuy
-
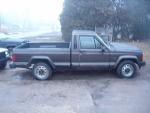
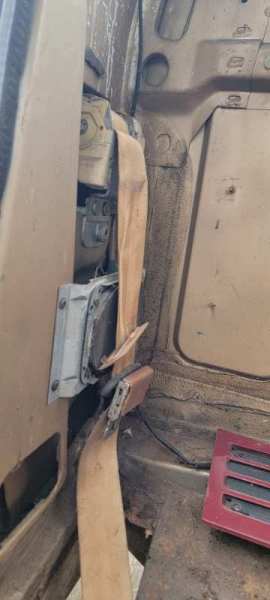
I have a pair of tan belt/detractors. 85/86

-

1987 Comanche The Long Hard Road
ThatJeepGuy replied to ThatJeepGuy's topic in MJ Hardcore Tech: Epic Journeys to Greatness
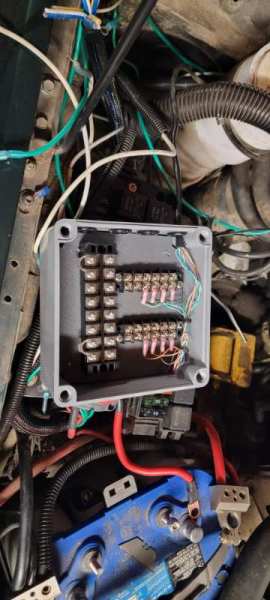
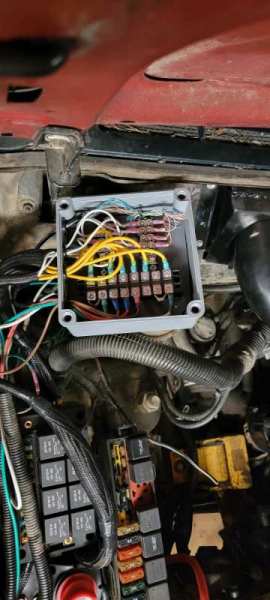
From this chunky mess of accesories To this unfortunately bulky box Cat 5 signal wires tucked in then comes relay switch and powered wires and accesories Amazon box and rubber grommets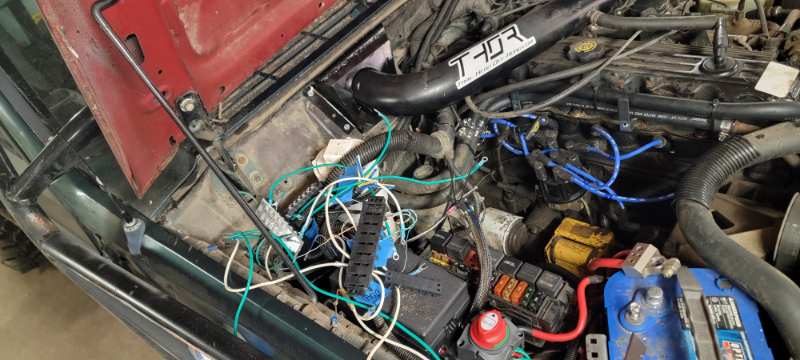
-
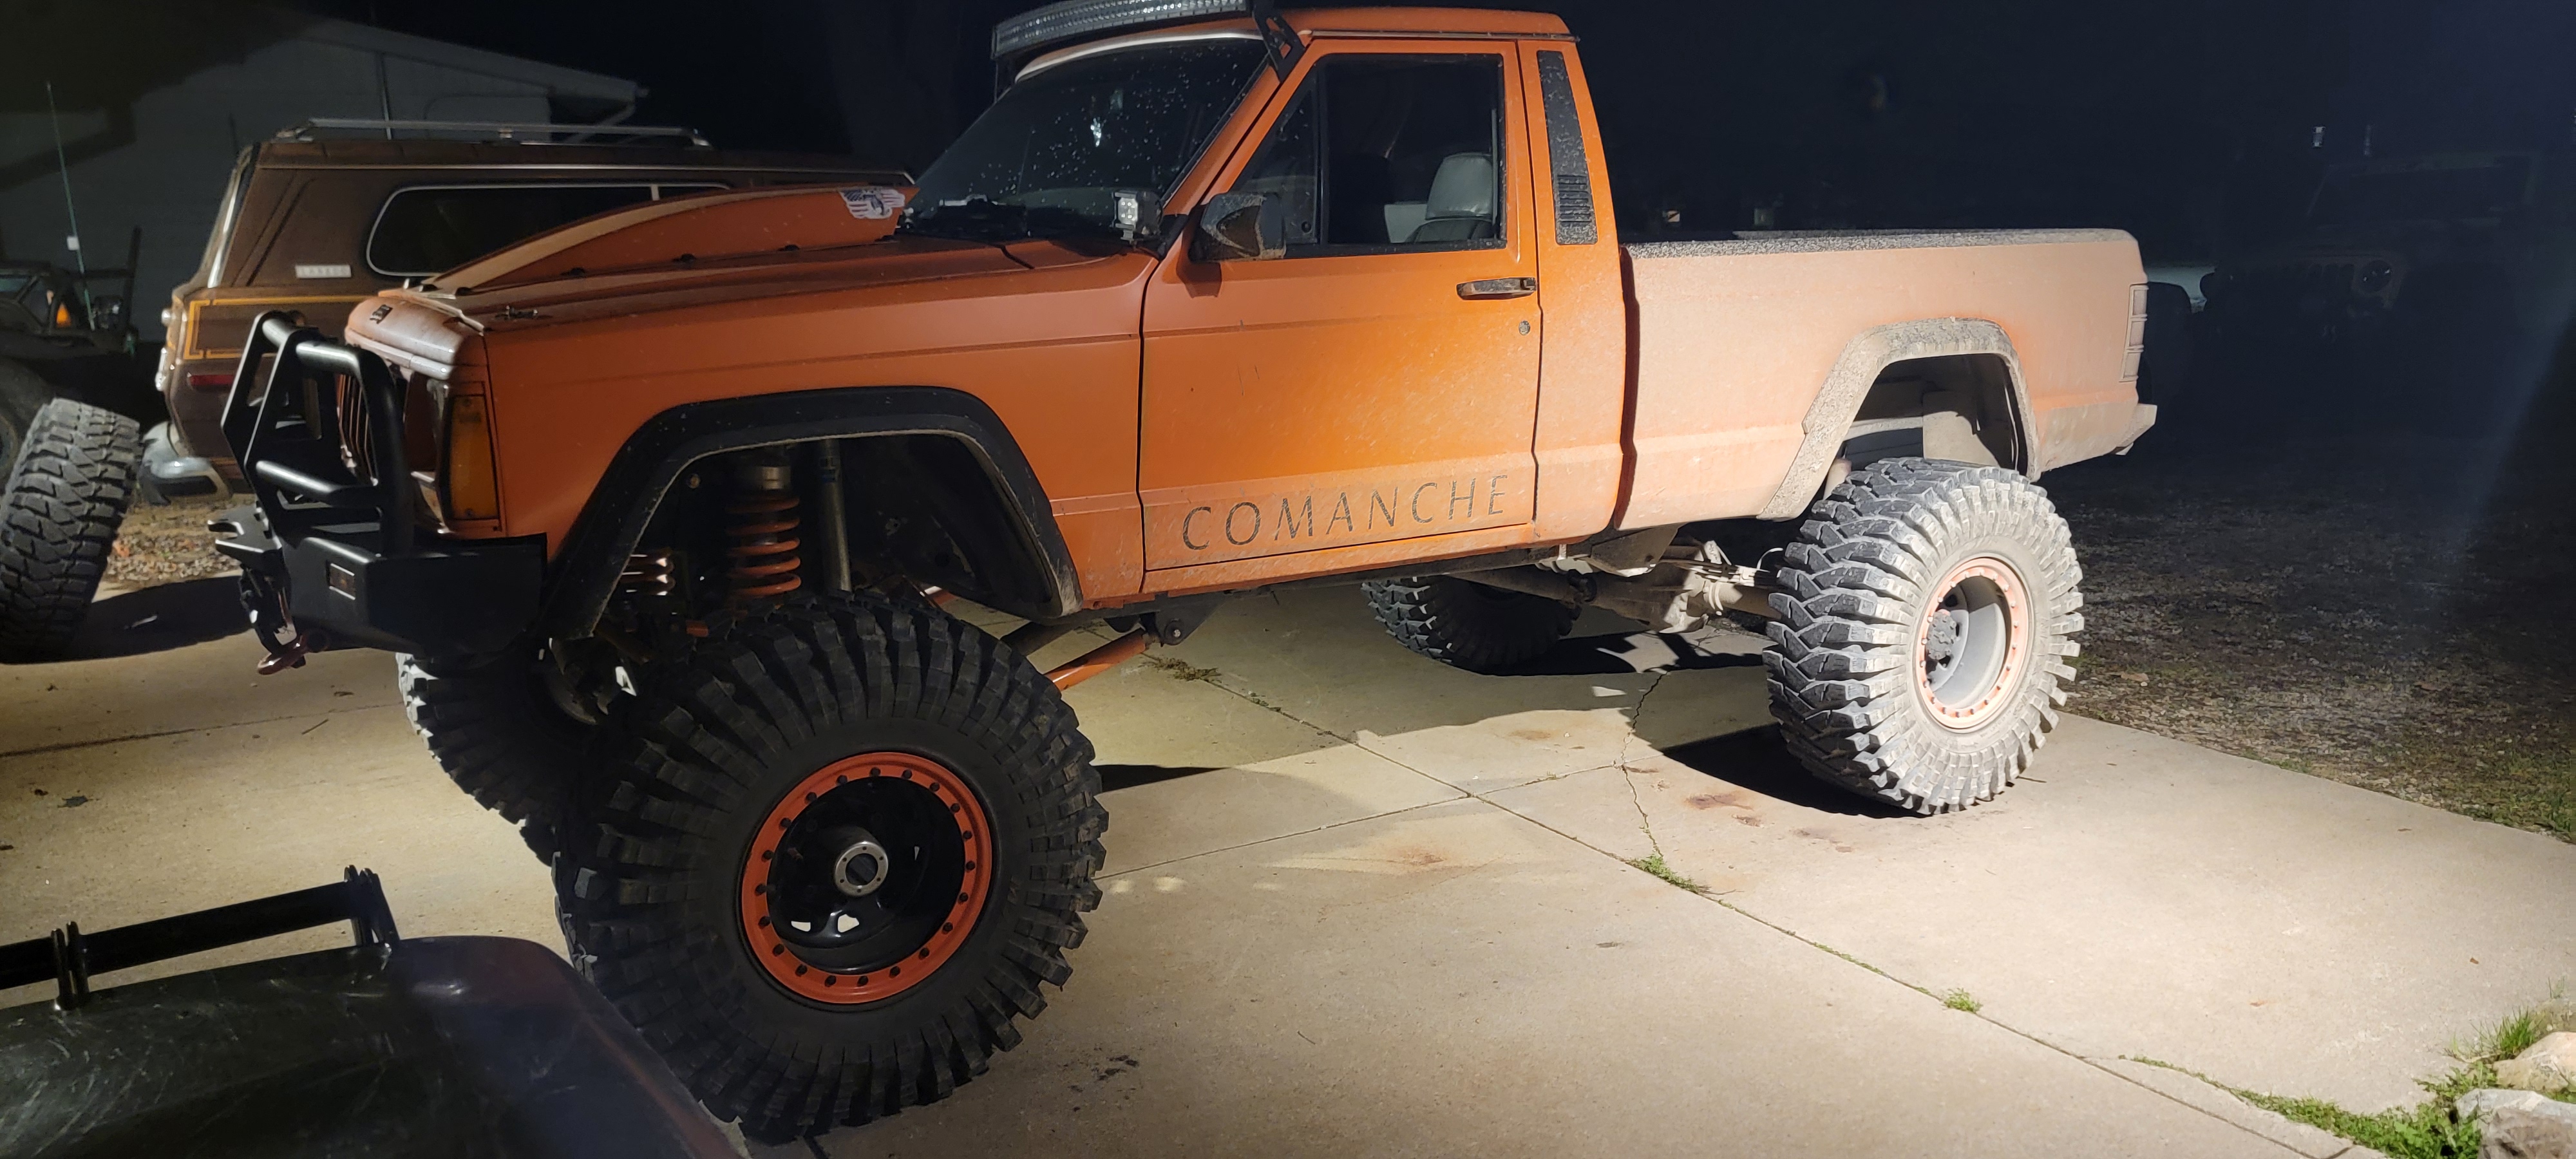
My 87MJ that's LS swapped and on 1 tons ran me 12k. I'm being honest here, I didn't build the jeep myself, I met the original builder while in the midst of it and that is how I know him to this day. His first MJ turned into a wicked build and we got to talking about MJ tailgates then etc etc etc. After a couple years he sold the jeep off for roughly $20k, several owners of rather neglectful use - it's mine to make right or rather my LS swapped invisionment. I bring this to the table as I am playing in the route of buying a pre-built rig - which surprise all the things you think you would do differently - you will prolly end up changing/making right for you which still adds $$$$ to get it the way you'd rather have it. No regrets really as I really enjoy my truck though I don't get the pride statement that yes I built it. It'd be hard to say which way is best, cheap just yard route - just make it run mentality vs the go all out and presentation level build when it's finished. I suppose as long as your enjoying how and what it's becoming then good on you!
-
I may do up some deer heart tacos this weekend. I'll snap a few pictures if that's intriguing for any of the hunters around here
-
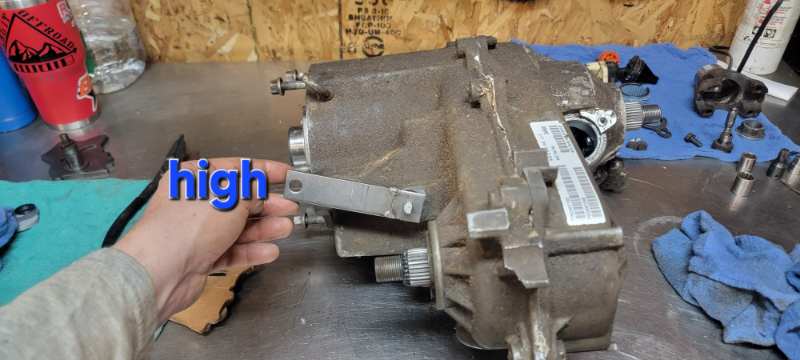
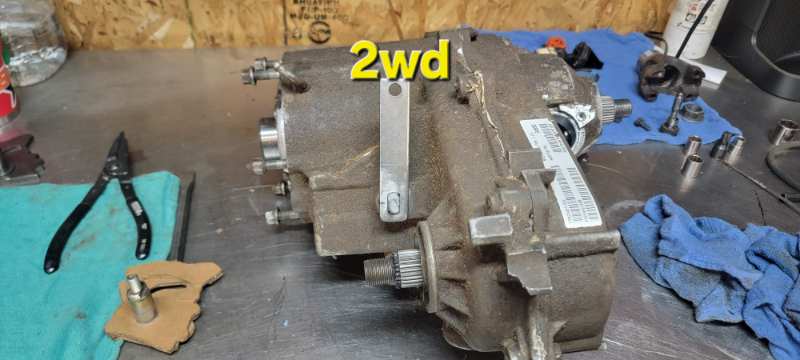
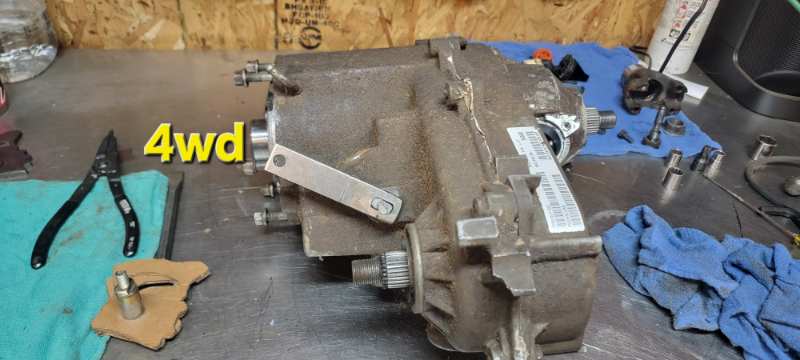
Twin stick 231 tcase?
ThatJeepGuy replied to ThatJeepGuy's topic in MJ Tech: Modification and Repairs
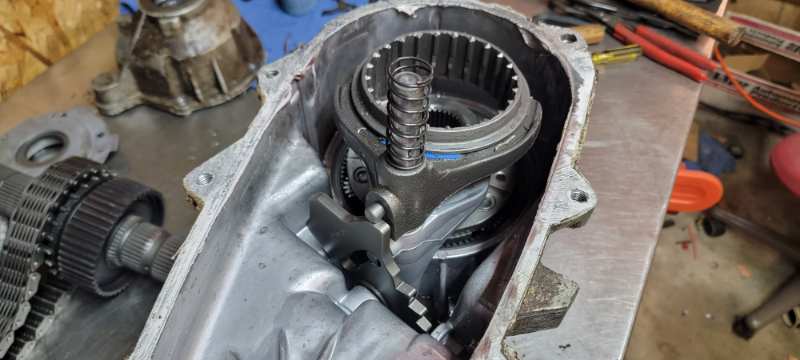
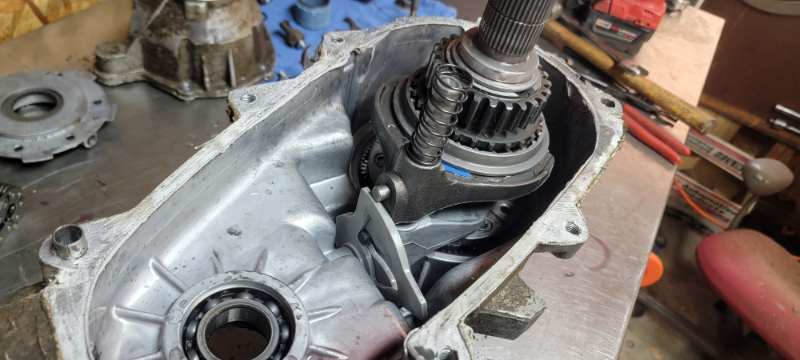
Yes it does exactly that. I actually dug one of my spare tcases out of the shed this weekend and finally started testing it out. Nothing special here, factory parts Shouldn't be too surprising but the 3D parts fit nicely The interesting thing is it actually works too. There is some flex in the parts but that's obvious they are just plastic I pulled the case back apart and am working on transferring them into a crude metal version for more trial and error. I'll update more on this after I get those figures out and installed again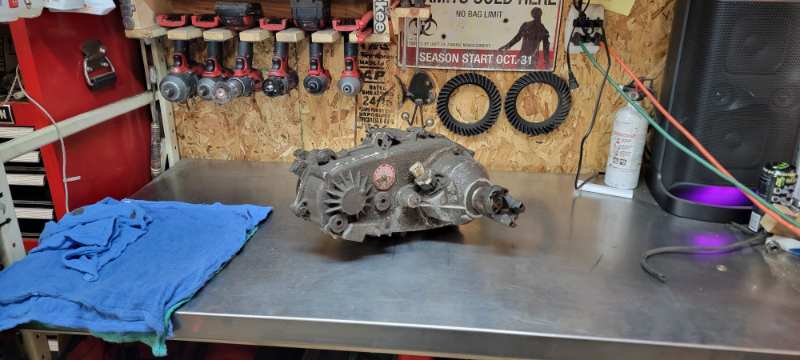

-
That's absolutely my fear... acquiring more parts that no one really wants and I couldn't bring myself to throw away
-
Oil light , where to start
ThatJeepGuy replied to Tyson Josh's topic in MJ Tech: Modification and Repairs
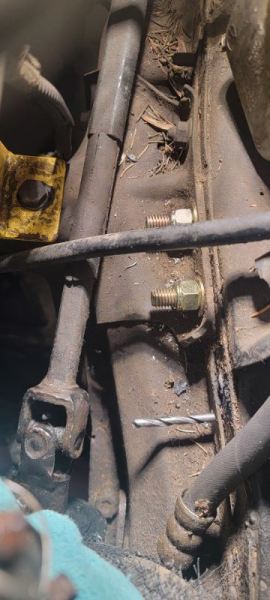
This picture is below the engine mount and not around your oil filter setup I'm beginning to think your trolling us -
Oil light , where to start
ThatJeepGuy replied to Tyson Josh's topic in MJ Tech: Modification and Repairs
That block with a plug in it is where the sender is to be installed -
Track bar replacement - tip and some help
ThatJeepGuy replied to J33ps's topic in MJ Tech: Modification and Repairs
What size lift btw? Factory track bar for a lift application doesn't have a lot of room before your better off with an adjustable setup. Those studs on the 2 lower mounts are very very common, I just revamped my track bar setup for my 87 and the one below the engine mount is still there while the one closer to the steering box quit on me years ago. As far as getting your track bar mounted again there Is no problem with using your steering to push the body to align the track bar- this does however require two people to do it. One to steer the body and the 2nd to align the taclbar and bolt. One other point - inspect your axle side mounting hole to be Egg'd out or Out Of Round. It's common enough when removing an old or factory track bar (especially if you threaded the bolt out of the bracket during removal) for the mounting hole to be affected. That worn out mounting hole will eventually get worse and cause death wobble which can be the vain of many jeepers experience.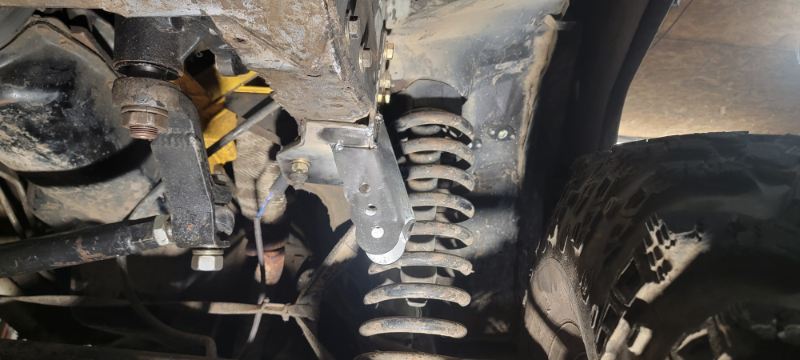
-
I have an opportunity for a near identical set of seats local to me, I'm more interested in the front seat brackets than anything for an 86 XJ I'm revamping. Very nice score regardless also rather encouraging - may have to dig up that messenger thread after all
-
Oil light , where to start
ThatJeepGuy replied to Tyson Josh's topic in MJ Tech: Modification and Repairs
I googled for a reference photo as I don't have a renix block to put my eyes on. Indicated by the crude red pointer is where you should expect to see the oil pressure sender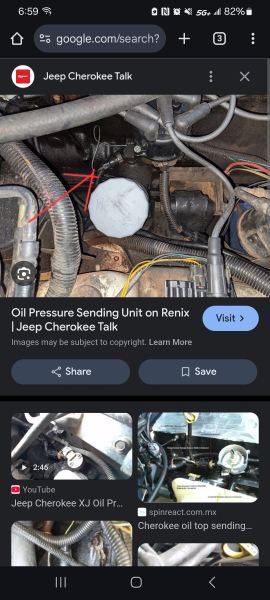
-
Please tell me there's more on this one!?
-
1987 Comanche The Long Hard Road
ThatJeepGuy replied to ThatJeepGuy's topic in MJ Hardcore Tech: Epic Journeys to Greatness
Mmmhmm track bar and brackets welds Years ago now I did one of these *bleepin jeep* accessory fuse/relay boxes converting a factory unit. It's about time for someone a little cleaner and more compact. The other main things here is I'm retiring the factory plastic battery tray in favor of a Barnes4wd unit and also contemplating revamping the power and ground cables... we shall see how that goes but for now it's just been tidying the engine bay up some re routing some accessory wires, and improving the fitment on this Thor intake More to come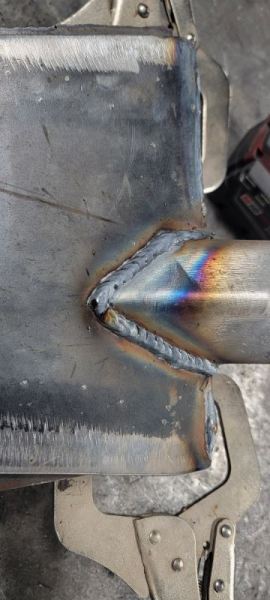

-
It is remarkable how just a little bit of snow can devastate areas that aren't equipped to handle Any of it. Hopefully things get to a more manageable state sooner rather than later for you guys affected by the sudden cold. I love the snow, especially when it sticks around. The last 2 winters have been rather disappointing here in MI. Seems our "new" winter season actually begins around January vs November as I remember my childhood winter seasons.
-
January 2025 - The Orange MJ and The Truggy
ThatJeepGuy replied to 89 MJ's topic in Comanche of the Month (MJOTM)
Thanks very much guys! -
1987 Comanche The Long Hard Road
ThatJeepGuy replied to ThatJeepGuy's topic in MJ Hardcore Tech: Epic Journeys to Greatness
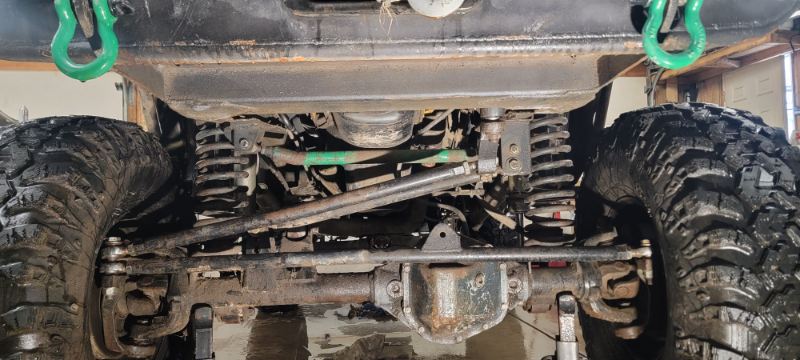
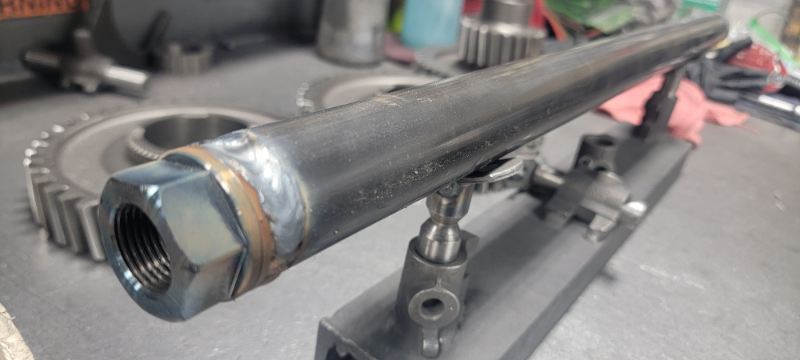
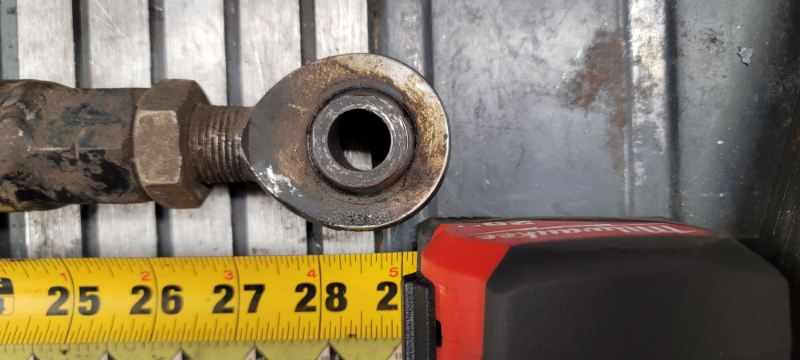
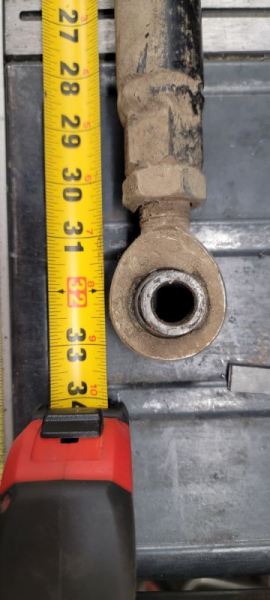
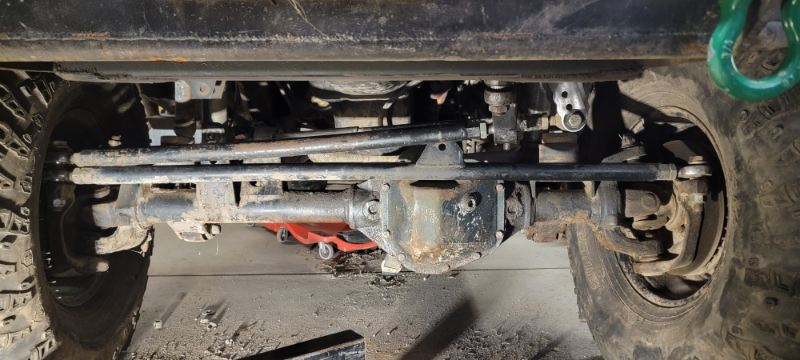
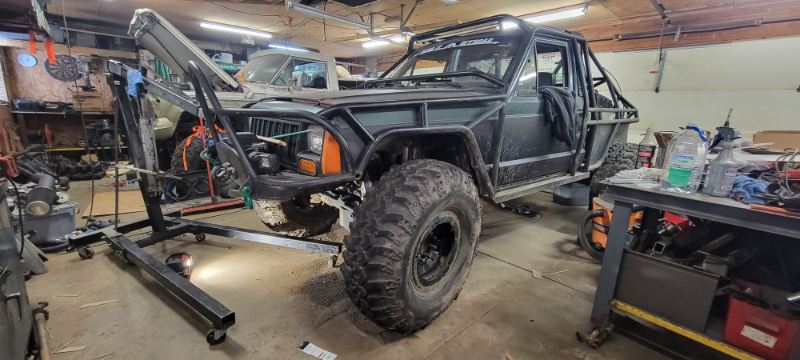
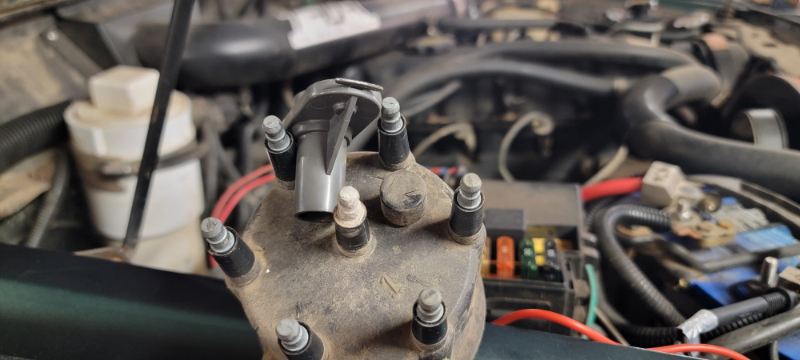
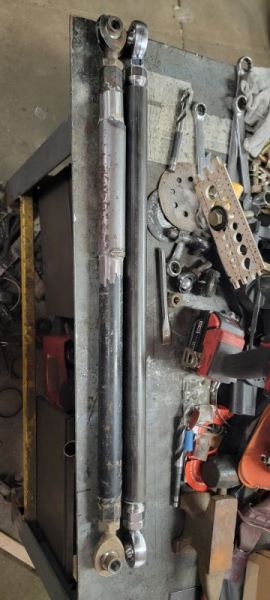
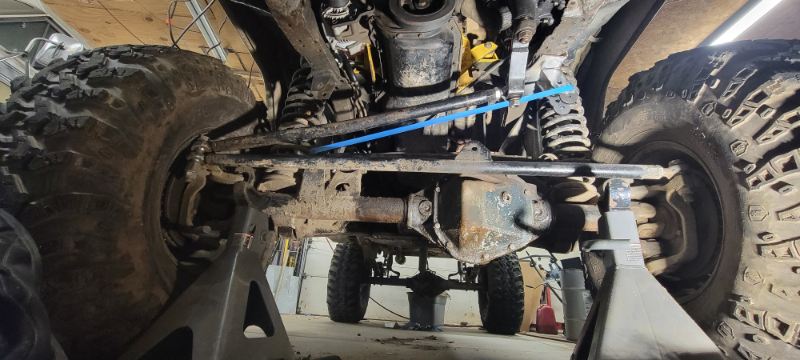
Let's kick this off! find a true center for reference. $40 Lazer level from the jungle site. Formerly only 28.5" Cut the bar and sleeved it and now we have 32.25 Set it down on the bumps to check clearances and everything looks good! No coil springs Here we have the sleeved old track bar and the to-be-welded new track bar New track bar mount in a mockup weld jig Had some extra time so I poked around a slow startup issue I've been having. Haven't been hearing the fuel pump prime at key turn lately, had me a little worried I'd be dealing with replacing the fuel pump but when I was checking fuses and relays I found a bit of corrosion and after some wiggles the fuel pump was alive again. Not surprising also found corrosion on the distributor can and rotor - rock auto tune up here I come. Planning to weld up the track bar and mount this week, hoping next weekend I can tackle this tune up and some terminal cleaning. Plenty more on my mental to do list soo absolutely more to come!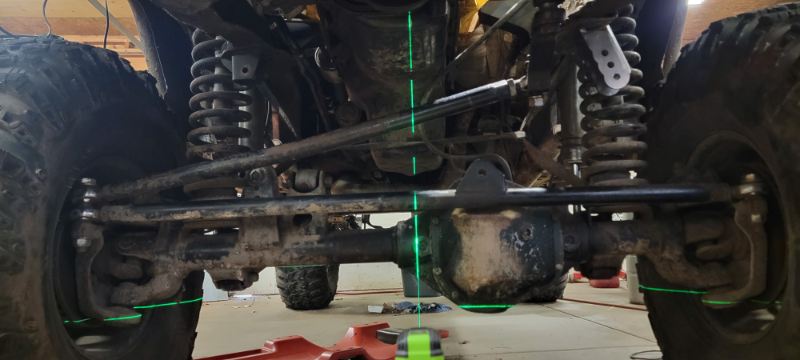
-
1987 Comanche The Long Hard Road
ThatJeepGuy replied to ThatJeepGuy's topic in MJ Hardcore Tech: Epic Journeys to Greatness
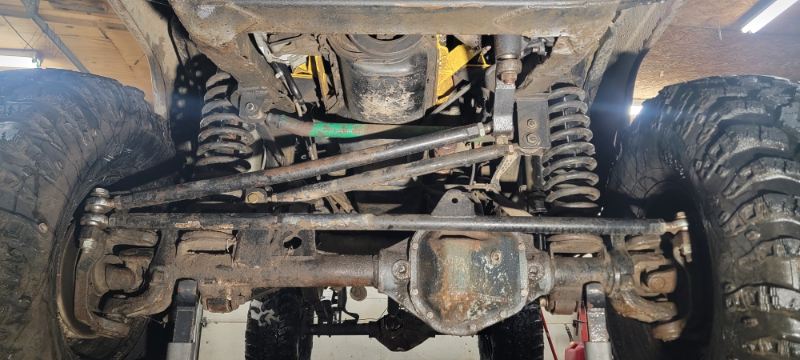
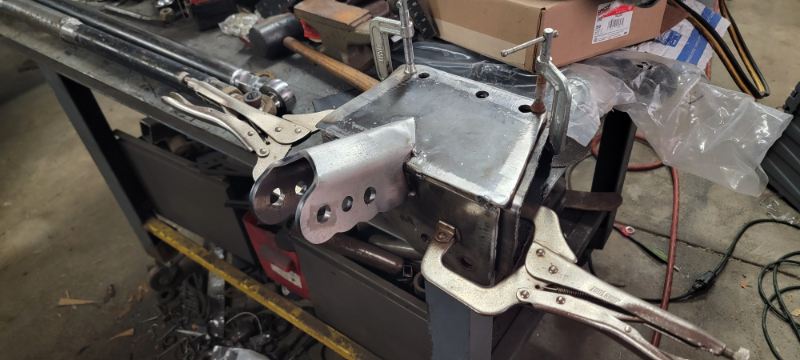
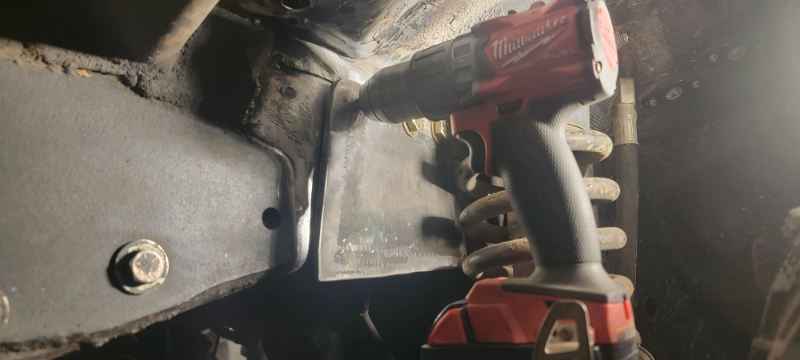
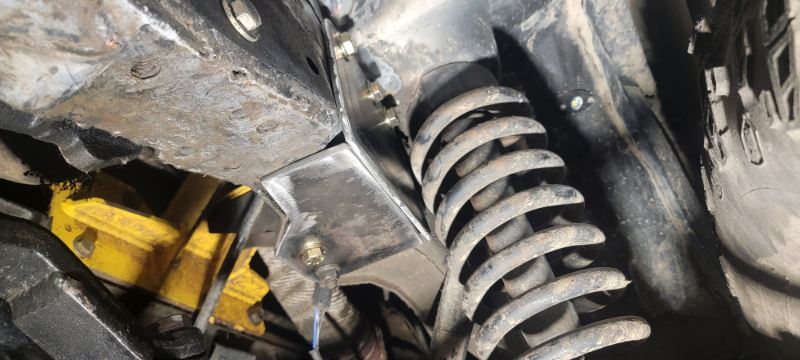
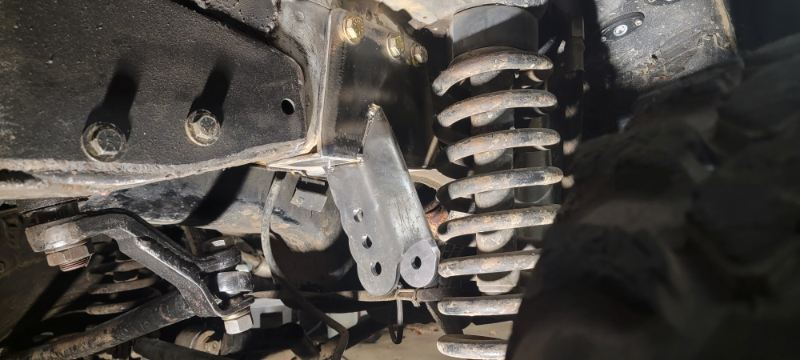
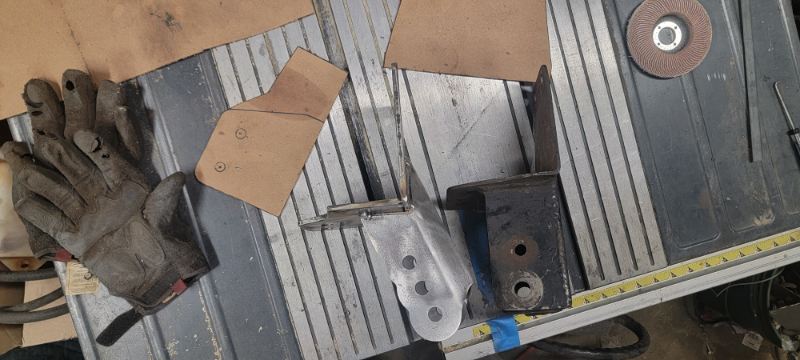
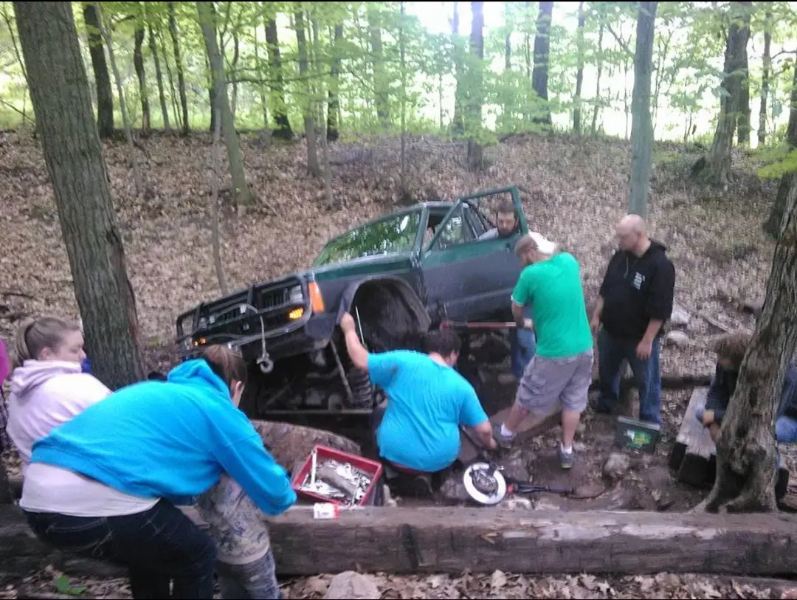
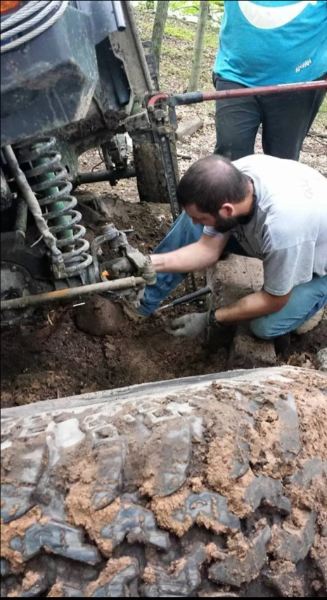
New mount is underway! Unfortunately there doesn't look to be enough room on the axle end to add the boxed mount where I want it soo just focusing on a new frame side mount for now. Started out by removed the old bracket and track bar. Welded a bit more of the unibody seams here. Did this a few years back to some of the area while at the Badlands offorad park as the unibody was literally falling apart. The more it's tied together the better! Did a little copy and modify with tracing the old mount and factory bolt locations to some leftover 1/4" plate I had. Honestly wanted 3/16's like the prior mount but this was on hand soo it'll do. Made the outside plate wide enough to offset the new mount some, this also gave me enough room to add a 5th mounting bolt. Straight eyeball guestimation here and it landed right where I wanted it New bottom plate covers more of the unibody than previous Thanks to Offroad Anonymous and their fair priced custom bracket selection - offset panhard mount outside the frame. Tacked together and tape lines drawn, it's looking pretty close. Add to that its almost 4" longer than the old setup as well. Just about 3" shy of matching my steering length. New vs old mount new toob and heim joints to come!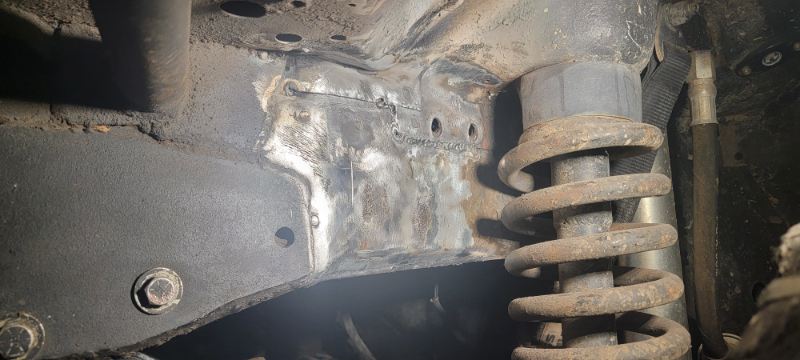
-
I can attest to the bone conductive route, I've been on the same bare of Aftershocks Air for going on 4 years now. The bone conductive is a great route if you are in a space where you are planning to wear earplugs. Seems most quality brands actually come with a pair of earplugs as well. Without the plugs they still work but it's less effective; battling other noises and also less effective to hear and feel the bass/tones of music.
-
Setting yourself up for double the flares I see
-
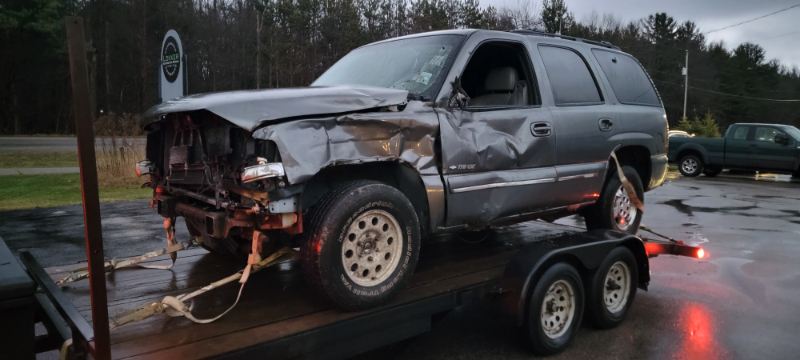
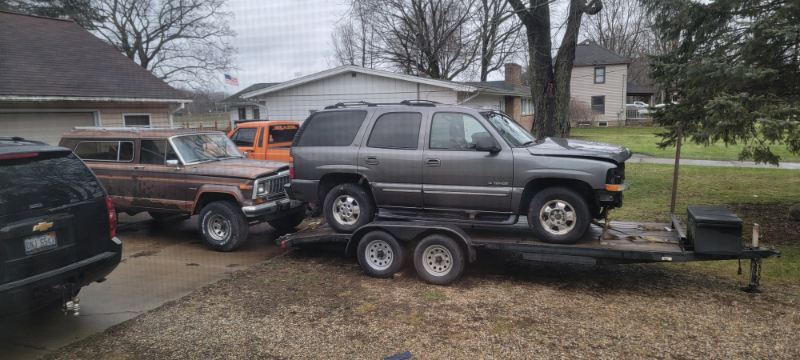
Well opportunity knocked at the door and I answered with cash in hand... i have recently missed the opportunity to scoop up 2 seperate CJ5 rolling chassis as driveline donors. More soo just the running amc 304 from them as the amc 318 just isn't in my price range or nearly as available. Soo when this 2000 tahoe popped up with less than 200k miles and just $650 - I completely caved on the original AMC drivetrain idea and accept the future for this FSJ. Now if I can just kinda leave it alone and stick to my priorities! Really rhough the Cherokee hasn't snuck itself into my garage yet so I think I'm still doing alright
-
They are very useful when needed and can be used carefully. But they can be rather hazardous for those that struggle with being accident prone i get a kick when i see them on roof racks or bumpers of vehicles with no steel bumpers or sliders of any kind. And where are you going to lift the vehicle from with that thing!?
-
Simply complicated jawjackers.
-
Welcome back to the forum!
-
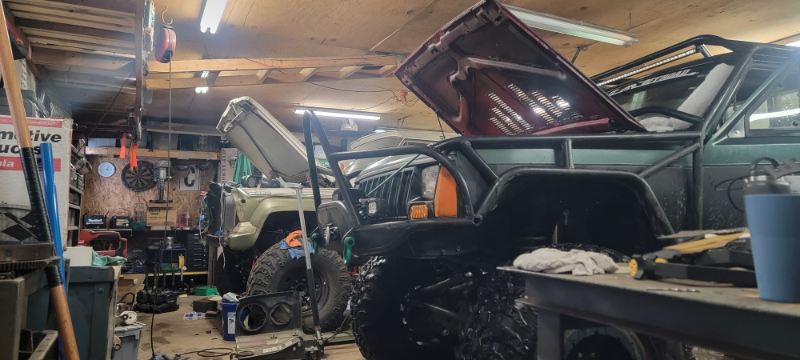
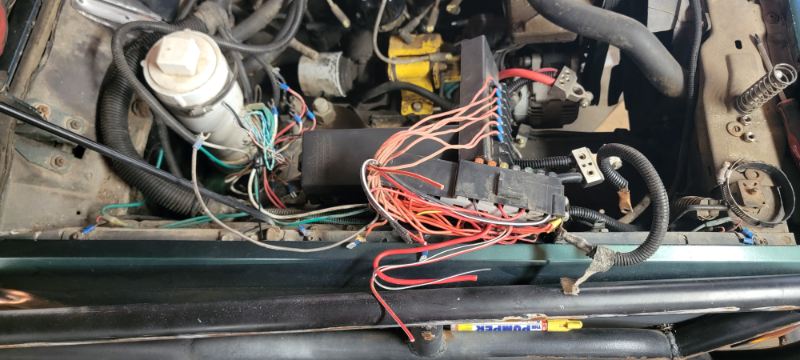
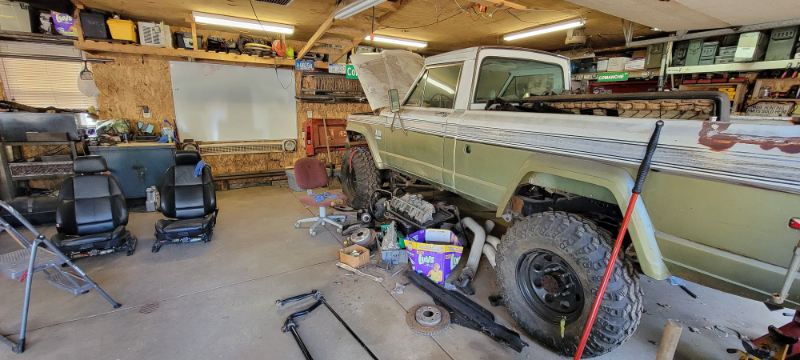
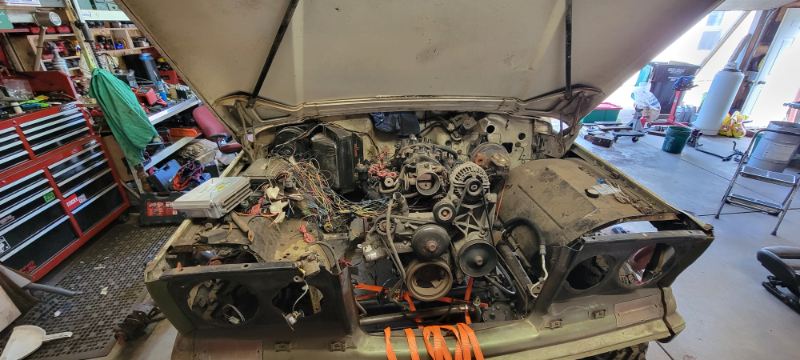
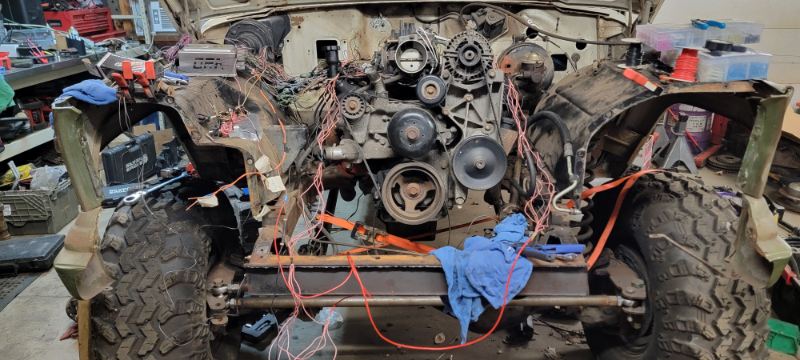
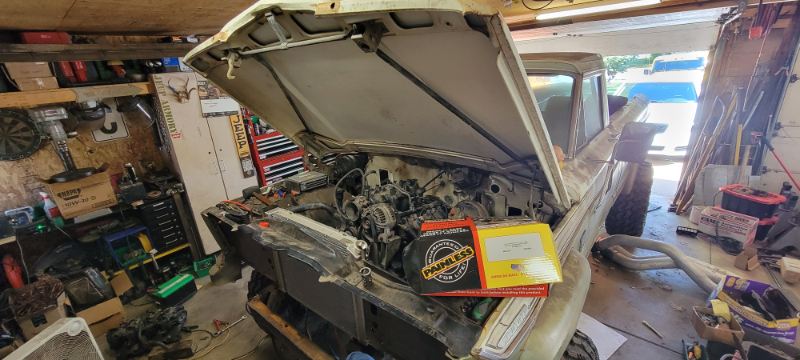
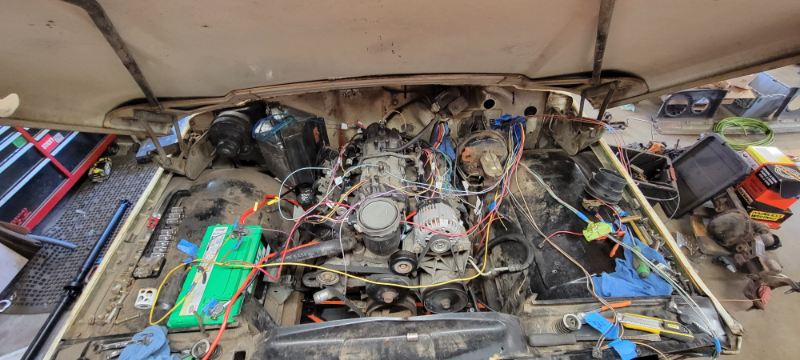
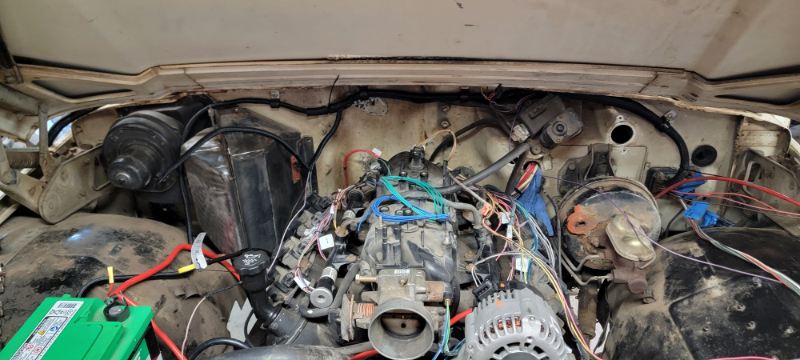
Per my usual nearly 2 year gap of updating I have some progress to share After shifting the truck around, I finally got the nerve to get back into the engine bay and start figuring out this wiring What I have here is the pre and post attempt to quick fire the engine just so i.could hear it run. Figuring this may spark my motivation. Well that turn into a near fire in the engine bay with some wires melting a little bit But it did kick me in the direction in needed to go - painless! This kit cost me nearly $800 but for no joke a conparably painless hour or soo, the engine makes engine noises! First fire video here: . Now I'm just patiently wire looming and routing this engine bay harness. Trying to stay a bit more productive this time around and also updating this thread. More to come
-
1987 Comanche The Long Hard Road
ThatJeepGuy replied to ThatJeepGuy's topic in MJ Hardcore Tech: Epic Journeys to Greatness
Throw them hoods up! Gonna try to address my short track bar issue While the geometry angle is right - then length of my track bar co.pared to my steering link its rather short. Tentative plan is to offset the frame side track bar mount and then also move the axle side mount to the front of the coil spring or even to the outside of it. Depending on how this goes may even change the long arm setup from a radius arm to a full length 3 link setup. With that comes new axle mounts and also a bit of exhaust work. Not exactly jumping out of my chair to go that far but it's certainly on my mind So we shall see!