

Salvagedcircuit
-
Posts
1381 -
Joined
-
Last visited
Content Type
Profiles
Forums
Gallery
Everything posted by Salvagedcircuit
-
 You will need to remove the coolant reservior, but you don't need to disconnect any hoses. You simply undo the strap and tilt it toward the engine, out of the way. The tray is held on by (2) 10mm hex head self-tapping sheet metal screws. You will also need to remove the little air vent or temp sensor screwed into the passenger side back inside fender. It helps if it's out of the way. 10mm hex head again. I believe the gasket still exists, but my for seasons part from autozone did not come with a new one. My old one had no cracks and not even dry rot, so I cleaned it off with fantastik or simple green and reinstalled it. Watch out for those metal insert washers. they are formed in a cup shape. Don't lose those. It's easy to do so in the engine bay. I do not know if this hose part still exists so be gentle with it. I cleaned mine with simple green and it cleaned up just fine.
 -
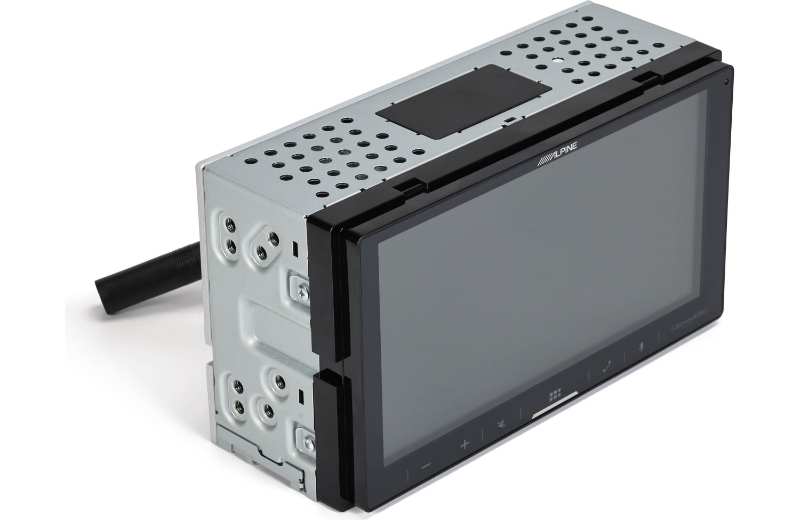
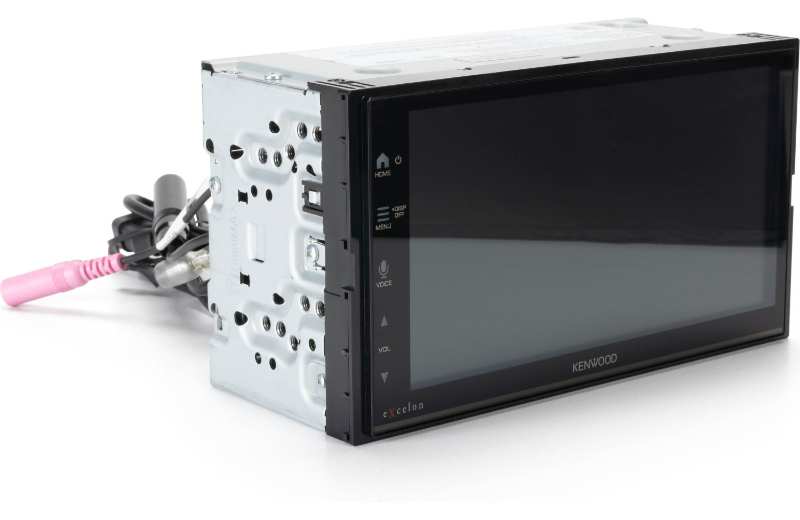
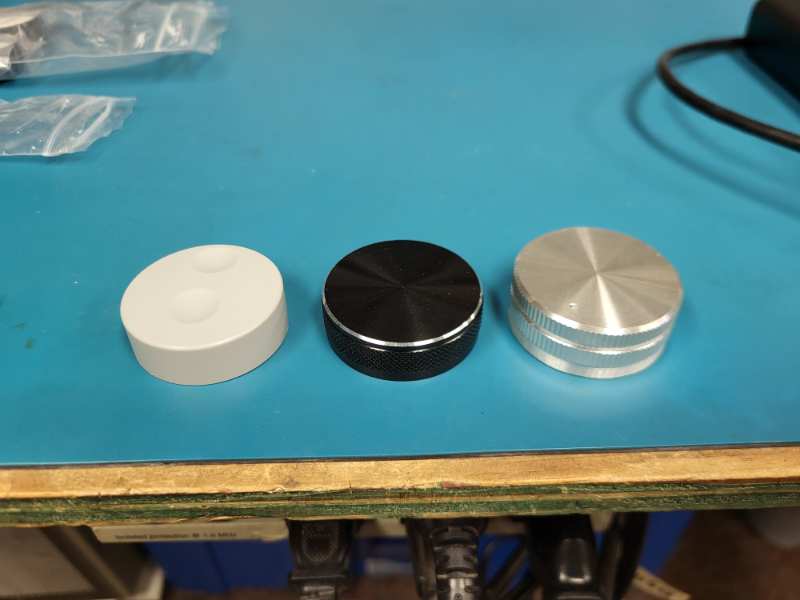
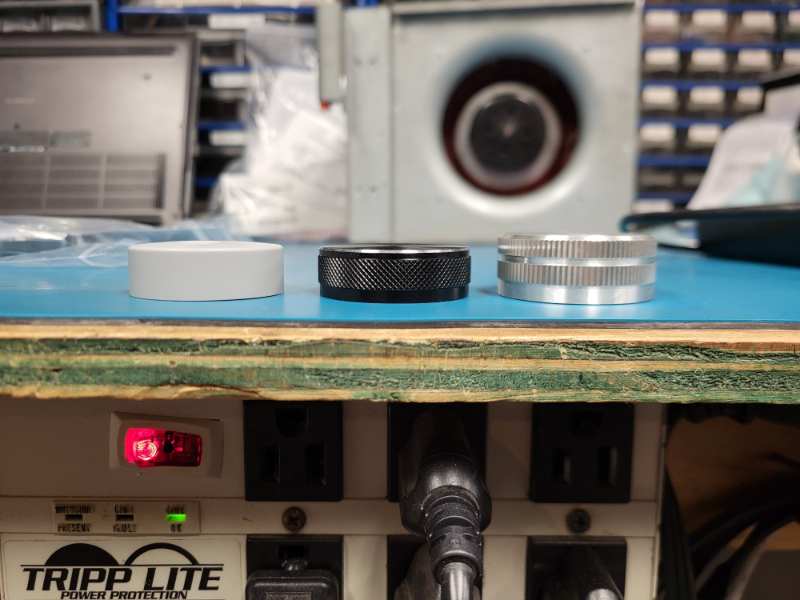
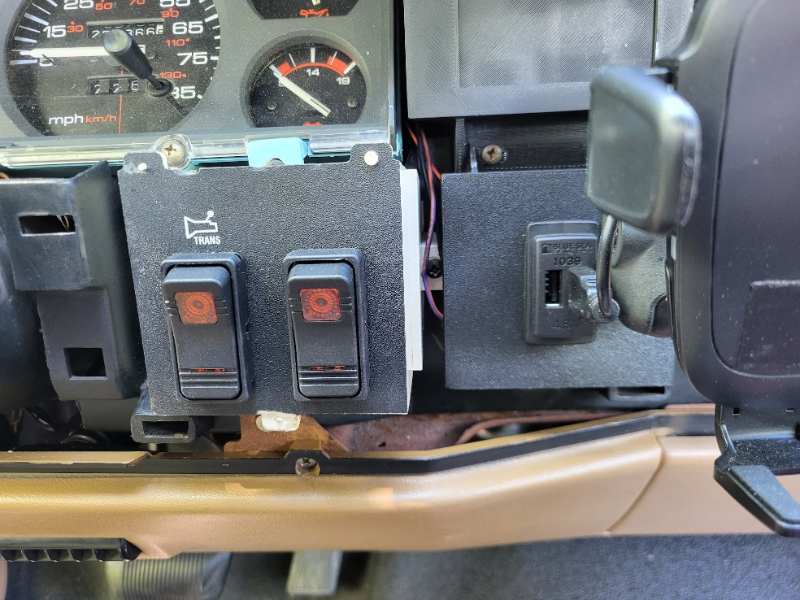
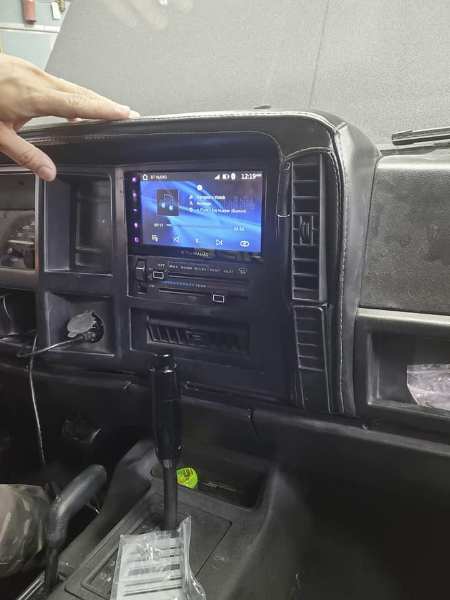
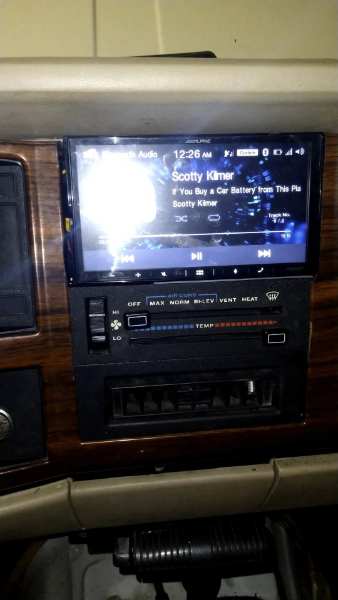
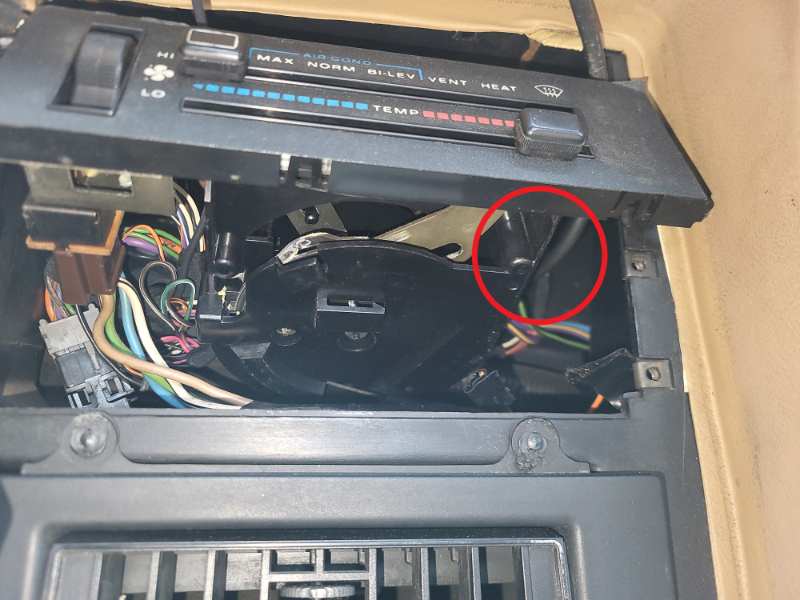
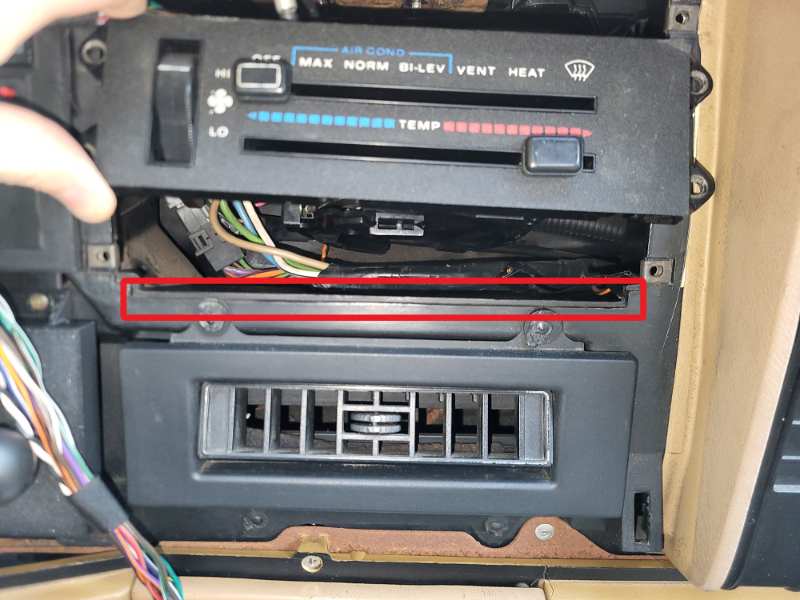
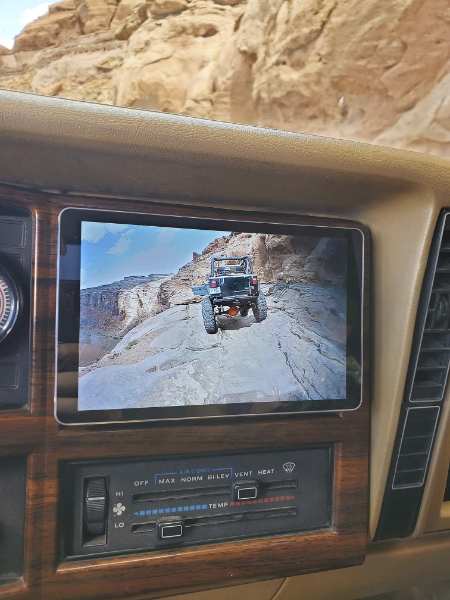
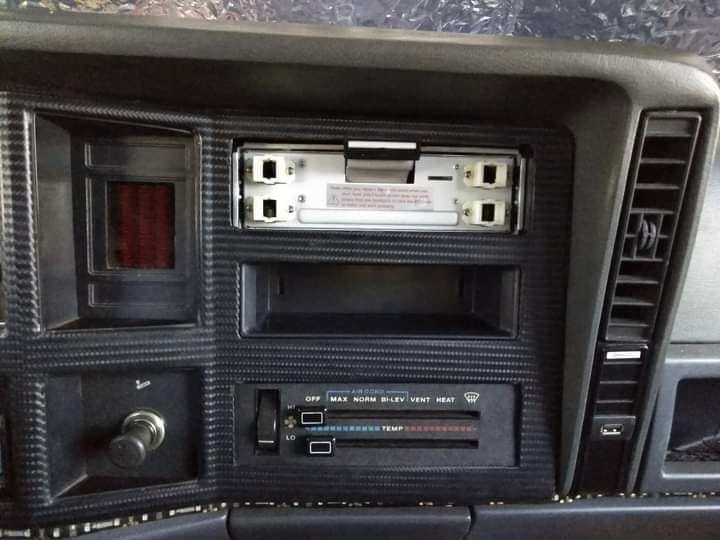
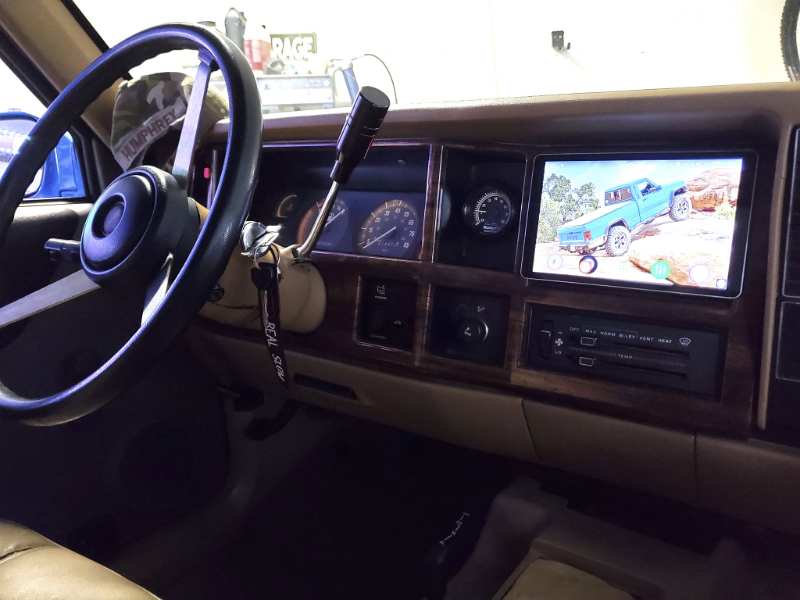
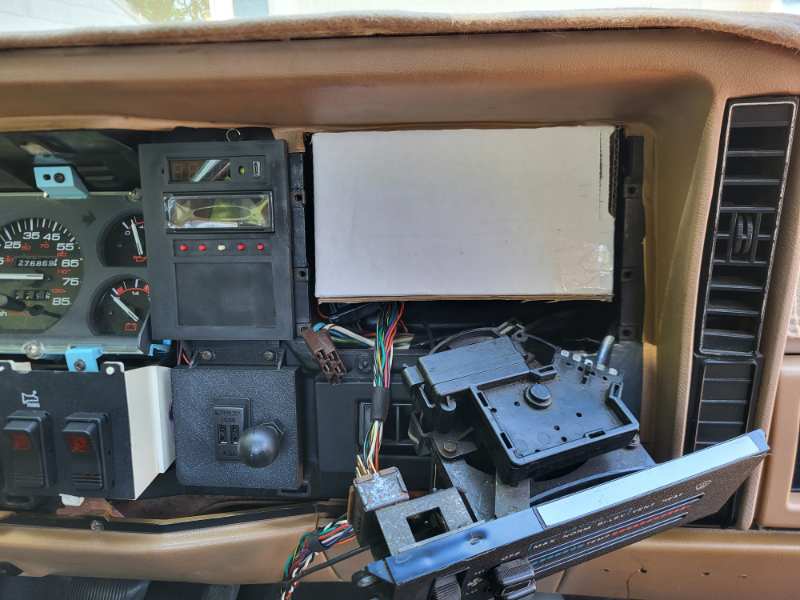
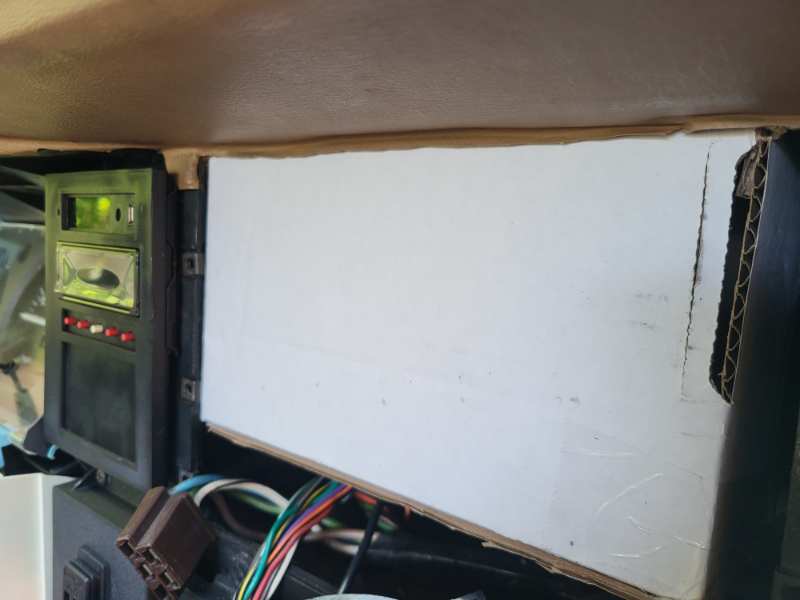
I was looking high and low for replacement radios for the comanche. Physical media-less head units have been shrinking over the years due to further semiconductor integration and a wider range of multimedia system-on-chip parts. The good news is It looks like the days of hacking into the dash air tubing are behind us. I ran into this post on reddit and one somewhere on facebook that uses an alpine ~3in thick dual-din head unit. This is the same format sold today under a few part numbers. All support wireless carplay / android auto. Alpine iLX-W770 Kenwood DMX809S Kenwood DMX8709S JVC KW-M875BW Kenwood DMX958XR Pioneer DMH-W4660NEX These radios are truly tiny. I made a cardboard cutout to check fitment. I made a 178*100*70mm hot-glued cardboard box to serve as a template. Fits like a glove! The original poster definitely exaggerated a bit that no modification was needed though. It looks like the bottom 1/16in plastic lip needs to be trimmed and one of the plastic ribs on the bottom of the HVAC controls needs to be trimmed as well. Once this is done, the HVAC controls should be able to sit flush with the bottom air vent and allow the top space to be consumed by the dual din unit. I like the idea of one simple large display, but I need knobs. So I would wire in an external multi-function knob in the switch area near the steering wheel. The orange switches are there for show at the moment. There is an external control port on all these radio for basic steering wheel control on early 2000s cars so I should be able to tap into that or make a simple circuit board for a mechanical rotary encoder. Otherwise, the 8in joying radio is an interesting choice that I was unfamiliar with until now. I know @ghetdjc320 likes his smaller joying unit. The 8in doesn't look too shabby, but from what I've read, this one requires extensive modifications to fit. Moving the controls down does not seem so bad, but I'm 100% not on board with cutting into the rear air duct work. More decisions
-
But I like the stainless Mine were rusty and cam'd over. I tried normal chamfered bolts but the fitment was terrible. Oval profile is the only way.
-
Wow, thats pretty cool you were able to dig up the part number. I'm going to give it a few weeks and if I can't find it, I may just cave in and convert to the 91-96 style front grill. I already have the main grill, I am just missing the side one-piece headlight trim pieces. Clones are still made today though. Decisions, decisions
-
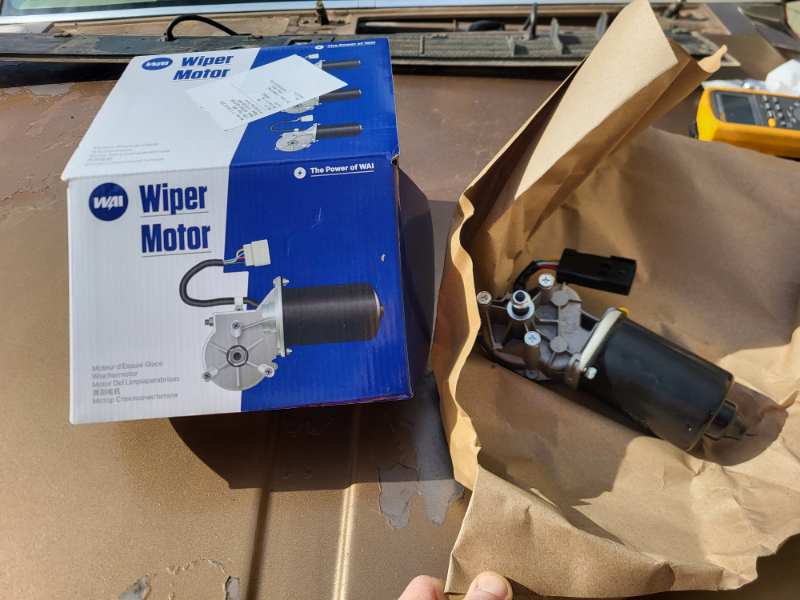
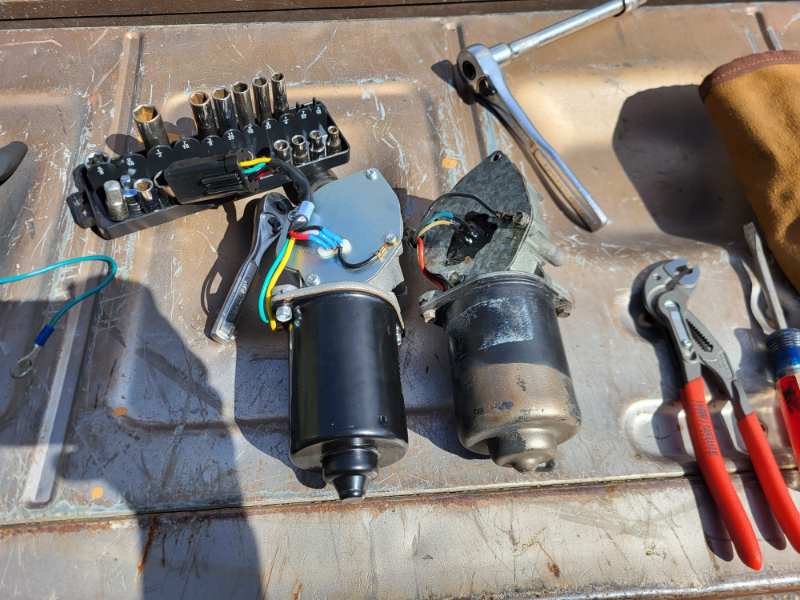
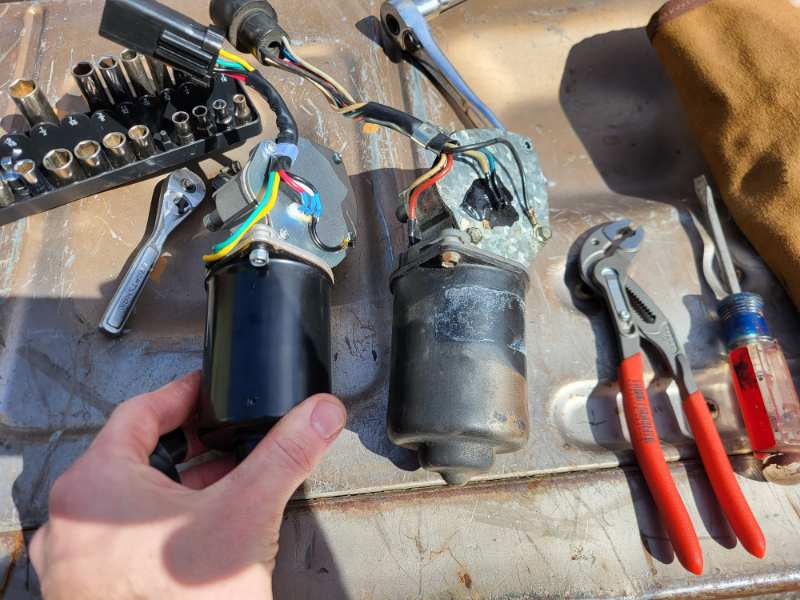
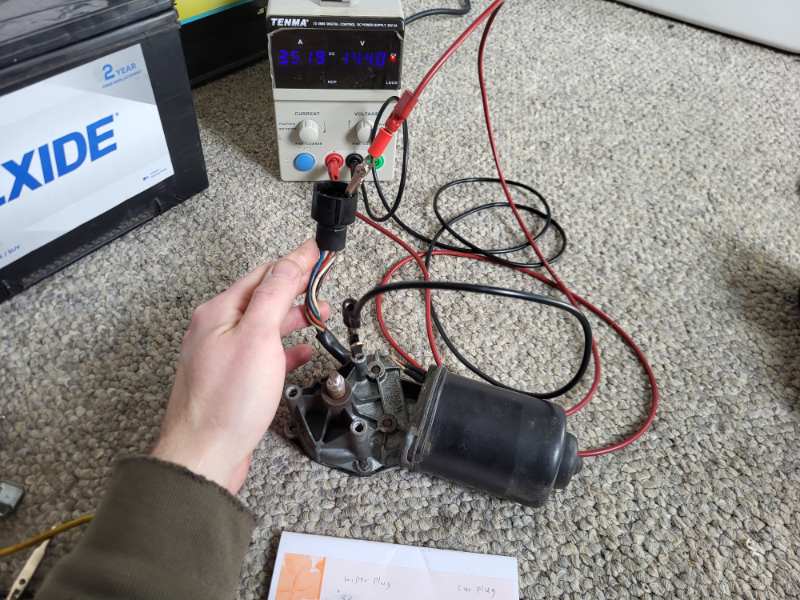
Chiming in here to confirm that using the newly manufactured wai motor was leaps and bounds better than the stock motor + regeasing. My old wiper motor was squealing bad. You can hear it in the below video. It may have lived another life if I completely rebuilt it, replaced the brushes etc... But I think this was the more reasonable solution. Oh, the newly manufactured motor was also dimensionally compatible with the old one and fit in the stock rubber boot. 20250317_115545.mp4

-
Delete
-
Project “Tomahawk”
Salvagedcircuit replied to ghetdjc320's topic in MJ Hardcore Tech: Epic Journeys to Greatness
Aww yeah, lookin good -
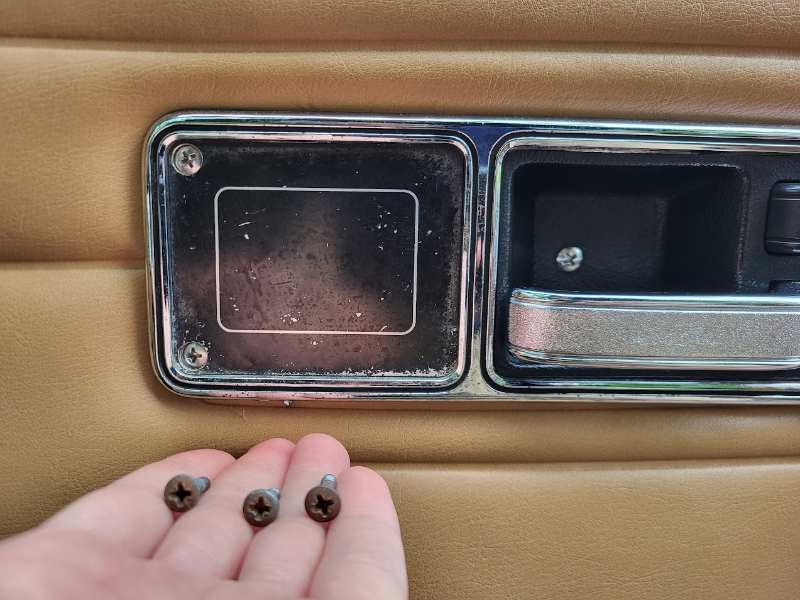
Well, the weather is getting nice here on the east coast and folks are waking up their dormant projects. They'll be posts soon enough. Speaking of... I installed these the other day. Stainless M4 x 0.7 oval shaped Philips. Hubba hubba hubba

-
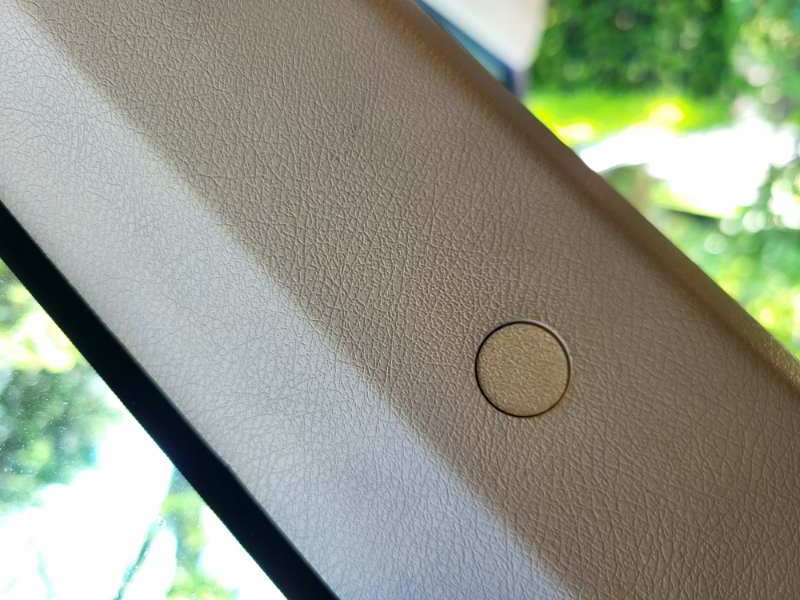
I'm thinking about it! What color are you looking for? I used a rough texture pei plate and printed the first layer slow for better texture. Thanks
-
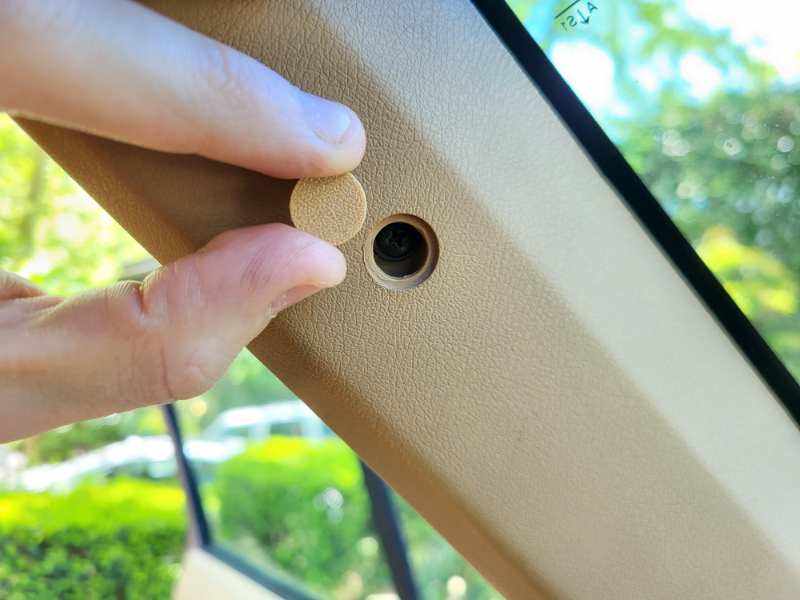
I duplicated the screw plugs in the front trim pieces. The fit, finish and color are so close its crazy. The front caps are smaller than the rear ones. All the ones shown here are printed.
-
Woah, what an update! Nice work
-
I just ordered a Westin 63000 bumper and I was wondering what you guy's think of it. It's a 3rd party bumper and I'm ok with that, but I'm not ok with 3rd world quality. The one I received was poorly welded and used an extensive amount of black silicone to cover the poor welds. The weld splatter was not even cleaned off and just painted over. I usually order parts in expectation that a manufacturer will produce something better than I could in my own shop. Besides being uncomfortably thin, I am really alarmed with the terrible fit and finish. My old bumper looked similar but was actually a Hercules utility bumper. I have to go back and check the thickness difference but from just feeling it, there is a noticeable difference. What do you guys think of this bumper? I'm going to add some photos in a bit.
-
Here is the 1988 electrical manual: I spent a bunch of time with a multimeter rewiring my radio as the previous owner butchered the harness. Mine also had a melted black ground wire. I ended up pulling the wire out of my entire wiring loom, all the way to the ground point because it melted through the insulation and fused with neighboring wires. I also discovered more duct-tape crimps than I ever imagined possible. Duct-tape crimps were factory crimps. Usually 2-7 18awg wires crimped around a brass ring then covered with duct-tape. Sometimes the crimps corrode and need to be cut and re-soldered. A lot of mine were luckily ok, so I opted to add flux and solder over them. I also added liquid electrical tape and electrical tape to seal them. It's a tedious process, but it prevents future nonsense. My '88 had duct-tape crimps. It's possible that 89+ did not have these. The good news is that metra still makes both the vehicle harness side, Metra 70-1002, and the mating harness, Metra 71-1002. You can restore the MJ back to the factory connector and make an adapter to a new radio so it's never a problem in the future if you want to change your radio to a different brand.
-
Project: Slippery Slope – a ’91 MJ runner
Salvagedcircuit replied to Gjeep's topic in Member Projects: Your Comanches
You officially found the one 3rd party rim I like on the comanche My MJ came with 3rd party rims that featured gigantic hub caps. Something that would have come out of the coneheads filming set. You could volumetrically fit an entire 2L bottle of coke in each hub cap. Gone! -
That is indeed very cool!
-
Project: Slippery Slope – a ’91 MJ runner
Salvagedcircuit replied to Gjeep's topic in Member Projects: Your Comanches
Wow those look great! Even 10 spokes like the original -
NOS chrome bumper
Salvagedcircuit replied to fiatslug87's topic in Craigslist/eBay... i.e. Not Your Stuff
fey westin bumper is ~$200-280 with brackets an "offroad company" bumper is $600-800 I guess he's not that far off. I think the more sound logic here is, how much comanche can you get for $1200? Maybe another lost and underappreciated MJ is just around the corner.... -
Bump. Still looking!
-
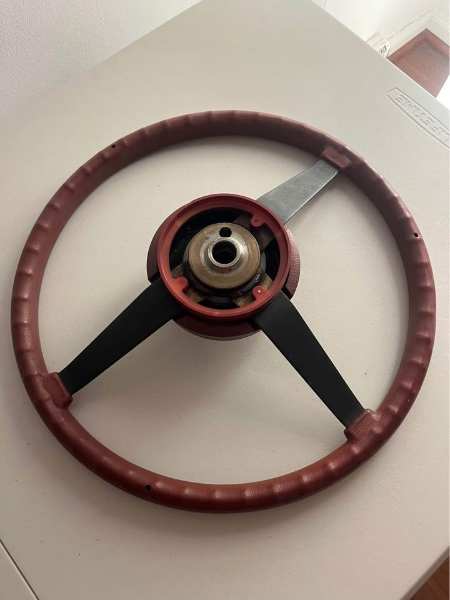
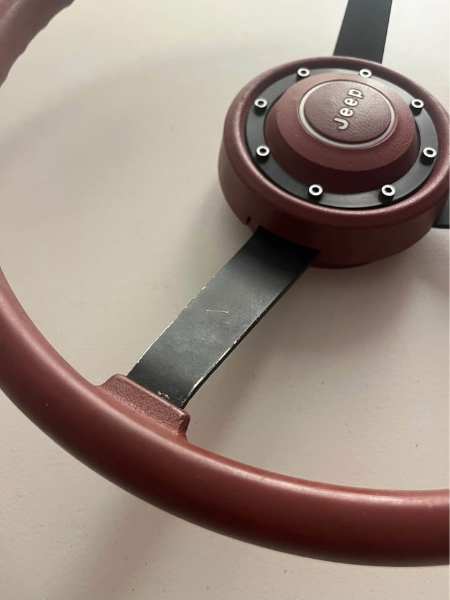
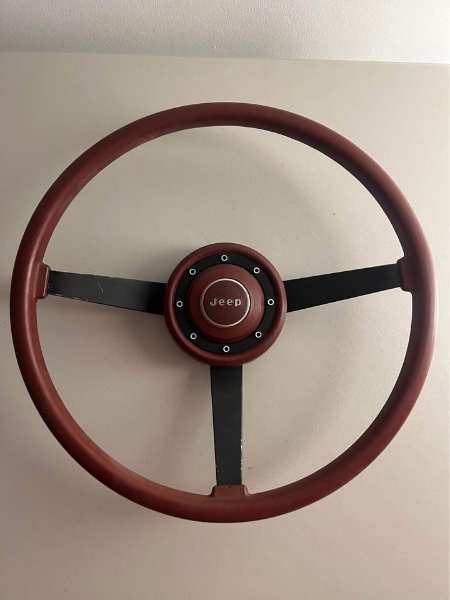
Go go go. That's the wrong color for my interior but I thought someone with the plush red velvet interior might need this in their life.
-
in Langhorne, PA https://www.facebook.com/marketplace/item/1040362158186377
-
Very, ahemm, cool!
-
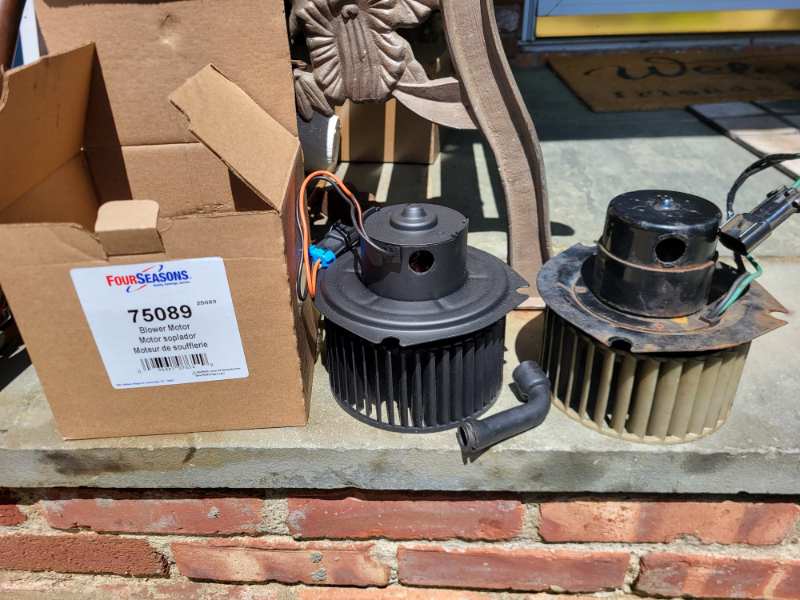
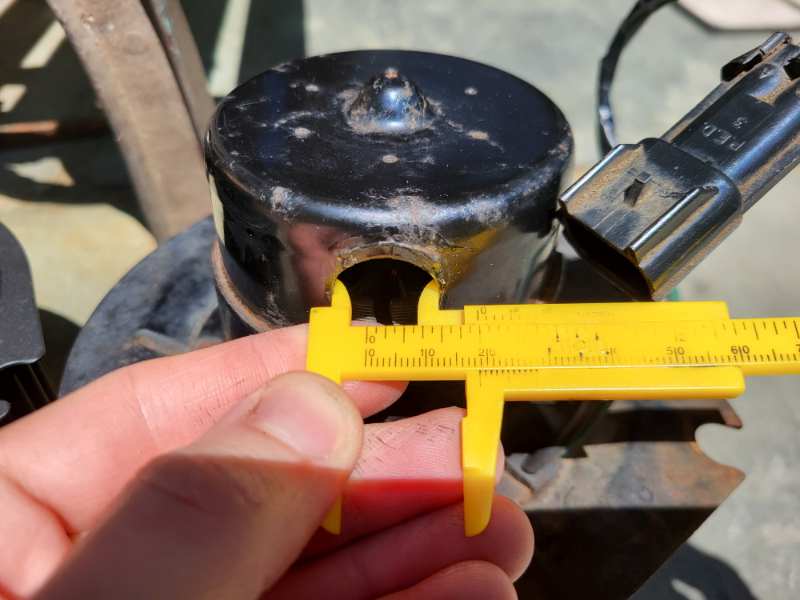
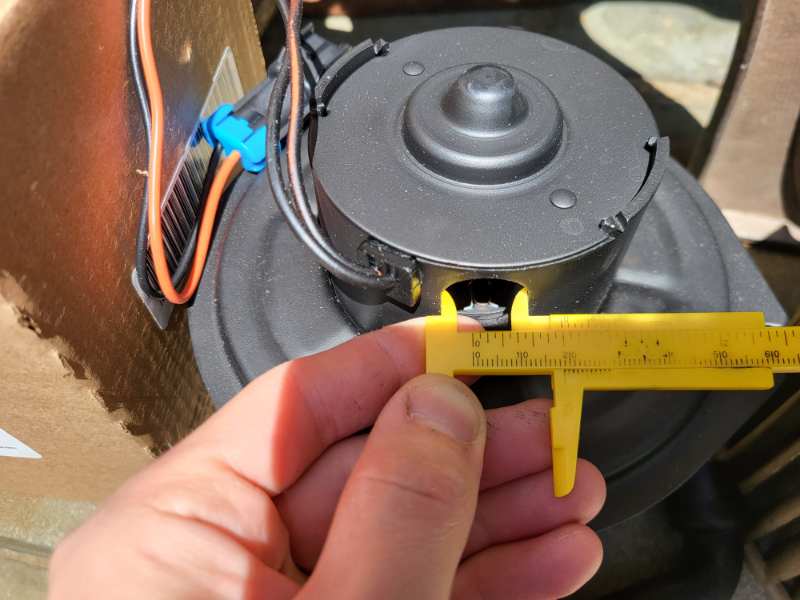
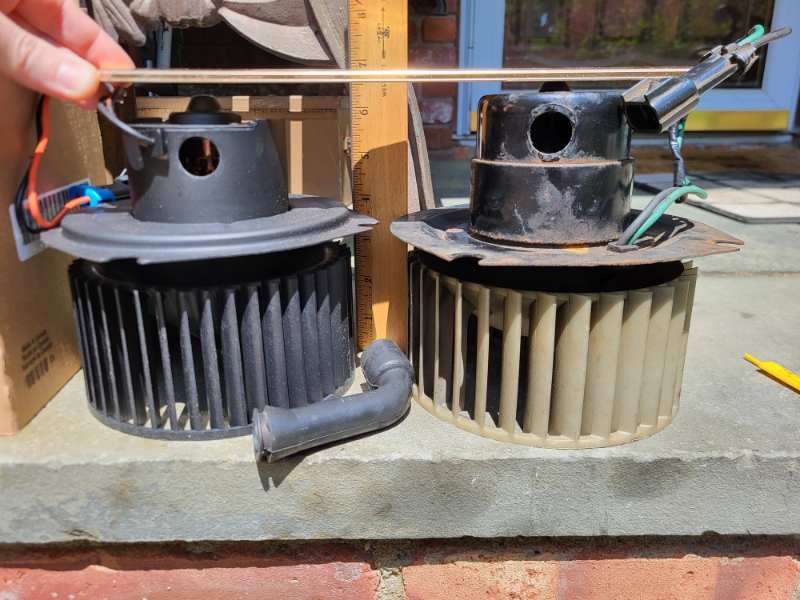
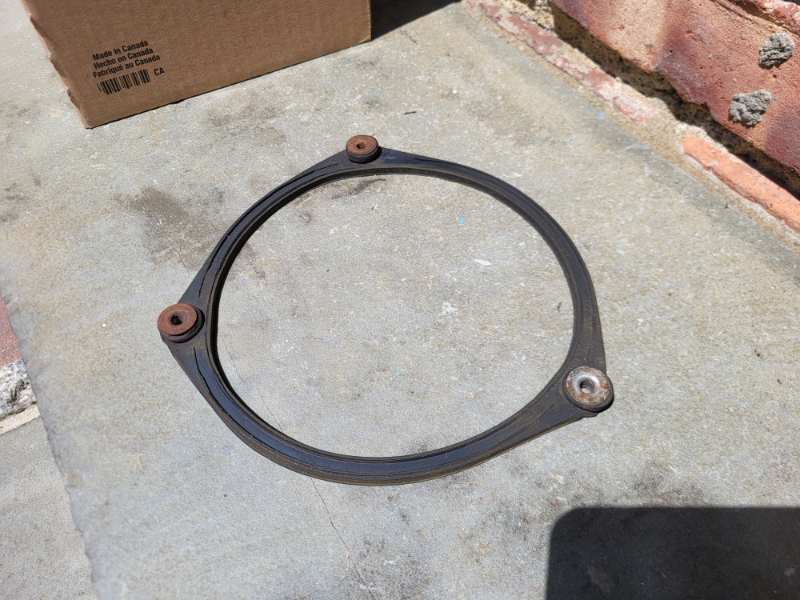
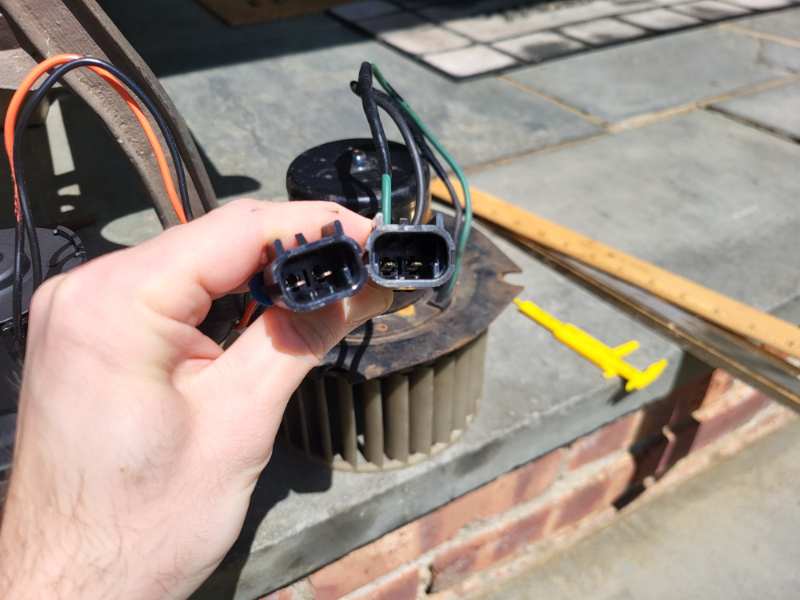
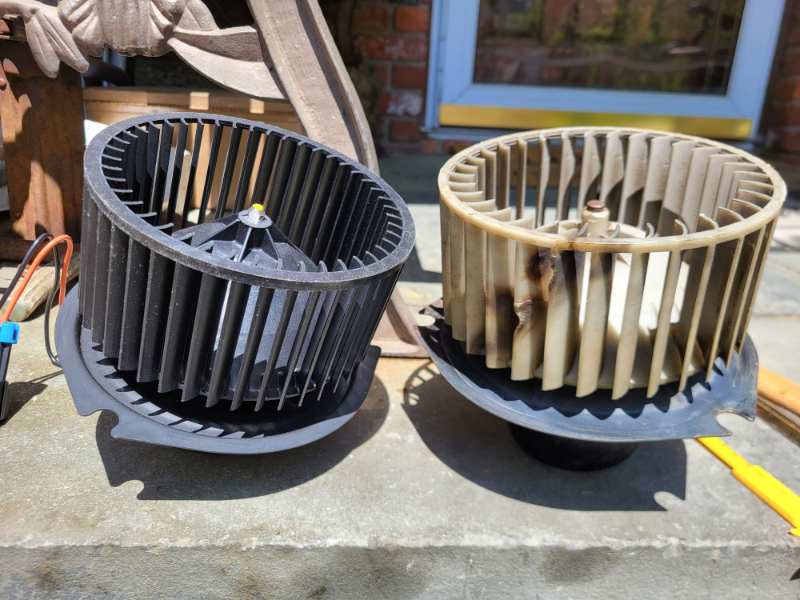
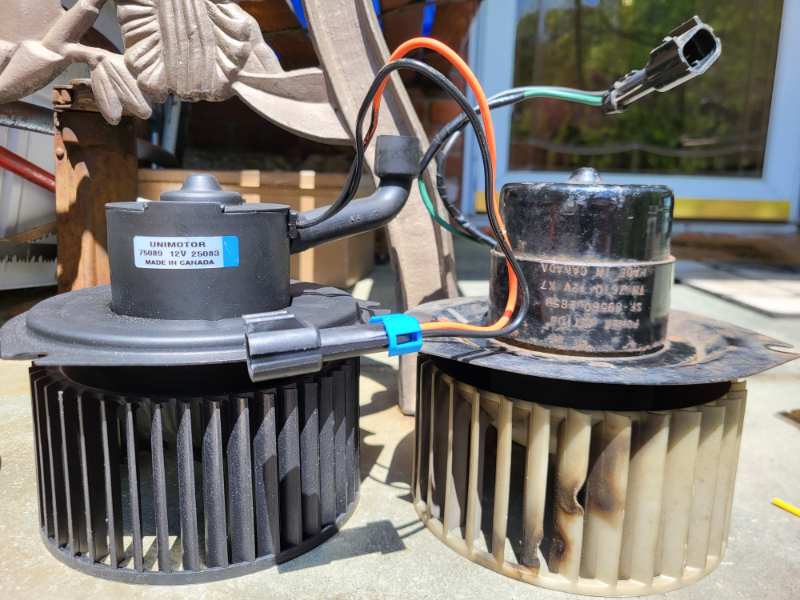
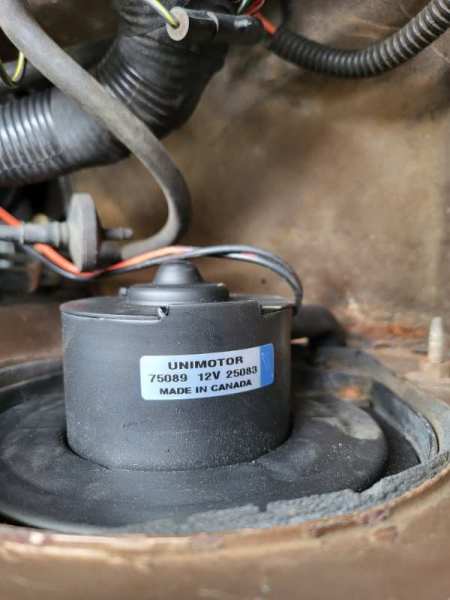
My original OEM AMC blower fan started making unpleasant squealing sounds and did not output much air on the lowest and second lowest fan setting. After removing the fan, I noticed it did not freewheel very much. A simple hand spin would lead to a stopped fan in about 1/2 rotation. Not a good sign. The plastic blower wheel was also melted a bit across 3 fan blades, indicating there was another problem along the 37 year life span. The rubber air tube and blower surround gasket were still in great shape, which is pretty incredible. I took the tube out and lubricated the rear bushing on the fan. The original fans use bushings, not the ever present ball-bearings of most modern day fans. Adding oil certainly helped, and with a hand spin, resulted in slightly more than a full turn before stopping. Still not a great result. It is possible this fan motor could go for another few years if I was able to get the plastic blower wheel off safely and properly disassemble and lubricate the fan, but I was not able to remove the blower wheel. After looking around, there are a lot of replacement fans available. However, the designs are not consistent. UAC BM00007c is a bad design, and features holes on the rear face of the motor, allowing water and debris to enter the rear of the fan. The hole for the air tube also looks too large, as stated by some reviews. TYC 700126 blower has a connector embedded into the motor housing and has the air hole clocked wrong, so the cooling tube will not reach. Unimotor 12474 looks like a worthy successor but does not include the plastic blower wheel or connector. I believe this is relabeled as a Four Seasons 35474. Four Seasons 75089 features a unimotor motor with the correct hole size for the rubber air tube and is sealed from the back like the original fan. I believe this kit uses the above unimotor 12474 and just adds a blower wheel. Luckily, autozone still sells this fan and it seems readily available. Plastic Blower Motor Wheel: Four Seasons 35534, BW9334, BW2098, 7135534, 70102. These should all be the same. Comparison of the new 75089 fan vs OEM: -0.5in shorter in height -No gasket included -Same connector as stock -Correct 19mm air hole diameter, correct location -Same 3in height blower fan -Same 6in dia blower fan -Blower fan Held on by crush washer instead of spring clamp -stock blower wheel: 32 blade -New fan blower wheel: 44 blade Includes Canadian Maple Syrup
-
Yeah I kinda figured, I just want to prevent dumb passengers from kicking my unobtanium vacuum actuator
-
Mine has 270k and it's gon' fishin No worries!
-
Woah, thanks for all the quick feedback guys! I never knew this part even existed.!