
howeitsdone
-
Posts
691 -
Joined
-
Last visited
Content Type
Profiles
Forums
Gallery
Everything posted by howeitsdone
-
 I wish I would have known about the braided cable before I replaced with the MC and hard line as it would have simply cost less, but happy to have a new MC at the same time. Also agree with the bearing suggestion. AA is typically good quality though. You'll certainly appreciate the convenience! Couldn't imagine driving 488 miles like that though. I'd have an ulcer at that point.
 -
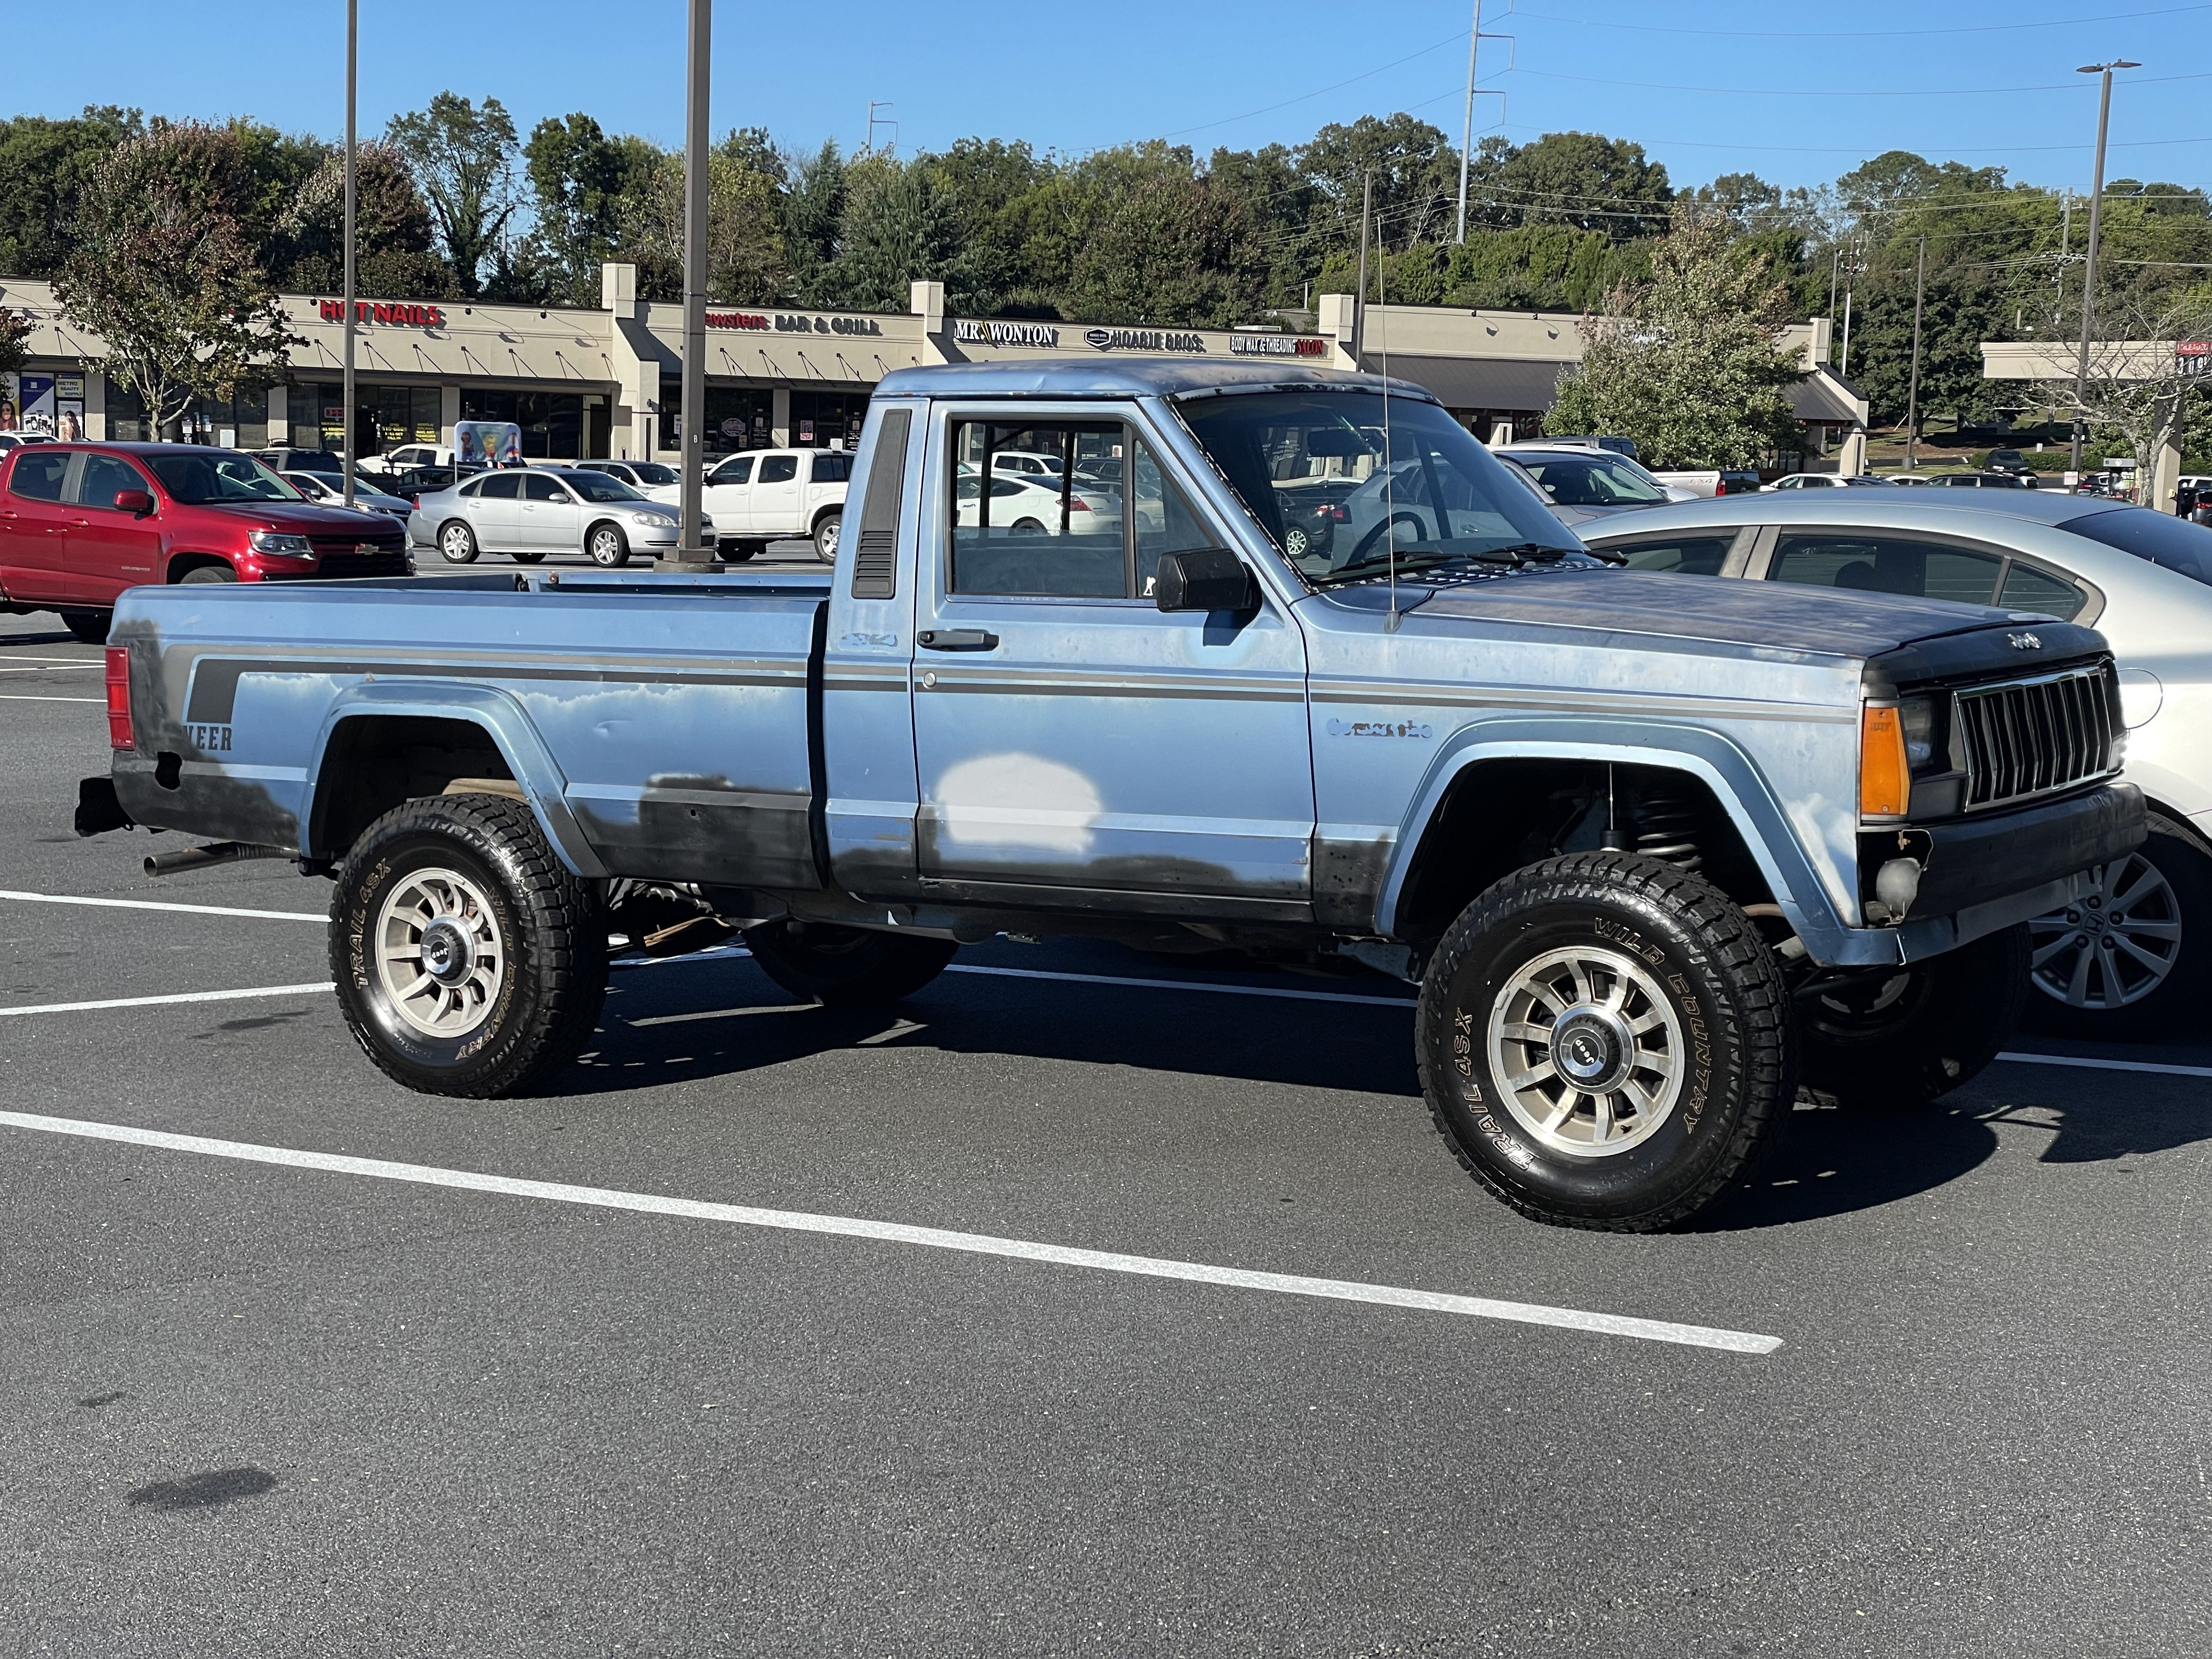
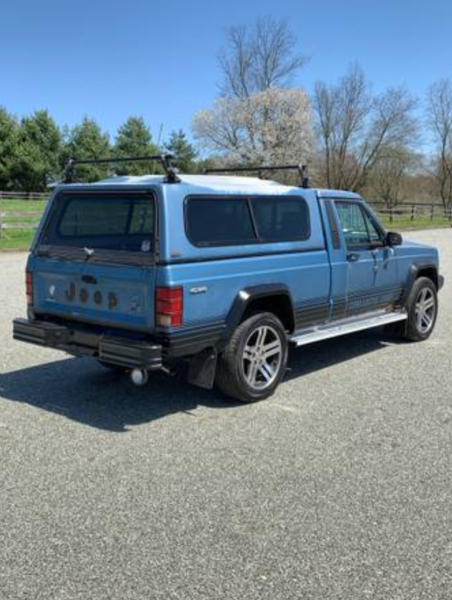
Mexican Crewmanche - $22,500
howeitsdone replied to howeitsdone's topic in Craigslist/eBay... i.e. Not Your Stuff
I know. I posted a rear door photo but there wasn't anything else. To be fair it's probably nothing special. -
Well, it's up for sale! https://www.facebook.com/groups/1217175154977657/permalink/6245277215500734/
-
They install in place of the freeze plug below cylinders 1 & 2. Fairly simple install but a little time consuming because you need to remove a bit to get there. Mopar: 82201506 Aftermarket: 3100072
-
Rebuild is finally done! I have a problem with reverse not engaging fully (still works) and I'm thinking either the detent is wrong or I did the idler gear backwards. I didn't replace the 3rd synchro, but should have because it still grinds a bit. For now I'll drive it and when I'm tired of it I'll fix those issues. I've really missed driving this thing!
-
Well, someone else got it before I could. Hopefully to a good use!
-
I just need deep pockets and a never ending garage
-
Front axle help in my 88 MJ
howeitsdone replied to vanquishings's topic in MJ Tech: Modification and Repairs
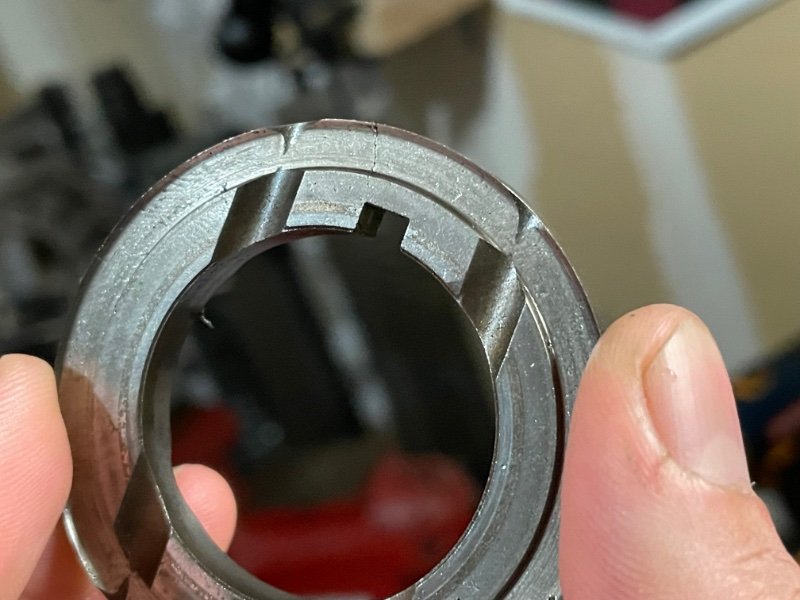
Make sure to measure your yoke on each shaft to verify they sent the correct stub shaft. Regardless, that Spicer U-Joint is correct for the application. I feel like I remember having to install in my inner shaft first. Could have been just me, but there was a method to the madness. The joint doesn't install head-on like you have in the photo. It's more diagonal and off to the side. A very tight fit. I remember it took me a while to find the best way when I originally did mine. Notice how the yoke gets thinner as you get closer to the shaft itself. -
Thats his son. He doesn’t work for him anymore. I think he went back to the company he was with prior which manufactures safes. So he’s constantly welding and fabricating. The little truss and gussets he fabbed were pretty cool. He converted 4x4 and I think he put 35s on it too. His channel is a bit behind what he’s done already.
-
Help me identify shocks, rear leafs
howeitsdone replied to Gojira94's topic in MJ Tech: Modification and Repairs
Easiest way is to remove one and measure extended and collapsed (not all the way). But you do run the risk that they aren't the right size if they pulled parts to make it work. I think the other way to measure is mount-to-mount at full extension and then get the bump stop to axle measurement and take that shopping. -
Help me identify shocks, rear leafs
howeitsdone replied to Gojira94's topic in MJ Tech: Modification and Repairs
Looks like stock shackle and Metric Ton springs. Is there a D44 back there? If not it's possible someone added a leaf in the pack. Your top spring isn't contacting the one underneath in the rear which could mean it's got a bigger arch too. The tire size is larger than stock as 225 was largest available IIRC. Could be contributing a bit. Unsure of the shocks/struts but those don't determine height. -
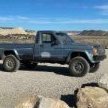
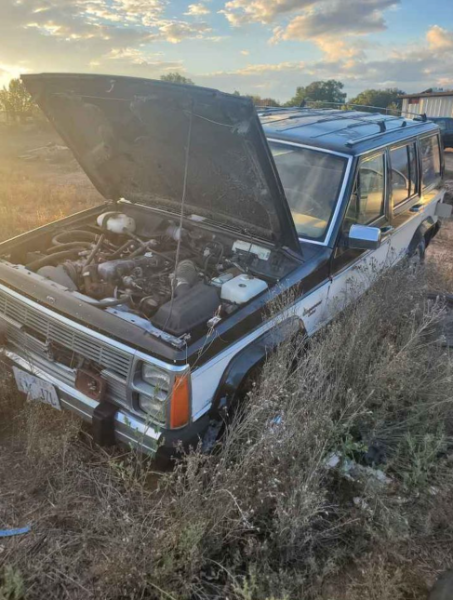
Body looks in great shape for where it's sitting. There's gotta be an axle in that yard I could bundle with it. I'm sure they won't care and just want it gone.
-
The town 30-min from me is selling a bunch of old cars in their yard. Post says $200ea OBO. I WISH I had room right now to take the wagoner they have. If I can get the MJ back together Thursday/Friday and free a spot in the garage, I think I might bring a trailer over there. Looks like back glass is missing and front axle may be gone. If that's the case then I don't have a spare axle to move it with. The pressure! https://www.facebook.com/marketplace/item/3216939251904853/?hoisted=false&ref=browse_tab&referral_code=marketplace_top_picks&referral_story_type=top_picks

-
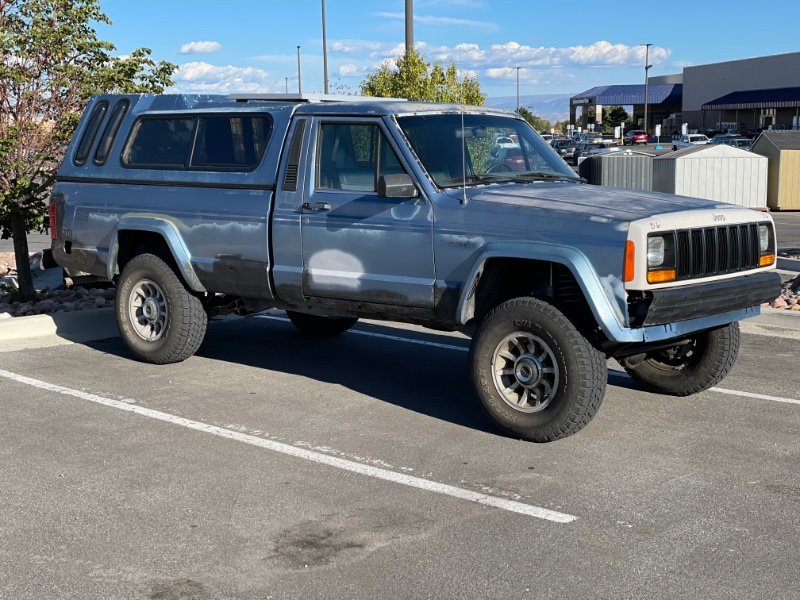
Looks like a good deal! Although, this photo threw me for a sec...
-
He's knowledge is mainly fabrication. But he's always learning. His XJ is fully built on tons.

-
Whelp. 1st gear thrust washer split itself during install tonight. I think it got turned just slightly and hung up on the pin. Guess I won't be driving this weekend...
-
Long Bed Sport Bar?
howeitsdone replied to Crassis-Comanche's topic in MJ Tech: Modification and Repairs
Also a member makes the brackets. Not sure if he has any left. -
Anyone working on reproducing splash guards/mud flaps?
howeitsdone replied to ghetdjc320's topic in The Pub
You'd need a set to model from for sure. And that's... well, not cheap. Process would be fairly simple of 3D printing the flaps and then forming the molds. Using a CNC router would be best, but 3D prints can be cleaned up well too. But it would get costly fast unless someone had all of the equipment and many buyers lined up. Heck, if there were a couple people working together then I could see that working. Like one person could print and prep the templates and then send them off to someone who has the equipment to cast the molds. Then they just need the logo painted. Or leave that to the buyer? I'm thinking specifically the vacuum chamber would be a solid bearer to entry. Casting molds is fairly straightforward. But that resin sure does get pricey. -
Front axle help in my 88 MJ
howeitsdone replied to vanquishings's topic in MJ Tech: Modification and Repairs
Painfully difficult. At least, I never found one for a reasonable cost. $85 $150 A JY is the best option. But honestly, if you're going that route it might benefit you to scope out a whole axle. Not the "easiest", but I think my '98 axle cost me $150 and I swapped everything over in an afternoon. Plus, you can get the 760 joints. -
AMC20 Rebuild on MotorTrend
howeitsdone replied to WahooSteeler's topic in MJ Tech: Modification and Repairs
FI'm following someone on YT to aid in rebuilding my AX15 and he just rebuilt his AMC 20. Pretty detailed. -
Front axle help in my 88 MJ
howeitsdone replied to vanquishings's topic in MJ Tech: Modification and Repairs
Dana 30 is a good axle when used appropriately. The stub shaft you're looking for is Spicer 40611 (260) which is harder to find than the new 43205. 43205 have larger U-joints so you'd also need the inner shaft and the CAD axles don't have a replacement with larger 760 joints IIRC (someone can confirm). In short. You'd be best to apply a liberal amount of heat to that stub shaft and un-marry them or you'll need to upgrade the axle to later year. I had the same issue with my driver's side and it took like 2-3 days while torching. Wasn't fun, but worked. There have been people who have thrown later shafts in the CAD axle, but I think I remember the taper is slightly different and may not seal correctly. -
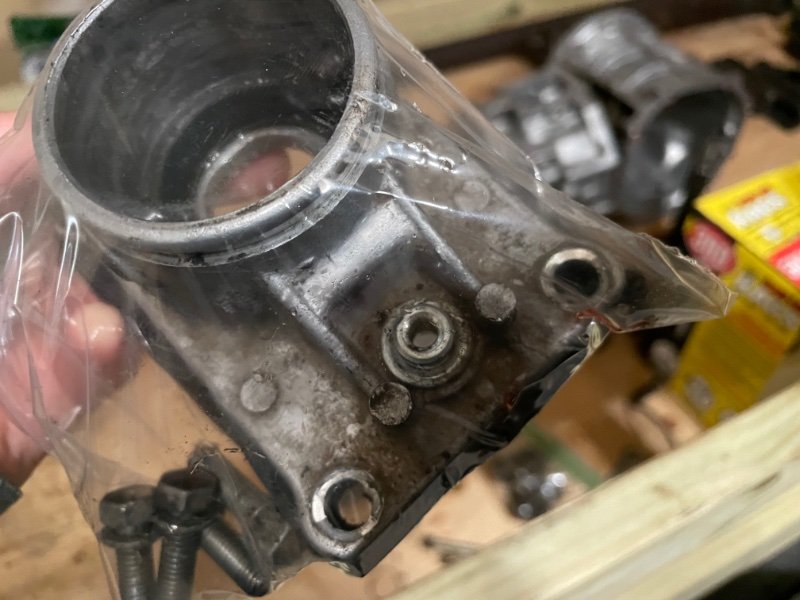
Breather port is suited for 3/8" ID hose. The BA10 is 5/16" ID. Tight fit but can maybe squeeze on your old one.
-
TC = Transfer Case Here is a great video explaining the differences between shackle angles and why you wouldn't really want to run like they're suggesting. Not sure why Rusty's would design it for a more stiff setup. I'm beginning to think this kit needs to have the shackle mount relocated. Either way, getting new components won't change anything if that's how it's designed. I think running with some weight in the rear for now to break them in is best bet unless you decide to return. I'm sure there is a nice restocking fee though.
-
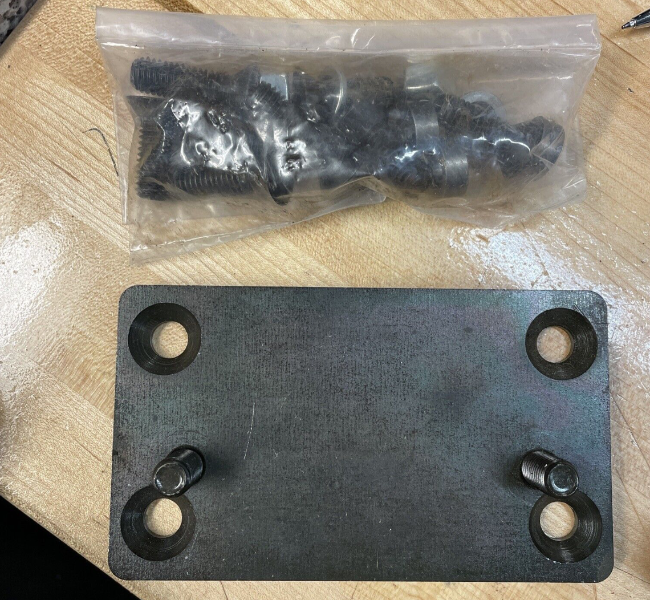
Should have mentioned, the plate is specifically made for a YJ (Not sure what that means). I would have tried it if I hadn't found an x-member, but no one here has used it I believe so can't say for sure. I thought the BA10 mount was the same across the board. "Best" would be an aftermarket that's strengthened, but it's up to you if $200 justifies that for what you do with your truck. The one linked also has a 1" drop so if you're not lifted it could alter your pinion angle. Some folks even just use the BA10 crossmember and make it fit, but that'll also adjust the pinion angle.
-
I considered an adapter plate when beginning to do my swap but got lucky with the crossmember. Lets you keep the Peugeot mount for now at least. eBay: Adapter