Gojira94
-
Posts
723 -
Joined
-
Last visited
1 Follower

Recent Profile Visitors
2335 profile views



Gojira94's Achievements
Comanche Addict (5/11)
-

Project distraction... $%!#
Gojira94 replied to A-man930's topic in Member Projects: Other Cool Stuff
'65? Buick 225 I-6, Chevy 250 I-6 or Olds 330 under the hood, or did the original get gone a long time ago? Great find! -
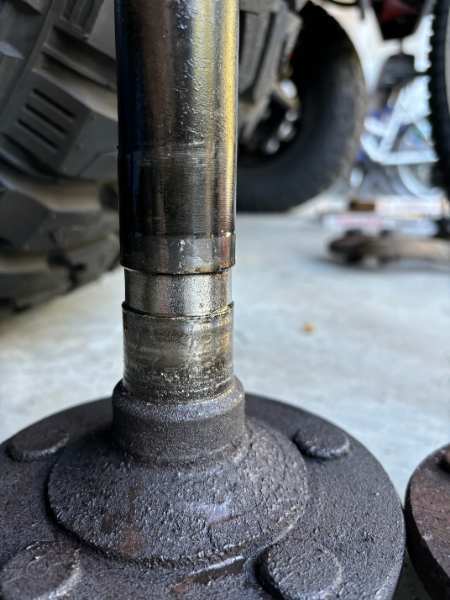
Probably good advice. I possess the character flaw of having the conviction that anything can be fixed. So I want to fix it. But I won't. Thanks for talking me back from the edge. Cheapest axle shaft I can get is $45 at my local boneyard, IF there's a D35-equipped XJ. Add about another $35 for bearings and seals and I'd be at $80-90.00.
-
Carrier and gears on the D35 are fine. Left axle shaft is smooooked. I may find an axle shaft, put bearings and seals in it and see if anyone local wants it for cost of the parts. Backlash is a nice 7.5 thou. 3.55 gears.
-
Rear ride height is exactly 3" over stock number in the back. My understanding is that these were installed around 2016-2017 not long after the engine was replaced. So they've settled and are holding 3" above stock. Not bad, word is these springs are stock-like ride quality.
-
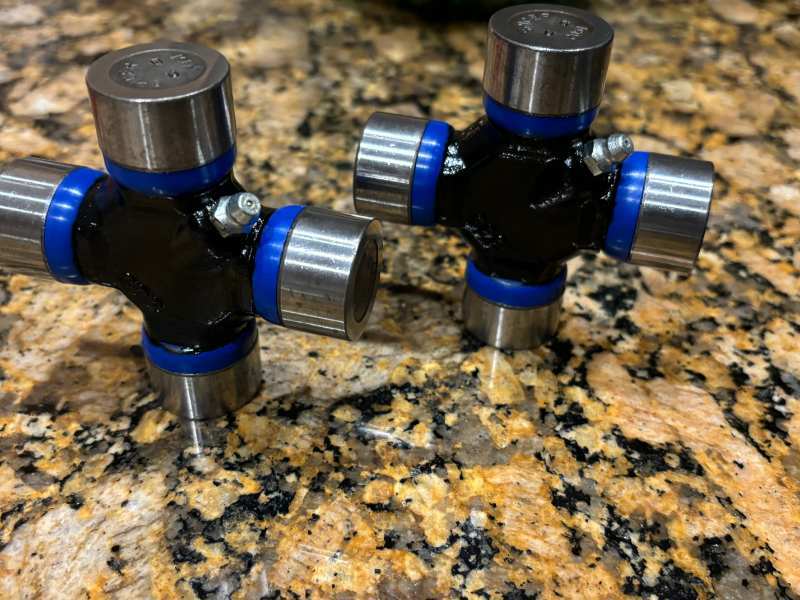
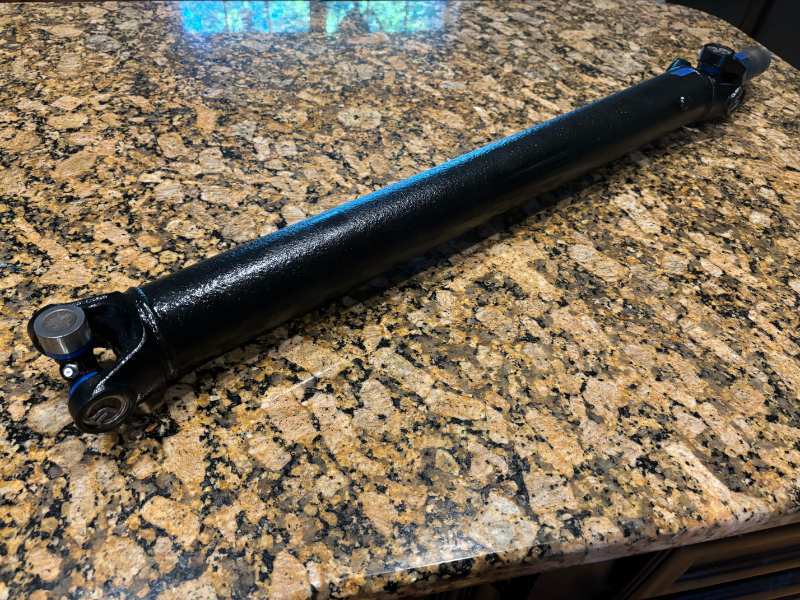
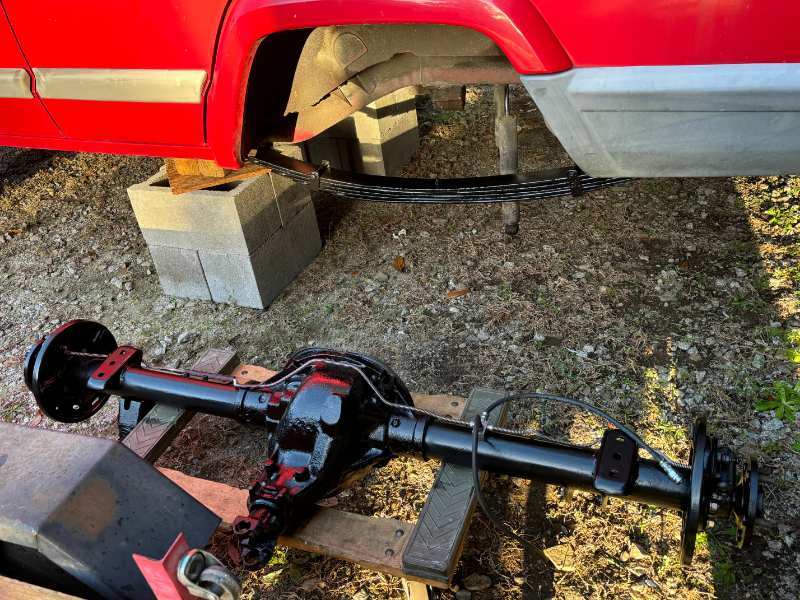
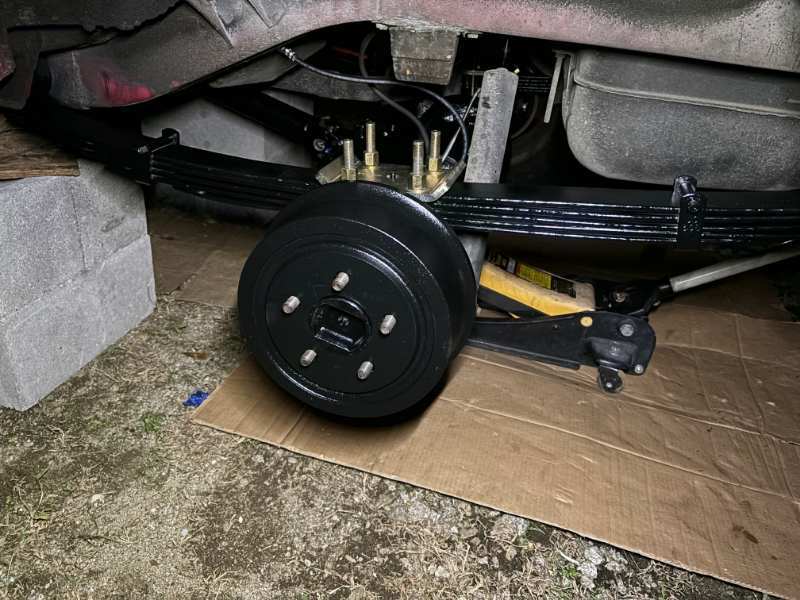
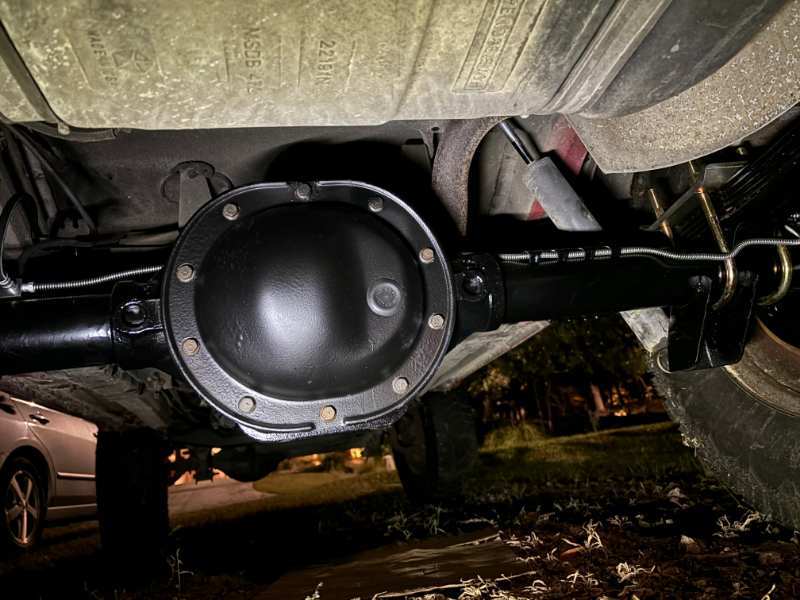
Yesterday was the day to haul the axle down to the coast and get it swapped. The rear brake line came off without drama, thank goodness. I spent some time cleaning up the leaf springs and drums and coated them with VHT Chassis & Rollbar paint. The drums are almost new (score). I had assumed the 3" lift was a cheap front springs with add a leaf in the rear. Turns out they're Zone Offroad 3" springs in the back. A couple steps better than Rough Country anyway. I like to "Black Max" my u-joints... The original driveshaft had about 1/2" of engagement at the slip yoke on the Dana 35 with that lift . With the 8.25 it's perfect. I'd read that the D35 - 8.25 swap with a 3" lift requires nothing if you have the D35 shaft. Truth. I got a late start at 2:00 but had it mounted and torqued, with driveshaft attached, by sundown. I'll head back to install the parking brake cables and drum hardware probably next week.
-
https://strokedjeep.com/
-
Appears not. Following up @ghetdjc320's comments you'll likely have to scab onto the A/C connectors dash harness connector(s) and pass them through a firewall grommet to create the connections to AC Request --> AC Clutch Relay, and Low Pressure Switch. The AC Select stays inside and goes to the Thermo Switch at the evaporator. Working on getting you some decent resolution diagram screens from Mitchell. I suppose it's possible the equivalent of bulkhead connector C100 has the wires in it from the heater harness connector for some of the AC functions, but I'm skeptical. Once you get into the dash you'll know more from looking at those dash harness to heater control connectors.
-
Did they provide a 'dealer install' connector in 91? If so, that's not super hard. There is a distinct difference in the heater-only A/C dash harness and the one for A/C-equipped. If you get the box, control panel and harness you're most of the way there. PM'd you a couple of wiring diagram images for 91 MJ.
-
Weird exhaust Popping when decelerating
Gojira94 replied to Big_Mark's topic in MJ Tech: Modification and Repairs
I got mine from here https://www.ebay.com/itm/283645389229 Dimar Motorsports. Unfortunately they’re out of stock at the moment. Injector-Rehab has some in the 190-200cc @ 3 bar for our jeeps but they want $175 a set (ouch). They say they’d be yellow, black or blue depending on stock. I’m not familiar with what Bosch number the blue ones would be but I’m curious. https://injector-rehab.com/product/87-98-jeep-4-0-upgrade-19lb-set-6-copy/ -
Weird exhaust Popping when decelerating
Gojira94 replied to Big_Mark's topic in MJ Tech: Modification and Repairs
Those 703s are the Dodge Neon injectors that were initially popular some years ago. They really are too fat for Renix or even HO outside of race classes. The orange ones are 0280155700 or 746 knock-offs. Sometimes they work out ok-ish but actual flow and matching between sets will be off and inconsistent. If you’re not opposed to spending $120 - $140 on a properly refurbished set from Ksuspensionfab or another reputable and trusted seller you can have a whole lot better. The 0280155700 part number would be ideal but they are very scarce these days. A set of 0280155746 would be acceptable but they’re just a tad fat. But the Renix computer can adjust the long term fuel trim to compensate. I’m running a set of 0280155702 and they’re great. They’re in between the 700 and 746 and easily managed by my 429 Renix ECU. -
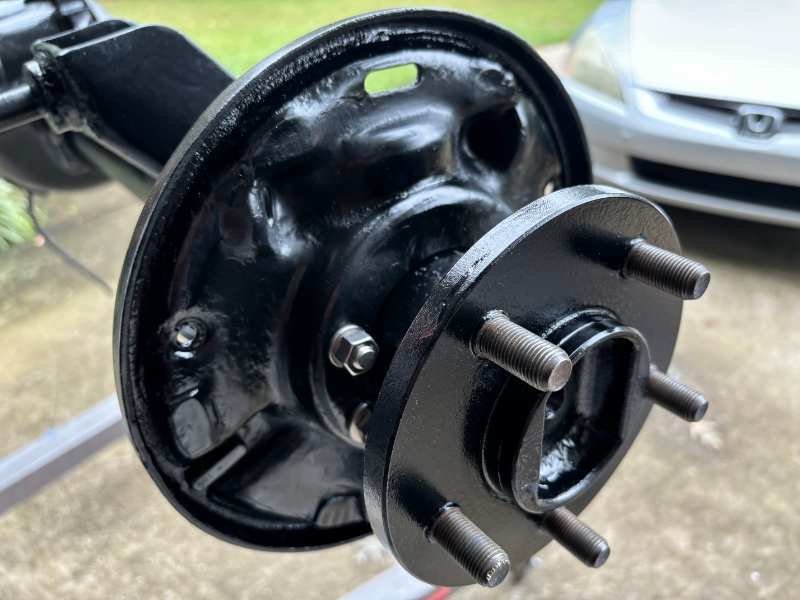
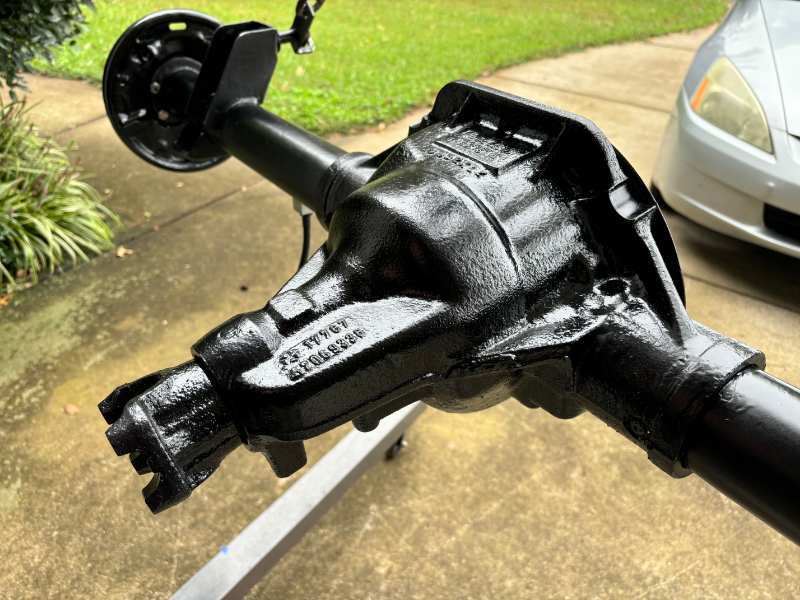
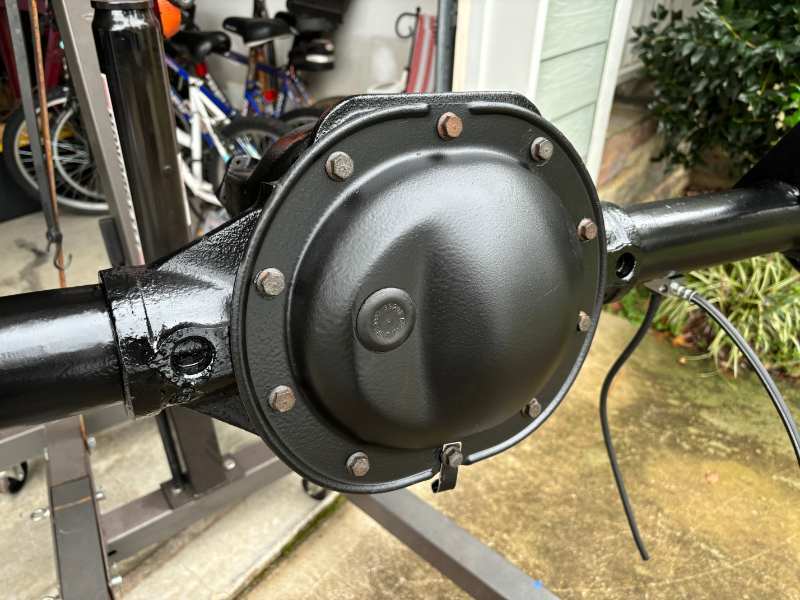
For this one I used a pretty basic Rustoleum spray enamel. Since this rig will see a considerable amount of salt exposure I wanted something easy to maintain with readily available inexpensive paint. Any rust that creeps in in the future would be easy to address and then re-coat. The longest bit of work was peening the nodular iron center section to get all the rust layer off down to clean metal. I normally wouldn't bother coating the yoke but I thought it would be a good idea given its environment.
-
I'd say so! She's pretty excited and I'm happy for her.
-
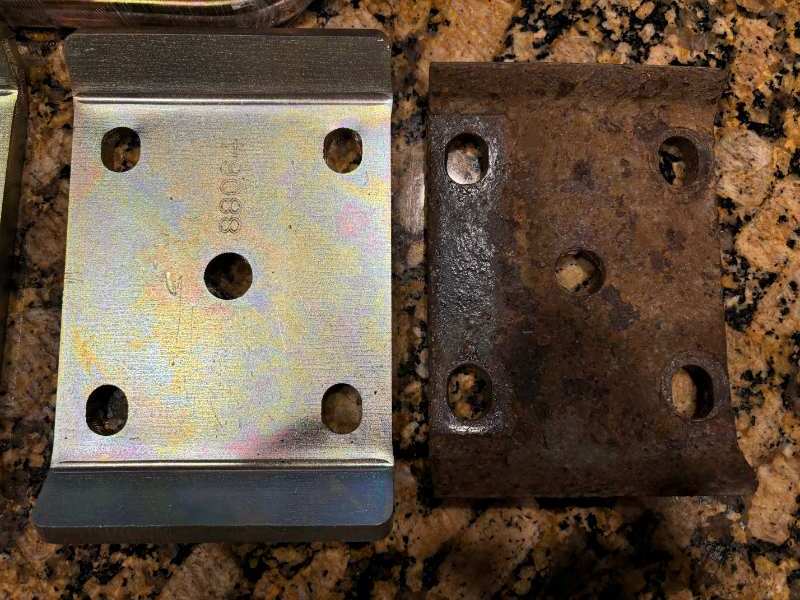
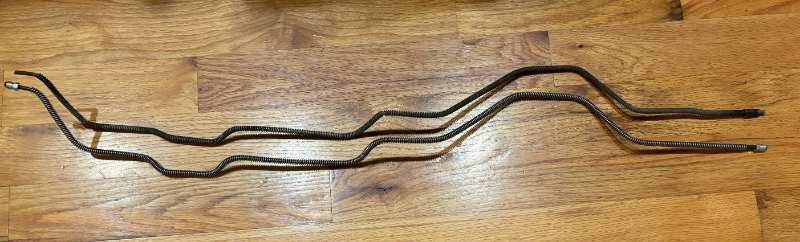
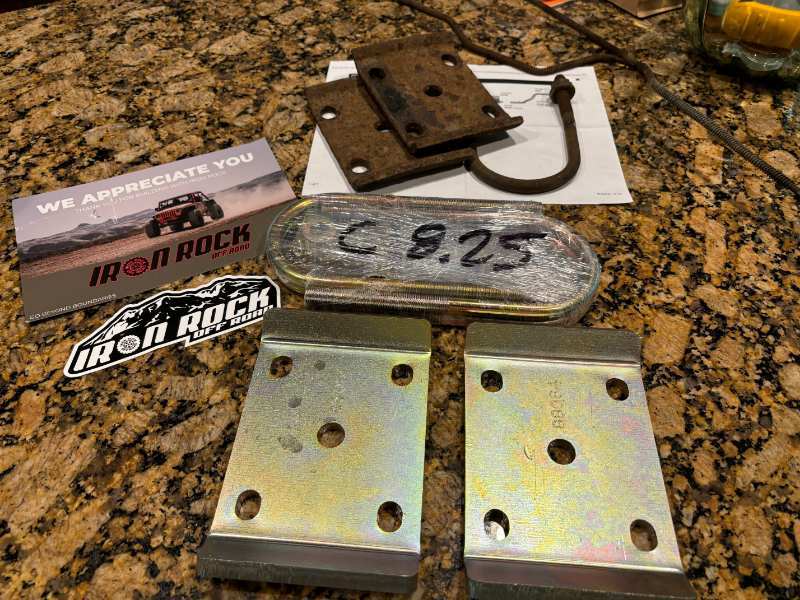
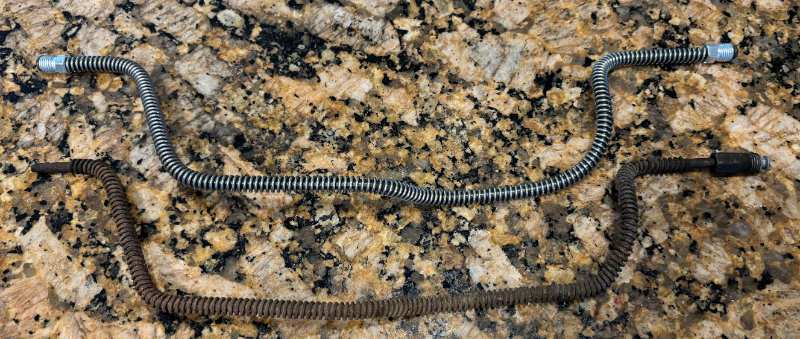
New brake lines made from AGS PAC-325 roll left over from the MJ (Poly Armor Coated 3/16") with Stop Shop gravel guard. I can see I'd like to replace the other lines on the Jeep in the next 6 months as well. New Iron Rock Offroad plates and u-bolts, the most expensive part of the axle swap ($119 with shipping). Front sway bar links rattle they're so bad. I have a new pair each for stock XJ/MJ, TJ and V8 ZJ. I'll see which is the best fit for the 3" lift that's on it. Track bar has a tiny bit of wiggle, so does the drag link, so those are on the short list. Next spring, Core 4x4 arms. There should be a number of minor issues/ fixes I can address before then.
-
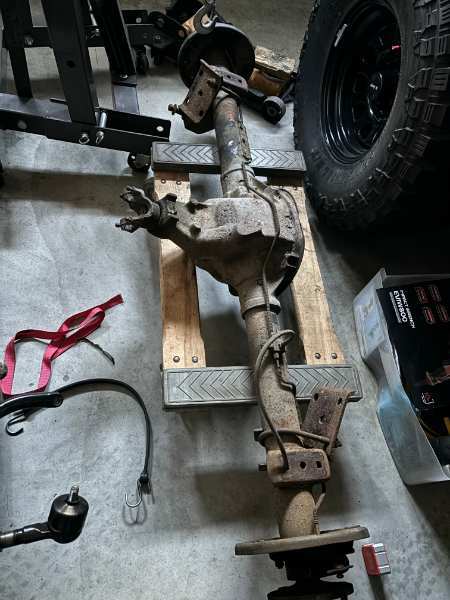
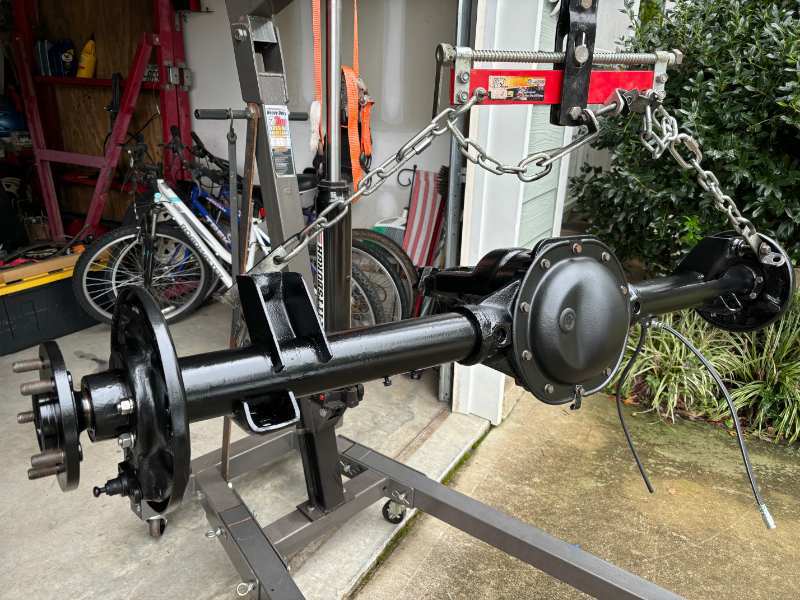
Labor Day weekend a nearby LKQ yard had a 2000 XJ with a 29-spline Chrysler 8.25 under it. Everything was 1/2 off that weekend so I scooped it up for $100. I put about 30 hours into it last week from Sunday-Sunday and got it redone... Everything but the wheel studs, plus all new brake hardware and parking brake cables. Just need to assemble the brakes. If the 9" drums on the D35 are decent I'll re-use them, or just replace them if not. Backlash is a pitch perfect 6.5/1000ths, pattern is excellent.
-
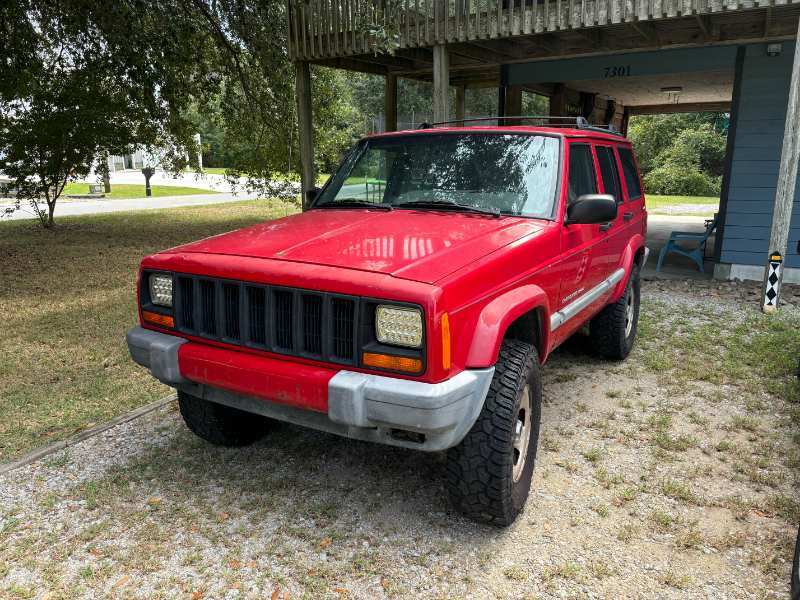
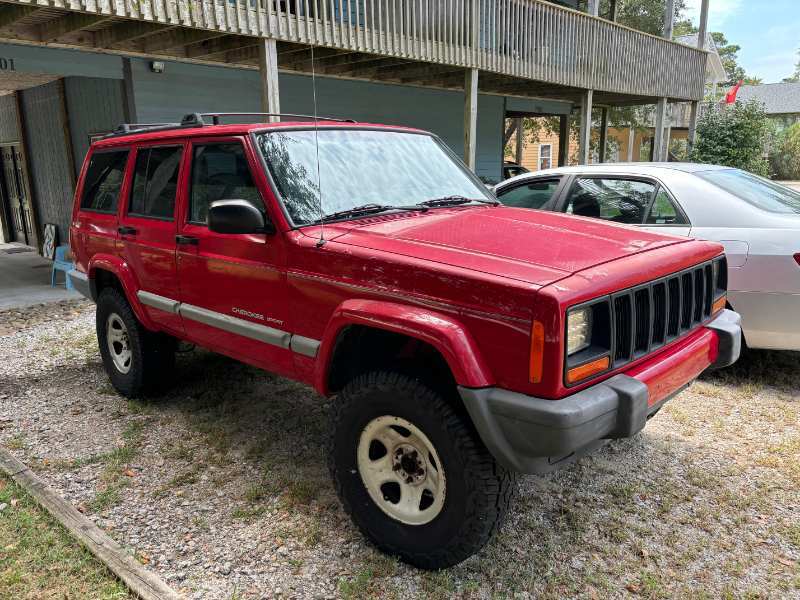
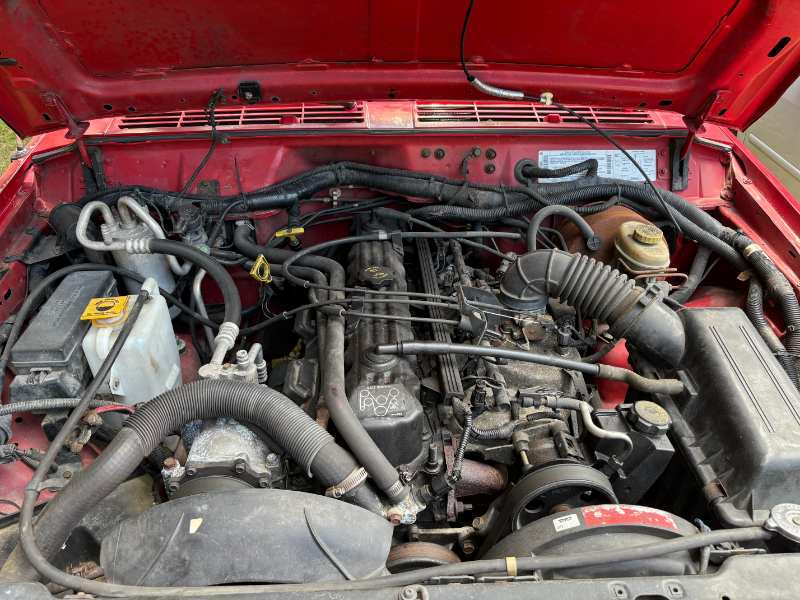
A family member has been wanting something to drive on the beach during the fall/ winter months, when it's allowed by permit. She's sent me a multitude of FB Marketplace ads for everything under the sun other than something Jeep. One or two I was willing to look at but they sold quicker than I could get there to look them over. I'd said a few times "you just need to find a used Cherokee, it would be perfect." Her response every time was "Jeeps are junk." Then she drove my MJ back toward the end of August... and maybe Jeeps aren't junk after all. 2001 XJ Sport 4WD/ AW4 with a blown up Dana 35 - $1000.00. Engine was replaced in 2016, probably due to a cracked head/ ensuing issues.