

jodawill
-
Posts
145 -
Joined
-
Last visited
jodawill's Achievements
Comanche Aficionado (4/11)
-
After a hiatus, I need an opinion...
jodawill replied to Spinnakerblue89's topic in MJ Tech: Modification and Repairs
We go that way occasionally to visit Sweetwater or to visit people in Ohio. -
Were the original mud flap brackets painted?
jodawill replied to jodawill's topic in MJ Tech: Modification and Repairs
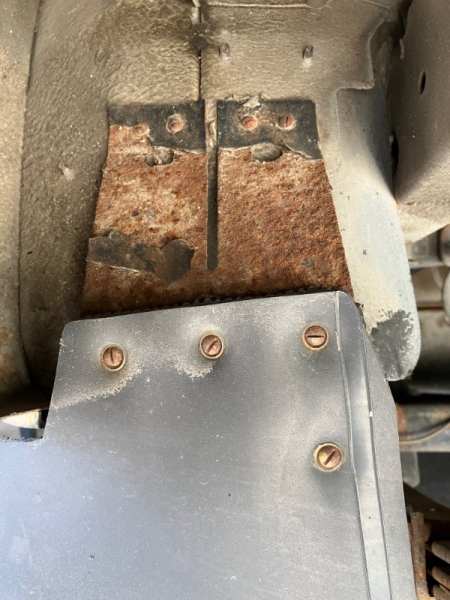
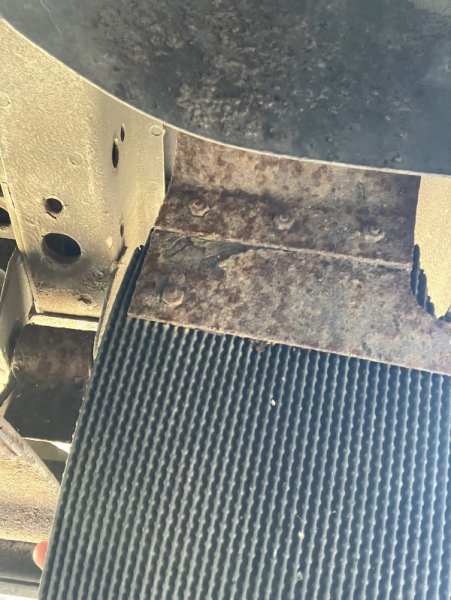
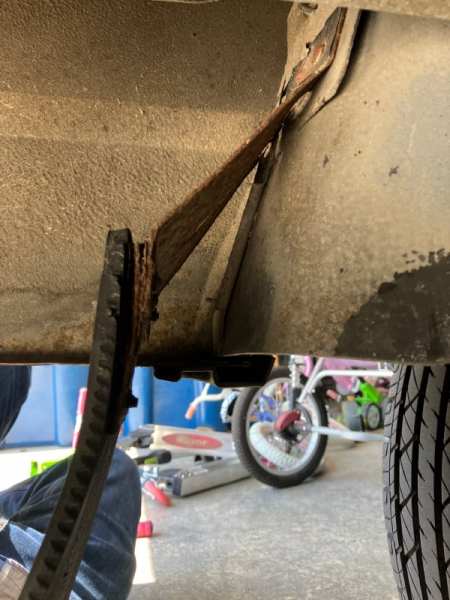
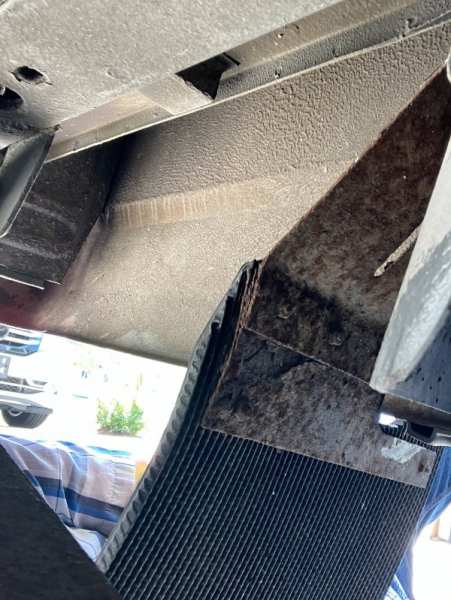
It looks like the bracket on the driver's side was modified. Maybe it was originally tight against the body, then someone extended them because they were rubbing the paint off. And maybe their extension failed, resulting in the missing mud flap?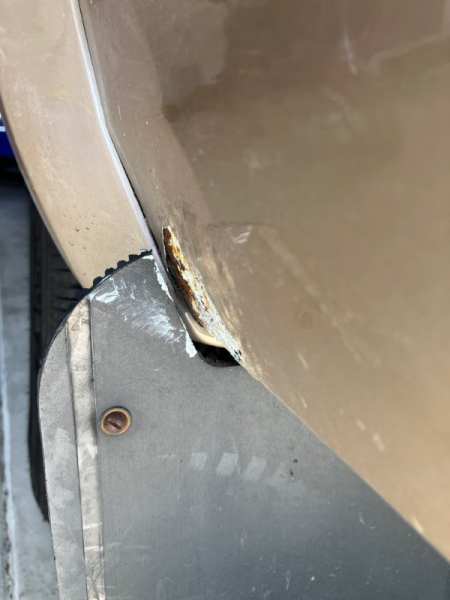
-
Were the original mud flap brackets painted?
jodawill replied to jodawill's topic in MJ Tech: Modification and Repairs
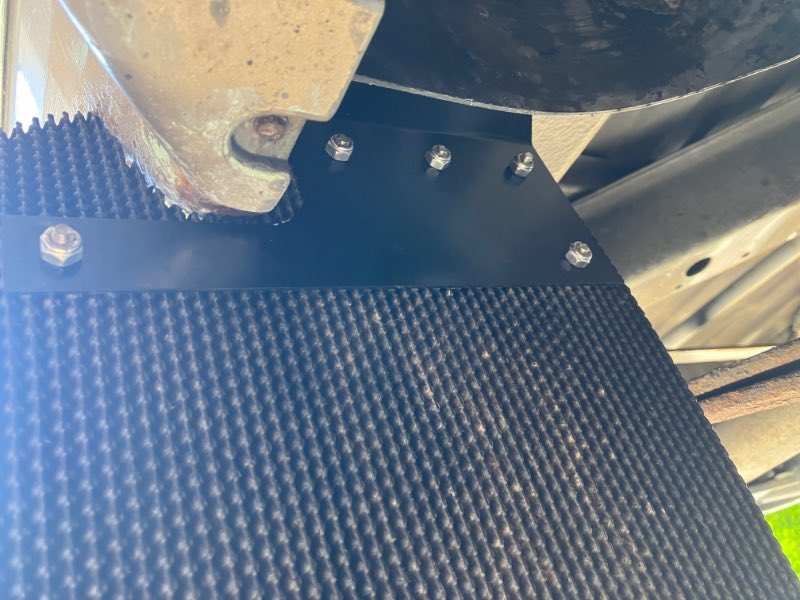
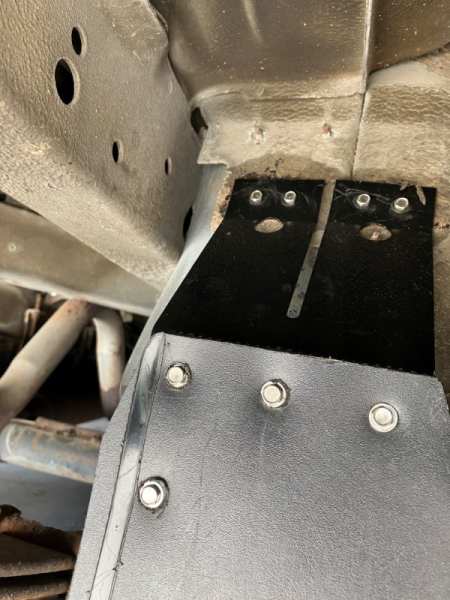
-
After a hiatus, I need an opinion...
jodawill replied to Spinnakerblue89's topic in MJ Tech: Modification and Repairs
I watched some videos about POR-15 (after I had already ordered mine) and it had the worst performance of all the coatings tested. I think it will be fine on my floor because it's not going to see any wear, but I wish I had seen this before I bought it. What part of Indiana are you in? I'm in Noblesville. -
Were the original mud flap brackets painted?
jodawill replied to jodawill's topic in MJ Tech: Modification and Repairs
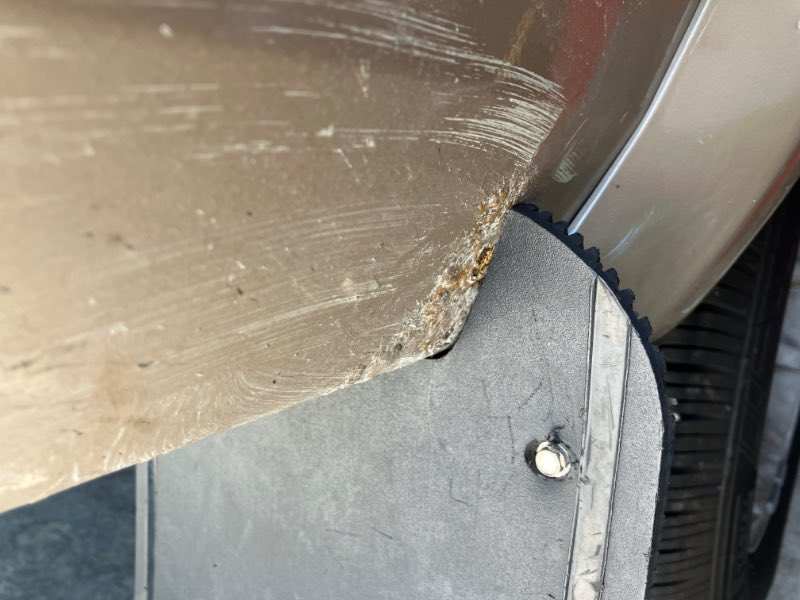
Are the mud flaps supposed to touch the body? I installed the replacement for the missing one today and it pushes pretty hard against the bottom. I do see that there's damage from the mud flap touching it in the past though, so maybe that's how it was originally? -
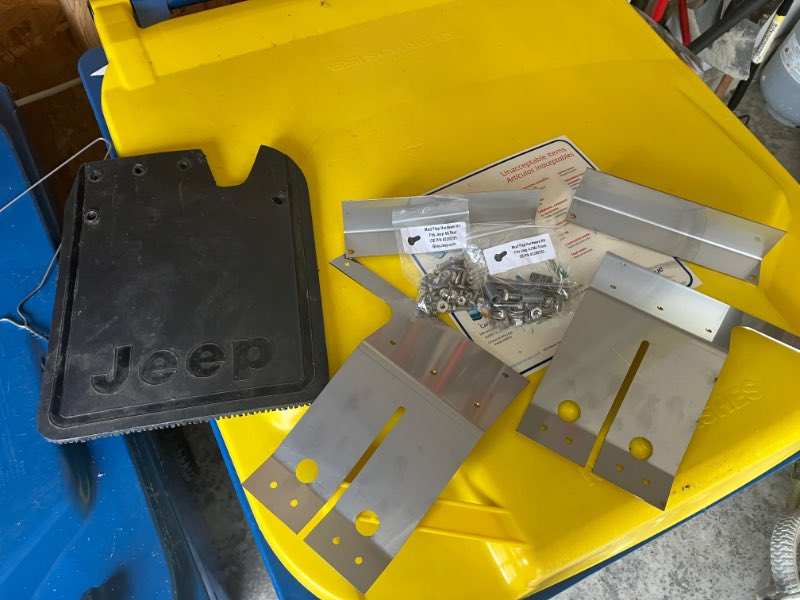
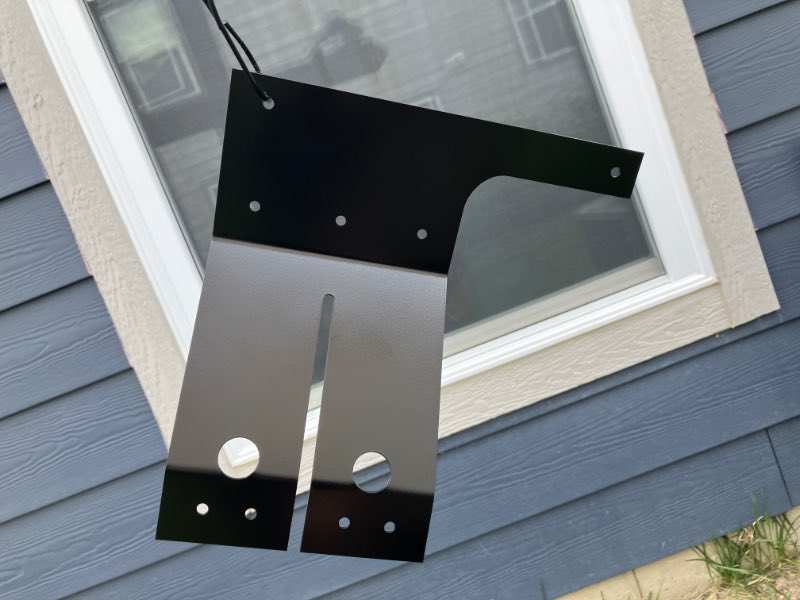
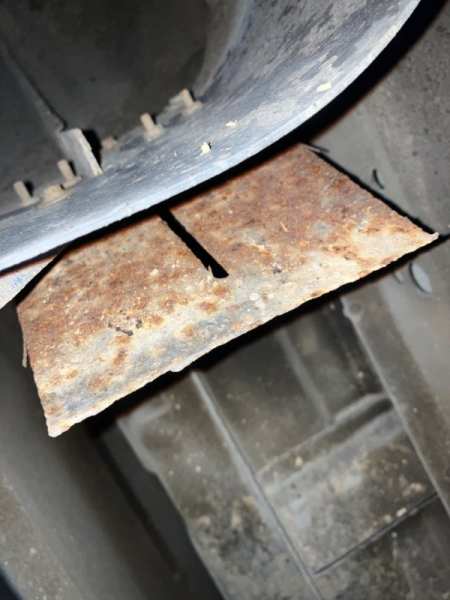
I got my new mud flap brackets from Boxy Jeep the other day and I just painted the rear ones. I also got a replacement mud flap from @JolietJEEP'84 . Interestingly, it appears that the original bracket was cut in half with tin snips. My grandma didn't even know it was missing. That makes me wonder if it was stolen. But we'll never know for sure what happened.
-
Need help finding replacement clips
jodawill replied to jodawill's topic in MJ Tech: Modification and Repairs
I just got mine yesterday too. I haven't had a chance to try them out yet, but they look perfect! -
I don't want to do it until I have no other options. If I do, I'd like to have the bezel chromed first so it matches the original.
-
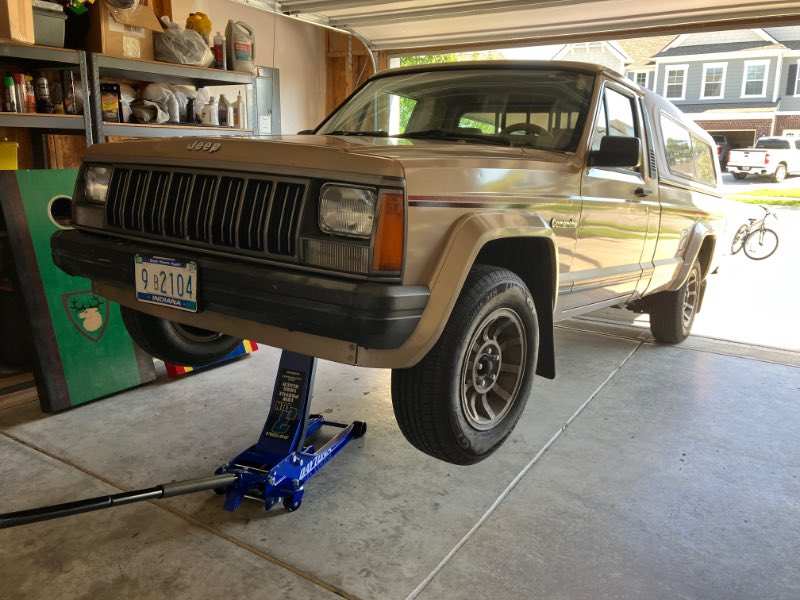
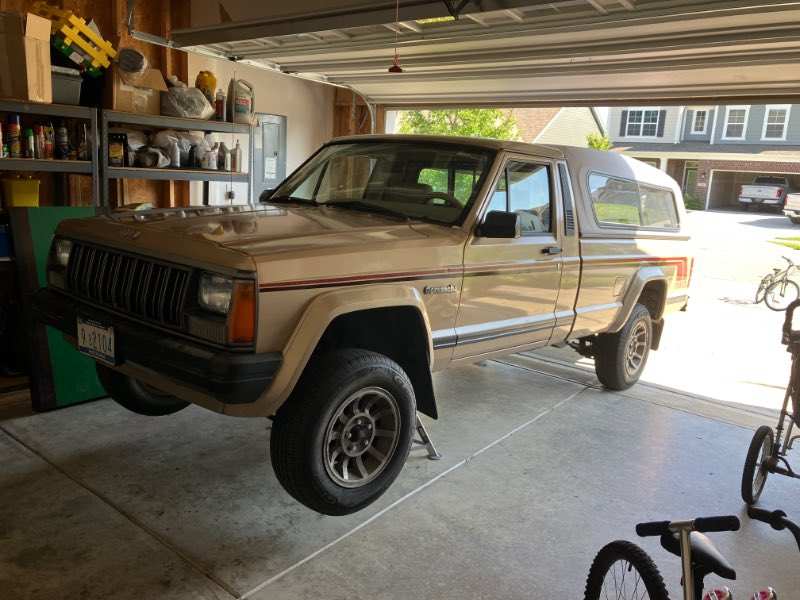
I sold my DeWalt jack yesterday for $140 and drove straight to Harbor Freight to pick up the low profile, extended reach Daytona for $152. Huge upgrade for $12! This thing actually goes higher than I would normally even want to go. It will be super useful for working on my van because it sits so low. I got some samples for a leather steering wheel cover. None of their tan colors were actually tan, so they don't match my interior. But I do actually like that brown one they call tan. I'm considering that one, although my goal has always been to maintain the original appearance of the truck.
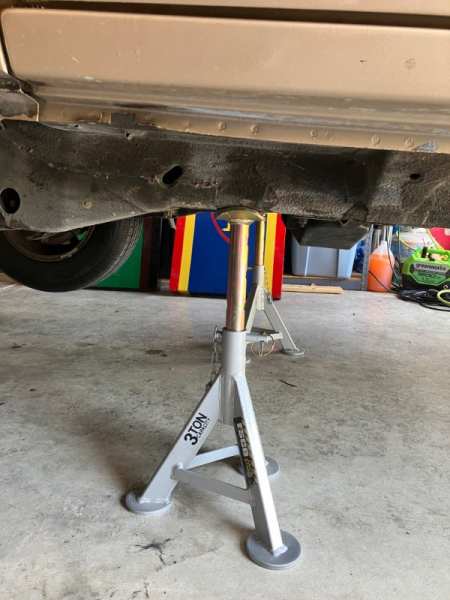
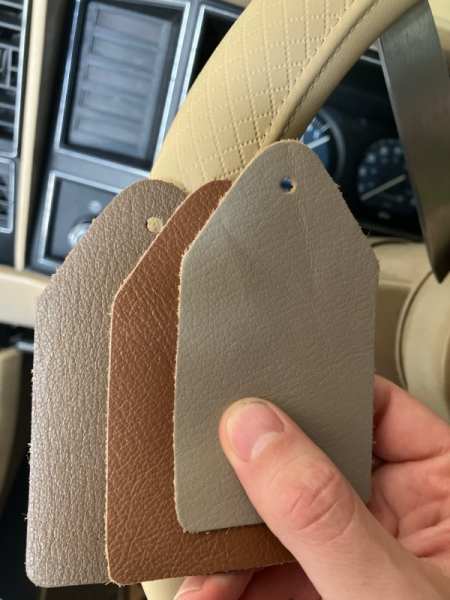
-
I've had great success repairing the clips with Gorilla Glue. I found three of the four tabs inside the pillars when I pulled the carpet. If you want to replace them, I can sell you the ones I bought and didn't use. They require you to cut the trim just a bit, which I have no interest in doing if I don't have to.
-
Were the original mud flap brackets painted?
jodawill replied to jodawill's topic in MJ Tech: Modification and Repairs
Does anyone have recommendations on how to paint them? What kind of paint should be used on a high wear spot like that? -
Were the original mud flap brackets painted?
jodawill replied to jodawill's topic in MJ Tech: Modification and Repairs
That's good news. Thanks! -
I bought the mud flap brackets from @boxyjeep. Mine are rusted beyond recognition. Does anyone know whether the originals were painted? I'm debating whether I should attempt to paint them or just use them as is. If they were painted, would they be painted the same color as the vehicle, or just plain black?
-
Modified OEM Radios “Feeler”
jodawill replied to ghetdjc320's topic in MJ Tech: Modification and Repairs
Considering how much money I've put into the rest of the audio system recently, I should probably abandon the stock radio. There's no point in having great speakers to listen to cassette tapes and FM radio. I'd like to hear more about your plans for these. I would definitely like to retain the original aesthetic, but have a high quality bluetooth option. USB for flac audio would be nice too. Would you be able to make the lights look the same as the original? Almost all LEDs are about 10x brighter than they should be, and the color is usually too harsh. -
Modified OEM Radios “Feeler”
jodawill replied to ghetdjc320's topic in MJ Tech: Modification and Repairs
I couldn't find a model number anywhere on it. Maybe it was on a sticker that's long gone? No idea. But it looks identical to the one in your first picture, except it doesn't say Jeep on the cassette door.