

howeitsdone
-
Posts
691 -
Joined
-
Last visited
Content Type
Profiles
Forums
Gallery
Everything posted by howeitsdone
-
 Installed it with the clutch. Was Greased & flush mount.
 -
The rear is fine, but the two most rear bolts don't thread properly so I added some plumber's tape to thicken them. But the mount itself is in okay shape. Yup. The wires and cap are also new within the last year and a half.
-
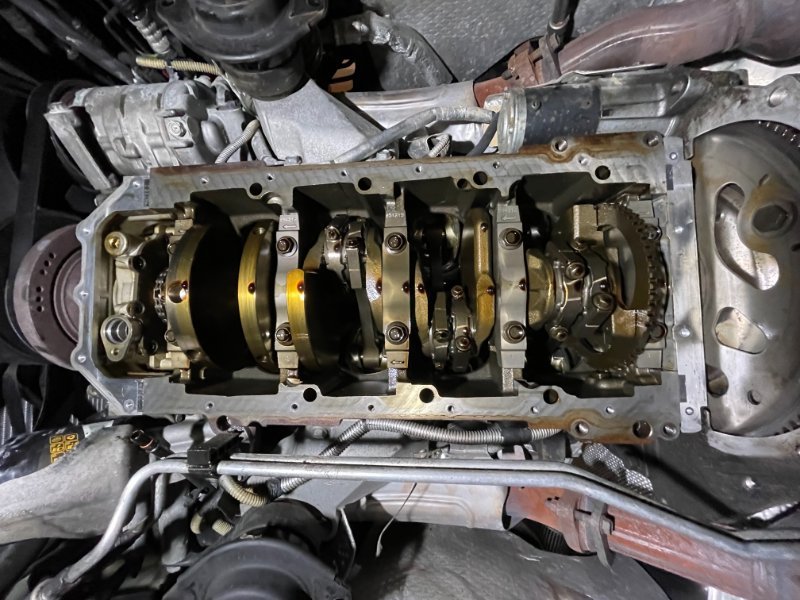
For about the last month (since the trip to Yellowstone) I've just had crazy vibrations when idling. They smooth out with gas, but when the engine get's above 2K it get's REALLY weird and loud. I can replicate the 2K issue while stationary so I know there are no DS or TC issues. When I get the the entrance of the neighborhood and depress the clutch (I'm only 2nd house) it just about stalls and then breathes new life. I replaced a broken motor mount because I thought that was the vibration issue, but nothing changed. Then I thought misfire so I pulled the plugs on Sunday and there isn't any fuel on them and they mostly look like they're all burning properly. Although some a bit different than the rest (1 & 2 have a bit more carbon and 4 & 5 have less burn it appears). On top of that, the bell housing likes to make a ruckus after it's warmed up. New clutch about 1-2k miles ago. Didn't touch flywheel except for a slight surface smoothing. But it was fine after. Wondering if there is something I'm missing in diagnosis before thinking I need to swap motors or CS. What I've done: Removed & cleaned the IAC as well as Seafoamed the intake Inspected the MAP line and all looks good. Actually, I've replaced most of the vacuum lines New fuel filter but gas was clear in the old one Grounds and connectors and the likes have been done Cleaned IAT
-
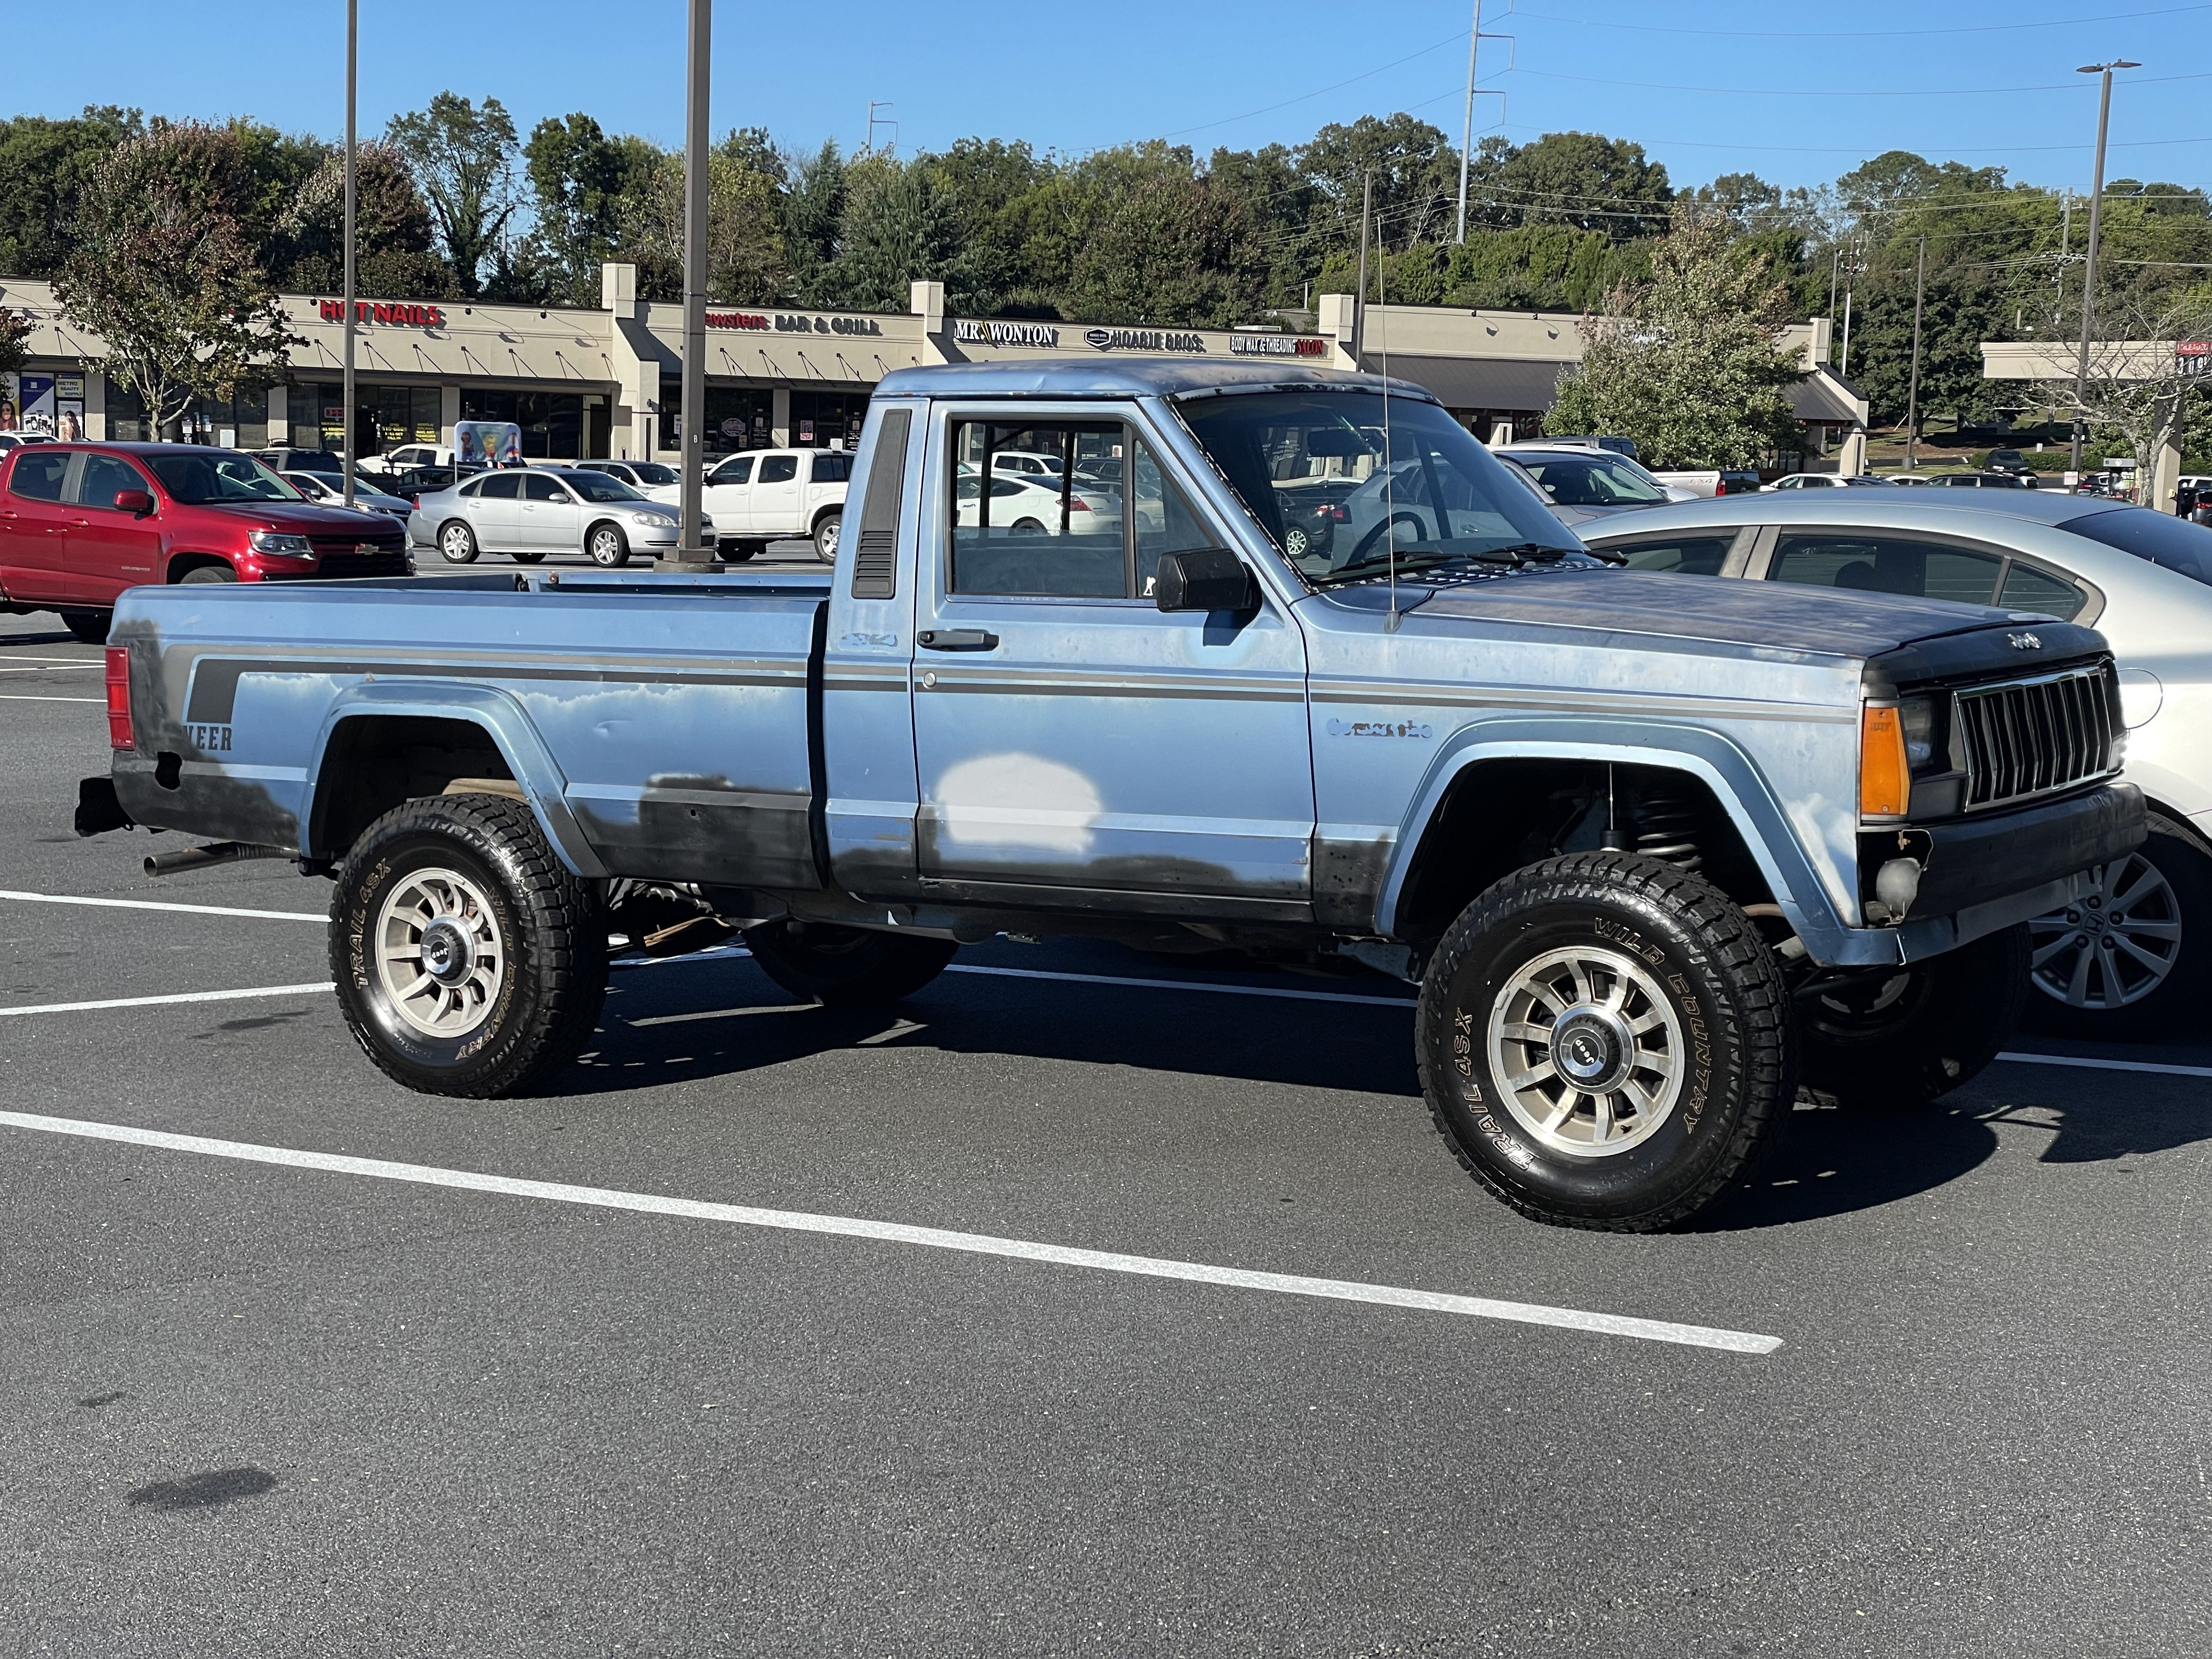
mini beast Project: Stock To Beast!!!
howeitsdone replied to MiNi Beast's topic in MJ Hardcore Tech: Epic Journeys to Greatness
Hell, that's 99% of the process! -
WJ Booster Incompatible with MJ
howeitsdone replied to Salvagedcircuit's topic in MJ Tech: Modification and Repairs
This is the one that I followed during mine. Only wrong info was saying 8mm bolt. It's actually an M8. Everything else was fine. And links to discussion about prop valve upgrade. This one helped too when it came to the bubble flare fitting info. Also where I saw the spacer discussion. -
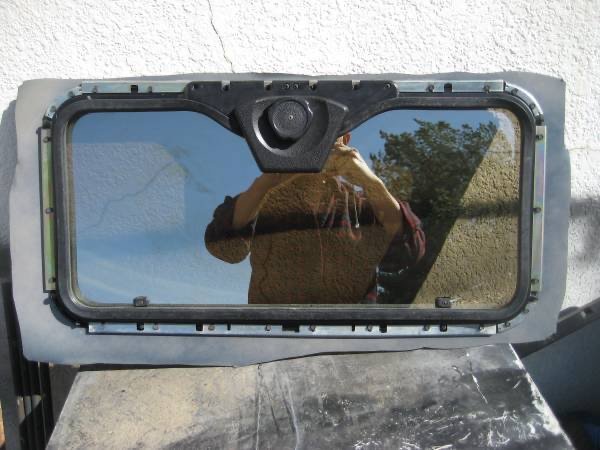
Says posted a month ago, so not sure if still available. If I lived closer to DEN I'd have picked this up right away! What a steal. https://denver.craigslist.org/pts/d/denver-jeep-cherokee-xj-sunroof/7510693595.html
-
Put up some pics! Commandos are sweet
-
That auto transport is just under 80" wide and I think a D60 rear is 70" so sounds reasonable to me. Plus a forklift would have a heck of a time with a walled trailer, no?
-
WJ Booster Incompatible with MJ
howeitsdone replied to Salvagedcircuit's topic in MJ Tech: Modification and Repairs
-
WJ Booster Incompatible with MJ
howeitsdone replied to Salvagedcircuit's topic in MJ Tech: Modification and Repairs
There was a thread I found where Cruiser mentioned something like that. I think they were trying to figure out the best way to replicate. It's a bit of material, but could be an easy gig for someone with a 3D printer -
WJ Booster Incompatible with MJ
howeitsdone replied to Salvagedcircuit's topic in MJ Tech: Modification and Repairs
Might be worth it to return the new part and get a used booster of you don't want to enlarge that hole. -
WJ Booster Incompatible with MJ
howeitsdone replied to Salvagedcircuit's topic in MJ Tech: Modification and Repairs
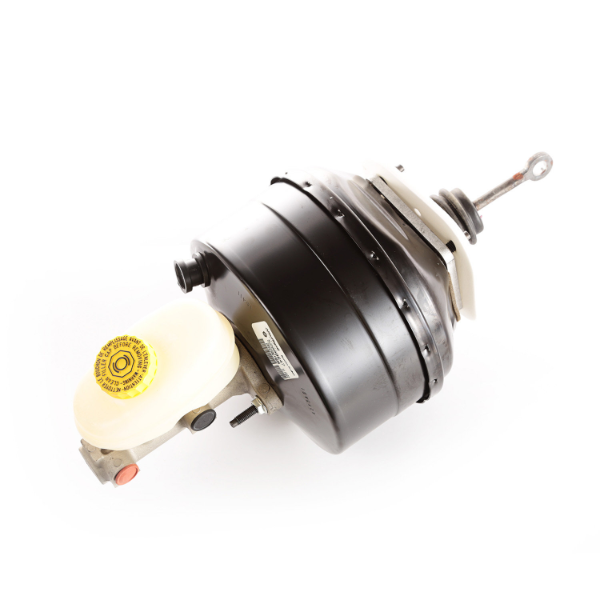
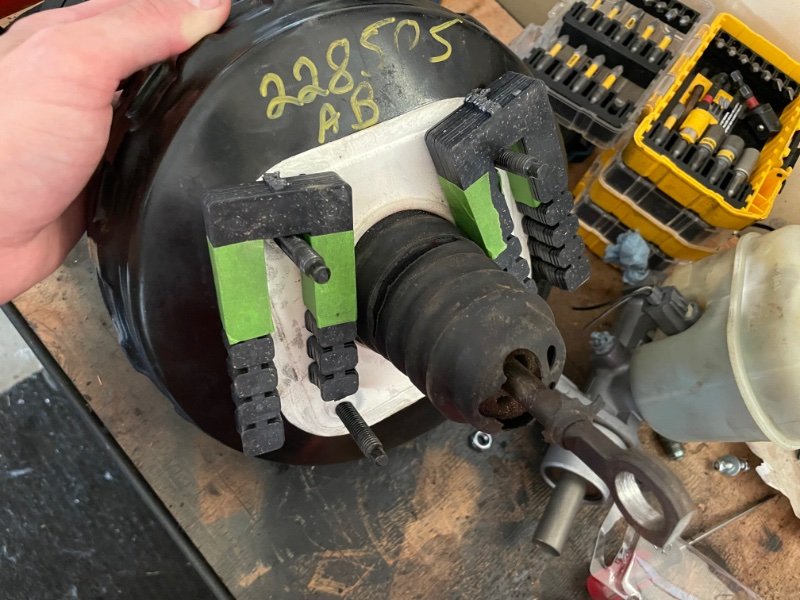
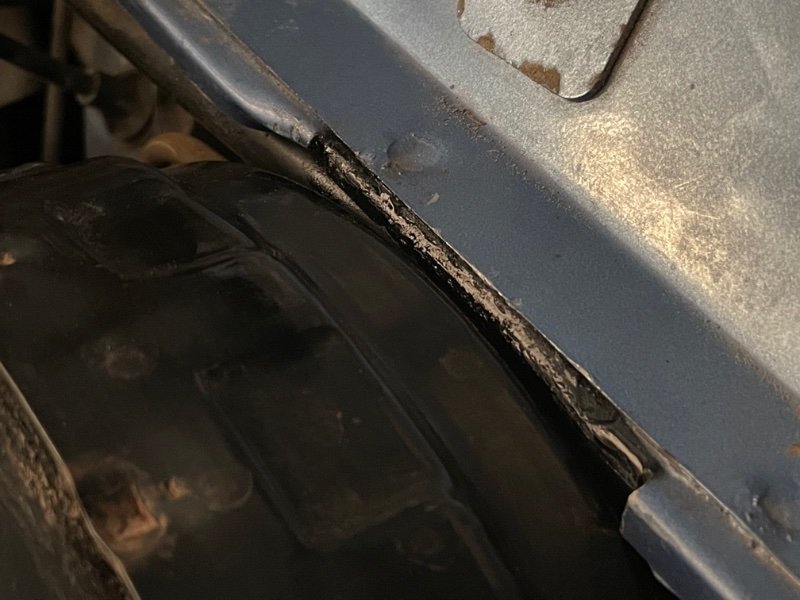
Zero modification needed at that hole when using OE. Can't speak for aftermarket, but seems you've found out. Go to Lowes/Home Depot and get composite spacers like below. Add a few on each side. Only modification is slight bend above it. The hose will sit fine behind too. Because the original booster had an angle at the back to help with clearances you either have to take out a lot of material or use some sort of spacer. If worried about water leaking then you can put some tape or whatever else over the gap where the booster meets the firewall and create a little "roof" otherwise there have been threads where people fabricated an actual spacer. I think Cruiser did if I'm not mistaking. Not the perfect solution but worked for me.

-
Call around to your local locksmiths. It's very hard to find one that can still work with GM 6 wafer. I called close to 10 when I lived north of ATL and none of them could do it. Your best bet is to just replace the locks unless you find one that does it. IIRC it's actually cheaper to replace the cylinders then have someone re-key too. There is no "Programming", just cut keys.
-
Very jealous of you all. Hovering around $4.60 and still hitting $5 south of here.
-
Changed the oil pan seal in the 5.7 WK2. Not as fun as it sounds... if that sounds fun
-
Bernoulli is rolling in his grave. It's late...
-
My first thought is the vacuum actuator for defrost. You're obviously building a strong vacuum while the engine is working hard. Maybe the actuator isn't closing it off like it should? Not sure what those do when they fail.
-
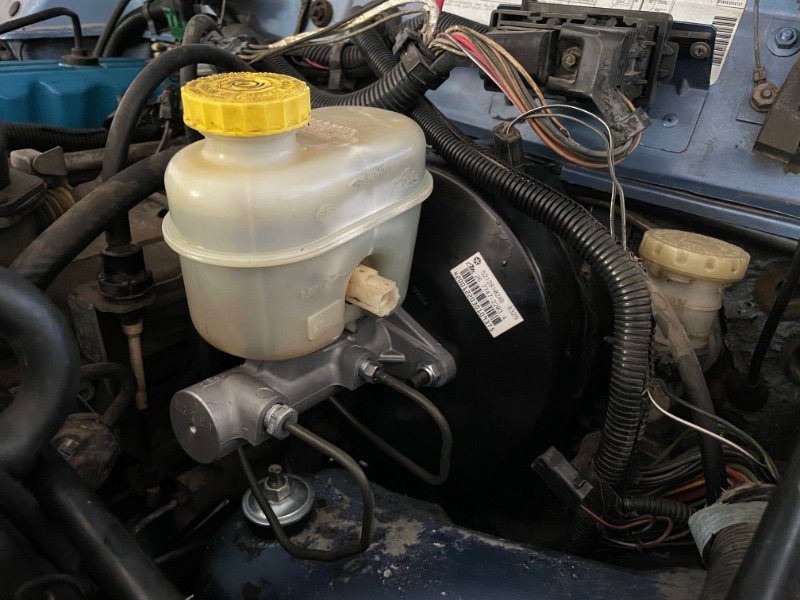
WJ Power Booster install complete! I will say, nothing mind-blowing lol. You just stop like normal. Pro-tip: Buy bubble flare line from the parts store. My double flare tool is great...for just that lol. Couldn't hack the bubble flare to save my life. Or get WJ lines... I also picked up some composite spacers from Lowes so I wouldn't have to take a lot of the firewall out. Worked great. My only issue with install is the wiring harness that's supposed to go underneath the booster. I forgot to do that... and I damn well don't feel like removing the MC to make it happen. I've cleaned enough brake fluid for awhile. Oh well, the dash brake light isn't really needed anyway. I'll probably leave the reservoir out too since I never use it.
-
Brake Switch Trouble after WJ Booster Install
howeitsdone replied to howeitsdone's topic in MJ Tech: Modification and Repairs
Update: Removed the main plastic bushing and works now. After a lot of reading online, the brake switch needs to be able to wiggle a little bit. Technically, the 5/8" hole that you drill should actually be slightly larger. Guessing Metric vs SAE here and should be 16mm.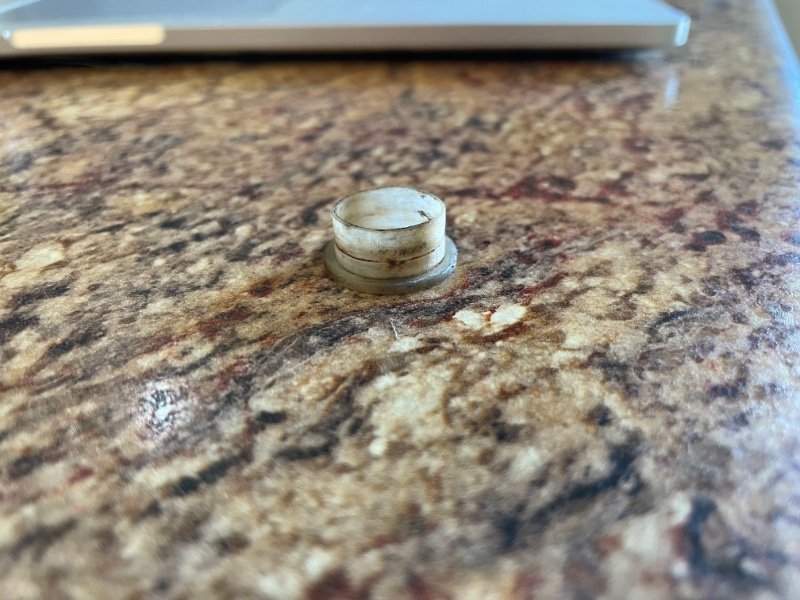
-
Brake Switch Trouble after WJ Booster Install
howeitsdone replied to howeitsdone's topic in MJ Tech: Modification and Repairs
Thanks for this. I figured I'd have to mod something else. Unfortunately manual transmissions don't have that bracket. Has anyone else rigged in an alternate brake light switch? Where did you mount it? -
My brake light switch is not triggering the lights after the swap. I can push it up or down and they come on, but nothing is causing the switch to do that on its own when the pedal is pressed. The flat spot depth is exact to the original. I've tried all 4 combos of rotations between the booster and switch as well. Not sure what to try next short of having to swap the pedal and switch out for a later style.
-
I bought the Main panel from a JY down in Grand Junction off a white XJ. All of the trim pieces were bought online.
-
Looks about how mine did! lol I'm way out in Vernal. Knew you were in the city because you have access to a junkyard. Closest to me is in Colorado Springs. So I won't be of much help finding parts. But if you ever need something for the front end there is a Utah XJ group on FB. Couple of guys buy and part them out so there is always something.
-
Nice to see another Utah member! I take it you're much closer to the city lol DeadJeep does take a reaaalllyyy long time. I might have waited almost 3 weeks for a 4x4 indicator bezel. Lady kept emailing me it would ship and, like you, just a label that sat. But you'll get it eventually. The AX15 sounds like a score! How is the interior? Be sure to post the VIN in that forum section. You'll get a factory build sheet that's pretty cool!
-
It's ALL brittle lol Take your time. Follow the procedure by the book and don't follow YouTube and the rest of the internet's shortcuts. Tried that and stuff broke the first time. 2nd time I did it was by the book and took less than an hour. You might fight with the main harness on the back side. You'll probably break the clips so make sure and have tip-ties for when you install.