Gjeep
-
Posts
1247 -
Joined
-
Last visited
-
Days Won
3
Content Type
Profiles
Forums
Gallery
Everything posted by Gjeep
-
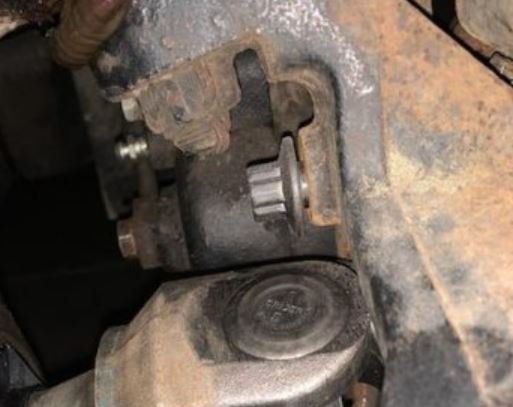
Looks to be for the transfer case position/ illumination light on dashboard.
-
My 1992 Comanche Pioneer Rejuvination
Gjeep replied to Jlindsey86's topic in Member Projects: Your Comanches
Nice MJ! Keep it up. -
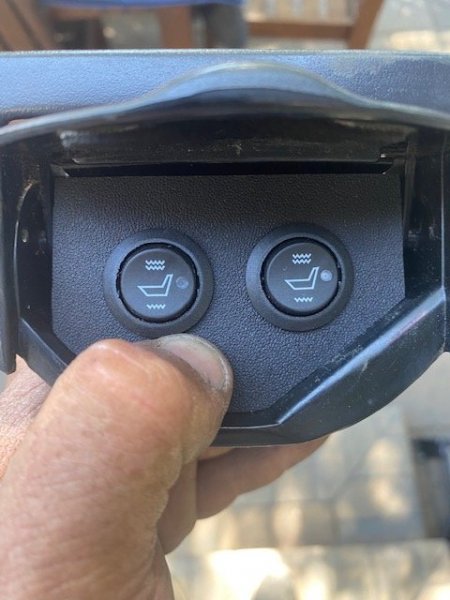
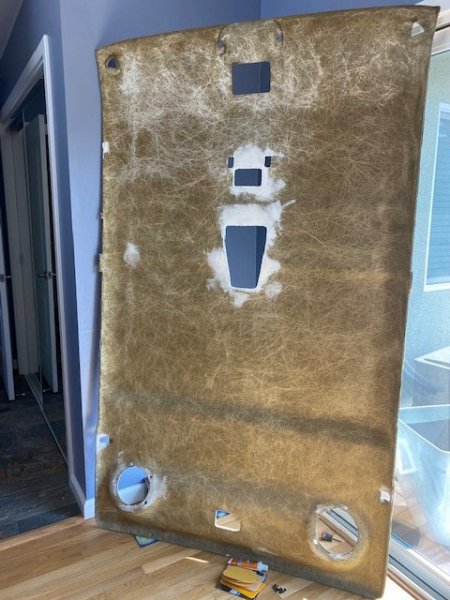
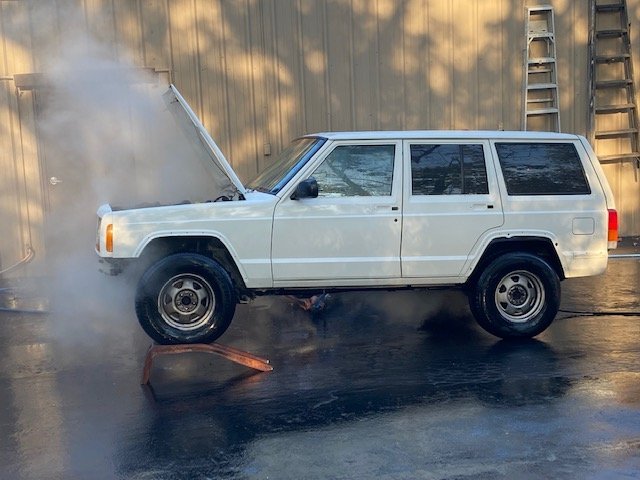
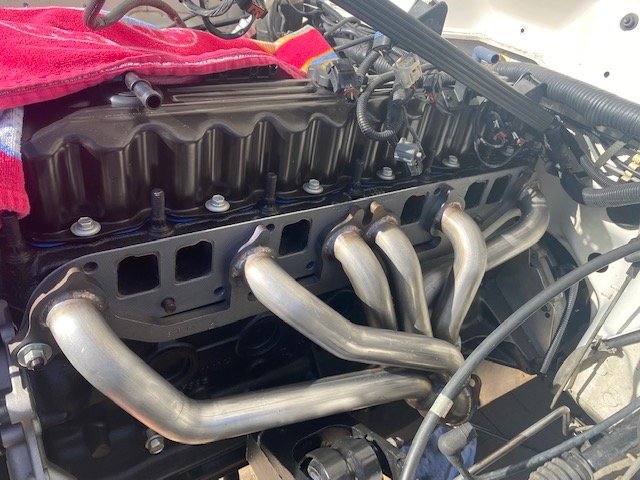
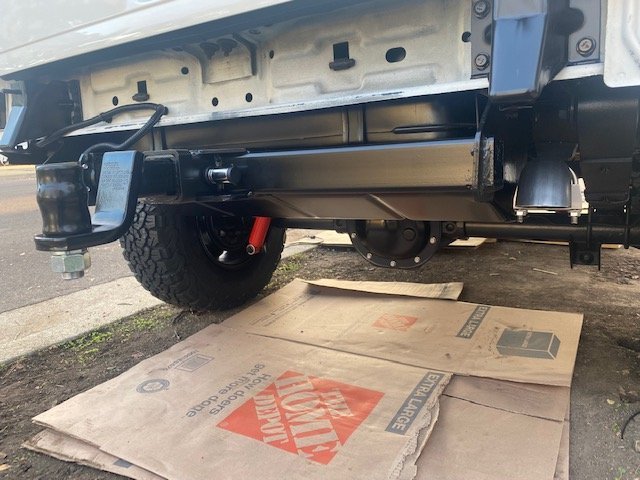
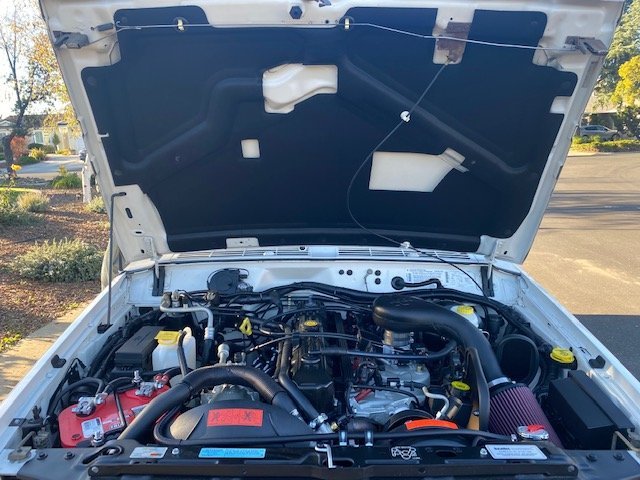
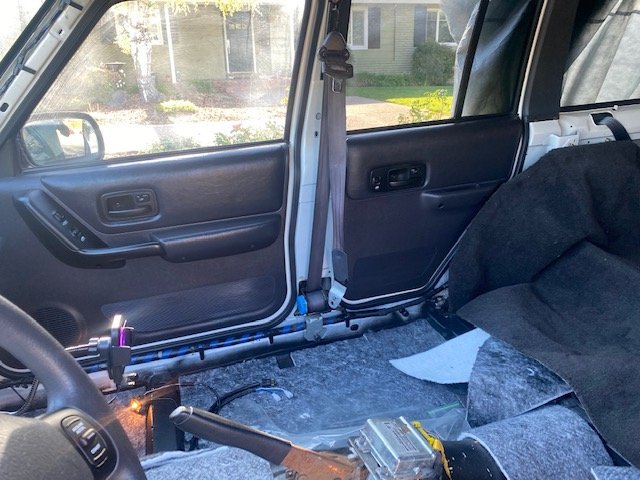
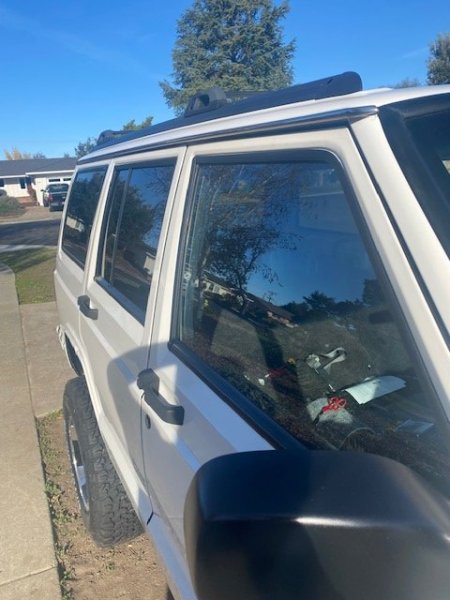
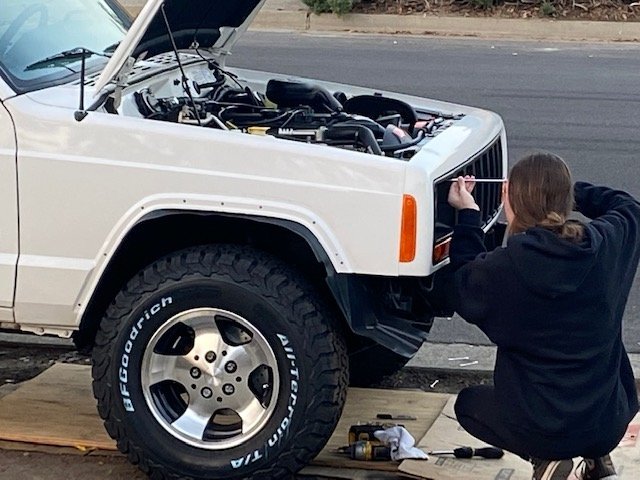
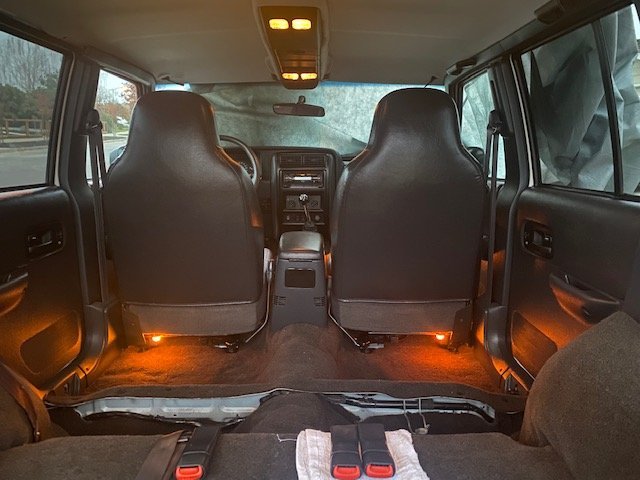
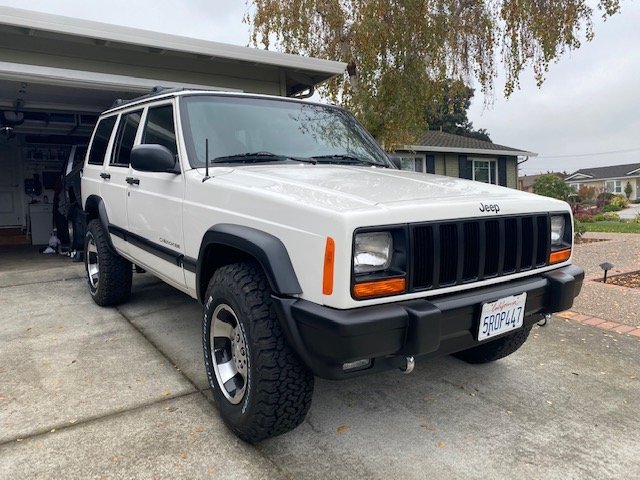
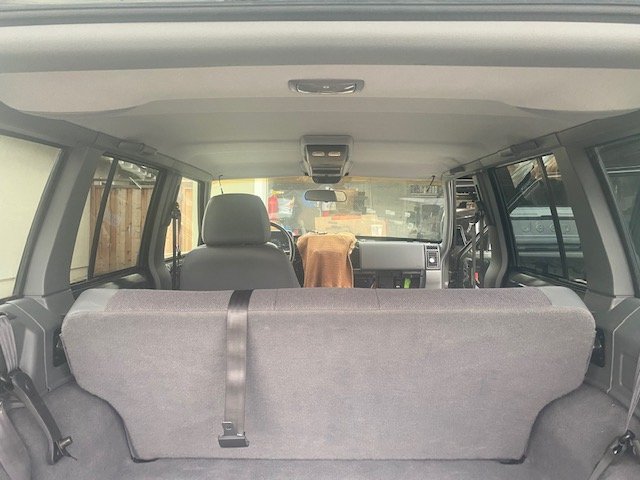
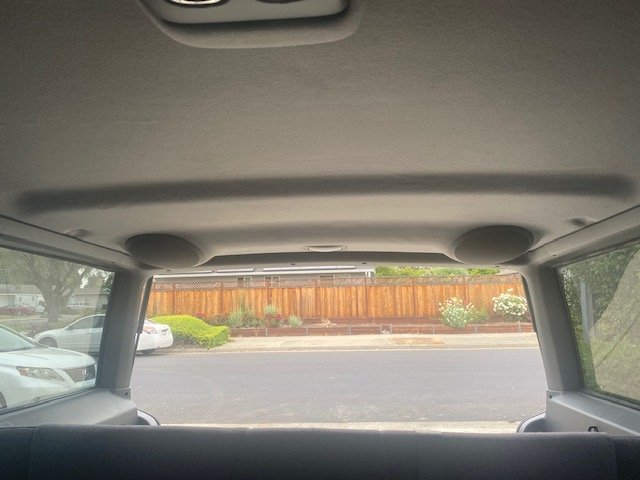
Catching you all up on my latest project… I needed to jam through it as yet another daughter is behind the wheel! ’97 XJ 5-spd rarity from Southern California. Bare bones base white, no options other than AM/FM radio and AC. Redone inside and out as I’ve done the other XJ’s over the past couple years. Took it down to the block and replaced everything new. Swapped the mist gray interior for darker agate. Running 30’s on black pocketed Canyon rims with factory skids all around. Banks header/ exhaust, Hurst short shifter, dual power front seats with heated seats pads under the fabric, ’01 XJ headliner with overhead console, and swapped out all the rear area glass for factory deep tinted. Even went old skool on the drip rails using early XJ polished stainless-steel ones. It’s been upgraded to 3.55’s and moves through the gears well! It’s name – ‘ Whiplash’.
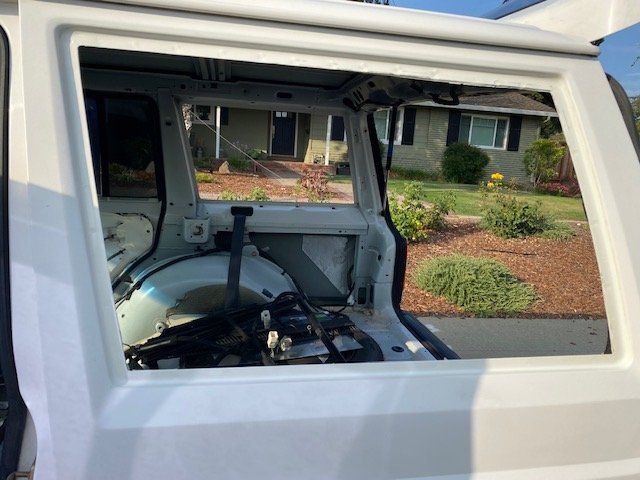
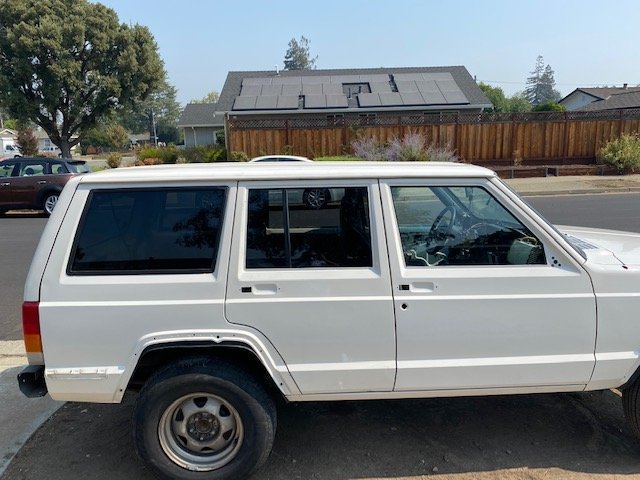
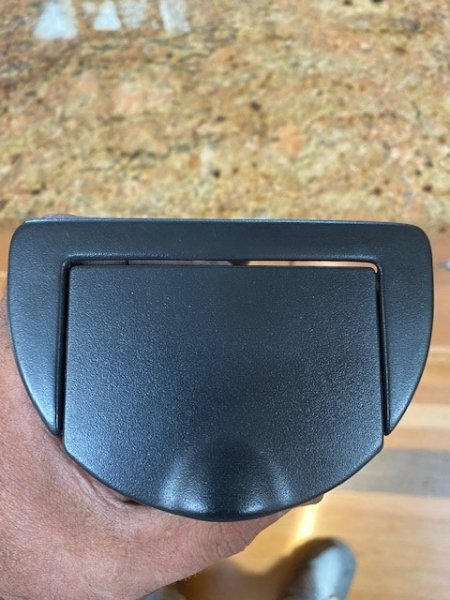
-
Nice looking ride and great job rehabilitating her! Keep it up!
-
Great looking MJ!
-
NOS? Comanche B-pillar lights
Gjeep replied to eaglescout526's topic in Craigslist/Marketplace/eBay... i.e. Not Your Stuff
Those will work in an MJ but not plug and play. Notice wiring setup. -
Just so you know that’s a 97+ xj evaporator. That’s why it didn’t fit in the first gen HVAC box but you got it in.
-
It is a separate harness. You don't want the 4-door harness, its wired differently than the 2-door harness. Just a heads up.
-
https://www.facebook.com/marketplace/item/963420984442962/?ref=browse_tab&referral_code=marketplace_general&referral_story_type=general&tracking={"qid"%3A"6990362585371250962"%2C"mf_story_key"%3A"30453008746224548"%2C"commerce_rank_obj"%3A"{\"target_id\"%3A30453008746224548%2C\"target_type\"%3A6%2C\"primary_position\"%3A10%2C\"ranking_signature\"%3A6600767097842696192%2C\"commerce_channel\"%3A501%2C\"value\"%3A1.7863109018692e-5%2C\"upsell_type\"%3A108}"}
-
Looks sharp!
-
I've bought from Buyee many times. Never any issues.
-
Any sort of non-compliant CARB approved tuning picked up through the PCM will be a fail at smog. https://www.yahoo.com/autos/california-start-testing-ecu-tunes-133700524.html
-
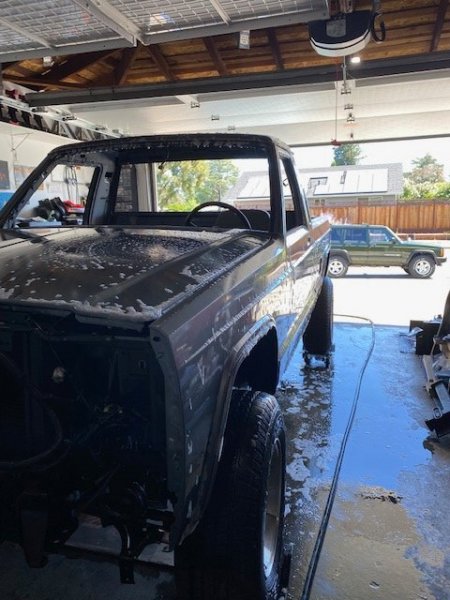
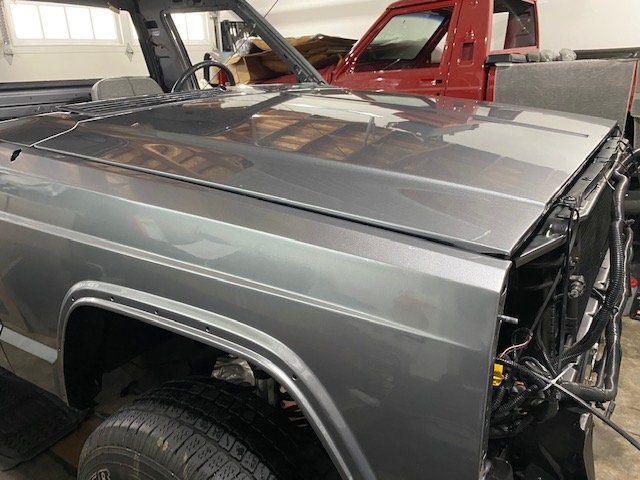
After an eight month hiatus working on the daughters XJ, I'm finally getting back to the MJ. First step -- washing all the dust off. (Fuel tank still out from when I painted it, hence the car wash in the garage.) Giving myself a target goal of New Year's 2023 (January) to get the Colorado Red MJ done as well. I work at a snails pace, so hopefully that's realistic. Giddy up...
-
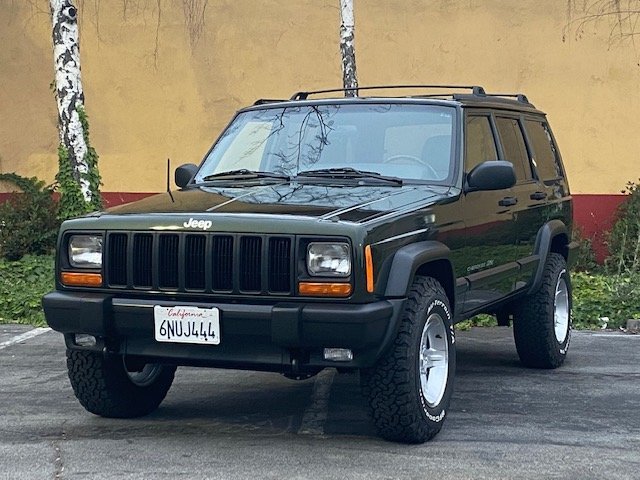
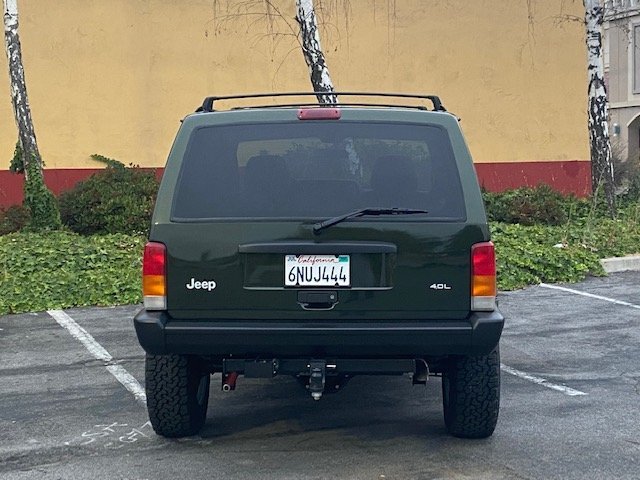
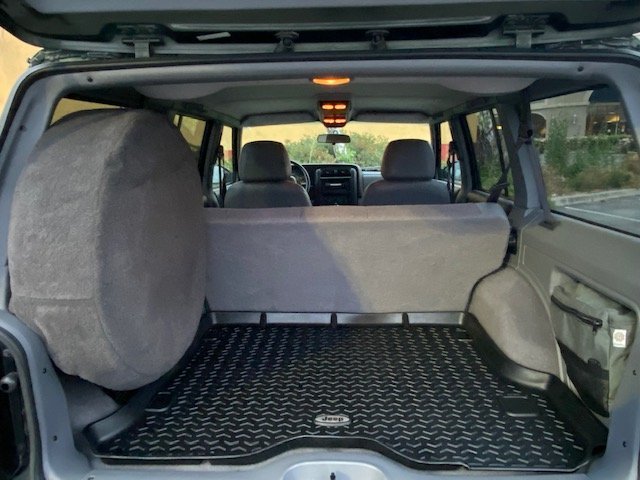
The XJ's officially done -- dropped in the cargo tray that arrived yesterday. Last piece of the puzzle.
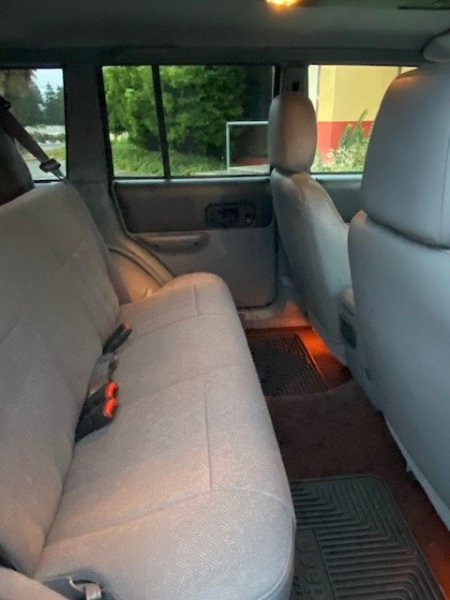
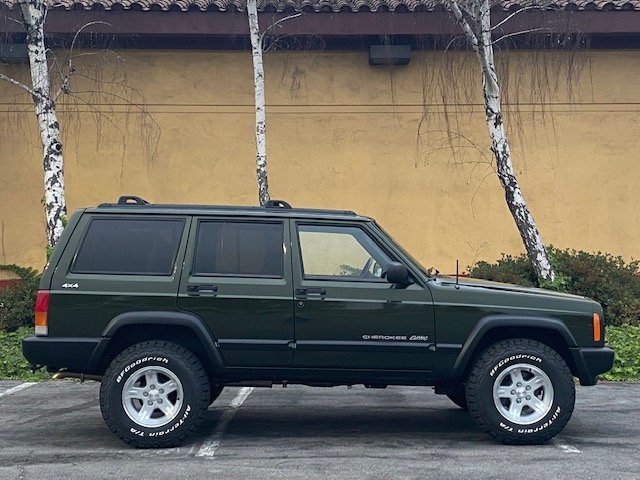
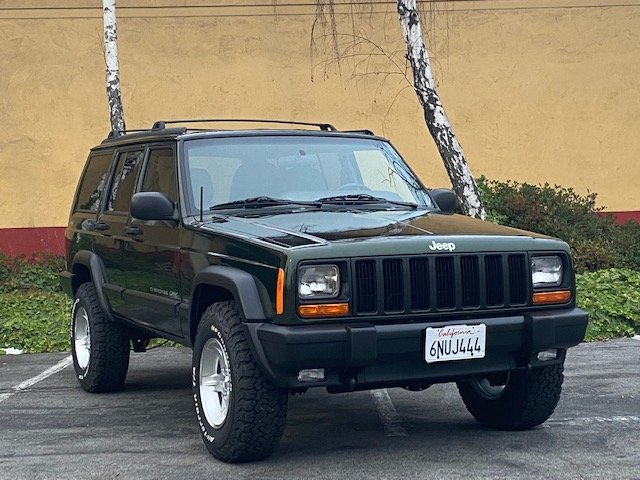
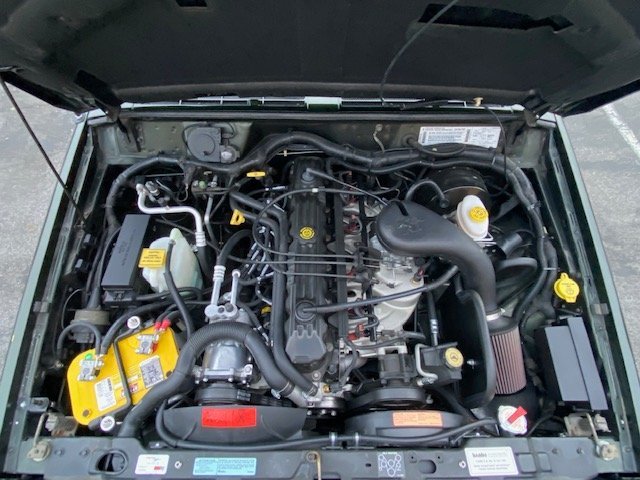
-
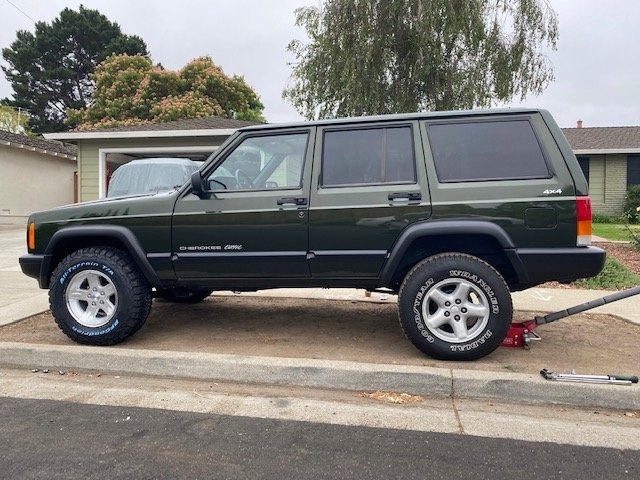
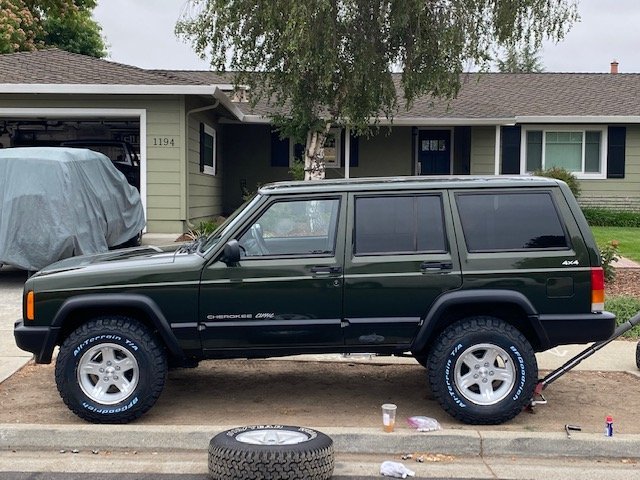
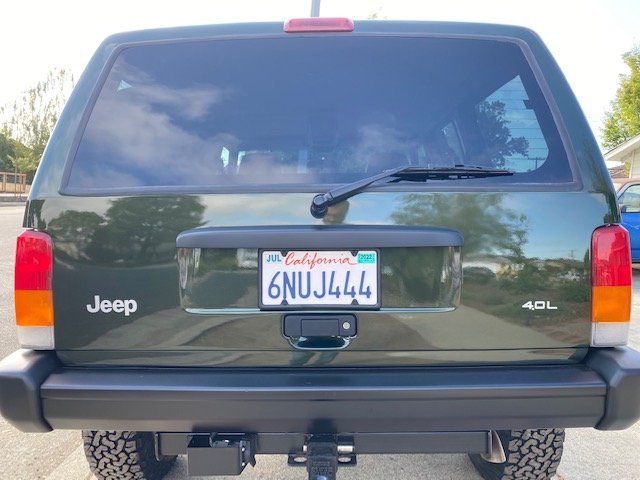
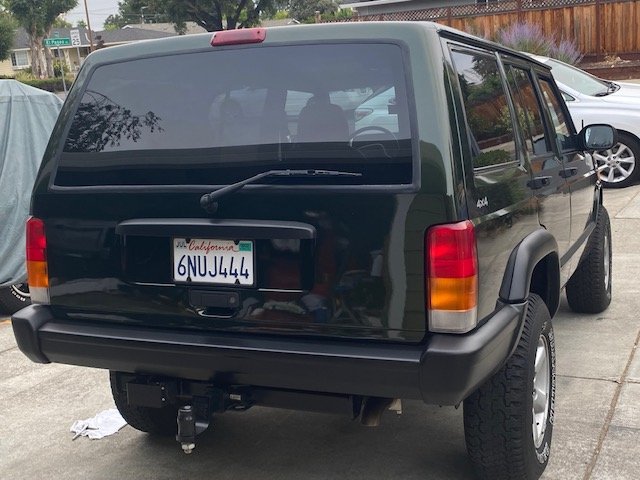
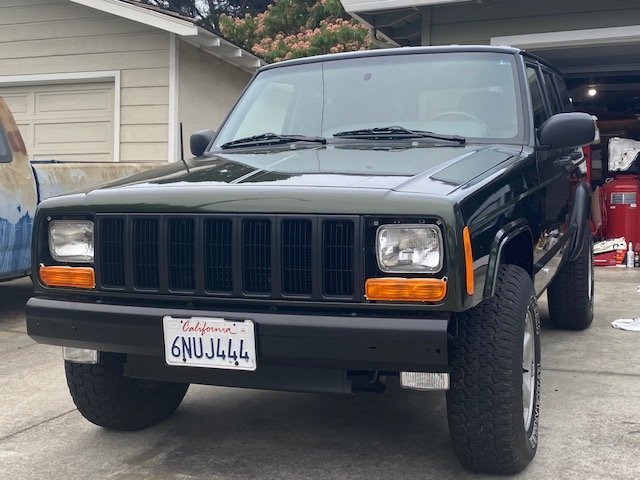
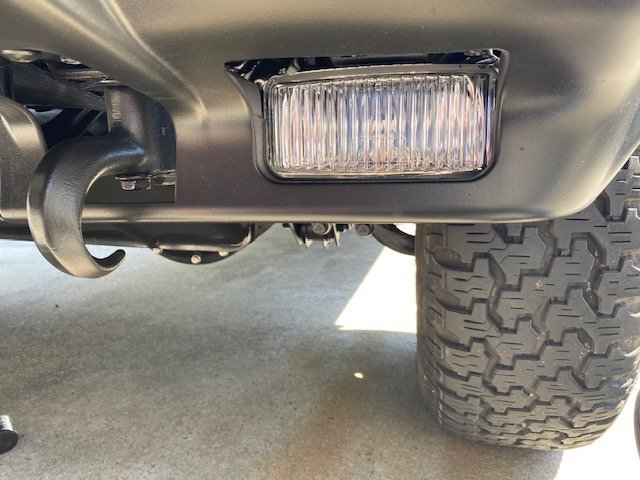
Got the new rim/ tire combo on... The rears show before, and fronts after. The stance and larger meats on this XJ are spot-on for my taste. The 1" rear wheel spacers shove the rear tires out but not too much. Like the MJ, I like to have the tires more or less even with the flares. And lastly all Jeep lettering is in place. Just a few more things to do before I can call this project done -- Learned today for any of you with 97+ XJ's running factory fog lights/ wiring -- when you install the IPF headlight wiring upgrade it doesn't play nice with the high beam headlight switch. Meaning when you turn of the high beams or flash to pass they stay on until you turn the lights off entirely. At first, I was going to pull the trigger wire under the PDC for the fog to high beam sense at 'Fog Light Relay 1', but decided to instead cut the pin off a relay. A lot easier and simpler to undo.
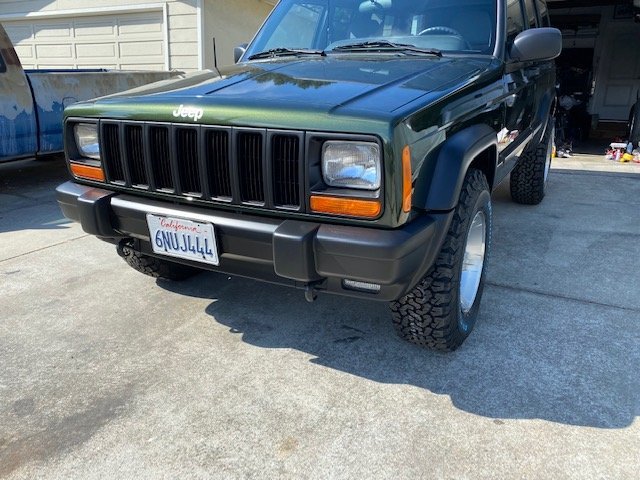
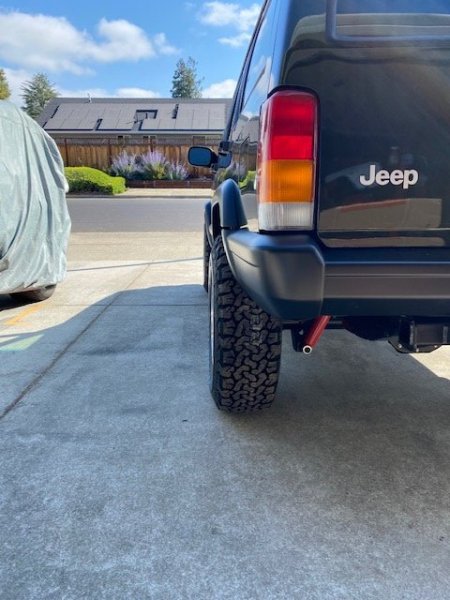
-
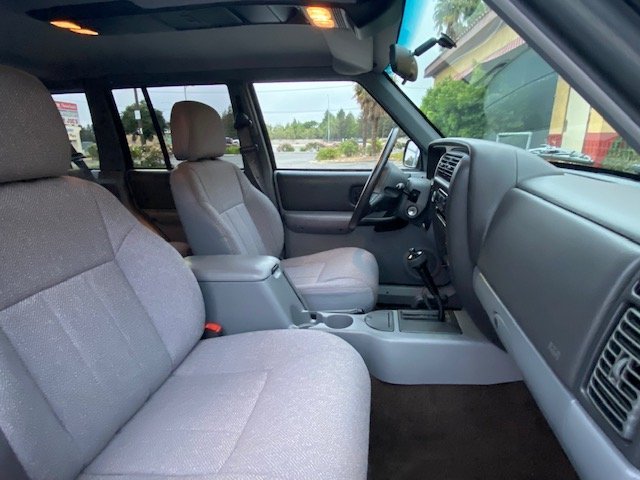
Getting close to wrapping up on this XJ... Need to finish placing all exterior trim, decals, and emblems. But here's how she stands currently. New BFG A/T's & Ravine's going on next. Interior is complete... Door panels installed.
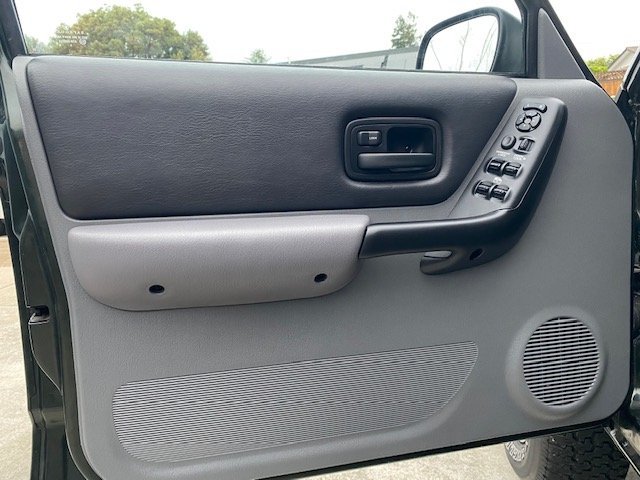
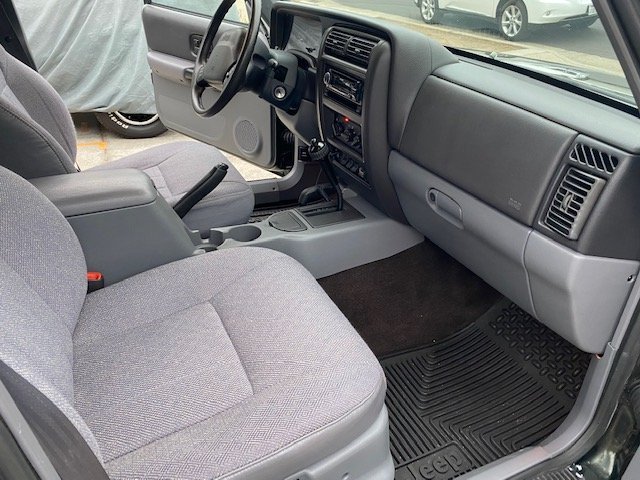
-
I installed new '95 XJ components many years back in my 92 MJ. Complete bolt-in and "benefit" of r134 (here in CA no options on that). No issues.
-
Found pics of what I’m talking about... Currently on eBay.


-
95 on the SE model only was that plastic gone. Sport and up still had the breakaway retaining clips through 96.
-
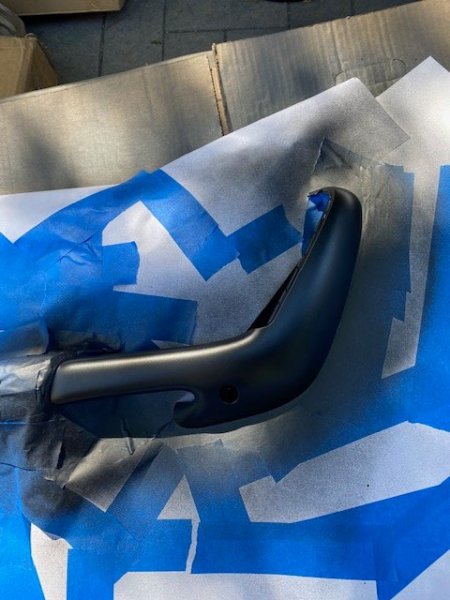
Mostly interior detail work this weekend -- refinished the front door panels. Lots of masking and patience. Since the power door locks died at some time during PO's time, manual flipping of the lock/unlock was necessity. Now that I have all accessories working like new, I decided to swap out both the driver and passenger side rocker switch for rear door units that show little to no sign of wear. Also was lucky enough to find a very low mileage XJ whose switch panel identification plates were in like new condition both driver and passenger side also. That was a fun one -- managing to not break the mine-field of plastic clips and rivets that hold the majority of it together. In the end both turned out great. (No idea why some of these photos show up up-side-down...tried endlessly to flip them right-side without luck.) Upcoming to do is AGAIN replace the new Bosch fuel pump/sender assembly. The check valve quit working with less than 500 miles on it. Insane. Off comes the skid plate, the receiver hitch, the tank straps, and all the other stuff that needs to come off to drop the tank yet again. Really disappointed with Bosch's build quality these days.
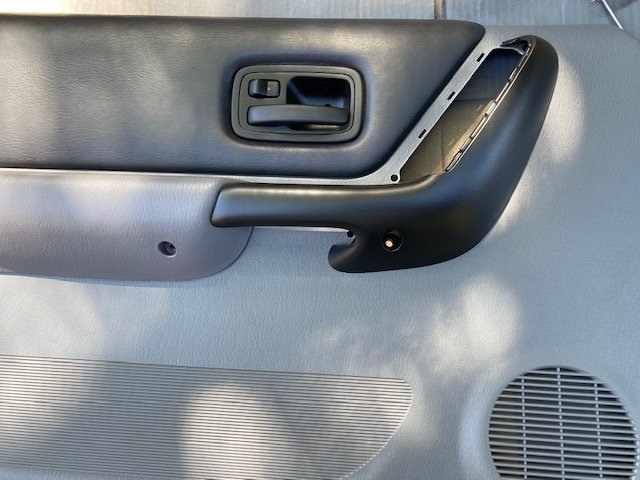
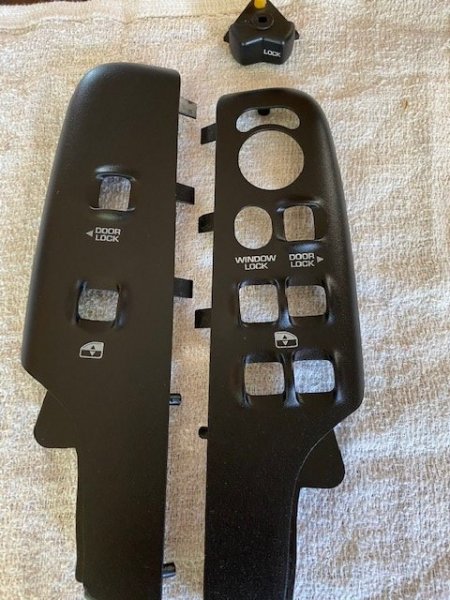
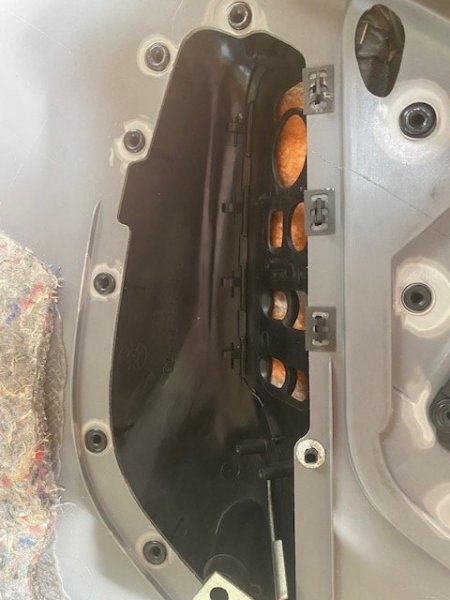
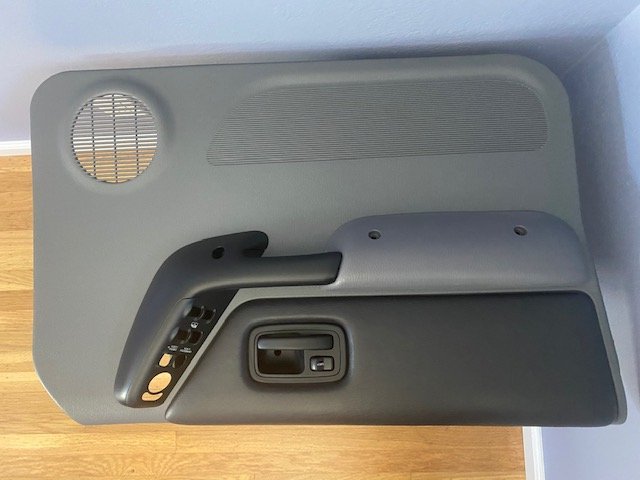
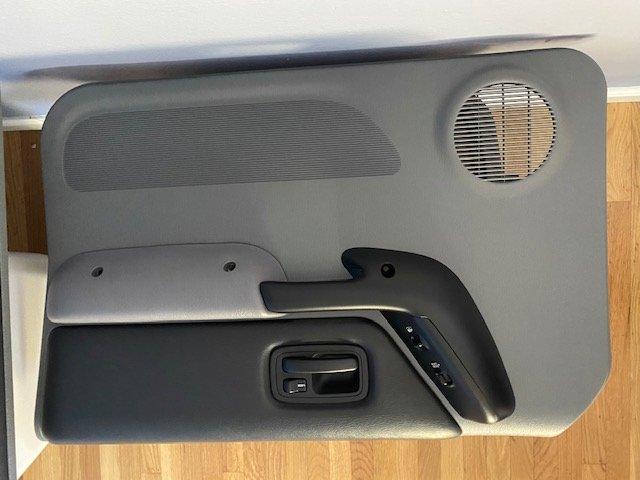
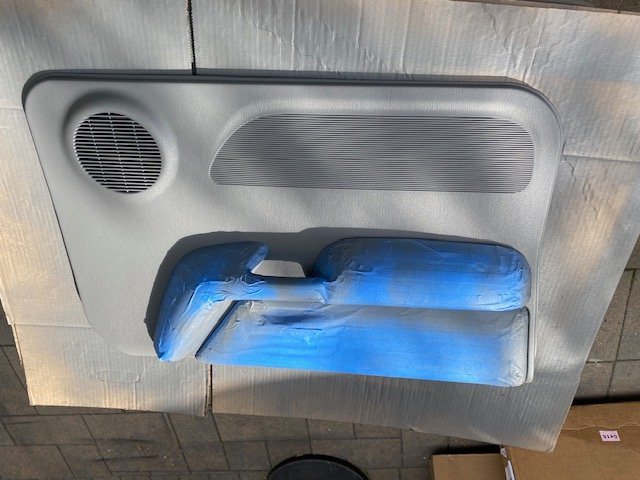
-
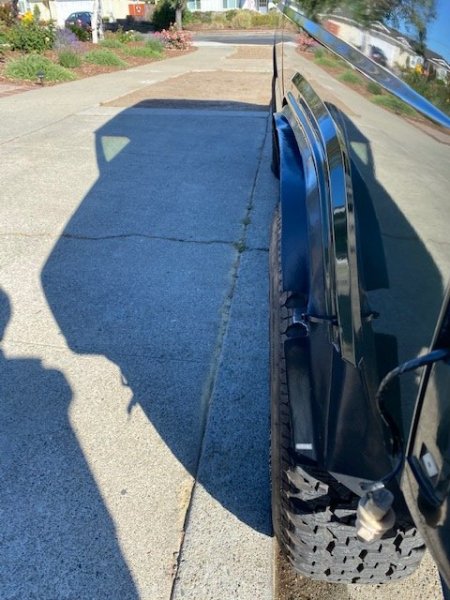
Though MJ's rear axle is significantly more recessed in the wheel-well than the XJ, the XJ is about 1" off both driver and passenger side at the rear axle versus the front. I just don't like how that looks, so tracked down some quality 1" wheel spacers that brought things back to visually good.
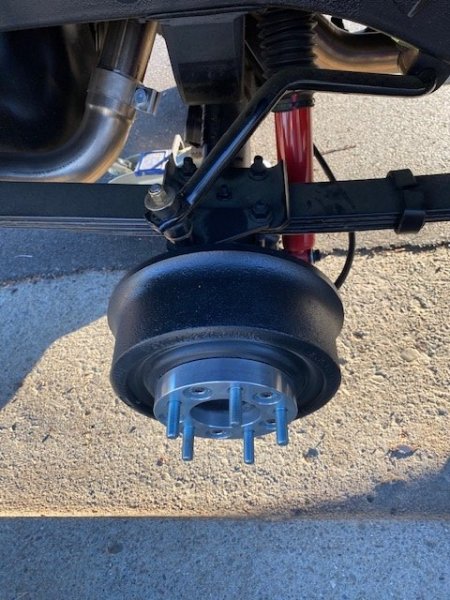
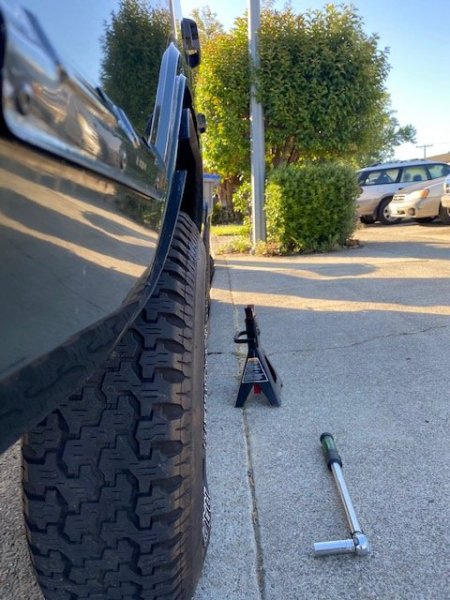
-
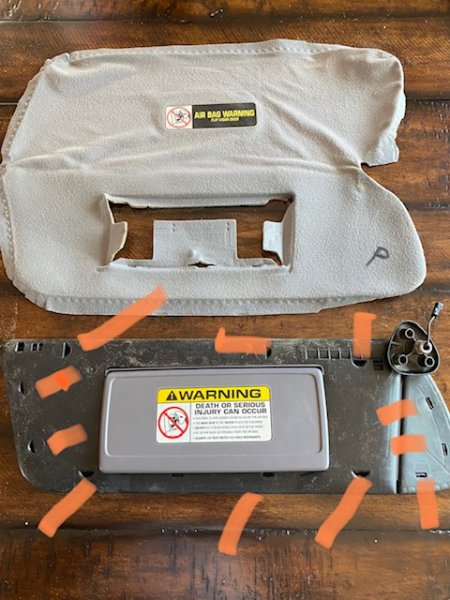
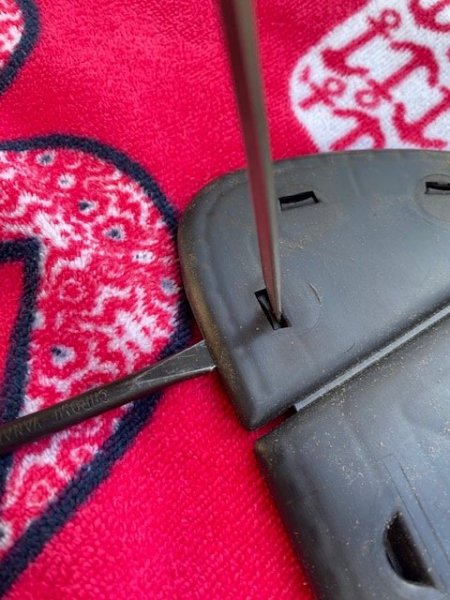
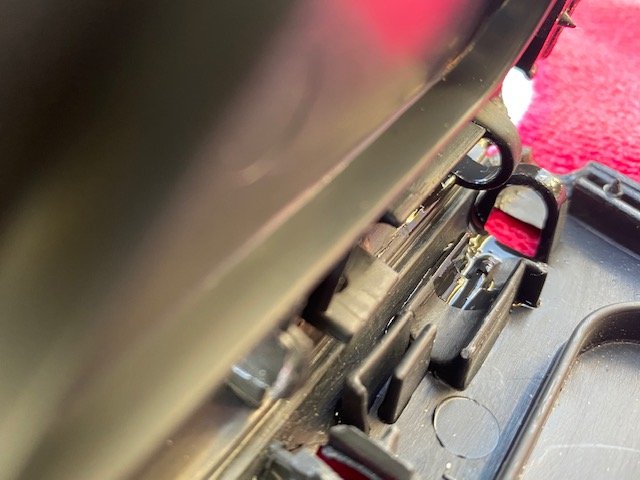
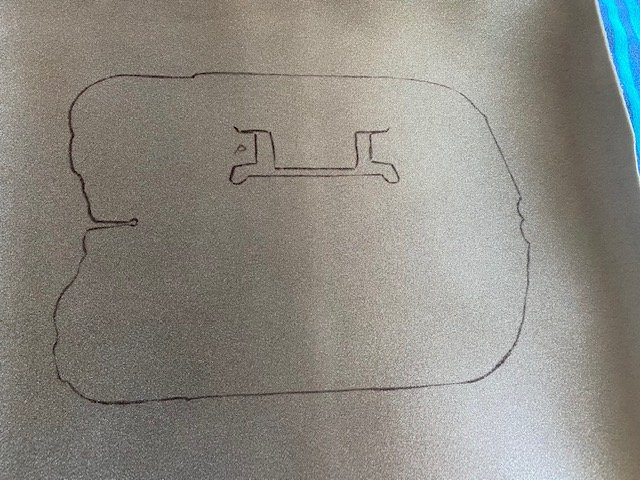
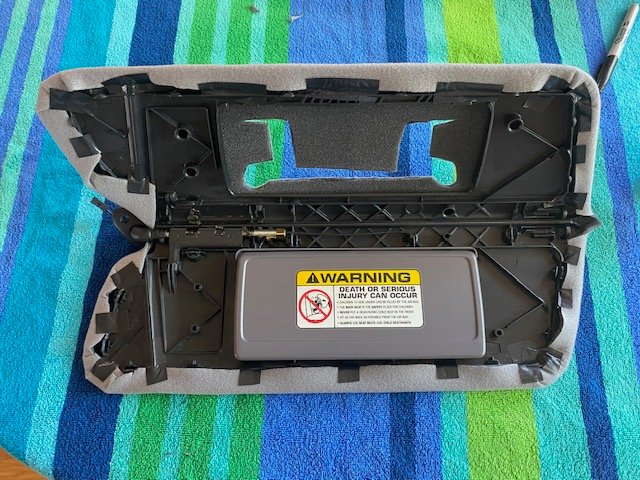
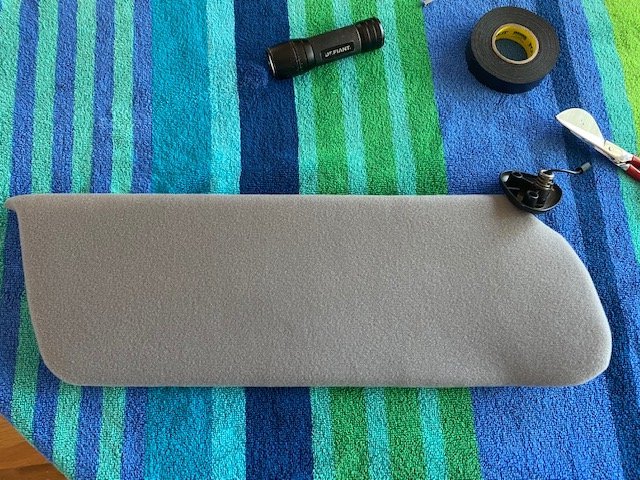
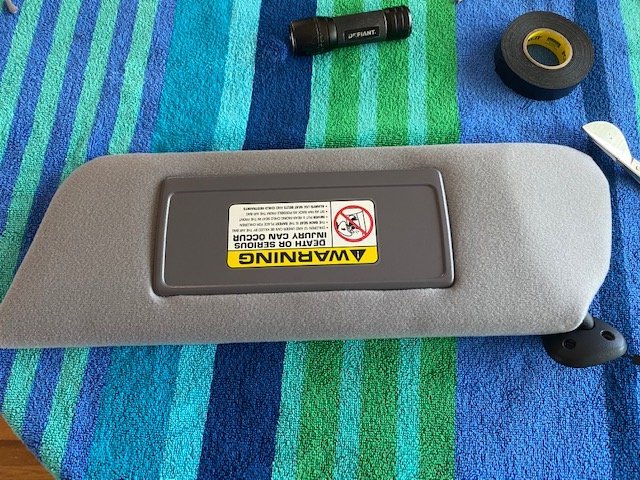
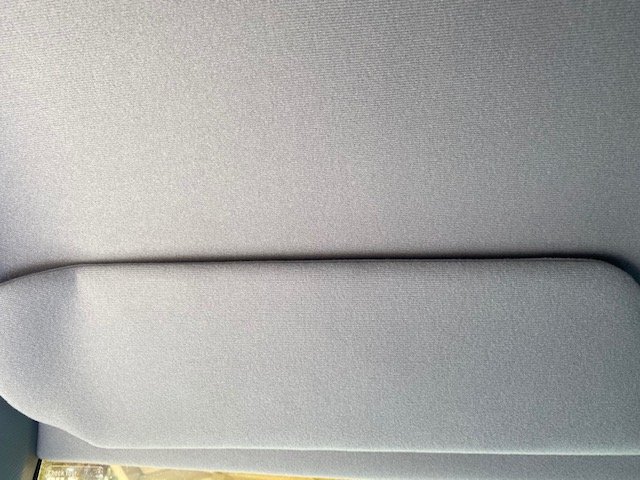
Life is good with the AC, as I replaced the condenser last weekend. Blowing cold now! As for the brake issue -- fixed as well... it was a mix of a bad master cylinder and incorrectly boxed booster. What I had bought was a '97-'01 XJ booster. What I had received was a 95/96 unit with the shorter rod. Replaced both the booster and master, bled and been driving around ever since. Always nice when you make it past frustrating set-backs. Back when I had my '97 XJ headliner and visors done by my upholstery guy, I watched and learned on the visor tricks and managed to pull off the recovering myself for this XJ. Here's a couple shots to show how I went through the process. I guess one of the most important things to note -- is you need to pull the visor clip peg BEFORE you unclip all else and try to open the split of the visor. Both are now installed and life is good. Onward to finish up the exterior!
-
87 Chief ? , 4x4, Agawam, MA - $5,500
Gjeep replied to NHMJXJ's topic in Craigslist/Marketplace/eBay... i.e. Not Your Stuff
Well, the decals are all wrong for a chief, but the black interior looks about right. From what I've gathered in person, the chief door panels (both MJ and XJ) had another stitch around the interior door panel release that made the panels truly Chief unique. I've pulled 3-4 black Chief door panels off XJ's; and 2 off MJ's -- and they all had this extra stitch. When I have a moment I'll snap a pic of what I'm talking about. Point is, this trucks door panels don't have this -- so either an interior paint of/ for power window/ door lock panels or not a true Chief. EDIT -- here's the pic. '87 Chief door panels power window/ door lock black in color. My vote is his panels are newer XJ for the power window/ locks.
-
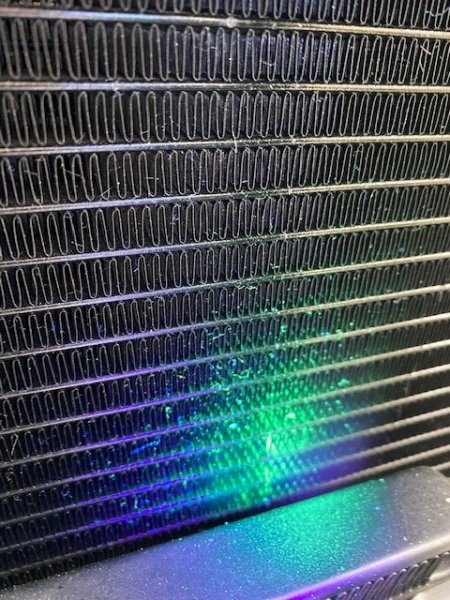
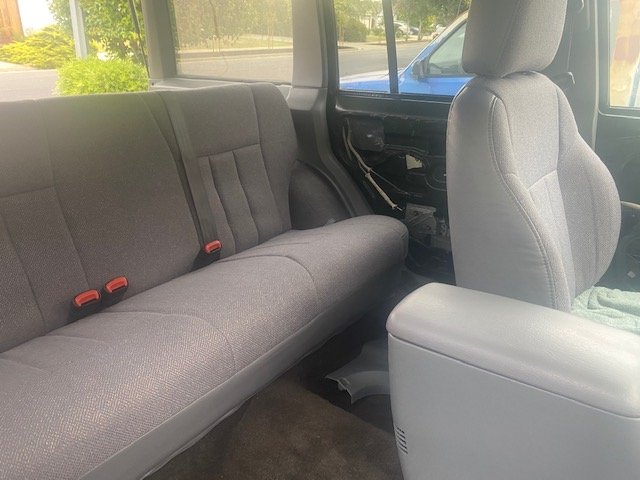
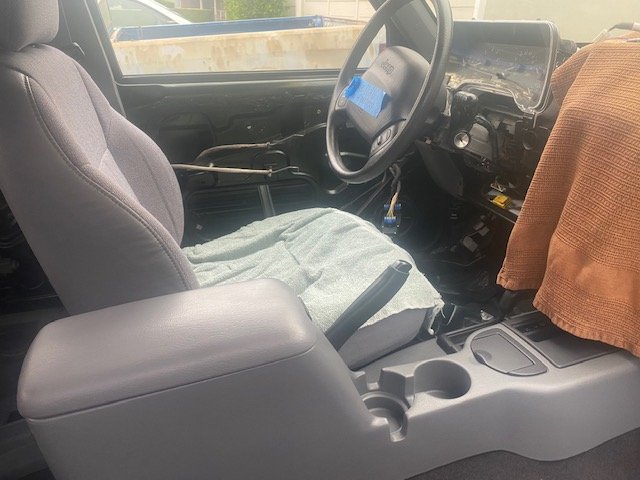
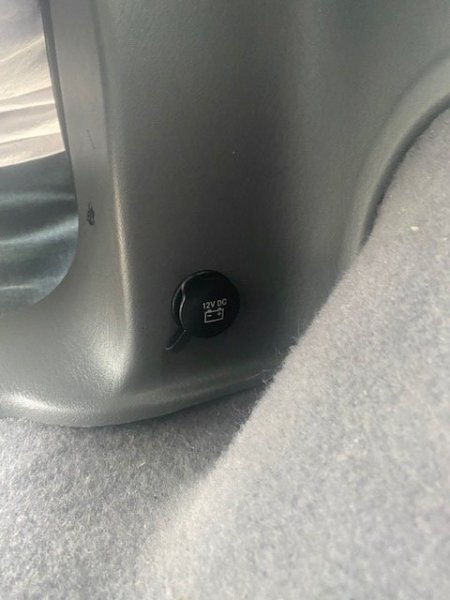
It’s been a while since I updated… still plugging away on Mossy. Bled the master and brakes and ended up with a braking issue. Fairly sure it’s the master so need to drain and swap that out. Bled it endlessly and no luck. Also, I charged the AC and it leaked – little pin hole in the new condenser up front. And that’s a fun one to deal with as it is connected/ bracketed to the radiator. Coolant in the radiator which makes it heavier/ hard to handle…and let’s not forget the battery that needs to come out, in addition to the trans lines attached to the radiator. I love messes on a Jeep that was damn near done… But to distract myself from all the fun re-doing of done stuff I started putting back the interior. Went with the same color carpet choice as my ’97 XJ. The contrasting to the mist gray interior looks much better than the overwhelmingly pale factory carpet color. ties in to the dashboard and door panel color contrasts agate to mist gray. Power seats tracks were swapped in and footwell lights that are attached to the underside as I did with the red ’97 XJ also. Also added a 12V outlet rear drivers corner of the cargo area. It’s coming together. Sloooowly.
-
You may want to take a look at the photo you posted... here's a snip of it. One of your 3 hub mounting bolts is loose. Backed out pretty good. I'd check all of them.