


ghetdjc320
-
Posts
5212 -
Joined
-
Last visited
-
Days Won
1
Content Type
Profiles
Forums
Gallery
Everything posted by ghetdjc320
-
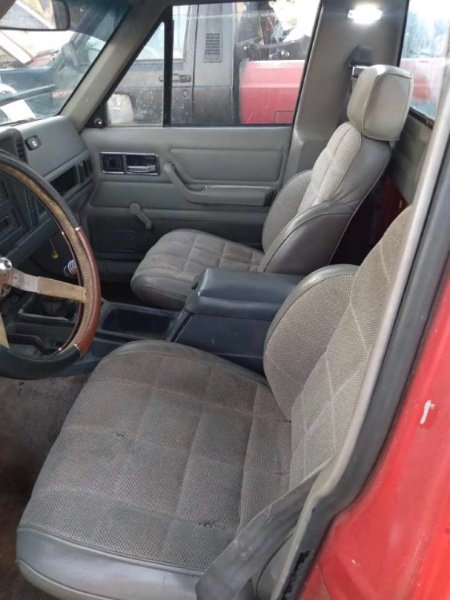
These are from my 90 eiminator
-

Project “Tomahawk”
ghetdjc320 replied to ghetdjc320's topic in MJ Hardcore Tech: Epic Journeys to Greatness
Interior: I have some of the hard to find NOS parts like the factory 2dr power switches and so forth but need to find some good black interior door panels, center console and dash. I much prefer the 97+ center console as long as I can build some sort of filler for the last section where it meets the dash. Also going to swap to the later style XJ glass to eliminate the fixed vent window. May just end up going with a 97+ interior swap but not sure yet. Also pretty set on some leather wrapped recaro adjustable cruiser style seats. Front and rear speakers will be 5.25 Morel components on a factory head unit with an Audio Control amp. May also go with some 6.5” subs in the doors or B pillars if I have time. I don’t really want anything intruding into what little cab space there is. Engine/Tranny: Russ Pottenger is quoting me a full stroker setup. Will update when I have that locked down. Will reuse my AX15 but replace the clutch with a Luk HD unit along with an external slave bellhousing setup. Axles, suspension, brakes: Plan on just a 2-3” lift using Acos and some ome coils. Will run the GS rear 4 or 5 leaf packs. Plan to reduce the factory rake but will still keep about an inch of forward rake. The Acos will help dial that in. The D30 front will likely remain by get an ARB and chromo axles from Revolution. Rear is TBD. Shooting for a 44 rear if I can sort out getting one shipped otherwise I may just go for another Super 35 as they have been incredibly tough little axles and I am keeping a close eye on weight for this build. Steering will likely be the Currie setup and planning on Savvy for the control arms (aluminum). Wheels/Tires Handling and performance are the top priorities of this build. I do intend to run occasionally as a weekend warrior but any hardcore wheeling capabilities will be secondary. -
Project “Tomahawk”
ghetdjc320 replied to ghetdjc320's topic in MJ Hardcore Tech: Epic Journeys to Greatness
How do you like the toolbox? It is currently an $800 option so I’m debating cost over functionality. Would you buy it again with or without box? -
Instrument cluster interchangeabilty
ghetdjc320 replied to EUREKA's topic in MJ Tech: Modification and Repairs
Yeah so, if all your looking for is a full cluster with the red accents, grab a full cluster from a late mode Renix. All you need to swap is your temp sender and possibly oil pres??? It’s a mechanical speedo -
Project “Tomahawk”
ghetdjc320 replied to ghetdjc320's topic in MJ Hardcore Tech: Epic Journeys to Greatness
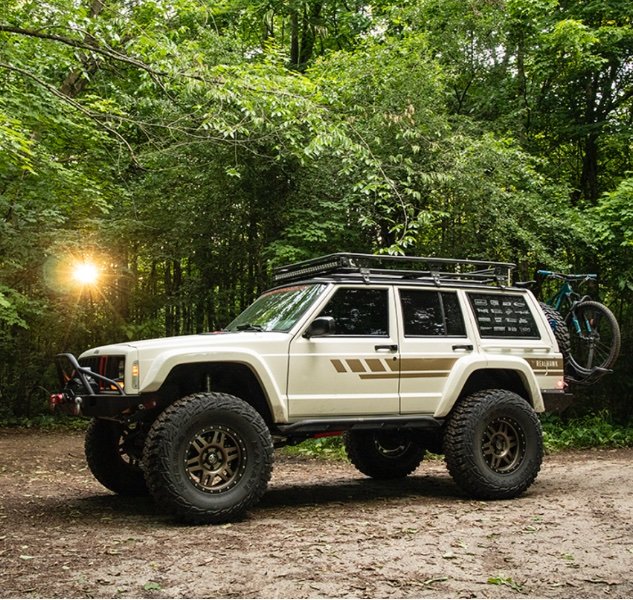
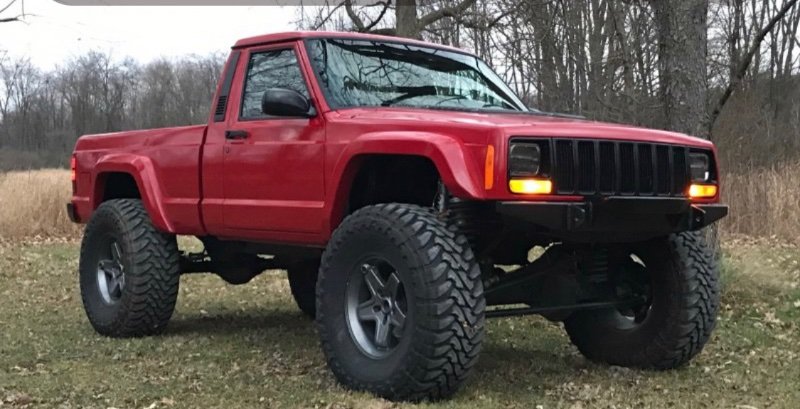
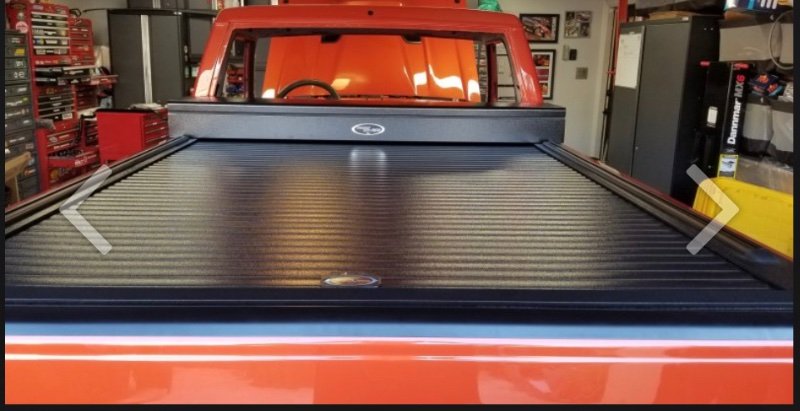
Gathering more inspiration. I do prefer the 97+ front end look. Been doing plenty of research on everyone else’s builds. Power, style and creature comforts are the theme here. Have drawn some inspiration from some of the following rigs. @Limeyjeeper now I absolutely must have the truck covers usa cover lol.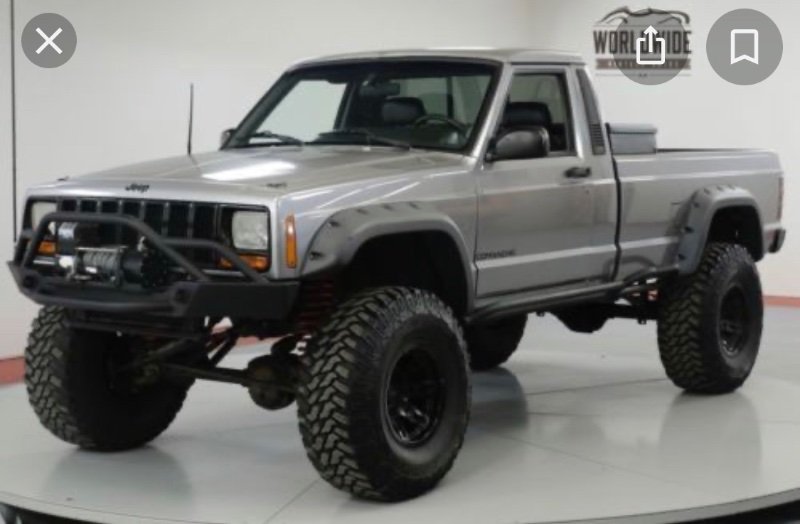
-
Instrument cluster interchangeabilty
ghetdjc320 replied to EUREKA's topic in MJ Tech: Modification and Repairs
On my 90 eliminator, I have the red face gauges from the factory. Why not just use that style cluster? -
Instrument cluster interchangeabilty
ghetdjc320 replied to EUREKA's topic in MJ Tech: Modification and Repairs
If you currently have the idiot light on a pre HO and would like to swap in an all electric dash, you will need to change out your temp sensor in the head to a gauge style unit. You’ll also need a vss or speed sensor in your tcase if 4wd or tranny if 2wd. Personally, i only use the 94+ vss with the short speed gears. You will need to feed it with between 5-8vdc though for the hall effect sensor to work. You’ll need to run a line to your new speedo from the vss to feed it the speed pulse signal. I believe the fuel sensor resistance changed as well on the HO models so there may be some issues there. -
In need of LP 44 master install assistance.
ghetdjc320 replied to Jesse J's topic in MJ Tech: Modification and Repairs
Take some pics along the way and let us know how it goes. -
In need of LP 44 master install assistance.
ghetdjc320 replied to Jesse J's topic in MJ Tech: Modification and Repairs
You shouldn’t have a crush sleeve on that waggy axle. Just shims. A crush sleeve is a substitute for shims on some axles for the pinion gear. Low pinion Dana 30’s had those. Iirc the waggy axle is just shims for the pinion depth and preload. -
In need of LP 44 master install assistance.
ghetdjc320 replied to Jesse J's topic in MJ Tech: Modification and Repairs
Why not just grab some shims from your local auto parts store? A master install kit should always come with shims. Sounds like they may have been missing. -
Let’s discuss taillights
ghetdjc320 replied to ghetdjc320's topic in MJ Tech: Modification and Repairs
Yeah, I suppose the key parts lenses are better than nothing but they did not build a complete product. It’s not like the lenses just screw in place. I also tried the heat method then tried soaking them in solution for about a week. Nothing broke that adhesive but soaking did make it better. Until new back housings can be had, soaking them with some mild dish soap and water is at least somewhat helpful. Make sure to fill the inside of the housings as well with the solution. Problem also is that most of the original stock housings are also damaged with broken tabs and cracks. 30+ yo plastic -
I have a set all cleaned up along with a set of new inserts. I’m out of town though for about 2 weeks. Shoot me a PM if you’re interested
-
Project “Tomahawk”
ghetdjc320 replied to ghetdjc320's topic in MJ Hardcore Tech: Epic Journeys to Greatness
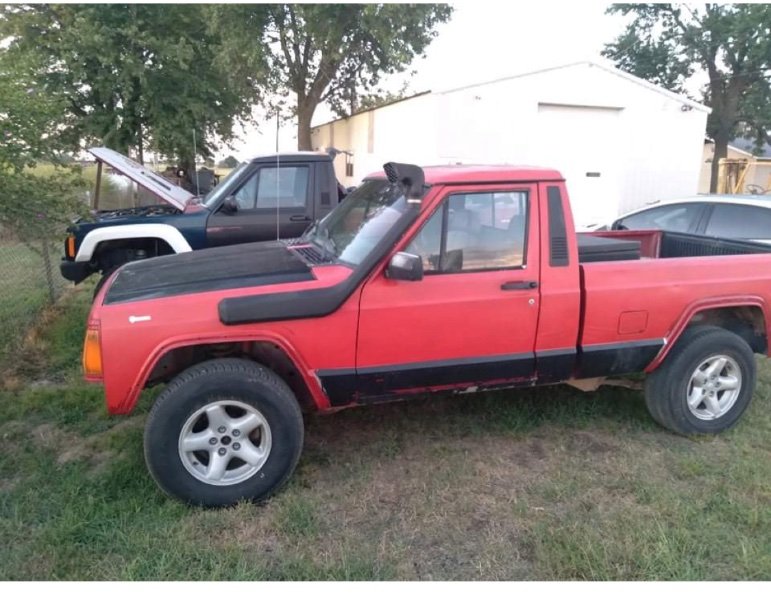
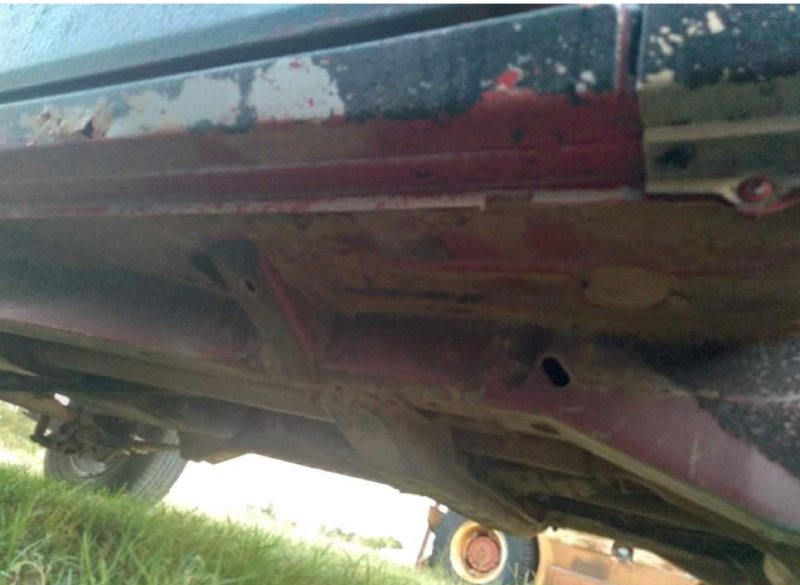
Here are some pics of the new eliminator as it currently sits. Obviously, I did not install the snorkel or apply the 2 tone spray paint lol. Had the carpet removed first thing to make sure no water was getting trapped under it. Currently sits at 90,000 all original miles. It’s nice to finally have another ax15 again also.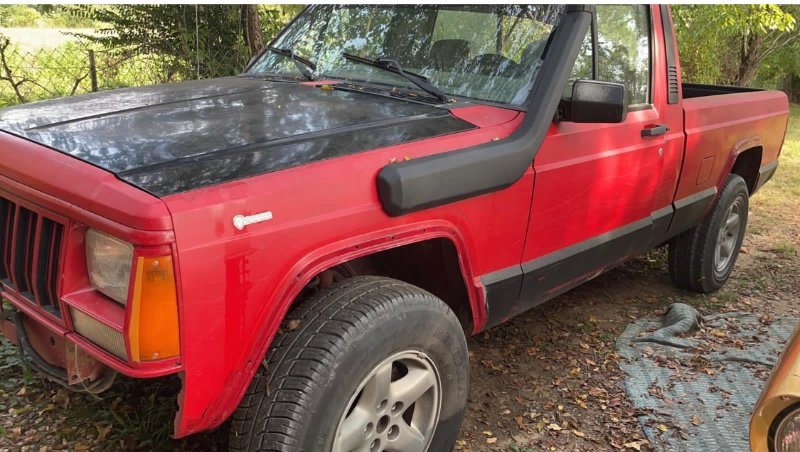
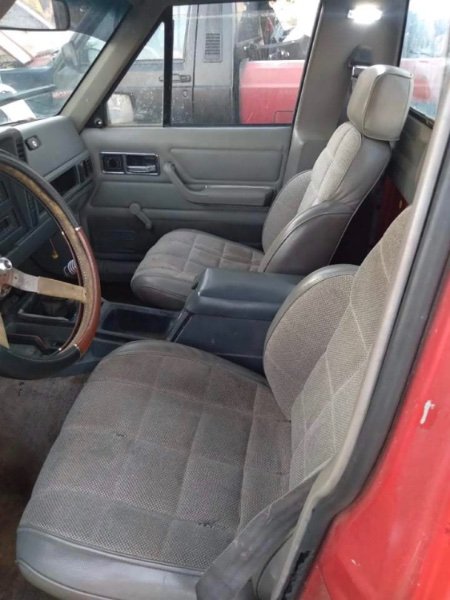
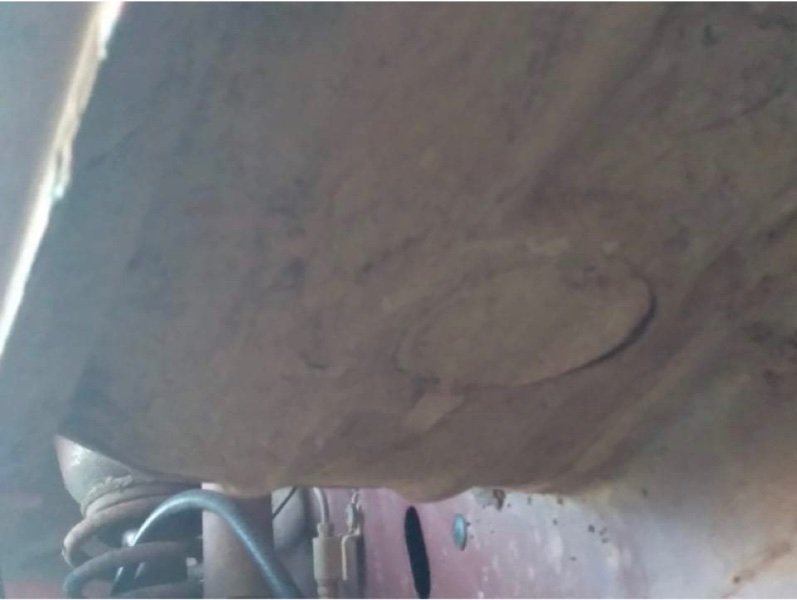
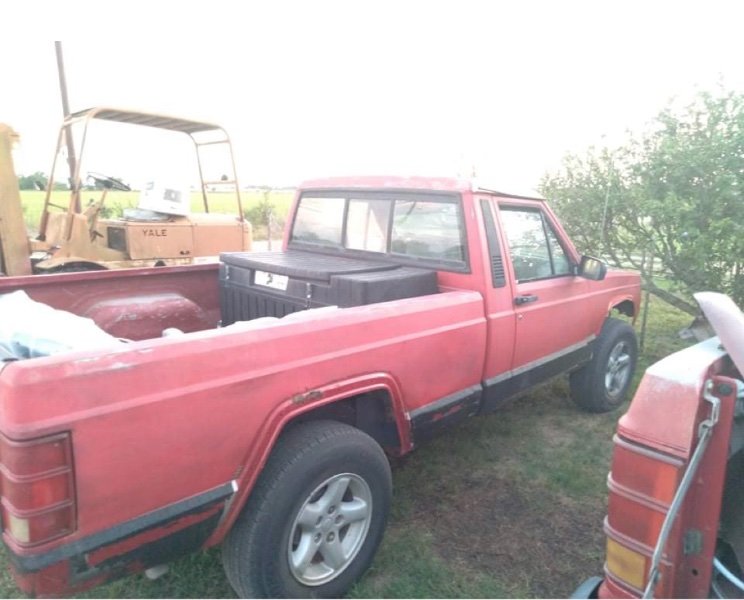
-
1991 Eliminator Resto-Mod
ghetdjc320 replied to ghetdjc320's topic in Member Projects: Your Comanches
Final pic as it drove out of the driveway today
-
Project “Tomahawk”
ghetdjc320 replied to ghetdjc320's topic in MJ Hardcore Tech: Epic Journeys to Greatness
So if you’ve seen my 91 build thread you may already know that I sold my 91 Eliminator today… surreal experience. So this build should be interesting. This rig is low original miles and has a nice solid an 99% rust free body. At this point all ideas are on the table. Going to need to set a budget and come up with some different concepts here. Everything from an LS3 to the stock Renix 4.0. Supercharger, strokers, 2.8 diesel. Parts availability may dictate where this goes to some degree. -
1991 Eliminator Resto-Mod
ghetdjc320 replied to ghetdjc320's topic in Member Projects: Your Comanches
The wheels are turning that’s for sure. Stay tuned, should be interesting -
1991 Eliminator Resto-Mod
ghetdjc320 replied to ghetdjc320's topic in Member Projects: Your Comanches
I’m pretty sure he will. He has a busy with a 92 here on island. It was originally sold here as well so I’d be very interested to see the vin registry on that one. -
1991 Eliminator Resto-Mod
ghetdjc320 replied to ghetdjc320's topic in Member Projects: Your Comanches
Well guys, that concludes this build. It was a great project that spanned 5 years and traveled the globe. My MJ sold today and will be remaining on Guam. The buyer is a diehard Jeep owner though and it will be greatly appreciated. -
Looks like your trying to get a kit that represents what you have. I’d recommend you jump on rock auto and grab a master install kit for your MJ D30 front and D44 rear. Revolution axle and gear is my personal favorite. You won’t get the appropriate oil slinger with that TJ kit.
-
Project “Tomahawk”
ghetdjc320 replied to ghetdjc320's topic in MJ Hardcore Tech: Epic Journeys to Greatness
Going with a Boostwerks unit -
Project “Tomahawk”
ghetdjc320 replied to ghetdjc320's topic in MJ Hardcore Tech: Epic Journeys to Greatness
Well, this build will be moving forward shortly! Decided to make this one a restoration piece with only a few modern improvements but keeping it all stock. My 91 will remain the mod machine. I’ve been collecting used and nos parts for this new machine. The list is getting good and should make for a nice restoration. I may build the “beach cruiser” from the MJ dealer brochure. Should be getting started in a few weeks. Hope to complete before the end of summer. Also will need to find a swb roll bar and the appropriate lights. The louvers would be nice too. I have a set of oem front fogs. Will do the hidden winch just like the picture and throw in an ARB compressor in to complete and on board air system like the package says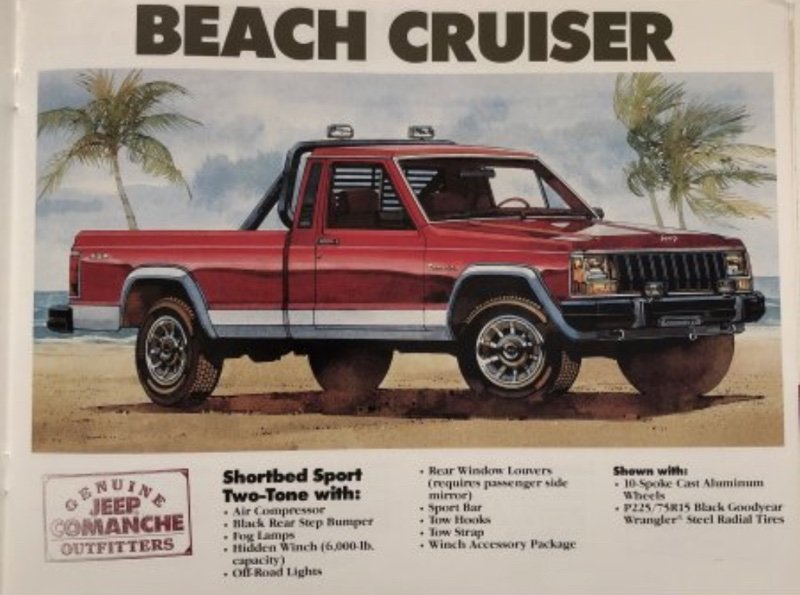
-
91 HO Shut Off While Driving
ghetdjc320 replied to kryptronic's topic in MJ Tech: Modification and Repairs
Great to hear! Hopefully that was the culprit but if not, the list gets smaller and smaller from there. -
Parking brake pedal issue
ghetdjc320 replied to Cali Steve's topic in MJ Tech: Modification and Repairs
I’ve found 3 problem spots on the e brake assembly that causes them to pop loose. 1. The rivet near the latch mechanism keeps the teeth centered on the catch lever. Often times that rivet does not sandwich the the teeth and allows the catch lever to only contact one side of the teeth. 2. The teeth on the pedal assembly cam and the catch/release lever get rounded off due to poor engagement. 3. The spring tension is insufficient to hold the cam in place. The spring should be swapped with a stronger unit but only after you check the above. The main center rivet that holds the brake cam to the plate can loosen somewhat over time and allow for play from side to side but I haven’t seen that actually be the root cause of the popping loose. -
HVAC Control Panels, Finally!
ghetdjc320 replied to ghetdjc320's topic in Vendors- members making products for MJs
Just a quick update: I’m moving back stateside end of this month so all orders will be on hold for a bit until I get setup there. Good news is shipping times will be quicker . If you have already sent me a pane please forward the tracking number immediately. If you haven’t sent it yet, please hold off for a bit or send to the new address which I can provide in a PM. thank you -
Jeep comanche trailer wiring harnesses
ghetdjc320 replied to 88mjsally's topic in Vendors- members making products for MJs
That is super helpful, thanks! I’ll check into that option