


ghetdjc320
-
Posts
5079 -
Joined
-
Last visited
-
Days Won
1
Content Type
Profiles
Forums
Gallery
Everything posted by ghetdjc320
-
If your referring to the idle air control valve, that’s a stepper motor and is not adjustable. It’s simply a way for the ecu to bump up the rpms as needed. No if the iacv is not seated properly or is not closing then that could be an issue. The set screw for the butterfly adjustment should normally never be touched. It does set minimum idle though.
-

Crewmanchie builds all of them... so far?
ghetdjc320 replied to ComancheCrewCab's topic in MJ Tech: Modification and Repairs
Wonder if those are metal flares. If those are the bushwacker xj ones in the rear then that’s the cleanest install I’ve seen. Also interesting fuel door location. Wonder if the tank is in the spare tire location. -
anyone make a relay pack for the hvac/blower yet?
ghetdjc320 replied to Pete M's topic in MJ Tech: Modification and Repairs
Is this more of a Renix issue? Never seen this on the HO’s. -
Keep in mind that these were made on the cheap side AND had some advanced tech for the time. Makes for a weird combo that can be a pain to work on. For anything rust or body work related you can expect pinch seams, seam sealer, spot welds and somewhat poorly thought out designs when it comes to water retention. There are also many places where water leaks can form and is a constant battle for some. Mechanical issues aren’t normally too bad but can be a pain if your unfamiliar with efi troubleshooting. Many people take a shotgun approach when it comes to repairs and the bills can spiral out of control. All the above is just to get and keep the truck running and looking good not to say anything regarding modding. Whatever you plan on doing to your MJ plan on it costing at least double what you think it should.
-
When you mentioned you upgraded the intake, I’m assuming you did the 99+ intake which also would require the ps pump. What gasket did you use for the manifold to head? I’d double check for vacuum leaks around the gasket and make sure all your vacuum ports are connected or plugged. Did you use the new throttle body or your old 91 one?
-
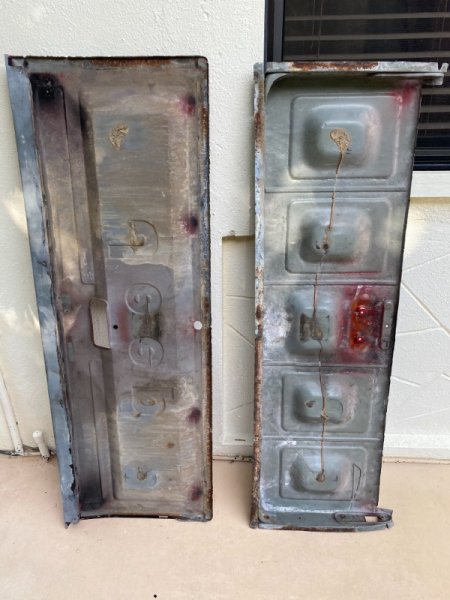
Tailgate Straightening
ghetdjc320 replied to ghetdjc320's topic in MJ Tech: DIY Projects and Write-Ups
I’m thinking I may just polish out the JEEP lettering and clear coat it. Either that or paint it in. Kind of tired of getting vinyl decals for those letters. Never been a big fan of stickers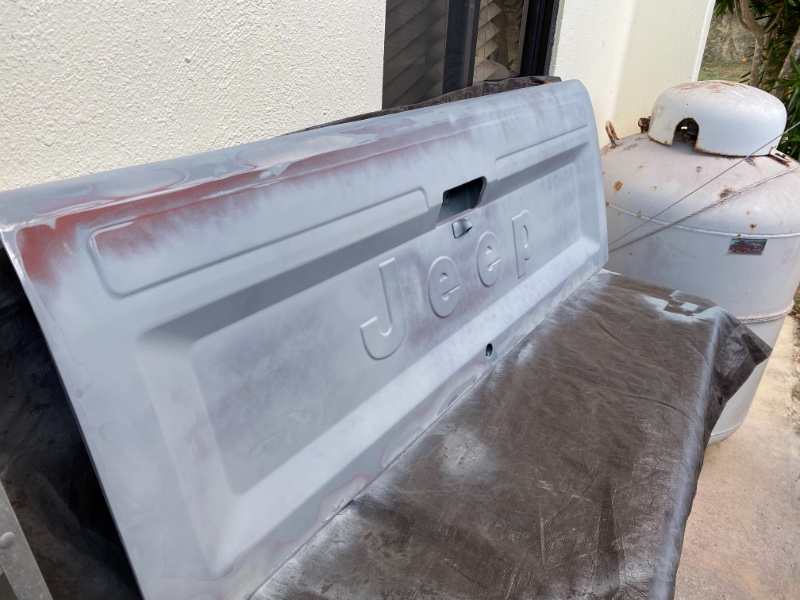
-
Tailgate Straightening
ghetdjc320 replied to ghetdjc320's topic in MJ Tech: DIY Projects and Write-Ups
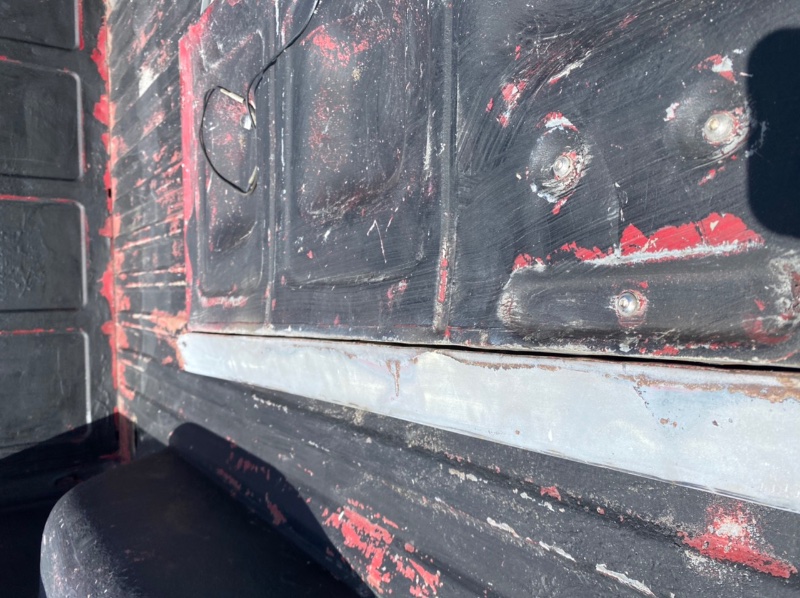
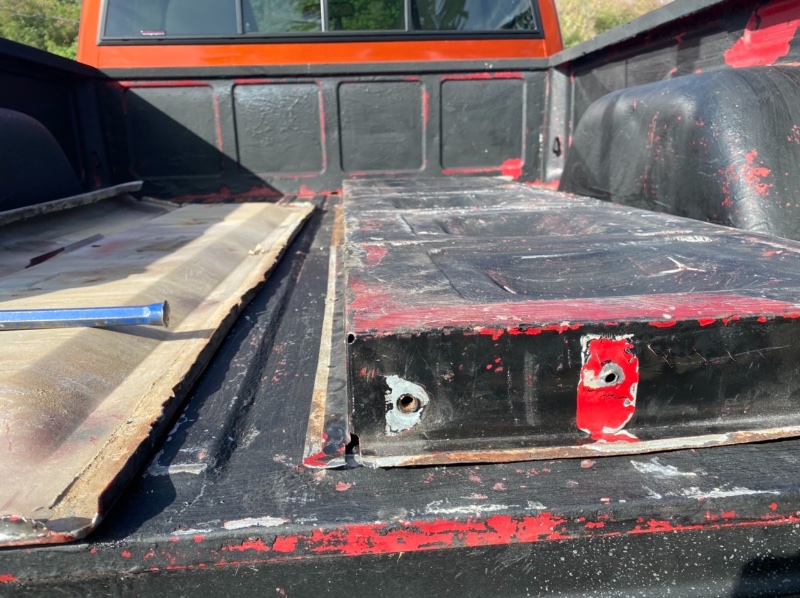
Ok I’ll give it a go in a week or so. Just did about 90% of the body work on it today. Lots of unnecessary filler over the years. I don’t know what this black crap is on the inside of the bed and tailgate. Looks like it was brushed on and is the same stuff that was on the outside when I bought the truck. I’m thinking it may be por15 or similar. It sticks increasingly well and stripped will not bubble it up. On the body, I blasted it all off with soda. -
1991 Eliminator Resto-Mod
ghetdjc320 replied to ghetdjc320's topic in Member Projects: Your Comanches
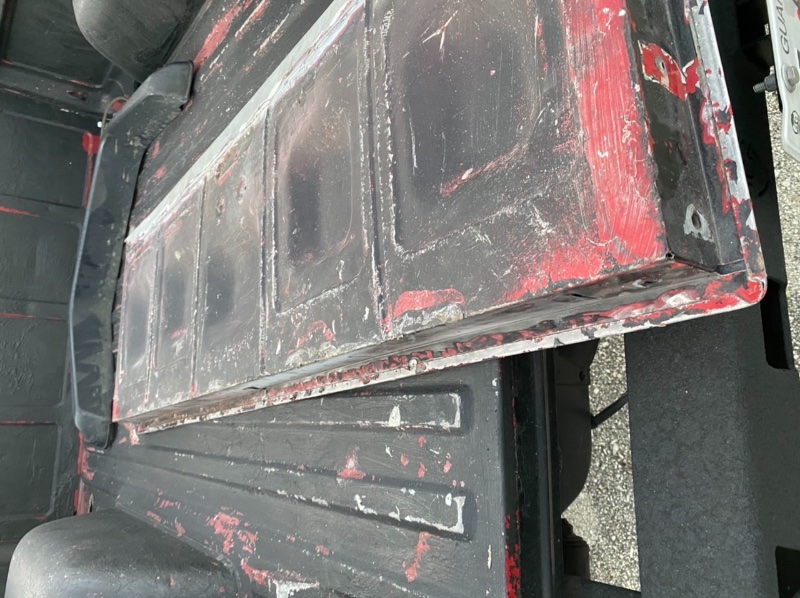
Yep, I put most of the info on the thread in the mod section. I used ultra black rtv to keep the panels from vibrating and provide some adhesion. It’s always nice to know it’s back together right and won’t rust anytime soon. Pretty stoked to have a super straight tailgate too -
Tailgate Straightening
ghetdjc320 replied to ghetdjc320's topic in MJ Tech: DIY Projects and Write-Ups
Let me know if anyone needs a write up or more info on this -
Just lookup H4 headlight relay harness on summit. Tons of them
-
1991 Eliminator Resto-Mod
ghetdjc320 replied to ghetdjc320's topic in Member Projects: Your Comanches
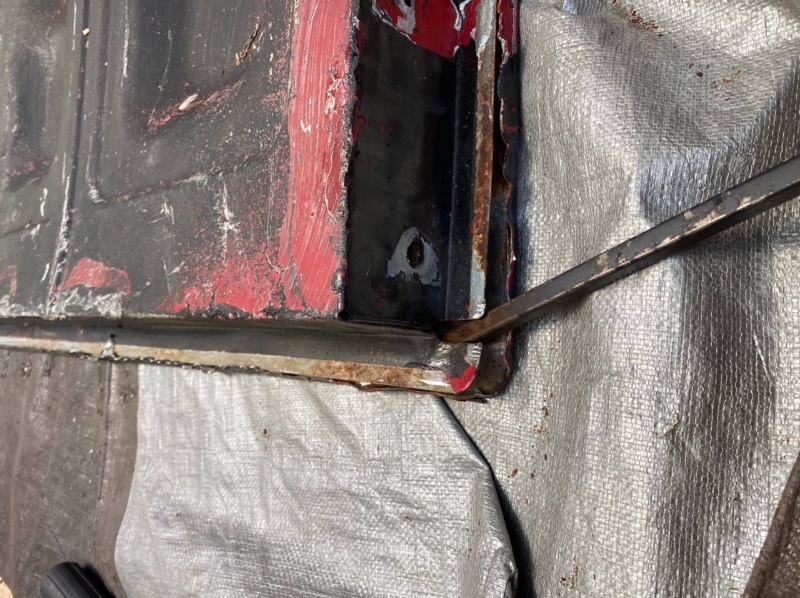
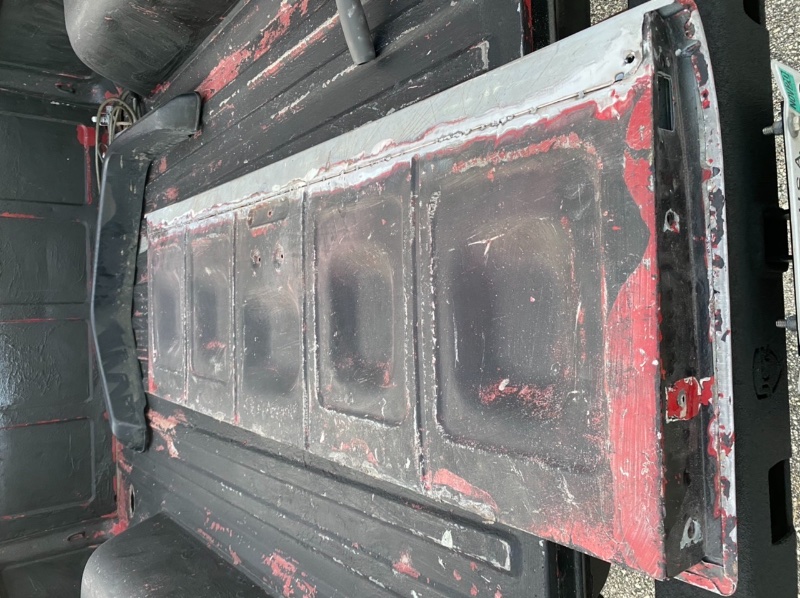
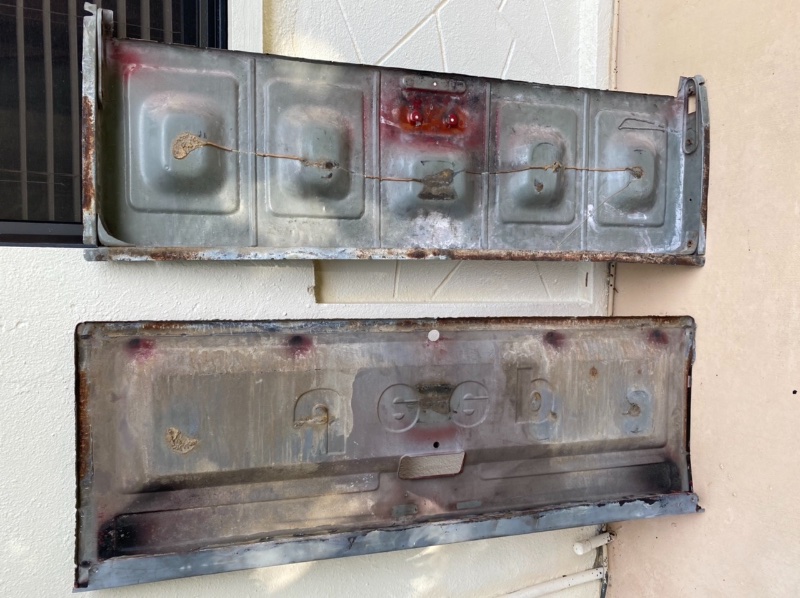
Rebuilt the tailgate today. Separated the inner and outer shells and straightened it all out. Also stitch welded the inner upper joint to for more strength. Will to prep and finish over the weekend.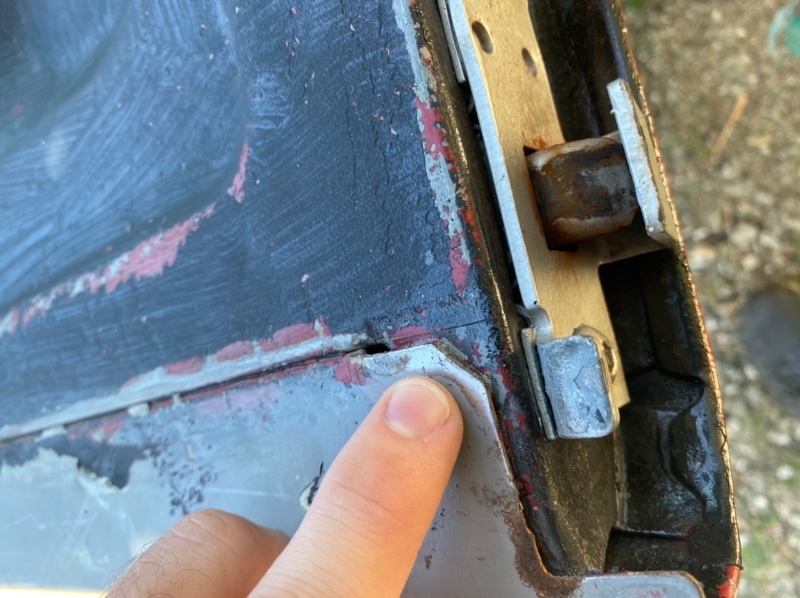

-
1991 Eliminator Resto-Mod
ghetdjc320 replied to ghetdjc320's topic in Member Projects: Your Comanches
Agreed. I saw a Tacoma here with painted flares that are a similar style to the Napier’s and I wasn’t to keen on them. I’ll consider the Notch ones but for now will leave my Napier’s in the original finish. -
Tailgate Straightening
ghetdjc320 replied to ghetdjc320's topic in MJ Tech: DIY Projects and Write-Ups
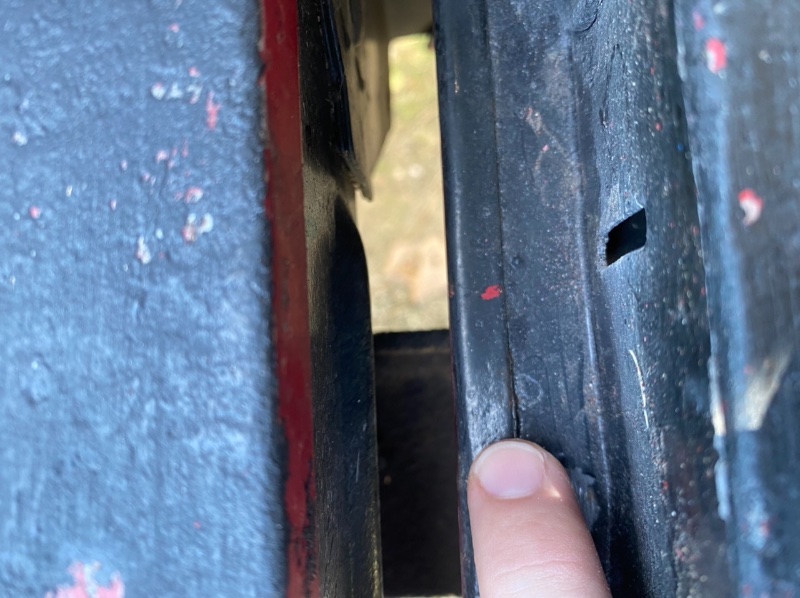
Forgot to mention, I used ultra black rtv on all the points where the to inner panels touch. Since factory rah used some sealer/glue there, I assuming it’s probably for rattles. I’m also going to seam seal that upper lip joint that is stitch welded. -
Tailgate Straightening
ghetdjc320 replied to ghetdjc320's topic in MJ Tech: DIY Projects and Write-Ups
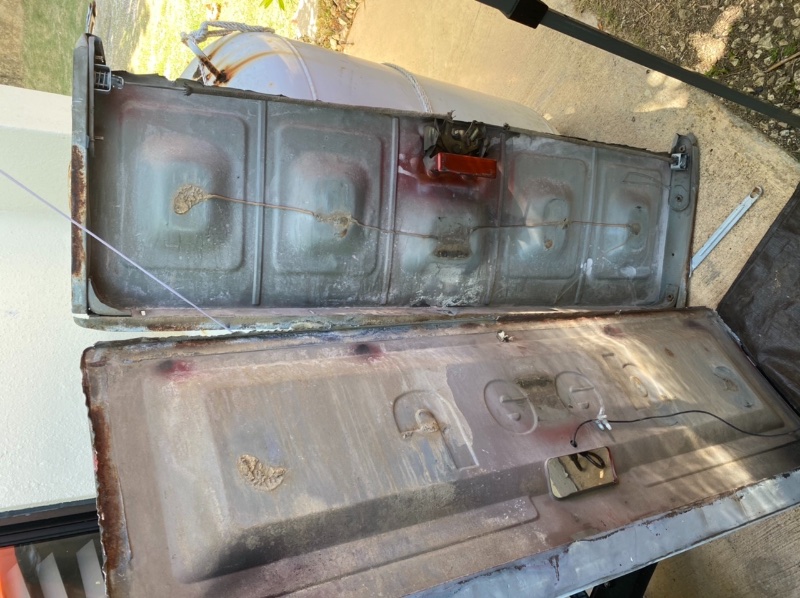
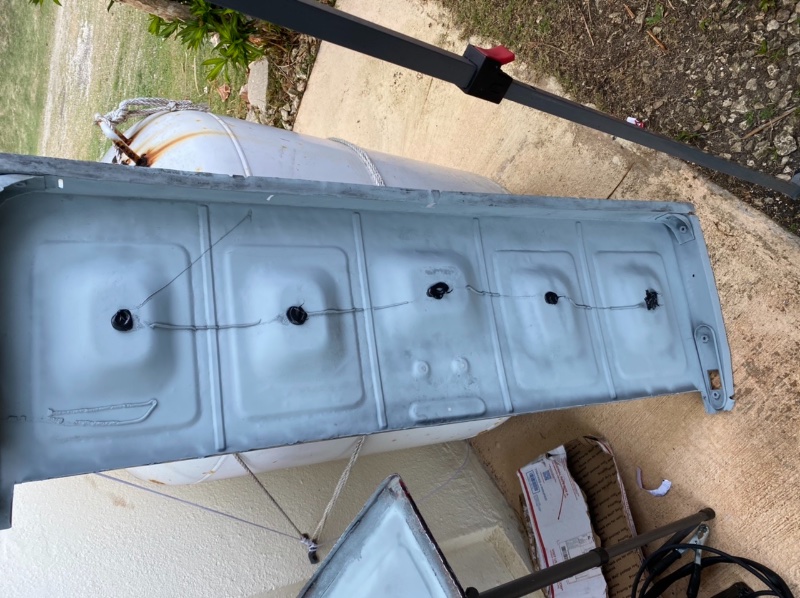
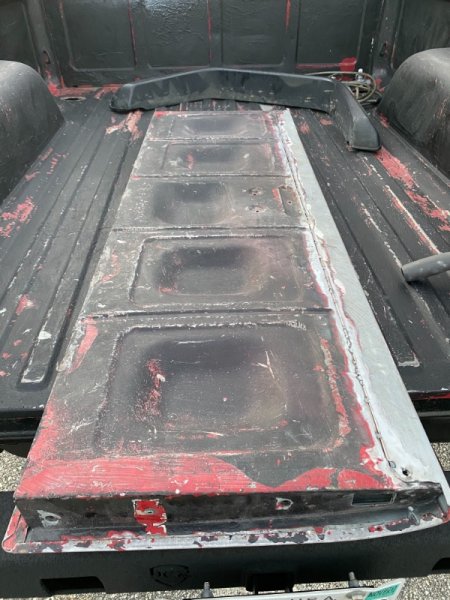
Well that took about 5 hours total but the inside shell is straight as an arrow. Very pleased with the results and I know now there won’t be any more rust inside for the foreseeable future. I also stitch welded the ends of the panels for a sturdier unit. Granted, I’m not going to get it apart again anytime soon. The inner shell is ready for finish prep and the outer shell will get a good bit of body work. I discovered several dent about 1/2” deep that I worked out with the hammer and dolly. They were filled with body filler so I’ll have to sand that all out and give it a good refinishing. Feels good to do this kind of work yourself . Body shops never take the time... Onto the bedliner and refinishing the passenger bedside panel.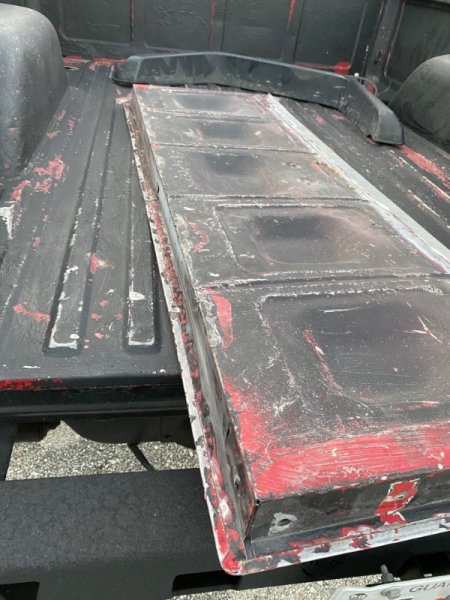
-
Tailgate Straightening
ghetdjc320 replied to ghetdjc320's topic in MJ Tech: DIY Projects and Write-Ups
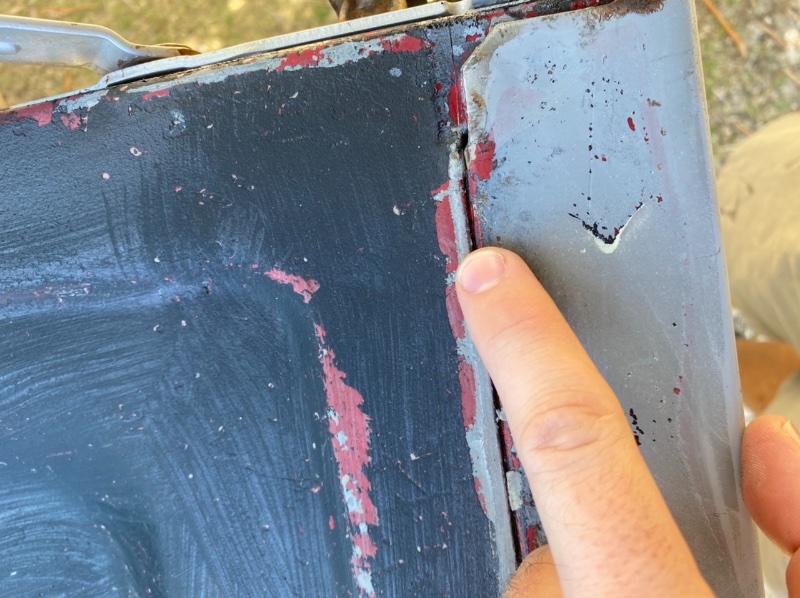
Straightened them using hammers, heavy chisels, patience and a parking lot. Just too loud to be hammering sheet metal next to the house. Really happy with the way it came out. Just cleaned the insides of the shells. Will clean up the flanges for welding with a flap disk and will also coat the insides with cold galvanizing compound. That stuffs is a zinc coating that is great for touching up galvanized parts.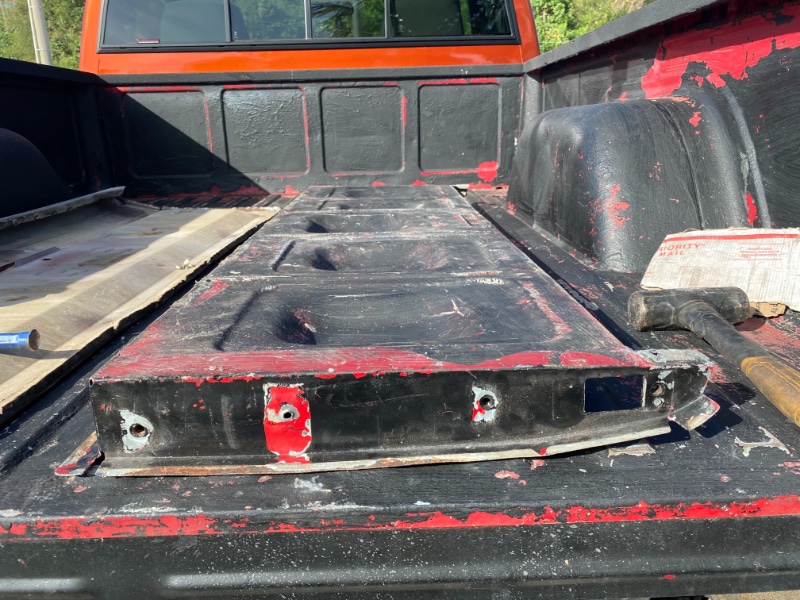
-
Tailgate Straightening
ghetdjc320 replied to ghetdjc320's topic in MJ Tech: DIY Projects and Write-Ups
Yep, it looks and feels like seam sealer. Probably the same stuff the used for the rest of the truck. It’s also apparently galvanized -
Tailgate Straightening
ghetdjc320 replied to ghetdjc320's topic in MJ Tech: DIY Projects and Write-Ups
The goal is to get it straight. It won’t have every little wrinkle gone but it will be straight and rust free. If I had a few dollys lying around I would use them but my dollies consist of several pieces of scrap metal. -
Tailgate Straightening
ghetdjc320 replied to ghetdjc320's topic in MJ Tech: DIY Projects and Write-Ups
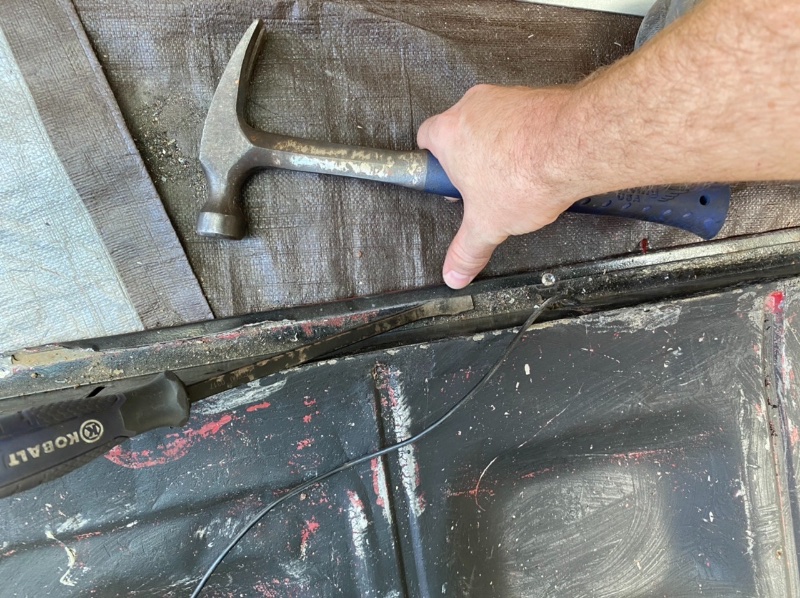
Before anyone “hammers” me about how straight I get it, here is my workspace and tools lol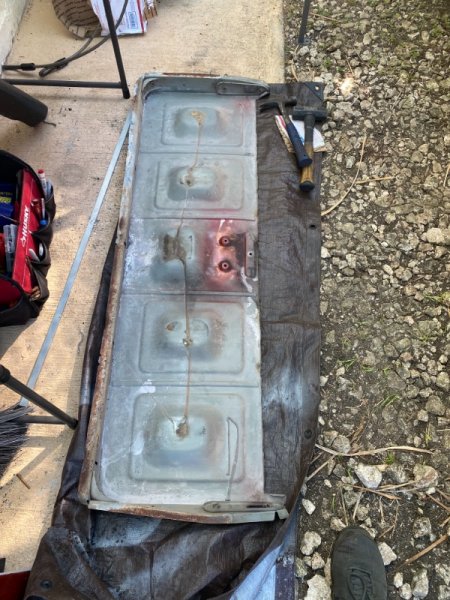
-
Tailgate Straightening
ghetdjc320 replied to ghetdjc320's topic in MJ Tech: DIY Projects and Write-Ups
Anyone want any detailed pics while it’s apart? Took about an hour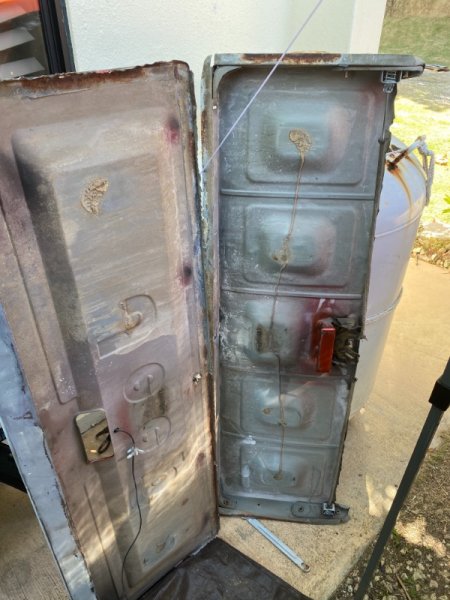
-
Tailgate Straightening
ghetdjc320 replied to ghetdjc320's topic in MJ Tech: DIY Projects and Write-Ups
I’m going to give it a go by separating the shells. I may use heat to tweak the metal a bit later but I prefer to do as much cold work as possible. Trying to keep away from welding more than just a few spot welds also -
1991 Eliminator Resto-Mod
ghetdjc320 replied to ghetdjc320's topic in Member Projects: Your Comanches
Yeah, Napier includes instruction on painting their flares. Notch are fiberglass -
1991 Eliminator Resto-Mod
ghetdjc320 replied to ghetdjc320's topic in Member Projects: Your Comanches
Any input for anyone regarding painting the Napier flares body color? Trying to visualize how they would look in the cinnabar orange. May switch to some notch flares instead. Lots of brainstorming in progress. -
1991 Eliminator Resto-Mod
ghetdjc320 replied to ghetdjc320's topic in Member Projects: Your Comanches
Took a lot of patient clean up work to get that clear out of those corners. A dremel, rubbing compound, razor blade, reducer and fine sand papers finally got it all cleaned up. Will hit it with a bit of 400 and work up to 1500 before the respray. I think it should come out good. The drivers side is not bad. A bit thick on the clear but no cracking or pooling. That side will get a good sanding and polish. -
Tailgate Straightening
ghetdjc320 replied to ghetdjc320's topic in MJ Tech: DIY Projects and Write-Ups
Well, I’m no blacksmith but I know I can get it better than it is by a long shot. The metal hasn’t been heater so any stretch is marginal. It mostly just bends and dings. And only on the inside of the gate. I’d probably trade for some nice parts or pay if they’d be willing to let a NOS tailgate go. Shipping it here would be relatively easy. -
Tailgate Straightening
ghetdjc320 replied to ghetdjc320's topic in MJ Tech: DIY Projects and Write-Ups
Yep I’ll take plenty of pics. I have found (2) spot welds on the upper inner corners and about 6 spot weld on the bottom inner. Haven’t found any on the sides yet. I could always cut at the lip but I’m going to try to drill out those welds first.