


ghetdjc320
-
Posts
5079 -
Joined
-
Last visited
-
Days Won
1
Content Type
Profiles
Forums
Gallery
Everything posted by ghetdjc320
-
Doesn’t stick well to galvanized steel plus it’s tough to repair. It will still just rust underneath the liner. Gold galvanizing compound is what I use for touch ups and it really does hold up to the salt very well. But yeah, it would be cool if it matched. Maybe a matching tool box for it.
-

How to get this screw out
ghetdjc320 replied to Jesse J's topic in MJ Tech: Modification and Repairs
Ok, in all seriousness. Get a hammer and chisel or something equivalent and tap the screw so it is angled up then get a good #2 Phillips screw driver on it and turn is counterclockwise. If the screw head drops down again just tap it back up. Needle nose vice grips would also have it out in a few seconds (not by yanking it out but by turning it out). This thread will never die as long as that screw persists so let’s put it out of its misery. -
That would be cool but I can’t do much paint wise with a trailer that is metal and get submerged in salt water. Rust is such a constant battle
-
How to get this screw out
ghetdjc320 replied to Jesse J's topic in MJ Tech: Modification and Repairs
That will involve more screws lol -

-
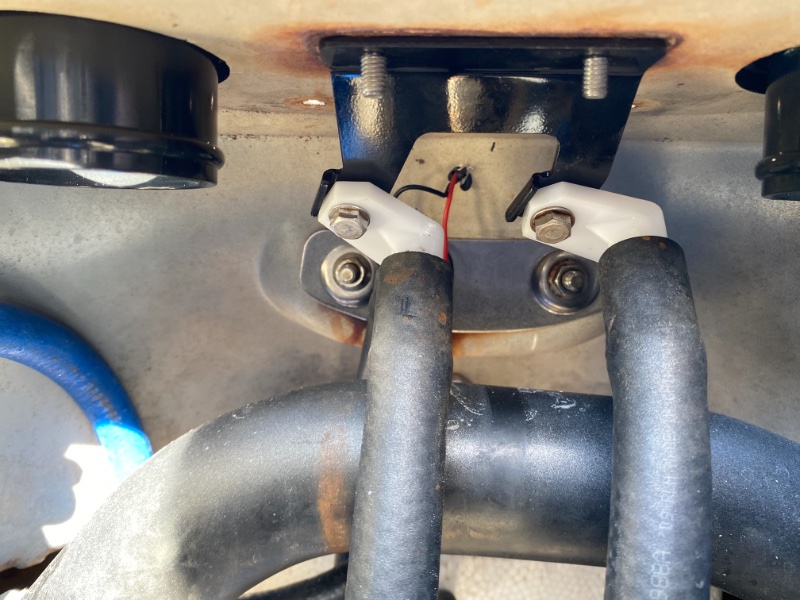
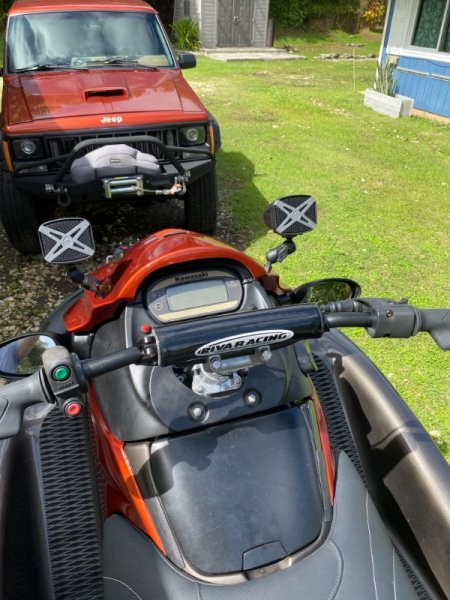
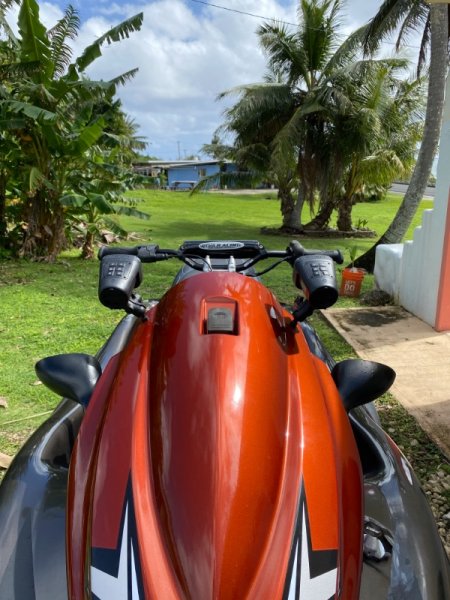
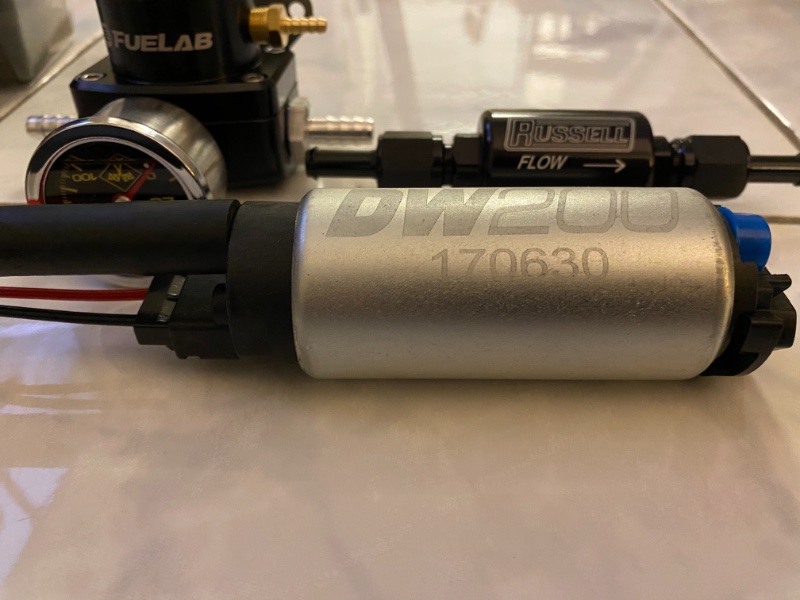
Few more mods done today. getting ready for a new pump and skat impeller next.
-
Lowering an already lifted truck
ghetdjc320 replied to j_gevans's topic in MJ Tech: Modification and Repairs
From what the original poster sent us it looks like a fairly straightforward process to get it back down to 5.5”. Going lower than that could get pricey and involve a lot of work. Nix the shackles and spacers and see what that nets -
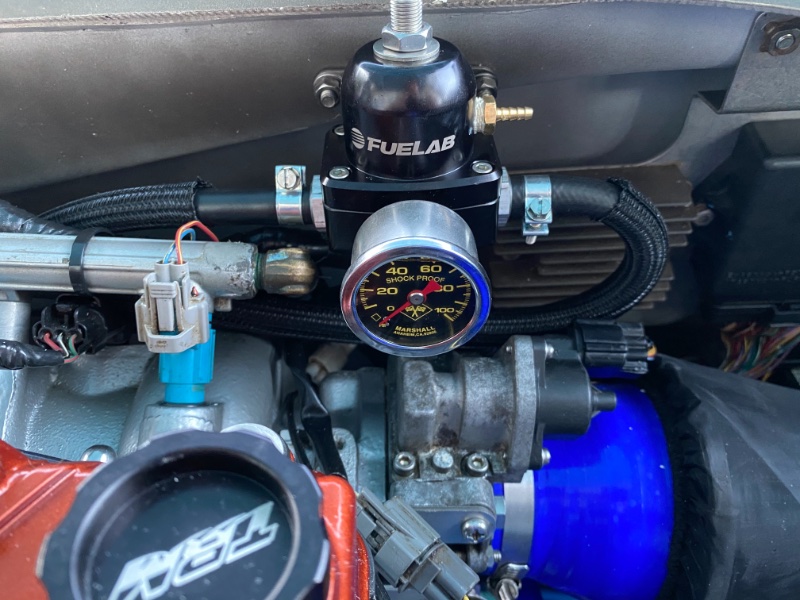
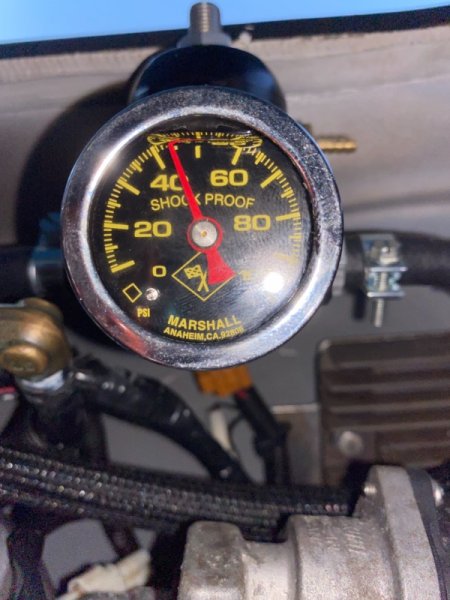
Audio system added, complete upgraded fuel system. Deatshwerks STI pump, Russel fuel check valve, and fuel lab adjustable FPR. Just got a set of injectors back from the rebuilders also and had them all flow matched and rebuilt. New skat track impeller and some pump mods happening next.

-
And the mods continue
-
Lowering an already lifted truck
ghetdjc320 replied to j_gevans's topic in MJ Tech: Modification and Repairs
Also those away bar links are crazy long lol -
Lowering an already lifted truck
ghetdjc320 replied to j_gevans's topic in MJ Tech: Modification and Repairs
So, from the pics, swapping the long shackles there to stick shackles should lower you back down to about 5.5” in the rear. Removing the front coil spacers should bring it down another 2 or so inches. Those shocks are almost maxed out! Your also missing the rear bump stops over the axle. Going lower will actually require more work. If you can settle on about a 5.5” lift you can simply modify what you have there -
That’s what I run and it’s a great quality replacement. Better design than the original.
-
How to get this screw out
ghetdjc320 replied to Jesse J's topic in MJ Tech: Modification and Repairs
Let’s save that subject for another 100+ post thread. But by the time he masters the #10 I’d say it’s time for the drivers license -
How to get this screw out
ghetdjc320 replied to Jesse J's topic in MJ Tech: Modification and Repairs
Once that screw has been mastered anything will be easy. Setting up R&P, building a stroker, swapping axles converting to front leafs, supercharging and eventually,,, driving it down the road. Nothing will be hard once you master the #6 pan head Phillips. -
How to get this screw out
ghetdjc320 replied to Jesse J's topic in MJ Tech: Modification and Repairs
I think this is what happens when we all try to “help” . It doesn’t hurt to tell someone to search for the info occasionally. A simple “how to remove screws in a tight space” search would have been golden. -
How to get this screw out
ghetdjc320 replied to Jesse J's topic in MJ Tech: Modification and Repairs
I’m definitely in it just for kicks -
1991 Eliminator Resto-Mod
ghetdjc320 replied to ghetdjc320's topic in Member Projects: Your Comanches
Yep that’s a bit of a drive lol. Otherwise I’d be happy to! -
How to get this screw out
ghetdjc320 replied to Jesse J's topic in MJ Tech: Modification and Repairs
I think the last time we had a “Hot Topic” thread a few weeks ago it got deleted for oh so many reasons. -
best engine swap
ghetdjc320 replied to comancheee87jax.fl's topic in MJ Tech: Modification and Repairs
The straight 6 is a great design on paper. An overhead cam and cross flow head design would really make quite a difference in what we could do with one. Direct injection, coil on plug and a good tuneable efi system could really get things going in a NA engine. -
How to get this screw out
ghetdjc320 replied to Jesse J's topic in MJ Tech: Modification and Repairs
I can only image what kind of a thread there will be for an axle swap or stroker build. They have a lot of screws -
How to get this screw out
ghetdjc320 replied to Jesse J's topic in MJ Tech: Modification and Repairs
Corrected that one for you lol -
Driveway Alignment Job
ghetdjc320 replied to ghetdjc320's topic in MJ Tech: Modification and Repairs
Awesome thanks for those specs -
Driveway Alignment Job
ghetdjc320 replied to ghetdjc320's topic in MJ Tech: Modification and Repairs
Yeah agreed. I just used the level on the tube to make sure my axle itself was level before taking the measurements. The camber was taken from the machined face of the knuckle where the unit bearing bolts in and the caster was taken from both the ball joint and the inner C just behind the ball joint. Both give the same reading and are in good spec. It’s primarily the camber angle that has me concerned. I’m getting a lot of premature tire wear on the outer half of the passenger tire and I would venture to guess that the positive camber isn’t helping. Granted, that figure may change with the weight on the ground so I’ll have to try that. It drives and tracks excellent but I’m tracking down some accelerated tire wear and a light clanking noise when the truck shifts weight around corners. New tires will be in order once this is fixed -
Driveway Alignment Job
ghetdjc320 replied to ghetdjc320's topic in MJ Tech: Modification and Repairs
Yep those are the measurements I took. Camber off the knuckle unit bearing surface, caster off of the top of the inner c. Are the actual figure I’m shooting for looking right though? At this point I need a 2* offset upper ball joint to get my camber back to between .5-1* negative camber. Going to also reinforce the C’s. I didn’t realize how much flex there was there. If camber is tested with full weight on the axle then perhaps I can lift that corner by the knuckle or some good point that would simulate that weight. -
How to get this screw out
ghetdjc320 replied to Jesse J's topic in MJ Tech: Modification and Repairs
Somehow you got the trim off with that screw still in there so why remove it . You can just bash it back on.