


Gjeep
-
Posts
1247 -
Joined
-
Last visited
-
Days Won
3
Content Type
Profiles
Forums
Gallery
Everything posted by Gjeep
-
Bay Area here
-
fresh from low cost paint and body guy
Gjeep replied to early comanche owner's topic in MJ Tech: Modification and Repairs
Looks great -
It’s a repaint for sure, as the flares are body color. No such thing as a long bed SporTruck but looks good anyway. Also added the body side molding.
-
91 Eliminator 83K miles refresh with NOS parts
Gjeep replied to Red Mistress's topic in Member Projects: Your Comanches
Many thanks RedMistress... That bedliner IS going to a good home and to a good... no great truck 'Son of Stink'. Good meeting you on my journey across the States last week. Even snuck in some time to drive that mint Colorado Red XJ Chief of yours. Hard to believe it is 33 years old -- as it's showroom clean! Shame you weren't open to me buying the black dashboard out of it... ;) -
'90
-
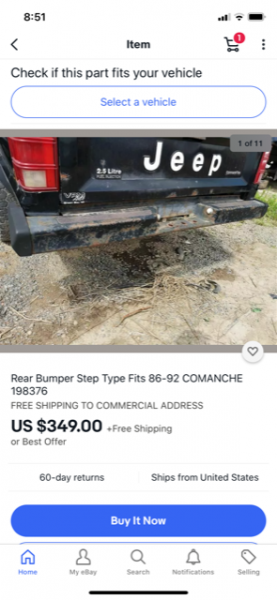
This is a rare one -- and factory AMC only offered '86. I've only seen 2 of these ever. This is for the Comanche specifically... Not J-truck or Scrambler. https://www.ebay.com/itm/Rear-Bumper-Step-Type-Fits-86-92-COMANCHE-198376/352946116571?_trkparms=aid%3D111001%26algo%3DREC.SEED%26ao%3D1%26asc%3D20160908105057%26meid%3D98721efe2e4b4af28a3281a3a147b89a%26pid%3D100675%26rk%3D1%26rkt%3D15%26mehot%3Dnone%26sd%3D352946116571%26itm%3D352946116571%26pmt%3D1%26noa%3D1%26pg%3D2380057%26brand%3DJeep&_trksid=p2380057.c100675.m4236&_trkparms=pageci%3A490e5e6d-d1b7-11ea-bcca-c211acc1b306|parentrq%3A9b5f2b2f1730ad397e7ba51effe3280e|iid%3A1
-
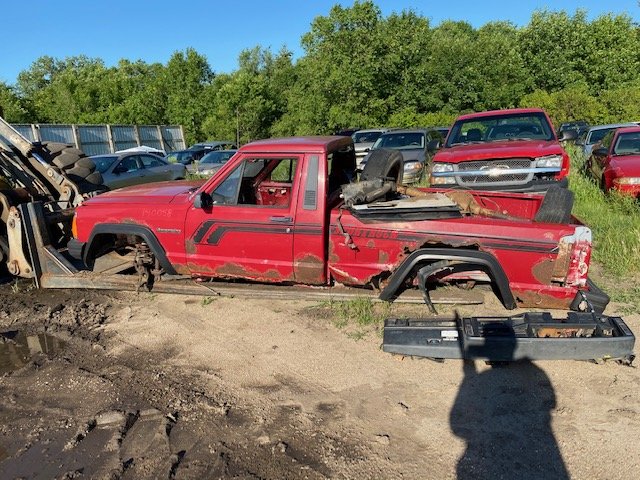
Been a bit quiet lately as I had been researching for MJ interior parts like crazy...I just got back from collecting those parts for the MJ’s black interior across the US. I flew out to the east coast, then drove back-- hell of a drive. I started in CT where I got a mint dash, center console and kick panels…Followed by Minnesota where I collected a mint complete interior (except the dash as it had a crack, and no center console – was a bench seat) from this little rust bucket (thumbs up to ProFast Auto Wreckers as they have a nice stash of XJ’s they didn’t realize they had 84-01)…Then off to Texas where I got a NOS bedliner. Then back home to CA at midnight last night. Was a 5 day trip and I’m beyond tired, but grabbed some good interior stuff.
-
I figured wouldn't hurt to post as many of us have XJ's as well. I stumbled on this 84-96 4-dr XJ new door switch bezel. And it's almost factory looking. The most noticeable difference is the front passenger switch set up. (And the little window icons). Regulators additional, but this is a new aftermarket kit for the XJ. Surprised to see it...And would most likely plug and play with Renix and HO era XJ's alike. Didn't find a 2-dr kit. https://www.summitracing.com/parts/via-84sw7?rrec=true
-
Two
-
Those are dealer only. Auto parts store stuff is close but not exact. I think you'll find you need to trim the top of most anything you find of the same diameter to fit in the trim pieces retainer-slot.
-
Chrome Factory Step Bumper -- CA
Gjeep replied to Gjeep's topic in Craigslist/Marketplace/eBay... i.e. Not Your Stuff
Unfortunately I’m no where near that yard, it’s a decent haul for me to get there. Give them a call Monday and no doubt they’ll sell it to you if you’re willing to buy. -
I was up at JW Jeep in Antelope CA and saw a relatively recent addition to their wrecking yard...'87 MJ 4.0L AW4 4x4 LB MetricTon. D44 is already gone! Lots of good parts and straight panels for the most part. Cheap navy blue repaint & saddle interior. Column shift if I remember correctly... The rear bumper, though the center section buried in soft dirt was chrome and straight all that I could see. The truck is up against another car (behind it) and there will have to be some sort of forklift action to remove that bumper or view more of it. Only took one pic. No idea how much. I forgot to ask on my way out. And I got the MetricTon badge.
.jpg.db4bac77454ddbaf3f3b5d262803865a.jpg)
-
1990 Comanche Pioneer 4.0L 4x4
Gjeep replied to early comanche owner's topic in Member Projects: Your Comanches
You will still see that graphic ‘raised’ when you wrap. Just fyi -
Even if you pull the stripes the surface will be raised slightly where the stripes were as that area has been ‘untouched’ from essentially wear down from elements/ car washing.
-
I have a free deep tinted CRL slider I pulled from my Comanche if interested. All you have to pay is shipping. I’m in Ca.
-
120mph speedometer
Gjeep replied to ghetdjc320's topic in Craigslist/Marketplace/eBay... i.e. Not Your Stuff
There's a HO version of the other (higher end) gauge cluster in the UK that has a 120 mph speedo also. I'm running it in my trucks without issue. Only slight mod to get it to work with US trucks. Just an FYI. Doesn't help Renix-ers, sorry. -
Great build! You’ve put a ton of work into this truck and it shows! I just remember who you are — I think I bought a couple Hobbs lights off you on eBay awhile back right?
-
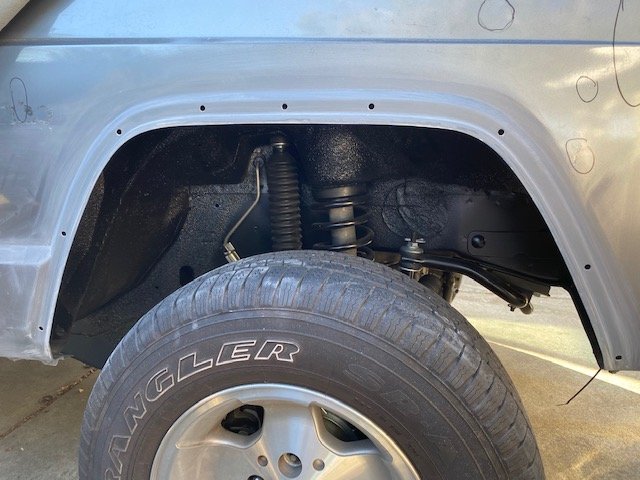
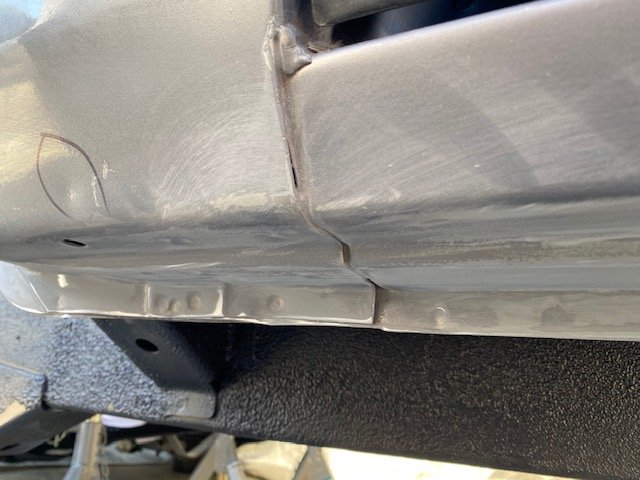
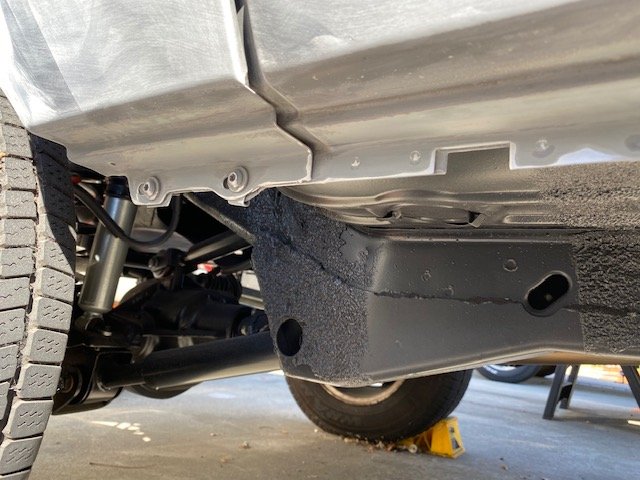
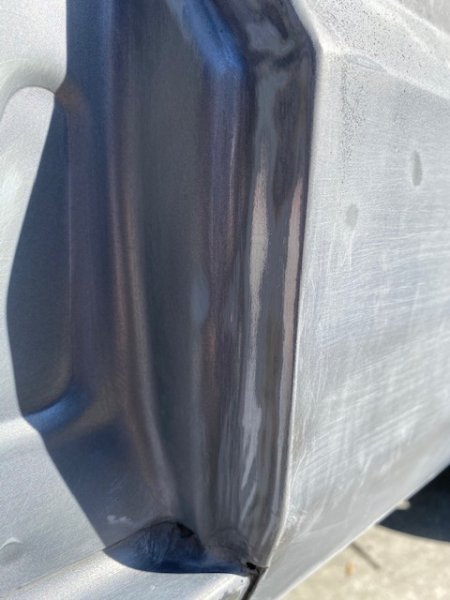
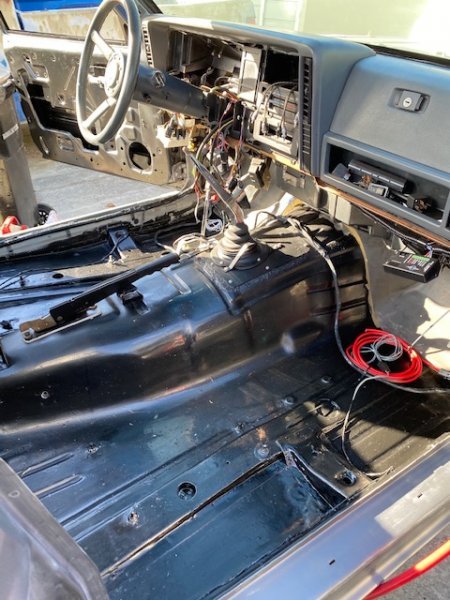
Getting down to the nitty gritty body prep on the MJ…This truck was painted once before probably due to factory clear coat failure. I’d say it was a medium grade repaint – decent but the attention to detail wasn’t the best, as when they pulled the factory ’92 SporTruck decals they didn’t take the time to sand the body side down and build it back up so that when you look at the panels you wouldn’t see and slightly feel the raised decal location. Also, the bottom of panel drippage/ build up was a bit thick. Went after all that this morning – under the rockers, around the fender openings. Additionally, went after all the curved surfaces (the pain in the @$$ areas to sand) as a first step to body prep. And once sanding was done, a quick shot of SEM etching primer covered any bare metal spots until the entire truck heads to the booth and gets primer/ paint. There are spot-weld panel gaps and slop to address where the cab meets the rocker on both sides and in other areas; and I’ll point out to those working towards a repaint also there is a clear plastic protective paint strip located at the front lower edge of the door opening that need to be removed prior to paint. The ones on this truck had been painted over…This is where the strip was located. Also went to town cleaning out the interior. Spent the 3 hours blasting air in every nook and cranny of the cab, vacuuming it out, airing it again, vacuuming, air...wiping it down repeatedly. First pass at de-dusting. My goal is to not blow any unwanted dust onto paint when laying it down. Plan on doing it again just prior to hitting the booth. Next step on interior clean up will be steaming the air ducts to see what comes out. RedMistress inspired me to go through this effort. I did physically wipe out all the air passages and inside the HVAC box back in 2013 when I installed a new heater core, evaporator, and entire AC system (factory new ’95 XJ R134a components), but it will be interesting to see how dirty things have gotten since then.
-
Where is this? Colorado?
-
Same as above for bucket seats, but if you'll be running a bench seat I recommend using a 93-95 ZJ mirror switch. I placed it on the half console just in front of the transfer case lever. Can take a pic if that's the route you're going.
-
I’m looking for a complete (with glove box), excellent condition (no cracks or damage) black dashboard assembly. I don’t need the lower knee bolster piece. I’m located in CA. Thanks!
-
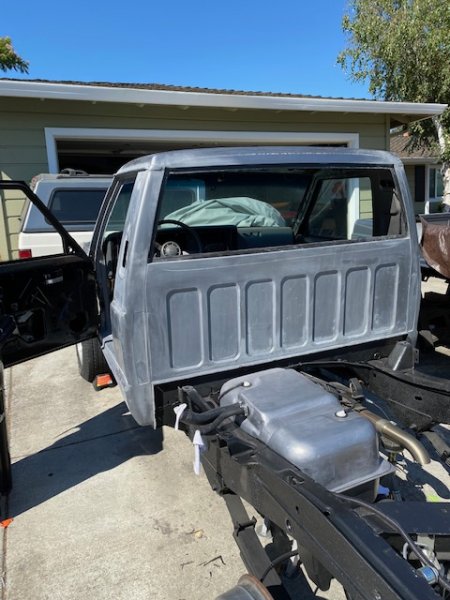
Up early sanding away… I started on the not fun stuff – Sanding door jambs (strikers removed as well) and all the rounded-out areas, such as back of the cab and front of the bed, under the cab rocker panels, etc. Moved on to emblem areas as the previous owner used super glue to stick some of the un-stuck emblems. Also removed the back of cab glass and cleaned up around it as well. The CRL slider glass was installed with butyl tape by PO…which has its pros/cons. The glass can be removed a lot faster then cutting glass out, but the clean up of butyl is insane. Takes forever. Once I sand down the body entirely I’ll go back and putty the small rock chips rocker side, front header panel, and deal with the wear caused by the camper shell 'boot' around the back glass. Then will move on to the dings and dents. My aim is to have all the body work done so I can primer/ paint it by October. Next up is swapping in a tilt steering column...
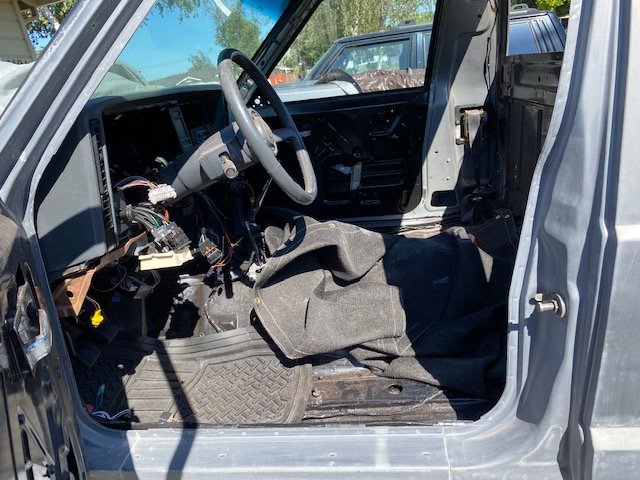
-
Good looking truck.
-
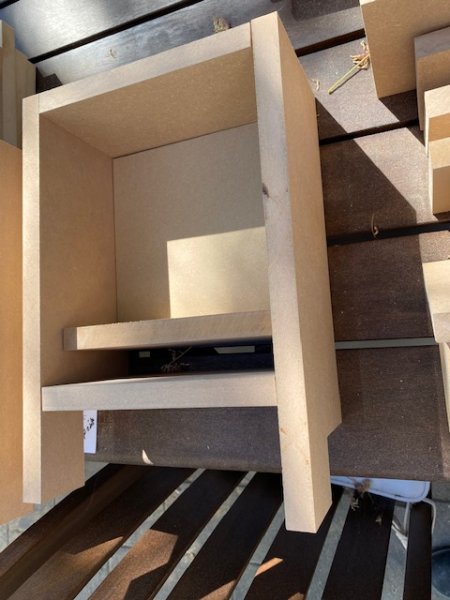
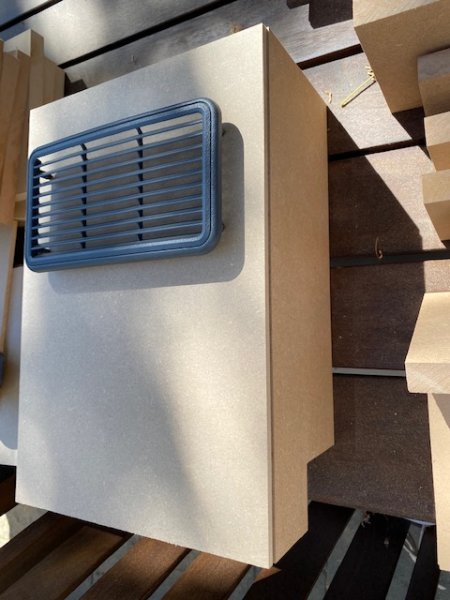
Changed my design idea for the 6.5" sub boxes...cut wood and I like them. What was once going to be a single dual speaker box is now individual boxes. No doubt true sound enthusiasts may cringe at my box setup, but again, my aim is to create something that would've/ could've been been installed by Jeep back in the day of the MJ. They'll sit dead center behind each bucket seat and measure out 14"H x 9.5"W x 5" D. They're notched at the bottom as they'll be mounted on top and forward of the floorboard ledge at the back of the MJ cab.The factory speaker grilles on the boxes are at the same height as the B-pillar speaker grilles.
-
91 Eliminator 83K miles refresh with NOS parts
Gjeep replied to Red Mistress's topic in Member Projects: Your Comanches
I'm fairly sure the add-on dealer AC kits died off with the Renix years. HO's didn't have that option once they left the factory.