Drahcir495
-
Posts
2862 -
Joined
-
Last visited
-
Days Won
3
Content Type
Profiles
Forums
Gallery
Everything posted by Drahcir495
-
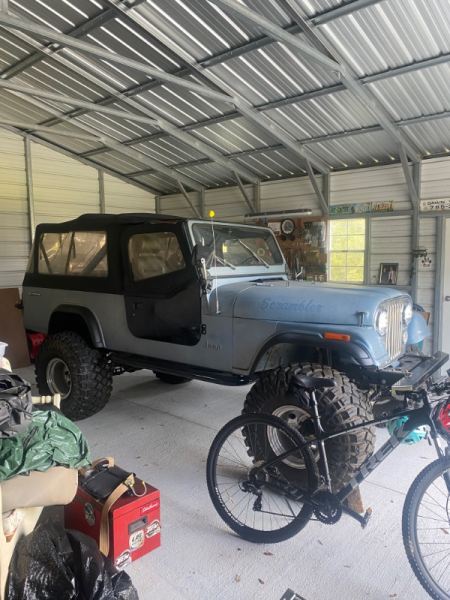
The Scrambler made it to the new home. Only 232 mile ride on a flat bed truck - sitting in her new home -> Enough headroom to keep the soft top up getting into the garage
-
Heck yeah . Prices yet?
-
Looking forward to seeing more of this build
-

1987 Comanche Pioneer Restomod
Drahcir495 replied to 996xj's topic in Member Projects: Your Comanches
Great work. Coming along nicely. I also like the 2 tone paint scheme. -
Going to look great . The color is awesome
-
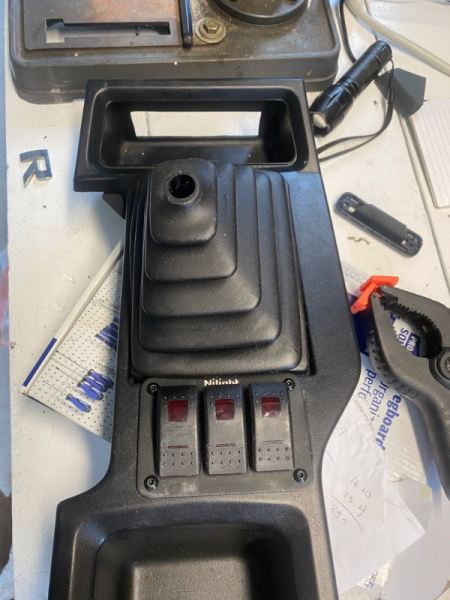
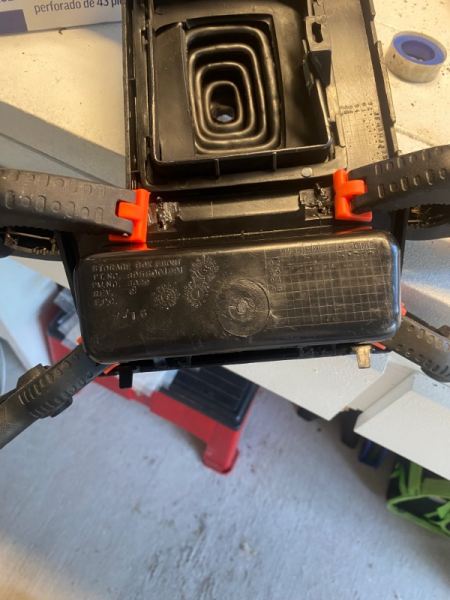
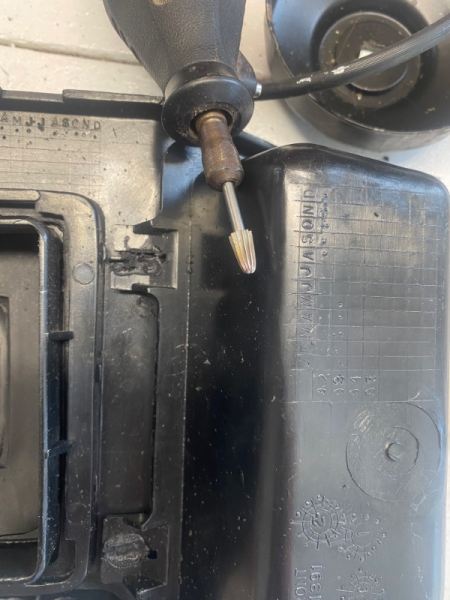
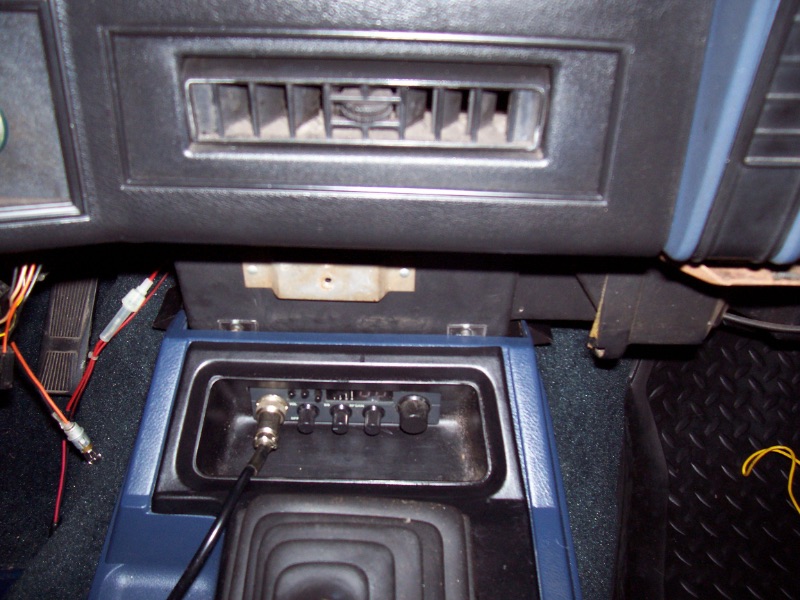
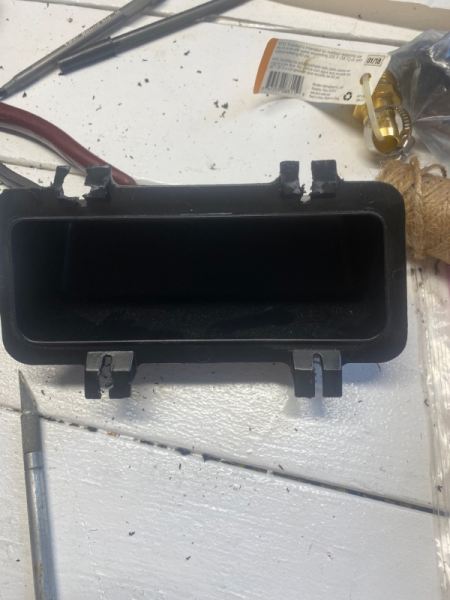
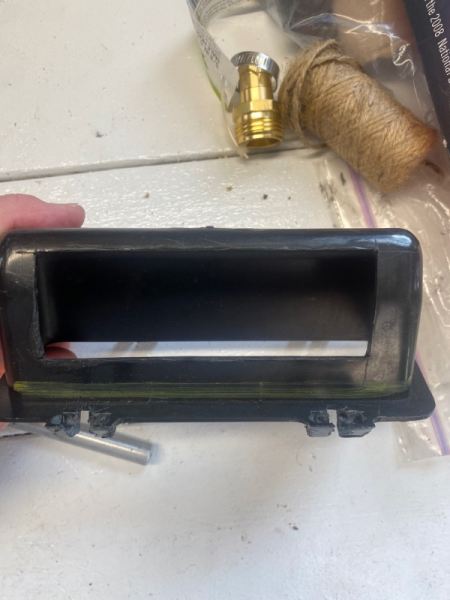
I’ve been brainstorming a lot about where I can mount the CB in the Jeep. I don’t want to screw in the bracket to anywhere on the dash like the previous owner did. Took me a while to locate a good dark blue dash valance to replace it. Couldn’t live with alll the screw holes in it. So., I decided to go back to the way I had it set up before -> I don’t think I have any other options that I can live with. I didn’t know before this that the cubby hole was removable . I had already removed the cut one from the first center console, so I was able to see what exactly needed to be done to get this one off. Used the dremell and a special bit to grind out the plastic welds -> Got it free -> Got the cut one ready to go in -> Used some JB weld and clamps to hold it together while it dries -> All set to go back in the Comanche with the cut out for the CB -> I’m going to keep the untouched one in case I ever find another place for the CB. Then I can go back and reinstall it back to the original design. TBC - Rich
-
Fiatslug87 the ball python is 27 years old?? WOW
-
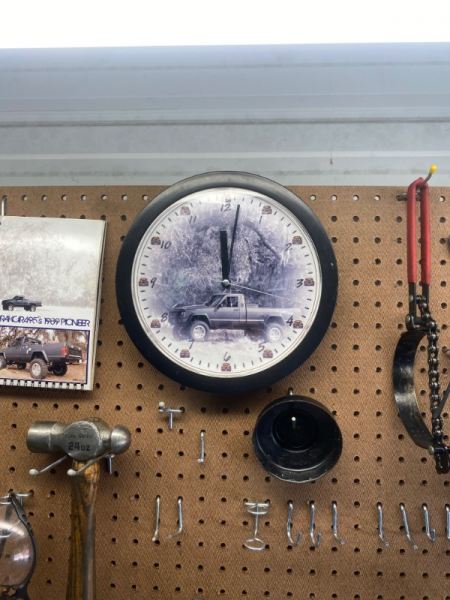
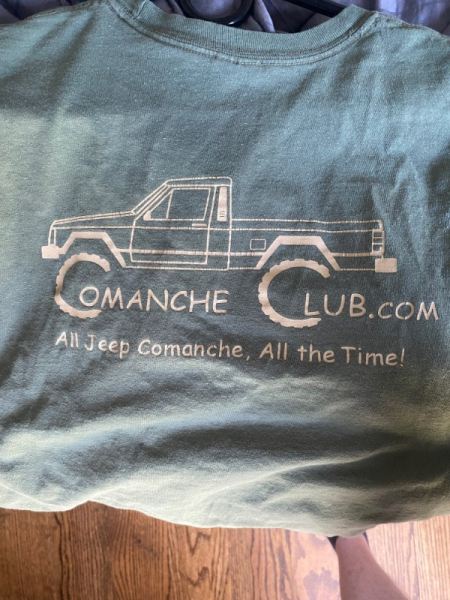
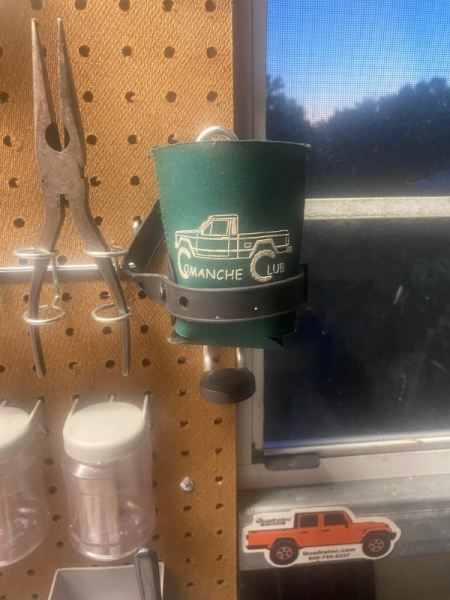
So glad to see you back on here! I still have mine and wear it every time it gets cool enough -> I still have the clock you made for me only thing wrong is the clear plastic cover cracked ->
-
Thank you. I really appreciate that coheed. I didn’t want to just post it in the pub. I feel like it would be “feel sorry for me”. This will be here for me to look back on and remind me of how much I miss him. Lost but never forgotten
-
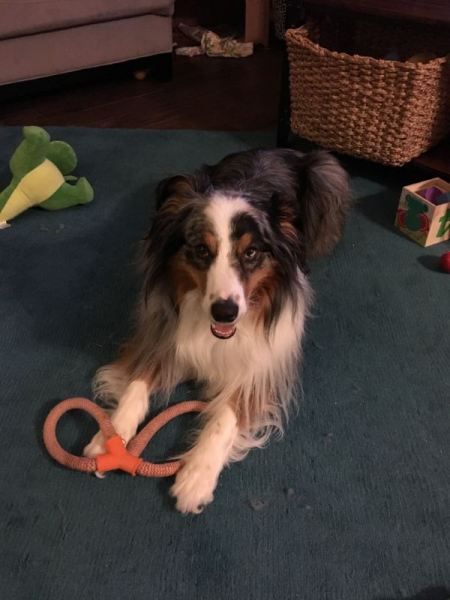
Last night I had to put my best friend to sleep - RIP Xander
-
So nice
-
Nice! What are your plans for it? Keeping it stock or maybe a lift and tires?
-
It is more than I could have asked for!
-
Thank you both. I thought it was 6’ but wasn’t comfortable without asking.
-
Any electricians here? I’m beginning to plan out how the new garage will be wired for outlets etc. Can somebody tell me the spacing between outlets? Not sure of the codes, but is it 6’ between outlets? I have other questions but I will start with this first.
-
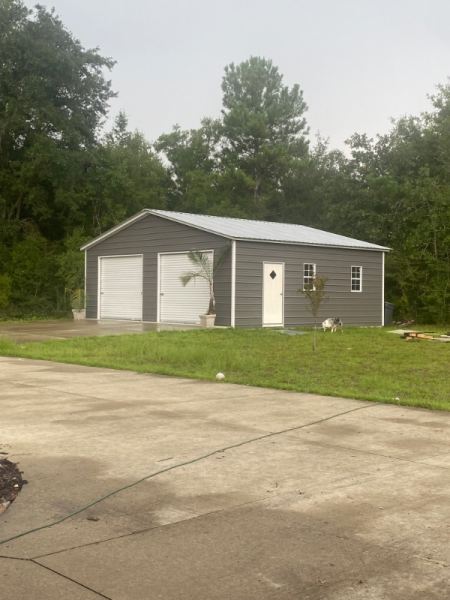
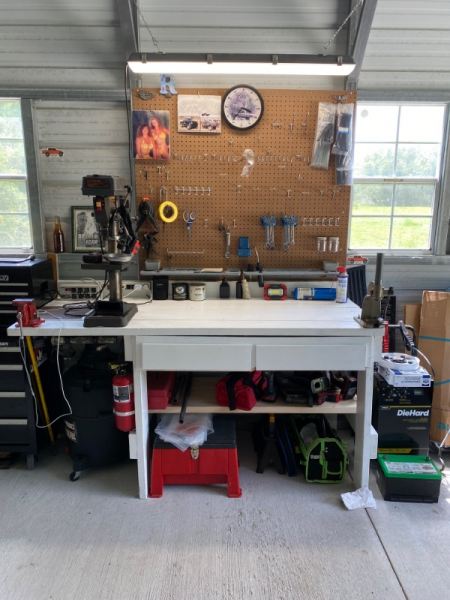
I moved 4 hours north to the Tallahassee area of Florida. I found a house on five acres and a big self standing garage -> This means the Comanche is close to 4:45 hours away with no work done on it yet. So, I’ve been keeping busy working on getting the garage set up and it’s coming along nicely. Bought some Home Depot shelves and already have them filled up with bins and MJ parts ready to go back in. I spent most of the last 2 days unpacking and setting up the work bench and peg board. Just started hanging up tools, so I have a lot of hooks just snapped in until I find homes for them -> Don’t know why, but it was never wired up for electricity . I am going to install the outlets and light switches and run the wires to them myself. I’ve been watching YouTube videos and have a good idea on my game plan. I am also going to put in an 220v outlet just to have if I decide on a plasma cutter/welder. I will need the power company out to get an idea where the fuse box will be before I start running the metal clad wire. Right now I have power via an extension cord coming from an outlet in the attached garage. TBC - Rich
-
July 2024 - A ComancheClub Purchase
Drahcir495 replied to 89 MJ's topic in Comanche of the Month (MJOTM)
Good looking truck. Congratulations on getting MJOTM -
My nine year old is watching me scroll through your updates and says the fireplace is cool! I betcha I could climb it 😂.
-
1984 Scrambler Rebuild
Drahcir495 replied to Drahcir495's topic in Member Projects: Other Cool Stuff
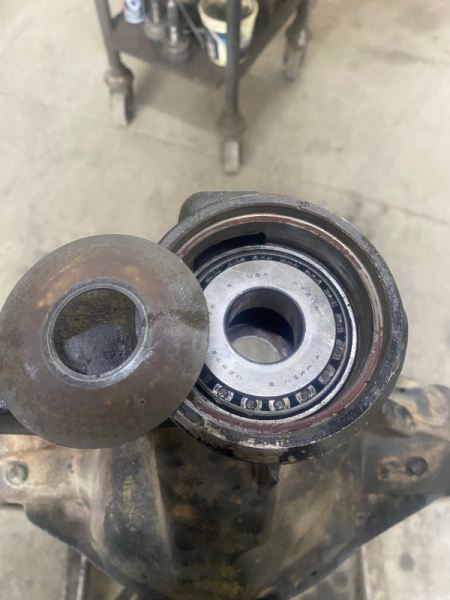
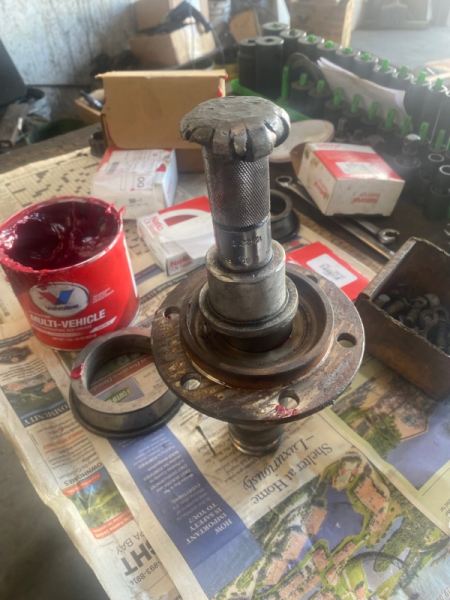
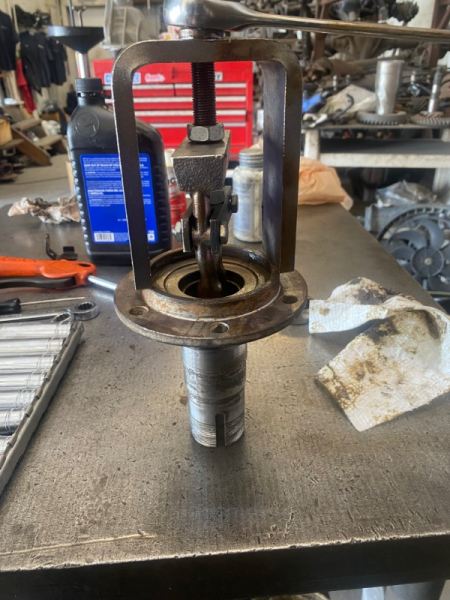
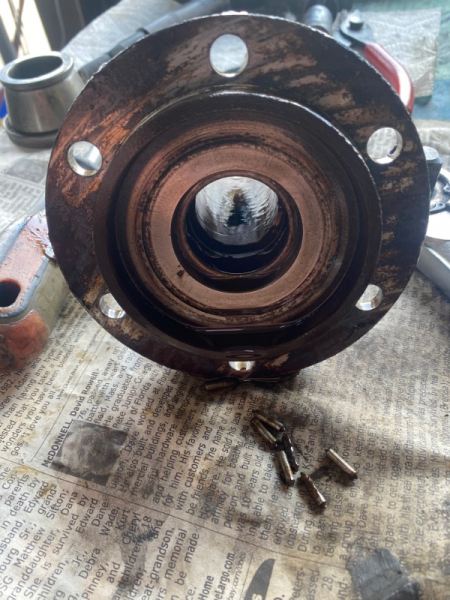
Now that the carrier is set up, I can take care of the spindle bearings that fell apart. Here is what I started with -> All the roller bearings fell out of both sides. First step was to pull out the bearings-> As soon as that was done I packed the bearings with grease. Putting in the new bearings-> Used an aluminum bearing installation tooll but I know many other things would work -> Once it was flush, I used an impact socket the same size of the bearing to knock it in a little deeper into the spindle. TBC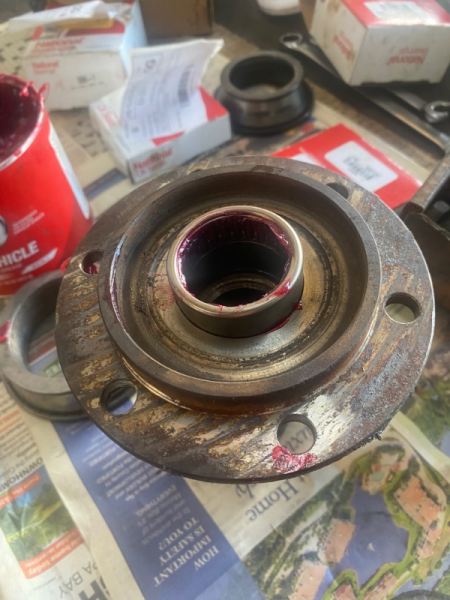
-
That interior is mint
-
I have to go with the majority and say topper.
-
Spectacular pictures . Congratulations on MJOTM!
-
1984 Scrambler Rebuild
Drahcir495 replied to Drahcir495's topic in Member Projects: Other Cool Stuff
I ran into the same problem with my Cherokee. It would break down all the time and I had no back up car. It eventually got everything new, but by that time I was over it and wanted my reliable MJ back. I will have the Scrambler as a weekend toy. I don’t plan on any hard wheeling though. Until the CJ8 is up and running I can’t risk breaking down. -
1984 Scrambler Rebuild
Drahcir495 replied to Drahcir495's topic in Member Projects: Other Cool Stuff
😁 I can't imagine a roll over! Glad you weren’t hurt or it stopped you from continuing to wheel. Looks like a lot of fun though. -
1984 Scrambler Rebuild
Drahcir495 replied to Drahcir495's topic in Member Projects: Other Cool Stuff
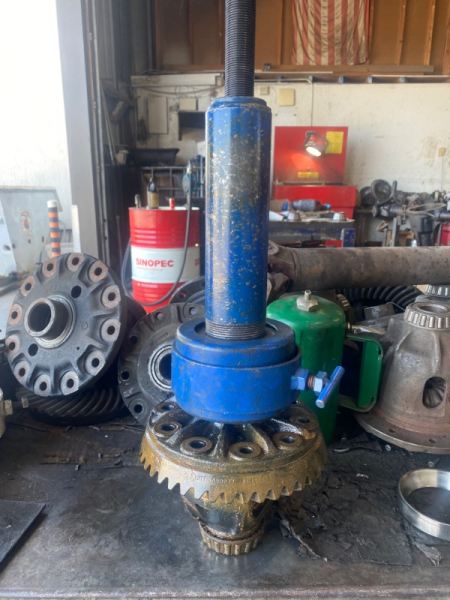
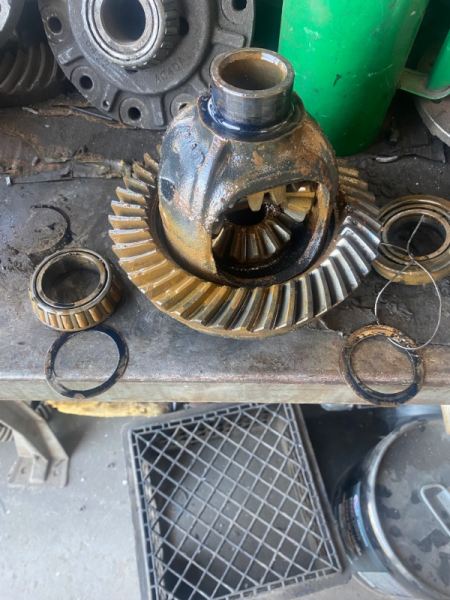
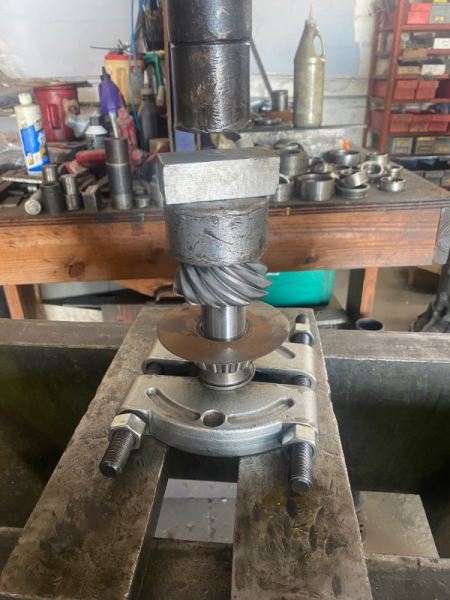
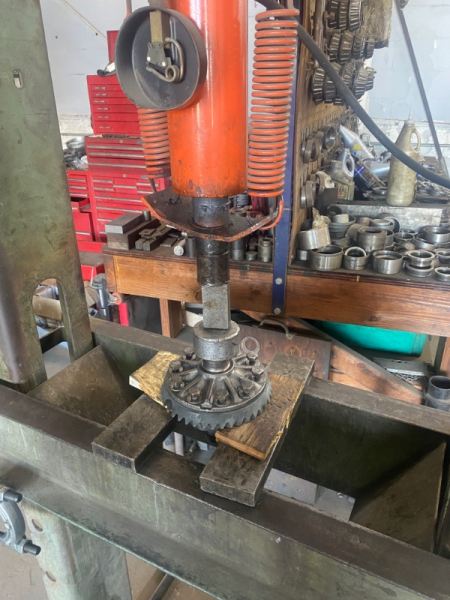
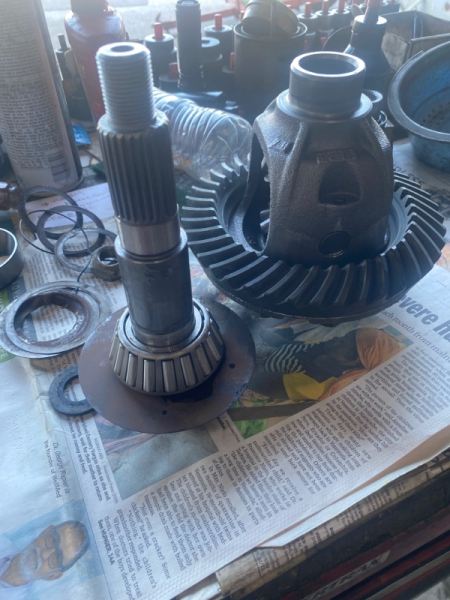
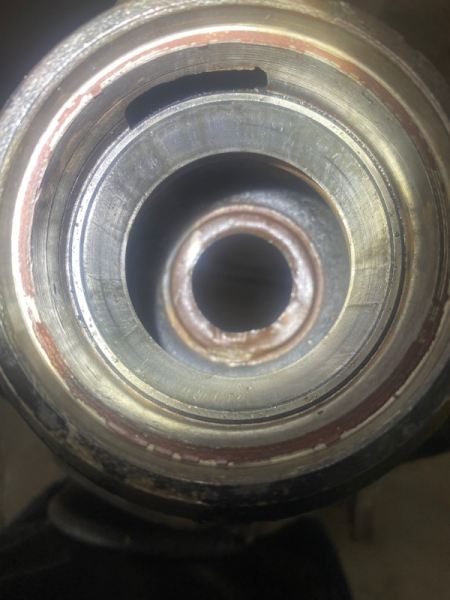
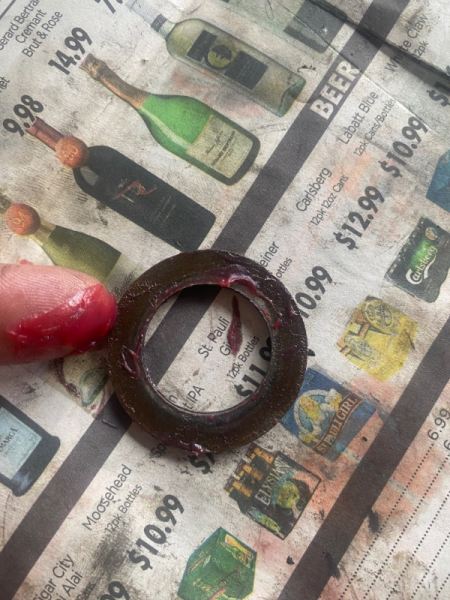
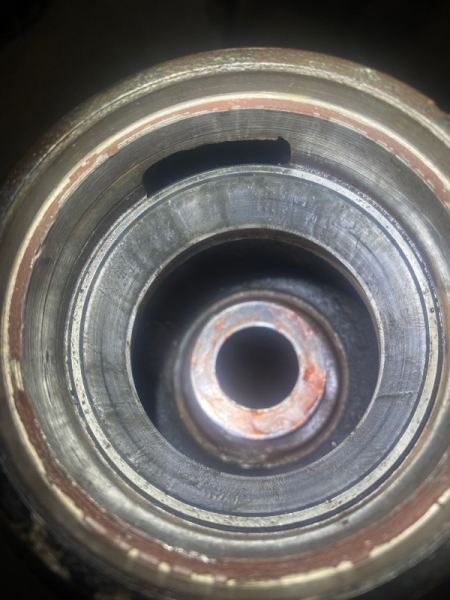
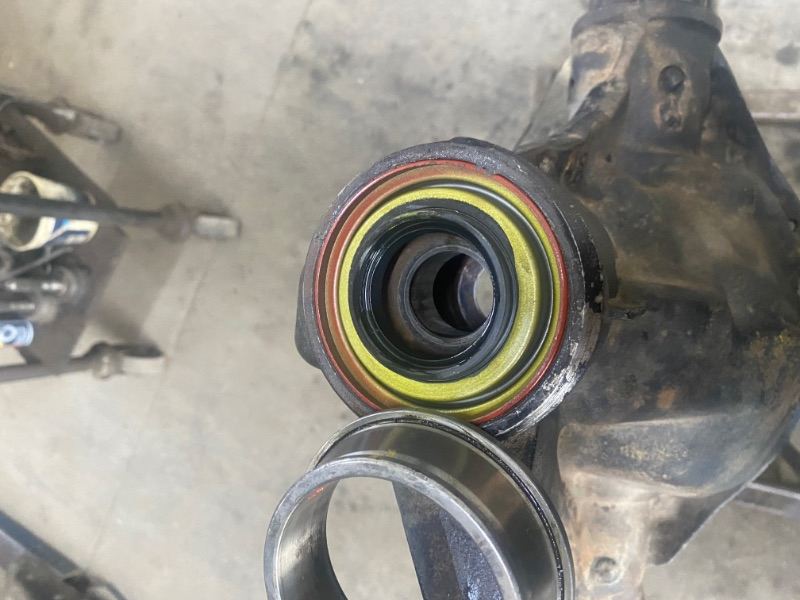
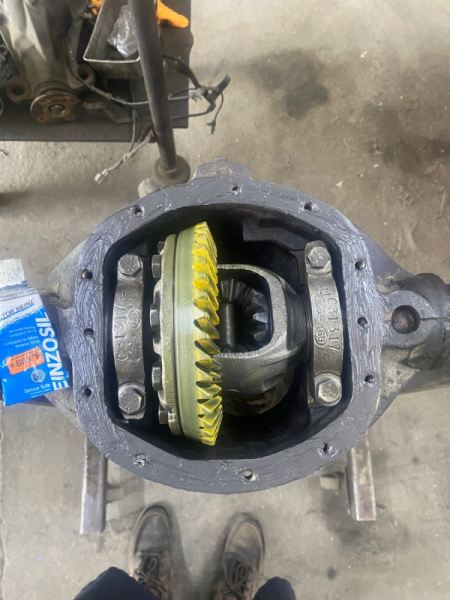
Now that I have everything cleaned up and all the bearings and seals pulled - it’s time to start rebuilding. I now press on the inner pinion bearing and slinger on the new pinion -> Before pressing the new gear onto the new carrier I brake cleaned all the holes in the ring gear and ring gear bolts. Now on the press to seat the ring gear on. Very important to add red locktite to the bolts before torquing them to 60 foot pounds -> Now ready for the set up process-> The old carrier has shims behind the carrier bearings for proper backlash. The bearings need to be removed to get them out. They need to be kept together (left and right). This just gives you a starting point for the setup and not going at it from scratch. We have a special bearing puller for this, but on occasion they break when removing even with using this. We just use a Dremel to cut the bearings off if that happens -> The bearings off and the shims out (I use bailing wire to keep the right side separated -> We use slip fit bearings for setup. They will be taken off and on a lot during the set up, so we don’t want to damage the flight bearings during initial set up. After a bit of +/- shims we get an acceptable pattern -> We also have a slip fit race (bearing cup) to help getting the pinion depth correct. Now it’s on to setting up pinion preload. As I said earlier, this axle does not use a crush sleeve. It uses pinion preload shims to get the correct (15 inch pounds we set ours at) preload. After a slow process (we try not to use new shim kits because they are $$$) using unused shims until we get that magic number. When we are ready for the final pinion set you first need to drive in the inner flight bearing cup. Make sure all the shims behind the race do not fall out when doing this. Because of this inner baffle -> the pinion shims need to be put in before the bearing and pinion seal are installed. I use a tiny bit of grease to keep the shims together-> Then I place the shim pack inside on the baffle-> Pop the outer pinion bearing in and the oil slinger on top-> and install the pinion seal * don’t forget to oil the seal* -> TBC