Gojira94
-
Posts
718 -
Joined
-
Last visited
Content Type
Profiles
Forums
Gallery
Everything posted by Gojira94
-
Welcome to another NC'er! I love the Saxapahaw General Store. I met another clubber at our local pick-n-pull a couple years ago and another member here in Clayton. We just got another one in Garner recently. More pics/ info, please
-
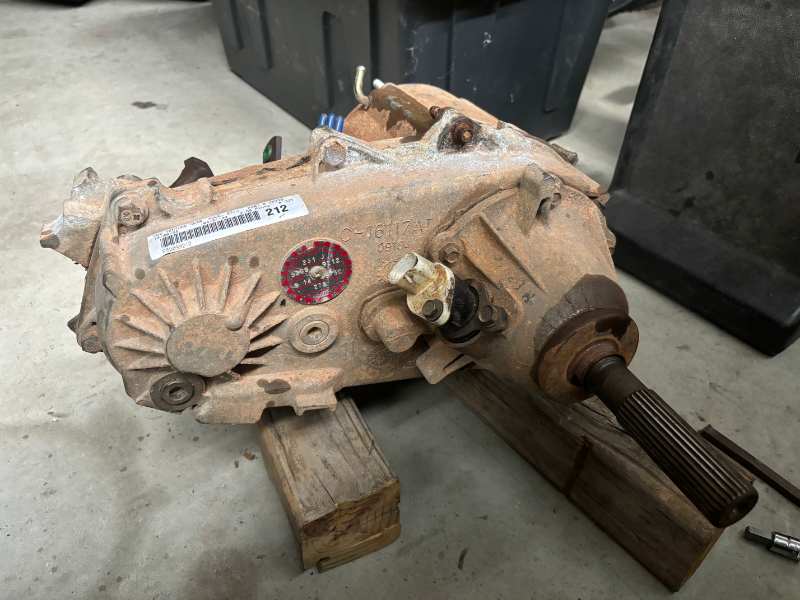
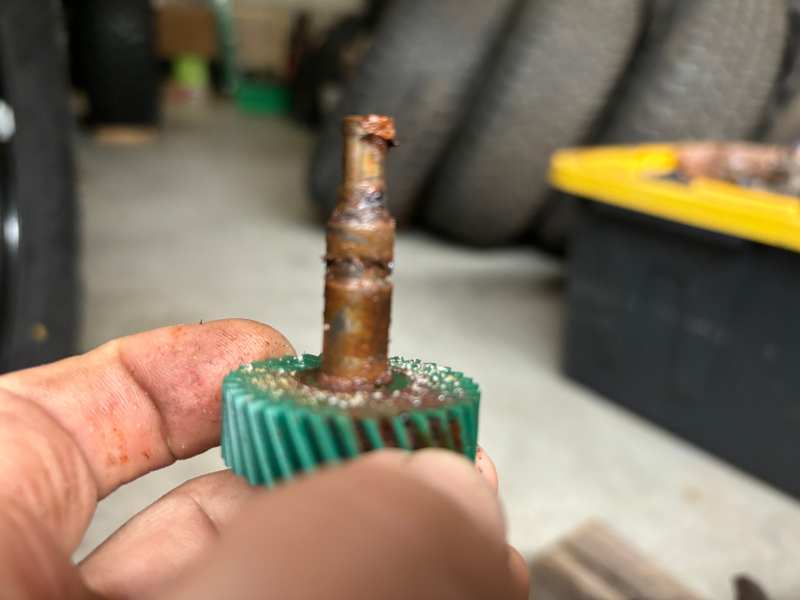
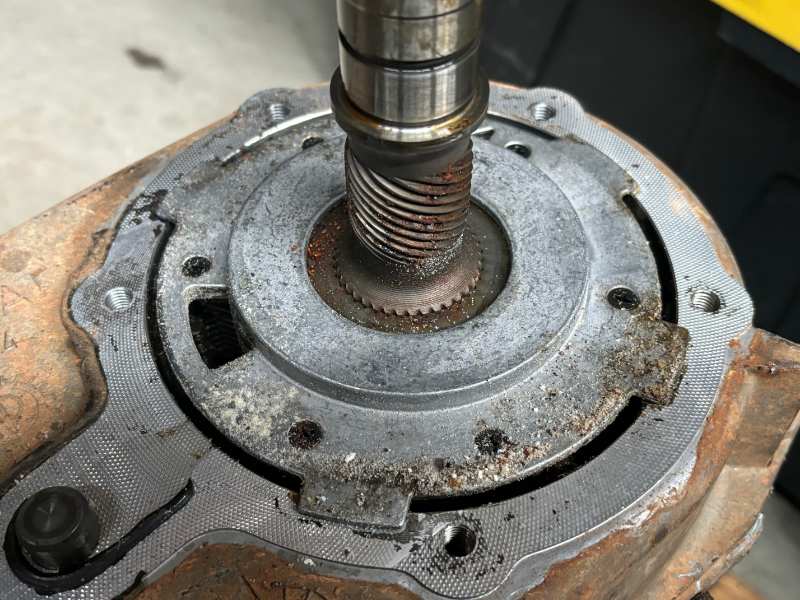
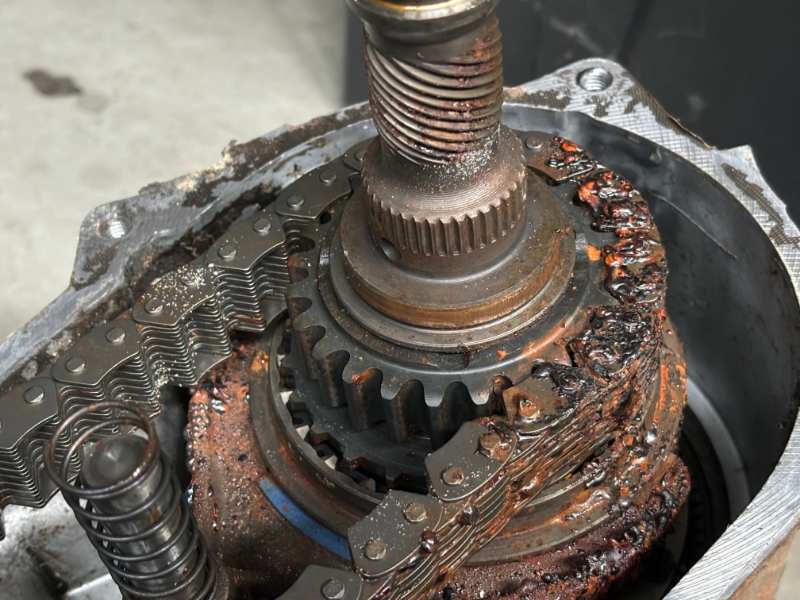
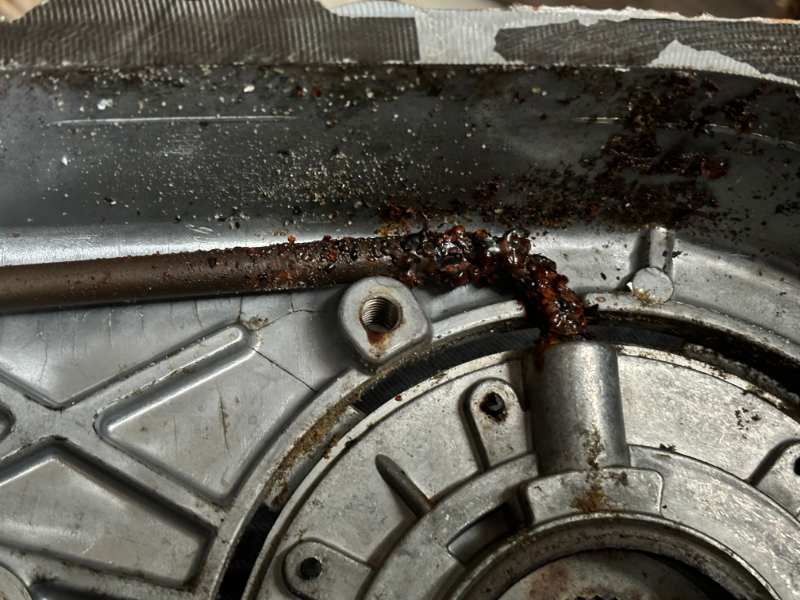
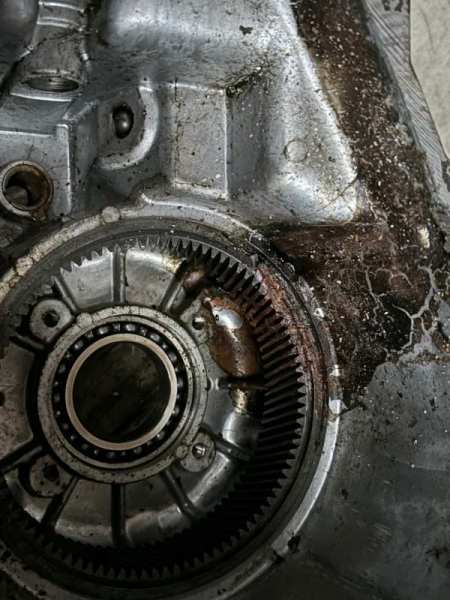
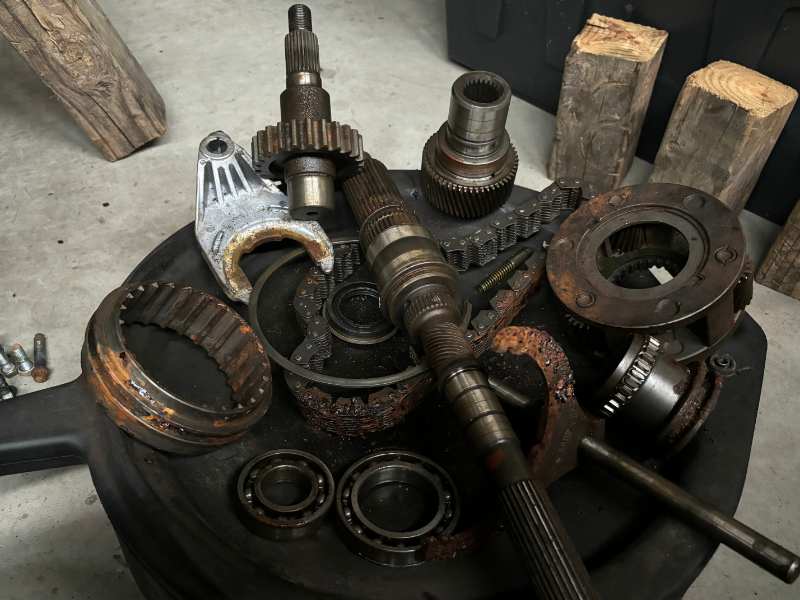
Transfer case carnage. This is the spare I wanted to rob parts from. I see why it's locked up. Destroyed by water. Planetary and chain are trash. Sector plate is good, input surprisingly is good, front output and rear drive sprockets are salvageable, maybe the shift rail. I'm going to wire wheel everything that looks bad and see how much pitting there is and make final determinations on the parts I wanted from it.
-
No pics but a quick update - SYE ordered, will be here Monday. Angle of the rear diff will require some work for a double cardan shaft. The shorter XJshackle will draw the rear down another degree or two but I can work a fair amount of rotation adjustment into the SOA with slight modification. TC Plan: I have a 98 XJ 231 I bought super cheap from a NC4x4.com member back in 2022. Something's wrong inside, so I'd opted to use the 93 YJ's 231. I'll crack it open tomorrow. Front output won't move and it won't shift. Rear shaft is free. I'm going to try to cannibalize the shift rail, sector plate, rear drive sprocket and mode hub from the 98. The 98 shift rail won't need to be shortened for the SYE tail housing, and I won't have to mess with the caged needle bearings on the drive sprocket from the 93. And I'll have true neutral disconnect with the 98 sector plate.
-

Taddraughn's 1989 Comanche Progress Thread
Gojira94 replied to taddraughn's topic in Member Projects: Your Comanches
Cleveland area? I'm in the Flowers area behind the Harris-Teeter. Small world. Glad you saved this one, making some progress! -
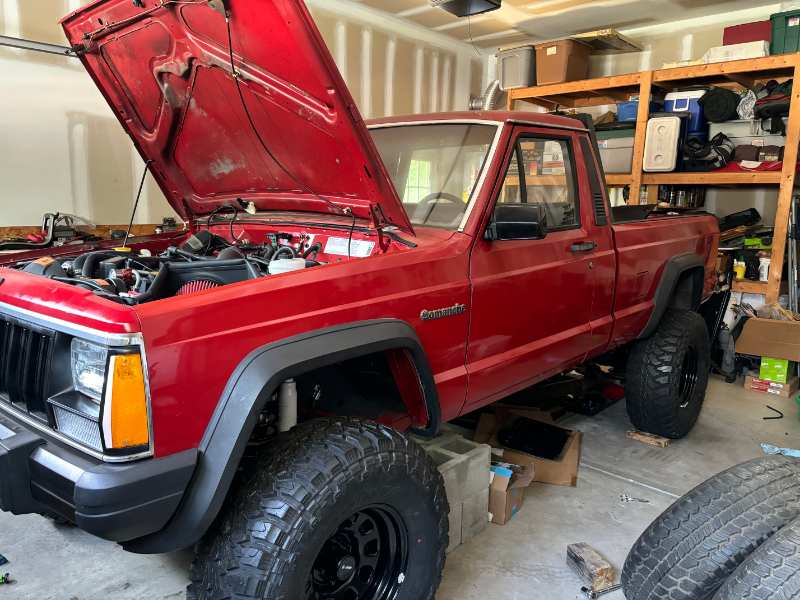
Worked yesterday 9-6 and didn't feel like messing with it after, so I knocked it out early this morning. I added 18mm to the ACOS on both sides, lengthened the track bar by about 1/8." Also lengthened the UCAs until my pinion to front shaft centerline were within 2-2.5* of each other, close enough. My caster is about 5* so we'll see how she acts on the road soon. Front ride height is now at 13.875." I was shooting for 14" or a hair under. Any higher than this and I'll be in cut-and-roll territory, might already be there. The rear is still a lot higher than I'd like. It should settle but in the meantime I'm going to throw some XJ shackles at it until it does. The lower I can get it in the rear, the more that will help the front effective caster.
-
Taddraughn's 1989 Comanche Progress Thread
Gojira94 replied to taddraughn's topic in Member Projects: Your Comanches
Welcome to the forum, great find! Quick and easy thing to check is pull the valve cover and see if anything feels loose while rolling it over by hand, i.e. pushrod slack or a loose rocker. The 4.0 wasn't really known for piston cracking until the later years (96-04) but possible. Pulling the cover will also give you some insight as to how well it was kept on oil changes. If it looks a bit sludgy, an engine flush cycle with Liqui-Moly might free up some deposits if there's anything in the lifters gumming them up, as well as helping to free up the rings. Click the link below to add your MJ's VIN number to the registry when you get a chance: 1989 -
I always was hesitant on black wheels on anything too. But this one made sense and has a good aesthetic, I think. Much appreciated! Rear stuff is completely set, except the cable management for the parking brake cables. I have a couple of ideas that will be simple, effective and cheap. Front is apart again to set the upper control arm length for pinion angle. Track bar was originally set for centered on exactly 13.75" ride height, so it's my guide, along with brake rotor sighting along the pinch rail looking back. I'm adding .6" to the ACOS to fill out the missing .5" from the front lift. I may go .75" and adjust the track bar and UCAs accordingly. We'll see. I just don't like how high it is in the back. Though I know it'll likely settle maybe .5" over time.
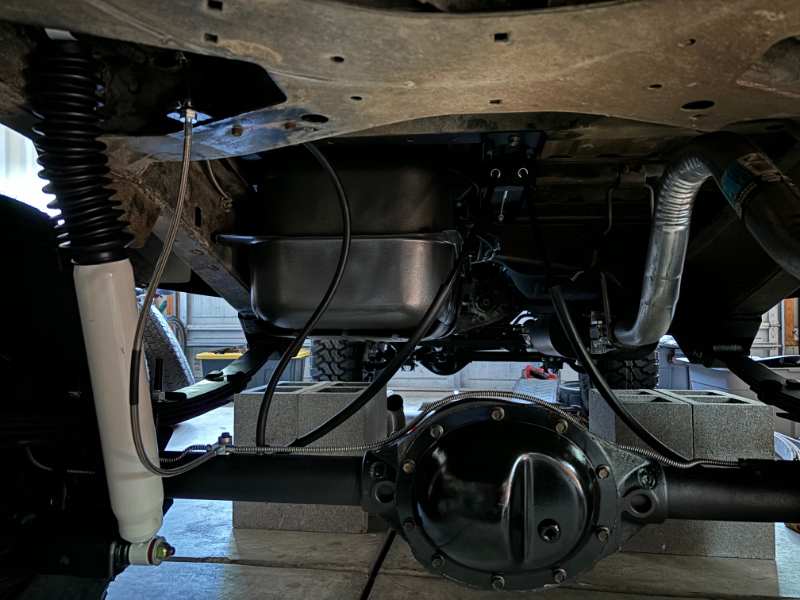
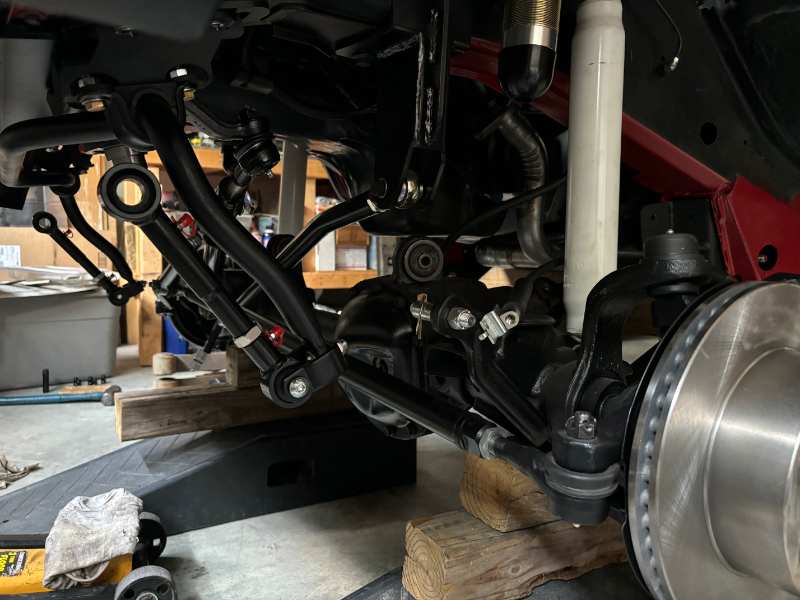
-
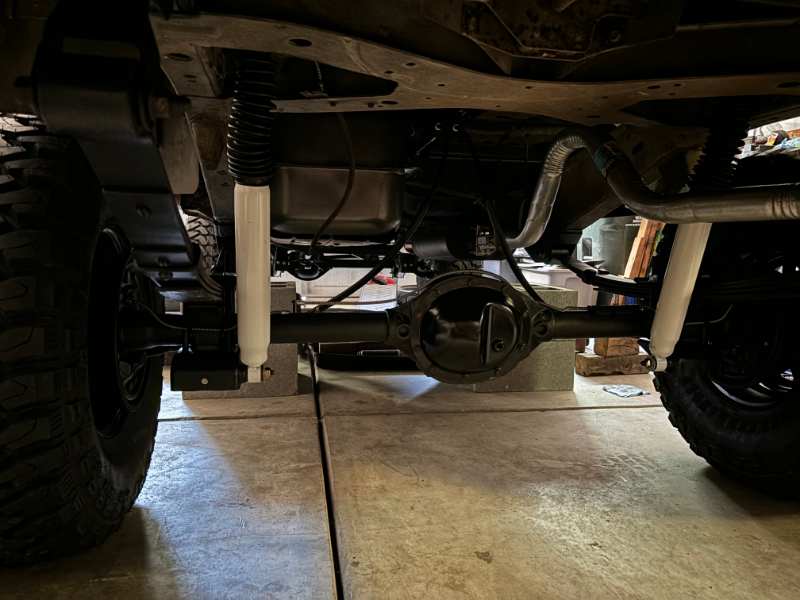
Thanks! Got her on her feet today. Rear height is 14.50" (+5.3" lift) Front height is 13.25" (+5.5" lift) Rake is 1.7" R > F I'm going to add another .5" - .75" to the ACOS up front and let the leaf springs settle. I'd like to see about 1" of rake, max. Just my preference on stance.
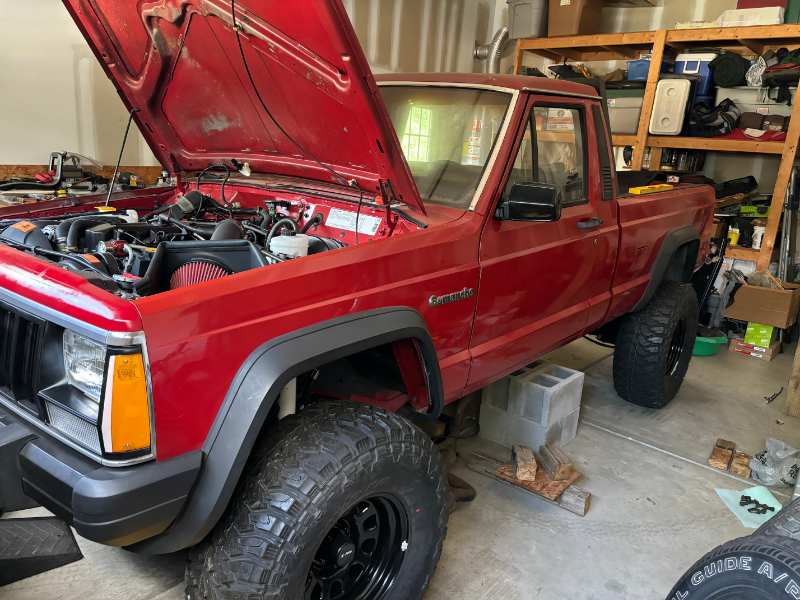
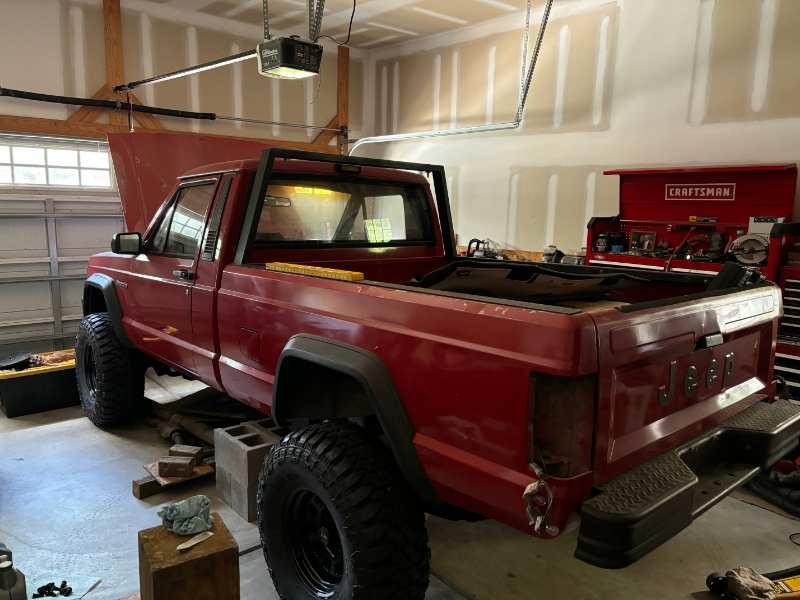
-
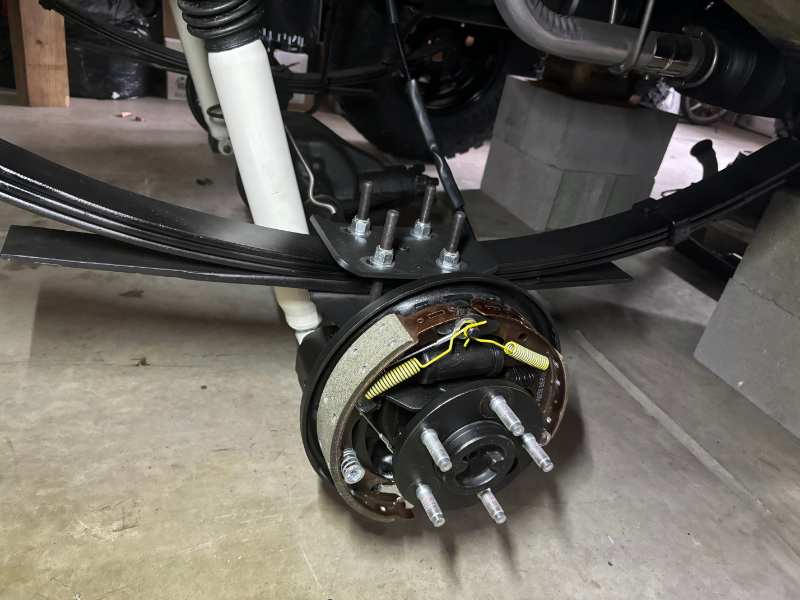
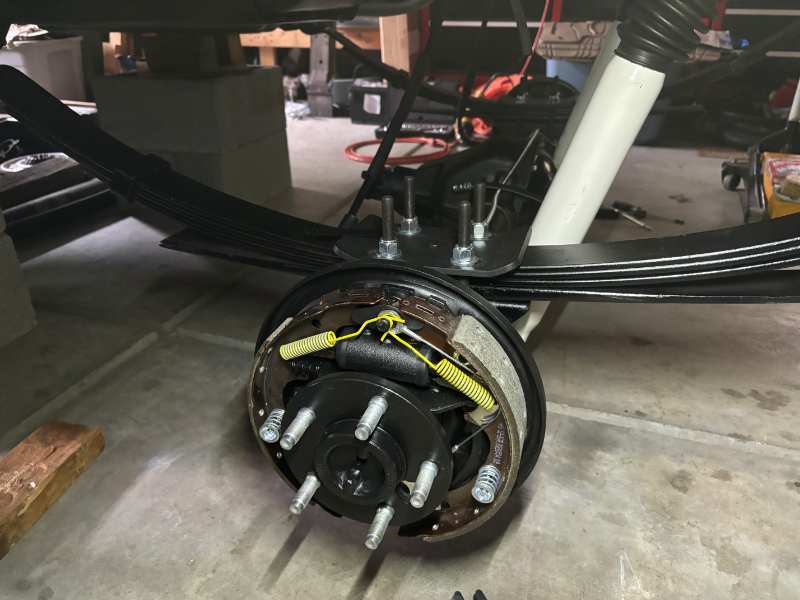
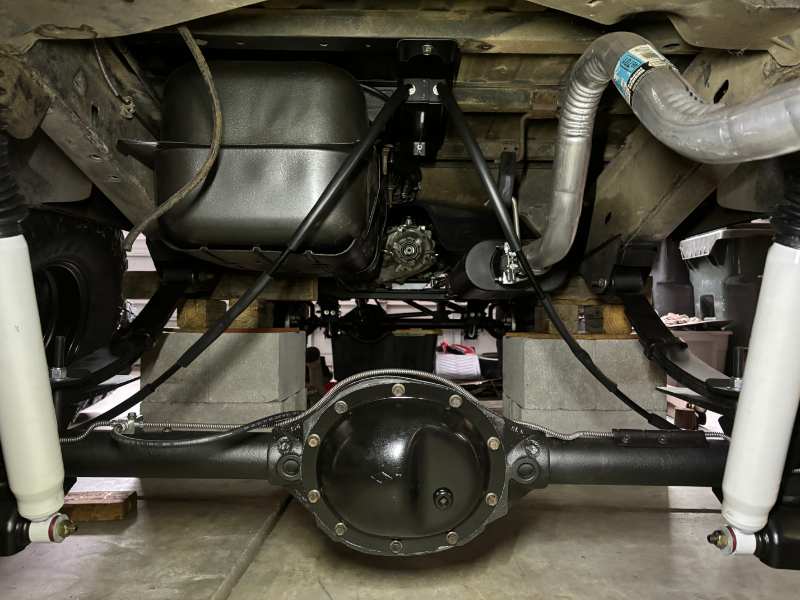
Had a little time to get the brakes together last night after work. Parking brake cables are stock length, and this is full droop. I had to route them under/ inboard of the leaf springs. I think I'll make a pair of looped brackets 3"-4" long where the original loops used to be. Need to adjust the shoes with the drums on and then set the parking brake adjustment. Then I'll get her on her feet and see what I have for rear ride height.
-
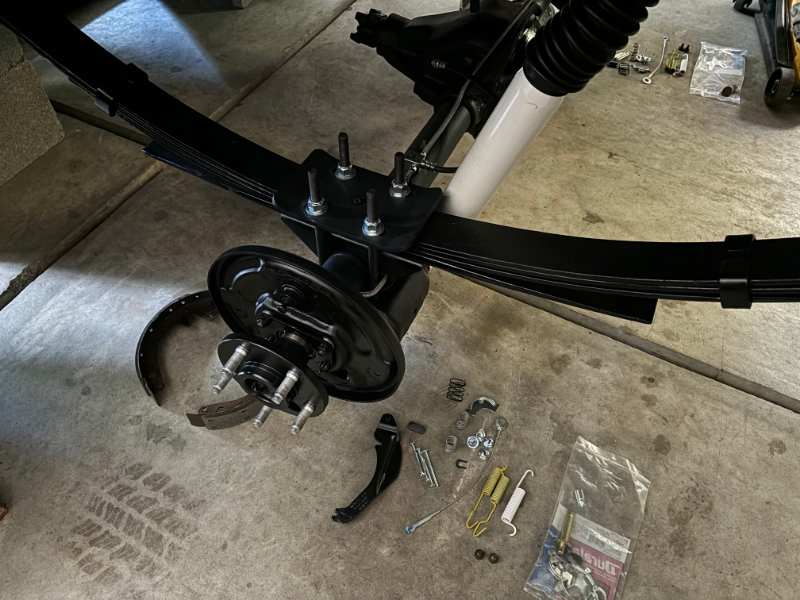
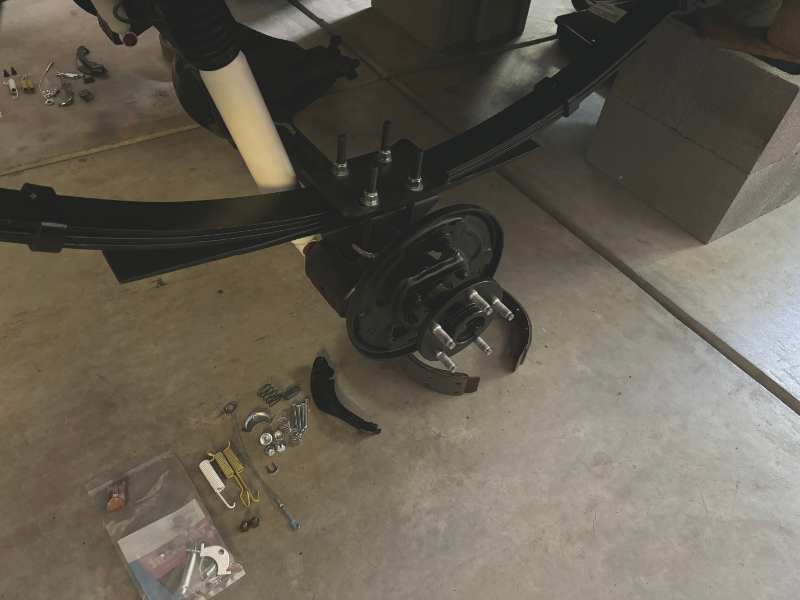
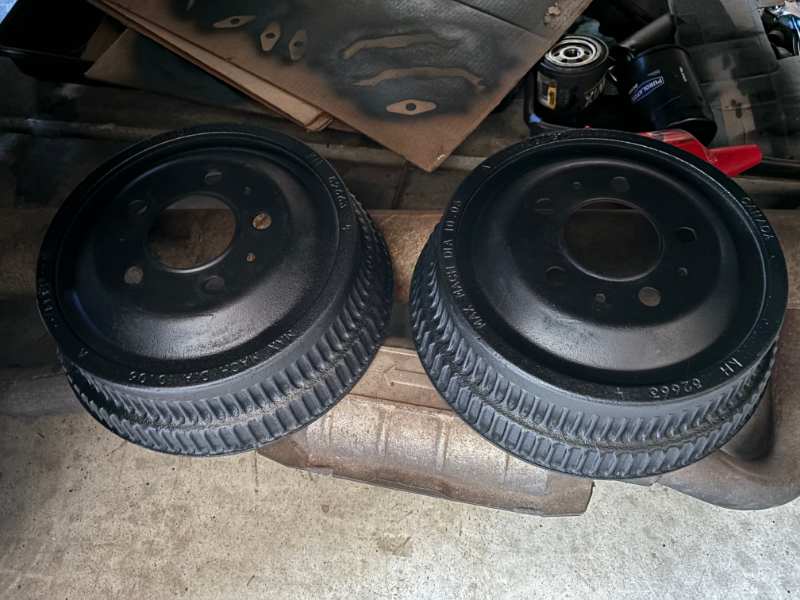
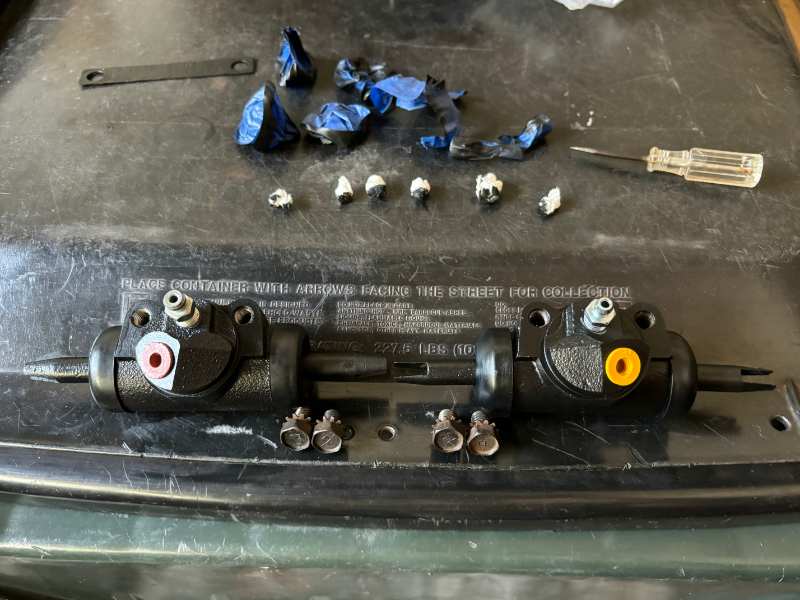
Longer wheel studs in, shocks mounted, all rear brake hardware staged and ready for assembly.
-
Need some dimensions - yet another lift thread
Gojira94 replied to Tex06's topic in MJ Tech: Modification and Repairs
Quick numbers - your lift is: 2.8" rear 4.0" front Which gives you .8" of rake R > F, so it looks almost level, with the weight of the topper probably not sagging it at all with those beefy leafs. -
Project Morris: The 89 to 99 Comanche Long Bed
Gojira94 replied to RuBacon's topic in Member Projects: Your Comanches
Looking at your lift question thread, it appears you have a stock-ish lower plate/ shock mount. And your compressed shock length at ride height is about 2 1/2" - 3" of uptravel. I thought maybe you'd moved the lower shock mount higher at first. In your case, if your lower mounts are near stock location, it's difficult to say why the body of the shock is positioned that high. Put some more pics of the rear shock setup in your lift question thread? -
Need some dimensions - yet another lift thread
Gojira94 replied to Tex06's topic in MJ Tech: Modification and Repairs
I found this thread to be helpful. Extracted from M.R. 277. There is a +1" difference in factory ride height front and rear for 4WD models. 6" lift for a 4WD model would be 13.75" front and rear would be 15.2". It's also my understanding that the factory rake (rear height > front height) is about 2 inches, with these measurements equally changed with lift (or sag). -
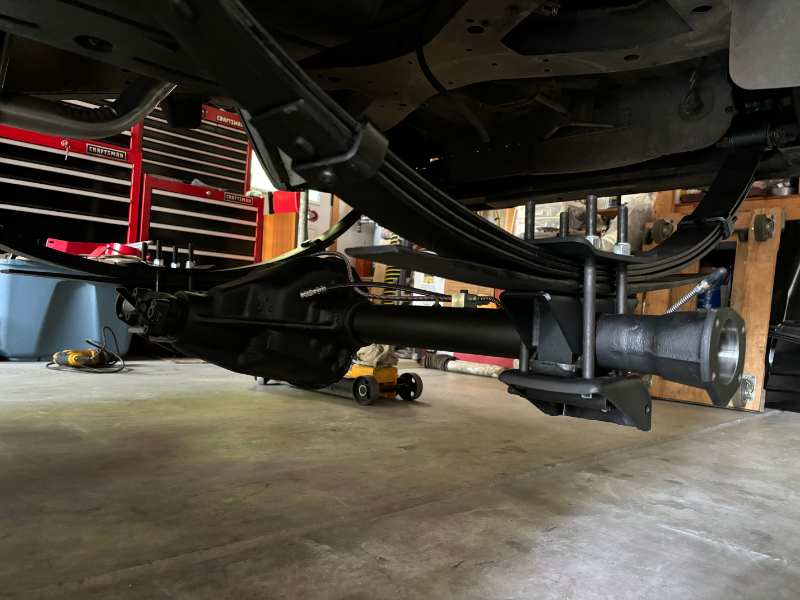
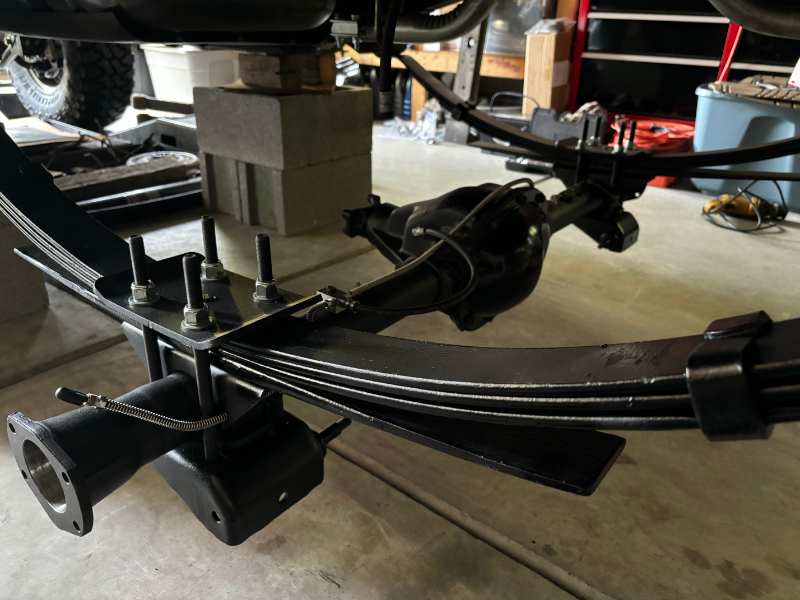
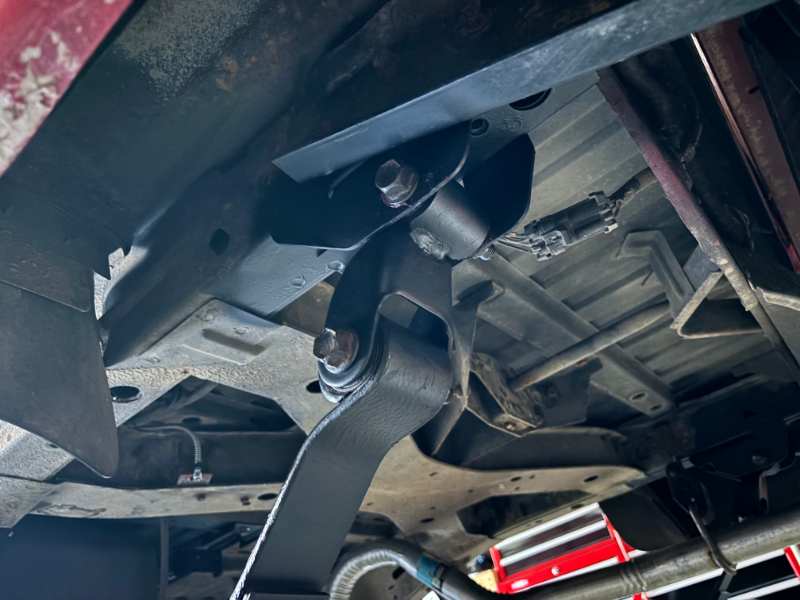
SOA is in. The temporary shackles I put on showed way too high in the back far beyond what it'll settle. So I threw the original shackles back on. I'll need a 24+" rear brake hose to accommodate full droop. And the axle vent tube is 6-7" too short as well. Wheel stud installer broke on the 3rd stud... I'd hoped to get it all back together yesterday. Working on Volvos again today, so it'll have to wait a day or two.
-
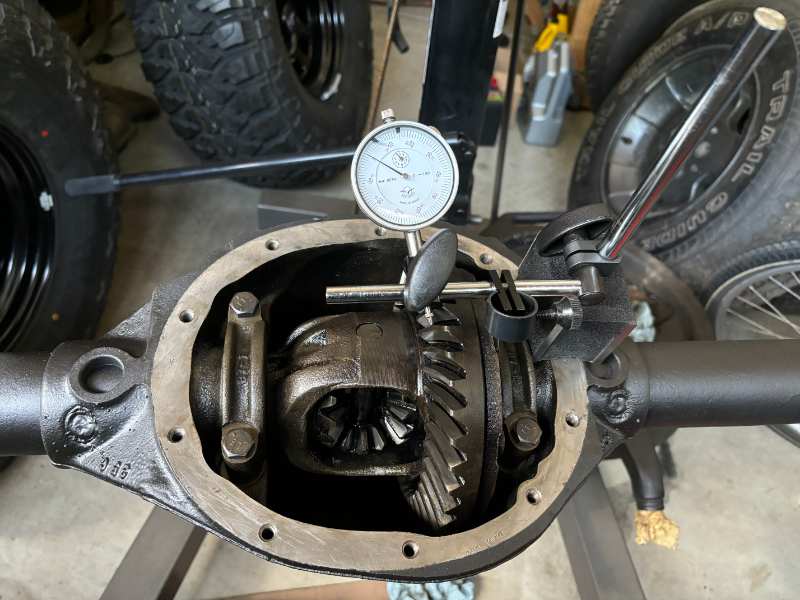
Science... Axle tube seals... Leaf springs installed (General 97-555). I picked up a cheap set of Chevy drop shackles for the moment so I can work on settling the springs. The temporary shackles will net 1.5" lift. If 5.5" SOA, this will make 7" give or take. Front is 6.5-6.75" right now. Something adjustable/ boomerang after that.
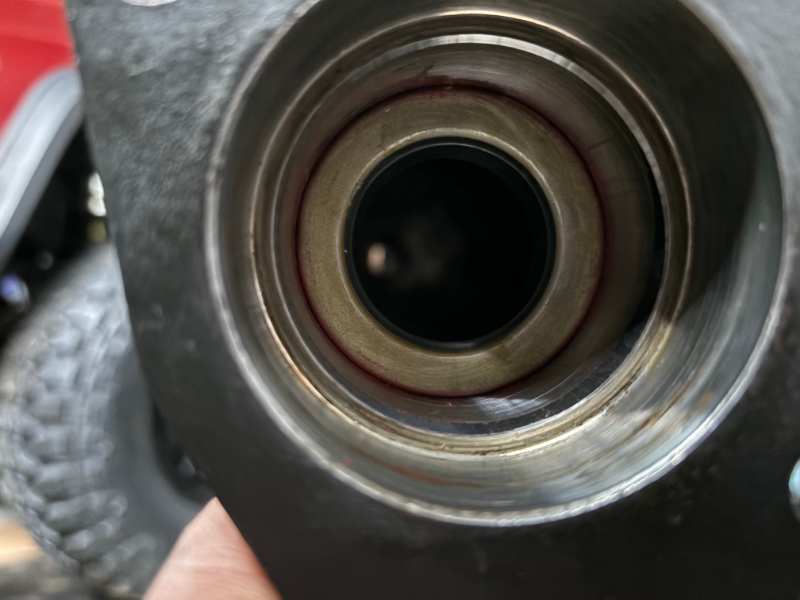
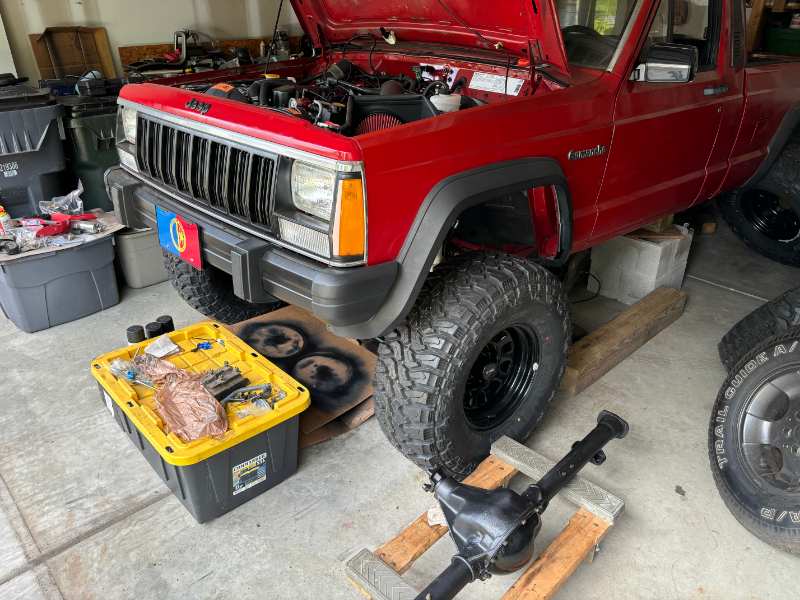
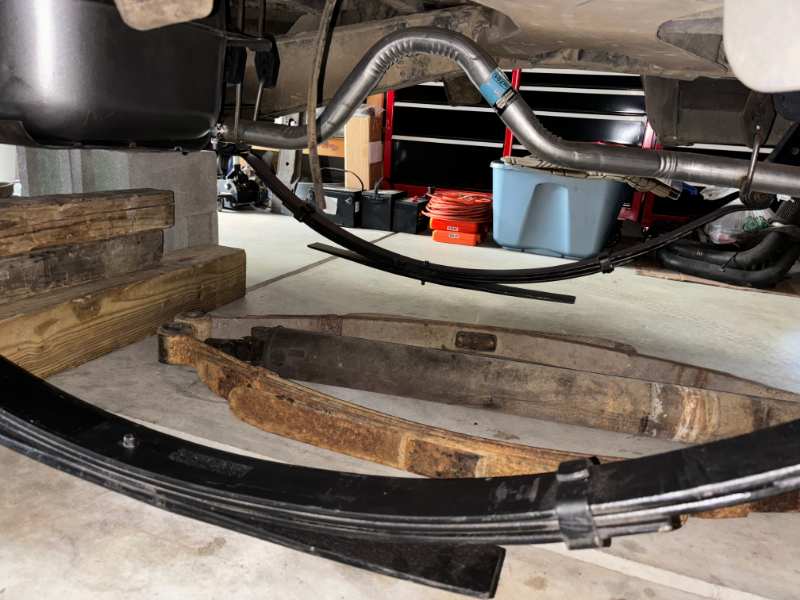
-
Chunk of steel in front of steering gear
Gojira94 replied to Anthi4078's topic in MJ Tech: Modification and Repairs
Confirmed present on a 96 XJ in my local boneyard a little more than a year ago. Question came up when I showed it in my build thread. Disappears from the parts catalogs in 97. -
Something to know about the Moog stuff- a lot of the suspension parts you find in Autozone, Advance, some others that are 'house brand' box have numbers that start with ES, DS and K are re-boxed Moog parts. Some are "country of origin" USA, some are Taiwan (just as good) and an ever growing number are China. That Detroit axle kit is 100% re-boxed Moog part numbers. Point well made that the stamped steel arms may not be as thick as OE, can't be sure without comparing. Weight comparison would be the quick and dirty way to get an idea. The lower ball joints do indicate (for now) country of origin = USA, but no guarantee.
-
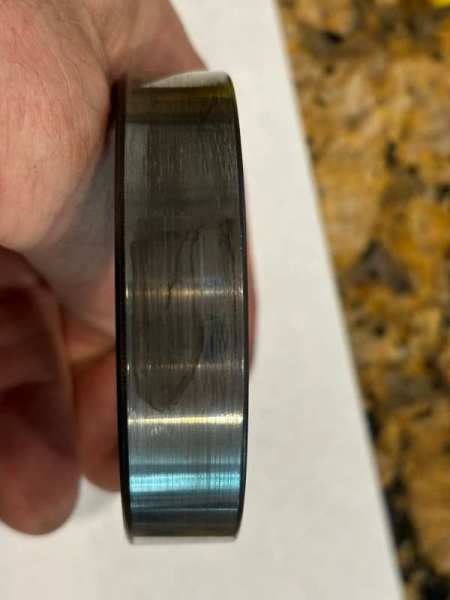
In a holding pattern for the most part. Got the rear brakes blown apart so I can clean and paint the backing plates. Doing a little cleanup, I noticed this on one of the carrier bearing races. The carrier didn't have any discernible side-side play when I pulled it but there was obviously no preload, hence the decision to replace the bearings. Glad I didn't roll the dice and just run it. It'd have burned up good in no time...
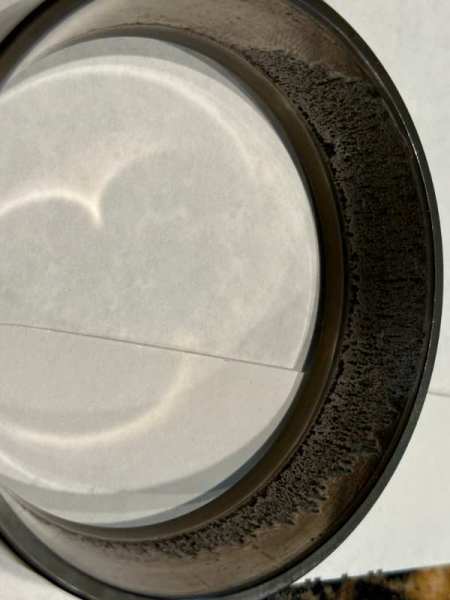
-
Agreed. There's a worm gear on the motor side and a round gear inside the main housing. A broken tooth or two from age/ fatigue on the round gear is the issue. This same arrangement was the bane of headlight motors in multiple GM vehicles in the 80s-90s. I recently had to pull my manual MJ regulators. In lieu of the original rivets I used 1/4"- 20 x 1/2" bolts with prevailing torque nuts. Nylon lock nuts would work as well. When you're done with the repair, you can pull the motor off the 96 regulator by bending back the motor housing tabs. Manually slide the flex shaft back and forth and you'll see the broken tooth/ teeth.
-
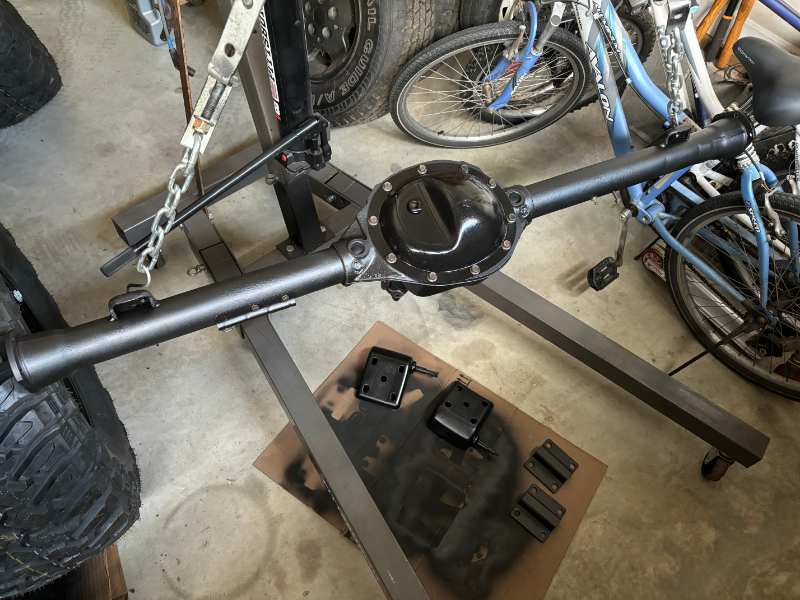
Only update from the weekend- D35 housing is cleaned up. Base coat of Por-15 topcoat, followed by undercoating. Inner tube seals are on the way, carrier is at my machinist in Raleigh getting new bearings. Axle bearing kits may take another week to show up. I plan to have the housing back in SOA with the new leafs (leaves?) this week, with just the axles to go.Then I can take measurements for the rear driveshaft.
-
This video shows what a block with sediment in it looks like. It's a HO example but the plugged hole where our Renix temp sensor would go is an eye-opener. 1:05 Preview of the issue 35:01 - 35:52 Overview of where the issue is 38:33 - 43:37 Expansion plugs/ temp sensor plug removal and the full reveal of rust sediment 52:52 - 53:33 Blowing it all out with a pressure washer Dex Browder and his machinist brother, Justin. A fun and informative channel...
-
Renix and HO bored throttle bodies available!!
Gojira94 replied to cruiser54's topic in MJ Tech: Modification and Repairs
I got one of his in May. Mine is a 63mm HO TB, but he's still doing both HO and Renix TBs. -
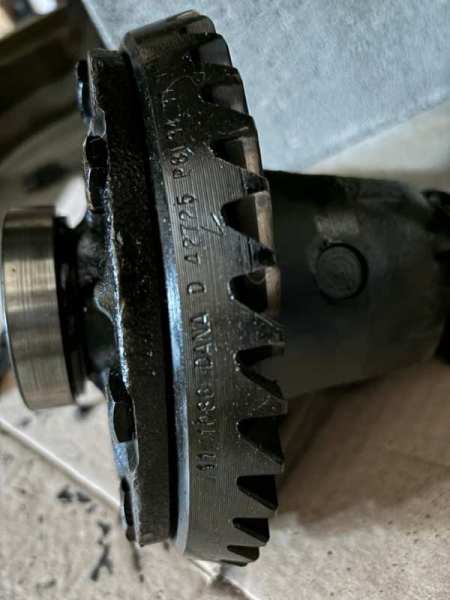
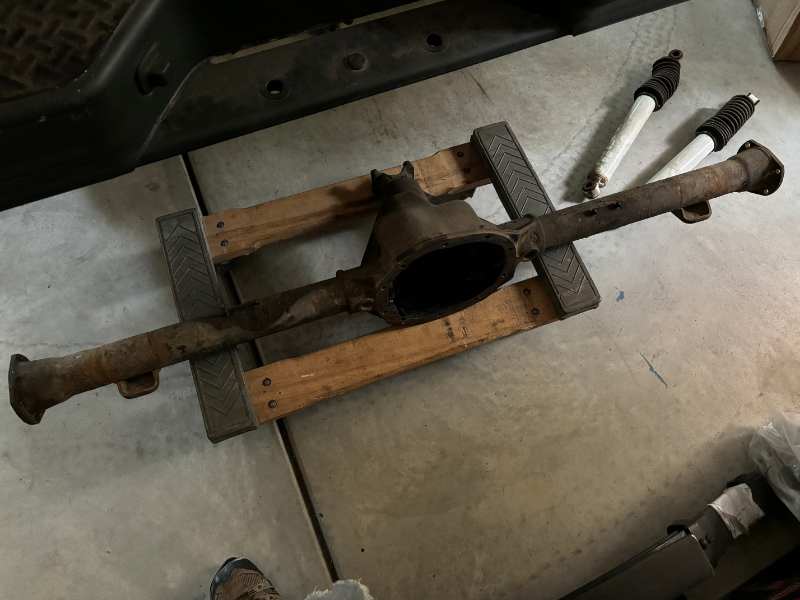
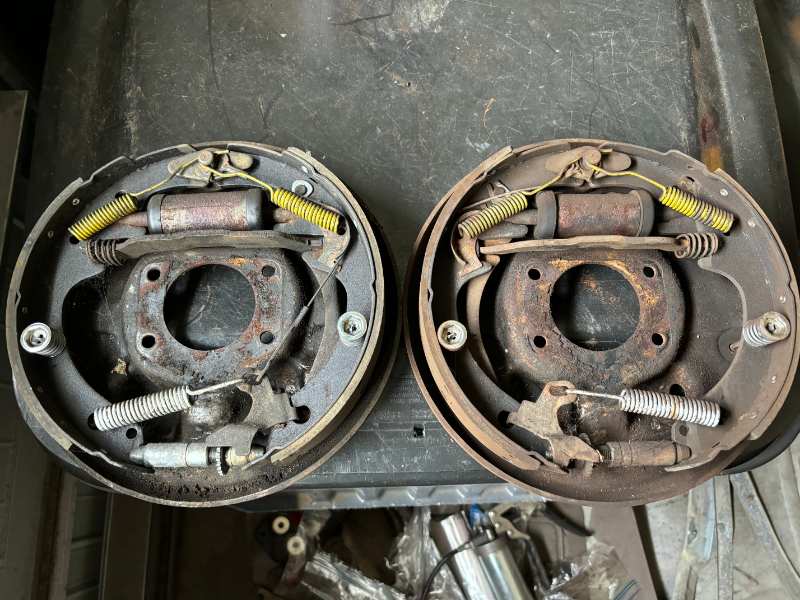
D35 (non c-clip) is out. It needs carrier bearings and axle bearing kit. Pinion bearings and seal have been replaced not too long before I got the truck. Preload is good, bearings are smooth and seal is in good shape with no leaks. Axle splines are straight, axles look good for what they are. Running what I got until something else presents itself. Rear brakes aren't awful, but I have all new hardware and shoes anyway. And an opportunity to clean and re-paint the backing plates.
-
Recommended fuel pump brand(s)
Gojira94 replied to mark 39's topic in MJ Tech: Modification and Repairs
With Advance Auto folding up a large chunk of its US footprint, a fair number of NOS Bosch 69302 pumps are turning up. I picked one up on EBay for about $70 USD. Came in a CarQuest (Advance’s commercial side) box. Comes with all that’s needed to fit in our sending units in place of the original, longer, 70mm roller-vane pumps. -
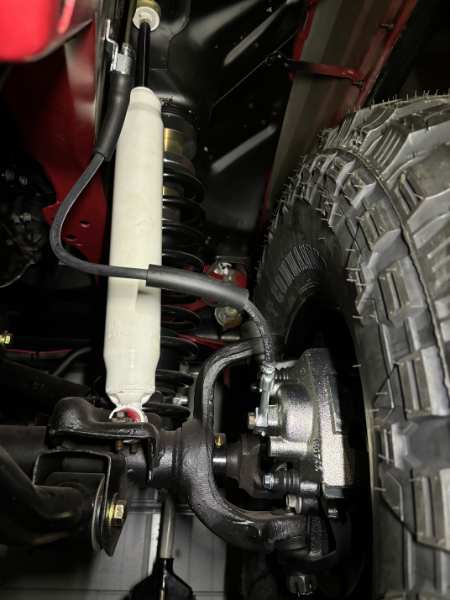
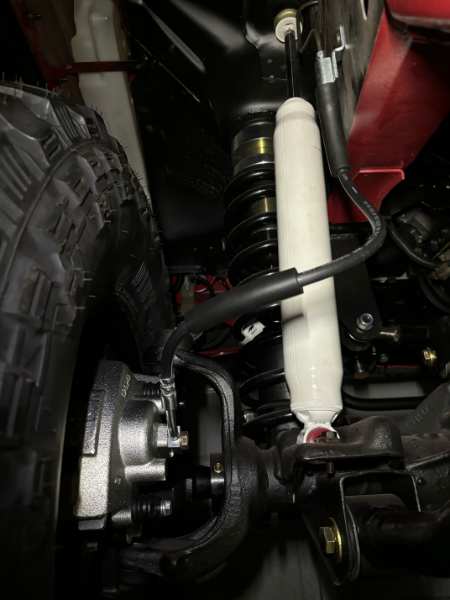
Front brakes installed. This is a PowerStop kit for 1999.5 XJ with cast rotors. Had to make a run to the boneyard for banjo bolts. Snagged a pair from a 97 V8 ZJ and another from an 06 Grand Cherokee. Exactly the same bolts all the way back to 91 apparently. Hoses are from Autozone - 777848 and 777849, 22" OAL. Pulling apart the rear brakes today on lunch break from job #1.