
Gojira94
-
Posts
718 -
Joined
-
Last visited
Content Type
Profiles
Forums
Gallery
Everything posted by Gojira94
-

Need help with distributor stator wiring
Gojira94 replied to ja_racing's topic in MJ Tech: Modification and Repairs
I can get that posted up for you around 6PM EST if no one else answers before then. -
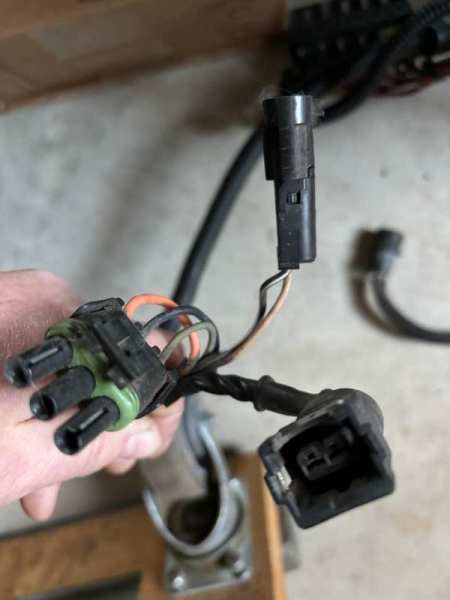
Hopefully this will help. O2, CTS & knock. O2 sensor connector is A) Orange - from O2 heater relay, B) Black - ground, C) Gray - sensor signal to ECU.
-
Planning out my home-brew fan setup, as my harness has no 'Heavy Duty Cooling Option' woven into it. My question isn't in the 'how' just 'how big' for relay and fuse. My fan is a TYC 620560, the 9 blade assembly for 97-01 XJ and I can't find real data on what its initial and running draws are. I see some variation in relay choices between 30, 40 and 30/40 amps. My initial thought is a 30/40 or 40 with a 30A inline fuse between 12V source and relay pin 30. I realize the initial draw is where the big spike is and I'm trying to set a reasonable expectation up front. Anyone got any information or experience with one of these fans?
-
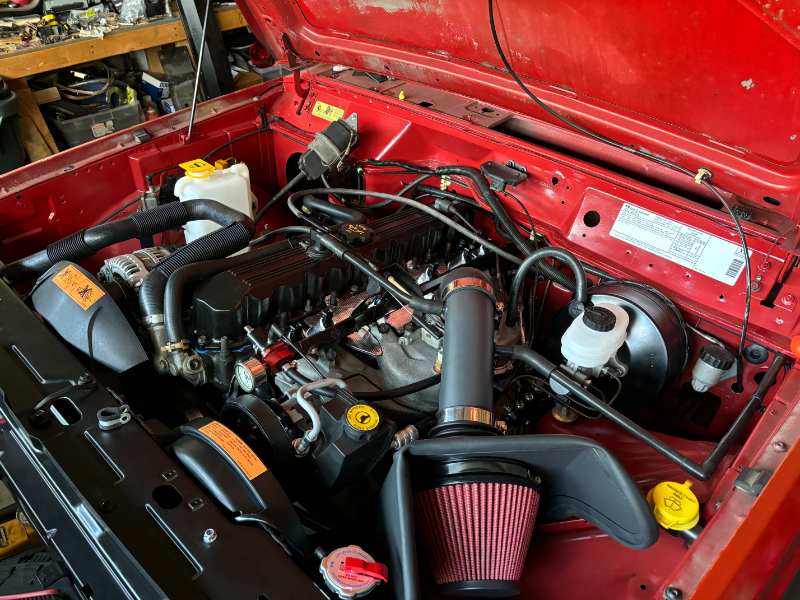
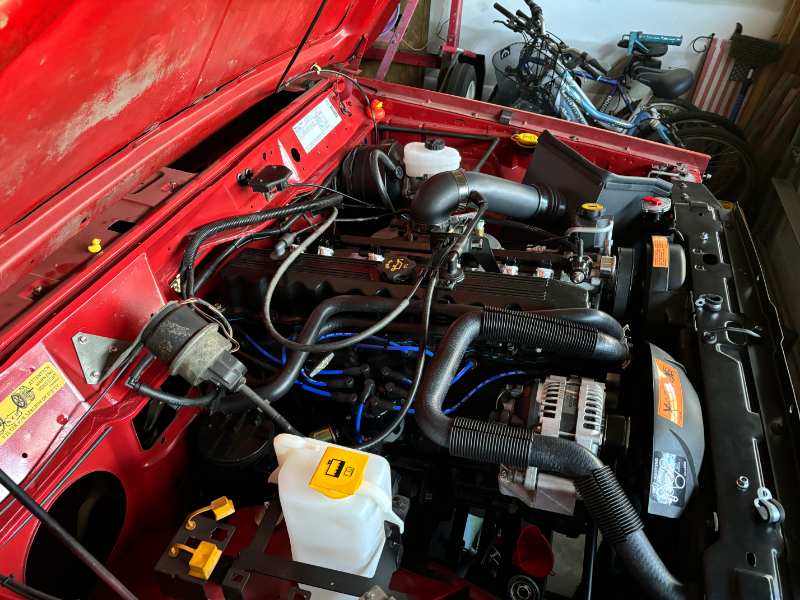
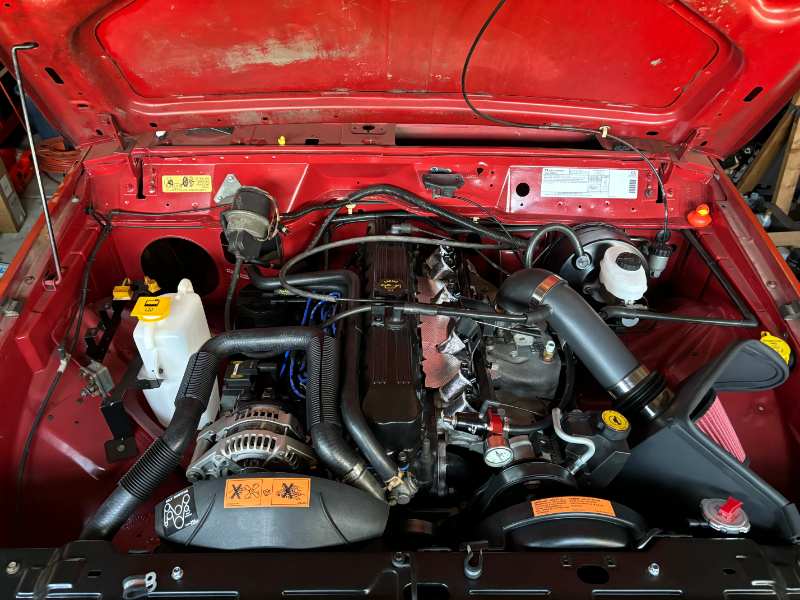
Ready for engine, injector and front lighting harnesses. Sourcing expansion tank to radiator line later today. A shout-out and big thank you to @boxyjeep for the awesome set of labels!
-
Hah. Just noticed you're in NC. Yeah, I finally got the last fitting I needed for my fuel system late yesterday, and my plug wires. Aggravating delays this week with the snow.
-
Yes.
-
Not sure for a Renix vehicle equipped with CAD and cruise. But it might work for all 3 systems with an additional T and feed line to the CAD added in.
-
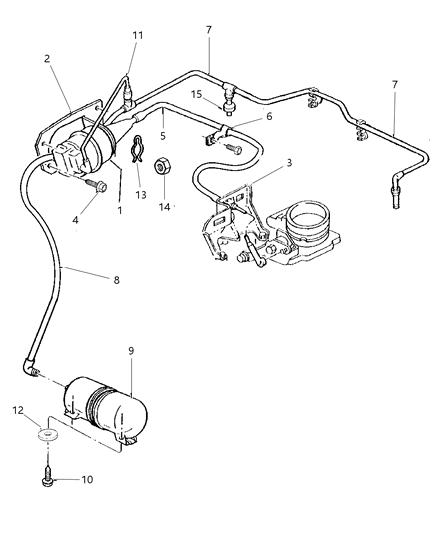
It looks like in 91 they just tried to simplify the setup with a single vacuum line for the tank and accessories fed by it, all the way through 2001 on the XJ. Electrical control of the servo changed from 5 wires to 4 to operate from VSS signal feedback in the ECU, but it was still vacuum modulated. It appears no check valve was fitted for the cruise servo vacuum source, just for the HVAC vacuum controls.
-
Interesting find in the boneyard- a 94 XJ showed up. I snagged a football reservoir with a single port. Just the one port for manifold vacuum. It uses a check valve at the HVAC. This XJ didn't have cruise so the tee where it would have connected was capped. I'd imagine in 94 it would have used a check valve there as well if cruise equipped (no, no check valve for cruise). This XJ had obviously been sitting in a tree row for a while, but it hissed when I disconnected the line from the reservoir. I like the simplicity of the setup, so I'm going to try it out as pulled, with no check valve at the cruise servo.
-
Fuel system complete, minus the inlet feed from hard line to rail. Waiting for one AN -8 to 5/16" barb fitting to show up.
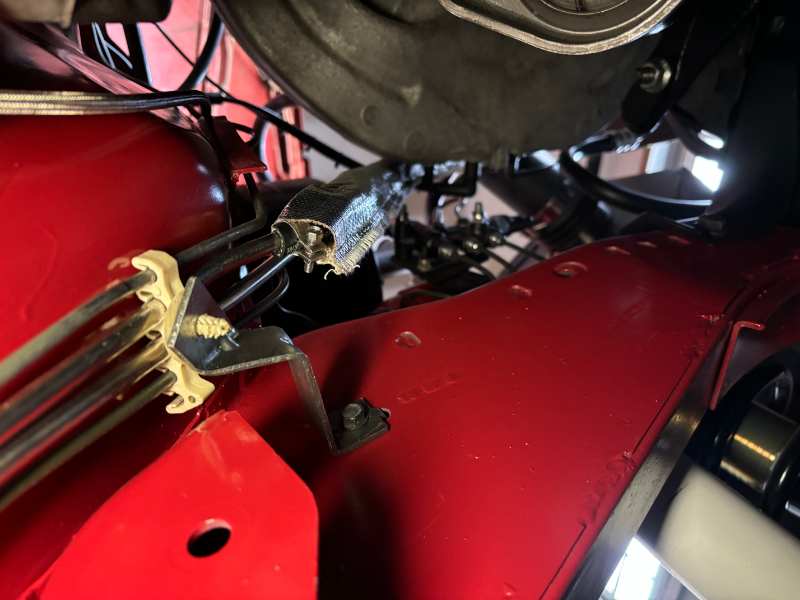
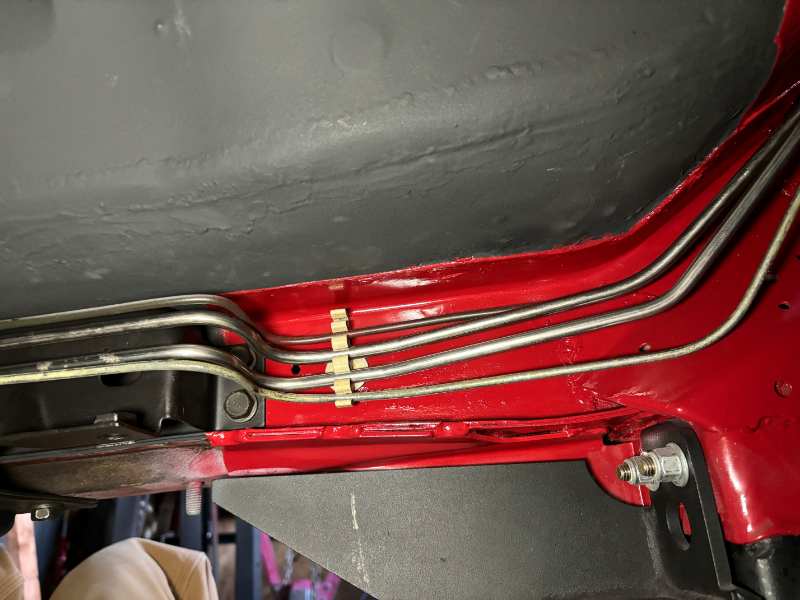
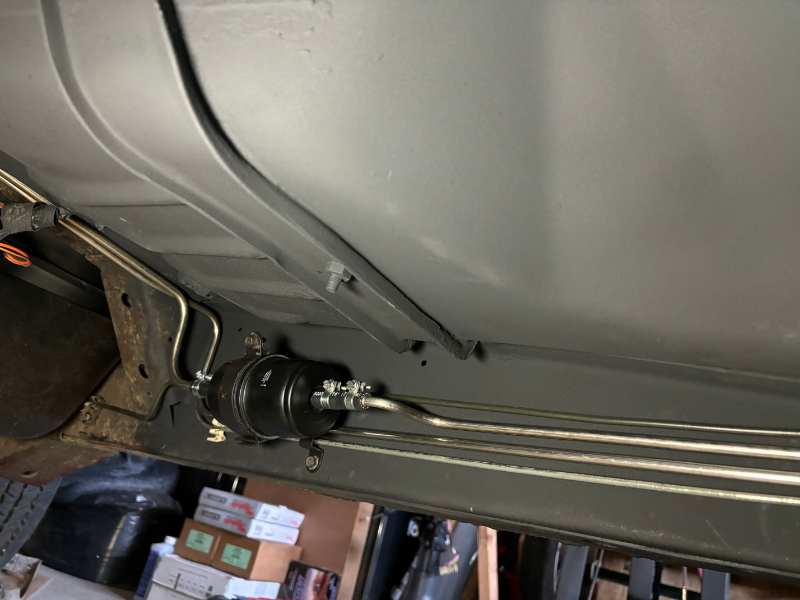
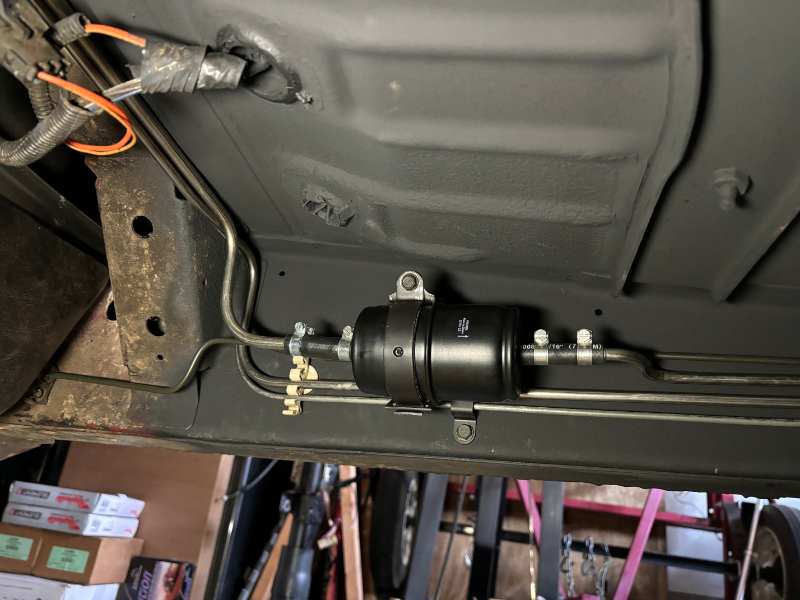
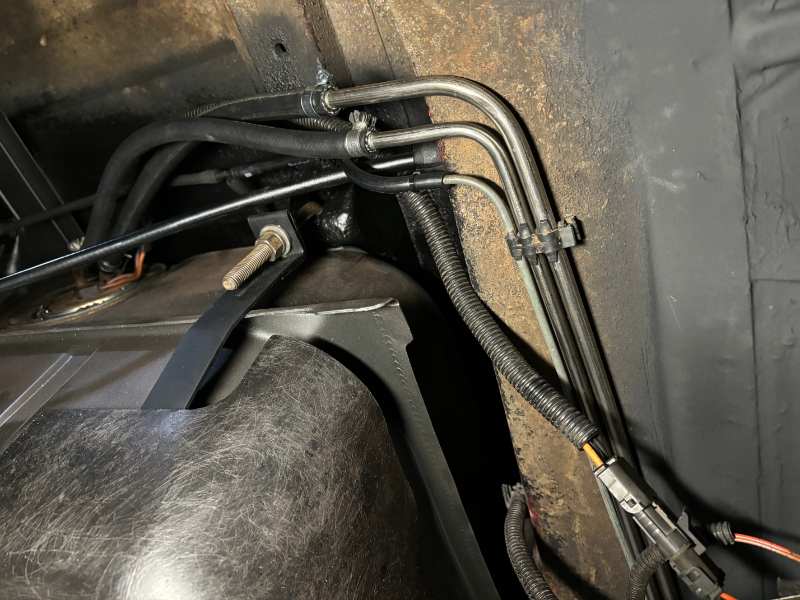
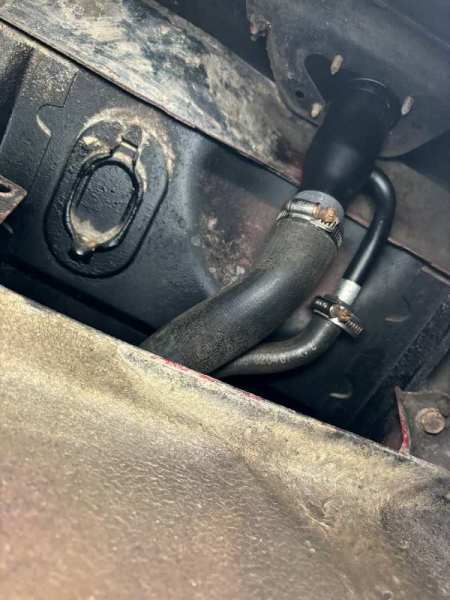
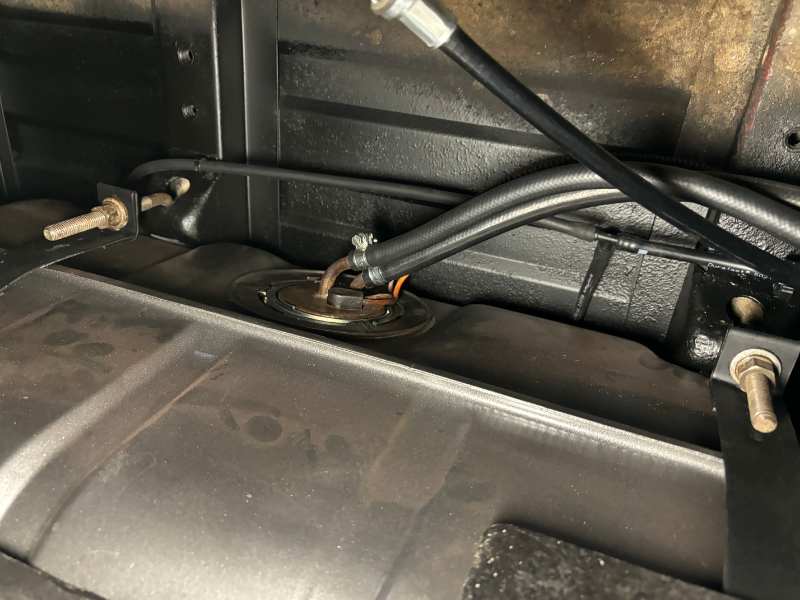
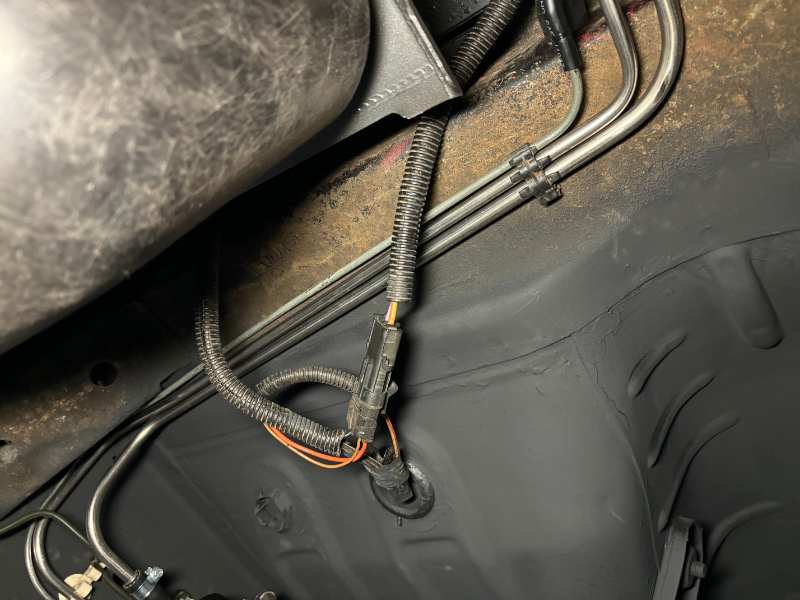
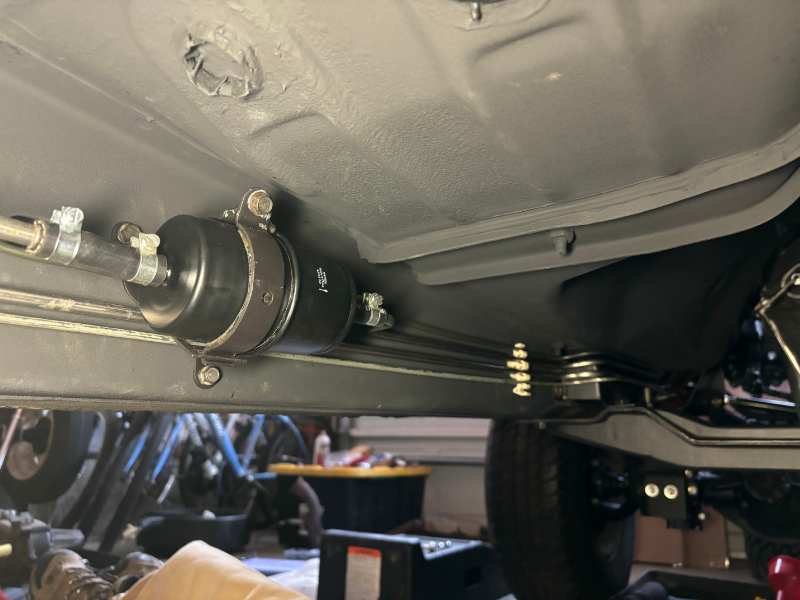
-
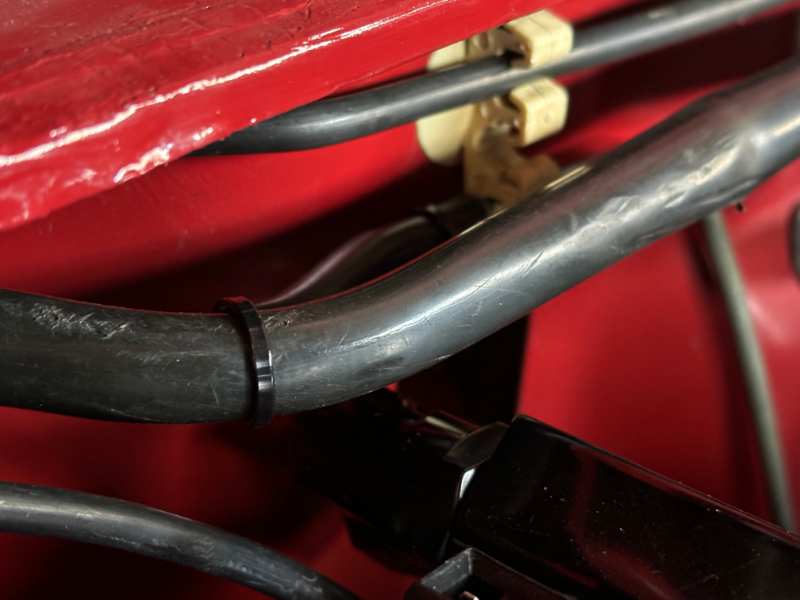
EVAP canister connections done.
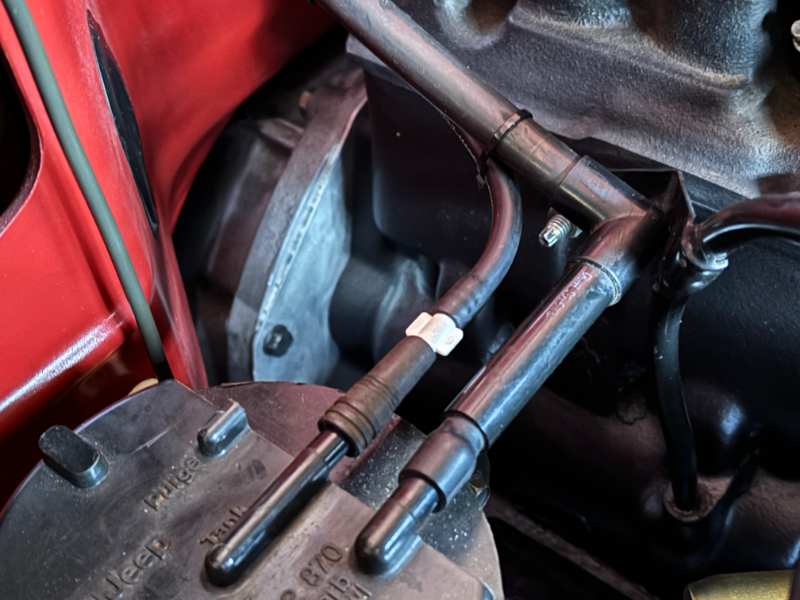
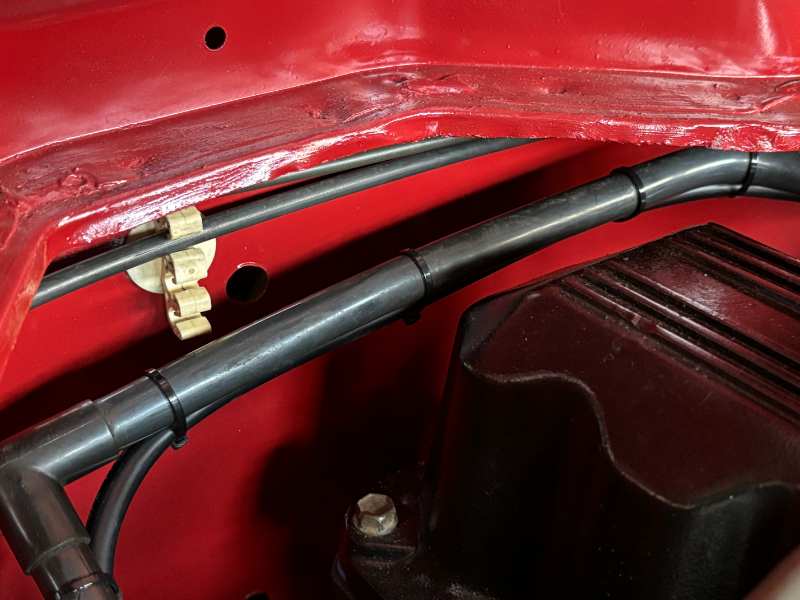
-
MTS makes the hose assembly, part # JCCCH-8790, though I can’t find it listed on their site. Extreme Terrain sells it, also on EBay. JCCCH-8790
-
CCV fresh air hose. Other is the CCV metered orifice hose.
-
Well, it's an easy thing to swap, even with a completely assembled vehicle. I'm all over the map right now, pulling together vacuum lines, EVAP, fuel, etc. so I'm trying to sort things that could easily wait into a list.
-
Thanks all for the replies. I'll give the one I've got a go, if it doesn't seem adequate, I think the one-chamber football is what I'll look for.
-
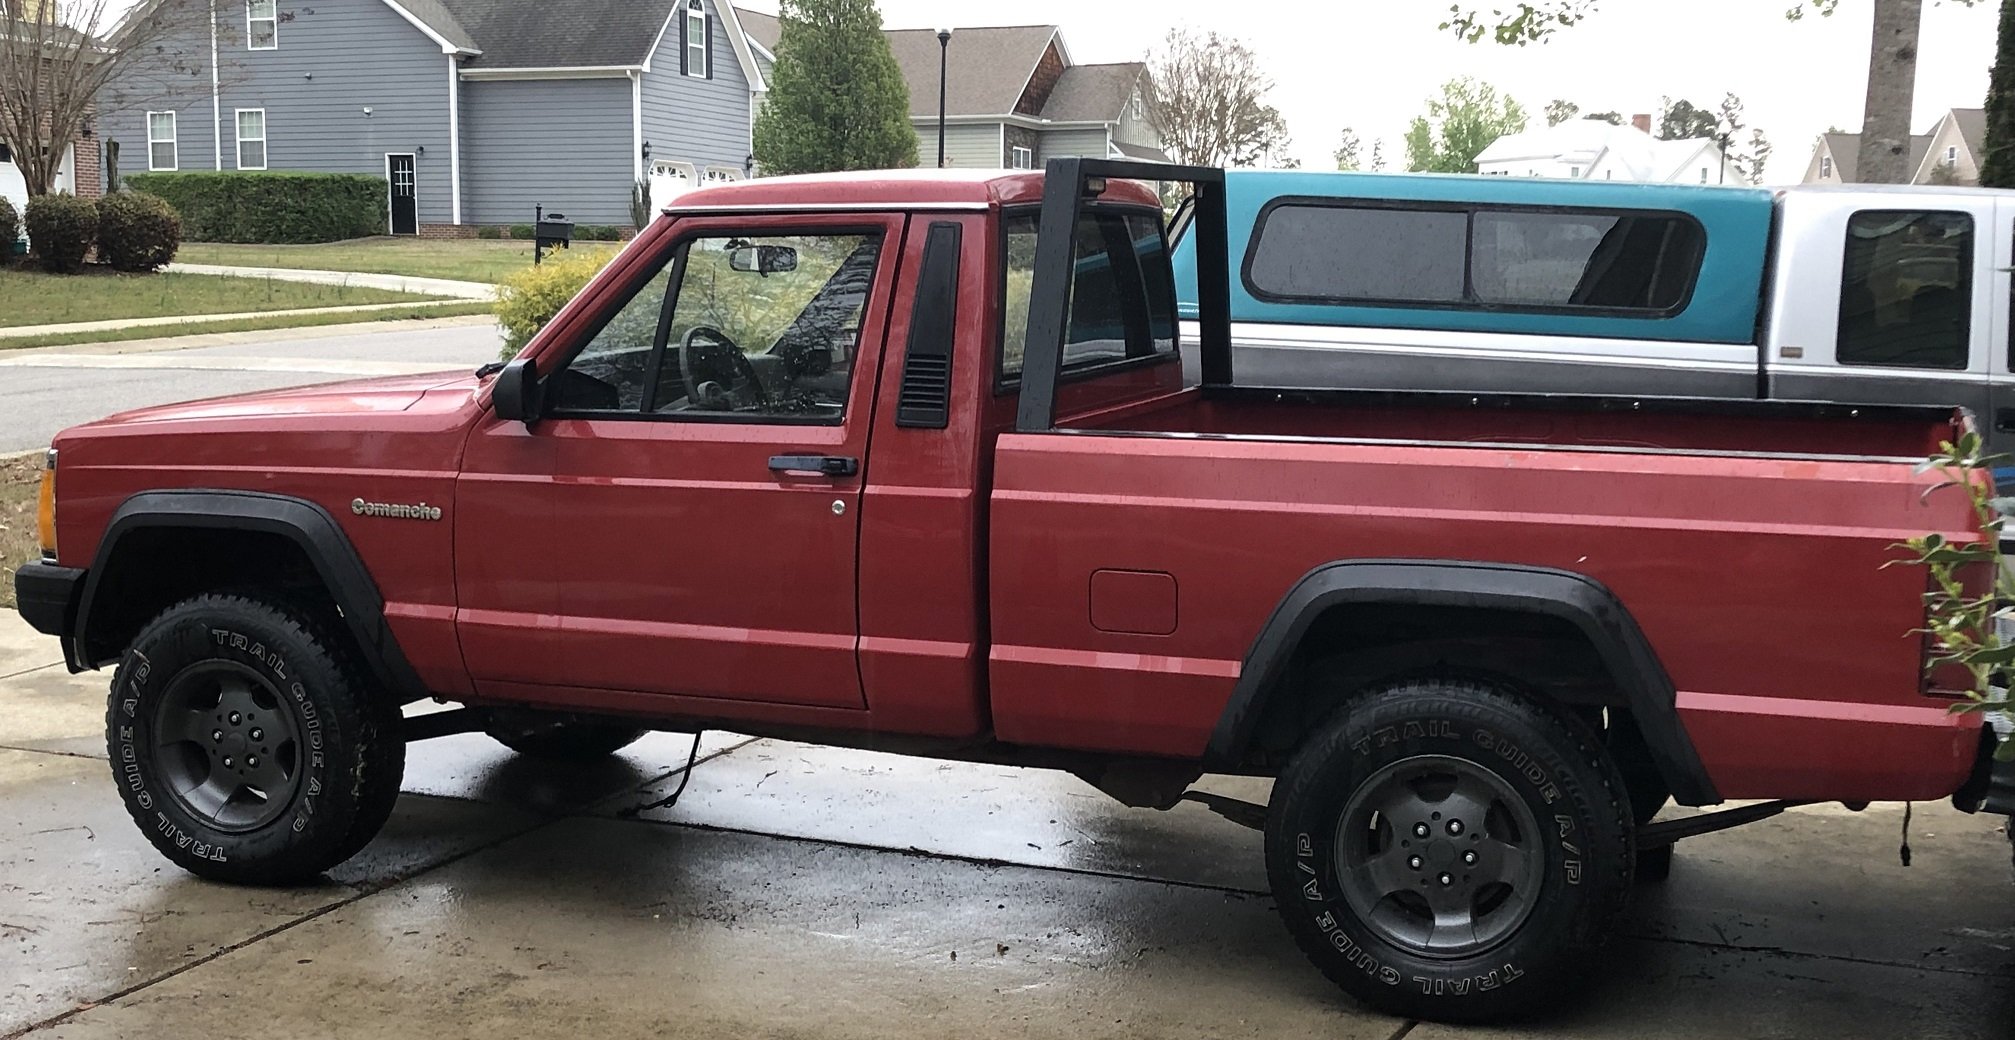
I have the 'baseball.' As the vehicle was originally built and sold, it had no A/C, no CAD, no cruise, just vacuum to run the heater controls. I'm only adding cruise. Is the 'baseball' tank adequate for these 2 functions, or should I be looking to replace it with the 'football' if I'm adding cruise?
-
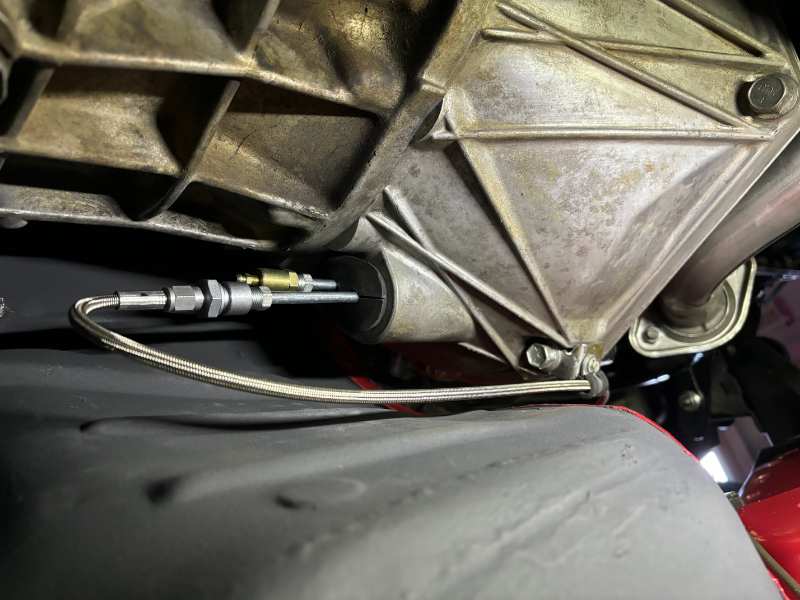
A few more details attended to up top, and a pic of the clutch hose setup. Figured out where I'm going to mount the cruise servo. Attaching to an HO throttle body, unlike the Renix XJ it came out of, where all the cable attachment is way different.
-
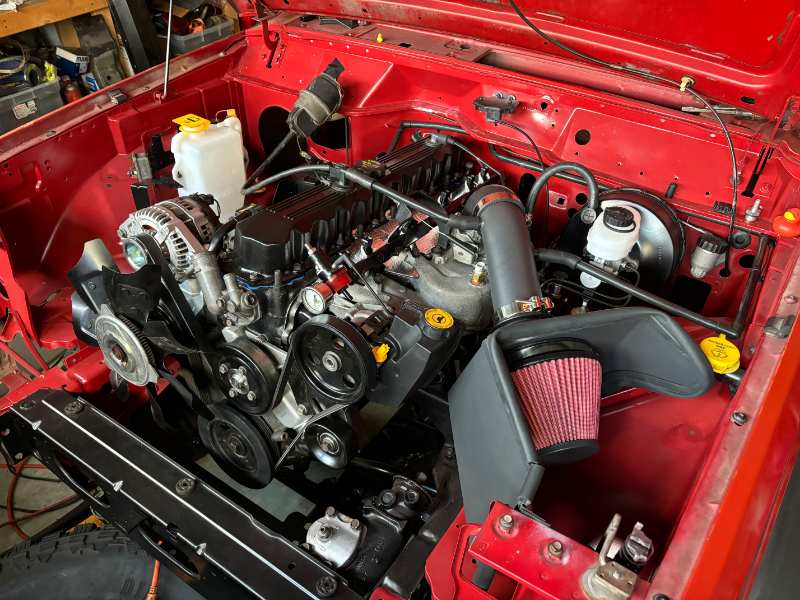
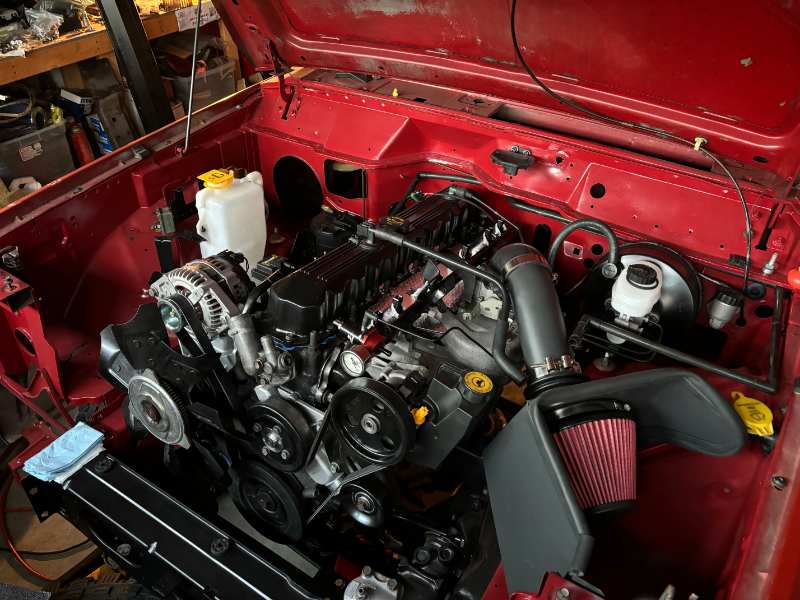
Sunday was a day of "How many 5-15 minute tasks can I get done today?" - Canister fresh air line - Clutch hydraulic line - Finish cleaning intake - Fuel rail & FPR vacuum line - Injectors - DEI fuel rail heat shield kit - Brake booster vacuum line - Throttle body (still needs bored) - MAP sensor - Throttle and cruise cables retainer on VC - PS pump - Metered orifice and fresh air CCV tubes - CAI (RC open box, < 1/2 price, for giggles) - Exhaust final mounting
-
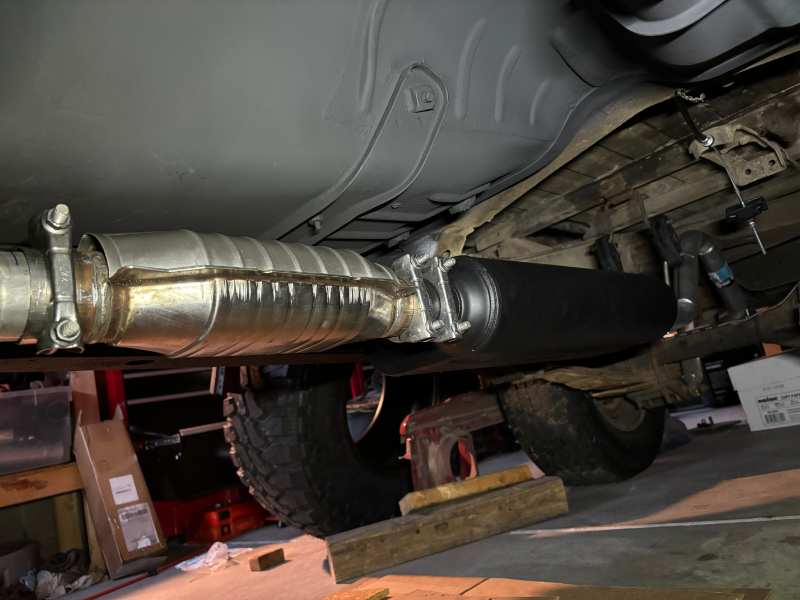
@Eagle_SX4 I decided to try what you've tried before and see how it goes. I can always circle back and add additional shielding. Here's everything tightened and tucked up in place:
-
Interesting. First of this type I’ve installed on anything I’ve built, so thanks for the findings. I’ve always used spun cats on my street builds, 300 cell/in. or 100 cell/in. and done heat shields above. The GM shields are 2 layer heavy foil with glass or ceramic fiber in between, and flexible mounting tabs. I trim to shape and re-crimp the edges. My local yard usually has an Xj or 2, so I should be able to browse, choose and test fit to find a good match to customize.
-
Pretty sure that one’s meant to be bottom side (think pulling off the road on tall grass). I think It would be too small to be effective up top anyway. The original heat mat under the passenger side seat was like a soggy diaper when I pulled the interior out.
-
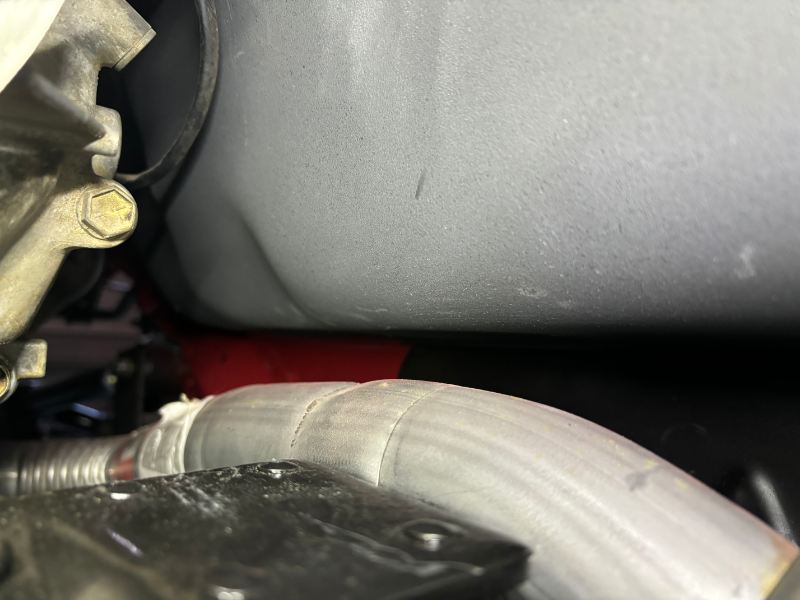
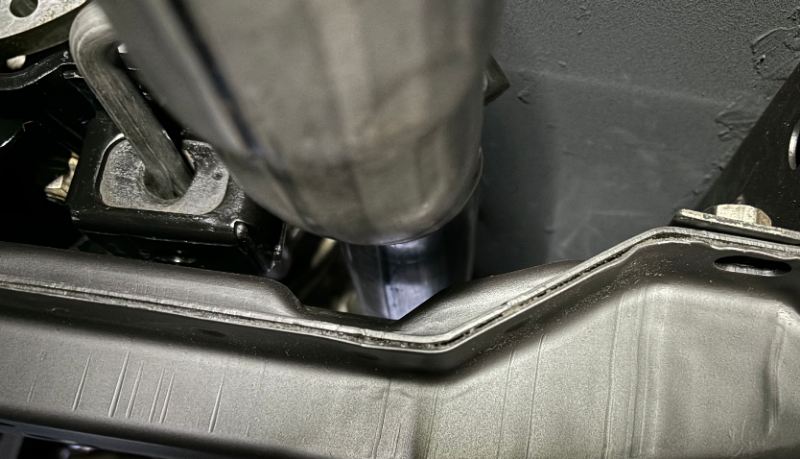
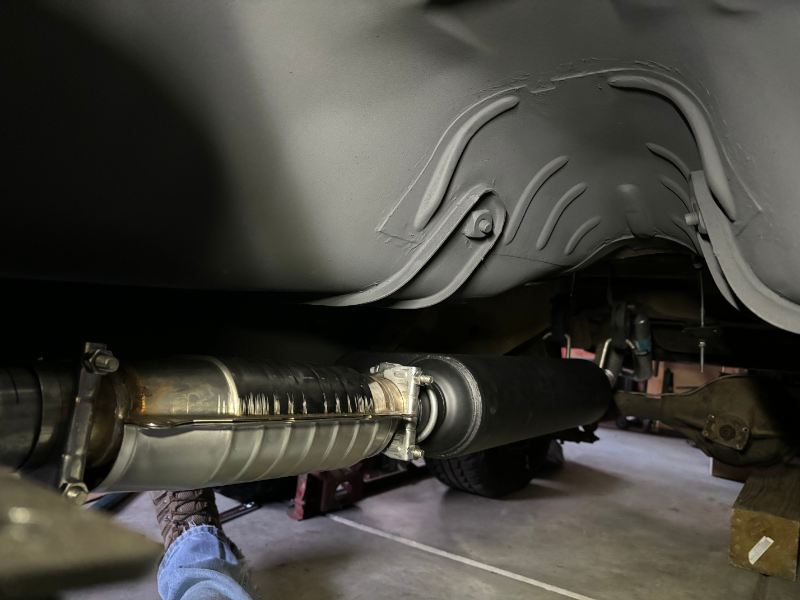
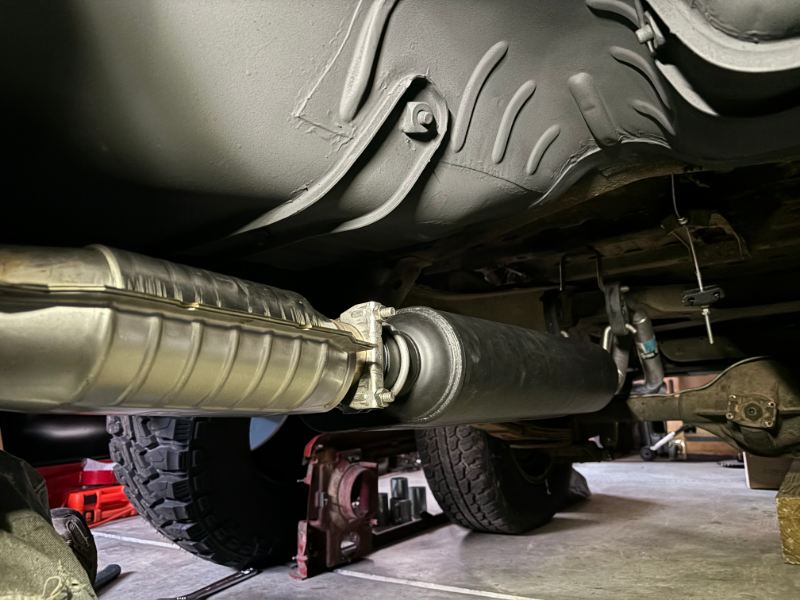
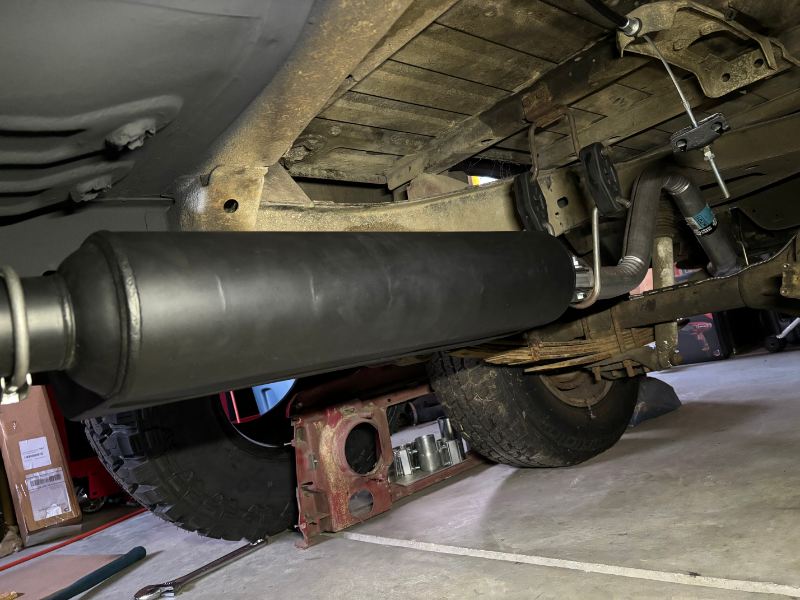
Exhaust pics. Only had to shorten the tailpipe 7.25". None of the clamps are tight, it'll sit about 1 1/2" higher once tight. I'll be cannibalizing a heat shield for the cat from a full size late model Chevy/ GMC.
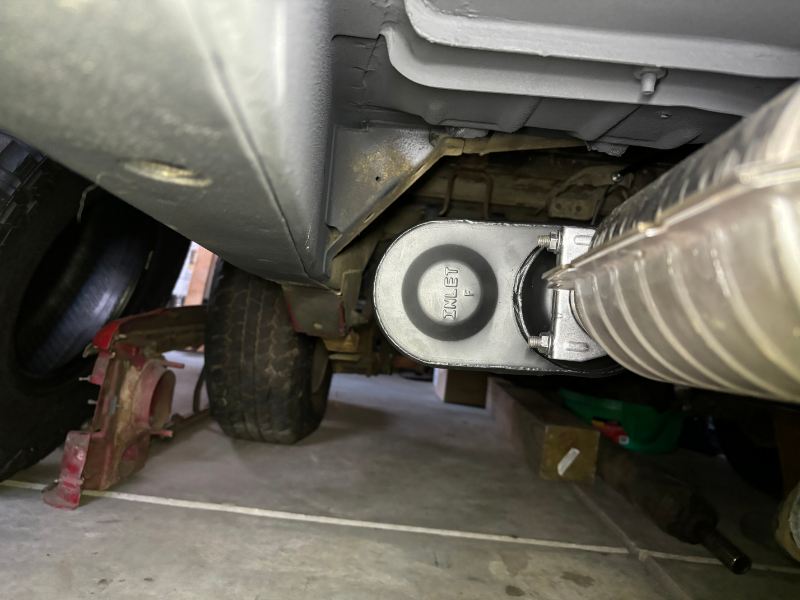
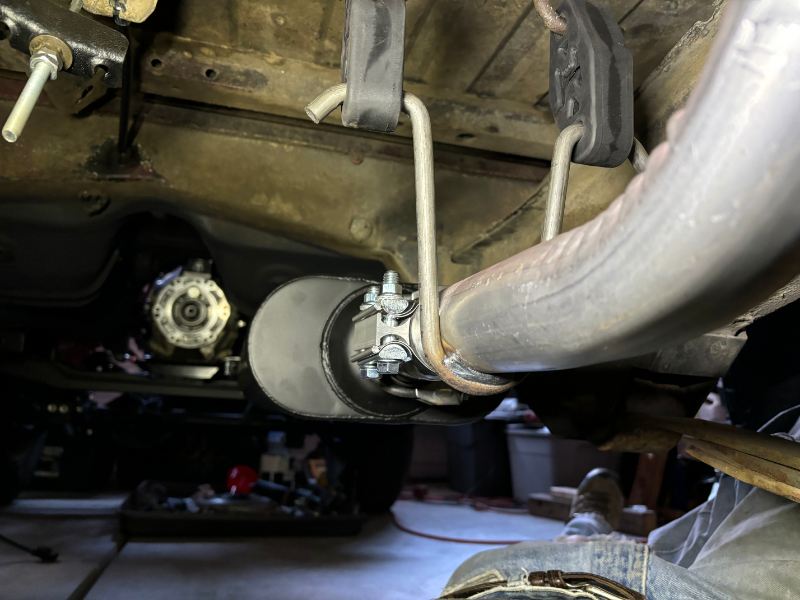
-
Oil light , where to start
Gojira94 replied to Tyson Josh's topic in MJ Tech: Modification and Repairs
If you have a round pigtail with an offset single blade terminal, Wells PS117 is available at most parts stores. Autozone re-packages it as Duralast red/blue box. $10.00. PS117 -
Thanks very much! It feels good to be making progress!
-
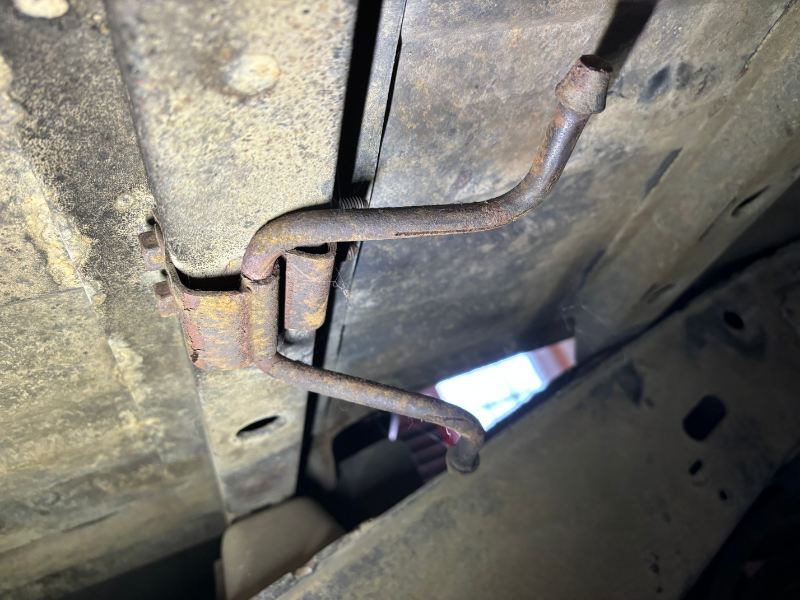
To start clearing out some of the larger stored parts, I've been working on exhaust. Parts list is as follows. Since the engine and manifold are essentially 91-95 HO, I'm comparing lengths to a 91 MJ's stock parts as made by Walker. Any slip fitment is excluded from nominal measurements to be conservative in estimates. Mine: Stock 91 MJ: Additional Length Headpipe Walker 55277 2.5" no crush, 38.25" length. Walker 44626 2.25" crush, 36" OAL (2.25" longer) Converter Magnaflow 94006 2.5" 16" OAL Walker 15634 2.25" 21.75" OAL (5.75" shorter) Muffler (big, deep, quiet) Flowmaster 52571 70 Series 2.5" 28" OAL Walker 18403 2.25" 21" OAL (7.00" longer) Tailpipe Walker 46701 2.25" 70" OAL (Same/ no comparison) (net 0.00") =========== min. 3.5" longer The idea is to be able to keep it in 4 sections for ease of removal. 5 stainless band clamps, and several adapters to be welded to cat and muffler (with a very short spacer pipe between cat and muffler) are in play. This introduces additional approx. 8.5-9.0" net. I can take an absolute max of 10.5" off the front of the tailpipe to accommodate the longer cat and muffler assembly. Looks like the tailpipe hangers can swing forward/ backward about 2" more or less. I need to mock and measure on vehicle before doing any trimming (already did it in my den lol). As I went out to the garage on my lunch break from job #1, I wondered aloud "I wonder what the first issue will be?" There were two... First issue, I always thought the hanger angle on the headpipe didn't look right. Quick fitment check had it resting on the crossmember. I bent it about where I thought it ought to be and I like it now. Second issue is the front hanger for the tailpipe. Somebody had an 'oops' somewhere back in time. I have this soaked with PB Blaster so I can pull it off and fix it before I can continue the mock-up. It's frozen solid and now asymmetrical...