

JMO413
-
Posts
3208 -
Joined
-
Last visited
-
Days Won
4
Content Type
Profiles
Forums
Gallery
Everything posted by JMO413
-
-
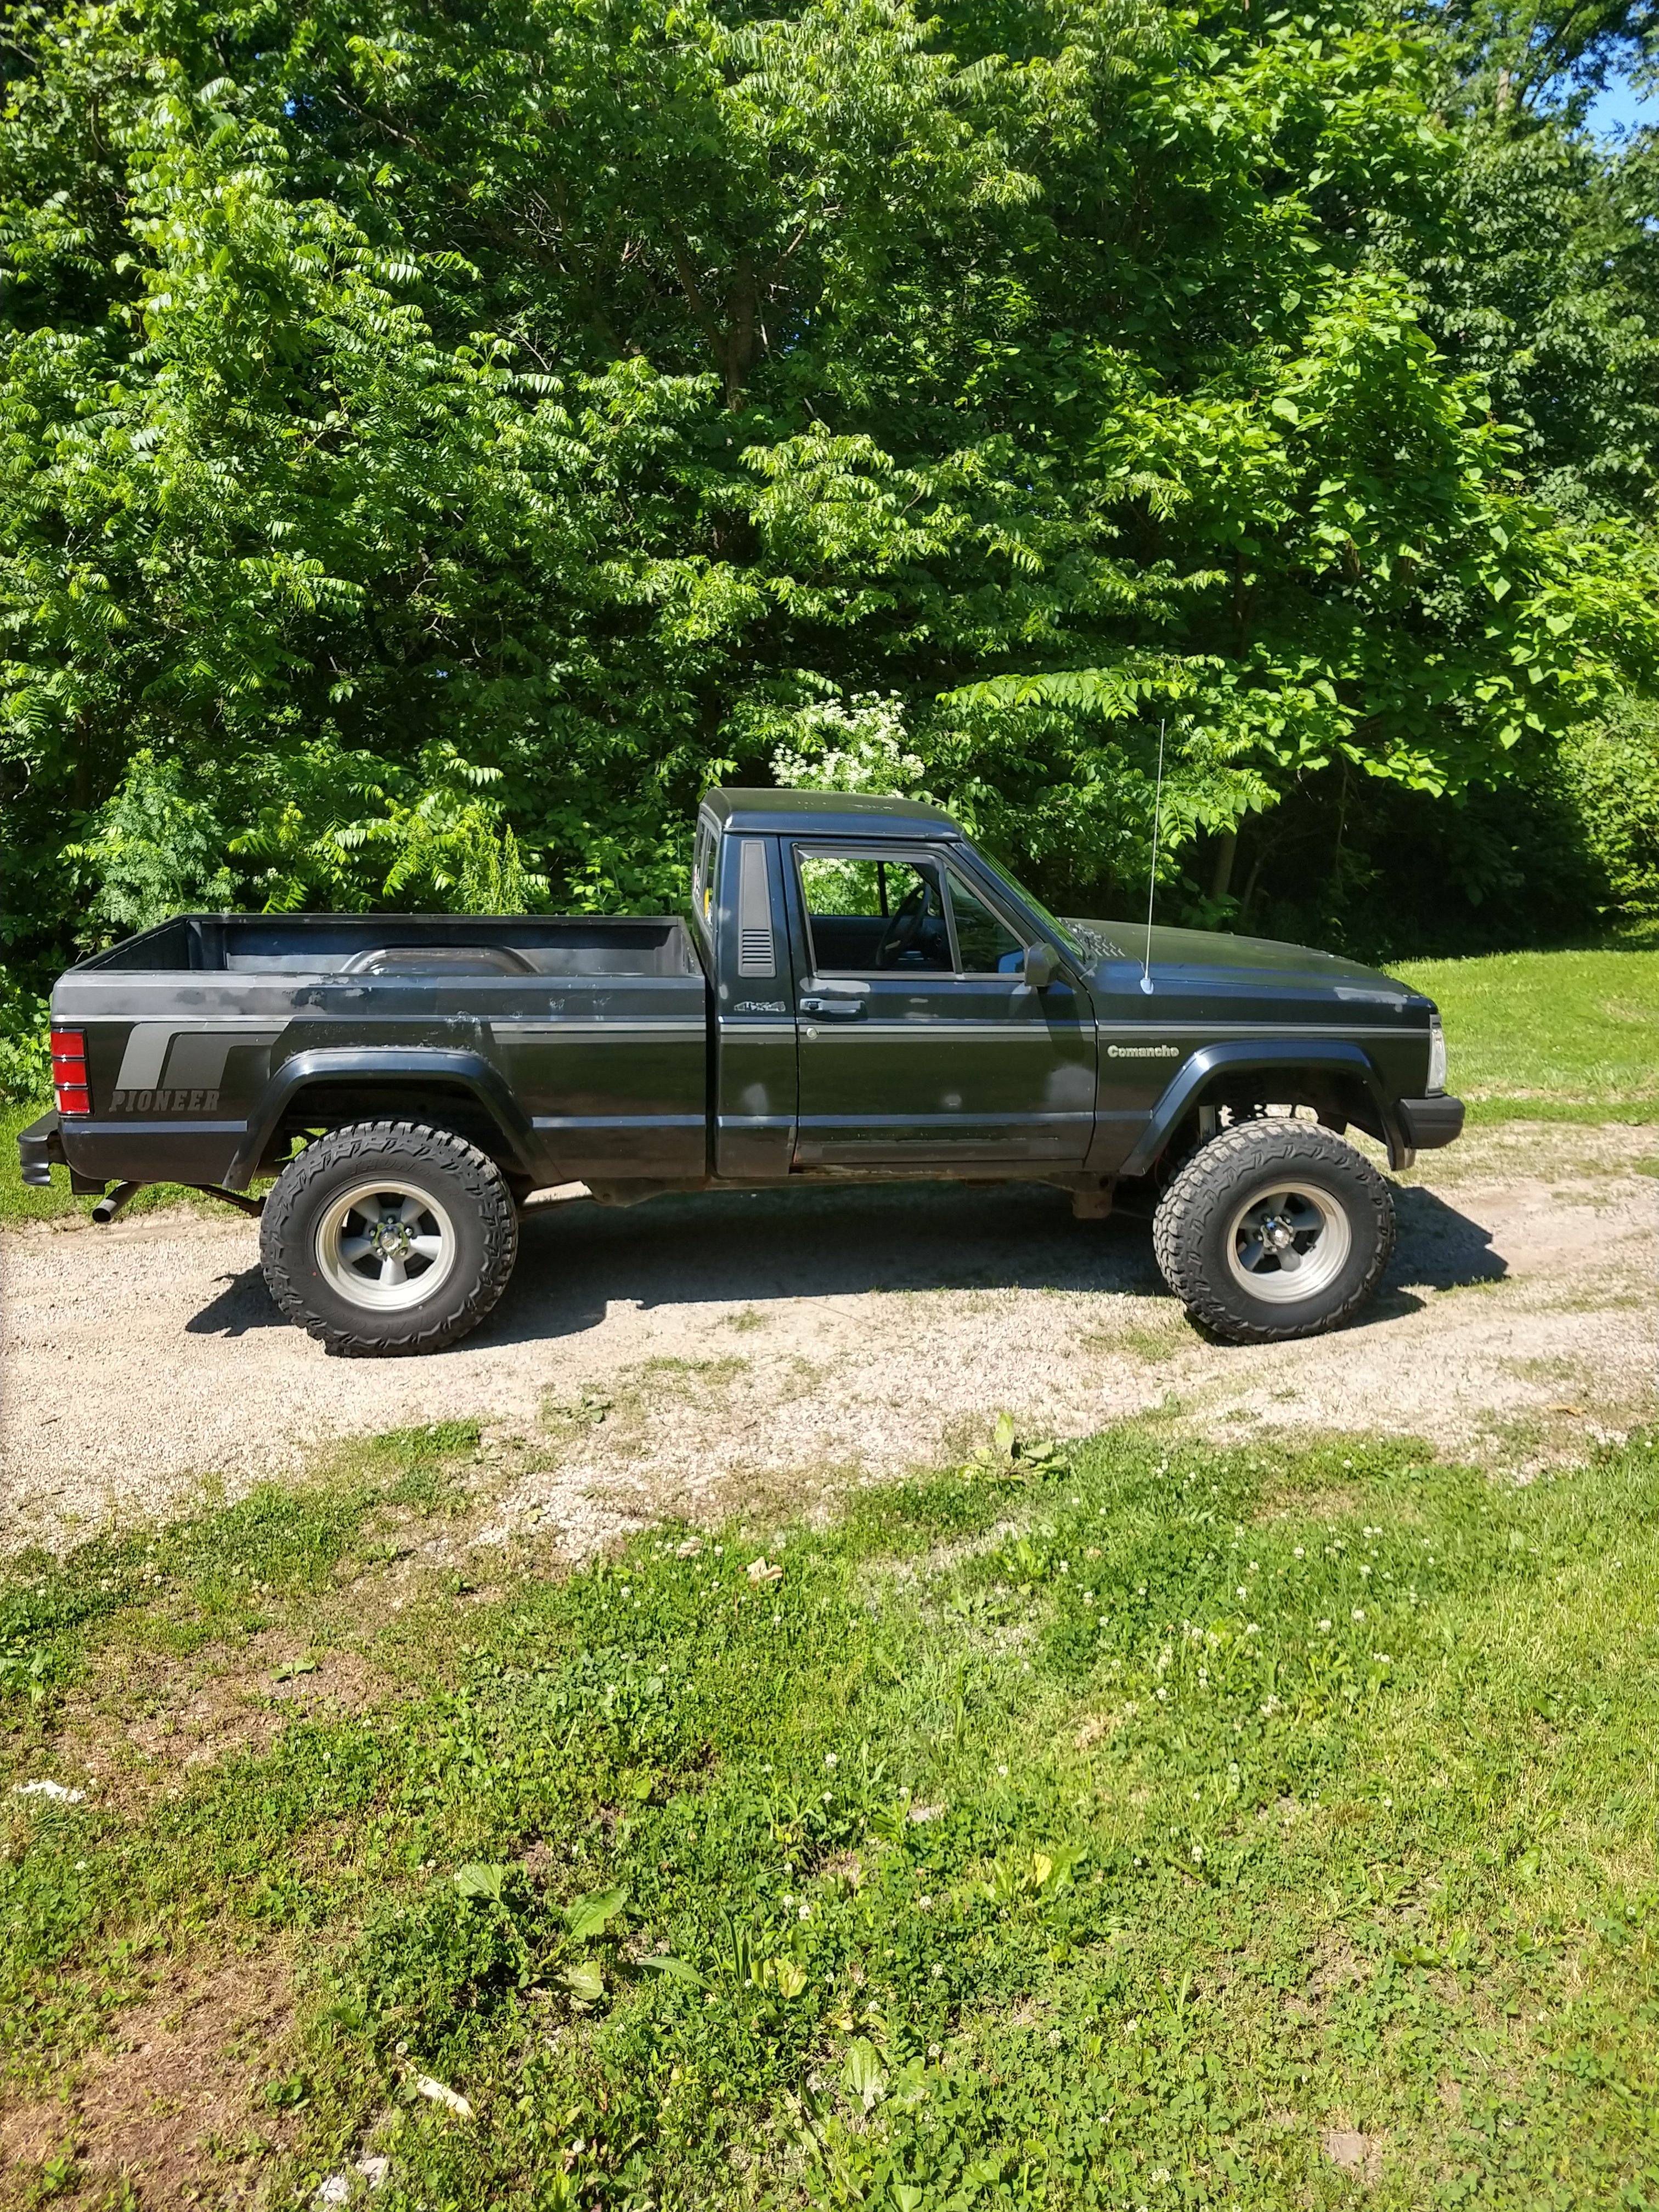
Good looking truck! Welcome to the club! I would definitely pay $6000 for that truck. The lack of rust is amazing!
-
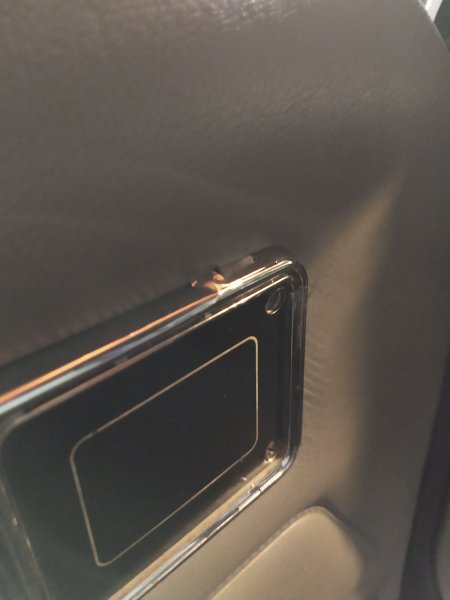
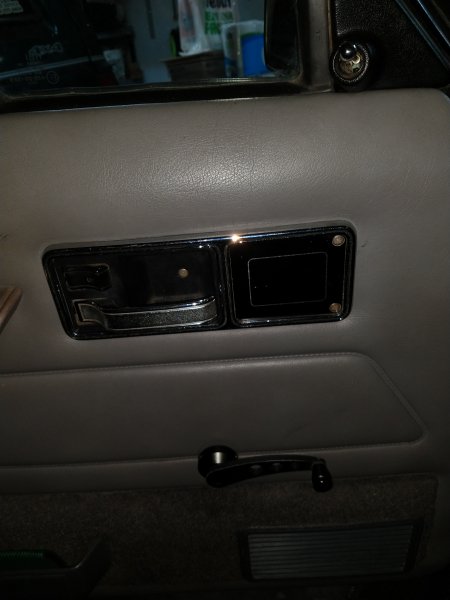
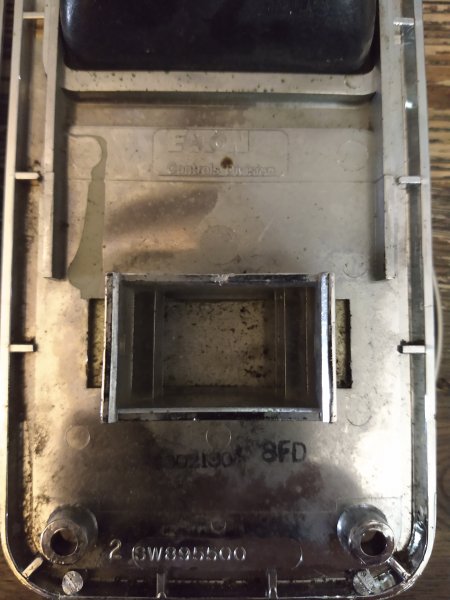
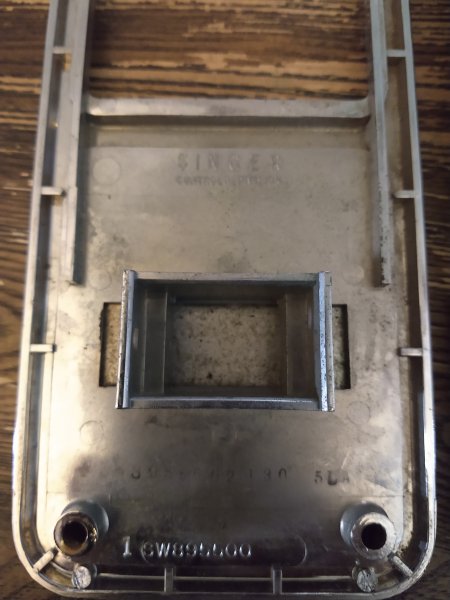
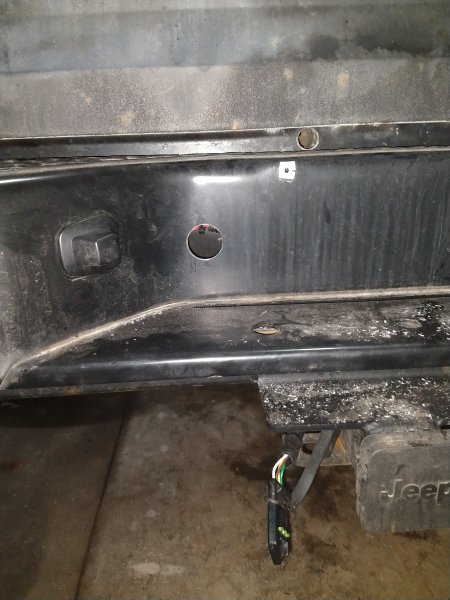
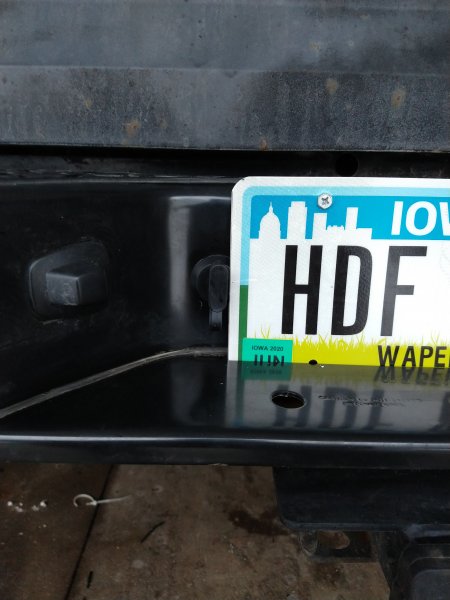
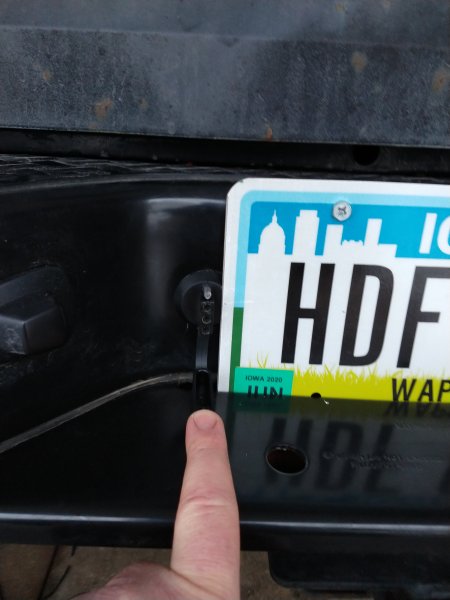
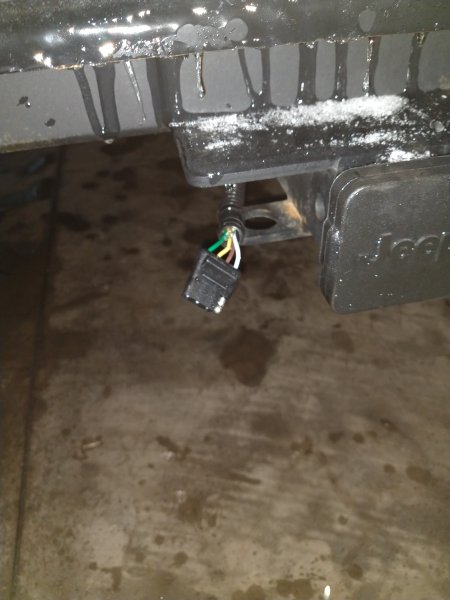
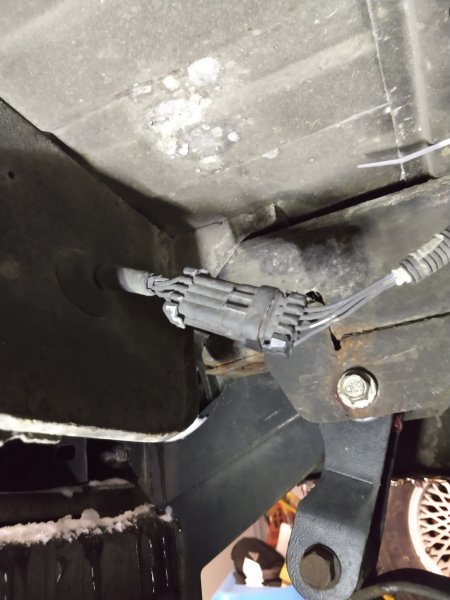
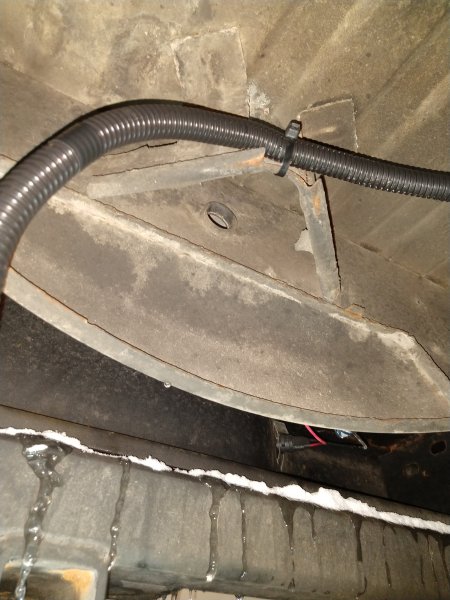
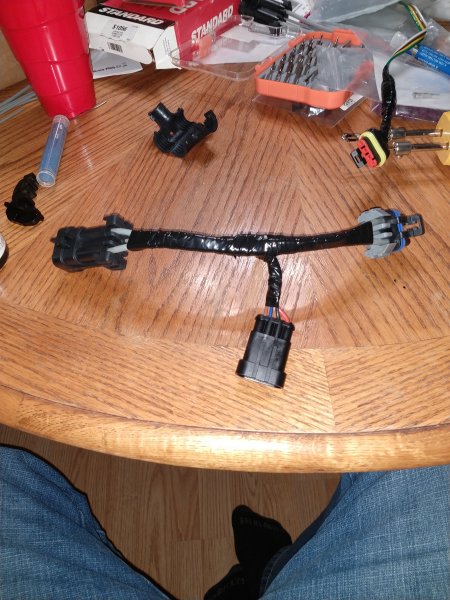
Got tired of looking at my driver's chrome door handle bezel peeling. Bought a set on eBay. This one is in much better shape! I was cleaning the new one and finally realized the driver and passenger side bezel are the same. They have the same part number stamped in them. Thought it was interesting one was made by EATON. The other was made by SINGER. Both have the same part number stamped in them. I then moved in to the trailer wiring. I didn't like how the first harness fit. It was just too long and didn't fit great. The second one I made was much more compact. It definitely fits better. Drilled a hole in the bumper to mount the new trailer wiring plug. I got the harness cut down and a connector put on it. Then I pulled it though the hole. You almost can see it there when the flap is closed. It's now easy to access and the wiring is up out of the way. $4 well spent on the new trailer harness end. Final tinkering project for the day was adjusting the rear brakes. That went quite well for a change. Next will be cleaning up the new to me axle assembly's. But out of time for today.


-
Write up is complete now. Hope it makes sense.
-
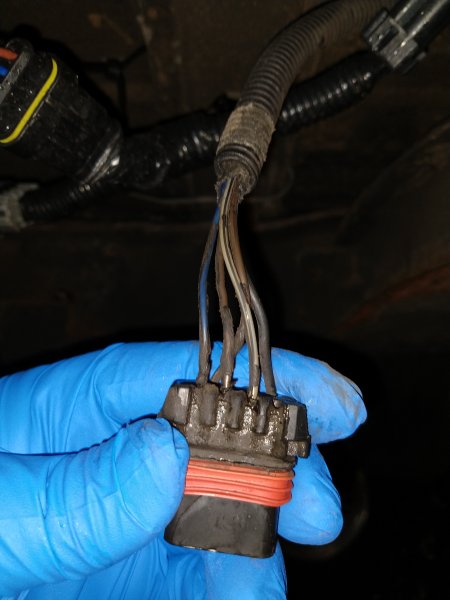
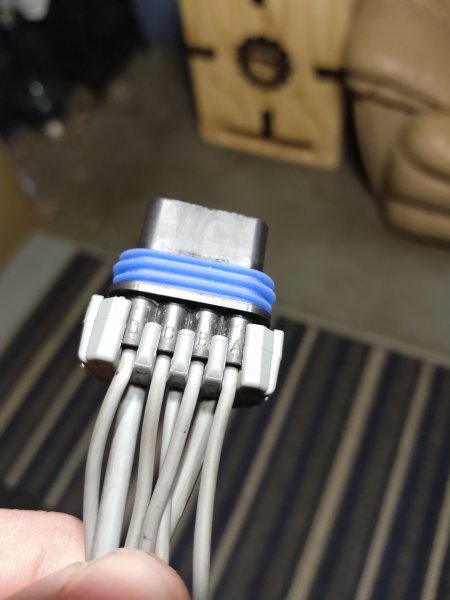
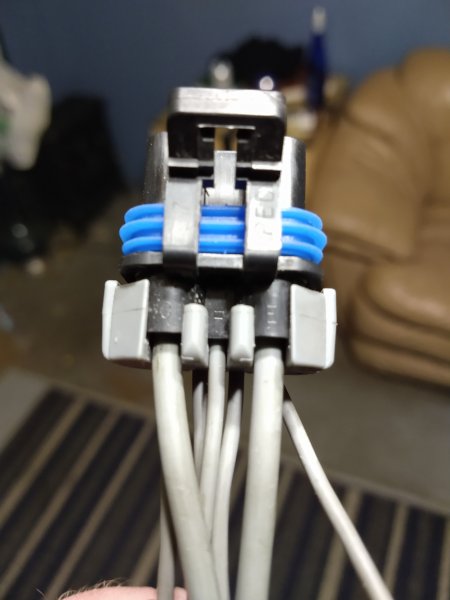
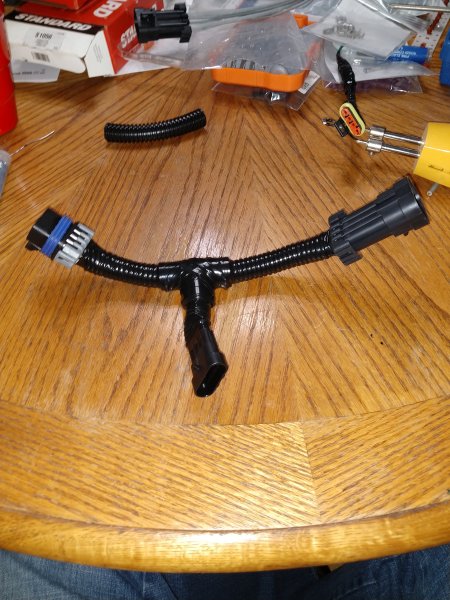
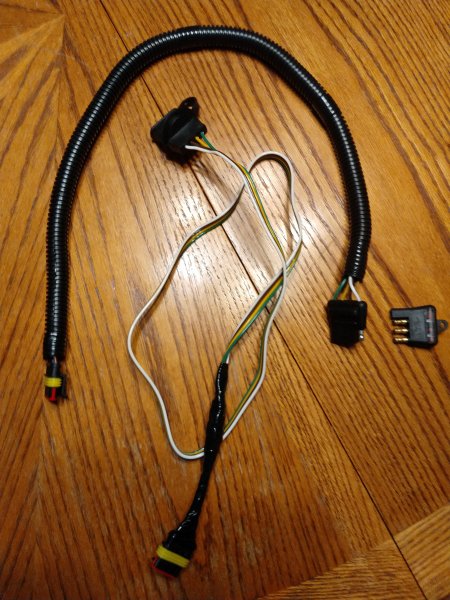
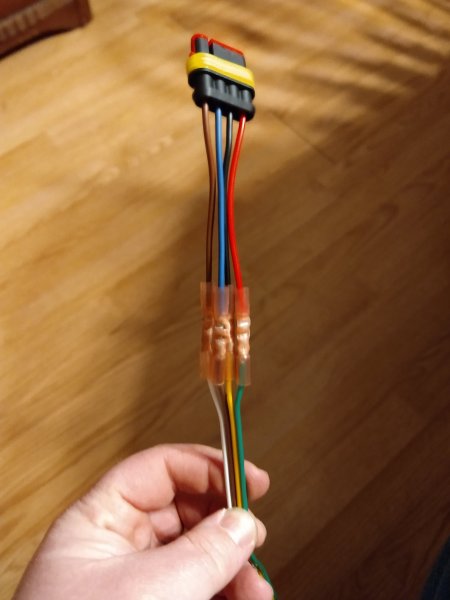
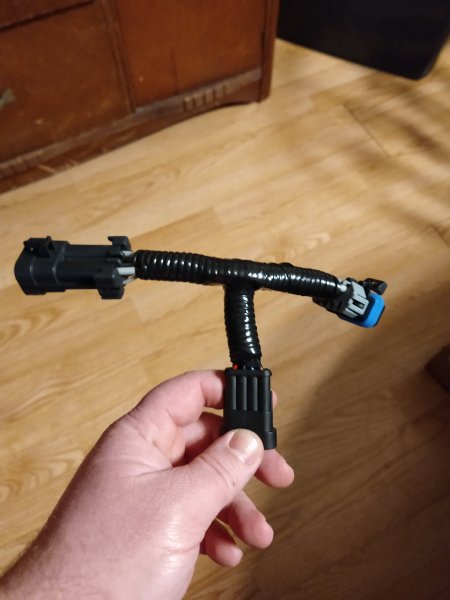
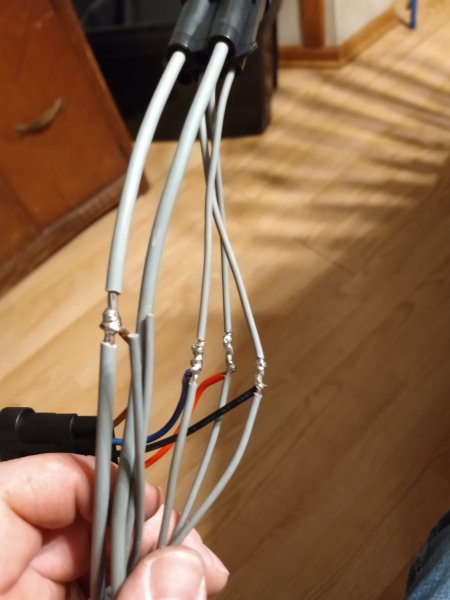
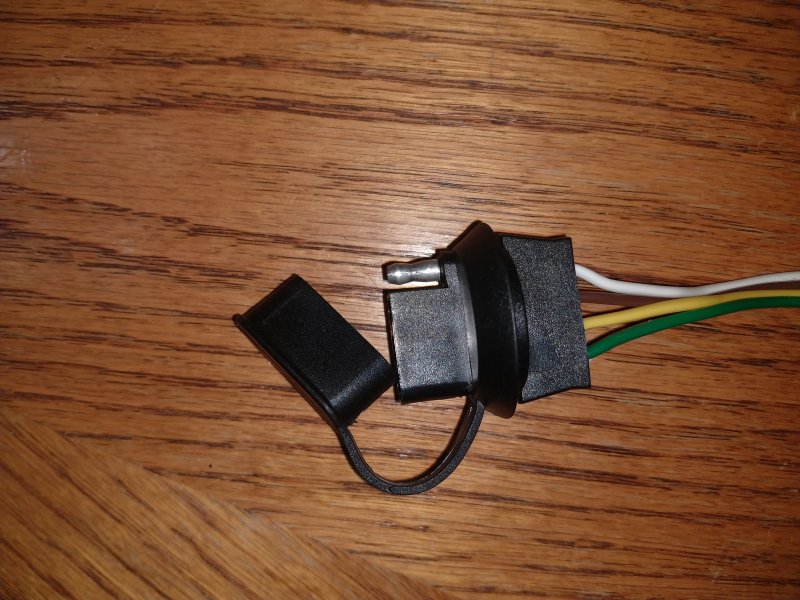
Here is a description of what each wire does. Left to right top row of wired are for lights. Bottom row left is ground. By terminal is easier to use when all your wires are gray. A is blue in the truck and is for the taillight. Brown on trailer wiring. B is brown on the truck and RH turn signal. Green in the trailer wiring. C is gray with a tracer on the truck and LH turn signal. Yellow on the trailer wiring. E is black on the truck and ground. White on the trailer wiring. Second harness I made is much shorter. I like the fit better. This is why I added the extra four way connector. I already changed the trailer end to one that mounts in the bumper. Looks almost factory. I really like that it's out of the way. The best part is that it was $4 on Amazon! Ready to be used!!


-
Already done. I just needed to add what wires goes to where. I didn't map it out before I covered the new harness.
-
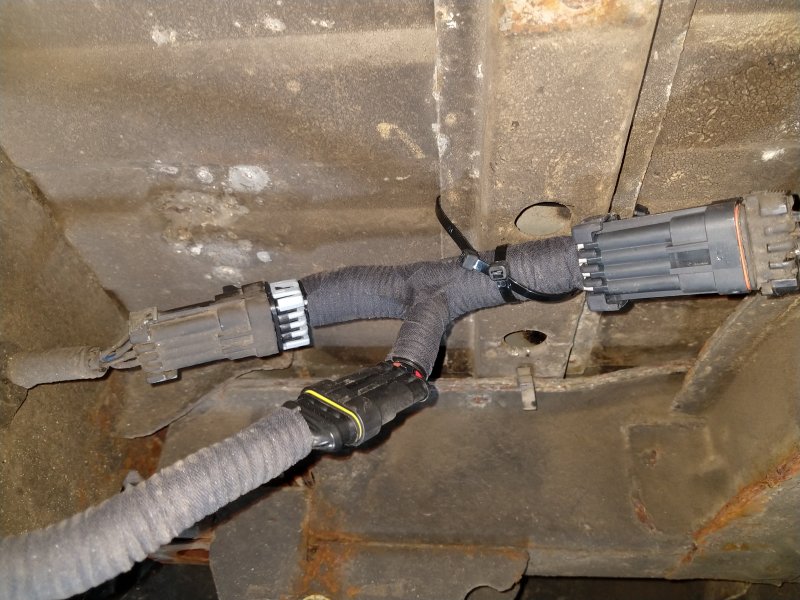
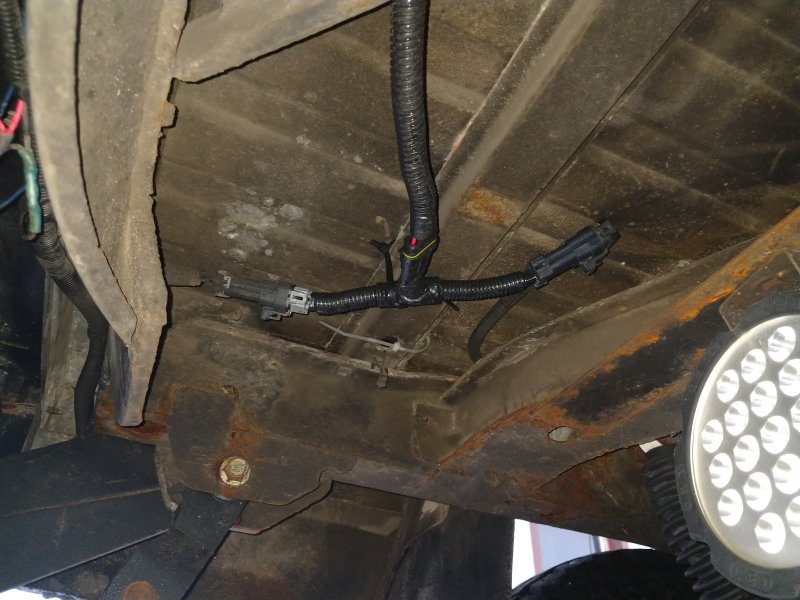
Finally got around to building a harness to add trailer wiring. Plug and play trailer wiring harness. Harness installed. Harness to trailer wiring. The one not covered is the one I plan to install into the bumper. Wiring ran to the hitch. Every thing works yay!!

-
I should add I got information for this from this post.
-
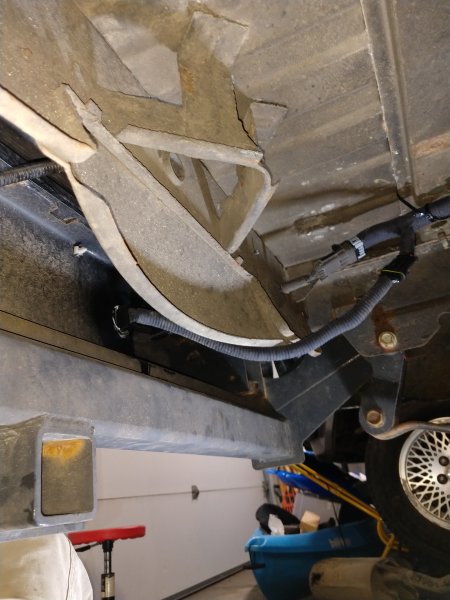
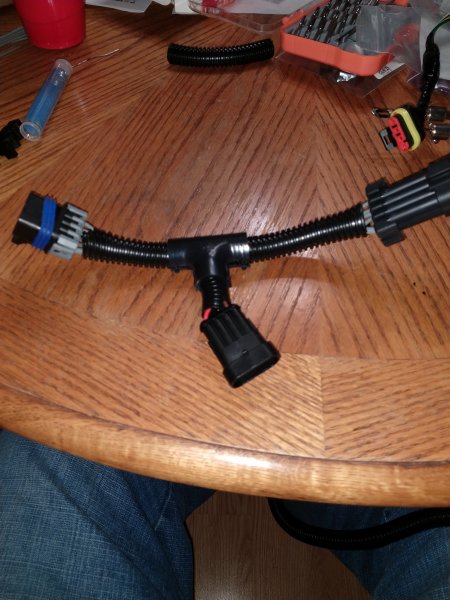
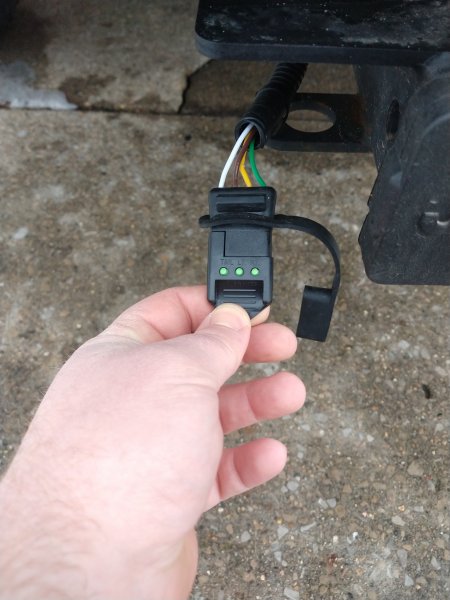
Added convoluted tubing and a tee for protection. One more wrap of black tape to keep the junk out. This is the junction the new harness goes between. Harness installed. Wired the trailer wiring to the other side of the 4 way connector. Harness to run from the new harness to the trailer wiring. With the additional connector in there the trailer end is easily replaceable. Taller wiring ran to the hitch for now. Bought this little tester for $7 and everything works! Here is a video of the testing. I have now made to if these and both work. I'm going to make one more beacuse I ordered plenty of parts from mouser. I know have trailer wiring and didn't cut the factory harness. If I ever run into problems with my lights I can just remove the harness and go back to stock if needed. The second one ended up much shorter. The last one I make I think will be even shorter.


-
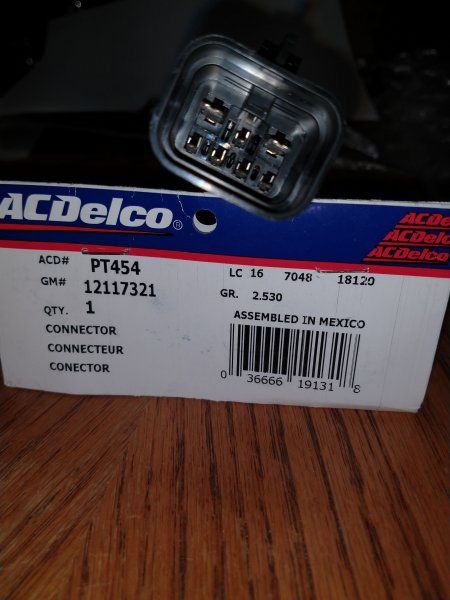
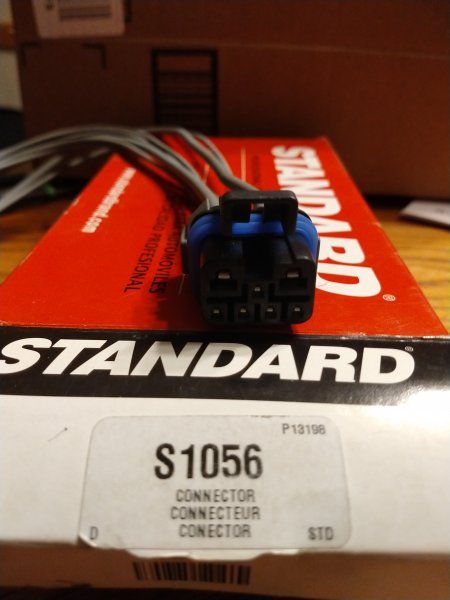
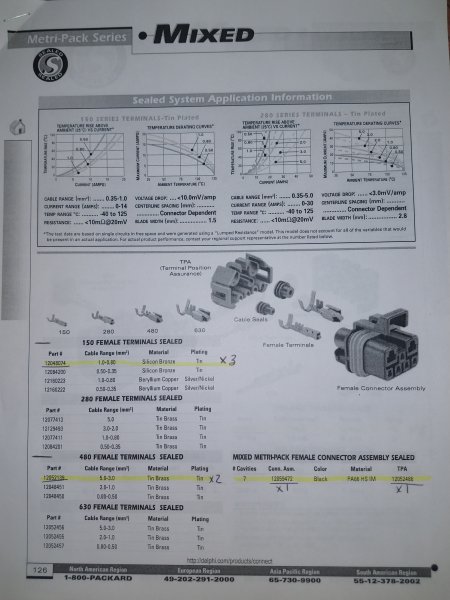
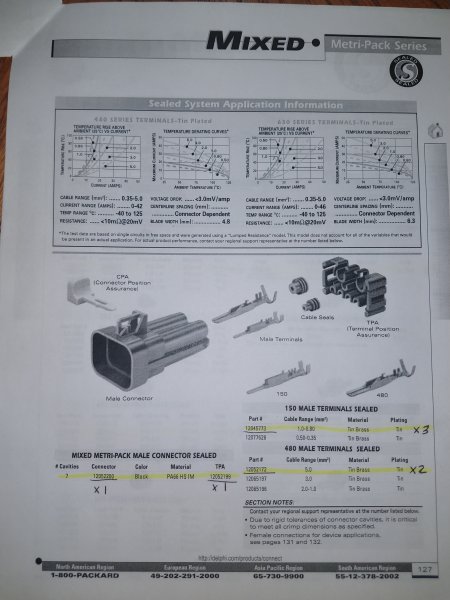
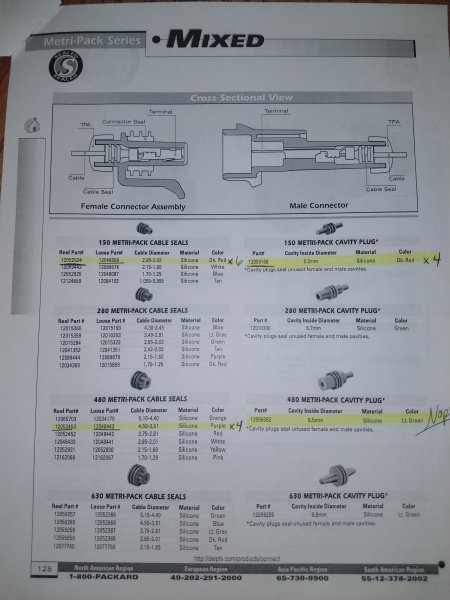
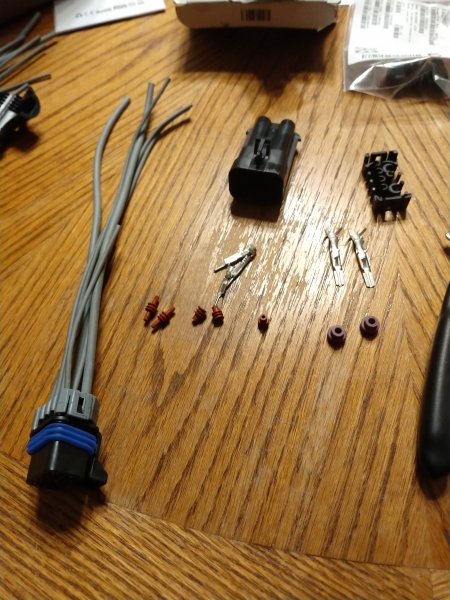
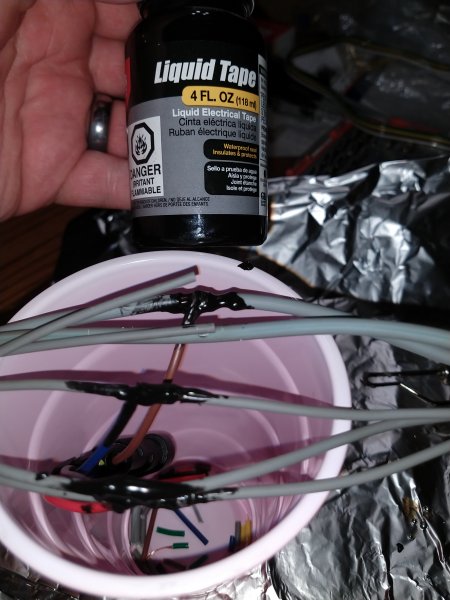
After purchasing a hitch from Krustyballer I needed to add trailer wiring. My major hold up was I didn't want to cut into the factory wiring. So I started looking for preterminated connectors. I was able to find both sides available from ACDelco among others. PT454 is the male end. PT222 is the ACDelco number, I bought a S1056 from Standard. I bought both on eBay for $15 each. They have now both gone up to about $40 from what I can find. Then Minuit suggested Mouser Electronics. They have both connectors available in individual pieces. This is the page for the female connector. The page for the male connector. The page for the seals you will need for both connectors. If you want to make the harness you will need. 12048074 x 3 12052139 x 2 12059472 x 1 12052486 x 1 12052200 x 1 12052199 x 1 12045773 x 3 12052172 x 2 12048086 x 6 12048443 x 4 had to buy from eBay 12059168 x 4 That shopping list will build both connector ends. For my first one I started with the S1056 and added the Mouser parts to the other end. I then soldered in a 4 way connector. I wanted to be able to switch it the trailer connector ends if it gets mangled or corroded. I also plan on using this end that I will drill a hole in the bumper to mount. It should look like it belongs there. I then coated the solder joints in liquid electrical tape. This stuff works quite well. Wrapped the new harness in electrical tape.
-

1988 Comanche Pioneer Project
JMO413 replied to 88mancheman's topic in Member Projects: Your Comanches
https://comancheclub.com/profile/28952-nickintimefilms/ He has an account on here. -
I used the bread trick and it worked great.
-
I am one of the weird people who actually like the cold. Long underwear and Carhartt bibs and 23 it's perfectly nice weather to work in. I have a cousin who used to own a tree service, I would only help him in the winter beacuse the summer is just to hot.
-
Rebadging/decals or nothing at all ?
JMO413 replied to Strokermjcomanche's topic in MJ Tech: Modification and Repairs
I would do them emblems and the decals. I just like the pioneer decals. That is a beautiful truck so either way it will still be an amazing truck! -
That is a good truck to replicate for sure.
-
89 Comanche "Country" LWB restomod project
JMO413 replied to Airborne Janitor's topic in Member Projects: Your Comanches
Congratulations on the addition to the family. Truck is looking good! -
Looks great! Can't wait to see it all together.
-
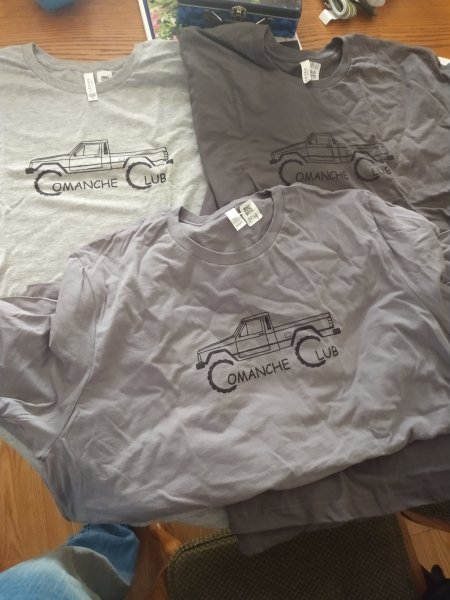
Received my order. These shirts are awesome. I left a review on Amazon also. The black logo looks good!!
-
Passenger taillight not working
JMO413 replied to Anfonyhunt's topic in MJ Tech: Modification and Repairs
Bulbs. Make sure they are good and correct. -
Love the look!! Very different.
-
Radio, lighter lost power. Fuse good
JMO413 replied to watchamakalit's topic in MJ Tech: Modification and Repairs
Has the clutch leaked on the fuse box? -
Glad she is okay.
-
They are definitely none on dealers shelf's.
-
Any way you could scan them? A PDF would be awesome.
-
I would guess lead acid battery also. I'm also guessing that is one of the few battery codes they reused on a newer model.