

The86manche
-
Posts
884 -
Joined
-
Last visited
Content Type
Profiles
Forums
Gallery
Everything posted by The86manche
-
Project clean machine?
The86manche replied to The86manche's topic in Member Projects: Your Comanches
Not at all Pete! I just like to try and do everything myself haha saves money and gives satisfaction. But I was feeling a tad bit overwhelmed. -
Project clean machine?
The86manche replied to The86manche's topic in Member Projects: Your Comanches
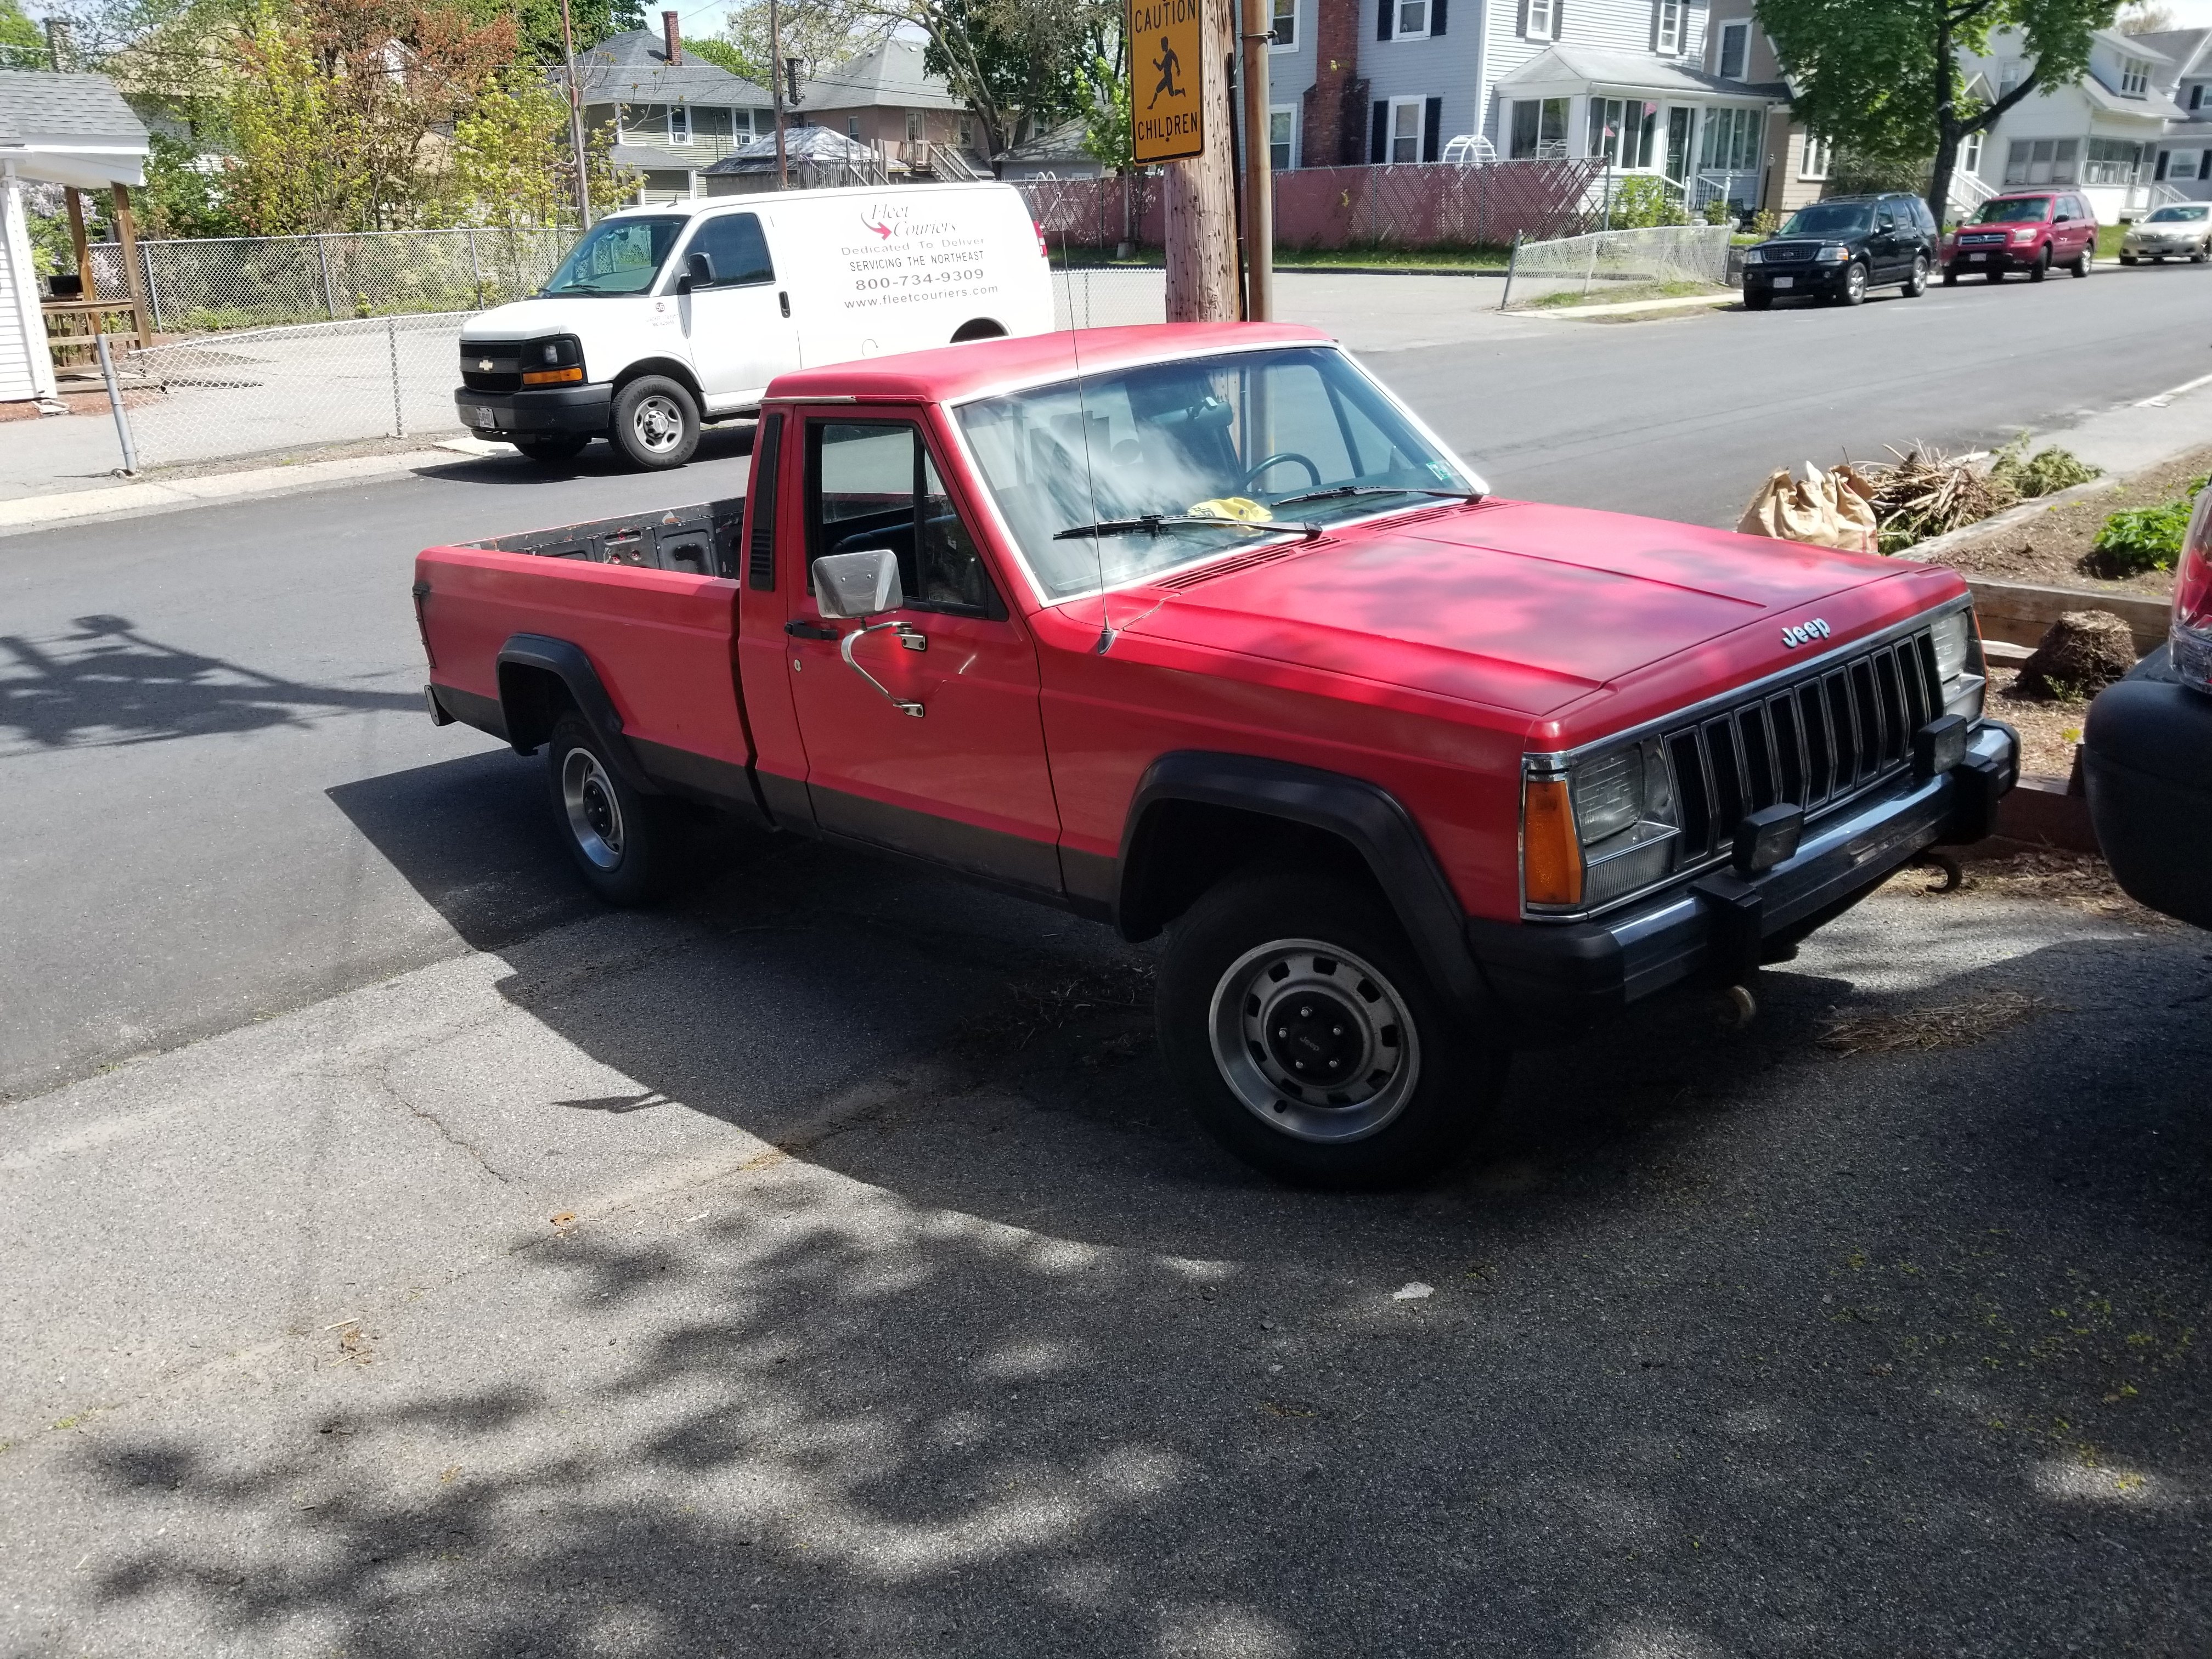
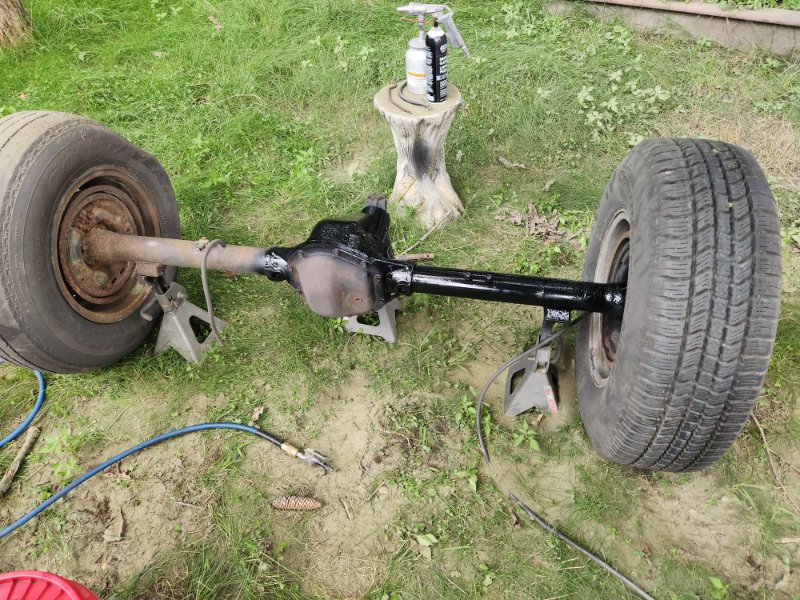
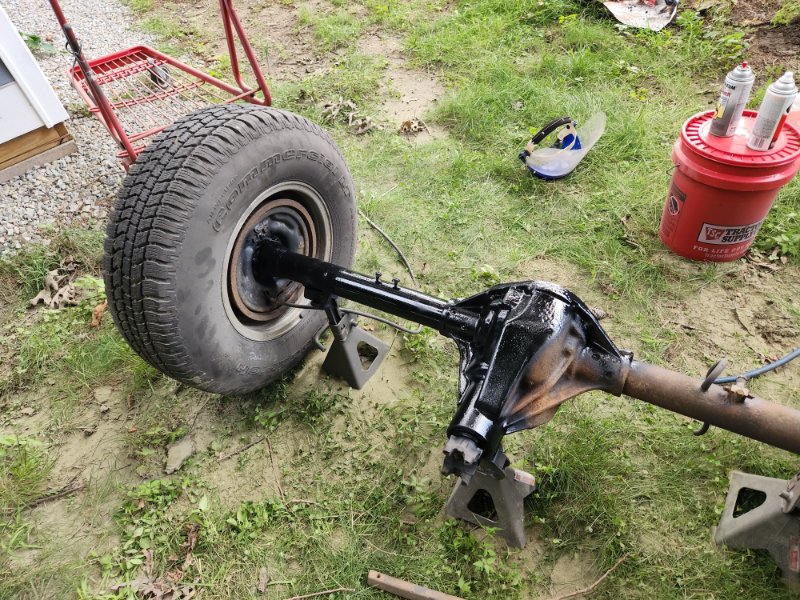
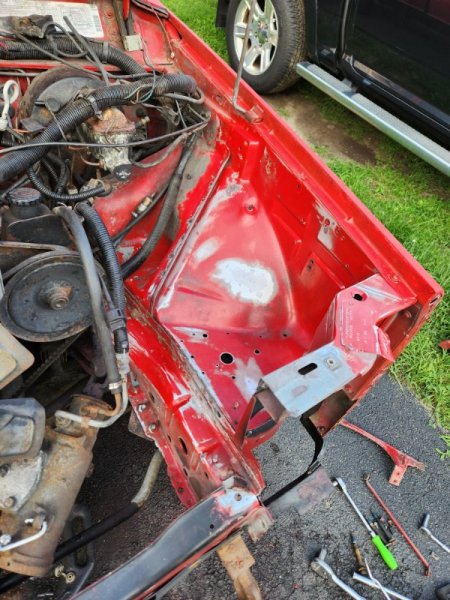
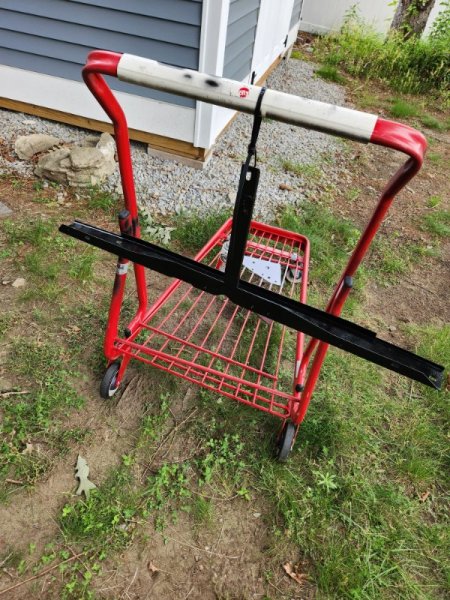
Another update on the truck! I spent about a half hour looking the truck over Saturday and decided I'm going to pull everything off and send it out to have the cab sandblasted. There's just a little too much rust for one person to tackle. So getting a place lined up for me. Booked out a month and a half jeez. Gives me some time to strip it out. The smaller parts, the hood, and the bed I'll be managing myself. Wiring harness is out, contemplating cleaning it up as some of the plugs are not needed. Drive train will come out along with interior. Right fender was removed. Bottom is rotted out sadly so I'll need to get a new one. and since I have to trip everything out I decided I'd get the rear axle ready for swap starting with a sandblasting. i got a 3rd the way through, turning out nicely and giving it a quick coat of rust reformer. I plan to epoxy and then rebuild. One step at a time.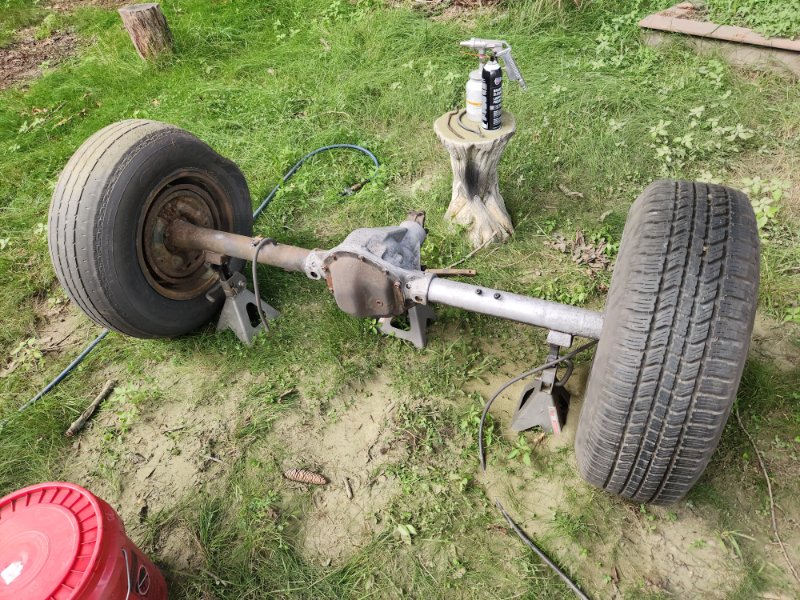
-
Honestly, no idea either. I'd probably just say $15 plus shipping honestly.
-
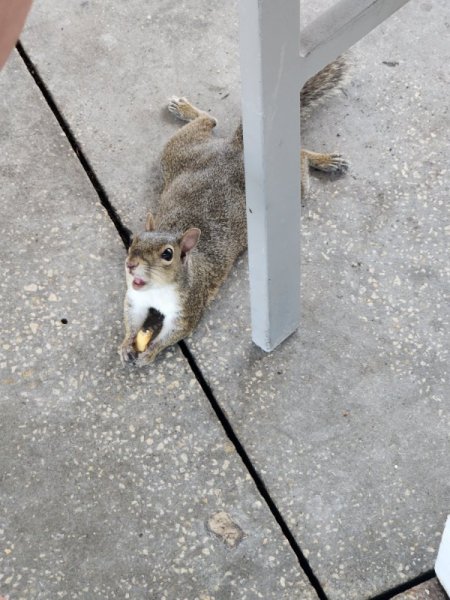
My mom and I went to Disney recently and while at Disney springs at a bar, it was so hot the squirrel didn't want to move. Right under our feet, just splooting hahha
-
I believe I have the bracket on my d44 that I won't be using
-
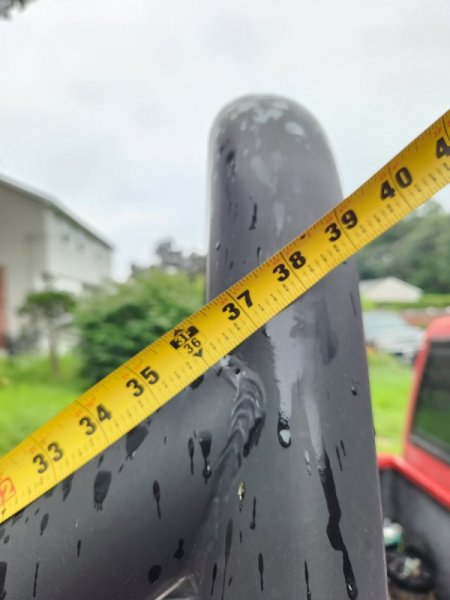
Rollbar dimensions wanted!
The86manche replied to 89 MJ's topic in MJ Tech: Modification and Repairs
Sorry a day late. I may have forgotten haha They are measured to the best of my ability. Of course it flipped I wasn't quite seeing 39" on mine 38 1/2 roughly. Looks like his measurements were close to mine. I measured on top of the feet too. he may have flipped the sport bar over to get an better measurement from bottom of foot to bottom of foot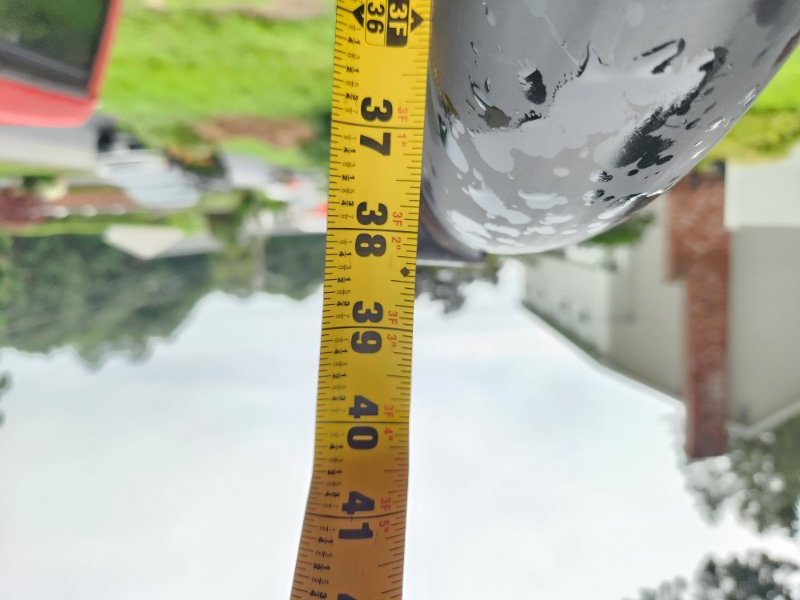
-
Rollbar dimensions wanted!
The86manche replied to 89 MJ's topic in MJ Tech: Modification and Repairs
I can confirm after work today -
Project clean machine?
The86manche replied to The86manche's topic in Member Projects: Your Comanches
Thank you! -
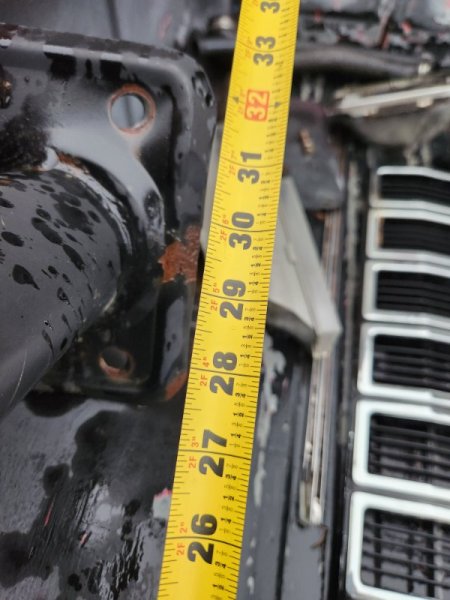
Oil pressure sensor unit V6 2.8?
The86manche replied to Blue's topic in MJ Tech: Modification and Repairs
It's located on the driver side of the block by the engine mount. There will be a single wire running down to it It's hard to see but it is right under the blue oil filter. It will be different sizes depending on if you have dummy lights of gauges. This one is gauges.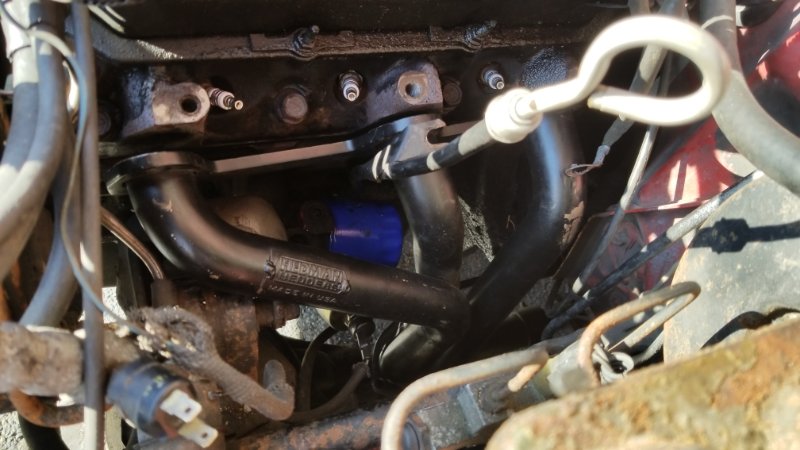
-
My longbed had shorted brackets on it and it was the original one
-
I can give it a try polishing it up. I think it will shine up
-
Sure enough. It's not perfect but I got one. I don't need it as mines an 86
-
I may have one, I'll have to check
-
The guy had just bought it, he wasn't parting or selling it
-
Project clean machine?
The86manche replied to The86manche's topic in Member Projects: Your Comanches
Oh I also finally got it running! I was a few degrees off in timing so I have to re stab the dizzy. The engine was also choked which made it sound like it has a hog @$$ cam. Haha 20230709_153746.mp4 -
Project clean machine?
The86manche replied to The86manche's topic in Member Projects: Your Comanches
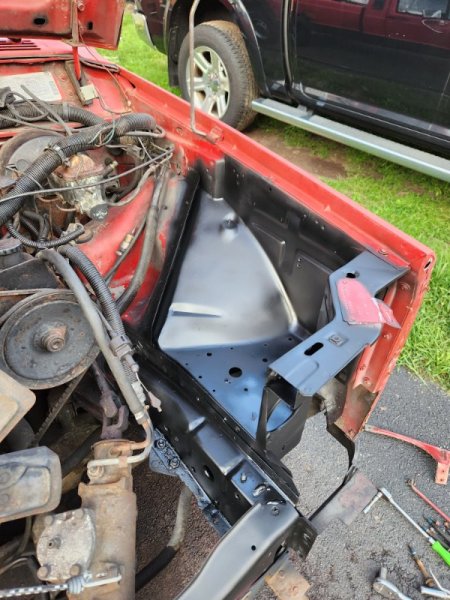
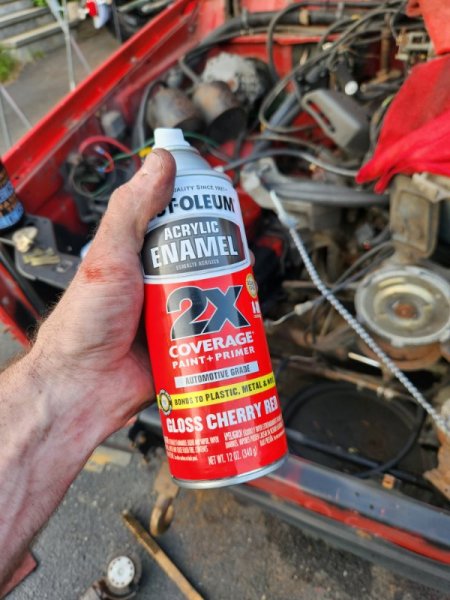
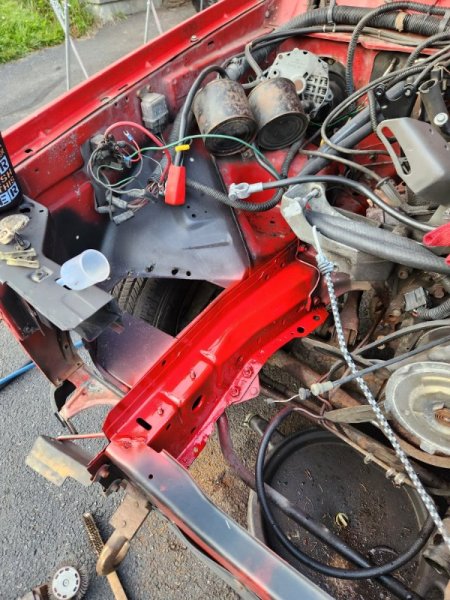
Painted the core support brackets today, at least the inside with semi gloss black. And started cleaning up more of the engine bay in prep for the core support to go back in. And painted the rail on the passenger side with gloss Cherry red enamel. I wasn't quite happy with the results, too bright. Will have to find a darker color.
-
Project clean machine?
The86manche replied to The86manche's topic in Member Projects: Your Comanches
Well progress has been slower than my liking but that's because it's rained so much thus summer. June was a wash, rained almost every day. Anyway, got some painting done and fabricating patch panels for the battery tray. Core support, chaarcoal canister and one of the header panel supports primed and then semi gloss black. Can you guess what happenehappened called it a night and let them dry? If you guessed rained you win! Wasn't happy, they got covered in spots so now I have to mist another coat on. And the battery tray patch panels.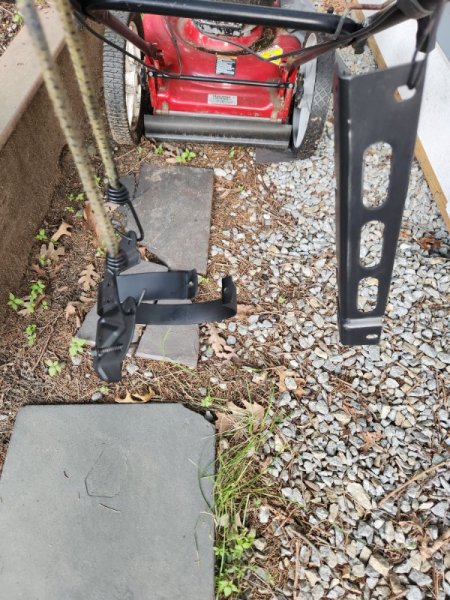

-
Project clean machine?
The86manche replied to The86manche's topic in Member Projects: Your Comanches
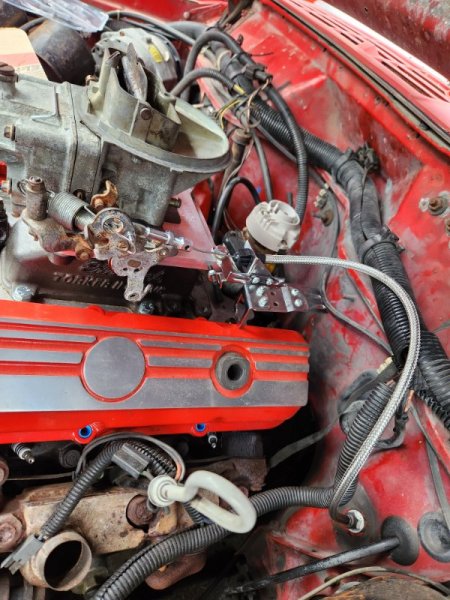
After some trial and error, setting, and resetting timing, going over everything and finding out for whatever reason, the repair manual is wrong about setting valve lash on this particular engine, I finally got it to fire off. Brief, but still a victory! 20230630_164755.mp4 -
Project clean machine?
The86manche replied to The86manche's topic in Member Projects: Your Comanches
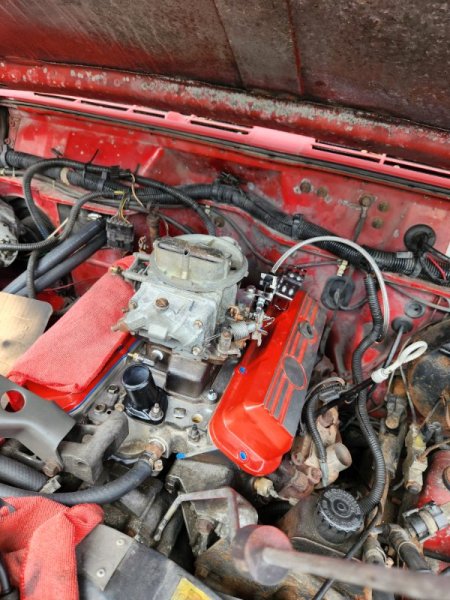
Nobody said this was an easy swap. And nobody really said how to do it either.. But we are getting there. Had to use a universal throttle cable. Can't say I'm too pleased with it. I intend to go back to this at some point. I might even do away with this 2 bbl setup as I'm not impressed with the way I have to make it work. I have an edelbrock 4bbl I am considering cleaning up and rejetting.

-
If you are comfortable doing it there are bands you can adjust
-
Also I'd put a trans in it and run it. Looks too nice to part. The interior can be cleaned. Or replaced.
-
That black and gold looks good. I don't think I've seen that before. Bas to be uncommon
-
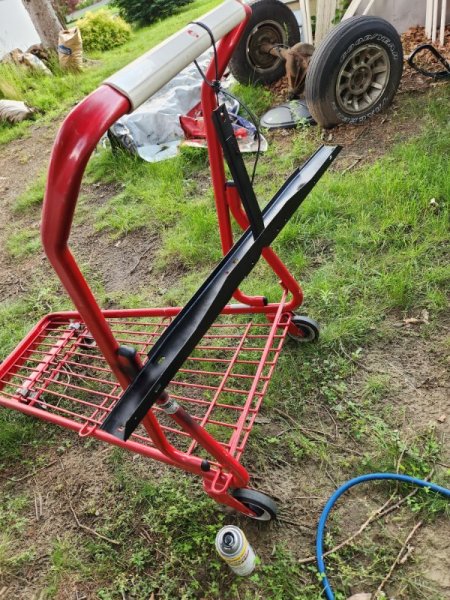
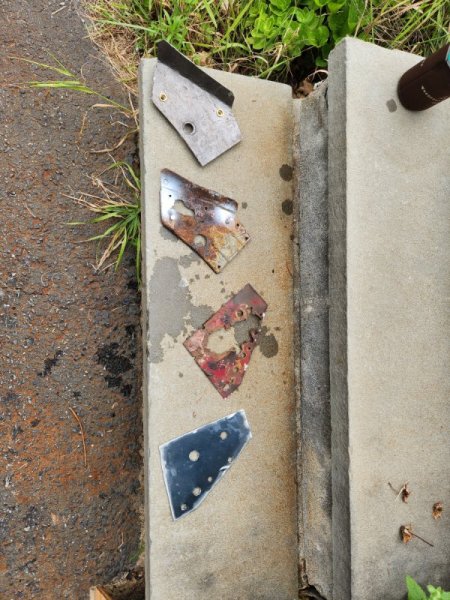
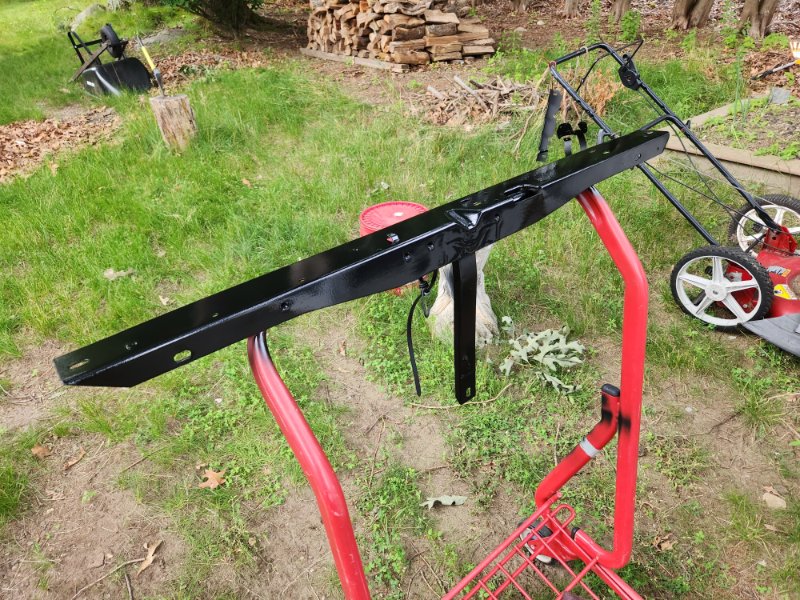
Slowly cobbling this back together.
-
The Alabama Turbo Diesel
The86manche replied to ThreeComanches's topic in Member Projects: Your Comanches
I'm not too familiar with the 2.1 setup but could there per chance be a low pressure fuel pump in the tank? -
The Alabama Turbo Diesel
The86manche replied to ThreeComanches's topic in Member Projects: Your Comanches
I like your goal and I wish you good luck. I can't wait to see how this goes Is the fuel pump not pumping at all? If you crack the fittings at the injectors does it not pump fuel up to them?