

The86manche
-
Posts
962 -
Joined
-
Last visited
Content Type
Profiles
Forums
Gallery
Everything posted by The86manche
-
Intermittent wiper module repaired
The86manche replied to The86manche's topic in MJ Tech: Modification and Repairs
Alright, ive got 1 going out tomorrow, one pending, waiting for a responce back. Ive got 3 or so left for sale while I diagnose a stack of others. A kind request too, if anyone is in any of the yards if they could keep an eye out and grab any modules you see that would be great. They are getting hard to find around me and ive only got so many. Xj, mj, yj and zj? Ive not seen one in a zj yet but all interchange and will work. Thanks! -
Project clean machine?
The86manche replied to The86manche's topic in Member Projects: Your Comanches
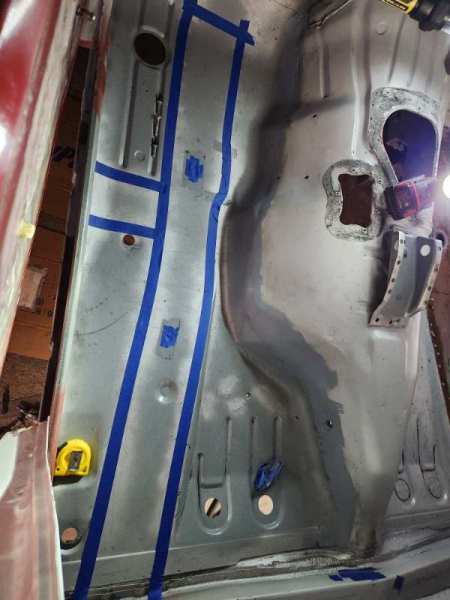
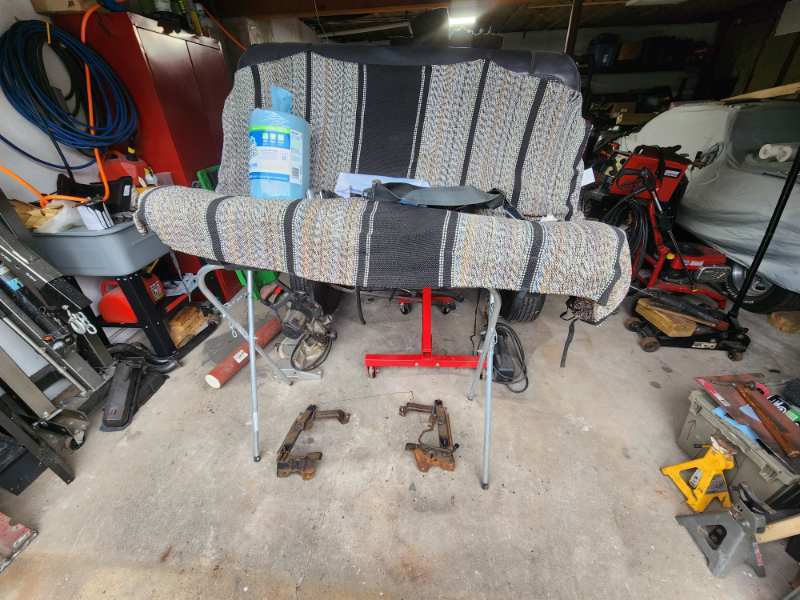
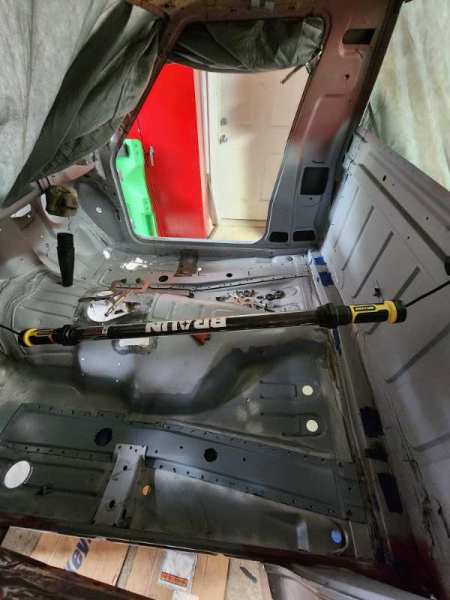
Small update. Went and got my seat. Pulled the brackets off and soaked them in evaporust. One mount needs to be replaced but was still very usable for mock up. Floor braces mocked up. And would you look at that, it fits! Sharpied witness lines for the brace, pulled everything back out and taped over the sharpie. Next will be scuff and some enamel before I weld the brace in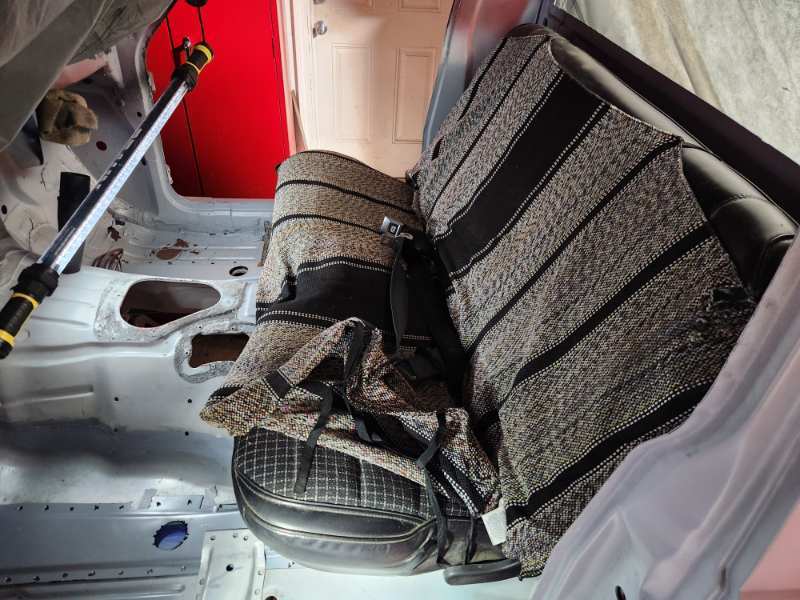
-
I have a set.. somewhere.. Ill have to search for them but I know I have a set
-
Project clean machine?
The86manche replied to The86manche's topic in Member Projects: Your Comanches
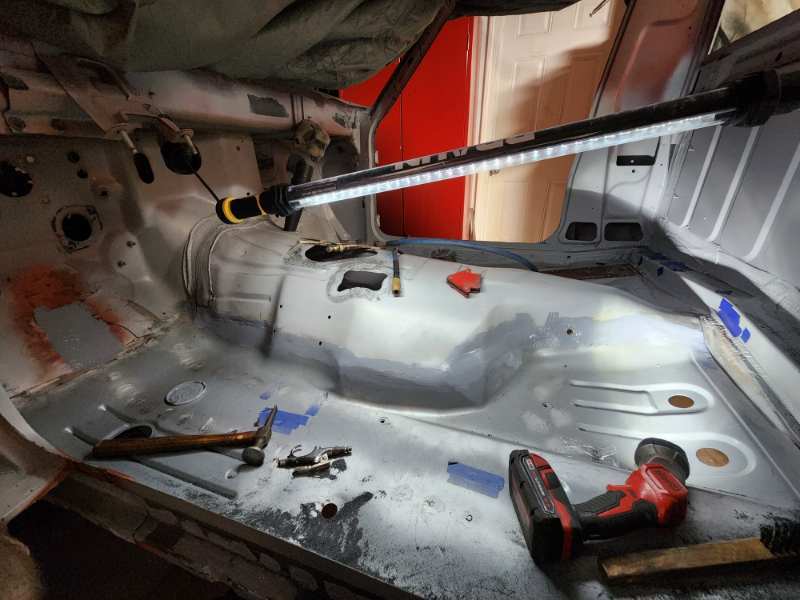
I will say, that one patch was the biggest pain in my @ss.. Used metal too thin and it kept warping and blowing through and splitting. So I ended up having to do it again. With thicker metal. It was a struggle of chasing little pinhole. Quite frustrating. But its good. Its done. Seam sealer will finish the rest up. I cleaned up and brushed some epoxy on. I still have to clean up the underside before I can treat it. But now.. I can finally get ready for the floor brace. I need to get my seat so I can mock up the brace in the correct spot for welding. Once that is done I can wrap up the driver side completely, rocker and cab corner.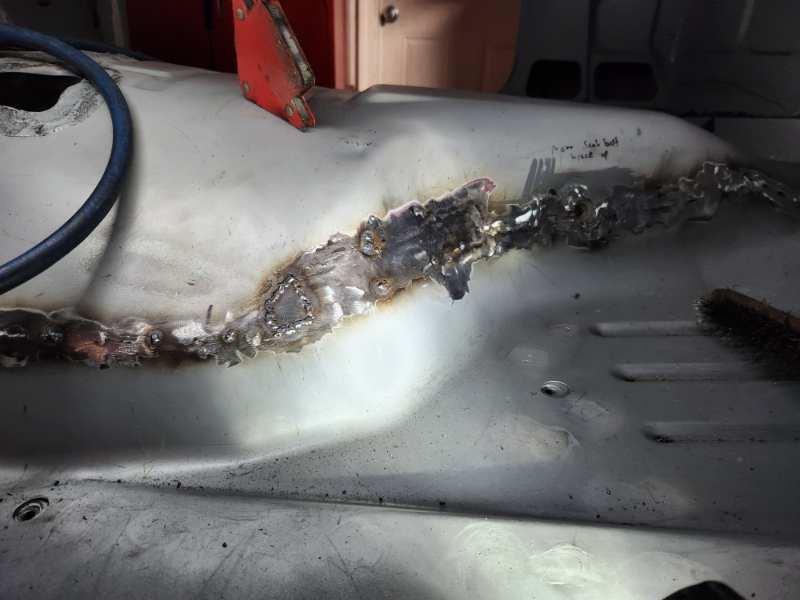
-
Project clean machine?
The86manche replied to The86manche's topic in Member Projects: Your Comanches
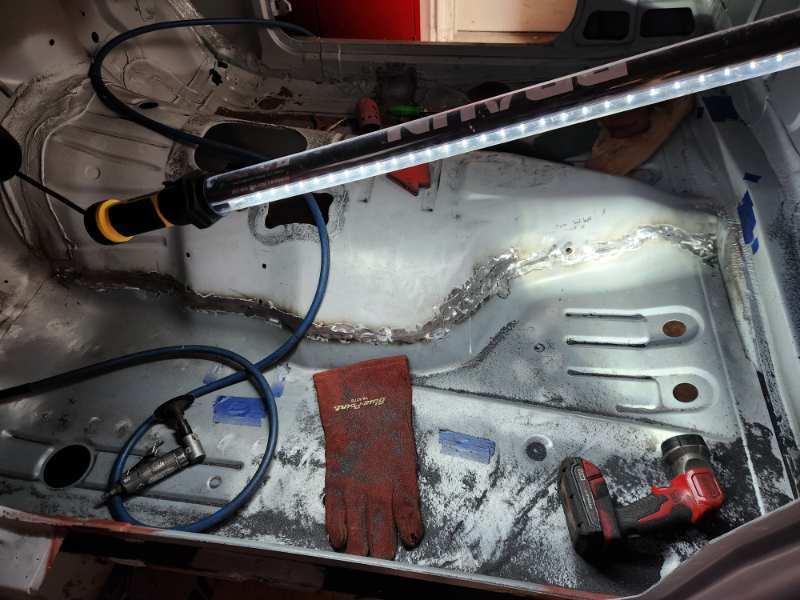
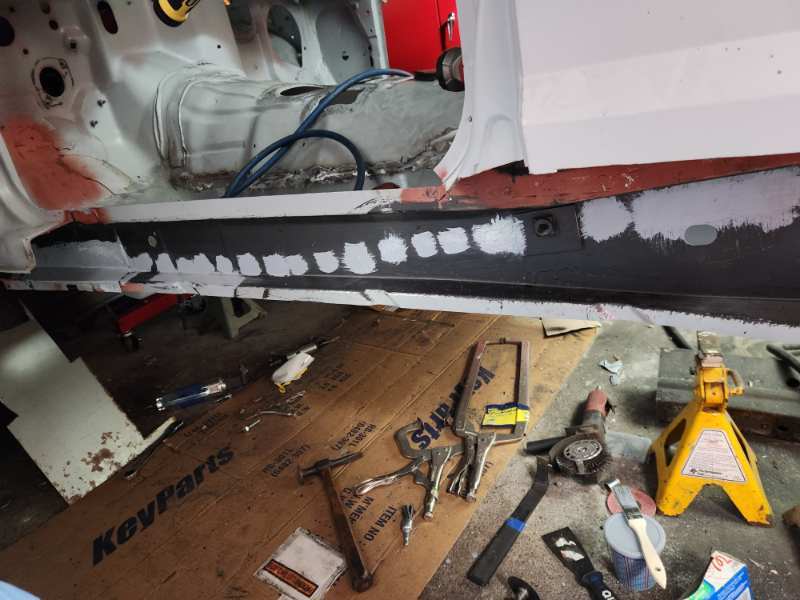
So much welding.. so much grinding.. So I finished up welding the floor. Made a small patch for the area i cut too short. What a mess.. Addressed the burn spots on the inside of the rocker too.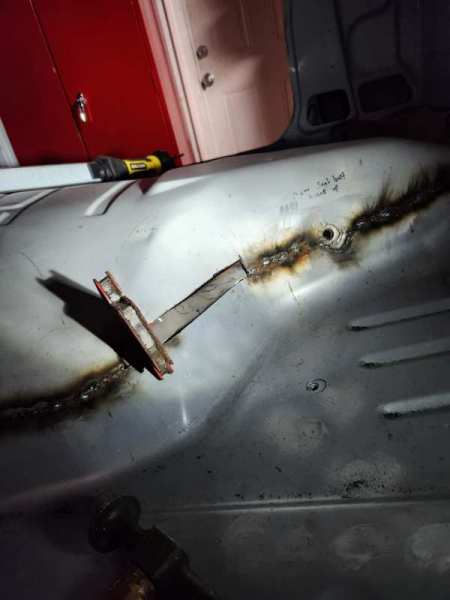
-
Intermittent wiper module repaired
The86manche replied to The86manche's topic in MJ Tech: Modification and Repairs
Coming back to this, done some loose thinking and checking out prices for used ones and I was thinking setting the prices somewhere around 60 plus the old module as a "core" or 70 or so without a core. What are your thoughts -
1990 yj fresh in yhe yard. 2.5. Has the amc air filter box, and I'm sure the throttle body is worth something. I wasn't going to grab unless someone wants something from it.

-
Project clean machine?
The86manche replied to The86manche's topic in Member Projects: Your Comanches
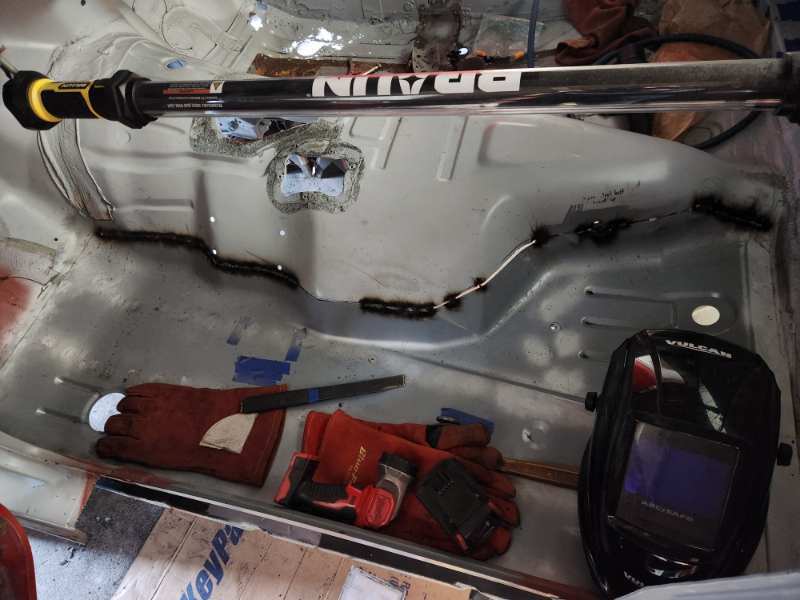
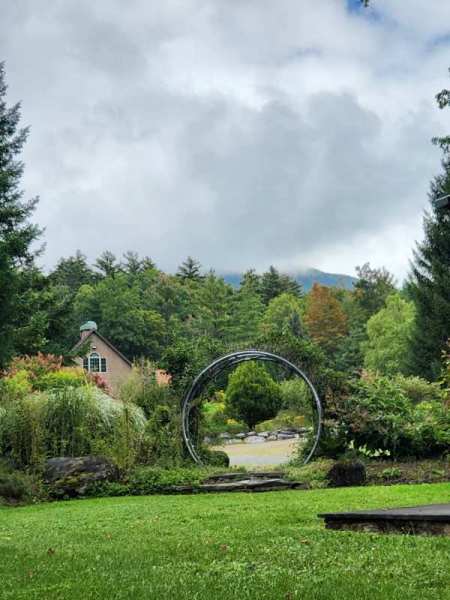
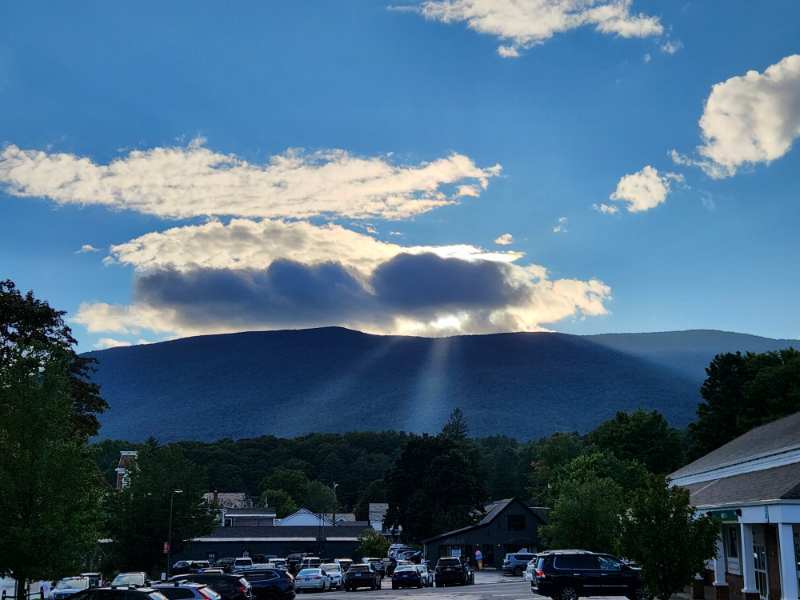
Back from a bachelor party that was up in Vermont! Beautiful area. Had a good time and enjoyed the views. Fought through my exhaustion for some motivation and did some more floor work. Ground down all the spot welds and coated in zinc primer and then started on the seam for the trans tunnel. I can't wait to be done with all this floor pan welding and grinding lol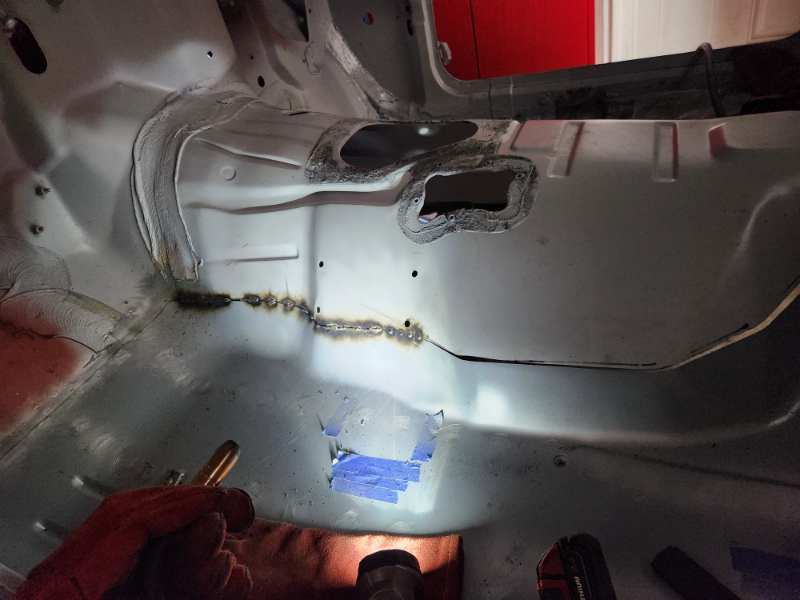
-
Factory rear wiring routing
The86manche replied to Anthi4078's topic in MJ Tech: Modification and Repairs
Its been a while since ive seen the harness on the back of an mj but I believe they were secured to the left inner unirail and the bed? -
Project clean machine?
The86manche replied to The86manche's topic in Member Projects: Your Comanches
I actually have an air powered one! It does make grinding less of a hassle, especially on angles spots like against the rocker. -
Project clean machine?
The86manche replied to The86manche's topic in Member Projects: Your Comanches
And some more motivation! I am so not looking forward to all the grinding I'm going to have to do. I also still need to weld around the trans tunnel but i cut a spot a little short so i may have to trim more and make a patch. the floor brace will be going to work tomorrow so i can epoxy it and from there... more drilling..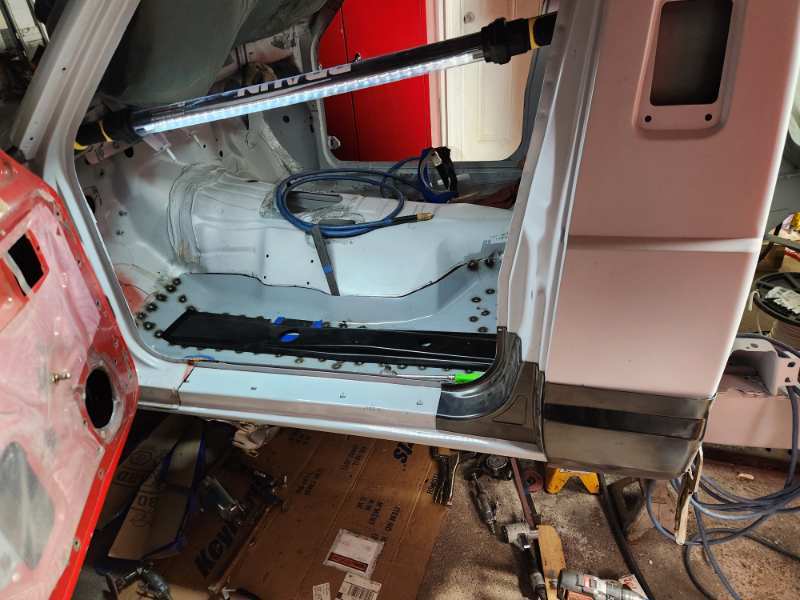
-
Project clean machine?
The86manche replied to The86manche's topic in Member Projects: Your Comanches
Would you just look at it! The key parts full floor section was a pretty damn good fit. There were a few areas that needed some persuasion but we got it there. All in all.. 10/10 would buy again. key parts floors are pretty damn good.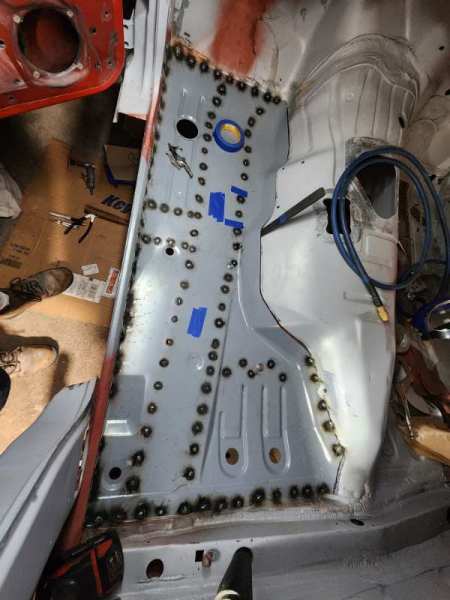
-
Project clean machine?
The86manche replied to The86manche's topic in Member Projects: Your Comanches
I was feeling really motivated tonight!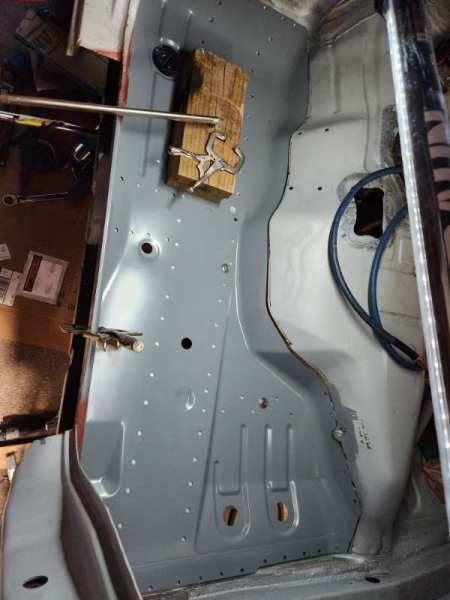
-
Frame Rot :(, What Are My Options?
The86manche replied to VorTekX's topic in MJ Tech: Modification and Repairs
I wouldn't necessarily say its required. But a lot of people, when they end up doing major unibody repairs on these trucks, do stuffeners for extra support, bracing, and peace of mind. So even though you are only doing overlanding it might not hurt to do. Even if its just the front half of the truck. -
Project clean machine?
The86manche replied to The86manche's topic in Member Projects: Your Comanches
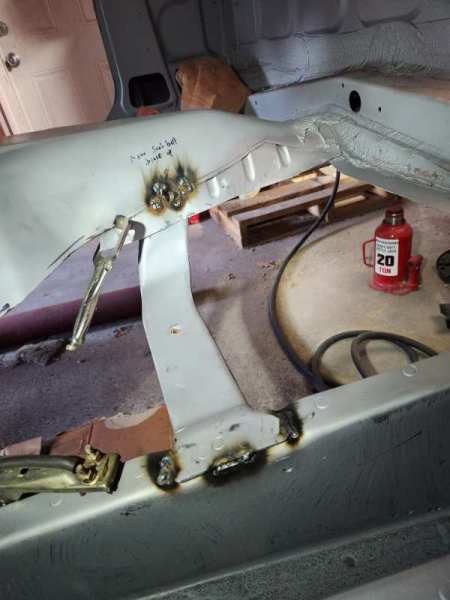
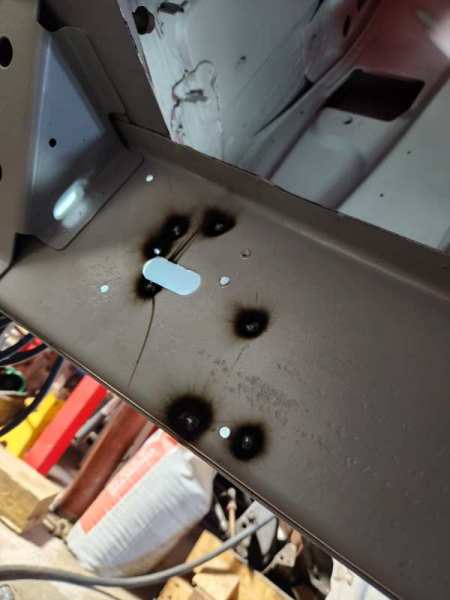
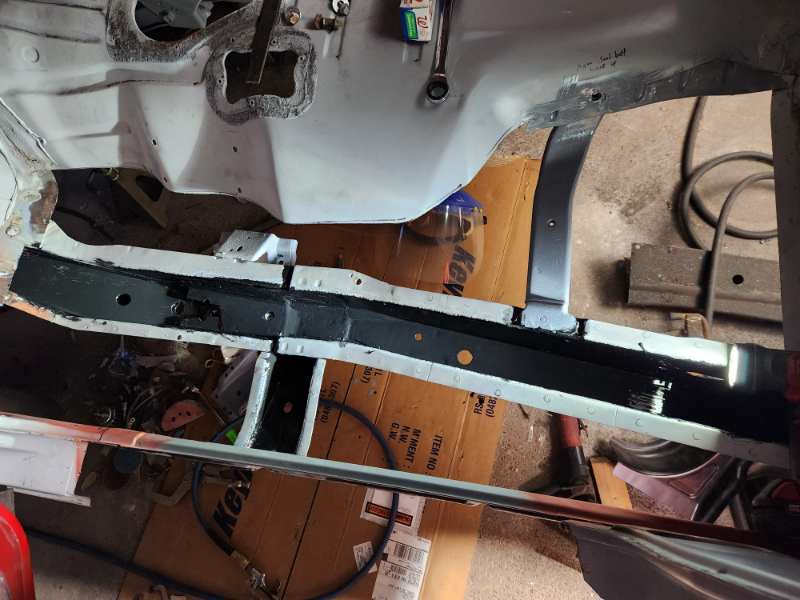
So much closer to the floor being a permanent feature! Spent tonight wrapping up small jobs that needed to get done. Seat belt brace! Burned in both ends. I was not impressed with amcs quality here. The brace is only welded to the floor. So I added a few tacs to the unibody for a more solid and permanent fit. Previous owner had put an online fuel pump in the truck way back when the 2.8 died and put in a 3.4. It worked. But also looked like he went through several online pumps over the years. And left several holes. Didn't need to weld them up because they were blasted and epoxied but I wasn't a fan of them. Cleaned. Filled. Ground. And touched up.. no wonder this project is taking so long... Final touches here. Sanded. Cleaned. And black enamel. If this truck ever rusts again.. it won't be in my lifetime. From here, ive got some seam seal to scrape. Some spots to clean for weld. And a few spots to address on the floor pan and then its getting welded in. Hopefully this week.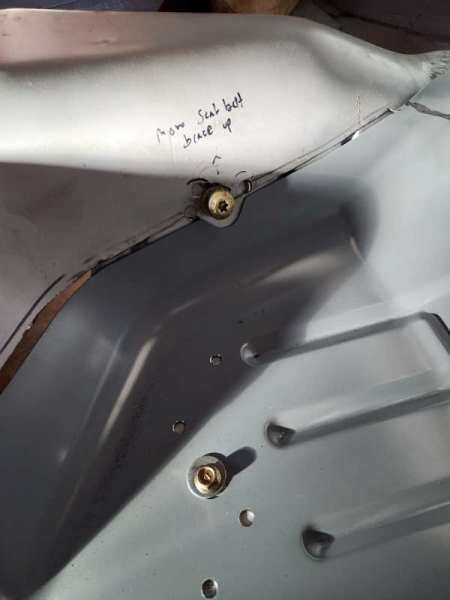
-
Project clean machine?
The86manche replied to The86manche's topic in Member Projects: Your Comanches
Yeah i know you're right. I just don't want to rip down ALL that thick seam sealer lol.. such a mess and a hassle. But I will. The plan will be I will weld in the new floor pan and then rip doen the seam sealer. Just so I can keep the crap out of the unibody rail, cause I'm tired of cleaning that out too haha -
Project clean machine?
The86manche replied to The86manche's topic in Member Projects: Your Comanches
The supercharger is a fageol supercharger. -
Project clean machine?
The86manche replied to The86manche's topic in Member Projects: Your Comanches
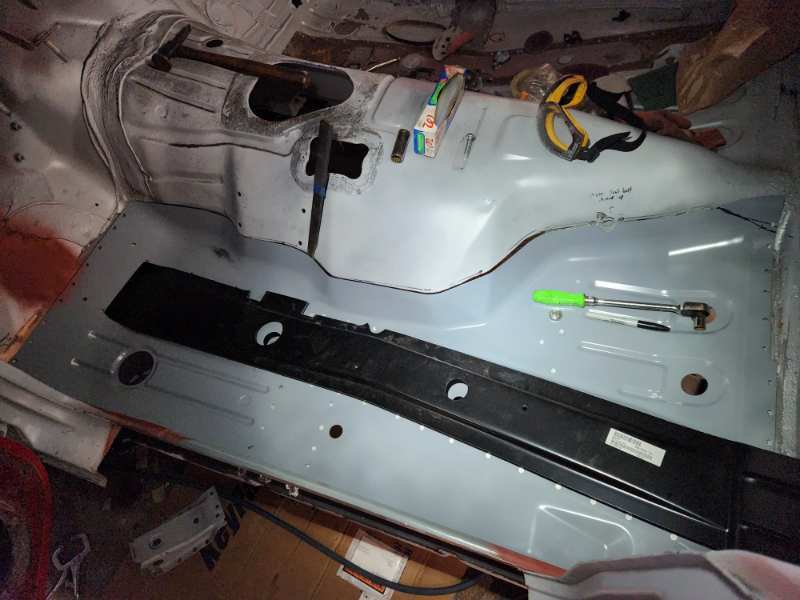
And then finished up the floor pan and set it in place to mark where to clean up for welds. Oh and the seatbelt brace too. And thats where I leave things for tonight.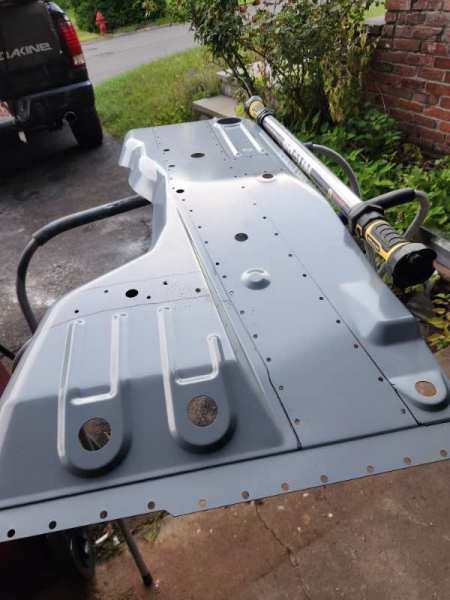
-
Project clean machine?
The86manche replied to The86manche's topic in Member Projects: Your Comanches
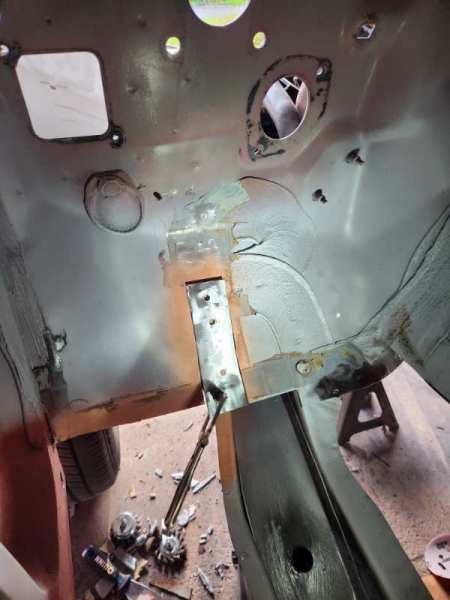
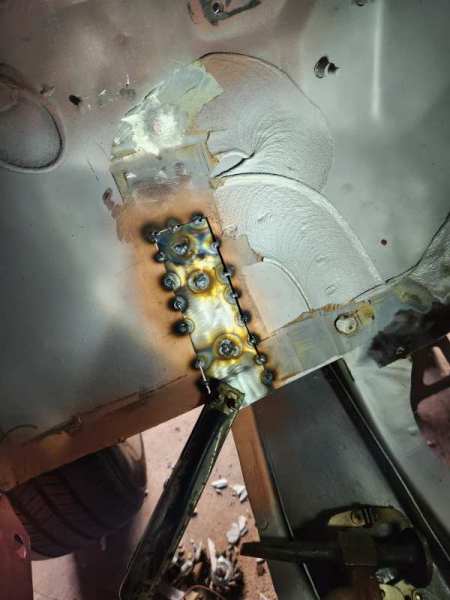
Knocked that out real quick.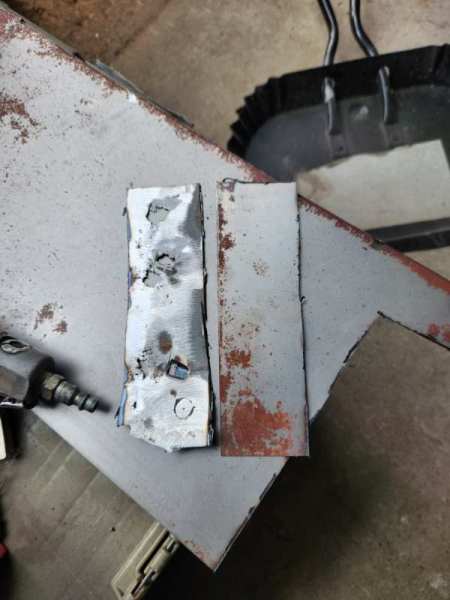
-
Project clean machine?
The86manche replied to The86manche's topic in Member Projects: Your Comanches
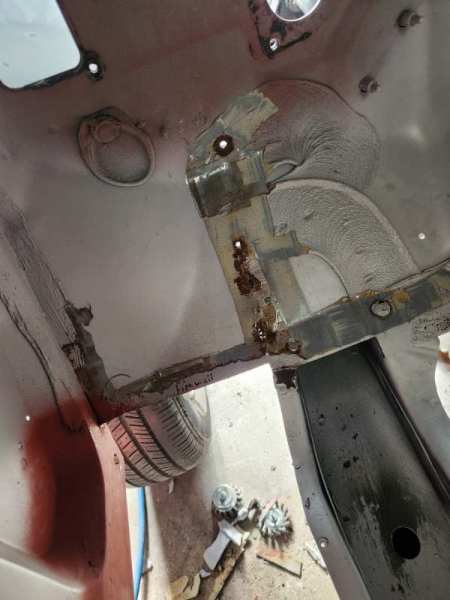
Punched a bunch of holes in the floor pan, my little metal hole puncher made half that work easy And started cleaning up surfaces to prep for the pan. You just love to see it. MORE RUST.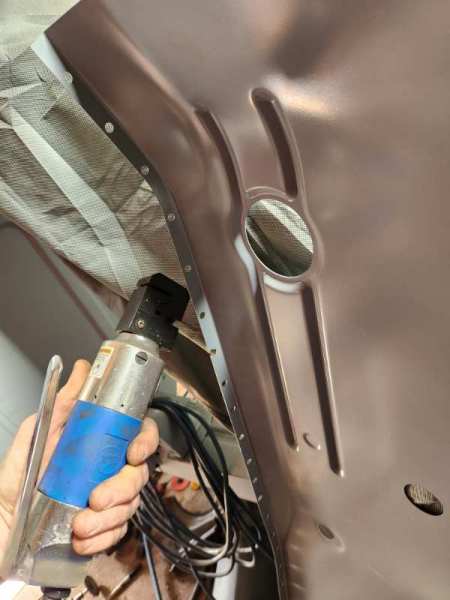
-
Project clean machine?
The86manche replied to The86manche's topic in Member Projects: Your Comanches
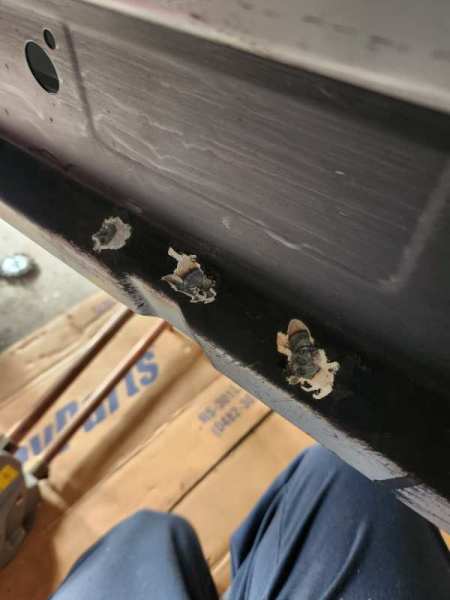
Another long overdue update! My best friend has a machine shop so I dropped off one of the headers so he could make a flange for me so I can make a header for the right side. Today I stepped back into the garage and did some more metal work. I really want to get that floor in place. Burned in one of the braces. Used my spot welder tool for the rocker side. That tool is going to save me so much time and effort on this project.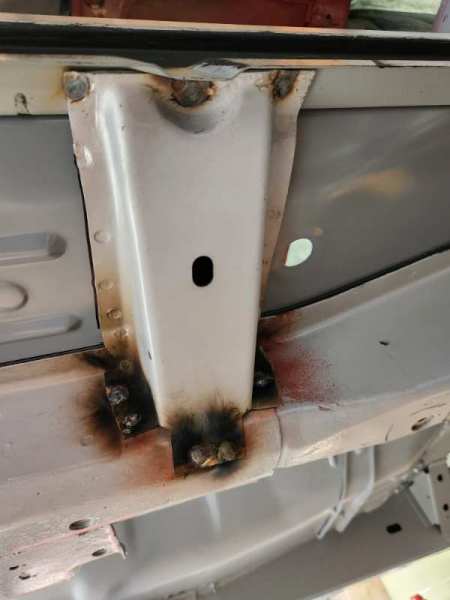
-
Intermittent wiper module repaired
The86manche replied to The86manche's topic in MJ Tech: Modification and Repairs
Its primarily the jeep line of vehicles, almost any of them that had that Saginaw column. Even the cjs had these boxes. I'm speculating here but I believe amc didnt have the means to do an integrated wiper motor like gm did. So their best option were these little boxes loaded with capacitors. -
Intermittent wiper module repaired
The86manche replied to The86manche's topic in MJ Tech: Modification and Repairs
Correct. The C and K series trucks used the same column and even the same connectors as the jeeps for the modules. Gm just plugged then together. I was able to confirm this while I was over at gonzos place as he had a c series truck in the driveway and we had a look. -
Check the grounds for the sending unit. Maybe see if it needs another ground point
-
Intermittent wiper module repaired
The86manche replied to The86manche's topic in MJ Tech: Modification and Repairs
Do you mean by other jeep models that use these boxes too? Or other platforms? I would say I'm still in the early stages of this operation haha