

The86manche
-
Posts
962 -
Joined
-
Last visited
Content Type
Profiles
Forums
Gallery
Everything posted by The86manche
-
Intermittent wiper module repaired
The86manche replied to The86manche's topic in MJ Tech: Modification and Repairs
I actually recently picked up one out of a yj, I need to go through it to make sure its good. Once ive confirmed that it will be up for grabs if you want it. And if you don't mind id like to take your old one off your hands as a "core" to refurb. Otherwise I could go through yours for you. -
Theres a junkyard page i follow on Facebook and someone posted about a pt cruiser with a factory Whipple supercharger on it. Might need to source one for yours Pete
-
Project clean machine?
The86manche replied to The86manche's topic in Member Projects: Your Comanches
The ups lady showed up today while I was at work! Left floor brace, so now Ive got all i need to finish up this left side. Brace needs some minor mods. 86 doesn't have studs that go through the floor so will have to notch them out. Getting excited to finally see this thing put back together again. Also pulled out the headers and went searching for my engine mounting plates.. no idea where I put them..

-
What should I do while the carpet is pulled up?
The86manche replied to jodawill's topic in MJ Tech: Modification and Repairs
Yeah, those are just drain holes with plugs in them and seam sealer. Looks like they may have used two different plugs from the factory? But still, oem. -
If you still need the tail light harness I found it, turns out I have two. Lol
-
What should I do while the carpet is pulled up?
The86manche replied to jodawill's topic in MJ Tech: Modification and Repairs
You could use a clear enamel if you wanted. And if you didn't want to brush it on and have that brushed look you could grab a cheap harbor freight spray gun and reduce the enamel and spray it on for a smooth look. -
What should I do while the carpet is pulled up?
The86manche replied to jodawill's topic in MJ Tech: Modification and Repairs
Scuff it and seal it with some enamel or other tough and comparable product. Spray some rust preventative, like cavity wax in those floor braces too and then you'd be find to put some sound deadening in if you wanted. -
Project clean machine?
The86manche replied to The86manche's topic in Member Projects: Your Comanches
It was bring your floor pan to work day today! I ran out of hardener for my epoxy and it was too big to prime at home so I brought it in to shoot. Two coats each side.

-
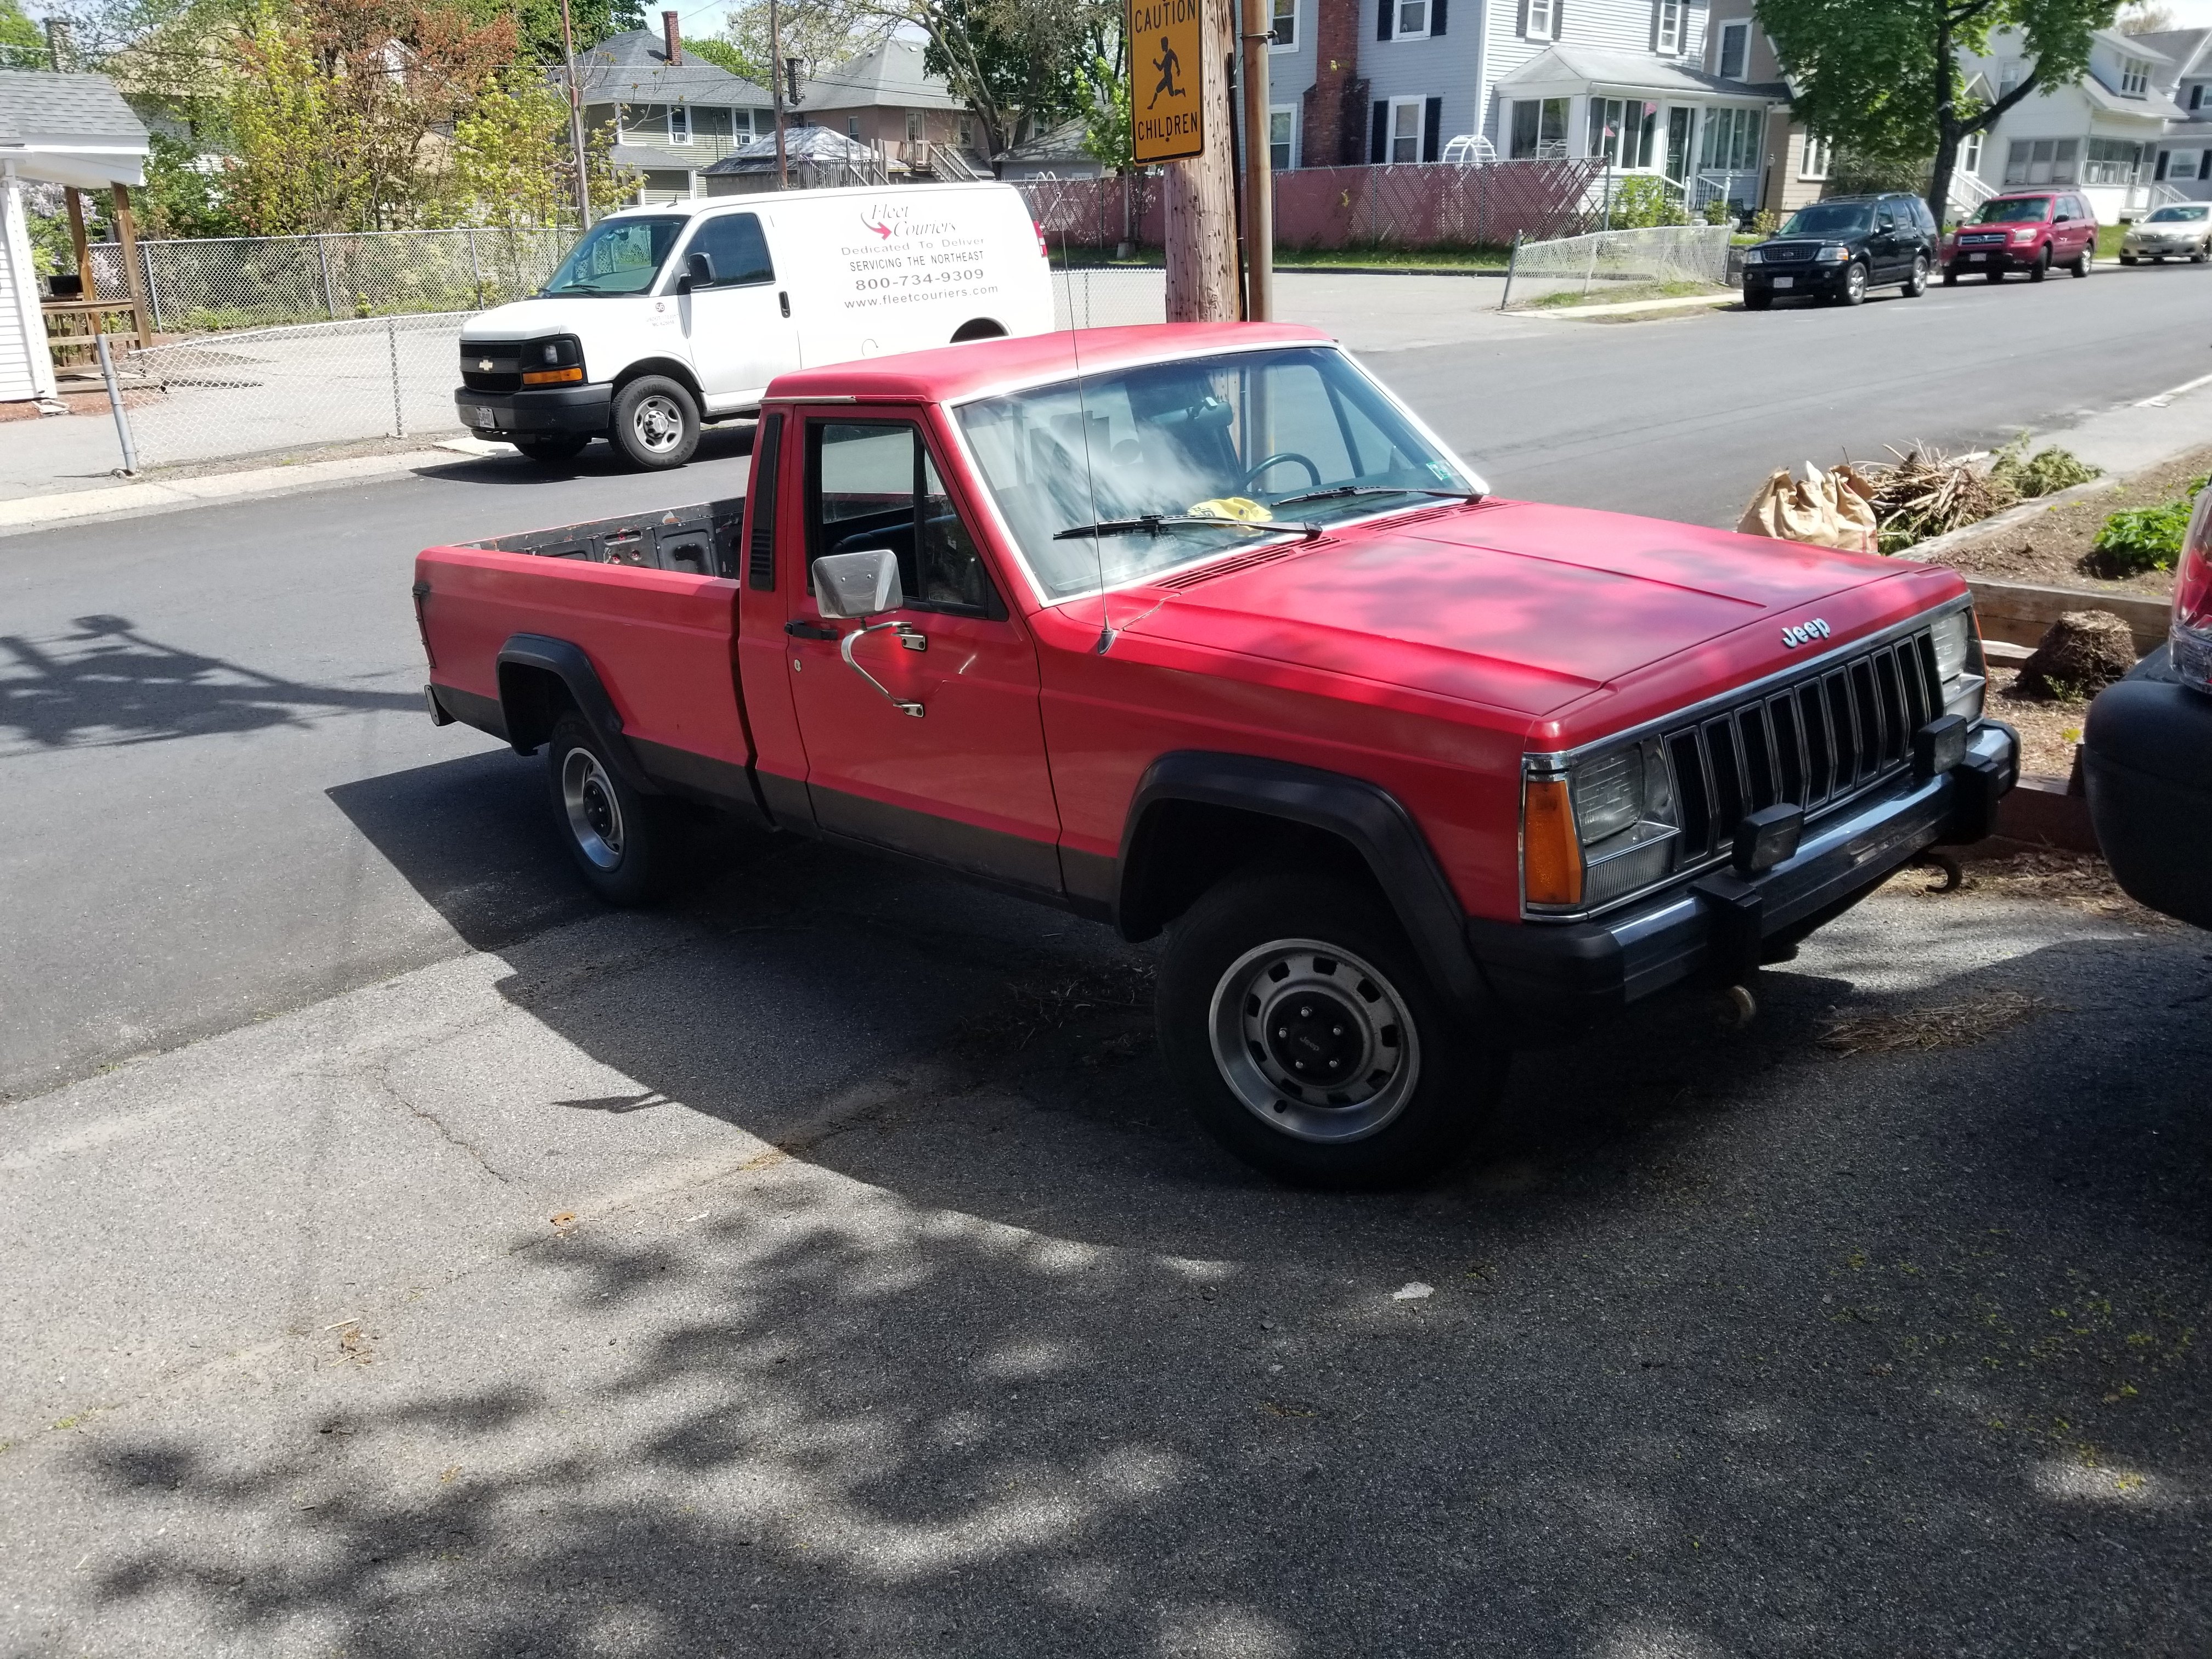
Are you sure that has a 2.8? That engine wasn't an option in 88
-
Project clean machine?
The86manche replied to The86manche's topic in Member Projects: Your Comanches
No, I stand corrected. They sell header flanges so you can make your own headers for these engines -
Project clean machine?
The86manche replied to The86manche's topic in Member Projects: Your Comanches
Yeah ive discovered that for both sets of headers. One side does fit but the other won't on each set. Thinking about using one from each set to make it work. But also why I'm dry fitting the engine before the floor goes in so I can tweak anything and avoid cutting up rare parts. I also thought about messing with fiero headers as those are still available and semi easy to get. I know one banks goes over the transmission but id be less upset modifying them than the other headers. I think WOT tech makes headers for these engines. I know they have cams and other good stuff. -
Project clean machine?
The86manche replied to The86manche's topic in Member Projects: Your Comanches
The project had been on the back burner for a while, but thank you! Feels good to finally be moving forward instead of back. And I love the oddball engine! That and I like being different. Ls swaps are boring, everyone has done it. 4.0 is just as common. Ill be different and supercharge a 3.4 haha and not with an m90 either. I also scored a set of pace setters I found on a camaro that hit the local junk yard a while back too. From what ive seen there's not many header options left for these engines. Both sets I have are discontinued, unsurprisingly. -
Project clean machine?
The86manche replied to The86manche's topic in Member Projects: Your Comanches
And turned my attention to the engine I'm going to need to clean up and dry fit the parts to make sure things clear other things. And back when I pulled the engine out to get the body sandblasted the hoist ended up tipping and the engine toppled into the dirt. Thankfully it was the dirt but it still did damage. Crank pulley is wasted, fan clutch, fan blades, waterpump, vacuum advance got bent on the dizzy. Thankfully! I have a set of Serpentine belt pulleys but I worry if it may be a problem with the supercharger. don't have the full kit yet and not sure whats the recommended pulley setup.


-
Project clean machine?
The86manche replied to The86manche's topic in Member Projects: Your Comanches
MOTIVATION!
-
Project clean machine?
The86manche replied to The86manche's topic in Member Projects: Your Comanches
Some touching up here and there and the underside of the unibody. And look, can hardly make out any pinhole from the welds! this will all get a good sanding and either straight to enamel or some paint and then enamel.


-
Project clean machine?
The86manche replied to The86manche's topic in Member Projects: Your Comanches
Put my nose to the grind stone today! So. Much. Grinding. Cleaned up my welds from yesterday and finished cutting out my driver floor. Ground down all my drilled spot welds and surface rust and coated with zink weld. Took some 220 to the inside and outside of my uni-rail and brushed on two coats of epoxy primer. Its looking really really good. It will never have a chance to rust again.


-
Project clean machine?
The86manche replied to The86manche's topic in Member Projects: Your Comanches
Wrapped up the inside smoothed out the bottom and put the crossmember brace back on. Welds aren't perfect but if the factory welds held this long then mine will too. And thats where I left it for the night. Will come back another day to smooth it all out fill the frame rail in enamel till its oozing out every seam.


-
Project clean machine?
The86manche replied to The86manche's topic in Member Projects: Your Comanches
A little motivation to keep me going. Burned in that small little piece and dry fit the rest of the sections for the inside. I also finished welding it, cleaned it up and coated it in enamel. Prep work for the bottom plates including the one that helps support the crossmember. Zink weld and tacks.


-
Project clean machine?
The86manche replied to The86manche's topic in Member Projects: Your Comanches
Cleaned the metal around the nuts and burned them in to the top plate and it back in to the unibody And definitely had to dial in the welder... new torch handle really brought the welder back around. A nice dry fit of the bottom plate. Spent a lot of time marking and smoothing and notching and cleaning..


-
Project clean machine?
The86manche replied to The86manche's topic in Member Projects: Your Comanches
Happily burned away my saturday! Gave that epoxy plenty of time to dry and went right to putting that uni-rail back together. Reamed out some holes, dremeled the notch at the top center, and punch some plug weld holes. Preparation! And I sprayed zinc weld on all weld spots too. Dry fit the crossmember and everything lined up nicely. Sandwiched it all together with the correct M10-1.5 hardware and some clamps for extra support.


-
July 2026 - The Clean Machine in Progress
The86manche replied to 89 MJ's topic in Comanche of the Month (MJOTM)
Thank you very much! And sorry to make you pull more photos on my behalf. Pretty soon that sc will be getting a dry fit in the engine bay, so stay tuned! -
Project clean machine?
The86manche replied to The86manche's topic in Member Projects: Your Comanches
Finger painting with epoxy! I brushed on a coat on the backsides of the pieces I made. And up in and around the rail. Its okay that its not perfect, it will get an enamel coating when everything is pieces back together in there.


-
And there's a gentleman on here that makes seat brackets so you can bolt them right in to the mj. Brandon Scarborough.
-
Project clean machine?
The86manche replied to The86manche's topic in Member Projects: Your Comanches
Gave it a good vacuum clean, blew it all out, wiped it doen with brake clean and then a nice thiiiick coating of rust reformer primer. And this is where i have left it for today. Letting the primer set up and dry and then the patch pieces will be going in! Will likely brush on some epoxy and after that sets up enamel over that to complete this side of the unibody... uh.. in the cab at least.

-
Project clean machine?
The86manche replied to The86manche's topic in Member Projects: Your Comanches
And then clean up time. Whatever tool i could fit in the rail went in to try and clean up any rust. Underside. I battled with a lip I couldn't quite see. At the start of the clean out. after.


