
.jpg.03fe42450761a0d4be1d3ce71ecb7c53.jpg)

87Warrior
-
Posts
3839 -
Joined
-
Last visited
Content Type
Profiles
Forums
Gallery
Everything posted by 87Warrior
-

Pulled My Carpet Out Today
87Warrior replied to Southpaw26's topic in MJ Tech: Modification and Repairs
With the small amount of rot through on your truck, this would probably be the easiest solution. -
Interesting read. A semi-local Jeep club that had been in operation fell to pieces about 7 years ago. The incident involved a person wheeling with the club to be left stranded on the trail, alone, when his non jeep vehicle broke down. The guy had no communication equipment but was eventually assisted by some local kids out wheeling. Needless to say, that Jeep club is no longer in existence.
-
Did you poke your head under the dash to see if the pedal to master cylinder connection is loose? Missing clip?
-
I agree Pat. Disappointed for sure. Oh well.
-
Not yet today. I will be doing that after work and expect a line.
-
Huck731's 91 Mj Daily Driver
87Warrior replied to huck731's topic in Member Projects: Your Comanches
You can get the 4wd AX5 and a NP231 installed then worry about the front end when you have time. A search or post in Tech will yield you a lot of information about the swap. -
1986 MJ 2.5L 4x4 | "Heavy Four"
87Warrior replied to 87Warrior's topic in Member Projects: Your Comanches
I still plan on sharing the mount and documentation the club. However, since I bought the mount I have managed to move out of the city, break my scanner, let my AutoDesk license expire and started using satellite internet with restricted upload/download limits. The thought of drafting in SketchUp makes me sick to my stomach. Like I said, when I have time I will get it digitized. I will even build a replica from the drawings. -
Anything over the POR15 will protect it from UV damage. If you don't want to do the Chassis Coat, spray bombing it with Rustoleum will work just dandy. My bodyshop guy advised against under coating as it doesn't add any protection to the POR15 and is spendy to apply.
-
'It could happen tomorrow' I was just discussing this with a buddy.
-
Huh, that's too bad. I enjoyed a nice 68 degree drive in the MJ this afternoon. Perfection with a little bit of overcast :)
-
Wow, that brings back memories.... It just took me a little bit longer to accomplish with my cheap blaster..... Glad to hear they didn't find any surprises in the metal of the frame.
-
I think the Bright White will look absolutely stunning on the ol' MJ.
-
When are ya free?
-
Ya think? I figure they used the same type of ramp on the uphill side. I wonder if the person the cartel stole that XJ from will get it back.
-
Ahh, that truck just needs a little love. Looks like a great platform to build on. I dig the 'classic truck' plates!
-
I think my stock MJ would do better than that Ford. I think we have a clear winner!
-
The compressor ran non stop. However once the compressor was completely out of air, the hopper was pretty much empty and ready for a refill. It was not the most efficient process, but it was effective. My least favorite part of the blaster was the nozzle. It is basically an on/off valve with a reducer on the end. It worked, but was cumbersome. I have since picked up a deadman nozzle and look forward to giving it a shot. I picked up the moisture trap at my local hardware store. I was amazed at how much water the trap caught even in the cold winter. I highly recommend going to Walmart to pick up a kitchen strainer that will fit in the funnel for the blaster. This will allow you to reuse media and reduce down time due to a clogged nozzle. I bought about 6 bags of the Black Diamond media and used all of them several times. Since I was attempting to collect the used stuff on a tarp, I still have 4 bags. It was very frustrating to start using the blaster. I assumed it was a simple, flip the valves on and go to town. Nope. You must feather the hopper valve and air pressure valve until it media flows how you want it to.
-
Updates
-
1986 MJ 2.5L 4x4 | "Heavy Four"
87Warrior replied to 87Warrior's topic in Member Projects: Your Comanches
Thanks for the comments :) The build for this truck isn't real pretty, but its darn functional. The tires are a 235/75R15 on a set of stock XJ/MJ Turbine wheels. I feel this is about as much tire as a stock 2.5 can handle while maintaining decent driveability. It will cruise down the highway at 75mph if I want to. I finally upgraded to a 91+ aluminum valve cover and used a felpro permadry gasket for a 98 Dakota 2.5. Seemed to have stopped my oil leak completely. While I was digging around under the hood, I also took the time to pull out all of the CAD vacuum lines and replace several of the dry rotted rubber vacuum lines. Now my vent selector works in every position, every time. And since I don't like to post without a picture, here is the truck in THE MIDDLE of our 20+ acre pond yesterday. It's a little dry..... .....but I did have fun bombing through some of the mud holes.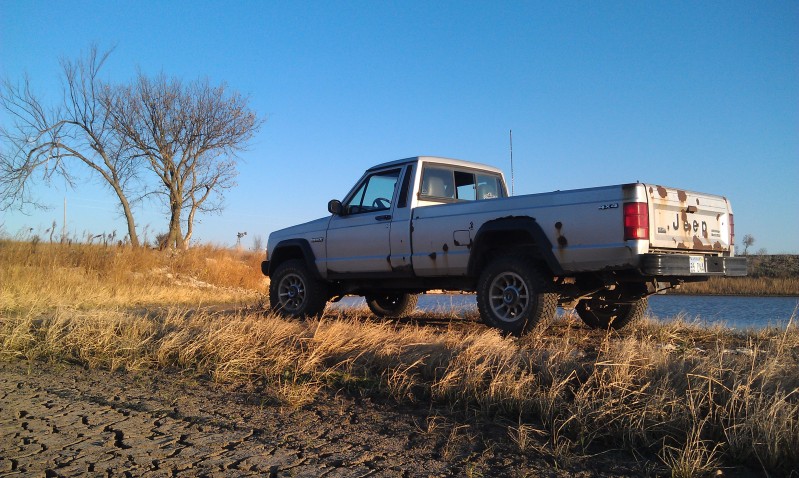
-
Now to find a light that bright that can fit in the B-pillar! Sweet picture.
-
4X4 Question - Cad Delete
87Warrior replied to ParadiseMJ's topic in MJ Tech: Modification and Repairs
1. Place oil pan under CAD actuator housing on axle. 2. Remove CAD actuator. 3. Slide collar over to lock axle shafts together. 4. Reinstall CAD actuator upside down. 5. Plug vacuum ports on CAD actuator and vacuum lines. 6. Top off you differential oil. 7. Enjoy 4wd. -
Bondo
-
Huck731's 91 Mj Daily Driver
87Warrior replied to huck731's topic in Member Projects: Your Comanches
Hey, that ain't bad! Sounds like you have a solid truck. I look forward to watching your rust repair progress. You can check out my 86 build to see where I put my CB radio and antenna. -
Unless of course, the valve cover was swapped ;)
-
Actually, I believe the light is operated by a vacuum switch. It should be located on the back side of the passenger side inner fender near the blower motor.