Drahcir495
-
Posts
2846 -
Joined
-
Last visited
-
Days Won
3
Content Type
Profiles
Forums
Gallery
Everything posted by Drahcir495
-
LEAD, I found the last steel one they had, last year. Then a few months ago RockCrusher called me about the new ones :cheers: - Rich
-
Now that I have my front axle ready to go in, I started taking apart the front end on the MJ. Got the jeep lifted, set the frame down on a few cinder blocks ;). I got the tires removed, then I sat for a few minutes to plan in what order would the parts be removed. I decided the I would remove the sway bar disconnects first. Grabbed a 15mm socket and busted the driverside off; easy. The passenger side unbolted with a little effort; sweet. The sway bar was still connected to the disconnect, no big deal. I grabbed the bar and lifted up on it. It popped out and I caught my knuckle on the bumper bracket :eek: . Barely touched the bracket and I was able to see into the space between my bone and skin. By the time I got to the camera the cool gap had filled with blood :cry:. Picture -> Warning: kind of graphic -> My fingers are clenched and distorted because it flipping hurt :roll: Lol, that is just a strange picture. I took the rest of the night off. It could have used a stitch or two, but I just bandaged it up myself. I am going to get a Tetanus shot this week though. -Rich
-
I like the RC cover too. The front steel one is a beast. I have yet to hear, or read, a bad word about the Eaton E-lockers? They sometimes get confused with the ECTED & the ELECTRAC. I spent hours on NAXJA and the internet trying to find a negative review on these. Maybe you have read something new on them? Let me know - actually it is too late, so please don't ;) . I will keep this thread updated on how they perform :cheers: - Rich
-
HUCKLEBERRY FUDGE COMING FALL 2008 Not soon enough! :drool:
-
Today I offered bwatsoncj a large Coke with ice to assemble my front 44. He said he wasn't available until I offered to sweeten the deal with a Bacon, Egg, & Cheese Bagle from Micky-D's :D Got up early and grabbed my gears and locker, and met him down at the shop. Eaton E-locker and 4:56 gears -> We pulled a new Rubicon LP44 off the rack, and then we {bwatsoncj} started to set it up -> Bwatsoncj decided that we should first drill out the 29/64" hole for the wire grommet to avoid contaminating the differential. Not hard to choose the location on the housing: the hole for the factory Rubi locker. We looked for 15 minutes for the right size drill bit with no success. I went to the hardware store and picked up a new 29/64th drill bit only to find it was too long :headpop: . No problem, the master mechanic just cut down the bit to size. Then he reduced the diameter of the end, to fit the right-angle drill, on the metal lathe. That was pretty cool, but it took 3 times longer to reduce the bit than the actual building of the axle :roll: Completed hole -> Installed pinion -> Setting the locker in -> Nice pattern -> Not a very nice picture of bwatsoncj sealing the axle up :oops: -> And completed -> It just needs the shafts put in, knuckles installed, and a coat of paint on the cover. This is a simplified description of how bwatsoncj set up the axle. There was a few shims/spacer things involved. A two tear down/ build-ups to get the backlash and $#!&e correct. I was lost most of the time, and no real help :popcorn: . Spent most of the time trying to pick my favorite Snap-On calendar girl :D . Thanks Bwatsoncj!
-
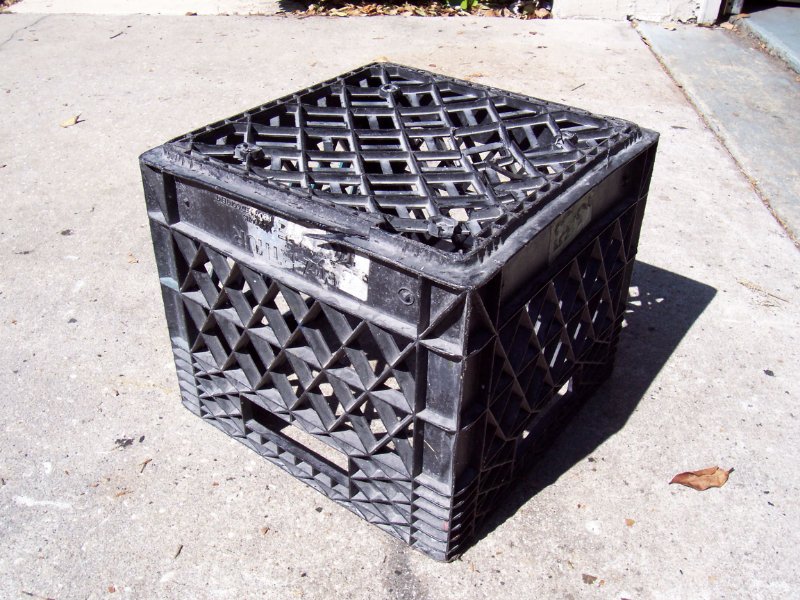
I found a few packages at the door when I got home today :brows:. I got in a new set of locks from Contico to replace the rusted out ones already in the truck bed box-> Shipping was almost as much as the new locks, but it was still under 15 bucks 8) As you can tell from the picture above, I got in my rear RockCrusher 44 diff. cover -> The cover is just at .5 of an inch thick at the mounting base -> I wasn't able to get the steel version like I have for the front, but this new Aluminium one will do fine for the rear. -Rich 3/12/08 - Painted the F&R RockCrusher's like this ->
-

1989 jeep comanche- mildly built
Drahcir495 replied to Bubba's topic in Member Projects: Your Comanches
Keep the yellow, it looks great. Where did you get the rear bumper? I like it a lot! - Rich -
Flat bottom. The ones that collapse get caught on crap, then tear or spill. Just my opinion - Rich
-
AAAAARRRRRGGGG, just couldn't do it. Slapped 'em on white letters out. Image Not Found It was the right call for your truck 8)
-
-
Please share your findings! :bowdown: You need to start a write up on this! How hard is it to get an AMG 242? Have you tried it out yet? Sorry for all the questions - Rich
-
Thanks man, I learned something new :cheers:
-
New Member Project...suggestions?
Drahcir495 replied to xjcrazy09's topic in Member Projects: Your Comanches
:bowdown: Looks awesome, great job! -
MJ's with Gambler Rim? **Update ** Tell me what you think!
Drahcir495 replied to SuperWade2's topic in The Pub
Those are nice :cheers: -
It sure is! It won't stay purdy for long. Going to try to get out to Tellico this year. Won't I need to have the front lifted before the spring purches can be welded on at the correct angle? If not, I will get to work on that I guess I should get started on reading the instructions.
-
Happy New Year, Nah. I think it is more like the luck of the Irish :D . I am very excited about it. I just have to wait for the front 44 to be finished. I don't want to put the kit on twice, but I am not sure I can hold out :brows:
-
Getting closer to adding this - Rubicon Express 5.5" MJ lift. I opted for the Adj. upper and lower control arms, and the track bar brace. - Rich
-
I found a steel hoop popping through the back panel. I think it is for the jack arm :dunno:, am I going to need this? I just purchased a High-lift jack, so I will not be using the stock jack. I figured I shouldn't let that piece go un-used :brows: I cut out a 1'' section of left over radio mounting hardware, picked out a few SS screws and nuts, and one of the Mag-lite clips like this -> I mounted the steel behind the loop braket and secured the clip with the screws and lock nuts {the bolts line up on either side of the loop and straddle it}. If anyone thiks that the support is vital to something I am missing, I can easily remove it. It is very secure, even with the one clip. I think it looks pretty slick ->
-
Finally found one...Now it has a new floor.
Drahcir495 replied to watchamakalit's topic in Member Projects: Your Comanches
Awesome Is the CJ part of your collection? - Rich -
He can't be all that bad if he wrote "PS I love the drab olive on your MJ. Reminds me of my first MJ." :rotf: :popcorn: I don't remember having to give all my banking information when I signed up for Paypal? Am I mistaken, or can you just use a credit card? - Rich
-
It also took me a while to get over that fact too. After I realized that the wifes Honda had 17'' wheels stock, I knew I could get used to it. It may have something to do with size of the lock ring, but they do not have that DUB look. They do offer a 15'' in the beadlock wheels, if you are feeling adventurous :brows:
-
They do look better with the tires on them, thanks Wahoo ;) Thanks BLHTAZ :cheers: . You need to check out the new options for the wheels. They have anodized colored lock rings. And they offer a sweet looking black powder coated version. My wife loves the look, so it could be an easy sell to Tina :brows:
-
I took mine off with a staight edge razor knife. Took a bit of elbow grease, but it came off in one piece. I decided to have a professional reinstall it for 100. He said that he ws shocked that the window was removed by me! He said that 90% of the time, the average joe installer breaks the window :roll:
-
Thanks CW! I was getting razzed :D on another post for the wheels being too "bling, blingy." Validation! - Rich
-
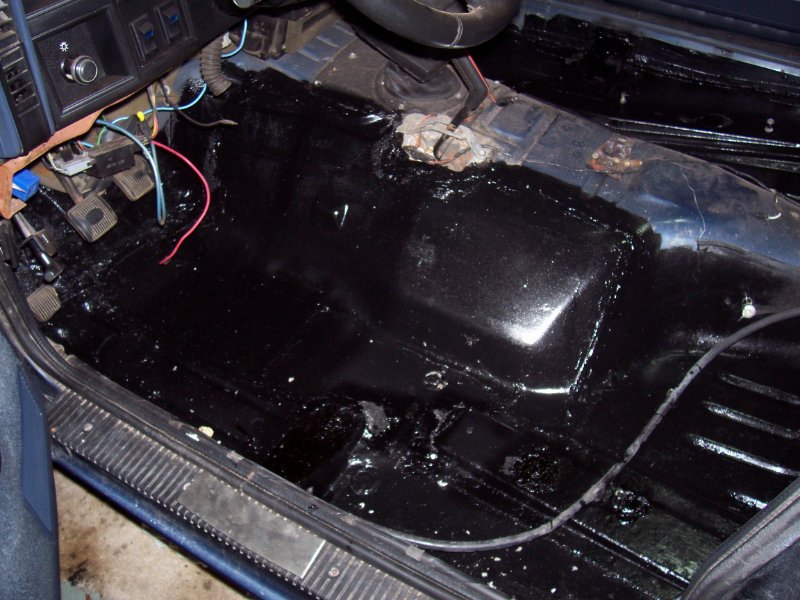
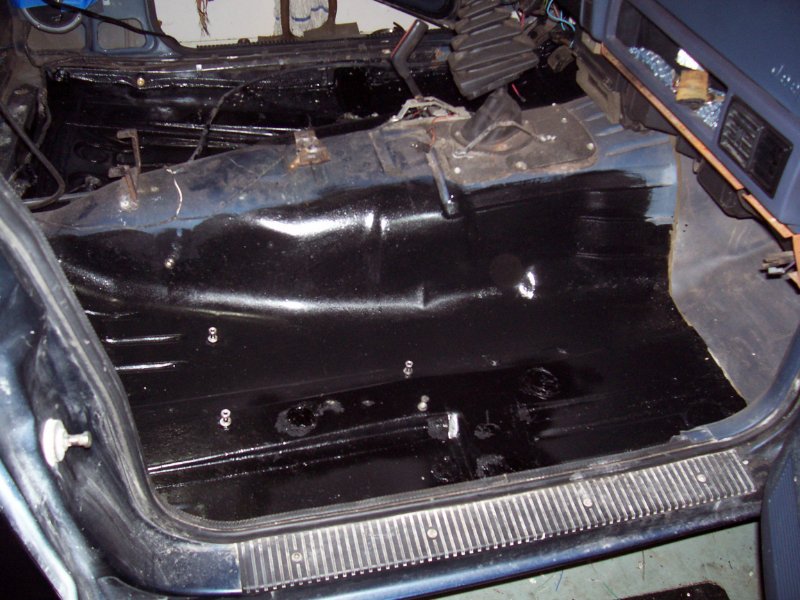
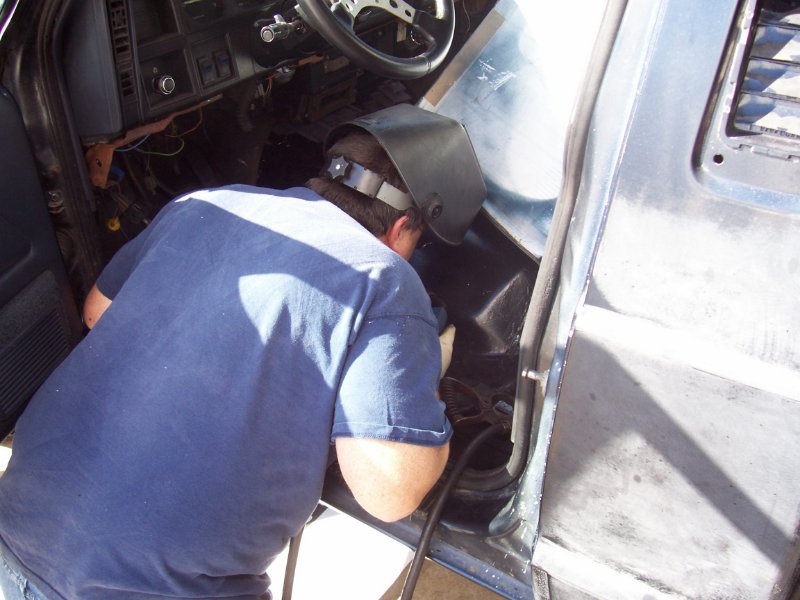
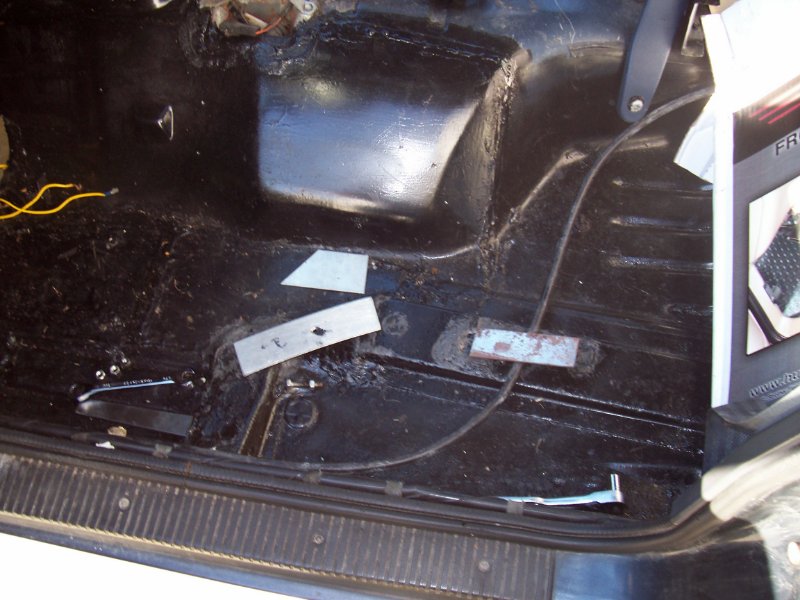
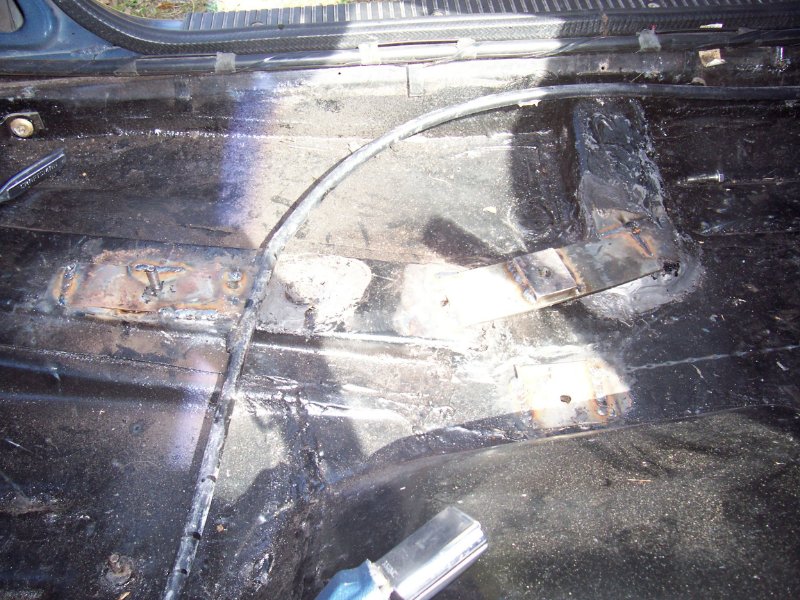
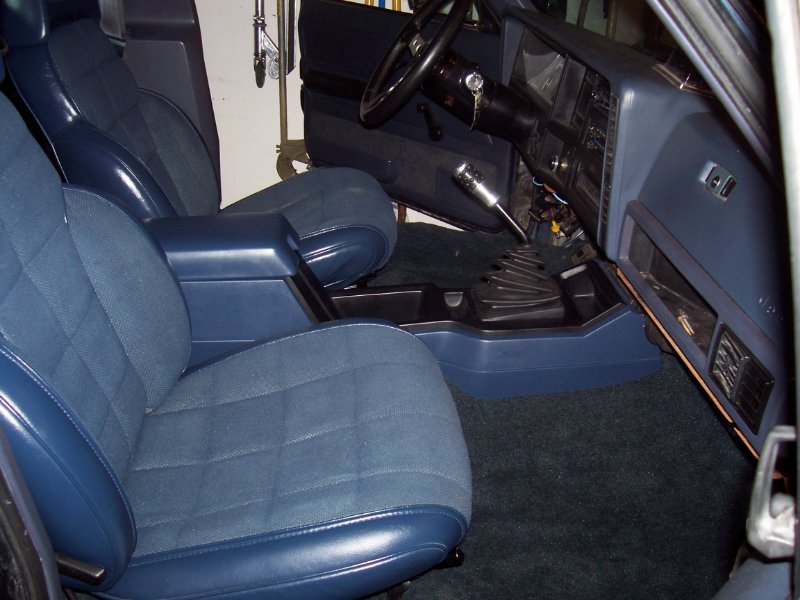
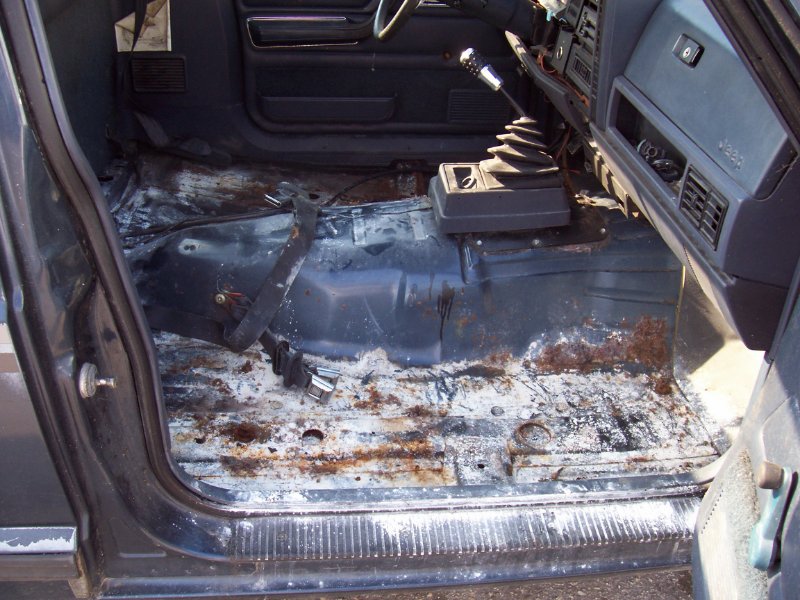
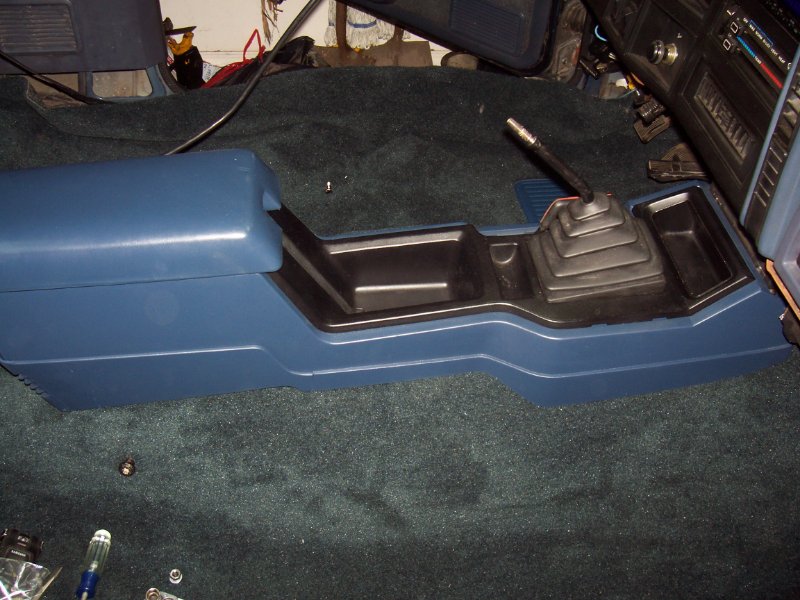
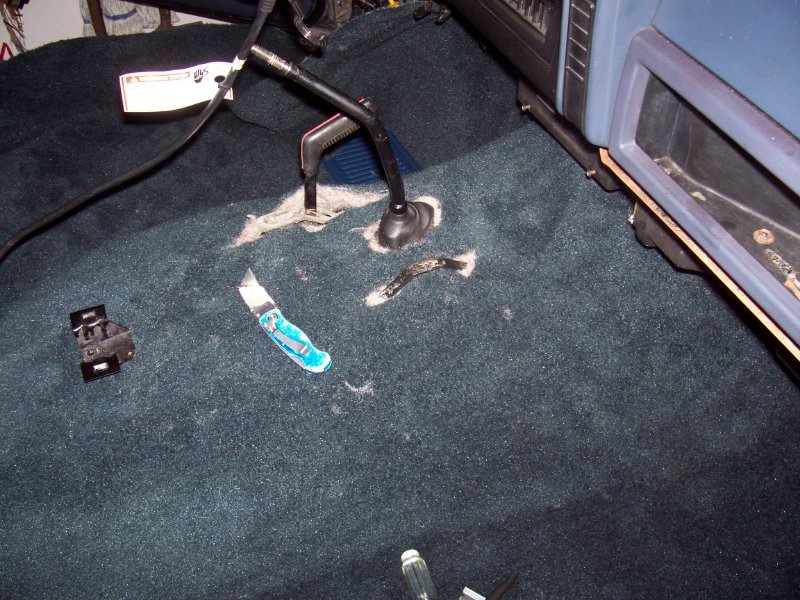
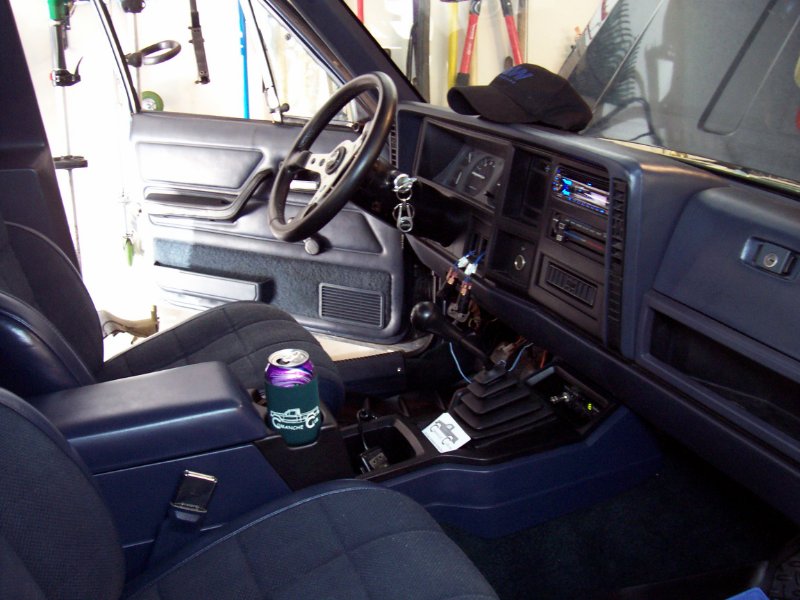
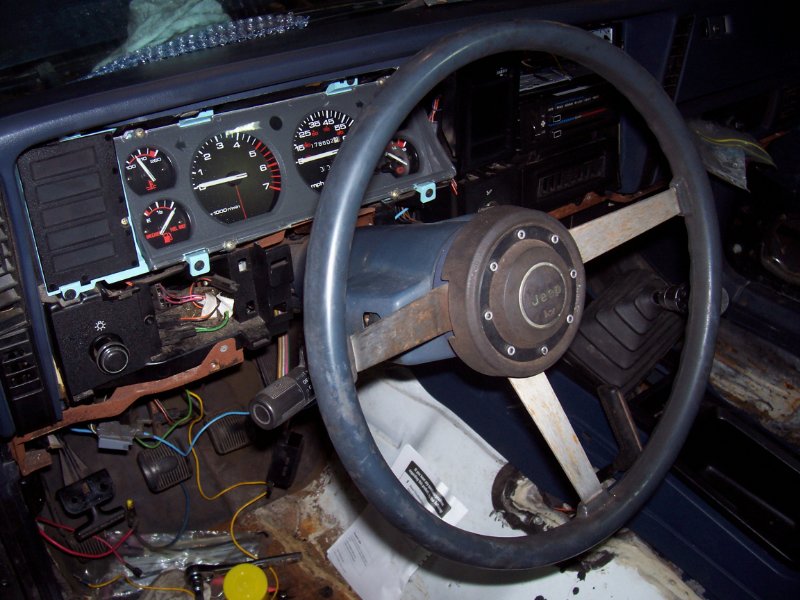
Got A lot done this weekend . Some time back, I hit the pick-n-pull with a sawsall and cut out a good section of floor from a donor MJ. My floors had rusted out due to the windshield leak, door gasket leak, rear window seal leak . About the only thing that the body shop guy got around to doing, was welding in that scavenged floor section. Driverside before - Only picture (partial) of the white replacement floor - After - Pass. side before (notice the white powder; it was insecticide. I had a "slight" carpenter ant infestation on top of nesting rodents) - After - Today, for a McMuffin and a subway sub ;) , I got bwatsoncj to finish the seat brackets and floor . We laid out the new seat supports - Then bwatsoncj worked a little of his magic - It was an awesome job, and the seat sat perfect on the new supports - With the floor complete, I was able to start to install the new carpet I got from JC Whitney - It is starting to look good. I will have to add a bit more detail to the write-up after I get some sleep. I will post more as the project moves along. Thanks again bwatsoncj :cheers: 2/18 Got the full center console in - Just test fitting the seats - 3/22 I just came across an awesome write up on installing the full center console from 88XJSport in the DIY forum here-> http://www.comancheclub.com/forums/viewtopic.php?t=9011. 88XJSport's write-up provides easy to follow instructions, with a ton of pictures . The steps involved in his installation (in an XJ) were almost identical to the installation into my 89 MJ. I recommend taking a look at it if you are considering this upgrade- Rich 6/1 I just finished the interior and everything works - right now :roll: -> I just need to figure out the wiring on the new switches for the Eaton lockers. I went with a rocker type switch instead of the push button switch provided with the kit. I also got around to tossing out my first bucket seat -> I don’t think I will need it again - Rich