

fiatslug87
-
Posts
7159 -
Joined
-
Last visited
-
Days Won
8
Content Type
Profiles
Forums
Gallery
Everything posted by fiatslug87
-

VIN Registry List: May 2026 Update
fiatslug87 replied to fiatslug87's topic in Comanche Registry (VIN decoding)
July 2023 update, see first post. 12 new additions this month for a total of 2170. -
-
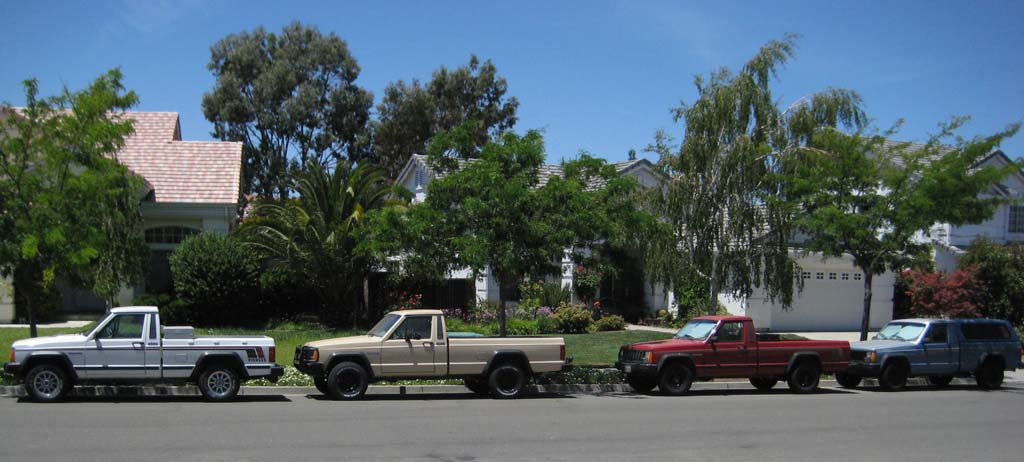
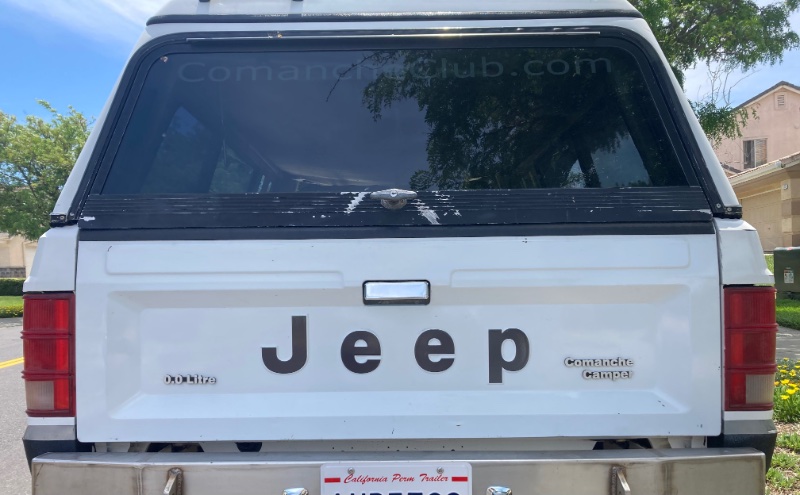
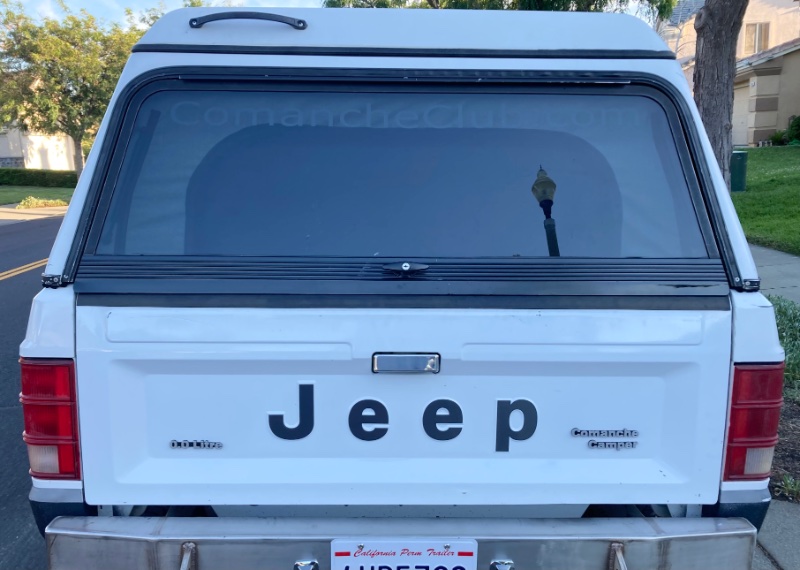
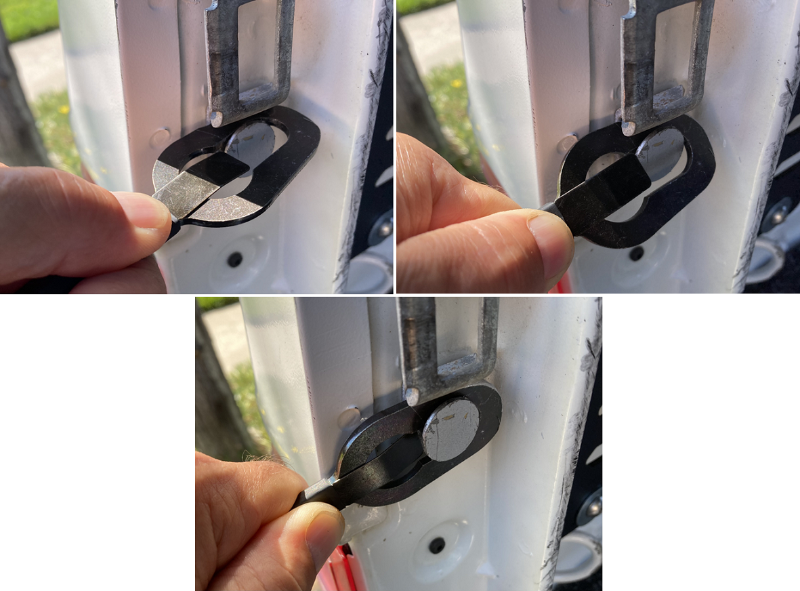
A little paint and a new lift gate handle for which I have a key. Before: After:
-
Looks great! Very “finished”.
-
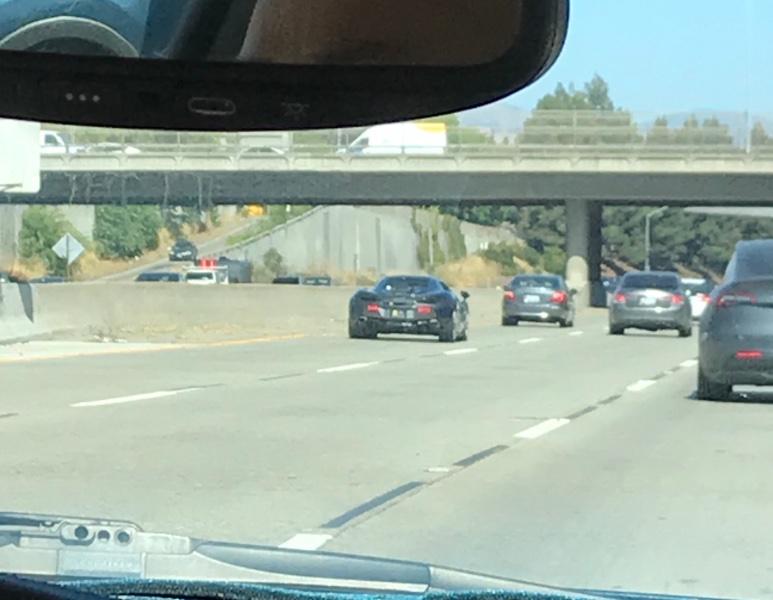
Some kind of McLaren, 7/29/23 4:00 pm, south bound 280 in San Jose, CA.
-
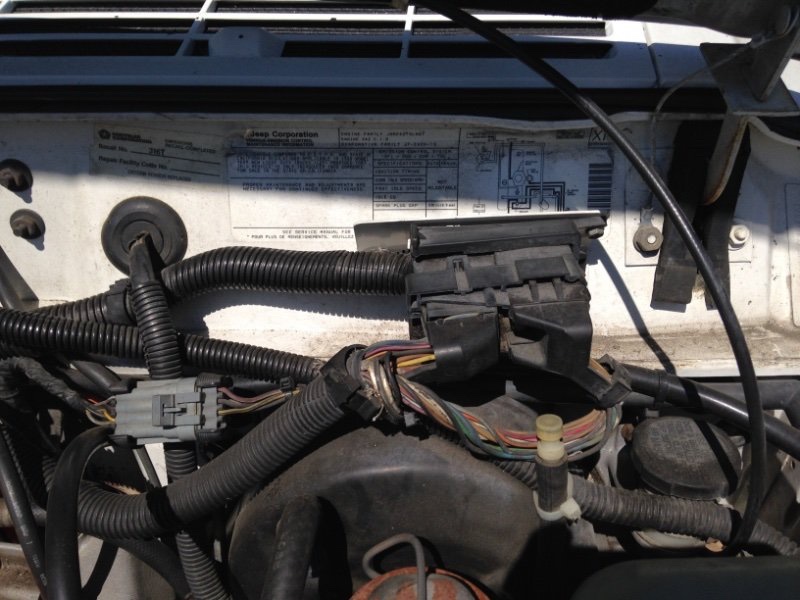
Do I have the sentinel relay?
fiatslug87 replied to Warren99's topic in MJ Tech: Modification and Repairs
The silver box in the pic. Behind the knee panel to the left of the column.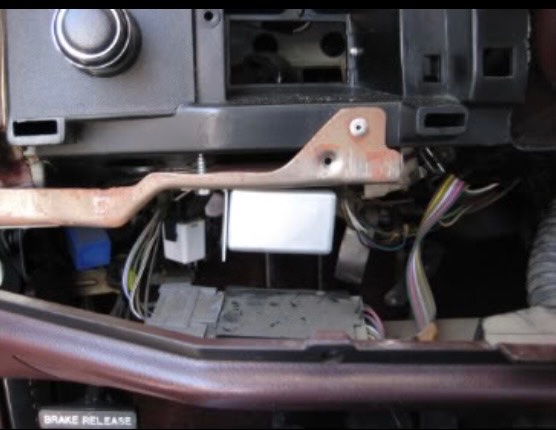
-
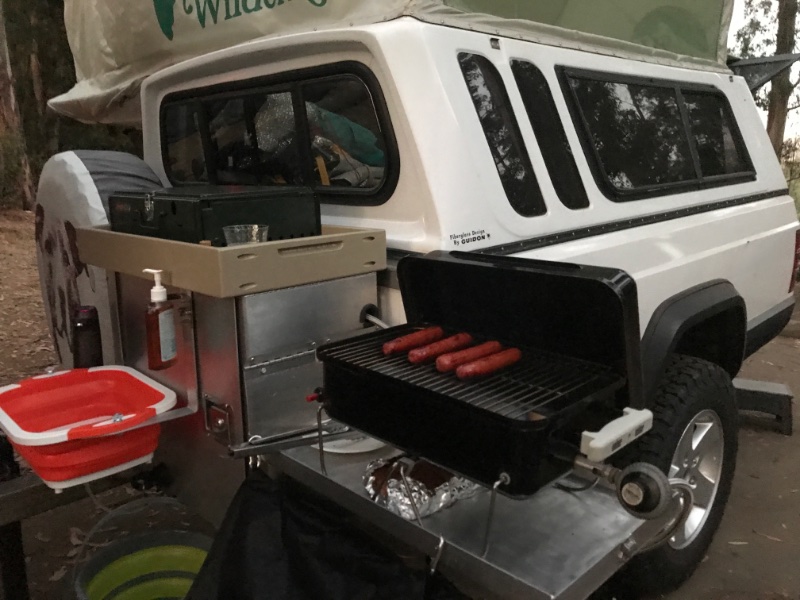
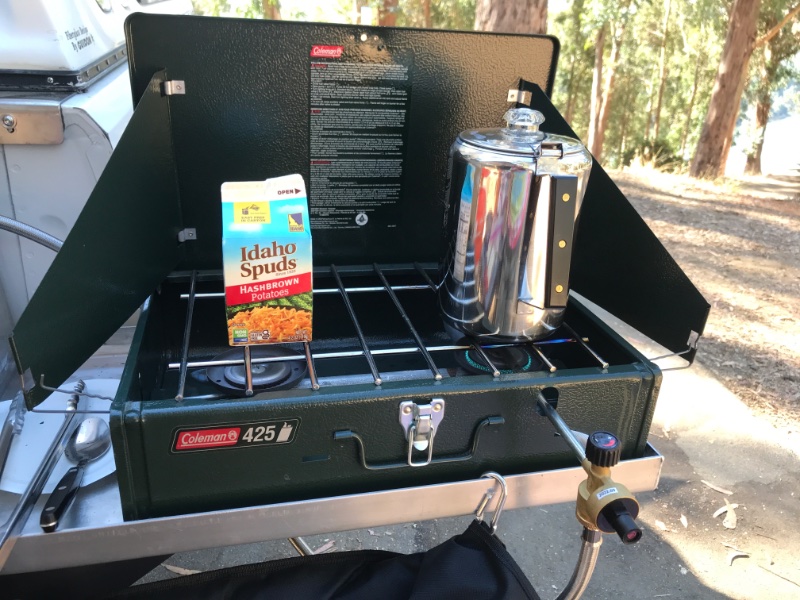
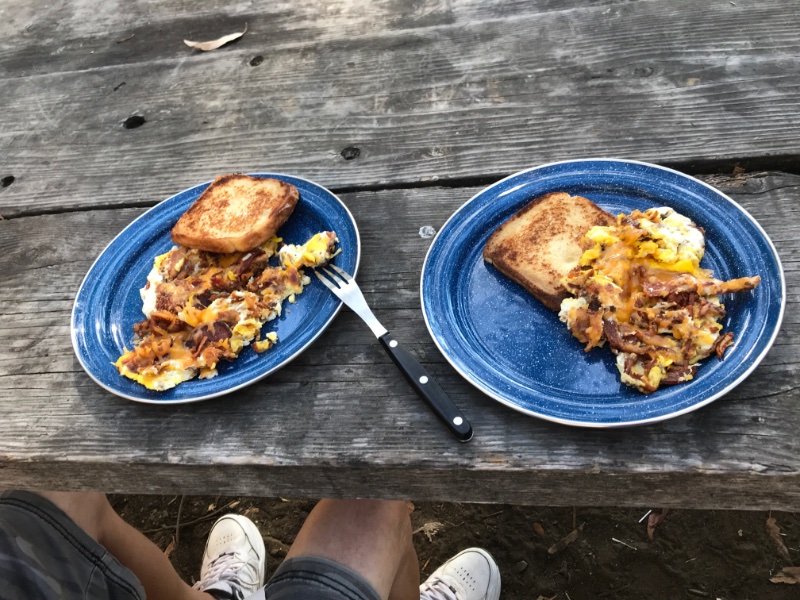
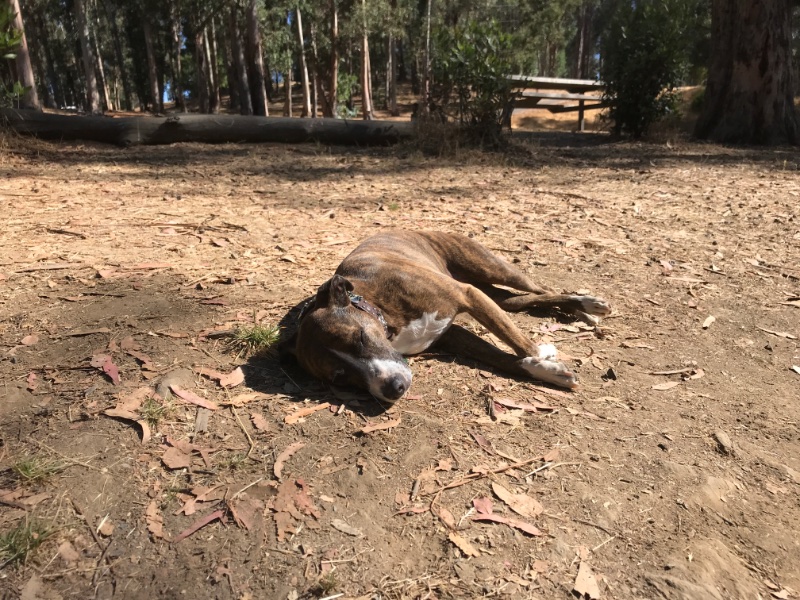
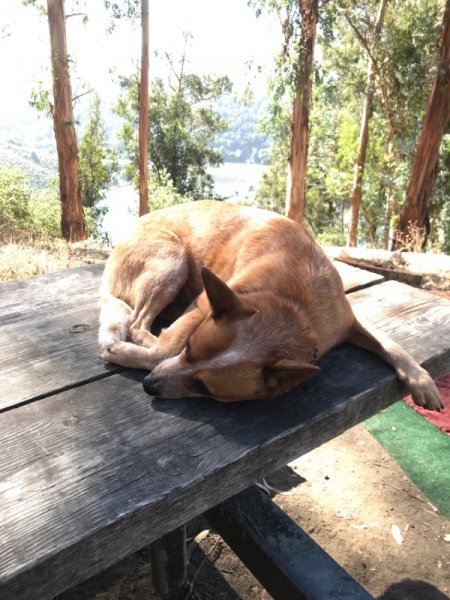
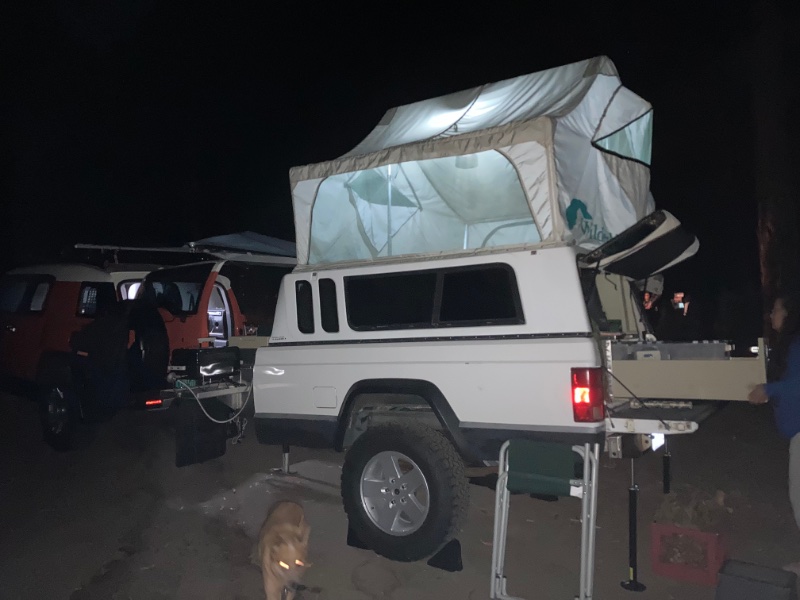
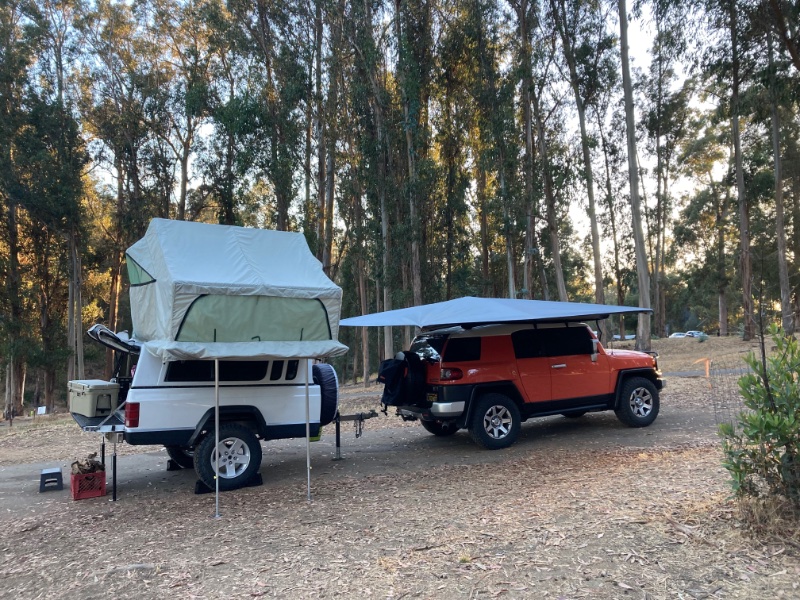
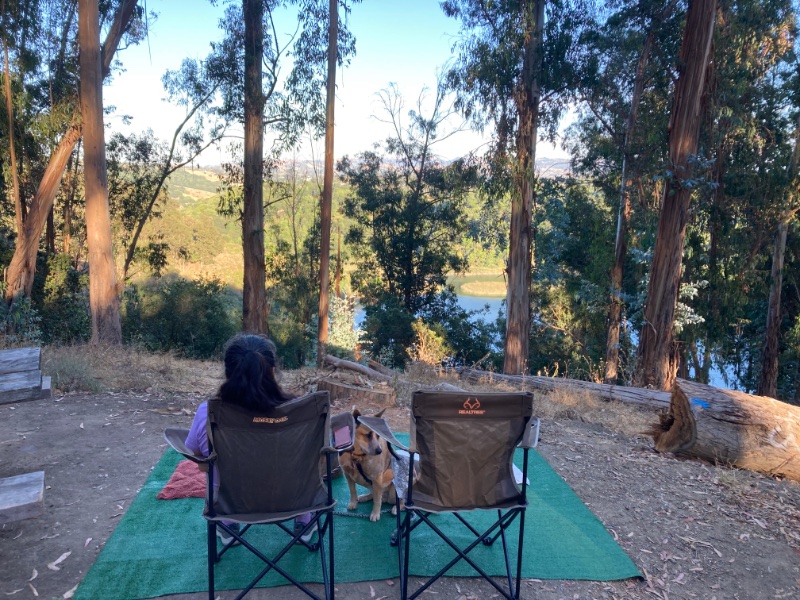
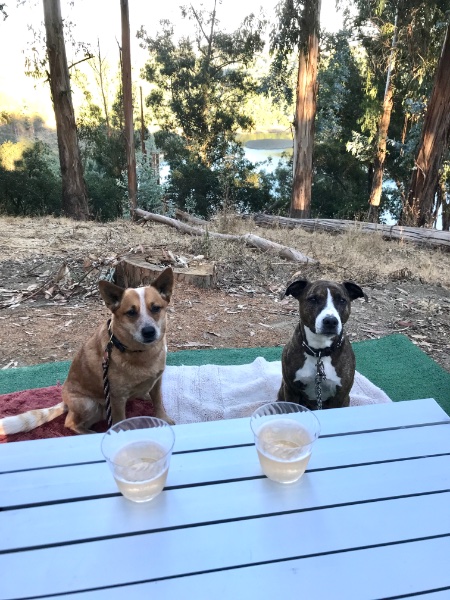
First night’s dinner was hot dogs on the gas grill, not very fancy . and the morning’s breakfast on our 30 year old Coleman white gas stove converted to propane. the dogs were dead tired by the last day. and a final night shot.
-
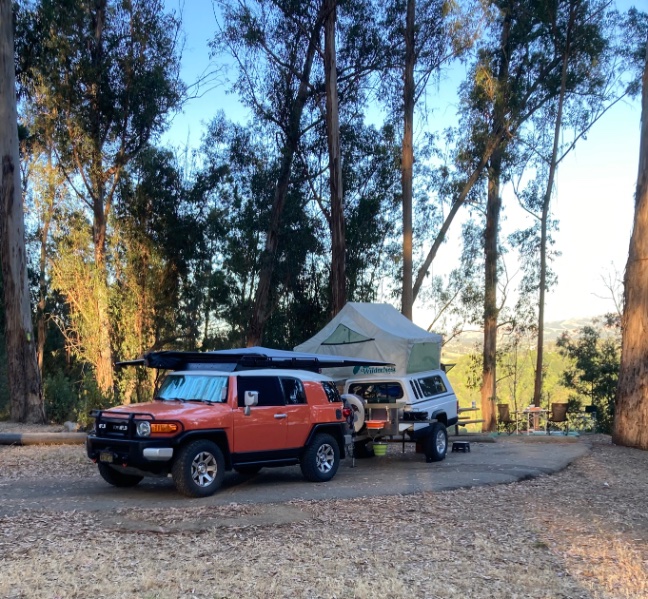
Its maiden voyage, in CA at least.
-
Nope, try regular Christmas tree push connectors.
-
Sealing Glass on Wing Window
fiatslug87 replied to Drahcir495's topic in MJ Tech: Modification and Repairs
There are two versions, the fixed and vent windows that pivot open as above. -
They do not, it’s just a regular 4 pin trailer connector.
-
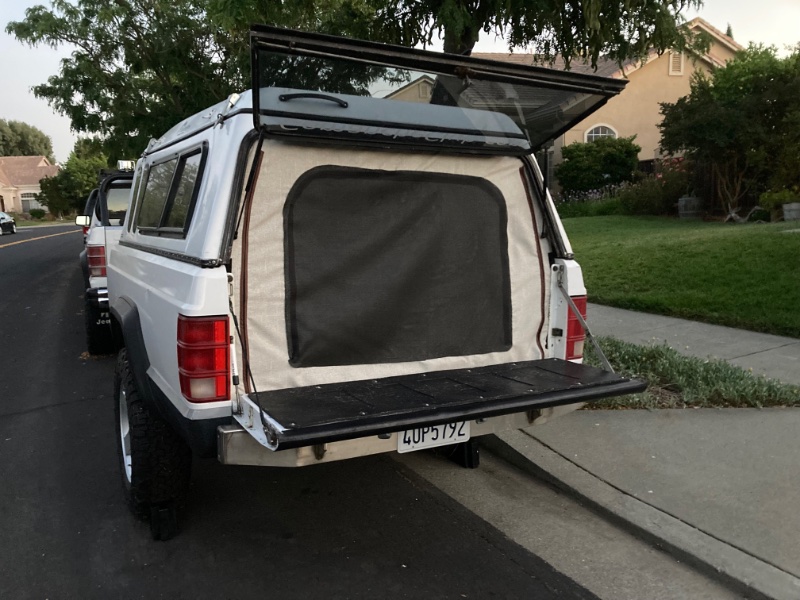
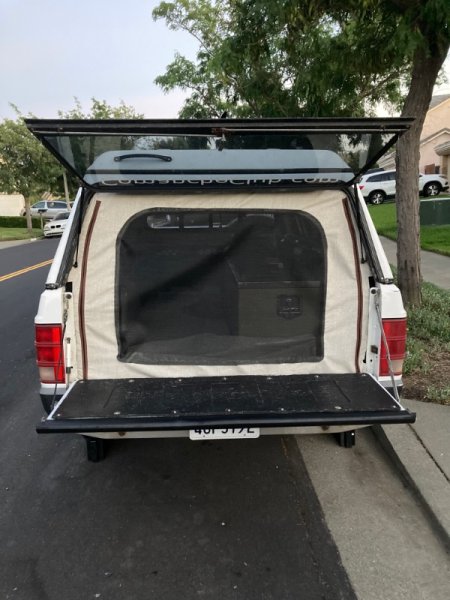
My marvelous wife just finished sewing a rear panel to keep out the bugs. The whole thing can be unzipped and rolled up or just the center portion leaving the screen.
-
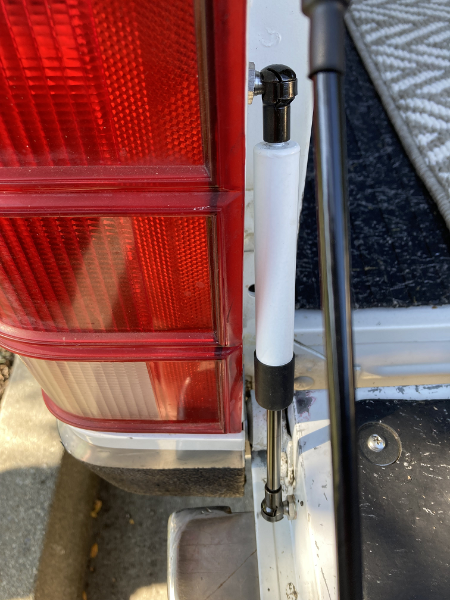
Added a tailgate strut to soften its opening. opening.
-
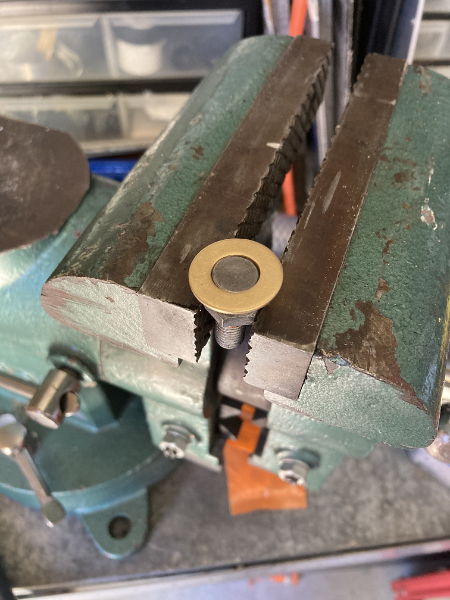
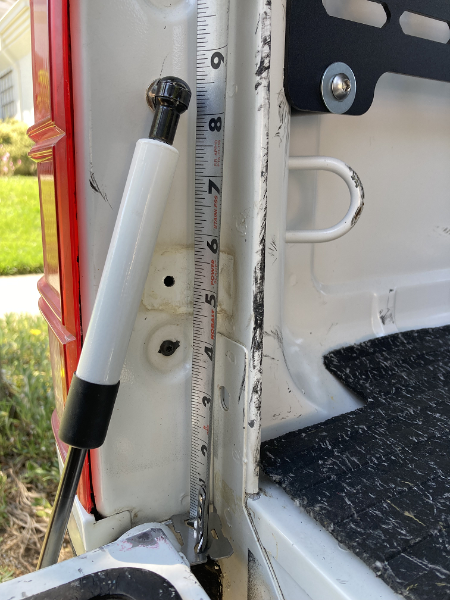
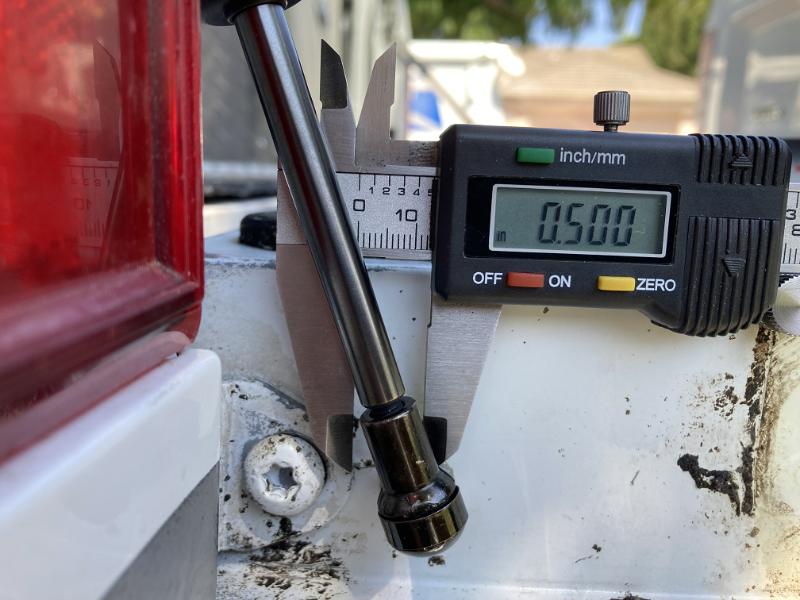
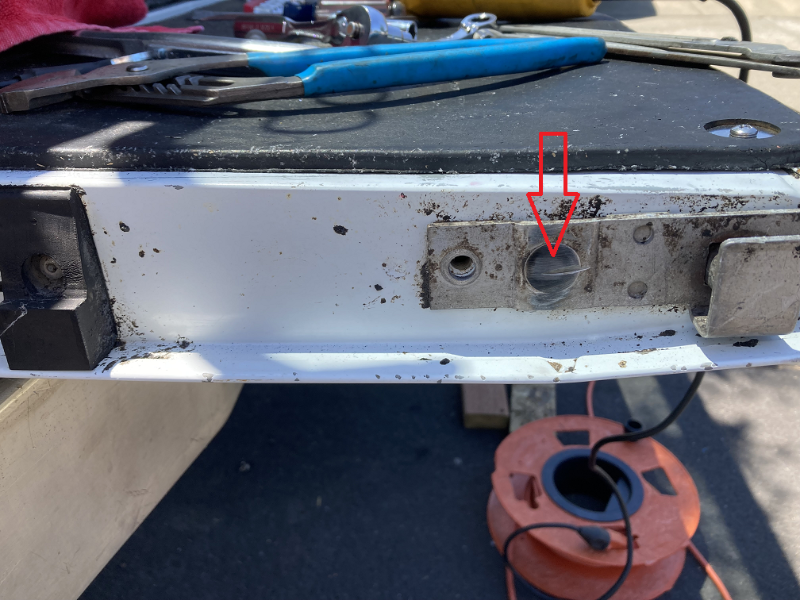
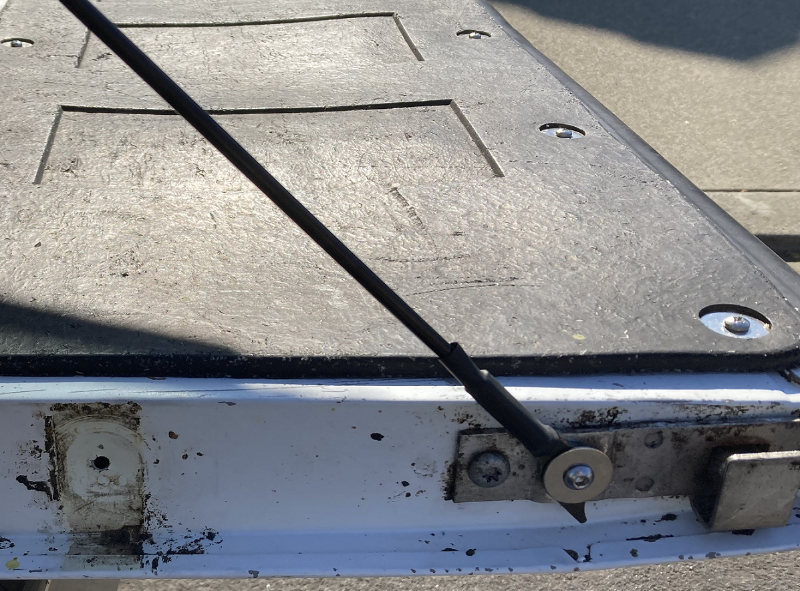
I wanted to add a tailgate strut to the WilderNest trailer so when we are inside with the tailgate closed and need to open it, it won’t just drop. Here’s what I did: Parts: 1) Tailgate support cables for 94-01 Dodge Ram https://www.ebay.com/itm/354347359527 2) Tailgate strut kit for 07-18 Chevy Silverado/Sierra https://www.ebay.com/itm/295782351237 3) Two 10mm Ball Studs (looks cleaner than modifying the brackets which come in the strut kit) https://www.ebay.com/itm/223293493196 (these are 5/16-18 thread) 4) Washer to fit upper cable end (I used 3/8” washer with 0.81” OD) 5) Bolt and washer to attach lower cable end to tailgate (I used a 1/4-20 cap head bolt, don’t want the head to be too prominent) 6) Nutserts appropriately sized for the Ball Studs and bolt for lower cable end 7) Blue Loctite 8) Drill, angle grinder with cut-off wheel 9) Drill bits appropriately sized for nutserts used Procedure: recommend priming/painting any bare metal 1) Remove tailgate strap bumpers from the left side of bed and tailgate (could install on either or both sides.) 2) Remove upper strap support pin and braze/weld a washer to it to fit the upper cable end. If you don’t the cable end will try to kick to the center and could be hit by the tailgate bracketry. Reinsert pin. 3) Drill hole in bed 8.25” up from top of the body mounted pivot bracket in line with the taillight mounting screws. 4) Insert nutsert and fasten ball stud (could do nut/washer here.) 5) Drill hole in tailgate 0.5” from end of tailgate pivot bracket, insert nutsert and fasten ball stud. 6) Cut off left strap on tailgate at pivot point. 7) Grind the pivot point flush with bracket and knock out remaining material. 8) Drill hole for nutsert through hole in bracket AND tailgate for nutsert/bolt clearance. 9) Insert nutsert into bracket (I removed the two Torx bolts holding the bracket in place and pulled it away to insert nutsert, may not have to.) 10) Attach the upper cable end, you might have to slip the cable on the pin then attach pin depending on washer size. I ground down the top and end portions of the cable end so it would rotate without binding and I could slip it over the washer and rotate it into place. 11) Attach lower cable end using bolt/washer, not too tight, cable needs to pivot, I used blue Loctite. 12) Attach the strut, the two ends are adjustable, adjust so when the tailgate is down there is no load on the strut. 13) When closing the tailgate feed the cable to the right of the strut, it may do this automatically. Disclaimer: your measurements may vary
-
Oh yeah? How about this?
-
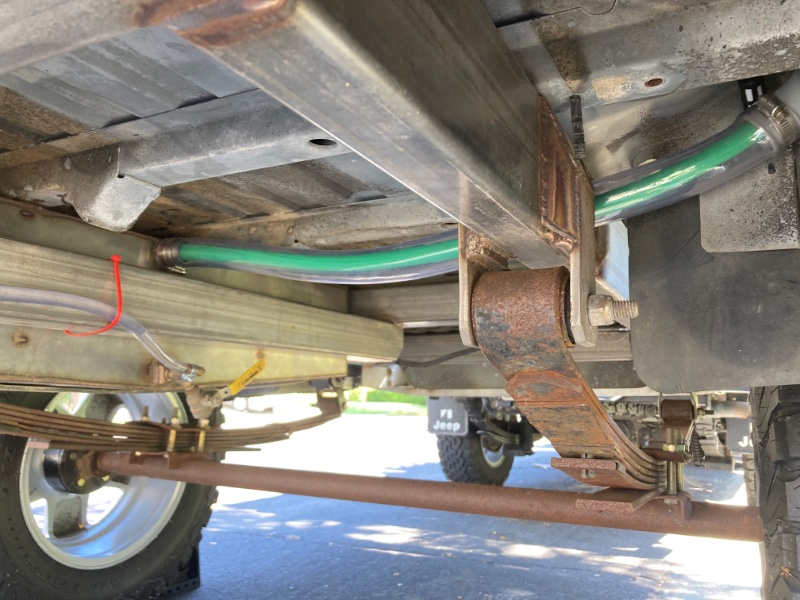
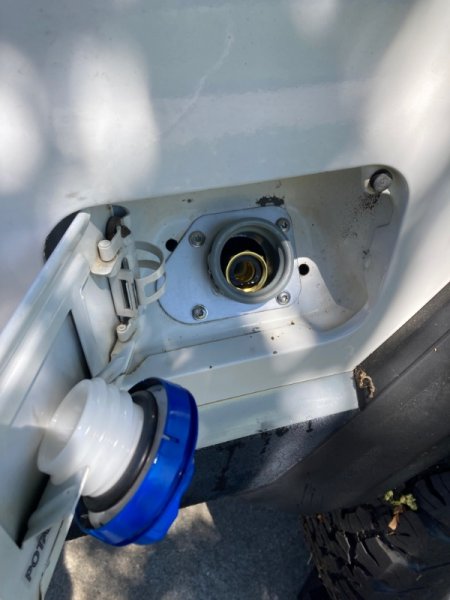
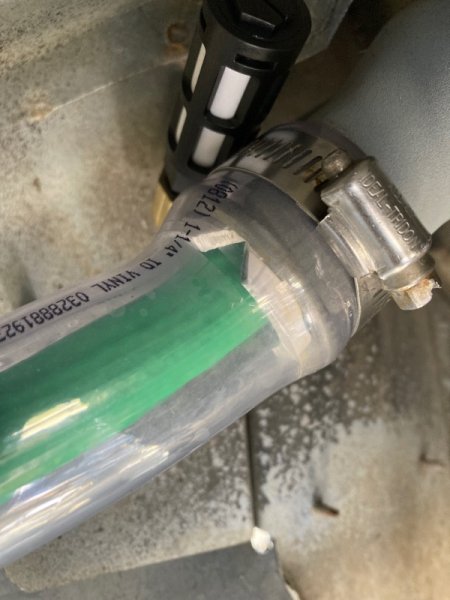
Filling the water tank was a pain in the a$$, since it has no vent the fill tube would fill with water and air couldn’t escape. My simple fix was to place a fill hose within the outer hose allowing air to escape through the space between the two, it also allowed attaching a garden hose for filling. I also added an air filter on the small vent tube of the fuel filler neck to allow air in as the faucet is used since the cap will be in place.

-
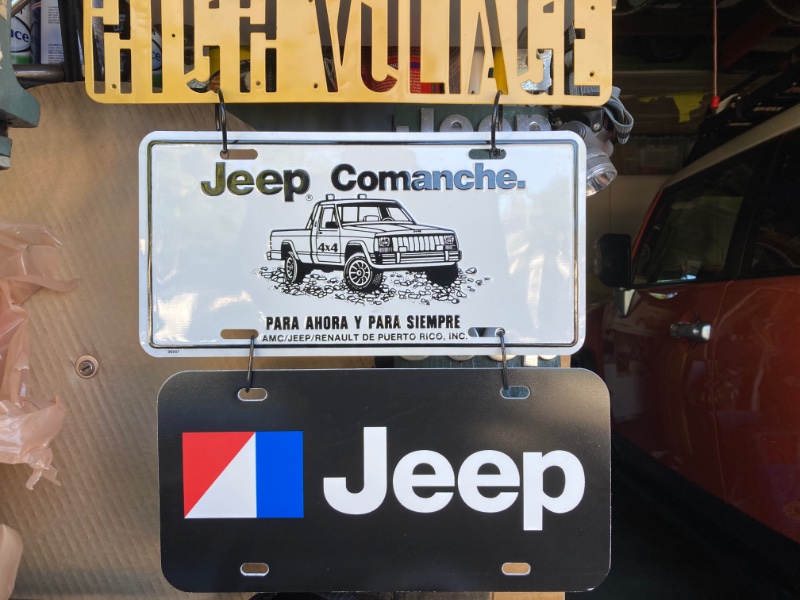
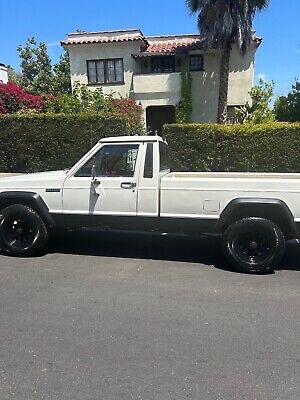
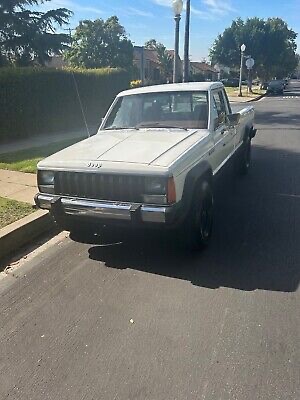
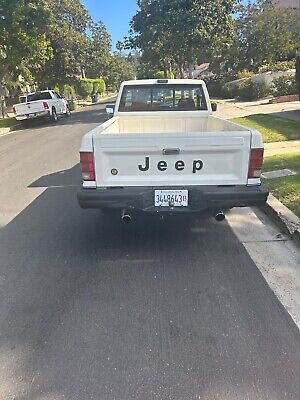
On eBay in Los Angeles, CA
-
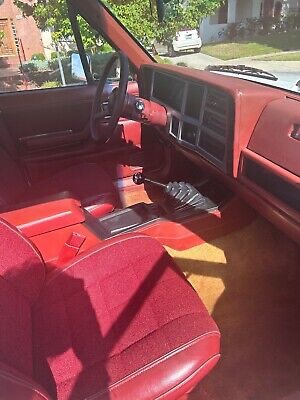
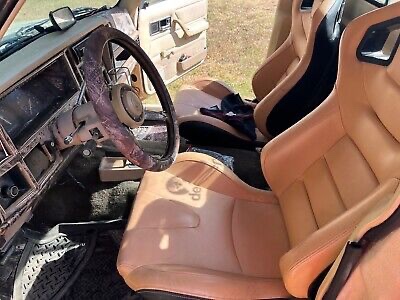
I just reread your Rigistry post, we’re still not sure if it’s an ‘88 or ‘89, I think it’s an ‘89. What does it look like above the brake master? Like the white 88 or the red 89 below?

-
On Ebay in New Braunfels, TX asking $7k OBO
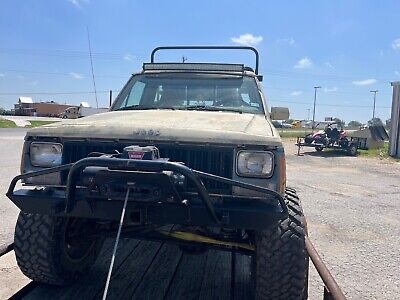
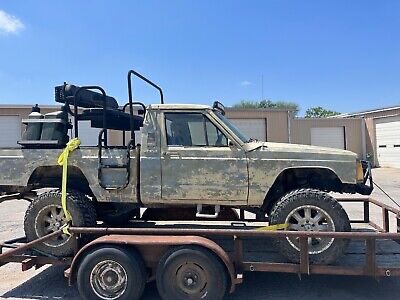
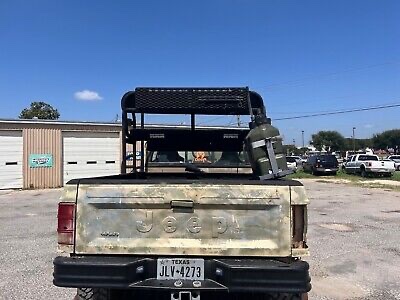
-
Are the LED bulbs replaceable?
-
Oracle LED tail lamp harness
fiatslug87 replied to eaglescout526's topic in MJ Tech: Modification and Repairs
Just ask the guys at Oracle to verify. -
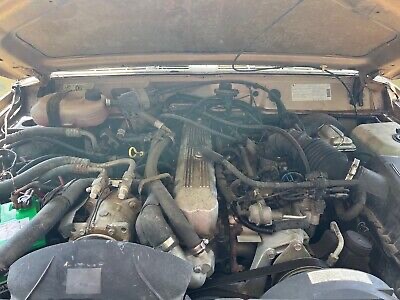
That is all simple stuff you can do yourself. If you smell gas, look for leaking fuel injectors. Is it a 4.0L? You have v6 listed in your signature but ‘88 didn’t come with v6, 4.0 in-line 6 or 4 banger.
-
Are these Turbines worth it?
fiatslug87 replied to robfg67's topic in MJ Tech: Modification and Repairs
Seems steep for their condition. -
Key parts has an eBay store, https://www.ebay.com/str/keypartsinc