Gjeep
-
Posts
1221 -
Joined
-
Last visited
-
Days Won
3
Content Type
Profiles
Forums
Gallery
Everything posted by Gjeep
-
86 blue is significantly different than 89 blue.
-
Good looking MJ!
-
I like the 0.0L badge.
-
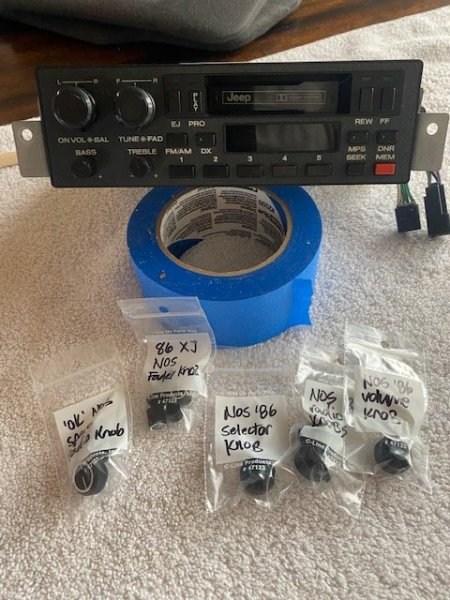
I may change direction on the head unit I use for this build, not sure. Jeremy's Radio Emporium will be adding an aux line to an AMC era radio (yes, I changed the cassette door to later model so to have a Jeep logo...It looks crooked in the pic due to the angle/ shadows. Also removed chrome from the knobs as an option). I'll be able to bluetooth through Rockford speaker line RCA's and high to low level adapter add-in's so I can run the same setup with only minor wiring mods backside. Also rough cut a scrapper driver side step-in interior panel backside, reducing some of the plastic reinforcement webbing so it could fit/ sit flat around the wad of extra wires I ran down the drivers side. Along with this was a whole lot more cutting to the carpet to fit right around these driver and passenger side panels. The last carpet area I'll need to trim up is up against the back of cab wall.
-
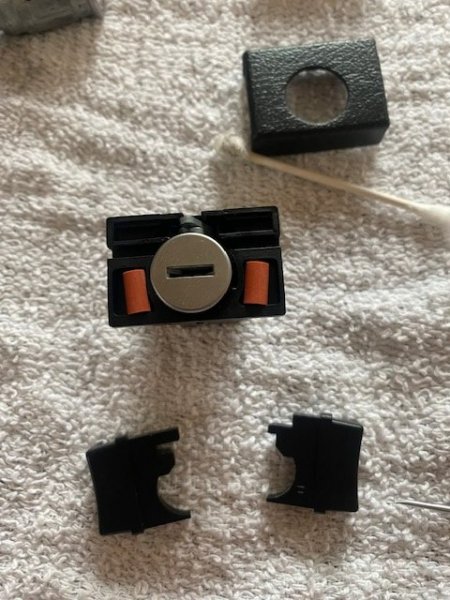
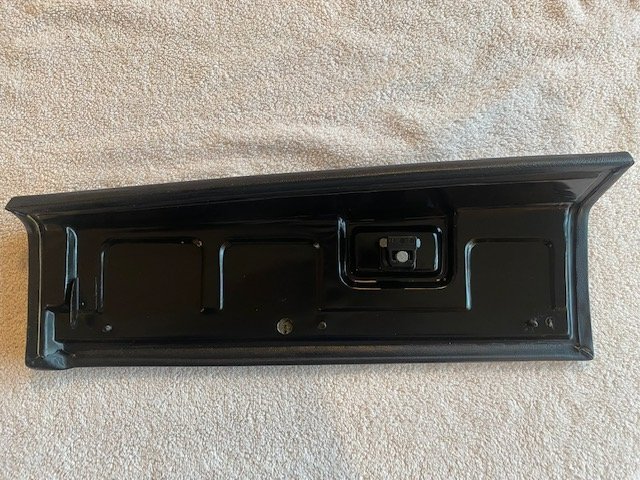
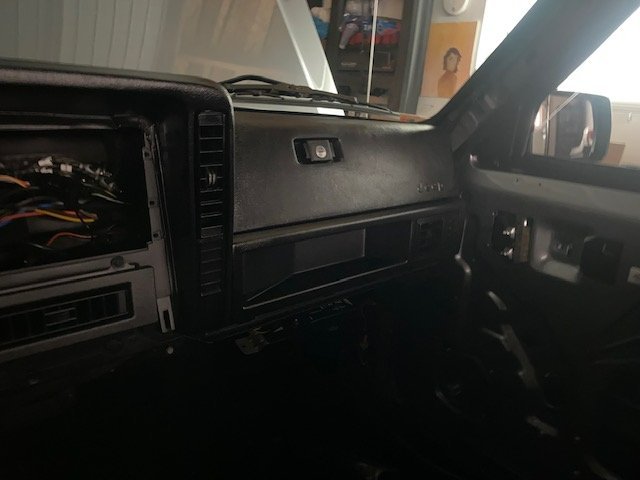
NOS 97+ XJ door seals and glove box attire top and bottom with new lock cylinder.
-
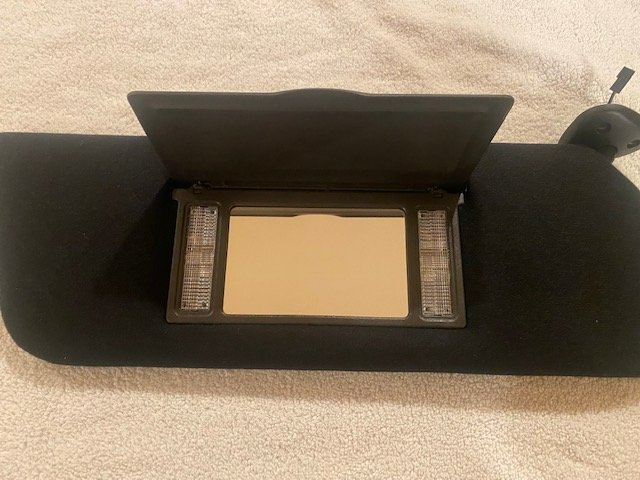
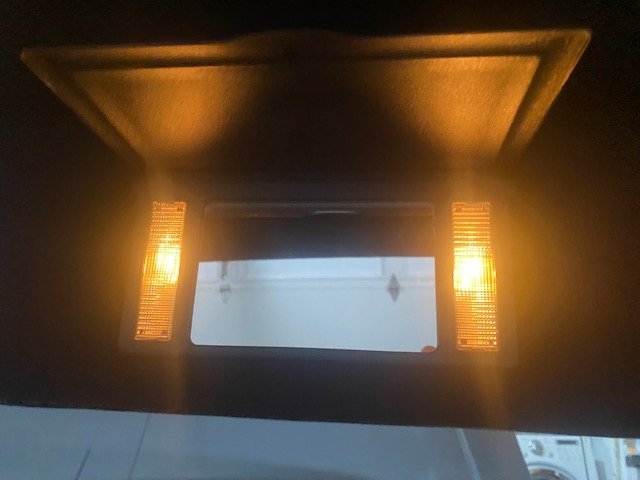
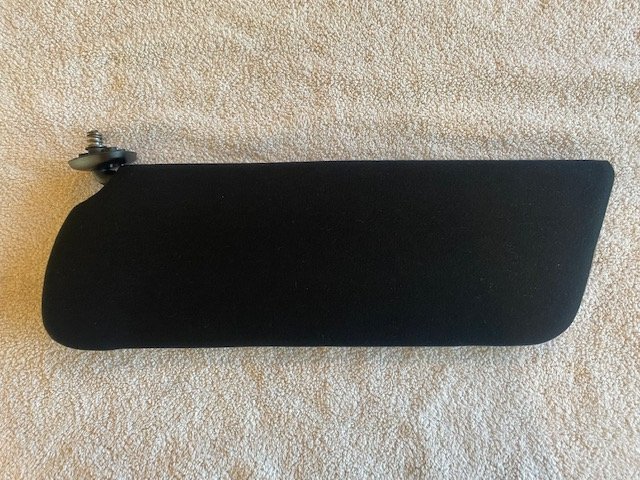
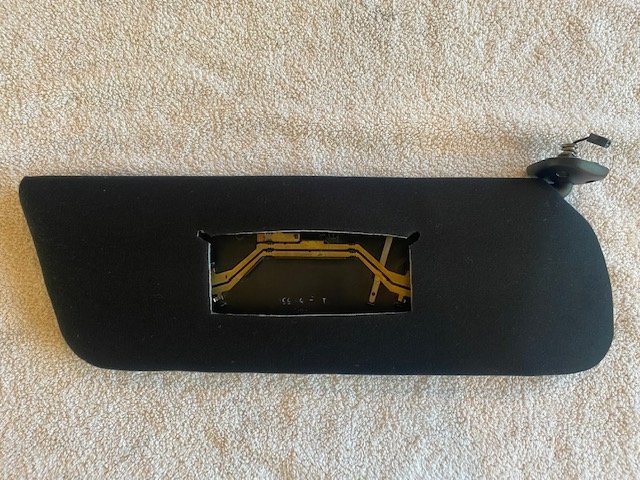
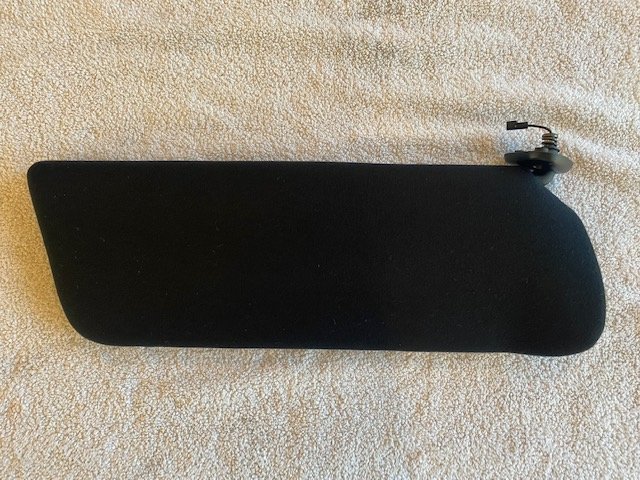
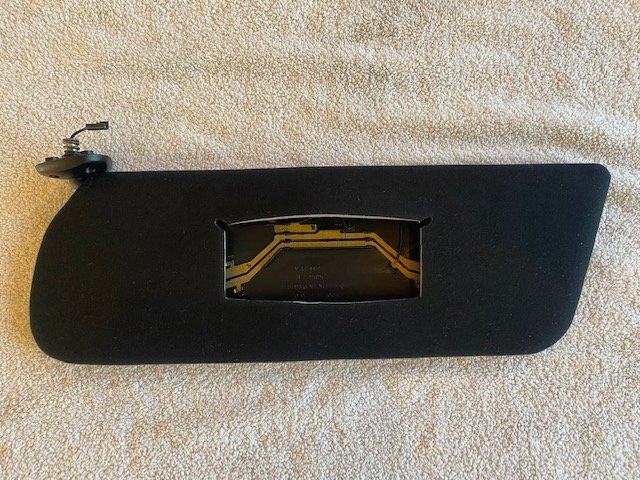
'Tis the season for slow progress on the MJ... But, I got the visor vanity mirrors in and tested as good. Thank you blue oval for making mirror assemblies molded in black that fit Jeep sun visors. Woo-hoo!

-
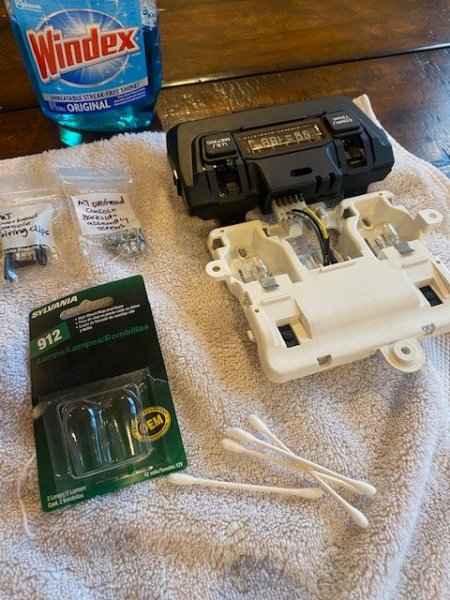
Wrapped up in black – Looking forward to seeing this interior together. Don’t know why Jeep didn’t keep this color as an interior option for more years. Final steps on the visors will be inserting the post at visor ends and installing the vanity once the new light bulbs arrive in the mail tomorrow.
-
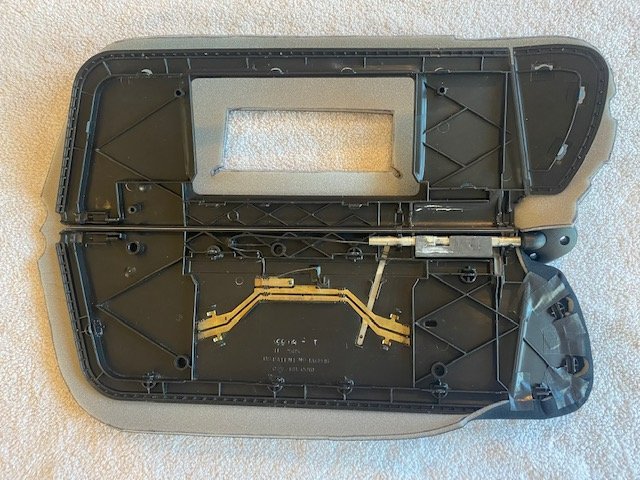
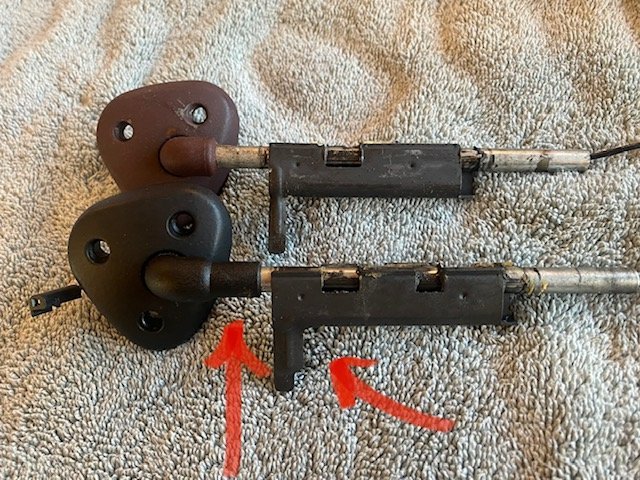
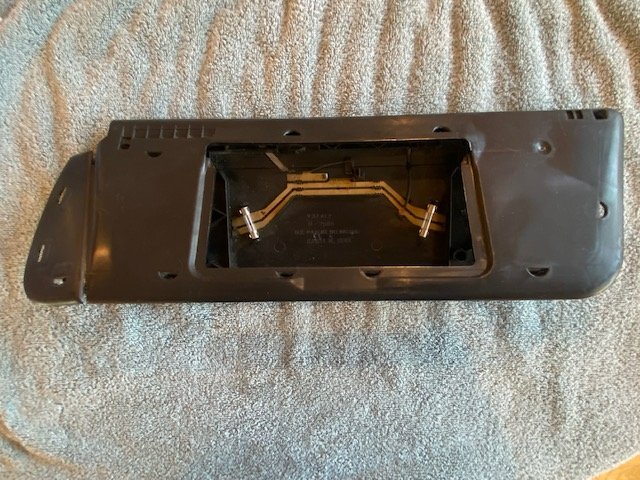
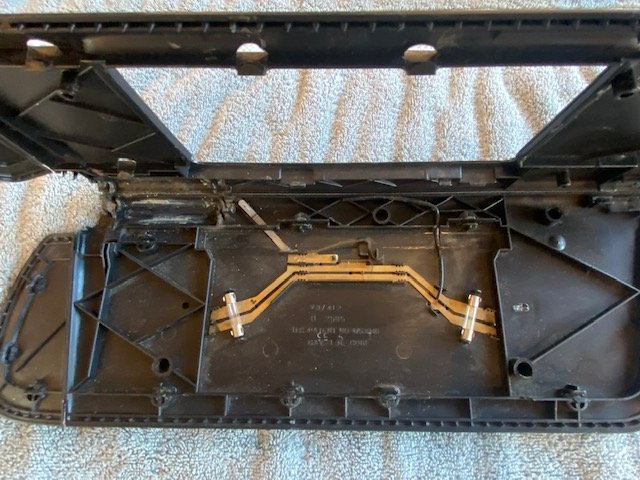
Back to the visor project – I went into this a while back, but basically the first 1.5 years of the shorter style sun visor that arrived in the XJ/ MJ in 1990 was somewhat different than those thereafter up to 2001 (not counting the maddening ground wire/ no ground wire variations throughout the years). The shorter visors initially had interior (color matching) mounting points. (The 3-hole screw in base was the same color as the interior…so, if you had a gray interior, your base was gray; cordovan interior, base was cordovan, etc.) The reason I'm using these first gen visors is that I can use the Lincoln Town Car vanity mirror assembly in them as they are identical and were available in black. I don't want to deal with painting a part that can scratch/ chip from use. (As side note, in 1992 the sun visor base became black across the board, as did manual window cranks in 1993-1996.) My hope, instead of painting the sun visor base, was to swap them out for the black ones since the visors are already disassembled, but at second glance that’s not possible. The newer (black) bases have more plastic on the arm and a slightly different retaining clip than the old. Main problem is the visor shell retainers for the bases arm are smaller and won’t surround the newer base assembly. Final result is me painting the older (interior color) bases black. I needed to do the same for the visor post retainer clips that mount beside the overhead console, as the closest to black ever available was a dark gray used on the ’98 XJ with the contrasting mist gray interior. Life goes on. First step in visor recovering process for me will be cleaning/ detailing the plastics inside and out/ vanity bulb replacement. The bulb is a Ford only bulb – not available in auto parts stores – but fortunately there are many still available out there in Ford inventory land. I stocked up as who knows how long they’ll be out there. Once I’m done with all this prep, it’s on to recovering them in the black headliner material.
-
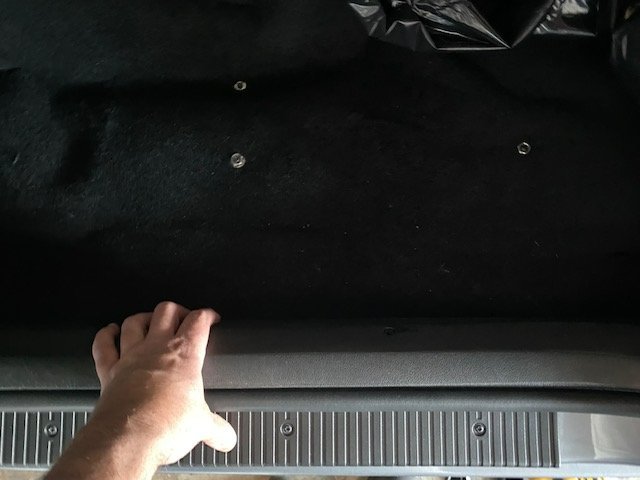
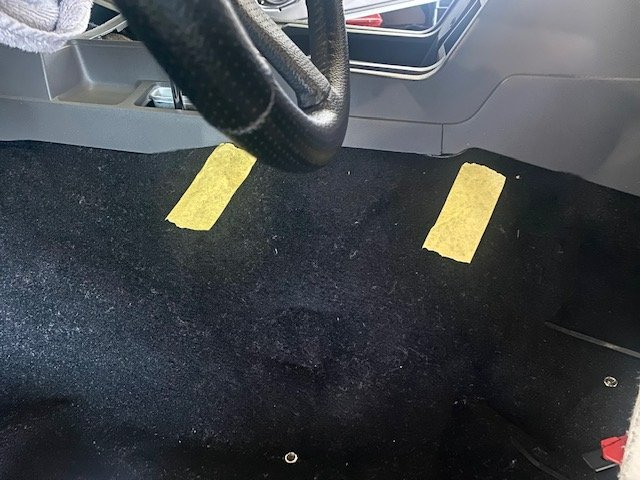
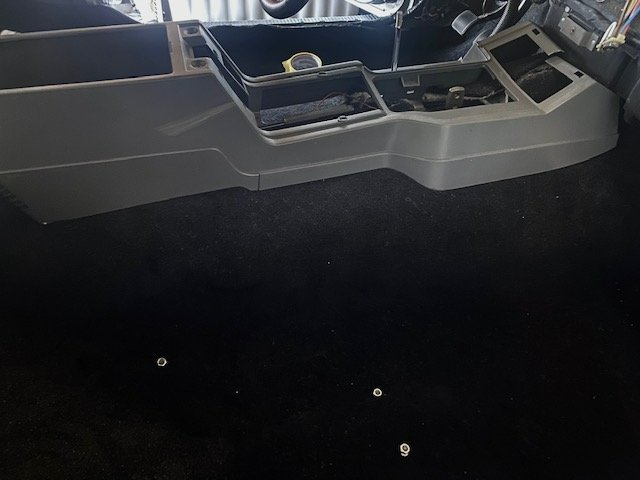
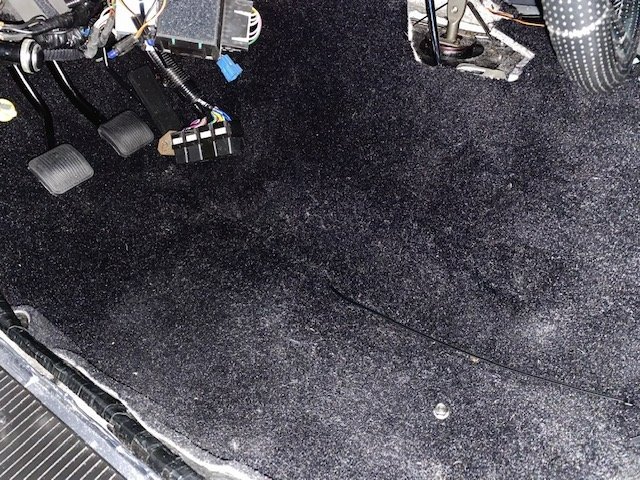
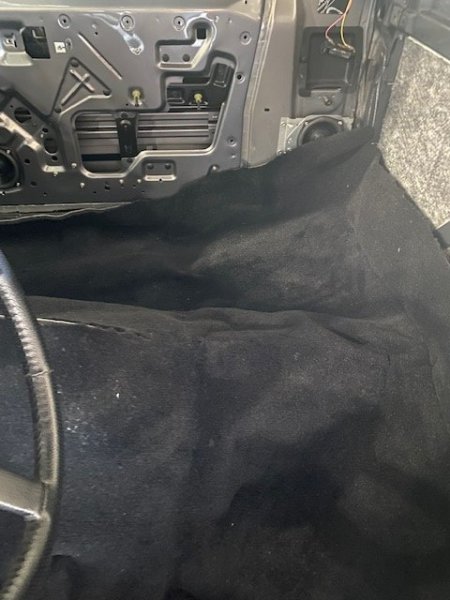
Carpet is 95% done. I used a scrap center console to test fit the console to carpet. I wanted to remove any gaps between the two using insulation. Then I buttoned up the trans tunnel area using zip ties (like shoelaces) to snug up the sides. The final cuts of carpet at door sills and back of cab will happen when those interior panels are installed. Clean up of all the lint/ mess is a work-in-progress.
-
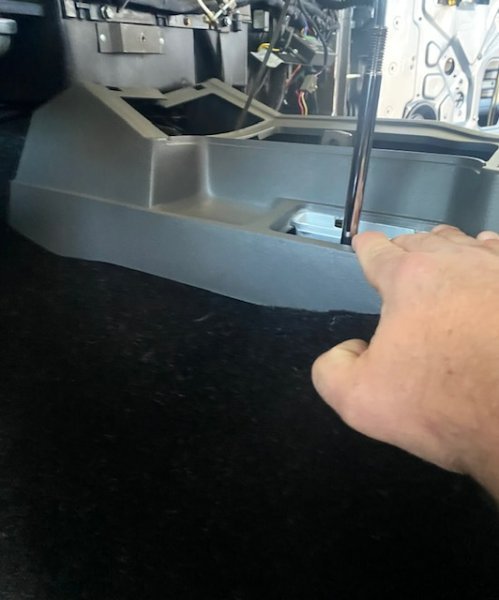
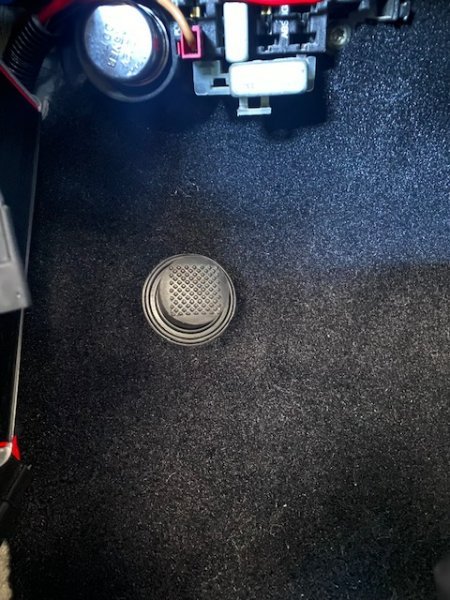
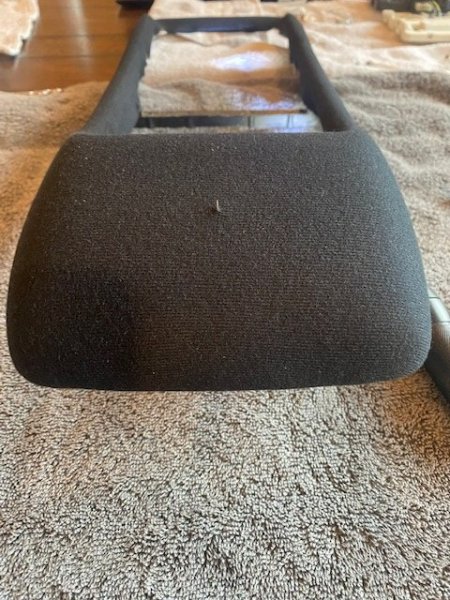
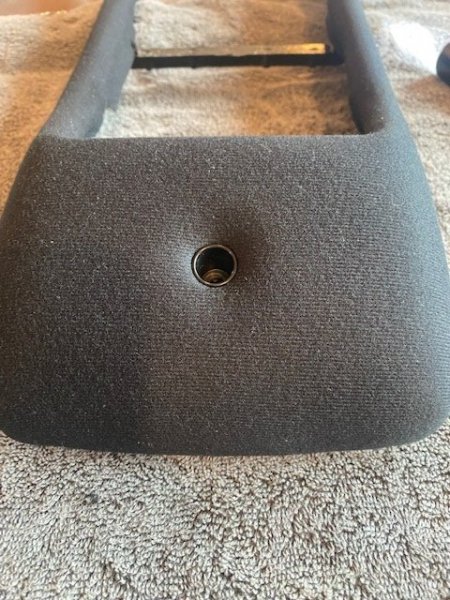
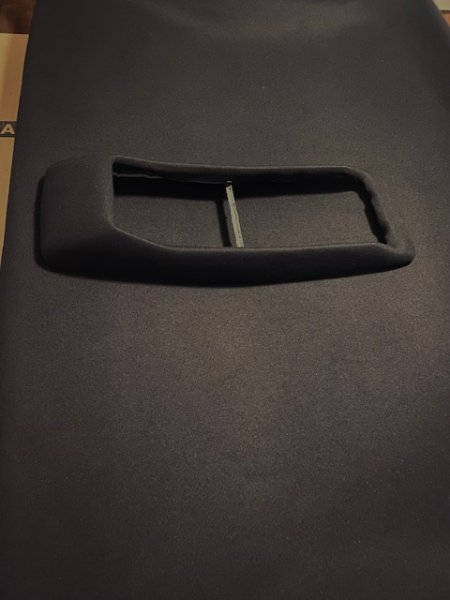
Another day of working the carpet. It’s getting there. Rollbar (highbeam) switch grommet surround is in place as is its pedal pad. All-in-all a good day, though I do feel a fur-ball of insulation in my throat and my fingers look like they’ve been chewed on by a small animal. Onward…
-
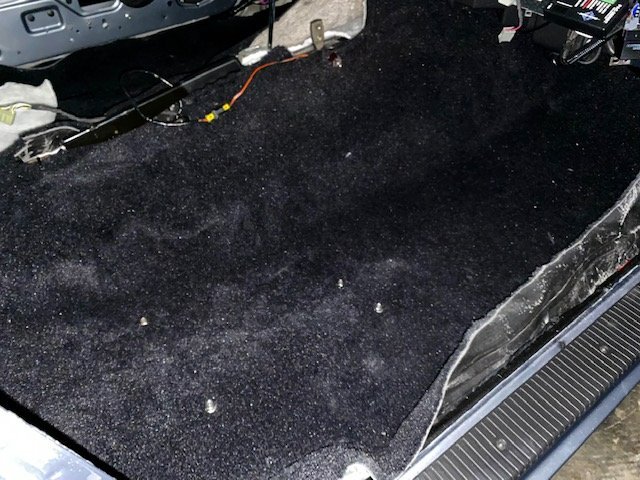
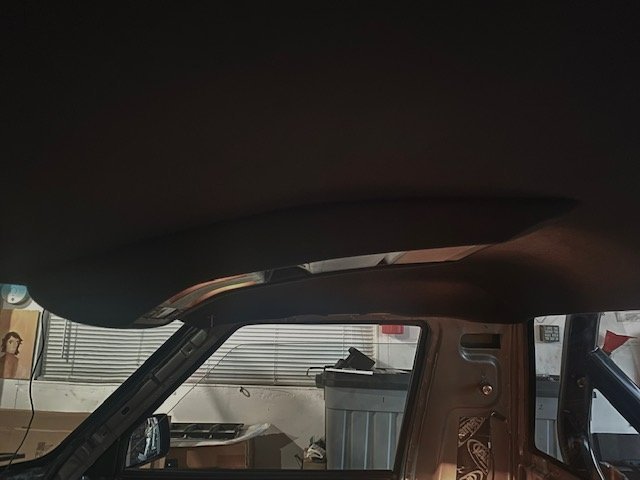
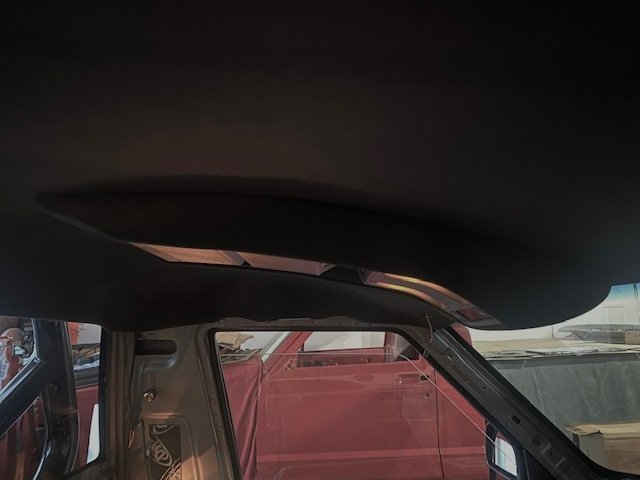
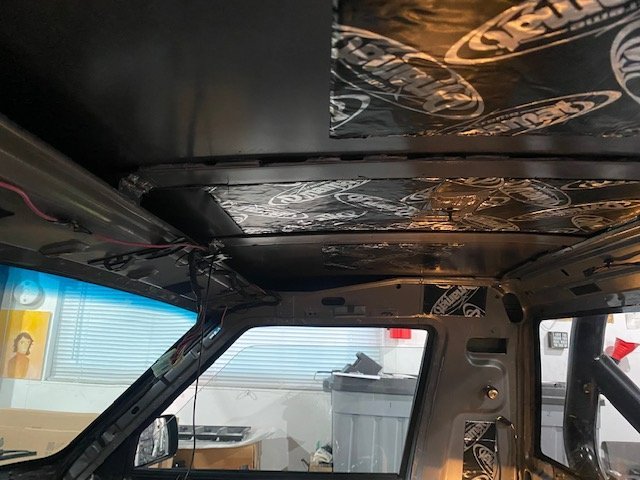
Headliner and overhead console in place. After I don’t remember how many times measuring prior to paint, then tacking the rear-most bracket into place on the roof of the MJ all lined up. Screwed into place. On to the carpet – so far 8hrs into it and I figure I have another 4-5hrs to go to get it to fit as it should. XJ’s are a ton easier to lay carpet out in that’s to the back seat area. MJ’s tight quarters.
-
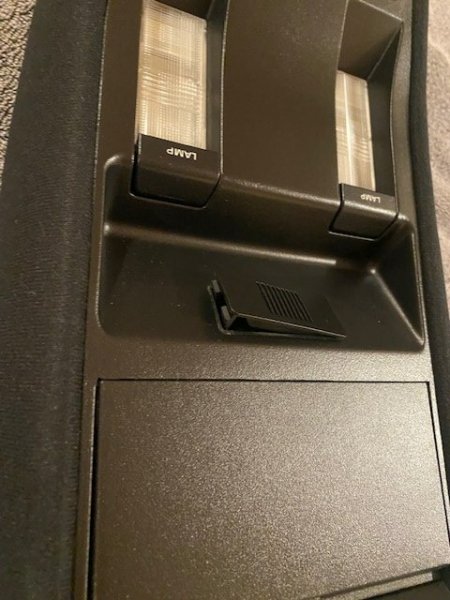
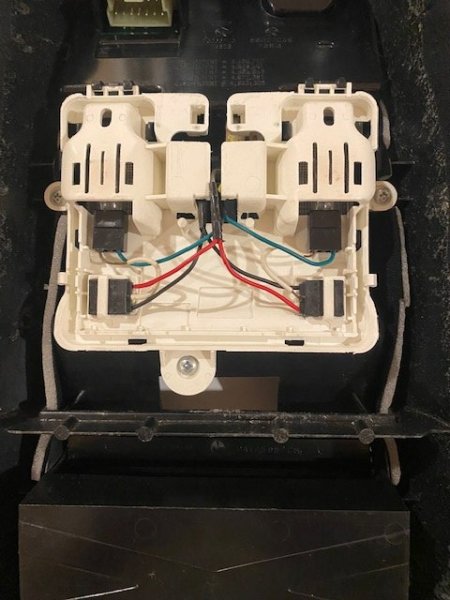
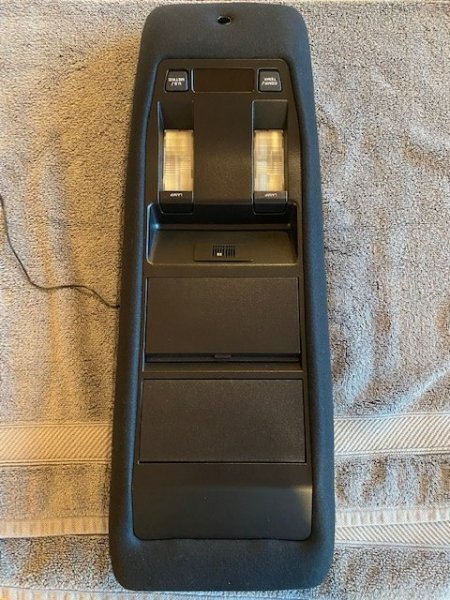
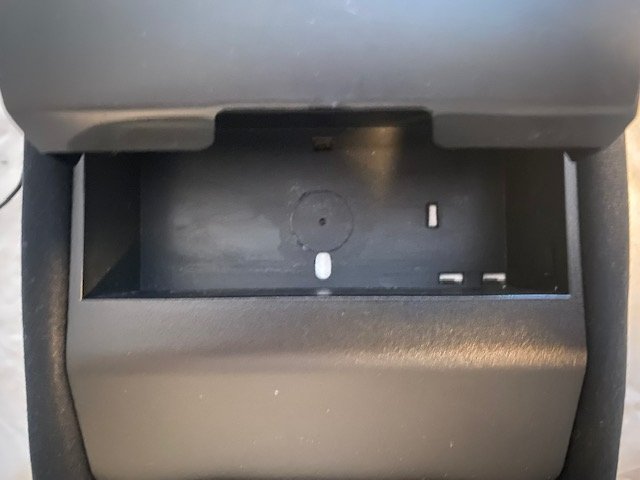
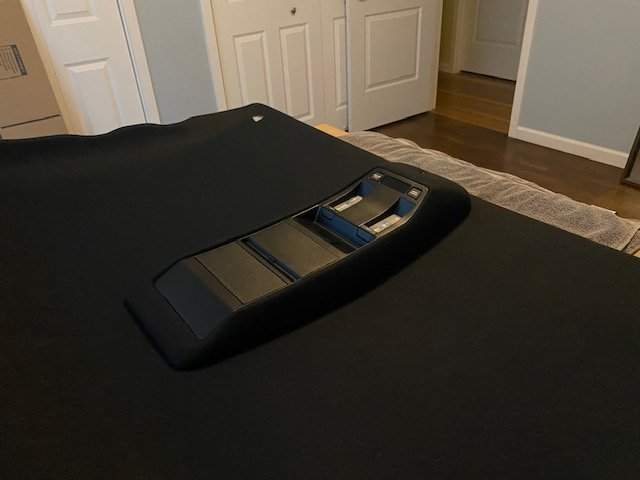
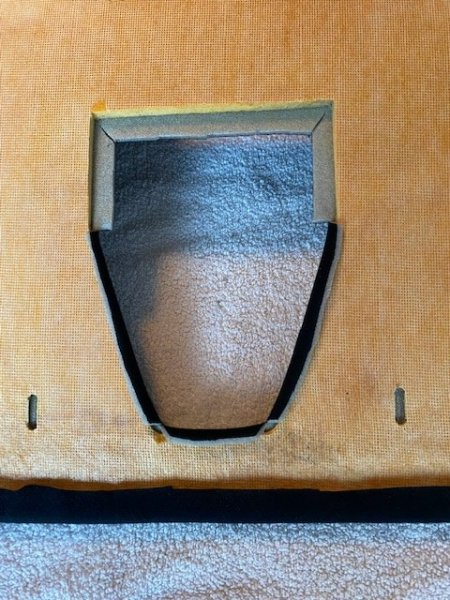
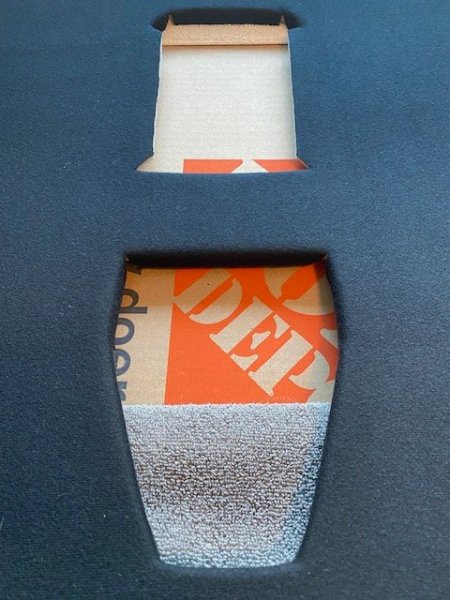
Got the overhead console together this morning with ‘hands-free’ microphone in place. Found an appropriate spot that just clears the main console shell cross-brace and looks right. Cut and wrapped the headliner areas required for the overhead console to fit into. I left the rear sides undone just in case I need to trim back the headliner itself a bit during console installation. Doubtful, but you never know. Will adhere those sides once I’m 100% with the fit of things. Getting it mounted to the roof of the cab uses a mix of a modified front XJ console bracket, and rear mount bracket tacked to the roof that screws through the console sunglass bin existing hole. And here it is in place on the headliner itself. It’s sitting a pinch high because of the microphone wiring that’s bundled up underneath it.
-
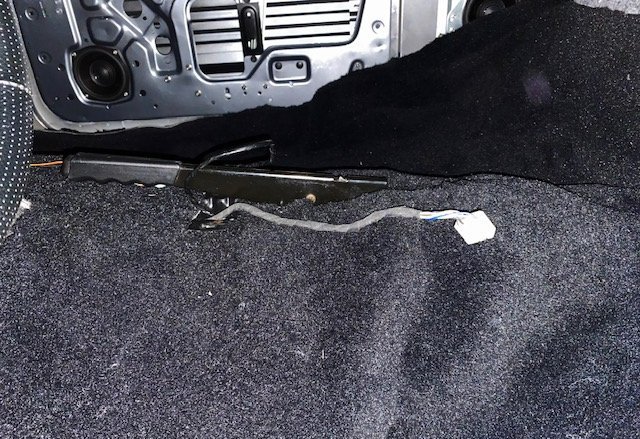
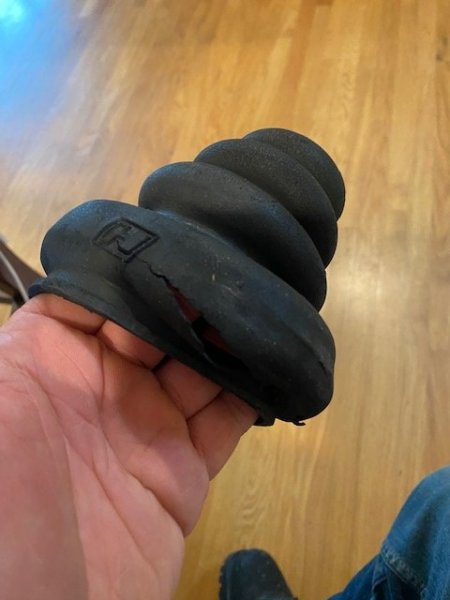
I had purchased a few Hurst short shifters for the AX-15 prior to them being re-sold under the Core brand without the billet towers. One of the things about the original exterior Hurst shift boot (under the stock interior Jeep boot) was how dry and brittle it was out of the box. This is the brand new one I had installed a few months back and just removed – and it’s never seen the outside world. Going to be installing carpet, so I pulled the shifter and found it by chance. Never outside. Cracked up like a 30 year old boot. Just took delivery today of Core shifters replacement boot. Thicker and higher quality. Come on Hurst. (When I had pulled the Hurst shifter I put in this truck back in 2011 when I started this rebuild, it too was cracked up – I assumed because of the decade it has been on the road.) Also had some time to start building the overhead console up – only after components has a good cleaning. Dust free environment inside the MJ. Didn’t quite get finished as it’s been windy/ rainy and lost couple trees I had to cut up and clear. Back to it tomorrow.

-
You need another Comanche. Maybe two. The trailer looks right at home! Congrats!
-
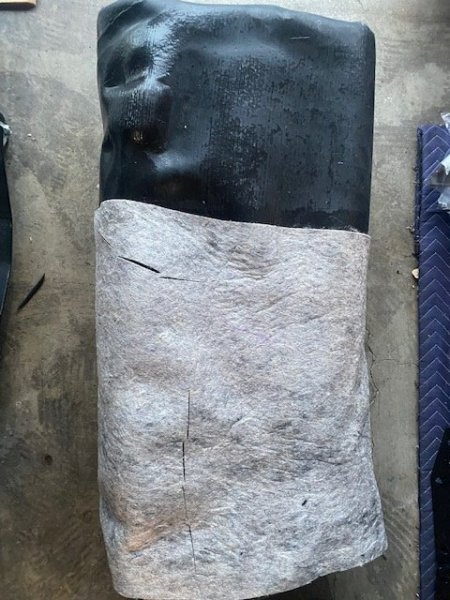
Took a NOS stripped/ prepped headliner to the upholstery shop and the owner was working on a larger job, so he had his many years in the business apprentice (recently hired) do it. No where near right -- lumpy, stretched, couple of glue finger prints on the edges of it. Good grief. Took it home and stripped/ prepped again. Much harder this time because the the glue was fresh. All in all, lost about 2 weeks. Just got the headliner back yesterday and the the owner had done it this round -- flawless. Color is black though the lighting in the pic makes it look charcoal. Really happy with how it turned out. First gen XJ modified overhead console atop. Now to assemble the details of the console and get the headliner into place.
-
91 Eliminator 83K miles refresh with NOS parts
Gjeep replied to Red Mistress's topic in Member Projects: Your Comanches
Grab it. Like finding needle in haystack of D35’s. -
Project “Tomahawk”
Gjeep replied to ghetdjc320's topic in MJ Hardcore Tech: Epic Journeys to Greatness
Lookin good! -
Are they running boards or step/nerf bars? Mopar accessories had both.
-
Painted near everything. Even lower outer window wipe. That’s rubber. Amazing.
-
The rear seat won't have enough vinyl as carpet-backed. I believe he is looking to repair the cracked vinyl on the side of his seat.
-
Jeep Air in FL has them. https://jeepair.com/collections/ac-hoses
-
For something like that best option is the wrecking yard — xj sourced. The seat back of the bucket seats provide a nice stretch of upholstery you can use. Cut it out and bring it to the upholstery shop. I’ve done it a number of times to repair the driver seat side.
-
Most rusted out comanche I've ever seen
Gjeep replied to TieDyeJK8's topic in Craigslist/eBay... i.e. Not Your Stuff
Some body restore it. There's a nos long box bedside out there for at least one of the sides. Quick flip. -
For the brown dog motor mounts I’m guessing you got poly. They use to have a rubber mount option that doesn’t vibrate any different than factory. I’m running those. It’s just a different bushing to buy. Bought them probably close to 10 years ago so not sure if options changed.
-
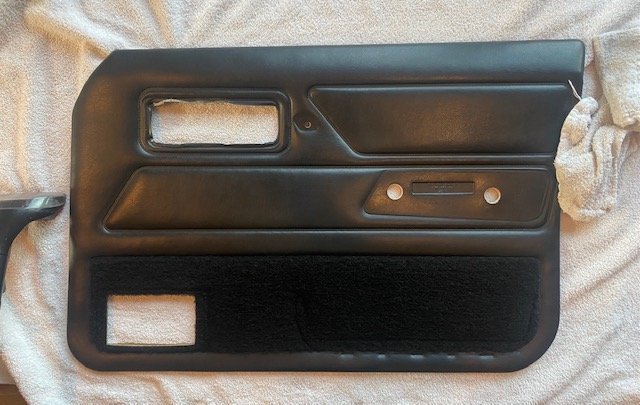
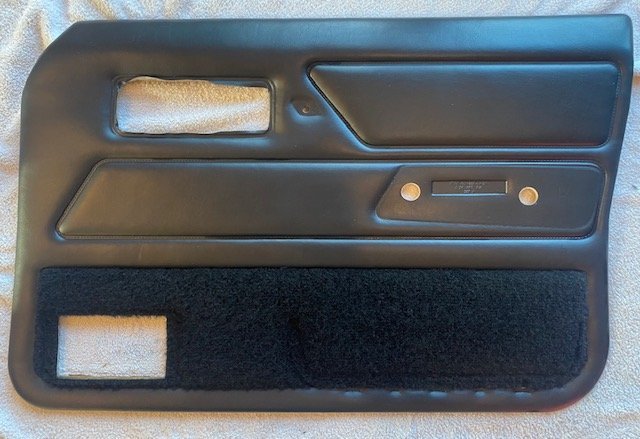
Got the carpets clean on both versions of the black door panels. The one with the cleaning items in the photo is XJ/MJ Chief specific while the other is XJ/MJ Pioneer trim. The Chief panels are production stamped backside Oct 1986 (pulled these off a ’87 XJ Chief long ago), and the Pioneer panels stamped Nov 1986 (pulled from a high optioned ’87 MJ Pioneer). Still need to use a sweater ‘pill remover’ to even out/ neaten up the carpet so like new.