


Gjeep
-
Posts
1221 -
Joined
-
Last visited
-
Days Won
3
Content Type
Profiles
Forums
Gallery
Everything posted by Gjeep
-
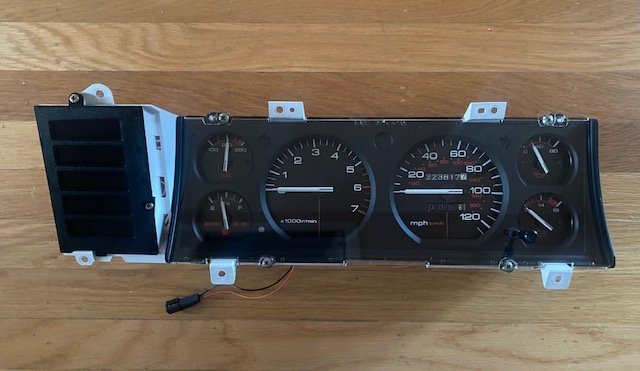
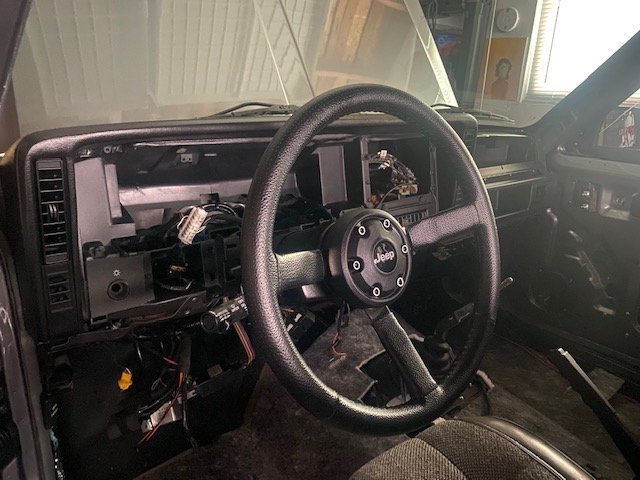
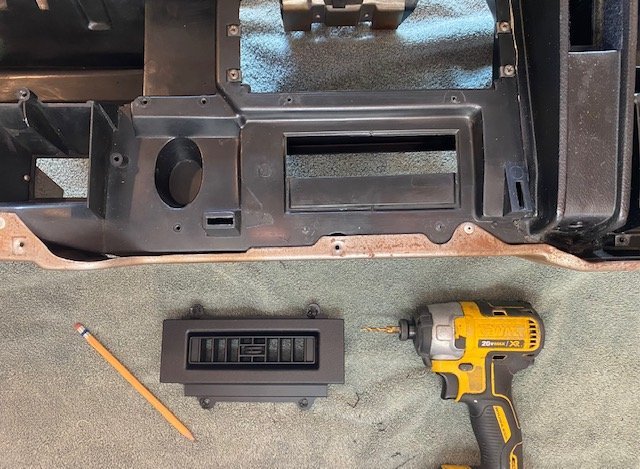
The day started with the mildly modified instrument cluster, drilling a hole just under the tach to route the sport bar ‘lights on’ notifier. I decided a simple white LED opposite the location of the mileage-counter post would look best. (I had considered installing an icon of a fog light between the tach and speedometer that illuminated when lights were on.) Painted the gauge overlay satin black and installed a 120mph speedo for fun. Was lucky enough to find a NOS instrument cluster lens (High Output era is different than Renix) because scratches on clear plastic improve with endless polish, but nothing like new to look like new. Dashboard was definitely easier to take out than put back in. I have roughly four times the amount of wiring across the length of the dash center section than was there originally. Not to mention the additional relays and fan controllers front side of passenger side HVAC box. Took some time...But with some minor adjustments I was able to hook the 15mm kick panel bolts to the dashboard mounts and then lift the dash up to the base of the windshield and around the steering column studs to fasten down the top four 8mm’s. Couple easy to do’s got knocked out — mounted the power mirror interior covers driver and passenger side. Another round of complete electrical testing will be done prior to installing any more of the interior. Don’t want any surprises. For now, back to door panel clean up...

-
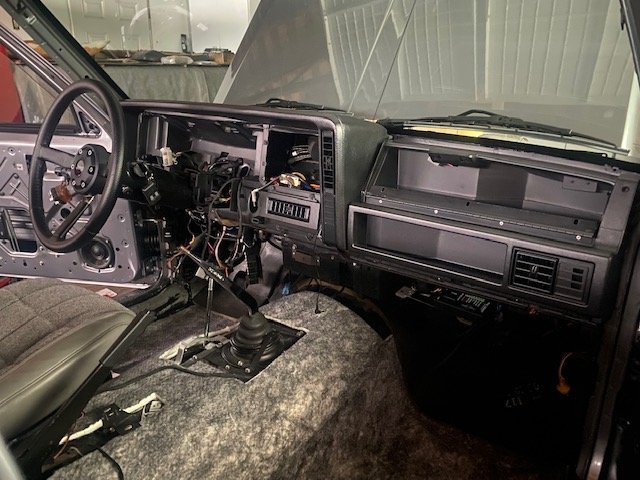
Got decent amount done but not a lot to show for it. The dashboard vents and backside ducts were installed, in addition to my proper VIN plate. Put new weather-stripping under the thin dashboard cowl strip that mounts up against the windshield. I had purchased NOS of both the standard black and argent/black 91+ XJ Laredo overlay, thinking that the gray might compliment the Jeep logo’d upholstery, but no dice. Decided that black on black looks best. Disassembled parts and pieces off the black factory door panels (should I decide to use these over the ones I had made) to thoroughly clean the vinyl and carpet. I had wiped them down before so was surprised how much more dirt came off. Carpet on the door is still a work-in-progress.


-
I think it’s a good 12” stretch of near straight tube before it gets to the core. If an original heater core you’re probably right. If newer I’d gamble and bend it.
-
Why can't you insert a similar diameter rod into the heater core necks at the firewall and bend them up & out toward the passenger side? Should work and will keep tube shape. There's a number of foam 'sheets' available on Amazon that you can put over the face of that firewall opening to seal up.
-
Slight damage, but not bad. https://sfbay.craigslist.org/nby/pts/7544143324.html
-
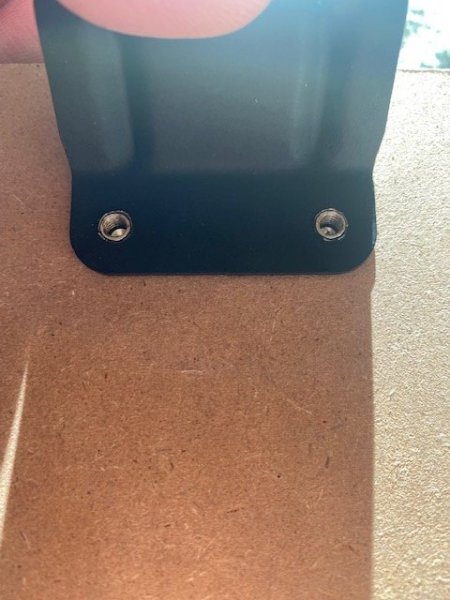
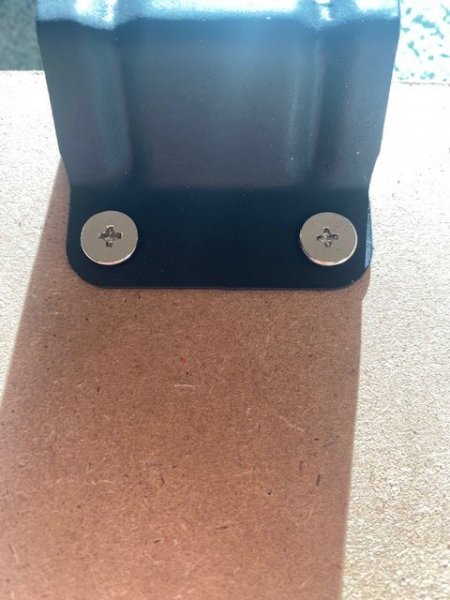
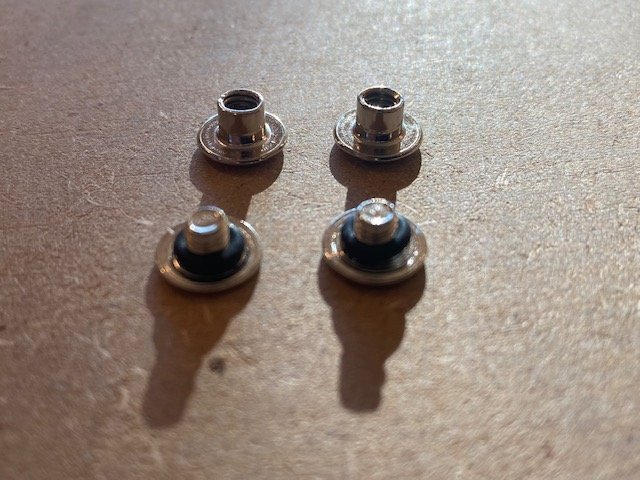
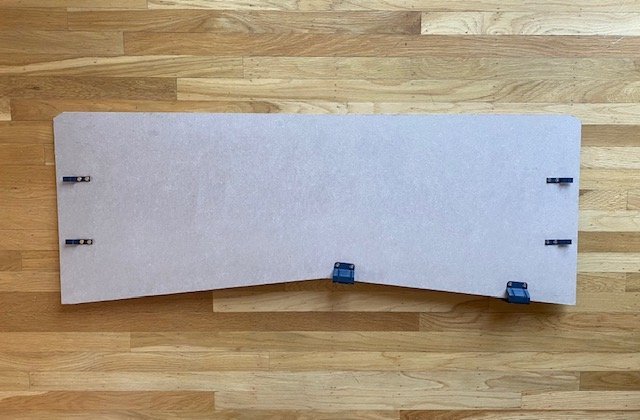
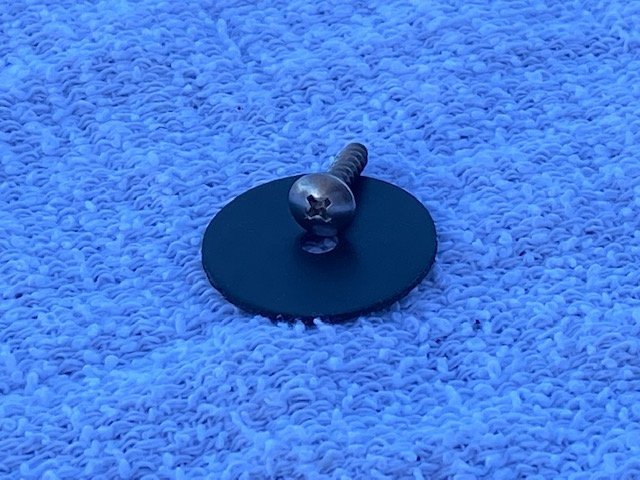
New MJ cab backwall carpet board about 90% done. Still need to add the black carpet front-side and back-side insulation strip up top for where it rests against the sheet metal. I had removed/ refinished the bracketry from an old backer board and drilled out the mounting holes to 13/64” so I could use the Philips head rivets and binding posts to attach to the new board. Only add to the hardware assembly was a small rubber o-ring for grip.
-
1991 Pioneer - "Anachronism"
Gjeep replied to AdroitKirby's topic in Member Projects: Your Comanches
Great looking MJ — the High Output Laredo that should have been. -
Project “Tomahawk”
Gjeep replied to ghetdjc320's topic in MJ Hardcore Tech: Epic Journeys to Greatness
Too much fun... Going to look great though! -
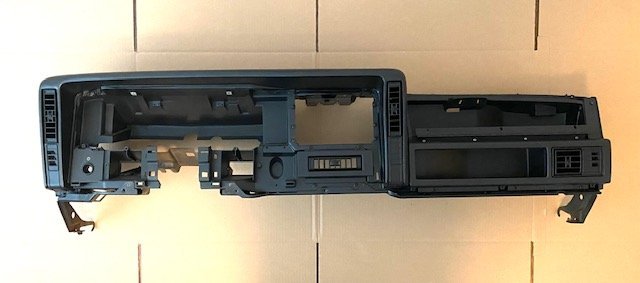
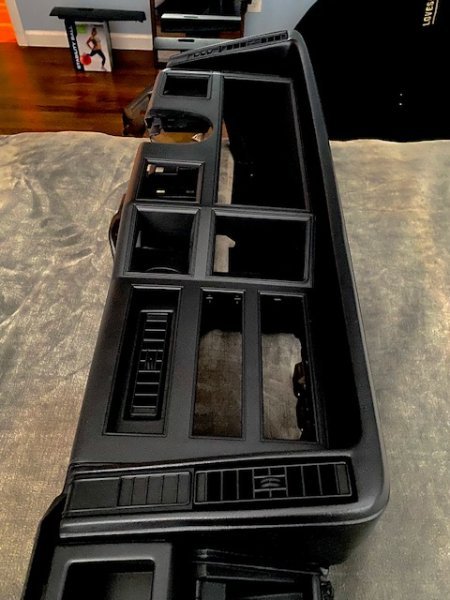
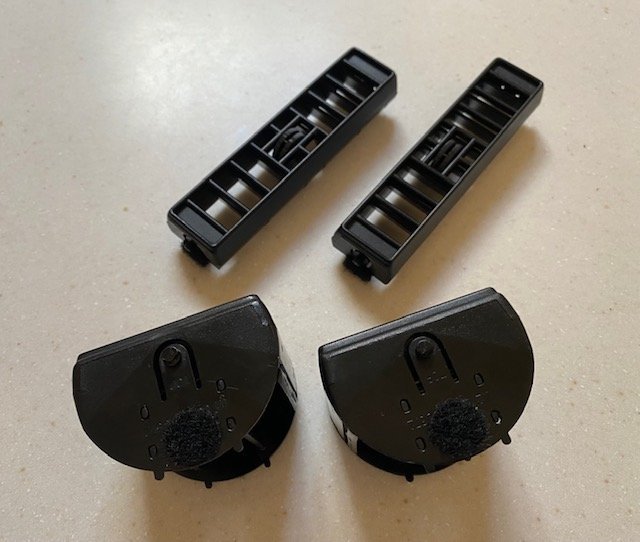
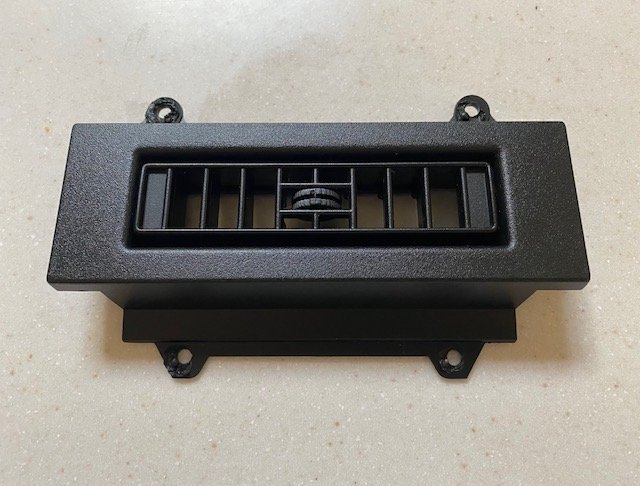
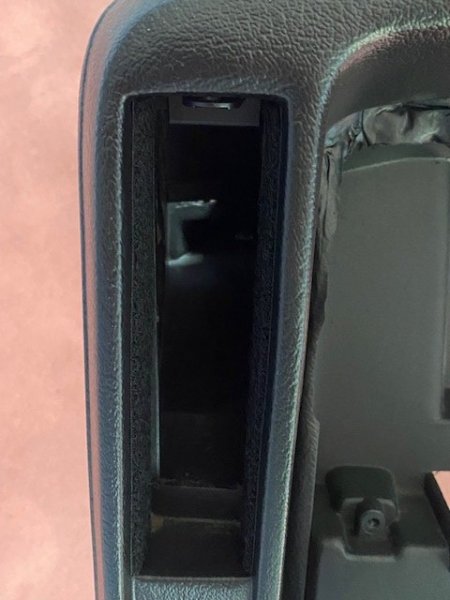
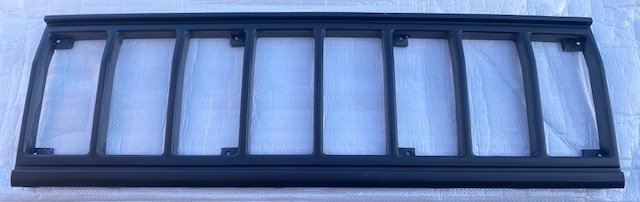
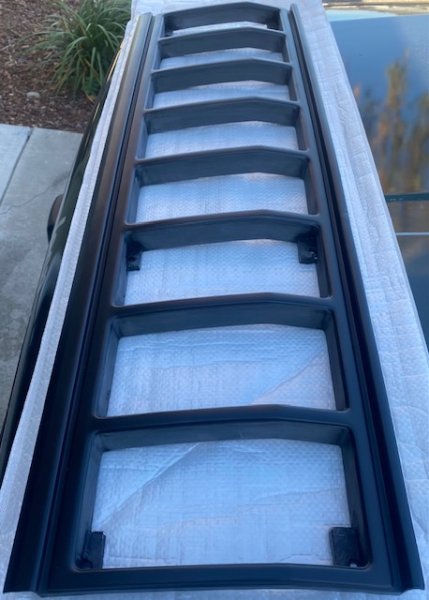
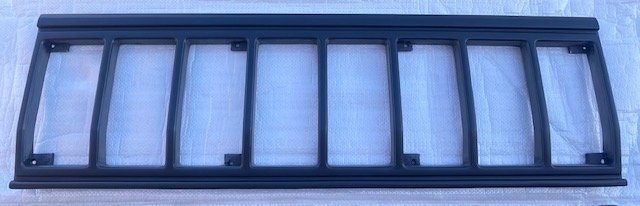
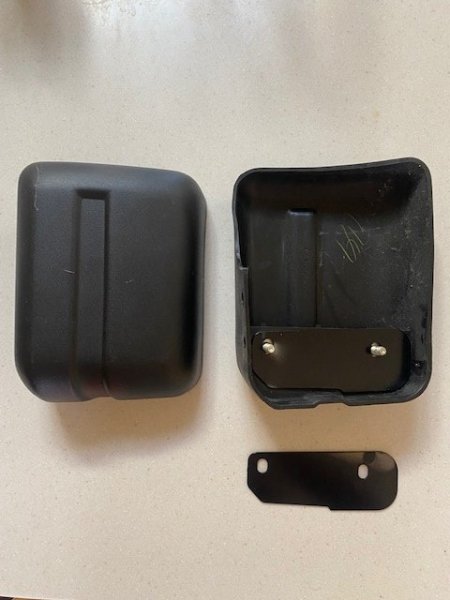
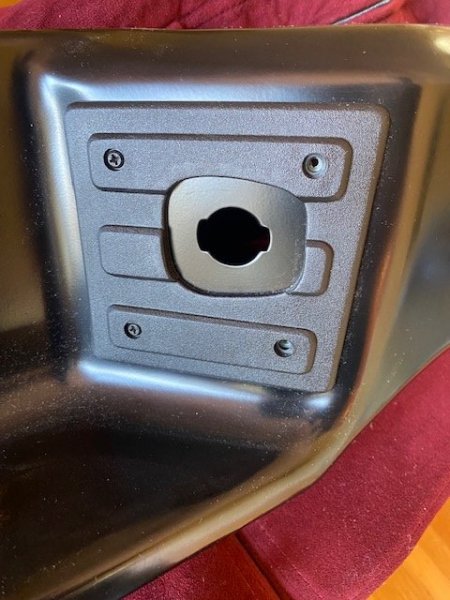
Dashboard details, a work-in-progress…First 3.5 years of XJ production (MJ 1.5 years) the headlight icon was different than the final selection than ran through ’96. Swapping that label over to the black dashboard as I prefer the look. (Mid-'87 was the change-over year.) Swapped out all the HVAC vents to the mid-‘90’s style that did not have the raised ridge that was either chrome or left black. The mid-‘90’s XJ vents were simplified and just had a mild texture with no raised areas. Looks cleaner. Also, I swapped out the center HVAC vent housing plate as mine had some scratches in the plastic. These are pressed on to the main dashboard with heat/weld. I used a larger drill bit to take only enough off to remove the HVAC plate. Then I centered the new plate I’m using and drilled holes. Will be attached with screws this round. All padding around the main dashboard openings was also removed and replaced with appropriately cut-down, varied width black Velcro. The old paddings adhesive tape was yellowed and looked bad on a clean dash. The HVAC vents themselves had small padding on one end to keep the vents in place when adjusted, so I replaced those pads as well. Finally sourced a couple rare to the US Beijing Jeep “Super Cherokee” grilles. For those not familiar with the SC, it’s a raised roof XJ that had a slightly stretched rear door. Unique to it was this grille. Keeping my options open though I’ll most likely end up going with the aluminum mesh grille build.

-
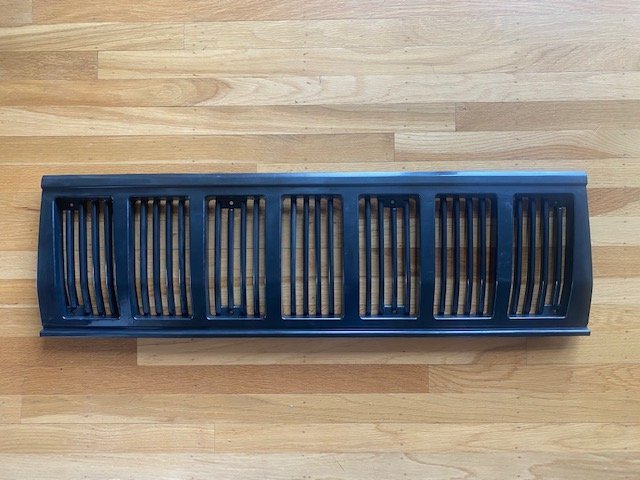
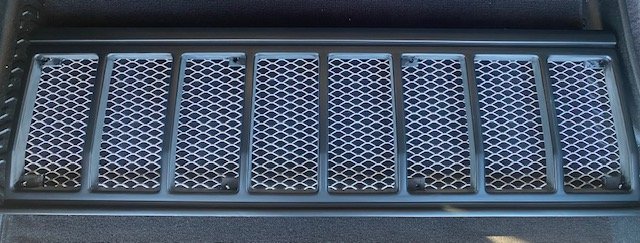
Four hours down (today), probably 20 more to go… As much as I look forward to the finished product of this mesh grille. I’ve been avoiding the project as it’s tedious. Plenty plastic fill, sanding, filling/ sanding again, and then finally paint. Used a mix of mini orbital sander and hand-sanding (320 grit). Mostly hand sanding. I haven’t bent the mesh grille yet to follow the lines of grille, but here's a ‘someday soon’ photo.
-
Early ROL had smaller logo.
-
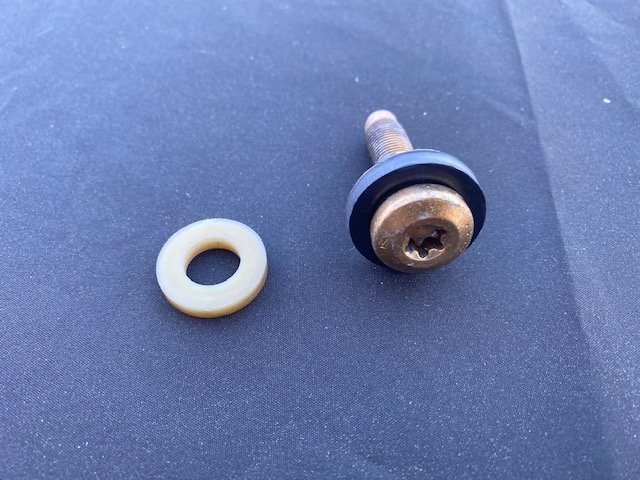
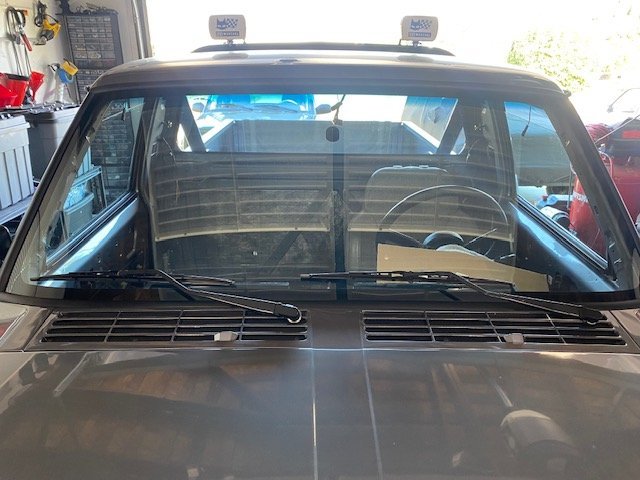
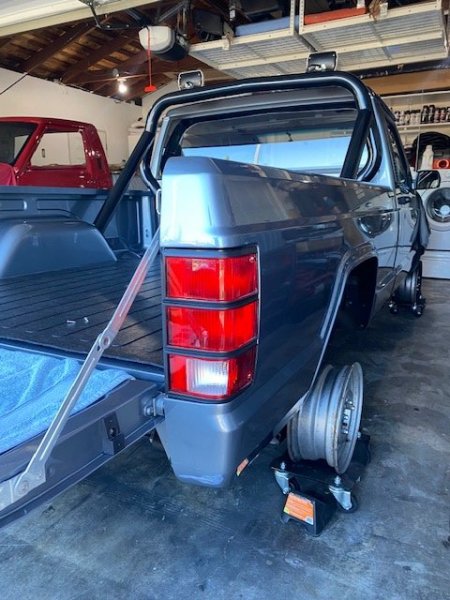
Taillights in place. Took my time mounting and used stainless hardware on all 4 holes. In addition to lubing the hell out of the u-nut screw holes, the inside tailgate truss screws (larger head) I mounted with a rubber washer behind it. Not only does it look more finished, but it also provides some ‘forgiveness’ on the stress of those easily broken taillight tabs. Hard to find these days 50W halogen backup bulbs were used to light my path when backing up in the dark. Also mounted new 97+ XJ wiper arms/ blades atop the NOS wiper linkage/motor assembly. Incredible how tight the linkage is. Been a while since I’ve installed wiper arms on linkage without any slop. Dug out some other rarities purchased 20 years back – rear fender flare inner liners and mounting brackets. All new hardware will be used at install. Lastly, I swapped out the ’92 MJ yellow plastic washers top and bottom seat belt anchor points for ‘97+ XJ black ones. Again, just plain look better as my interior is going to be black.


-
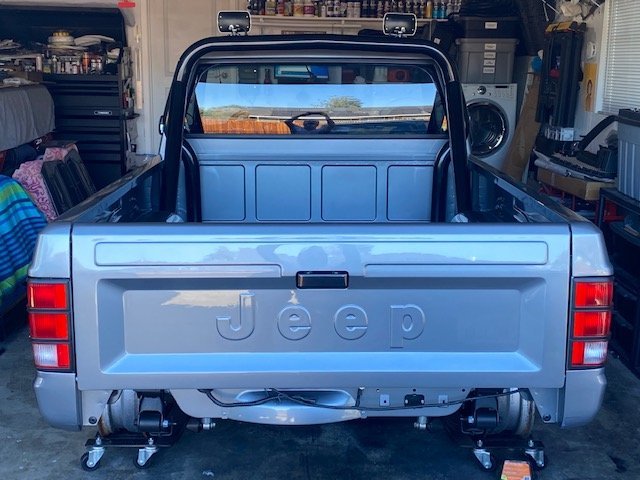
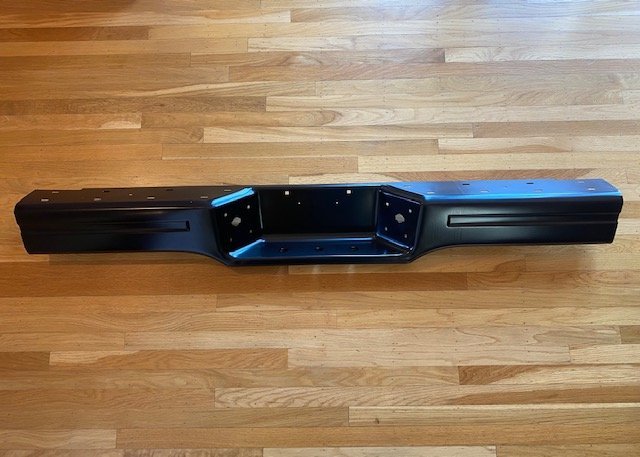
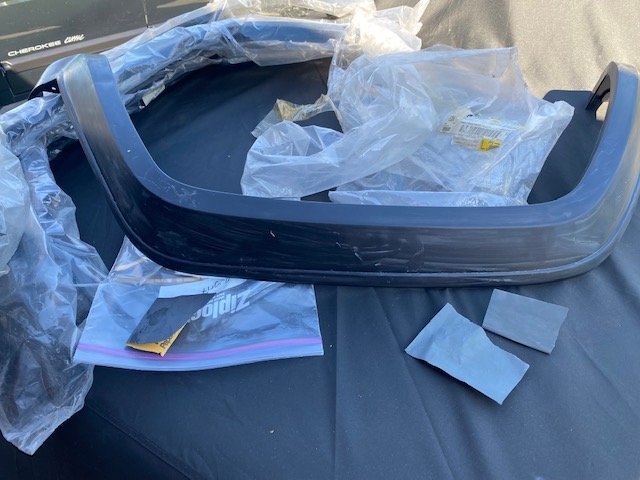
This is the first NOS ‘1st gen’ MJ step bumper I’ve had. Have the ‘2nd gen’ (without the license plate lamp bezel surrounds) both in chrome and black as a reference points, so it was interesting to find that AMC shimmed the end caps of the 1st gen bumper. In my opinion, these shims should have been there all along. My ’89 MJ had the factory tube rear bumper; but my ’92 came with the ‘2nd gen’ step bumper. The bumper and end caps were straight, but those end caps sat against the body so much so that it wore the paint down to bare metal in a couple areas. When I installed a chrome bumper on this truck way back when in 2012, I used thick washers to space the end cap out a bit to prevent the continued wear on both the plastic and metal. Will be interesting if these factory shims push the end caps out enough to prevent them for touching the body of the truck. Live and learn.
-
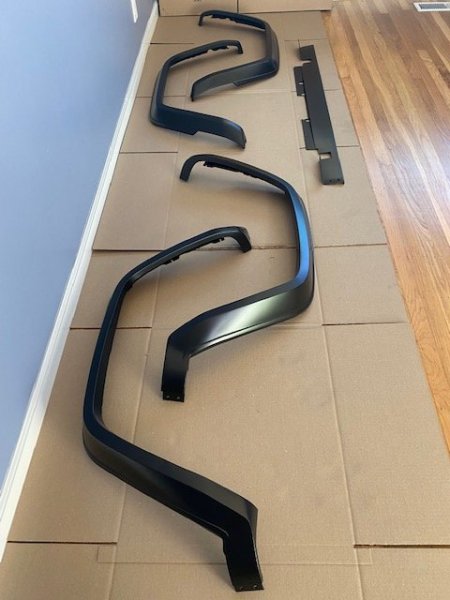
I’m a good husband and father…home with a roof, kids have XJs, and both air and water available free to all who belong. BUT – the Fall season is upon us in CA – temperature dropping, wind kicking up, and leaves falling from trees everywhere. Typically, I try to do and my trim and interior painting outside, but because of the first sentence, I needed to take the fender flare painting indoors so I could crank the heat over 70 degrees before I started to lay down the SEM Trim Black paint. Kids are at school, wife’s out, and trusty dog is here breathing in fumes with me. High as kites. Got to painting all four flares and air-dam (carved out appropriately to clear hidden winch line and factory tow hooks). Also installed the new step-in plates.

-
Both edelbrock and borla are CARB certified. Hesco actually was the one who engineered/ built the aluminum head first and it didn’t sell. Mainly because they didn’t advertise and they did not CARB certify which was why I didn’t purchase. They sold it to edelbrock who tweaked it a bit, CARB certified, and marketed the hell out of it. Makes a difference. Won’t be an issue passing smog with these. I have the needed CARB stickers on my radiator shroud.
-
Looks good. Glad you figured out smog. I’m in CA also and looking forward to getting to smog fun. Mine has Chrysler era PCM as is 92 MJ. Know that Hesco FPR is for High Output era only. Don’t think that they have one Renix era.
-
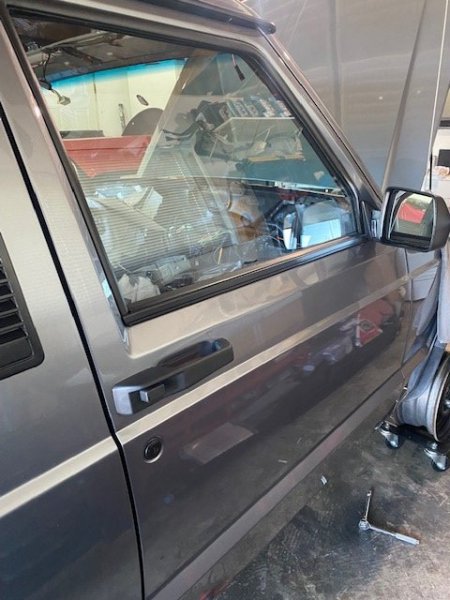
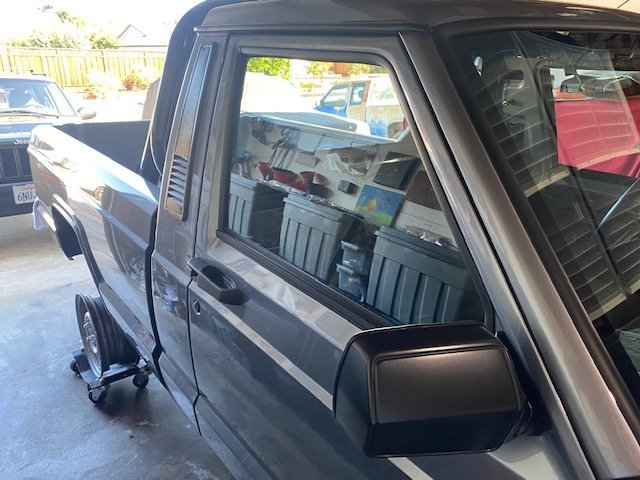
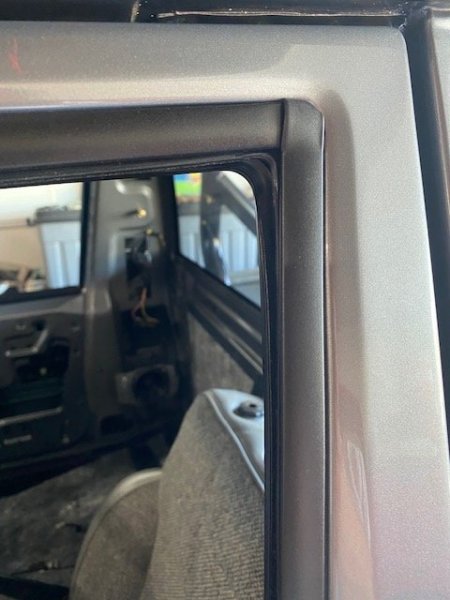
Many thanks all! Got the passenger side window framing done...
-
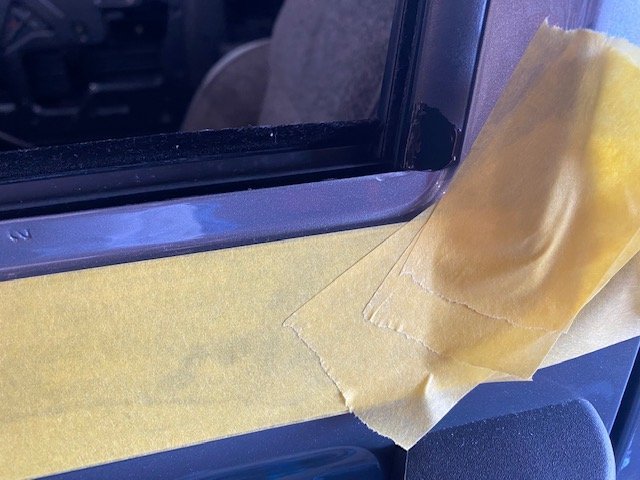
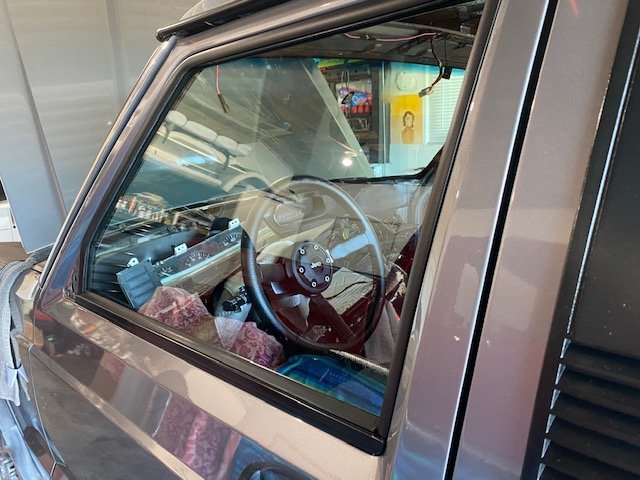
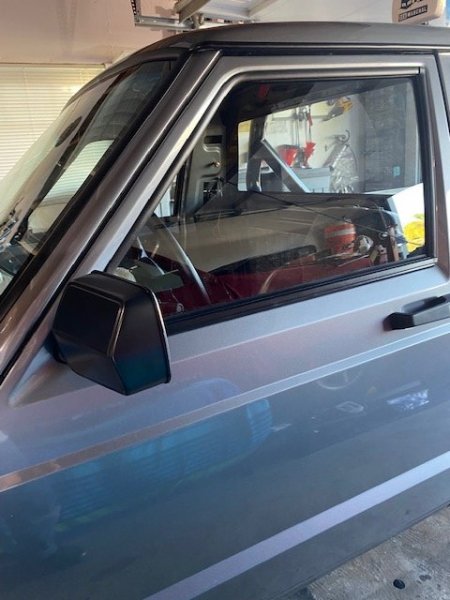
Time for door window trim install fun – as always, plenty of protective tape and lube as needed to get parts to slip into place. Success! (Though I only got the driver’s side done.) Back when I decided to use the ’97 XJ window on my MJ’s, I was determined to use the first gen XJ/ MJ lower window molding with the separate weatherstrip insert. I looked for close to a year state-side for a vendor who produced this or who could source it for me – no luck. So, I went with the only other option… Back in 2002 when the Beijing XJ 2500 model was still in full production, I hired a buyer in China to source these from their parts dealerships for my ‘someday’ build. And close to 20 years later that someday is here. Incredible – talk about a slow mover. But hands-down in my eyes, the first gen setup just plain looks better than the second gen XJ lower window trim. Finally, got my NOS power exterior mirror installed and tested. Onward…to the other side.

-
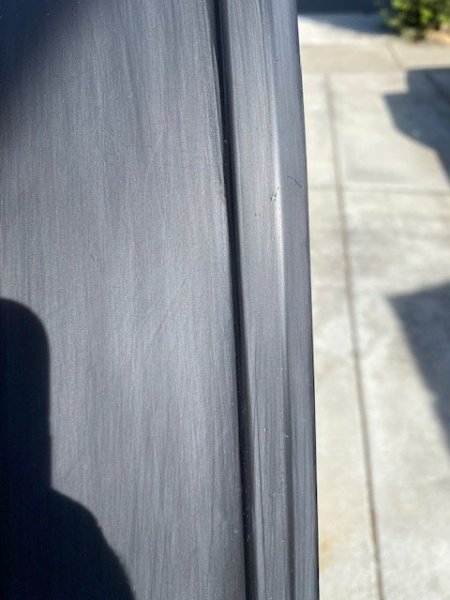
In my imaginary utopia all new/ NOS parts are pristine and without scrapes/ scratches – with my front and rear flares this wasn’t entirely the case. Majority were in good shape, but the passenger side front flare had a bit of shelf-ware. There were a several small scratches in the plastic that I wet-sanded away. 98% of the scratches are gone, but need a pinch of filler to get 100%. The front ’95 XJ flares have zero texture (I chose ’95 XJ flares because they’re a bit wider at the front and look right with the 31” tires); The rear MJ flares had a light texture to them and weren’t a spot-on match to the ’95’s. (As a side note, base/ black ’96 XJ flares had texture on them, but they were a much grainer texture than the MJ’s.) So, in order to get them all to match, they’re all in the process of being wet-sanded through the numbers and will be refinished in SEM trim black. Also connected and loomed the sport bar light wires.
-
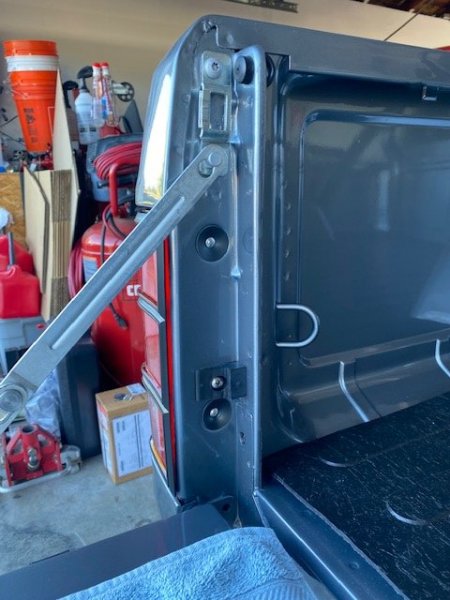
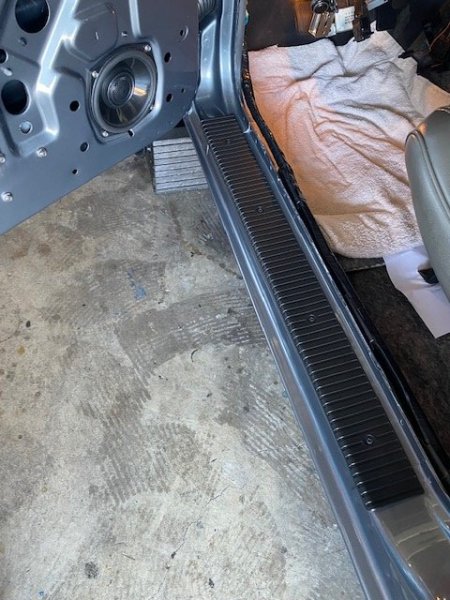
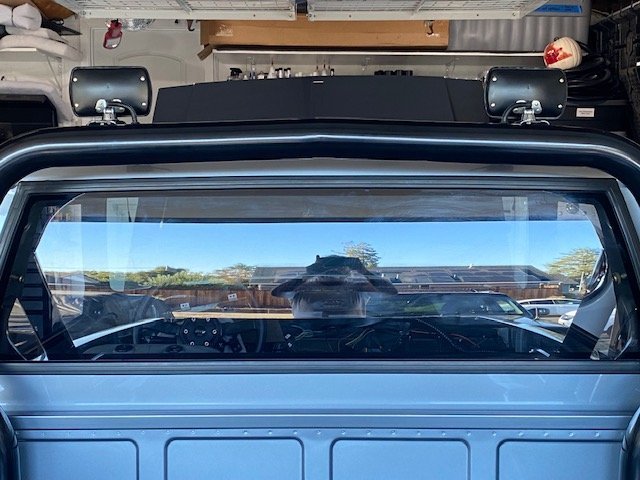
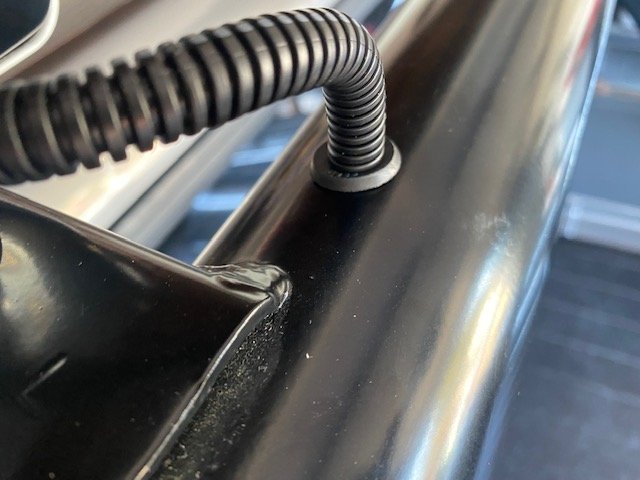
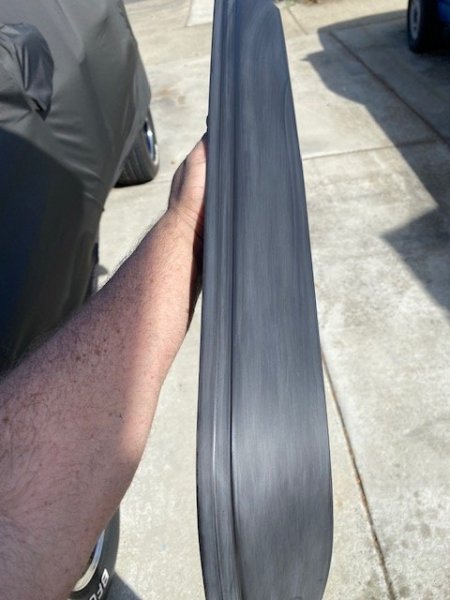
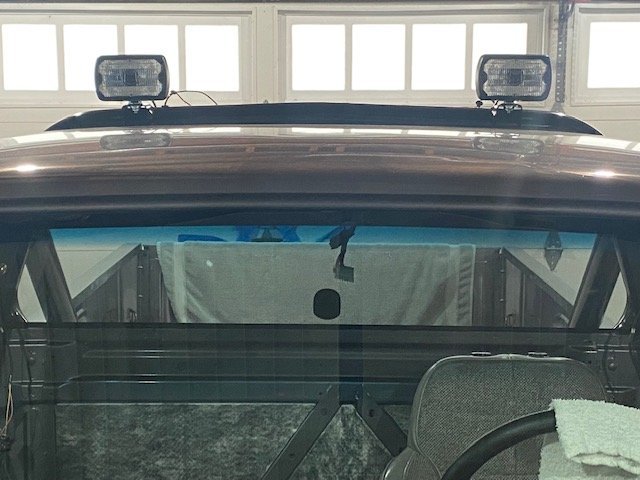
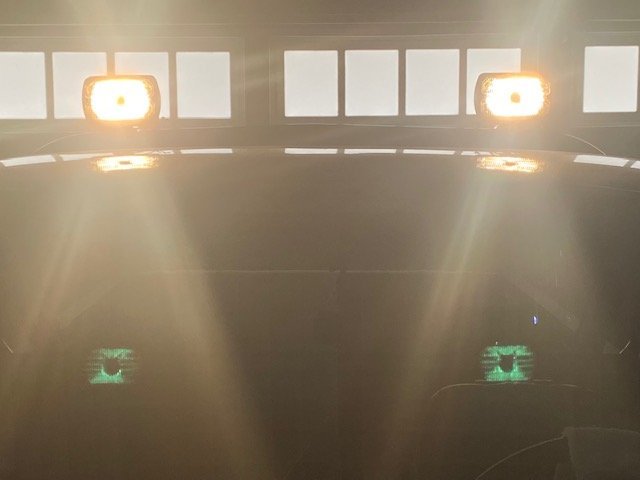
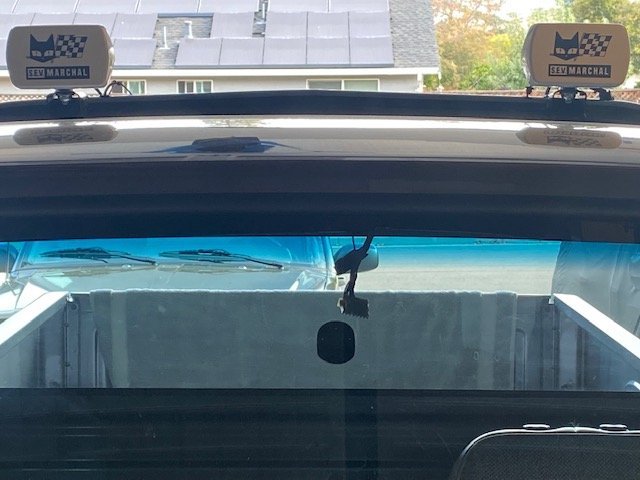
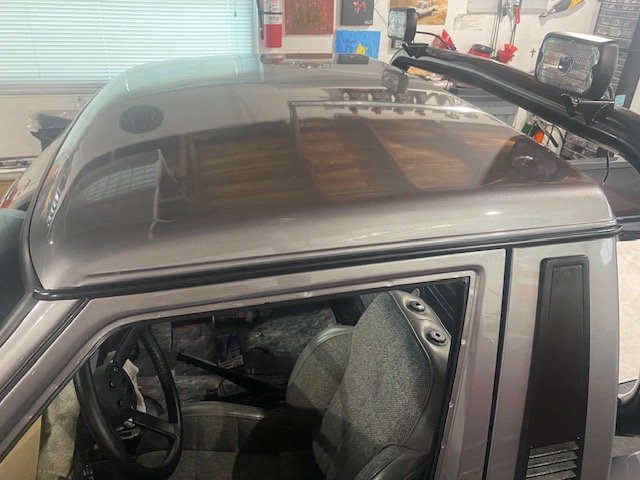
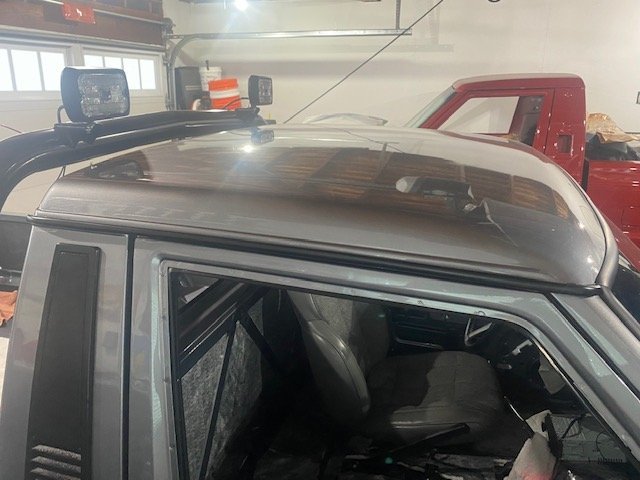
Though I still need to finalize wiring on the backside into the bar for the Marchal’s, the tedious task of taking them apart and getting the right setup for this build is done. Everything matches. I can sleep at night. I decided to go with bullet connectors that join the light and the bar wiring – that way I could feed them into the sport bar and only see a neatly loomed wire. I decided to use first gen XJ/ MJ 2WD trans-tunnel grommets for the wiring into the bar. (I don’t want water to get into the bar.) The grommets fill the holes that are there for the 4WD underside linkage/ bracket mount. Without that, there are 4 holes that need to be plugged, and those are what go Jeep used. (Note: they changed the grommet in ’97.) Make a small cut and run sport bar light wiring through. Done. The lights look amazing when lit. Can even see the green ‘cats eye’ in the reflection on my windshield. There are a few options for light covers for these 750 series hard and soft, including Jeep’s ROL fog light cover which is just about the identical light – and the cover fits (option's from Jeep on lettering for those ROL covers was gold, chrome, or just plain old black)…but I wanted something different on the silver and black truck, so I went with the white hard covers. Will be using the same on the bumper mounted Marchal’s. Through the dusty packaging I could see the rubber inserts of the drip rail had fallen off after 20+ year of sitting, so I stuck those back on prior to installation. Installing trim like this after paint takes patience/ focus. It’s super easy to slip, miss, goof and/or not see the trailing end of the metal molding scraping against the finish. I always mask off top to bottom the area I’m working to protect from just that.
-
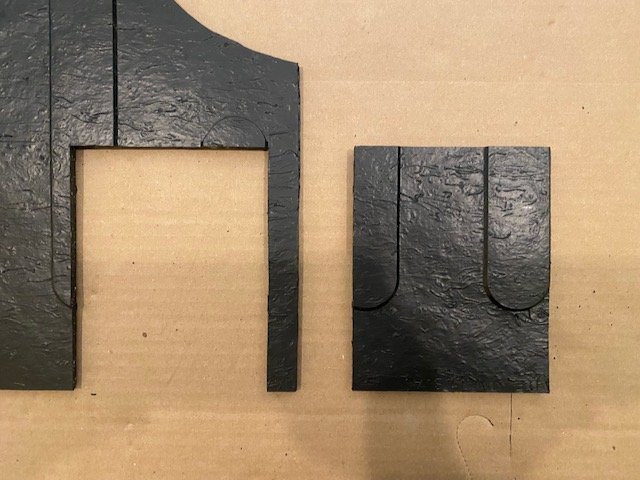
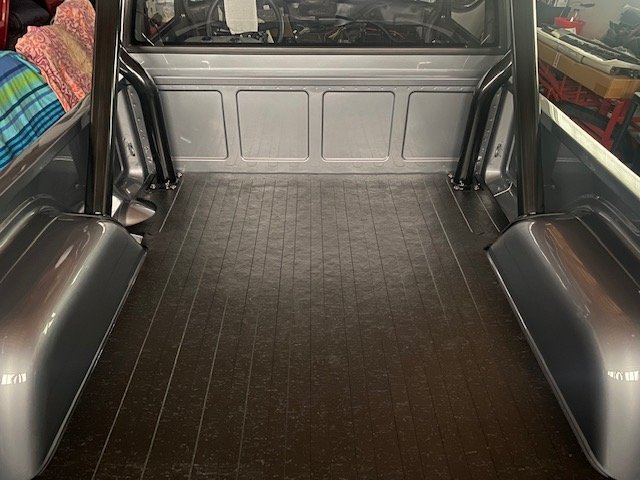
Box cutter'd the MJ bed mat to work around the sport bar. Measure, measure, measure, and cut.
-
Perfect. Will PM you. Not sure if you’re still in Guam so I have no idea what shipping would be.
-
That’s something to think about. Is yours HO or Renix era. I didn’t pay attention to your builds year. I have only HO era and the wiring is slightly different/ colors different for sure. I have nada renix.
-
Your project is looking good. I just took a peek at it. As for the driver's door harness. I'm sure I have one. Will you be running power exterior mirrors?
-
Project “Tomahawk”
Gjeep replied to ghetdjc320's topic in MJ Hardcore Tech: Epic Journeys to Greatness
Lookin good!