
.jpg.08bf46f3f7daa8f48c626dbf823f9bdc.jpg)

Boilermaker
-
Posts
393 -
Joined
-
Last visited
Content Type
Profiles
Forums
Gallery
Everything posted by Boilermaker
-
Pry it with a screwdriver https://www.cherokeeforum.com/f2/fuel-cap-stuck-my-91-cherokee-148867/ Pressure may have built up inside the tank and up the fuel filler neck pressing on the cap. If you can remove a hose to the tank or the filler neck to relieve the pressure, that may help loosen the cap.
-
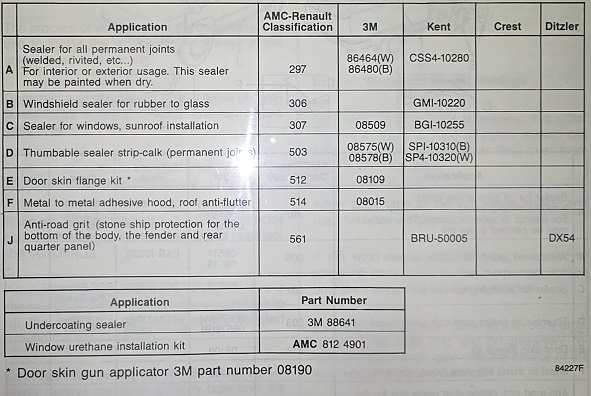
I think all of the sealer from the factory is 1k which often shrinks as it dries. Probably more so where its applied the thickest, like the front of the floor pans and back of the interior cab. So what was likely done to protect the metal from the worst areas of water penetration may have made things worse in the long run.
-
No problem. As the others have said, seam seal everything. Only one other thing to add, and from your pics looks like you may have already done this - remove all the factory seam sealer you can. When I had my truck cleaned up, most of the spots that needed attention were under the factory seal sealer.
-
Seam sealing locations from MR278. 1571325217_MR278R11-22.pdf
-
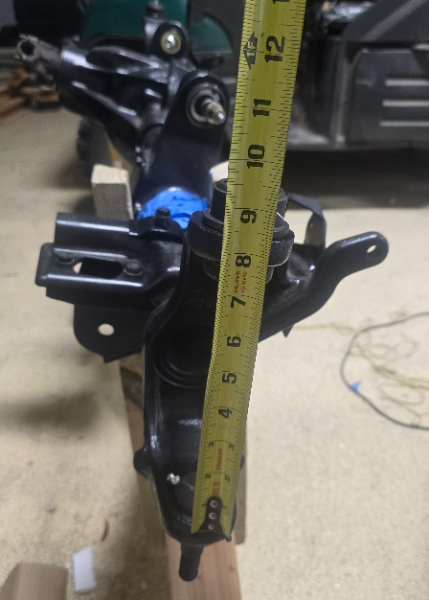
7 5/8" measured from the very end with steering knuckles off. Both my C's were within an 1/8". Gears were recently replaced professionally, so it should be straight. Can measure in a different location with knuckles still on. With all the brackets on the axle, couldnt find a good way to measure the angle. Couldn't get an accurate measurement while holding the phone, so the Pic is more to show where I measured.
-
 My floors were in decent shape so I only had my floor supports replaced. The shop that did it drilled out all the spot welds to remove the supports. The OEM supports probably could have been reused. He cleaned up any surface rust under the supports and where the factory seam sealer was prior its removal. Then put down a layer of 2k epoxy primer, 3M 2k seam sealer in the factory locations and another coat or two of 2k epoxy primer. It's a lot of steps, but since I don't have any welding skills it's something I didn't want to have to address again.
 -
If you're planning on doing some welding anyway and the parts aren't cost prohibitive, I suggest using the Key Parts floor pans and supports. The Key Parts panels i've used have been good and the time saved over piecing together patches can be spent on other fixes. There is likely more rust you can't see under the floor supports and factory seam sealer. You'll be able to get at more potential problem areas with the floors removed. The welding doesn't have to be visually perfect since it should eventually be covered in seam sealer anyway (plus any sound deadening, carpet, etc.) Good luck with the repairs and welcome to the forum.
-
Look to be in good shape and reasonably priced. Link
-
Roof Flex (oil canning?)
Boilermaker replied to Boilermaker's topic in MJ Tech: Modification and Repairs
Thanks for all the responses. The dynaplate is an interesting idea. The plan for inside of the cab is to spray a few layers of lizard skin sound and thermal directly over 2k epoxy. Adding dynaplate to the roof, either above or below the lizard skin is a good option I wasn't previously aware of. Since that amout of flex isnt unusual, I think I'm going to pass on doing anything mechanical like shrinking. Not worth taking the chance of creating a larger problem. -
My MJ has been stripped of paint and is currently in primer. Shop is concerned about the amount of flex in roof. No signs of any previous damage. I know the roof is pretty thin and has some give to it, but is this too much? Thanks in advance roof.mp4 roof.mp4
-
Comanche Headliners on Sale
Boilermaker replied to a1500ram's topic in Vendors- members making products for MJs
Steve has been great to work with. Mine will be arriving next week and am looking forward to it -
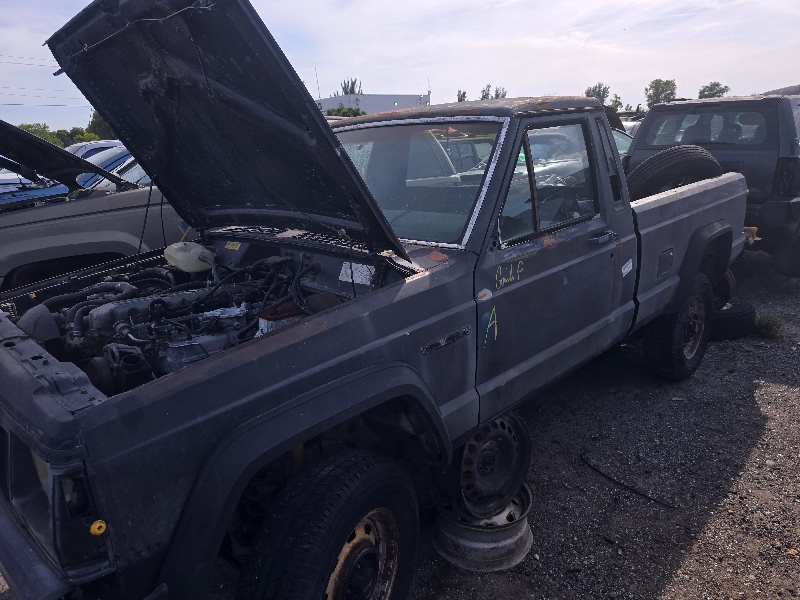
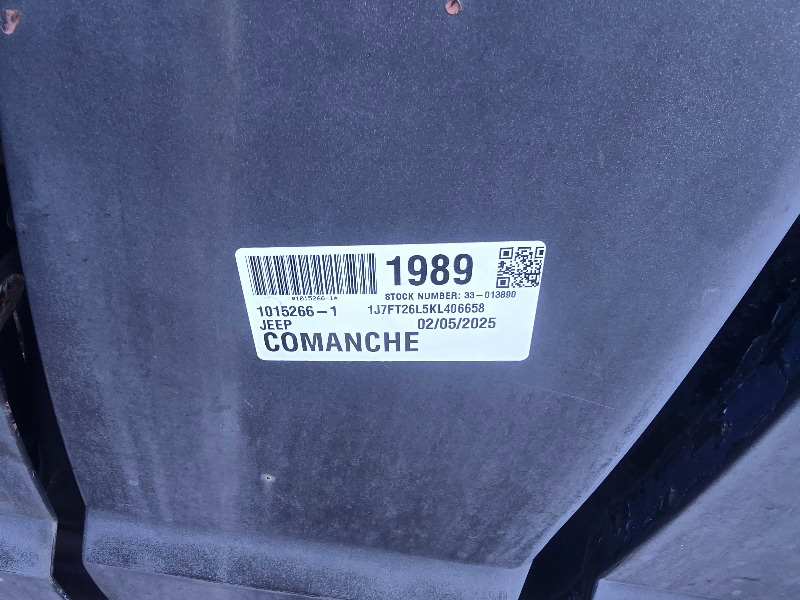
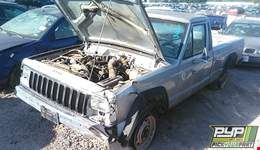
At the U-Pull-It in West Palm Beach, FL. A decent bed but not many other MJ specific parts left.
-
Paint looks like a respray. There is a picture with the drivers side door open and the jambs are a much darker color...which probably wouldn't have looked very good with the wood grain.
-
This. We are switching to Hagerty because we can't get our current insurer to look beyond KBB value. Wouldn't take much damage to exceed our "agreed" value.
-
No problem. It may be possible to go slightly longer, maybe 5/16" or 3/8" (Arrow 505 or 506) for a better grip without going thru the front side of the skin. 1/2" is definitely too long, i remember starting with that and having it poke all the way thru. I've have two more door skins in my parts pile that i haven't gotten around to doing this on. Would be a good time to try a couple of different things and post a write up to the DIY section.
-
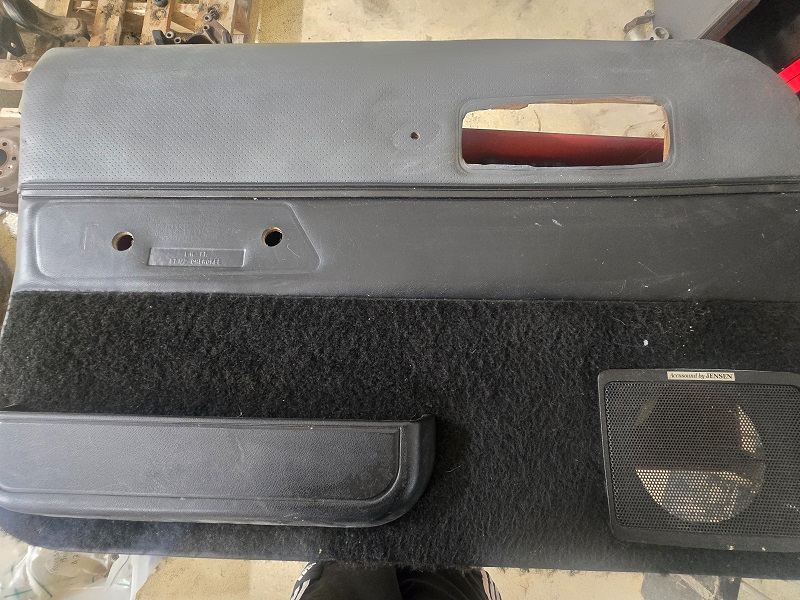
Had to pull one out to verify.....T50 1/4" (6mm) light duty staples. Doing it again today, i would go with the heavy duty (thicker crown) stainless steel Arrow #504SS1, especially for a daily driver.
-
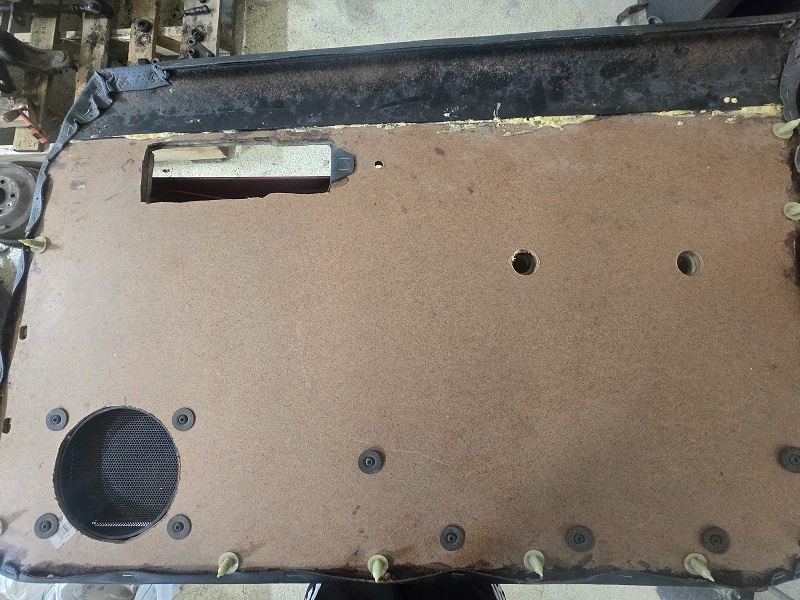
No need for a CNC machine unless you are looking to mass produce them. Although nowhere near as fun as getting a new tool, a jigsaw, drill and maybe a dremel to clean up some rough cuts is enough to make the card panels. I did mine probably 15 years ago and they are holding up pretty well. If it hasn't disintegrated, using the oem card panel to as a template to make new one is pretty straightforward; carefully removing the skin from the original for reuse without damaging it was the most time consuming part. Good to see people making parts for the XJ/MJ but i'm not sure who the target audience is at that price. Maybe someone who can't easily get their hands on an original in good condition to use as a template.
-
At LKQ Austin,TX 2.5L 2WD D35
-
Can't speak to proportioning or load sensing valve modifications, but the dual diaphragm brake booster upgrade is worth the time.
-
Preload spacers can be ordered right from the teraflex website. I used part #86262 for a d44 out of an 87xj. If you search thier site for preload spacers there are a couple of other options based on the axle you are converting. Ordered a couple earlier this week, fedex shipping was free but had to set up an account on the teraflex site.
-
wire harness swap question
Boilermaker replied to KingSlayerMJ's topic in MJ Tech: Modification and Repairs
It could be a bad ground, turn signal flasher, corroded bulb socket among a number of other things. Sounds like you've worked through many of possibilities already; having the wiring diagrams to refer to is helpful if not absolutely necessary. Do you have access to the 1991 electrical FSM? If you don't, I can upload the 8-10 relevant pages. -
As others have said, splicing is probably your best bet. But if you really want to find terminal pins, mouser.com will have them. The problem is navigating their site. They carry so much it's difficult to find what you are looking for without specific information to narrow down the search.
-
It also could have been swapped in by a previous owner. My 92 had a CAD when i bought it. I know it was swapped in by a previous owner because my truck came off the assembly line as a 2WD according to the build sheet.
-
I would have offered more for the truck before his modifications than as it sits now.
-
Nice 88 in Houston, Texas ...
Boilermaker replied to NHMJXJ's topic in Craigslist/eBay... i.e. Not Your Stuff
The price for the truck before the flipper got his hands on it was 3500, which assuming the PO didnt abuse the truck was a fair price. At the time of the previous sale that truck was every bit as clean as it looks in the pictures, not a speck of rust. Truck was diassembled for paint and the smurf blue interior was replaced with the gray including new carpet and redone headliner. Power windows and door locks were added and the original rear bumper replaced because it wasn't straight. Greg sold the truck with real Moabs on, looks like someone rattle canned them gunmetal. I wouldn't consider pre 97 doors a negative - yes it would be nice to get rid of vent windows, but the inner door panels don't match the gray color and the door pulls block the glovebox. As Jeepskater said those dealships are a joke, adding nothing of value and doubling the price