

Blue88Comanche
-
Posts
2668 -
Joined
-
Last visited
Content Type
Profiles
Forums
Gallery
Everything posted by Blue88Comanche
-
You will get more views if you start a new thread Sent from my iPhone using Tapatalk
-
My accounts are a bit low but i sent what i could. CC has helped me tremendously over the years. And if it where the for CC i wouldn't have appreciated the MJ as much as it should. Thanks Pete! And a tip of the hat to the Mods that help run the forum. Sent from my iPad using Tapatalk
-
Installed the light bar today. And have it wired in. I love it lol Low beams High beams Light bar Sent from my iPhone using Tapatalk
-
Sounds like a tap dance.............. they are pushing the limits of product description, but overall I'm happy with the bar. it does what i want, it was still cheap, and i like how it looks. I'm relieved that is isn't actually 672 watts while i was prepared to run 6ga wire i wasn't looking forward to wiring it lol. odds are it has 3 watt Cree or nock off LEDs. its still puts out more usable area lighting than headlights.
-
Awesome idea using the battery charger, looks like i need to get it from my brother again. I got this message back from the seller
-
How so? also i mistakenly hit report when quoting this, i hit cancel so you shouldn't get flagged for anything.
-
That's what I'm thinking. I messaged the seller asking for more detailed info about the LEDs used in the light bar. Sent from my iPad using Tapatalk
-
Blue88Comanche Pioneer 4X4
Blue88Comanche replied to Blue88Comanche's topic in Member Projects: Your Comanches
updated the "50'' LED Light Bar Install DIY" posted above -
So my 672 watt light bar arrived today. It is composed of what should be 96 7 watt LEDs. Assuming the voltage is 12v that should put my amp draw at 56 amps. The wiring harness I have had a built in 30 amp fuse. Shouldn't that fuse blow as soon as I flip the switch? Or is it more likely I ended up with a 288 watt light bar (96 3 watt LEDs) that pulls 24 amps... The operating voltage on these lights are up to 30v switch that in mind do you think they would be brighter on a 24v system? Some pics of the light in action below This shows the brightness The panoramic photo made it darker but you can make out the area of affect it has And a comparison between my 288w and 672w bars Flood section Spot section Sent from my iPhone using Tapatalk
-
Blue88Comanche Pioneer 4X4
Blue88Comanche replied to Blue88Comanche's topic in Member Projects: Your Comanches
I bought my Grabbers back in November of 2011. i currently have maybe 17-20k miles on the tires. aside from the tire with the nail i havent had to add much air over the years. they do need to be rotated. the front tires' tread is more worn than the rear but not by much. the only gravel i drive on in in my and my parents driveways. and occasionally a dirt road. i havent had much time for off road fun in a while -
Blue88Comanche Pioneer 4X4
Blue88Comanche replied to Blue88Comanche's topic in Member Projects: Your Comanches
How To Plug a Tire For a few months now my tire has been slowly leaking and i thought it was just a leak on the valve stem. well a couple days ago the tire was completely flat and i heard a slight hissing noise when inflating the tire. Apparently i had been carrying around a nail for a while. You will need a tire plug kit, jack, wheel chocks, tire iron. Unfortunately for me my bottle jack i would normally use was in the back of my car that my sister is borrowing till hers is repaired. The flat by Blue88Comanche, on Flickr Secure the vehicle by applying the parking brakes and wheel chocks. use the jack to lift the axle, then remove the tire. Locate and remove any offending objects, in my case it was a nail The nail in my tire by Blue88Comanche, on Flickr After removing the object, use the "Cleaning tool" it looks like a cylindrical file. To clean out, enlarge the puncture. Cleaning the Hole by Blue88Comanche, on Flickr next prep your tire plug. here you can see the removed nail. nail and tire patch by Blue88Comanche, on Flickr insert the plug a good ways in, be sure not to completely insert the plug. plugging the hole by Blue88Comanche, on Flickr remove the insertion tool. you can then clean up the plug with a razor blade. Clean Up by Blue88Comanche, on Flickr Congrats! you plugged a hole in a tire, now inflate and mount the tire, lower the Jeep and you are good to go! -
Blue88Comanche Pioneer 4X4
Blue88Comanche replied to Blue88Comanche's topic in Member Projects: Your Comanches
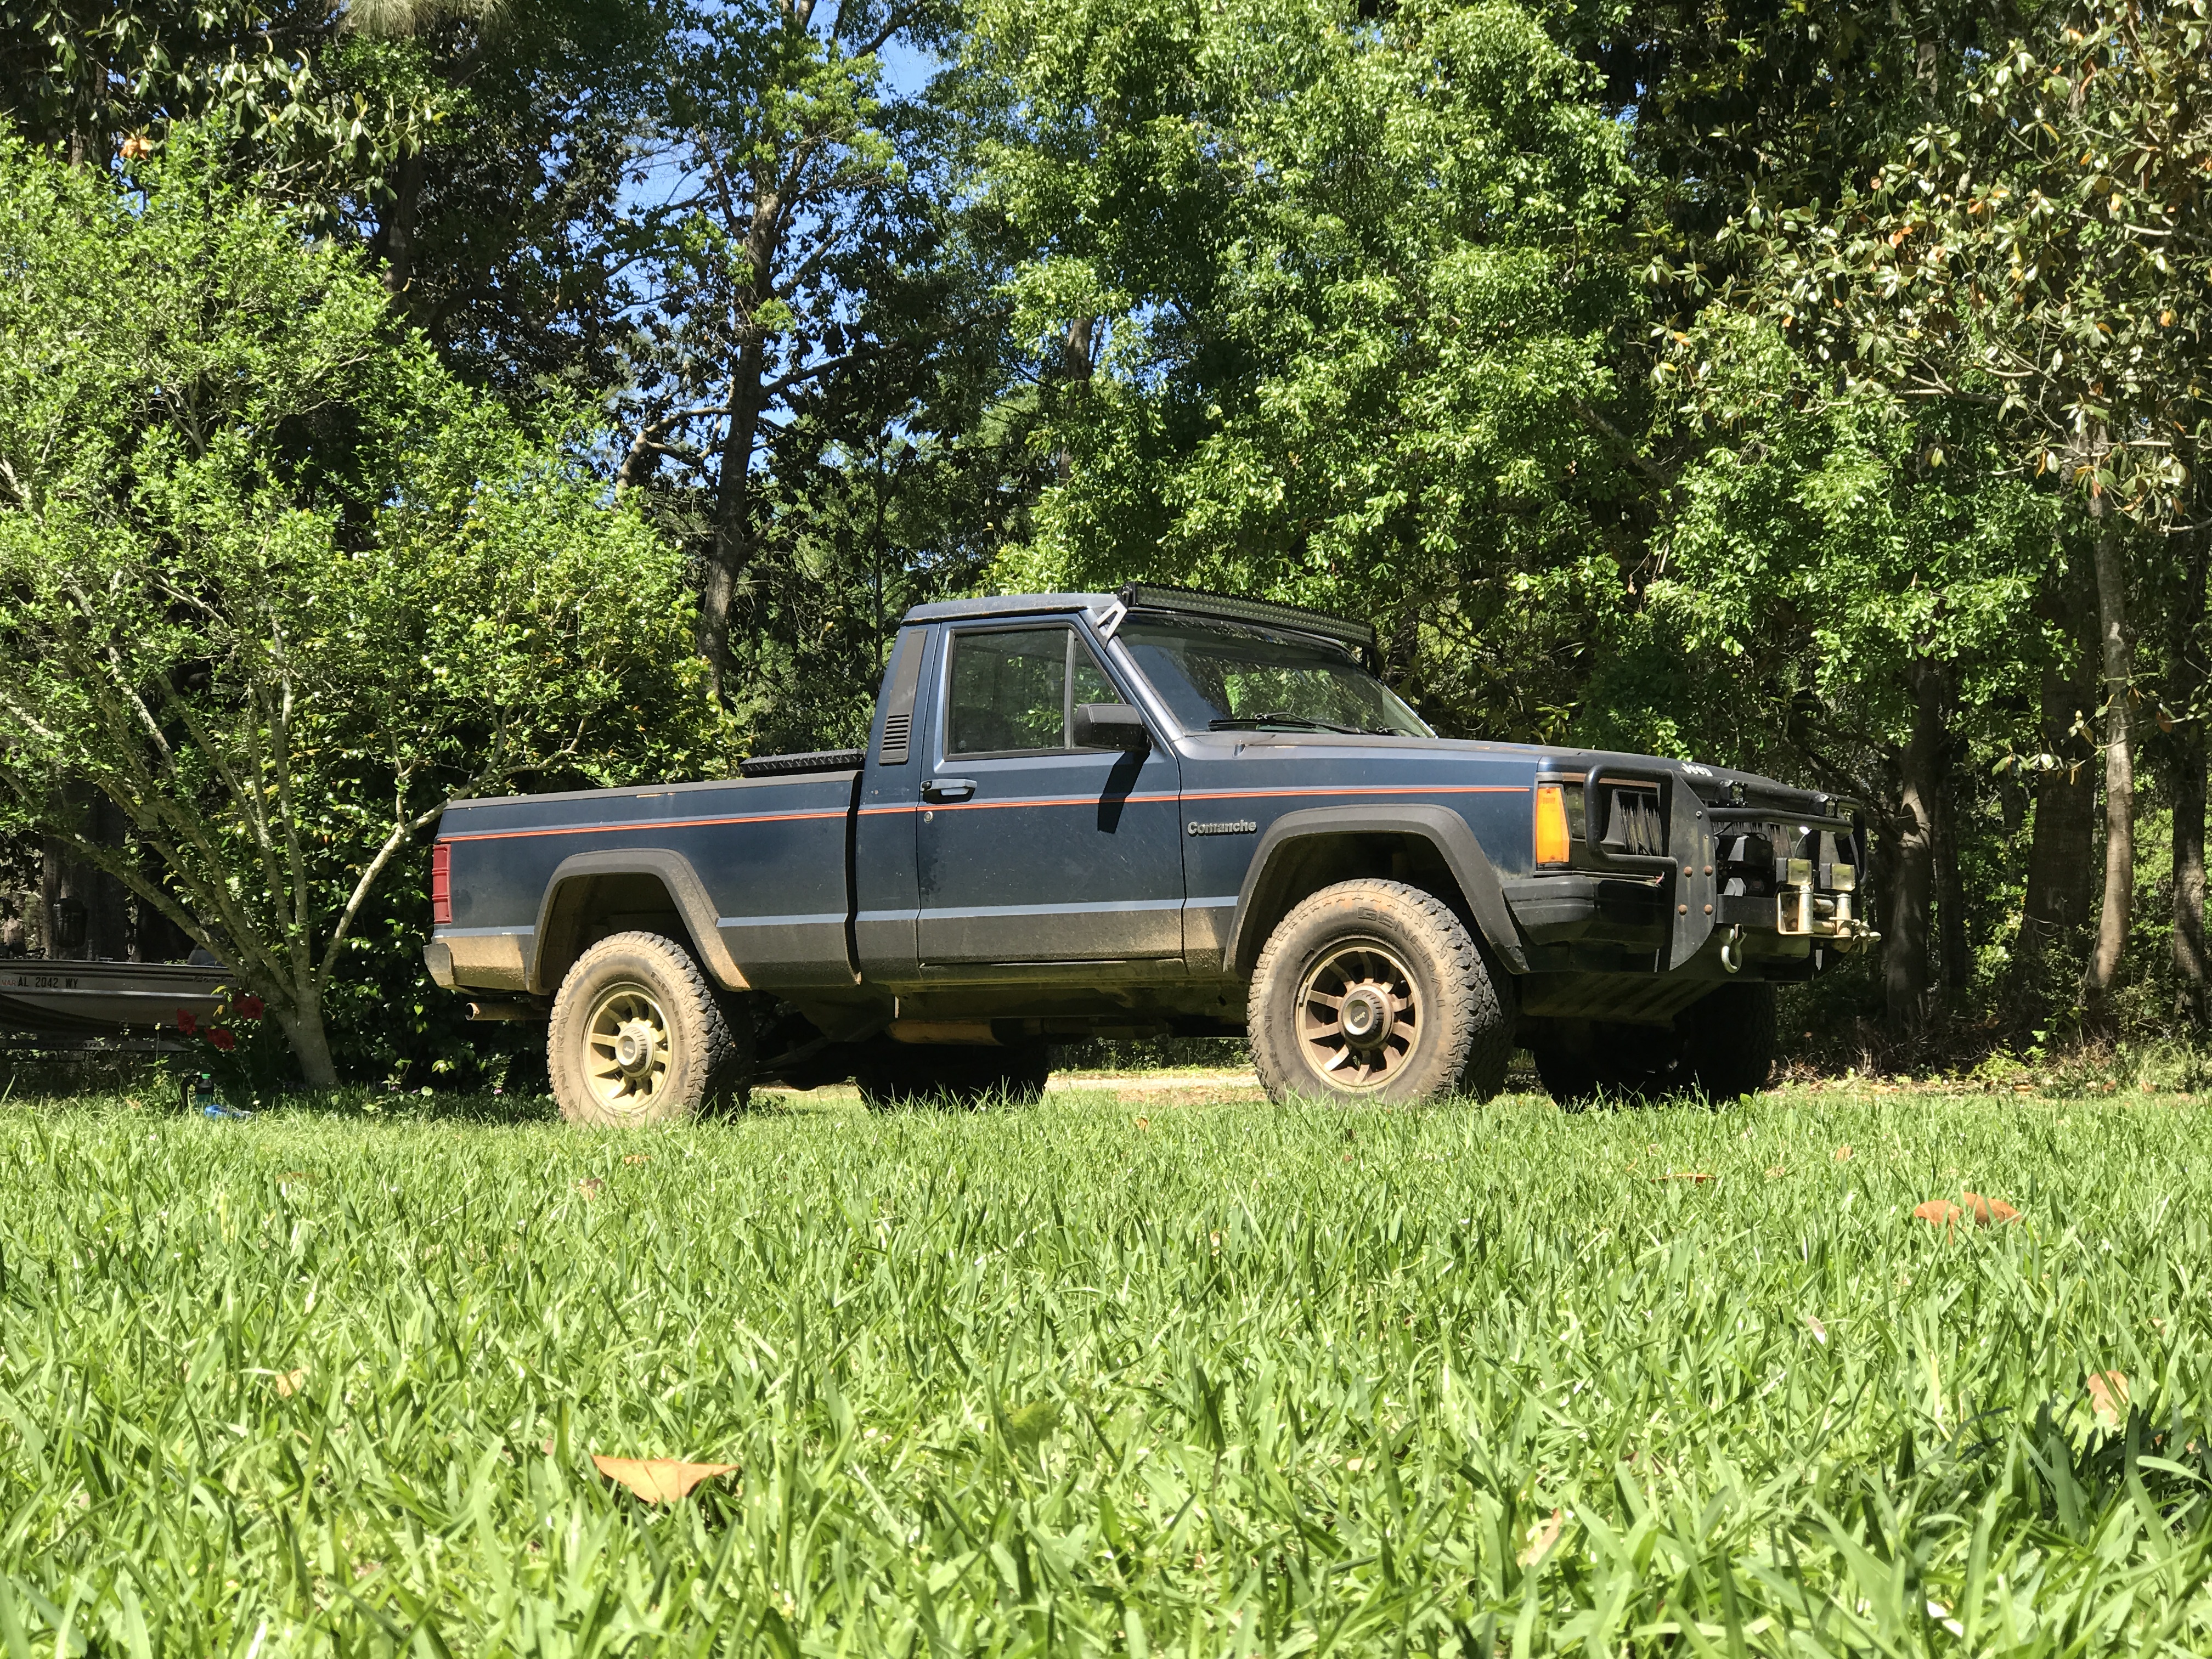
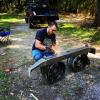
50" Curved Light Bar Install Work in progress I finally broke down and bought a curved led light bar and some pod lights. They where sub $200... well the first set was $88 ish for the bar and two pods.. The first bar had a section of lights that did not work so its boxed up and waiting to be replaced. My second light bar was a bit more expensive but has 672W output vs 288W. it also claims to use a better reflector and lens design. The replacement Light bar did not include any pods, but because i was going to put them on the boat anyway that does not really matter. ill include the pods i purchased for the boat as well. 50" 288W Curved Light bar from amazon (Seller Yitamotor) $88.99 + Free Shipping (returning due to defective Bar) [update: seller sending new light bar] 50" 672W Curved Light Bar from eBay (Seller AutoPartM) $138.59 + Free Shipping 20 4" LED Pods from eBay (Seller AutoPartM) $159.99 + Free Shipping 50" Curved Light Bar XJ Windshield Bracket from Amazon $15.99 + Free Shipping Below you can see the defective unit Untitled by Blue88Comanche, on Flickr Untitled by Blue88Comanche, on Flickr Update 10/18/16: New light bar arrived yesterday and i was able to hook it up for testing. Below are some Side by side comparisons. Lets start with the flood section, the new 5D lens looks cool and the new bar also has more flood lenses. Old vs New by Blue88Comanche, on Flickr again the new bar uses 5d lenses vs a focus cup. Old vs New by Blue88Comanche, on Flickr If the video works, here is a full length comparison of the two so with my younger brother as the mounting bracket / test bed, we hooked up the light bar to the provided wire harness. the harness was equipped with a 30 amp fuse. now this bar should be drawing 56 amps, but apparently it wasn't. dispite that the light output was awesome. the spot section did a great job and the flood filled the gaps and area nicely. New Bar light test by Blue88Comanche, on Flickr a quick comparison to the two light bars performance. the new 5D bar provided a better spot light for long range vision, but i feel as the old bar with the focus cups provided a much better flood light. so keep that in mind for your indented use of the bar. for example the old bar i think would be better for lighting up a camp sight for a night setup. we always setup camp in the dark.... Tools Required Drill Tape Measure Marker or pencil Wire Cutters Crimpers Electrical Tape Allen Wrench Optional Items Pre-Made light harness Your choice of switch Relay 8ga or larger wire various connectors Getting Started -
Could have been a fleet vehicle in a past life? Sent from my iPad using Tapatalk
-
AW4 TCU Shift Mod
Blue88Comanche replied to LEAD_NOT_FOLLOW's topic in MJ Tech: DIY Projects and Write-Ups
also check out http://www.radesignsproducts.com/rail-controller.htmlor some of their other shifters, if i ever get around to swapping in an auto this will be what i use (or one similar), and ill have a switch i to set manual or automatic shifting. -
50 inch curved light bar
Blue88Comanche replied to Jacob Ochs's topic in MJ Tech: Modification and Repairs
why did you show me this, I don't need to spend my money on a light bar....... But i guess the groceries can wait another week lol -
99 Xj Grille Guard on 88 Mj?
Blue88Comanche replied to Bonkers's topic in MJ Tech: Modification and Repairs
Looks good! -
99 Xj Grille Guard on 88 Mj?
Blue88Comanche replied to Bonkers's topic in MJ Tech: Modification and Repairs
I'm using the number bracket on the outside of the warn bracket. Just not using a spacer. I'm not sure what size I used, but everything had lock washers. The instructions say to drill a third hole on the bumper tabs and install a bolt there. I never got around to doing that.... perhaps that's where the 1/2" come in. I should have my bad of extra hardware, that would show what I didn't use. Also as a heads up, the black bolts will rust... Sent from my iPhone using Tapatalk -
99 Xj Grille Guard on 88 Mj?
Blue88Comanche replied to Bonkers's topic in MJ Tech: Modification and Repairs
you don't need that spacer plate from the factory, the grill guard bracket takes its place. there should be a plate that goes on the inside of the bumper tab and on one the outsied, mine was bent and using after mounting hte grille guard it fixed. 2069098047581 by Blue88Comanche, on Flickr you can kinda see the inside bracket on the passenger side, on the drivers side you can see the bumper bracket 2074057491564 by Blue88Comanche, on Flickr -
I had a 2TB till it died and took all my pics and docs with it. Now I'm using Microsoft onedrive with 10TB of online storage. It comes with my Office 365 subscription. My new PC has a 2TB HDD as well but everything I value is backed up in the cloud. For a local external storage I had been looking at a 5TB lately, mostly going to use it for the Xbox. Jeff
-
99 Xj Grille Guard on 88 Mj?
Blue88Comanche replied to Bonkers's topic in MJ Tech: Modification and Repairs
Man that thing is beautiful. Too bad they don't make them anymore. Then again for 600 bucks new no wonder Warn stopped making them. Yes that warn trans4mer grille guard is for the "correct" year range for the MJ. I can't remember for sure but I think the later model had a different part number. But I did manage to snag it and the other sections for 20% off and free shipping so that help the price sting a bit. But then again that was also when I didn't have any bills and could afford anything..... Sent from my iPhone using Tapatalk -
I've put sea foam in the crank case 300 miles or so before my next oil change. I've done it longer before didn't notice any negative effect. Depending on how dirty the inside of the engine is it may clog an oil filter with loosened debris. Sent from my iPhone using Tapatalk
-
'98 XJ Seats Into '90 MJ
Blue88Comanche replied to mrmel2you's topic in MJ Tech: Modification and Repairs
I thought the later model xjs had different brackets and sliders than the early xjs. Jeff -
The passenger side seems to be the side that lives for danger. I have two driver side in good shape and a passenger side with I chip on the edge. Sent from my iPhone using Tapatalk
-
I'll see what I have and post a pic tonight. They are in my parents shed. Sent from my iPhone using Tapatalk
-
rear brakes lock up
Blue88Comanche replied to Blue88Comanche's topic in MJ Tech: Modification and Repairs
Question, does this affect D44 drums more than other axles? My old D35 never did that. Jeff