

mrmel2you
-
Posts
119 -
Joined
-
Last visited
-
Days Won
1
Recent Profile Visitors
1844 profile views


mrmel2you's Achievements
")
Comanche Fan (3/11)
-
Rough Idle and Running Rich, '90 4.0
mrmel2you replied to mrmel2you's topic in MJ Tech: Modification and Repairs
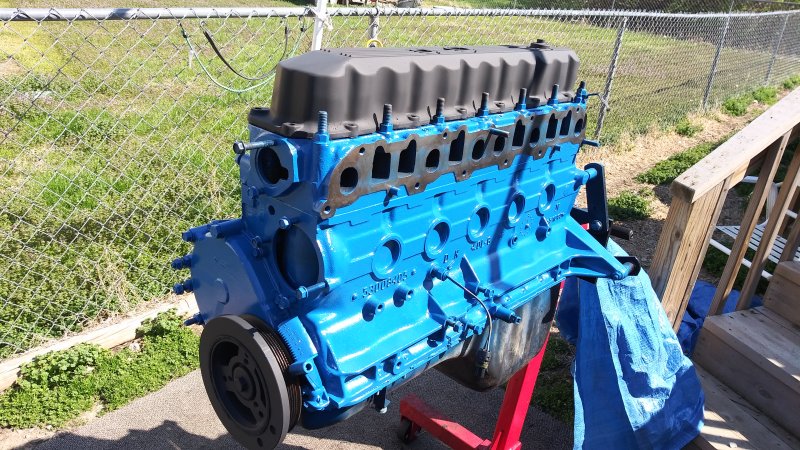
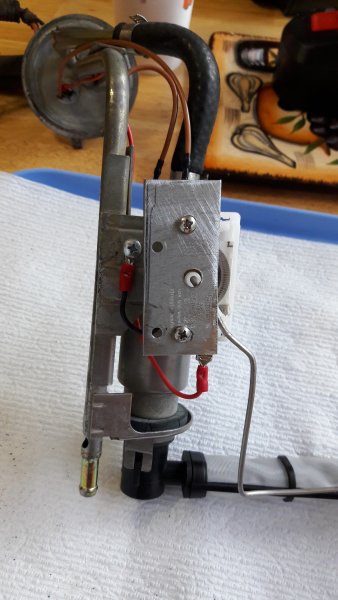
Happy dance here, got Ol' Blue's troubles fixed. Double checked everything, vacuum lines, fittings, connectors, grounds etc.. MAP sensor vacuum line was broken at the throttle body. Thankful that I kept all the old vacuum lines and harnesses, had to make one from scratch-----and it worked like a champ. Idles smooth and runs awesome :) Here's a pic of the line I made and one of the engine before I dropped it in Ol' Blue ('90 Pioneer, 4.0, auto, tilt, cruise).
-
Rough Idle and Running Rich, '90 4.0
mrmel2you replied to mrmel2you's topic in MJ Tech: Modification and Repairs
I replaced all the vacuum lines (new harnesses and a few of the lines that didn't come with them) and this is one that I replaced with all new line and fittings. I have some pics I took of the engine before I pulled it. Will compare them with the way it is now. Also have schematics and diagrams I printed out to work with. Wish me luck, and Cruiser's Tips is the "Bible" for me :) -
Rough Idle and Running Rich, '90 4.0
mrmel2you replied to mrmel2you's topic in MJ Tech: Modification and Repairs
Nope, rough idle, runs rich no matter what rpm. Thinking maybe the throttle body might be plugged up inside somewhere. At a loss right now -
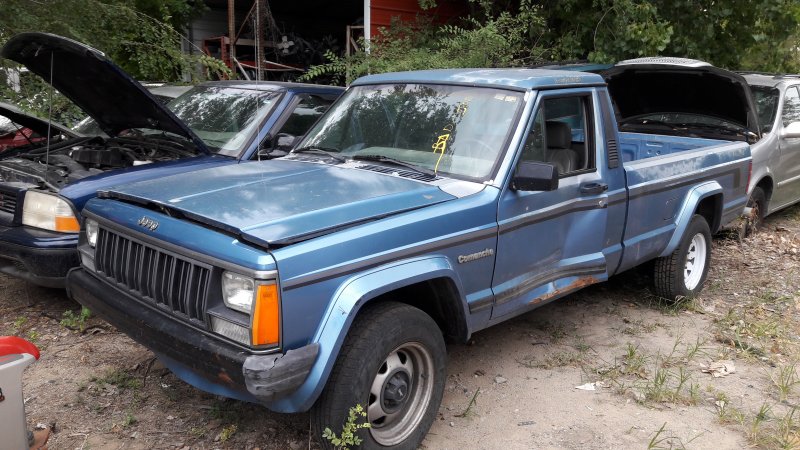
I just replaced the 4.0 in my '90 Pioneer with another one. Engine was running fine (except for the rod knocking) running on all 6, smooth idle, plenty of pep. Well, the swap went pretty smooth. Only mod I did to the engine, put in new 4 hole injectors. Had to pull them out, two injectors started spraying gas everywhere (had cracks in the bodies). Put the old injectors back in, no leaks. Get ready to fire it up, now it idles really rough (sounds like a healthy race cam in it) exhaust is extremely rich (old injectors are single hole). I used the same throttle body that I took off the old engine. New vacuum lines/harnesses, plugs, wires, cap/rotor, fuel filter, air filter, battery cables.
-
Got it Pete :) You are 100% right, sorry about that.
-
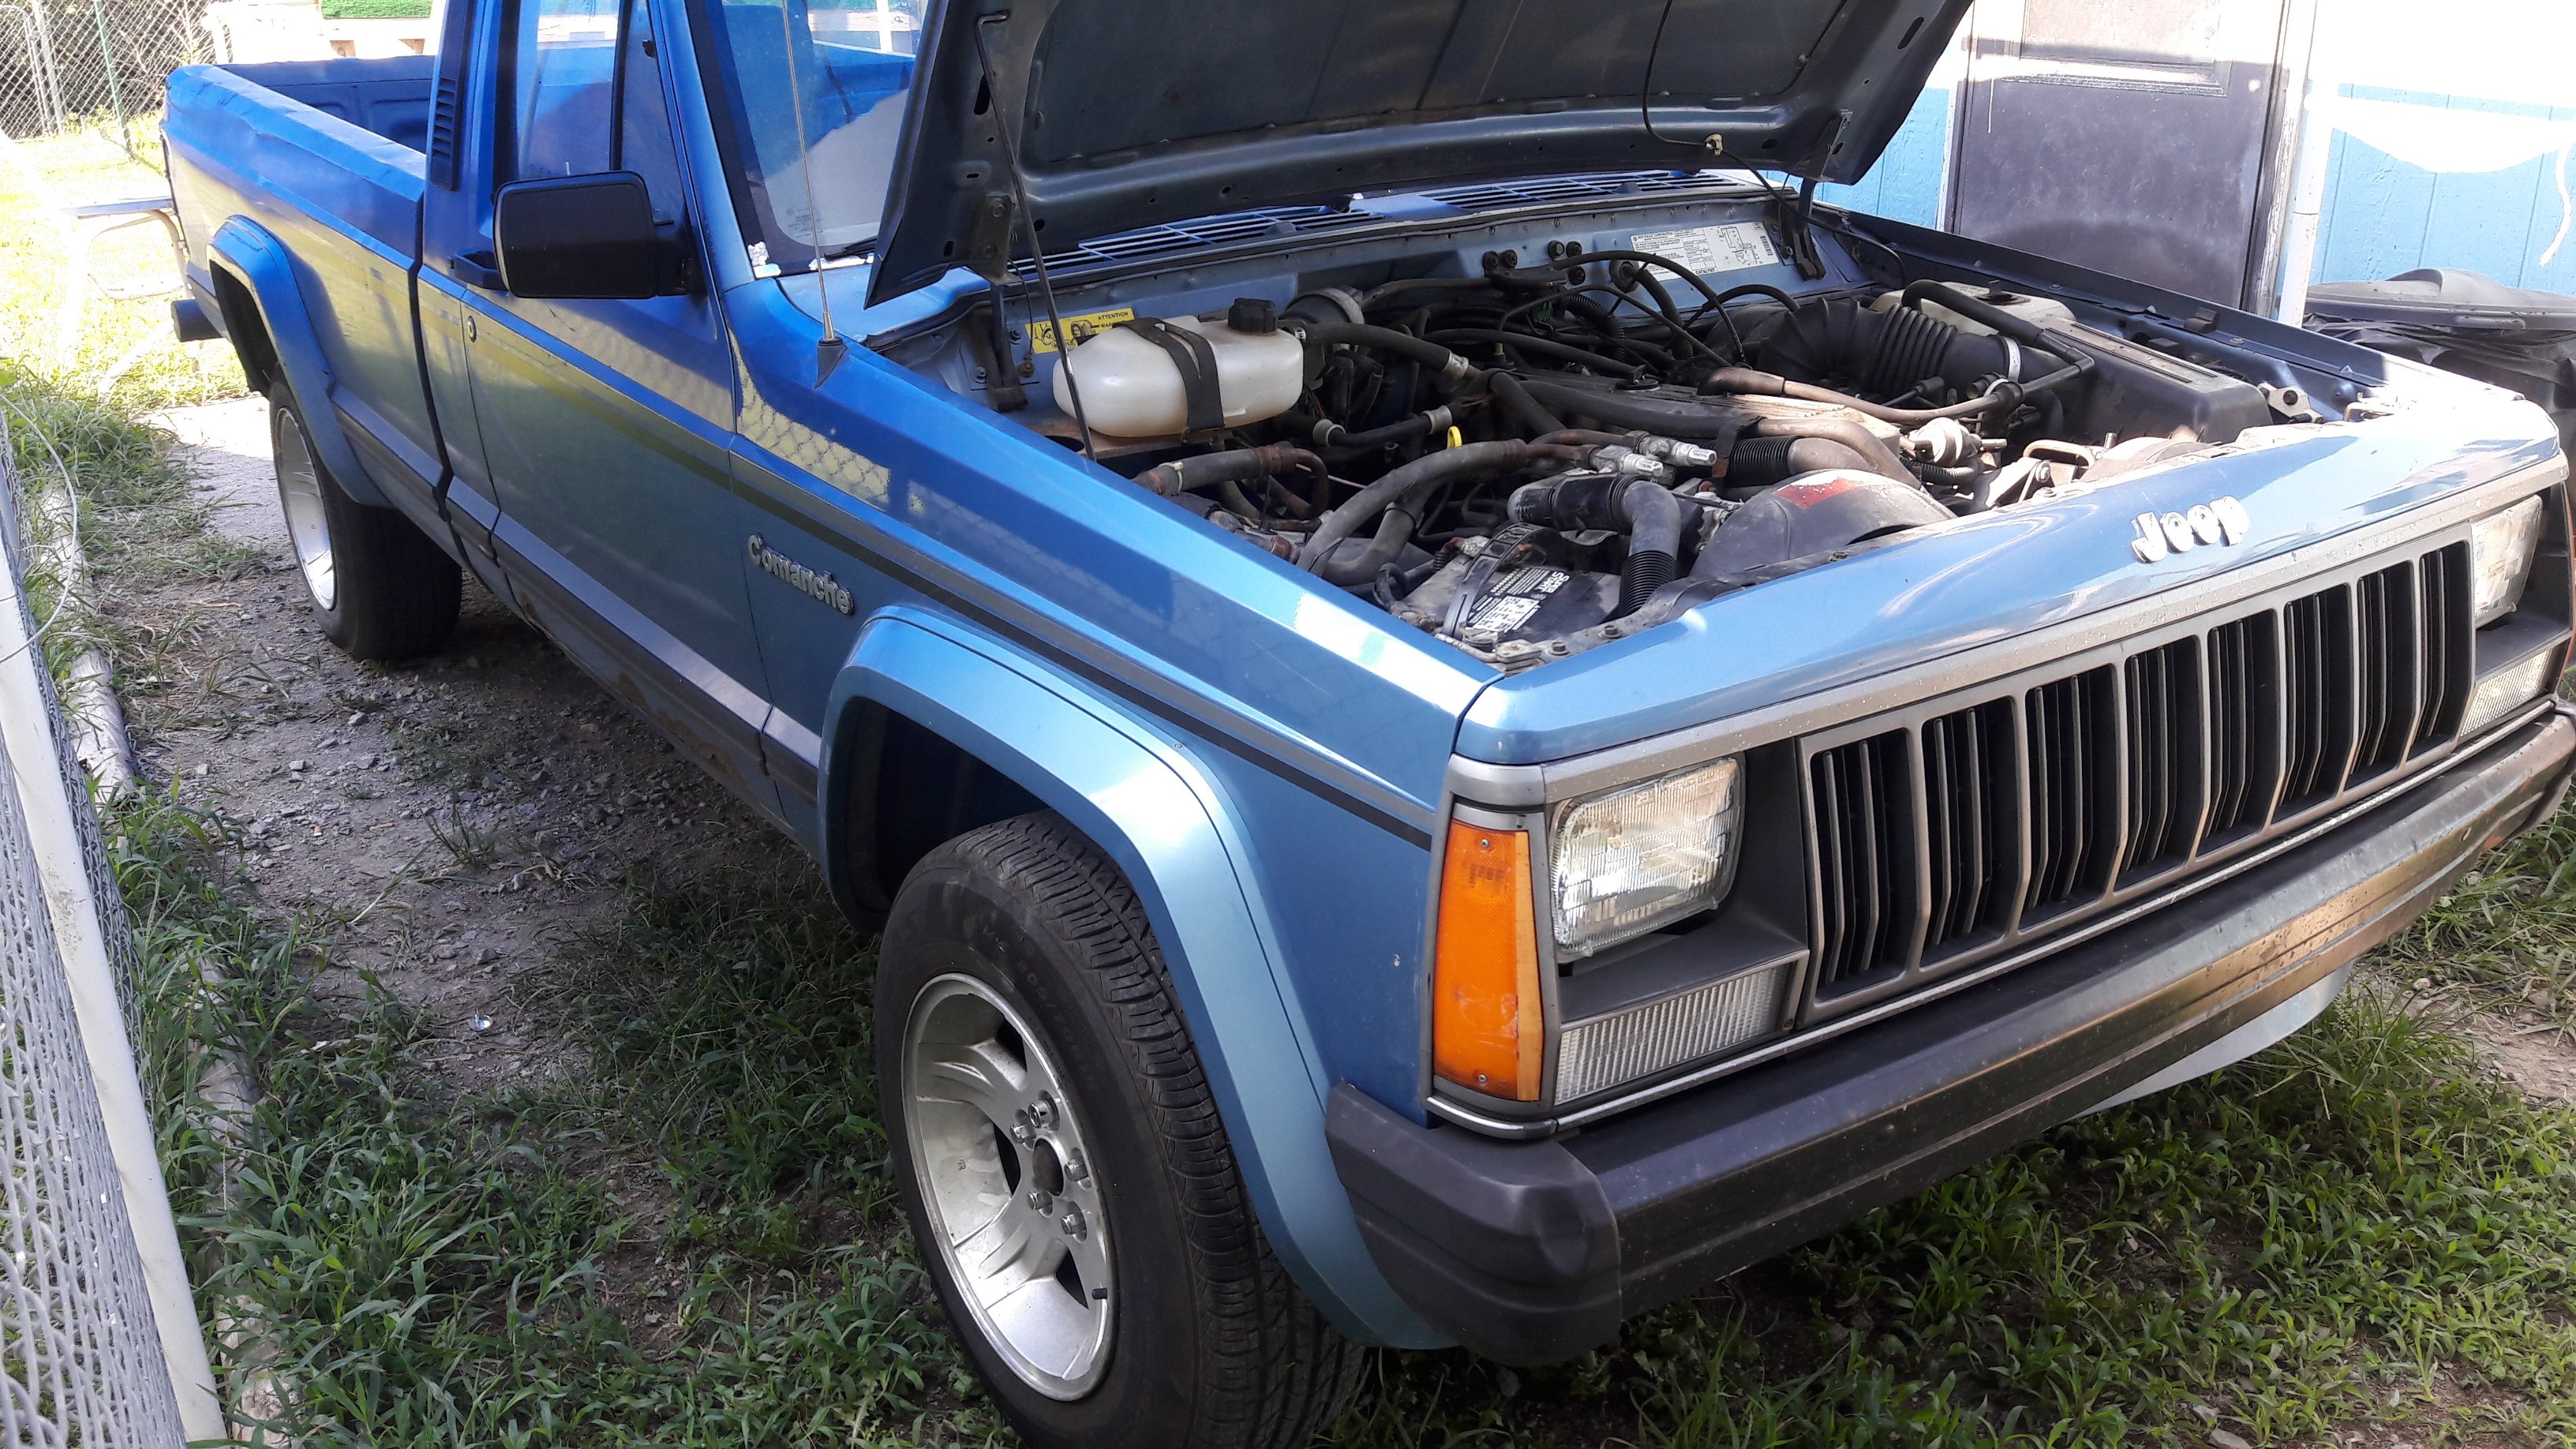
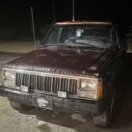
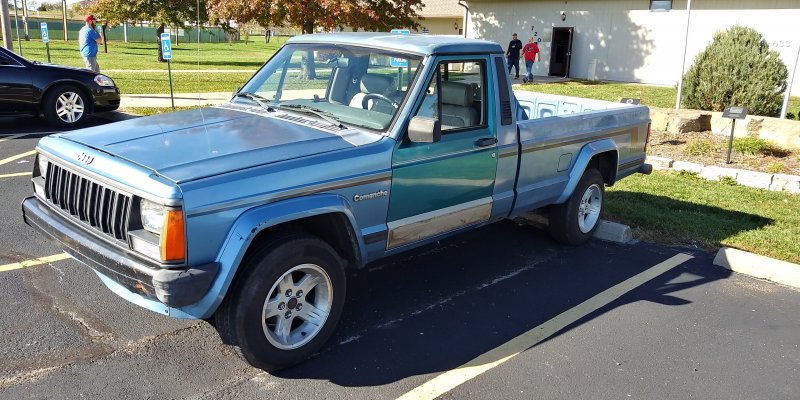
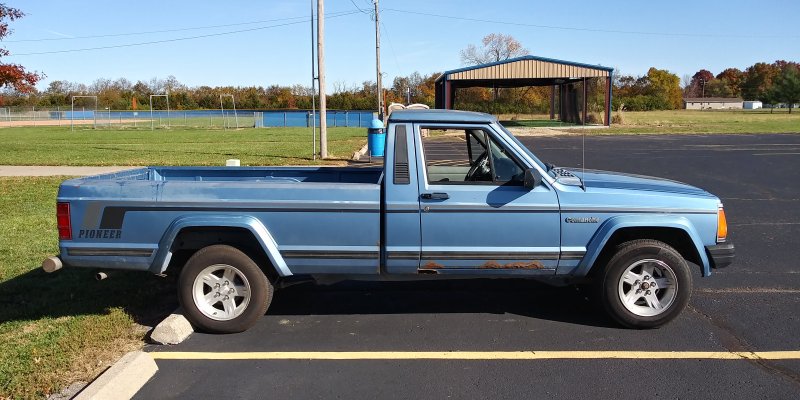
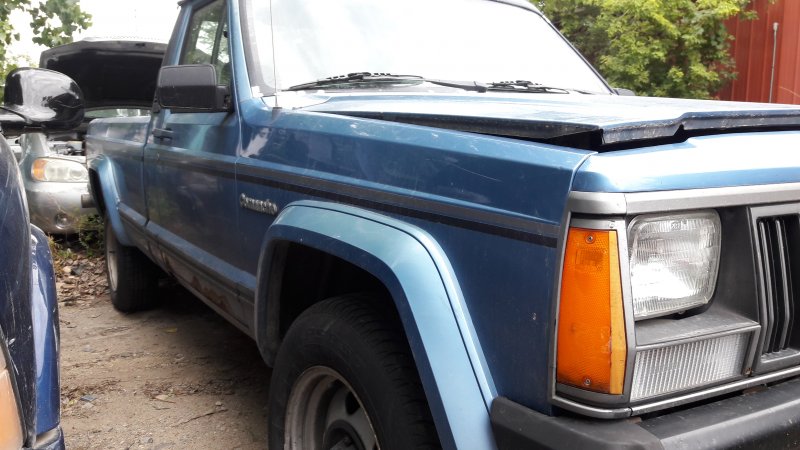
Sorry that I haven't updated this lately. "Ol' Blue" is starting to look a bit better since I first brought him home. Replaced the driver's door, installed a full gauge cluster, f & r shocks, put in a new stereo, swapped the new tires and wheels over from "The Beast" ('90 Sportruck, swb, 2.5, 4 speed). Sold it to get "Ol' Blue". List of a things in it; 4.0, auto, AC, tilt, cruise, comfort/power switch for the trans.. Lower end rattles like crazy, #5 rod bearing is about toast---#4 not so bad. Will be replacing the 4.0 before too long. Bought new carpet, headliner material, seat foam and cover. Will put those in after sealing and lining the entire cab, also putting Dyna-Mat in for sound dampening. Have new front bumper, bumper end caps, bumper guards and new rear bumper to put on after it gets painted (with new striping and lettering). Will keep updating this as it progresses :)

-
'90 Pioneer, 4.0, automatic, 2wd, ps/pb/ac/cruise. Color-blue. Floor pans are pristine, no rust (not even surface rust). Bought it on 08/06/2018, saved it from local salvage yard. Needs and engine and driver's side door. Build date; 07/89 Plan to rebuild and make it my daily driver, keep it all stock.

-
NEW MJ Fuel Sending Units
mrmel2you replied to mrmel2you's topic in MJ Tech: Modification and Repairs
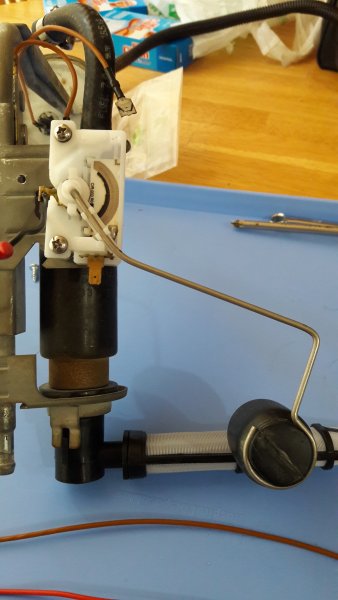
Here's some part numbers and specs for the fuel pumps that I have found available from Autozone (through Delphi) prices included. Prices are current in Topeka, Ks., may be higher or lower in some areas, I don't know. Replacement Fuel Pump (no strainer, nothing but the pump and O-ring seal for the lock ring) CFE-0054 List Price--$78.99 System Pressure-17 psi, Flow Rate-28 gph, Maximum Pressure-58 psi HP10147/CHP10147 (complete hanger assembly, sending unit/pump/strainer/hanger/lock ring and seal) List Price-$71.99 System Pressure-36 psi, Flow Rate-32 gph, Maximum Pressure-73 psi Ohms EMPTY-1.0, Ohms FULL-90.0 HP10148/CHP10148 (complete as in HP10147) List Price-$71.99 System Pressure-29 psi, Flow Rate-26 gph, Maximum Pressure-73 psi Ohms EMPTY-105.0, Ohms FULL-5.0 The photos below are showing how I managed to make a "backward" reading sending unit work in my MJ. I used the sending unit from the Delphi HP10148 fuel pump hanger assembly. I spent less than $75.00 the pump assembly, but it was a lot cheaper than having my original sending unit rebuilt, around $200. I did have to make a longer feed wire for the sending unit, the connector is now on the bottom instead of on top. Found out afterwards that I would not have had to do all the extra work (support plate for the float arm pivot point, wiring) if I would have used the HP10147 sending unit instead. I did not know the HP10147 existed until 2 days later. Live and learn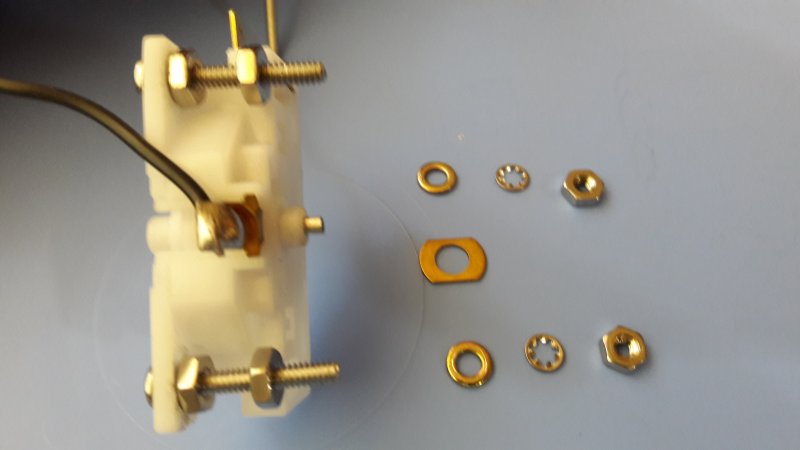


-
OK folks, I found out some great news on where and how to get ahold of a NEW sending unit for our MJs. First off, my unit was totally fried. I did countless hours/days searching online and calling 100's of places, no luck. I did manage to find a few places that offer cleaning and/or rewiring the original. Prices usually started around $75.00 for just a cleaning, upwards of almost $200.00 for rewrapping the windings. But lucky me, go to your local auto parts store and buy the Delphi HP10147/CHP10147 fuel pump assembly. It is a complete hanger assembly, pump/hanger/filter sock/ and a NEW fuel sending unit. It's for the XJ's, so the hanger will not work on our MJ's---but the sending unit will. Need to grind off 2 rivets, save the little spacers (will need to use them to mount the unit onto your hanger). I used 2 metric stainless steel screws, 4 flat washers, 2 "O" ring lock washers and 2 poly lock nuts to mount it. The pump assembly costs $71.00 + tax. Where else can you buy a NEW fuel sending unit for that price? Plus, you can always sell the hanger and the pump to recover some of your money. The pump is listed for '87-90 Jeep Cherokee with the 4.0, specs read as; Max. Press. 73psi, System Press. 36psi, Average Flow Rate 32gph. Sending unit readings are; Resistance Ohms Empty-1.0, Resistance Ohms Full-90.0. For those of you that have either gotten ahold of sending unit that reads backwards or have changed out your fuel gauge only to have it read it backwards, try this---flip the sending unit over. The top becomes the bottom and you will have to modify/bend the float arm a bit. You will also need to lengthen the feed wire for the sending unit. I know the "flip" works, did it in mine and it works like a champ. I bought the wrong assembly my first time around (Delphi-HP10148/CHP10148). It has the correct pump for our MJ's running either the 2.5 or 4.0 with tbi injected engines. I found this out after the fact.
-
Hi "Gatorgirl", Took the old sending unit apart, found out the "card" was totally burnt in two pieces, wire winding was shorted out and burned in 4 spots. Had to buy another pump hanger assembly just to get another sending unit. The gas gauge is working once again :) Thank you, Papa Mel Happy Trails :)
-
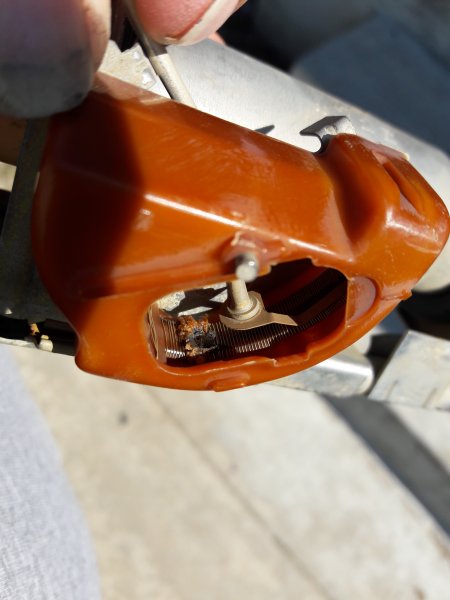
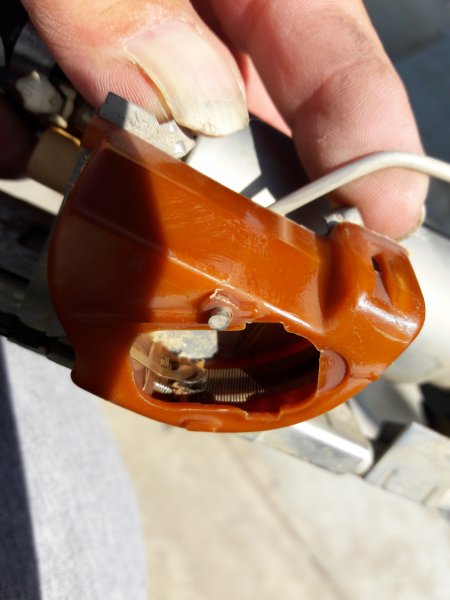
Hi everyone, found out why my fuel gauge hasn't been working for the past few months. Pulled the fuel pump out and checked the sending unit. Seems there was a lot of resin/corrosion between the "slider arm" and the copper wire strip. It ate through the wiring in 4 different spots (looked like it shorted out). After swapping 3 different fuel gauges, decided to pull the pump today. '90 MJ, 2.5, short bed, small tank. If anyone has one, please let me know what you want ($) for it plus shipping to 66607 (Topeka, Ks.). Many many thanks in advance, Papa Mel
-
***Side Note*** When I first spun the needle on the fuel gauge, there was some drag on it (felt magnetic in nature). But after a few spins it loosened up. The drag kept coming back after removing and replacing each screw----until the last one. It just popped right over where it should have been at.
-
That has me stumped, I have no answer-----just that it worked. Maybe being electrical and magnetic----it have "reset" the field in the gauge? I don't know, I'm not a rocket scientist or an engineer. As I said, I run all new ground wires to the big connector (snipped all the stock ones) and the fuel gauge was still pegged out. I did the above----and it worked. If I would have known it was going to work-----I would have made a video of me doing it :)
-
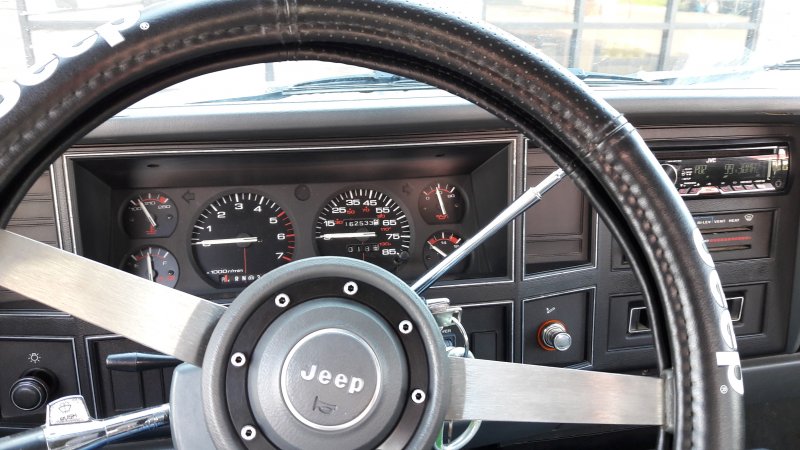
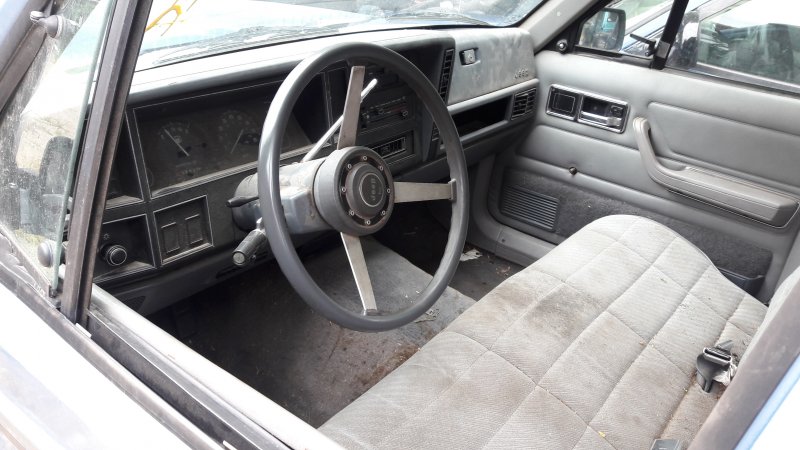
I wanted to go in with a full gauge cluster, my old cluster was working just fine, but I wanted to know more of what was going on under the hood. Got a cluster from an '89 XJ, mine is a '90 MJ (told it would be plug-n-play). Pulled the battery cables off, cleaned all ground connections, replaced the water temp sensor and oil pressure sensor with ones for gauges. Pulled the old cluster, put the new one in. Put cables back on, turned the key to ON. Fuel gauge was pegged at the 5 o'clock position, voltmeter was the only gauge that worked. Rechecked all grounds and connections, plugged it back in----same thing. Pulled the cluster and put the old one back in, fuel gauge pegged again at the 5 o'clock, getting upset by now. Pulled the old one back out, run all new ground wires, put the new one in----all gauges are now working--except for the 5 o'clock fuel gauge. Got another cluster, had the same issue with the fuel gauge. ***SOLUTION*** with the cluster plugged in, key in ON, remove one screw from the fuel gauge, spin the needle around a few times, replace the screw. There are 5 screws on the fuel gauge-----the last one worked for me. I am so happy, everything now works as it should. Before I buttoned it all up, I replaced all the dash illumination bulbs with LEDs. I left the turn signal indicators and the high beam indicator alone, LEDs in them would be blinding after dark. Hope this will help anyone else that is planning on doing a cluster swap and wind up with the same problem. Happy trails everyone, Papa Mel :)
-
Need some help/input fellas. Doing a full gauge swap into my '90 MJ, the gauge cluster came from an '89 XJ. No matter what I do, all gauges work except for the fuel gauge, it pegs way past the full mark (5 o'clock position). I ran a new full ground wire to the connector, tied pins 5 and 10 together, same thing. Someone mentioned that maybe the fuel gauge is wired backwards/opposite from my original gauge. Said something about he had to switch two wires to get his to read right. Not sure if he meant the wires near the tank or just switch out two pins on the connector. If it was the pins----which two pins? Picture(s) would really help too. Many many thanks in advance fellas, thank you, Papa Mel