

fiatslug87
-
Posts
7154 -
Joined
-
Last visited
-
Days Won
8
Content Type
Profiles
Forums
Gallery
Everything posted by fiatslug87
-

MJ's with Gambler Rim? **Update ** Tell me what you think!
fiatslug87 replied to SuperWade2's topic in The Pub
In my opinion if the lettering was removed, the stripes would have to continue to the bottom of the tail light to make it look right. Image Not Found Like this Image Not Found or this Image Not Found -
MJ's with Gambler Rim? **Update ** Tell me what you think!
fiatslug87 replied to SuperWade2's topic in The Pub
the new wheels sure look Awful "grey" in your chop... I was trying for black but any darker and I lost resolution of the holes, lug holes and rivets. I like it with the stripes, molding and black wheels with black lug nuts (otherwise they stand out too much). Here's a pic of mine with Eliminator wheels (10-hole), I like your gray/black stripes better than my red/burgundy. -
Just some added information since what you’re really interested in is how the picture looks after printing. For final resolution at 300ppi (current industry standard) a print size of: 8x6 requires 4.3 Megapixels (or 12x9 at 200ppi) 10x6.5 requires 6.0 Megapixels (or 15x10 at 200ppi) 11.5x8.5 requires 8.75 Megapixels (or 17.5x12.5 at 200ppi)
-
MJ's with Gambler Rim? **Update ** Tell me what you think!
fiatslug87 replied to SuperWade2's topic in The Pub
Hey SuperWade2, If you remove the black trim can I buy the driver's side door trim from you? How about the best of both worlds and black flares? Image Not Found -
Thought I'd share my experience since this topic gets a lot of coverage. ’90, 4.0, 5 speed idled at ~1600 rpm, I tightened the intake/exhaust bolts and idle dropped to 1200 (the lower rear one was finger loose). Then my vents stopped working so I fixed the vacuum leak which was in the hard line by the battery. Well guess what, my idle is now at 800!! It makes sense when you think about it since the vacuum to the reservoir comes from the intake manifold but I wouldn’t have looked at the vent line to fix the idle problem. I’ve had the high idle problem for quite a while before the vents stopped working (they also worked intermittently for a while). Is it possible to have enough vacuum for the vents to work while having enough of a vacuum leak for the fast idle? Hope this helps someone.
-
Help needed with Smog check failure
fiatslug87 replied to fiatslug87's topic in MJ Tech: Modification and Repairs
Yeah, got one I can borrow :brows: ? Don't want to spend an additional $300!!! -
Removing rear flares
fiatslug87 replied to chicofuentes0224's topic in MJ Tech: Modification and Repairs
I think there are 9 fasteners per flare. Each flare has 3 metal plates with 3 studs in each plate. You'll probably end up breaking off some of the studs but you can drill them out and braze in new ones, not sure about welding they're pretty thin. -
Help needed with Smog check failure
fiatslug87 replied to fiatslug87's topic in MJ Tech: Modification and Repairs
Hi Joe, No, this is the red '89, that was the blue '90. I was thinking along the same lines, replace the O2 sensor and retest or should I replace both O2 sensor and cat? I had this happen before to the '90, I checked all sensors and replaced the 02 and cat which was rattling and it passed. However the cat in this truck isn't making any noise. Is the cat's main function to reduce NO? Since I had to take it to a Smog Only test center, I can now take it to a qualified "Gold Star Center" (after approval) pay the first $100 and the State will pay up to $500 for the fix. It sounds good but I really don't like anyone working on my MJs. That's why I'm thinking of 02 sensor $50 + $50 for retesting, that's what I'd pay through the program anyway. If that didn't work cat $100, if that wasn't it go through the program. Any comments? -
I know this has been covered, I searched but couldn't find what I needed. '89, 4.0, AT, 2WD failed smog test in CA. It passed 2 years ago here's the comparison (in CA it's done on a dyno at 2 speeds): Test..................Max........"Gross Polluter".......2006 Test.......2008 Test HC@ 15MPH......123...............310.....................32...................188 HC@ 25MPH......103...............260.....................26...................182 CO@ 15MPH......0.73...............2.03...................0.03................ 2.83 CO@ 25MPH......0.93...............2.23...................0.02.................2.83 NO@ 15MPH......1015..............1800..................163...................776 NO@ 25MPH.......875...............1600..................294...................772 So it was high for hydrocarbons and a gross polluter for carbon monoxide. I've only put 7000 miles in the 2 years but look at the differences. What do you guys think it is? I have an idea but don't want to dismiss any options I haven't thought of. Thanks for any input.
-
This reminds me of the 1970 Plymouth 'Cuda hockey stripes. Add "4.0 LITRE" or "242" in place of the PIONEER or better yet find a way to drop in a Hemi and add "HEMI" underneath like the 'Cuda stripes!!! By the way, I don't see the Mercedes impact.
-
You've only had that MJ for about 2 months right?
-
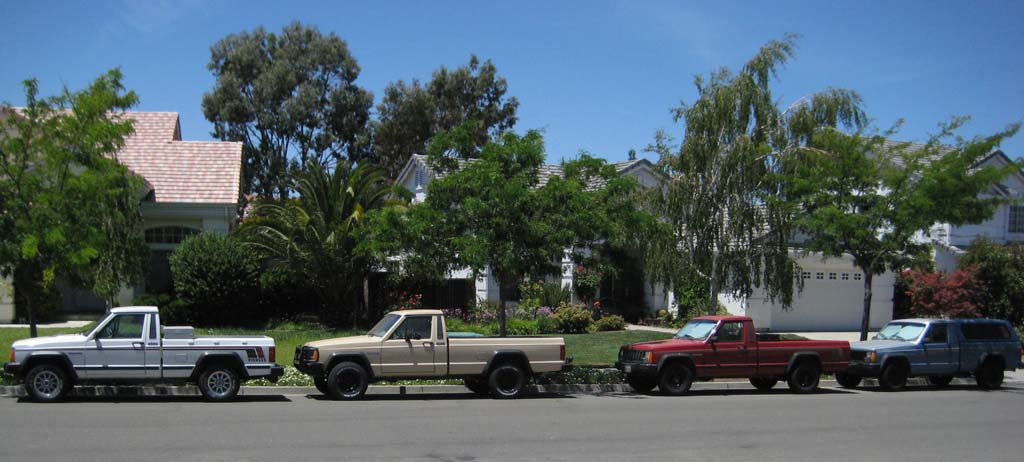
What are the other two in the garage?
-
Actually you can, you just have to shim the speedometer and change one of the contacts (I think I had to add a jumper wire). I like the look of the blue face gauges (with the x100 tach); my '88 had the blue gauges but no tach. I found what I assumed was an 86 full cluster and swapped my speedo into it because of the cable connection difference. Everything works great.
-
As Eagle stated the difference is that gauges and the tach require extra circuits. The back of my “old” ones and “new” ones looked just like yours. Either you’re not making good contact or there may be a problem with the new cluster (probably unlikely).
-
Water in Headlights? Just Replace, Used or OEM?
fiatslug87 replied to SuperWade2's topic in MJ Tech: Modification and Repairs
It's a sealed beam headlight (assuming they're stock and not swapped for a lense/bulb combo), they cost from less than $10 to $25 each depending on the "brightness" at any parts store. Buy new ones. -
Nice Fu@@ing Jeep
-
They're from IKEA. http://www.ikea.com/us/en/catalog/products/38047210
-
Just took my '88 in for its smog test, it's categorized in the "gross polluter" category so I have to take it to a Check Only Station (they can't do repairs) although this truck always tests below the average emissions. Well I find out that cars pre '97 must have another check performed (since 12/1/07) in addition to the dyno smog check. They pressurize the fuel tank with nitrogen and make sure the fuel evaporative system isn't leaking by measuring at the charcoal canister. I was kind of concerned because I never check all those lines and after 20 years I assumed some must have cracked. However, to my surprise and delight the sucker passed with flying colors!! How will they try to pull our older vehicles off the road next?
-
I collect 1970-1974 Plymouth Barracudas. I currently have 456 different cars ranging from 1:140 to 1:10 scale, Hotwheels, remote control, slot cars, SSPs, diecast, etc. Continuation: And Spyderco knives (currently 63) these "Q" knives are my favorites
-
If you mean the pick-up tube and screen, you can get them with or without. I got a high volume one that came with the tube. I'm not sure how you would reuse the old tube because its a pressure fit. I had to cool the tube and heat the pump then use an open-end wrench (around the tube's collar) and hammer to drive the tube into place. I just finished replacing the oil pump; my pressure is now 60 at start-up and 40 while driving. I felt the top of the filter (same one that was on before) and it was pretty hot so I think the oil is flowing through it now. I’ll take it off tomorrow to verify. I’m very happy except for what I found in the oil pan, a whole lot of metal shavings, about a 4x4 square ¼ “ thick in a zip-lock bag. The old oil pan gasket was a 1 piece so the PO must have been into it within the last 10-12 years. Now I’m afraid to compression test it, I guess a rebuild is closer than I thought!!! Glad I got it done today since it just got tagged by the city police for being on the street too long. I wish I had a large work area; I’m seriously envious of JeepcoMJ after seeing his “Today's accomplishments” post in The Pub forum. Thanks for all the help.
-
86 Full Cluster Questions
fiatslug87 replied to joshmillslane's topic in MJ Tech: Modification and Repairs
The oil pressure sender is 53004550, superseded by part number 56026782. I get 33001543 as the coolant sender for the V6. See http://www.chryslerpartsdirect.com/ -
I can't get this to load, I get the "Sorry, that URL does not exist on this server. " error.
-
86 Full Cluster Questions
fiatslug87 replied to joshmillslane's topic in MJ Tech: Modification and Repairs
I can look through my parts catalog but that won't be until this evening, California time. -
Thanks guys. The '90 FSM mentions an "oil pressure relief valve assembly" which consists of a spring and plunger but they are located in the oil pump body. It states on page 9-79 6) Remove the cotter pin and slide the spring retainer, spring and oil relief valve plunger out of the pump body. But no diagrams of it. So again this leads me to believe if I replace the oil pump it should fix my problem. I picked up the 1-piece gasket and the oil pump should be here today.
-
Are you sure this is a 4x4? I don't see the emblem.