
.jpg.c3d5c11b12dbdbb022a3ada482501824.jpg)
JZLAJeep
-
Posts
380 -
Joined
-
Last visited
Content Type
Profiles
Forums
Gallery
Everything posted by JZLAJeep
-
100%
-
.thumb.jpg.4a4a3d2a5e43898c335ffcf8d669571d.jpg)
258 Expansion plug replacement
JZLAJeep replied to JZLAJeep's topic in MJ Tech: Modification and Repairs
25 mm (0.984") diameter plugs (Dorman Part #555-097) were the answer. I understand Dorman 555-125 (61/64" Dia.) plugs have been discontinued.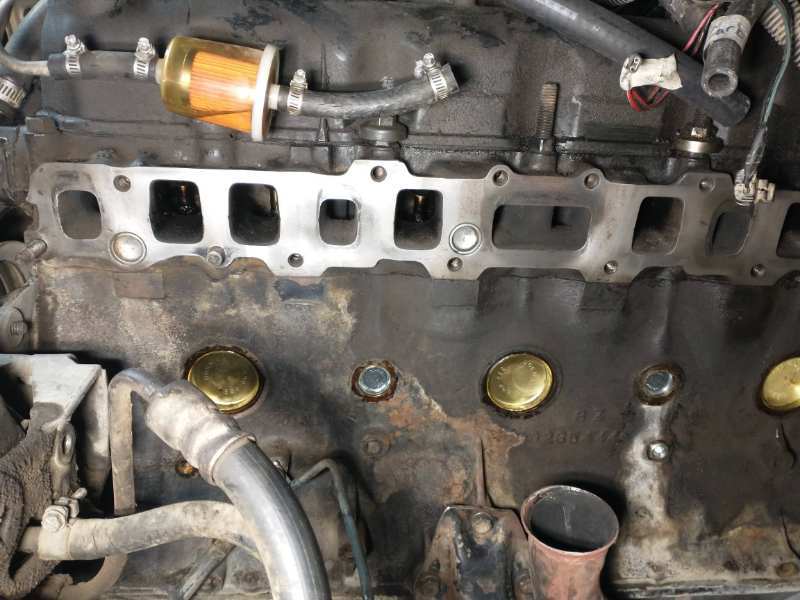
-
258 Expansion plug replacement
JZLAJeep replied to JZLAJeep's topic in MJ Tech: Modification and Repairs
Got the 2" plugs in easy enough. I'm struggling with the 1" (allegedly) plugs however. The new plugs are slightly larger diameter than the old. If you look at the photo, the new plug peeks out from under the old plug. With the assistance of AI though, I've learned that Dorman sells 61/64" diameter plugs (Part #555-125) and 25 mm (0.984") diameter plugs (Part #555-097). Hopefully one of those works!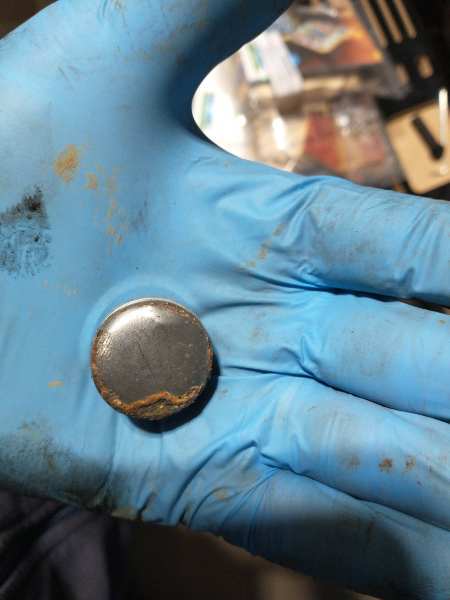
-
October 2026 - A Truck with Many Iterations
JZLAJeep replied to 89 MJ's topic in Comanche of the Month (MJOTM)
Nice! Keep tinkering. This seems like a really solid approach: "I love that I've never did anything completely permanent to it. Every modification I've done has always been made to be bolt in to leave the chassis side alone." -
I found that nearly all the bolts snapped. Our fix was to grind them out, replace them with I think #10 bolts, and tack welded the bolts in.
-
258 Expansion plug replacement
JZLAJeep replied to JZLAJeep's topic in MJ Tech: Modification and Repairs
I've seen some people recommend Permatex No. 1 and at least one other recommend gasket shellac. I don't know if it's just a preference for which to use. I suppose if they work, that's all that matters. -
258 Expansion plug replacement
JZLAJeep replied to JZLAJeep's topic in MJ Tech: Modification and Repairs
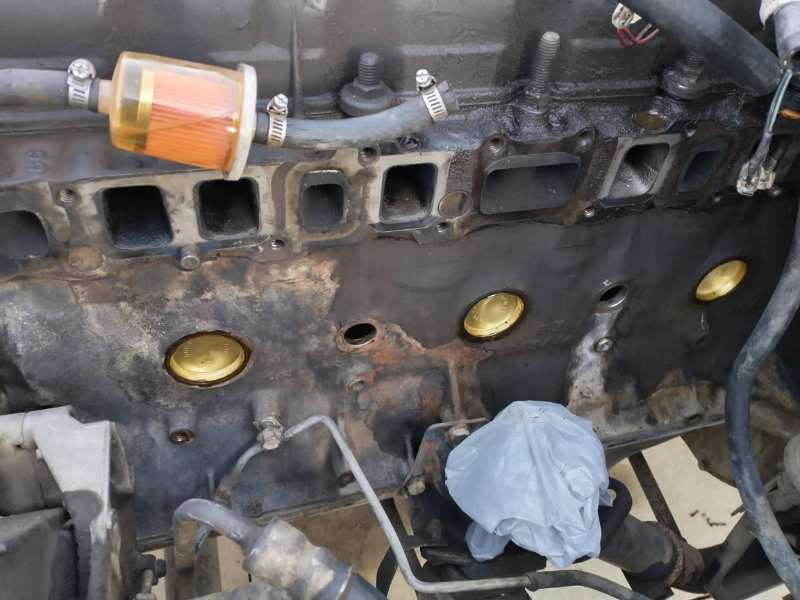
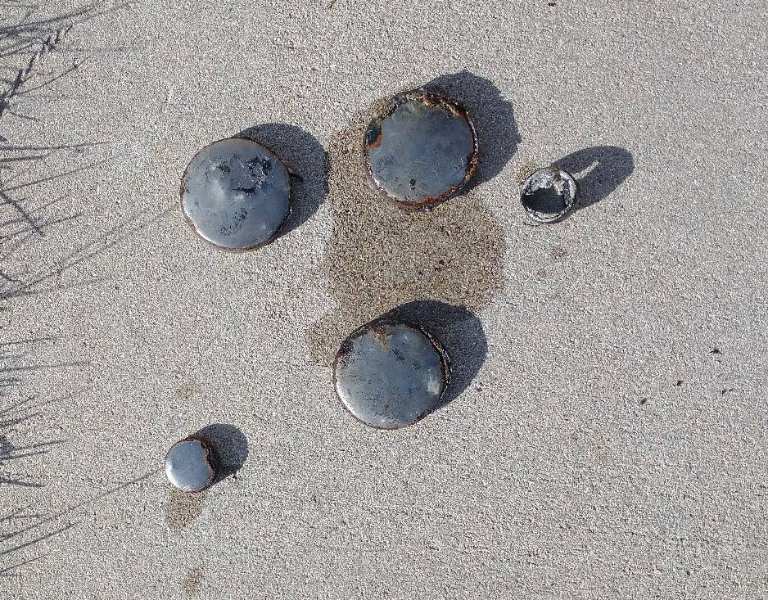
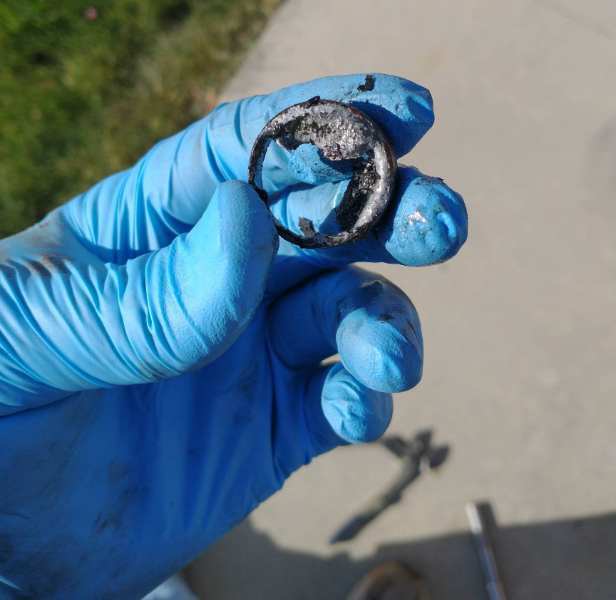
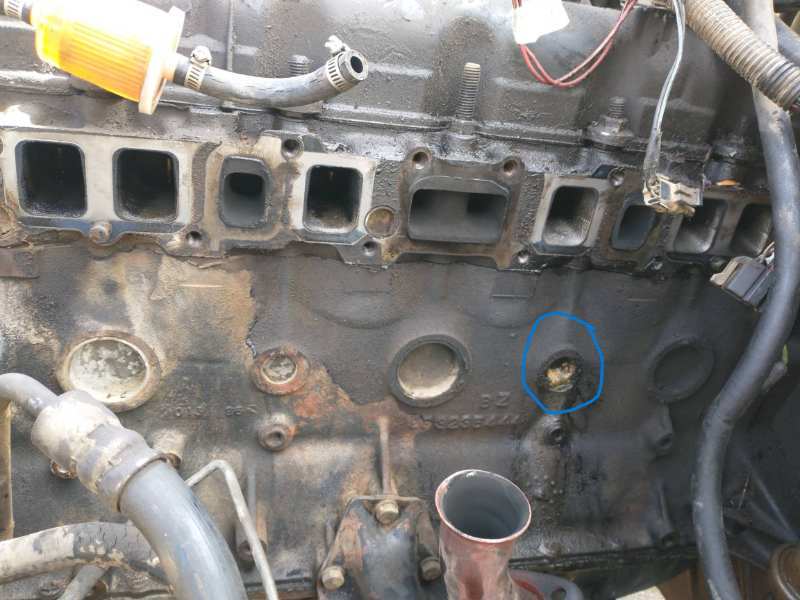
I did get the old plugs out. Apparently the smaller plugs are 1" diameter. I bought Dorman 555-018 1" steel expansion plugs that are sold individually. The diameter is slightly larger than the plugs that came out however. That has me a bit worried, but I suppose they'll go in with enough pounding. I was glad the 1" plug was steel because the first punched through into the cooling jacket and had to fish it out with a magnet. Couldn't have done that with a brass plug. @AZJeff I didn't see your removal suggestion until I already had the plugs out, but that's a good idea. Planning to delete the EGR while everything is apart. I've since cleaned up the ports since I took this photo. They are clean and shiny now. The old plugs. I punched through the rotten one that was leaking. That actually made it come out easier.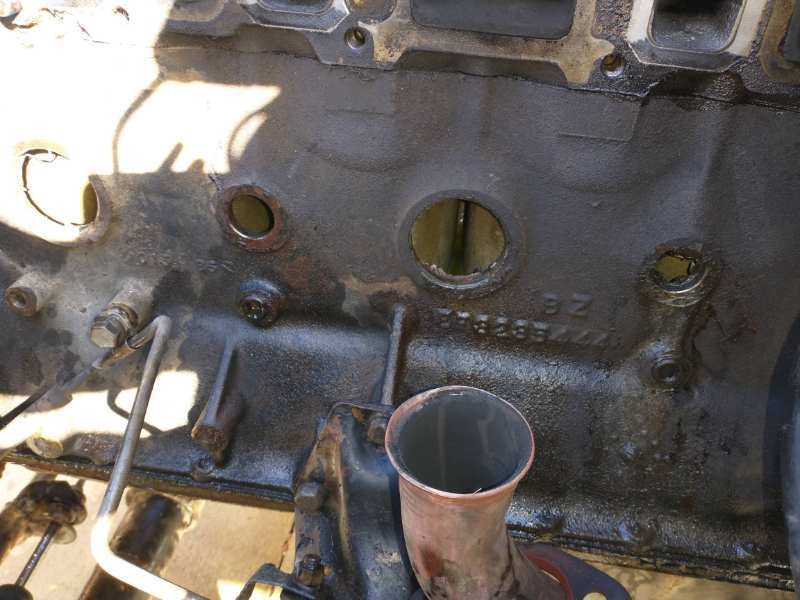
-
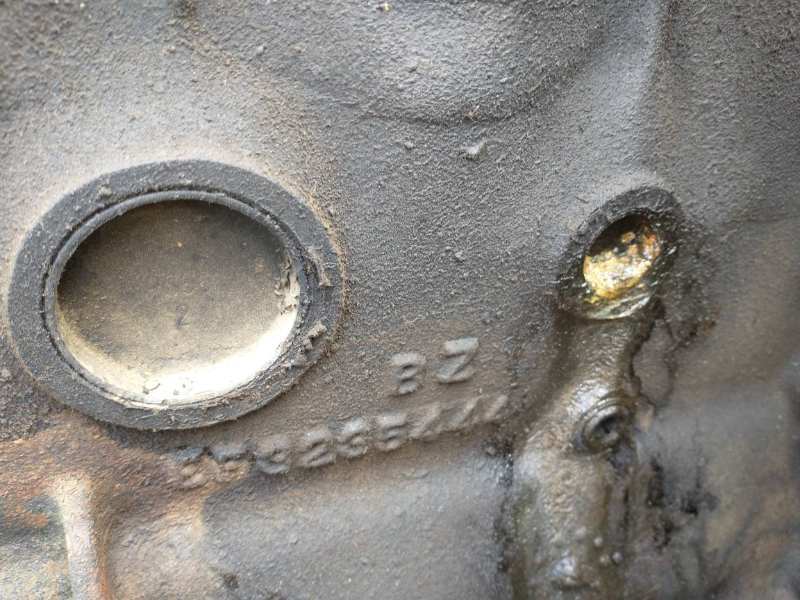
Have the day off for Columbus day and decided to take on the leaking expansion club on the CJ-7. Bought Dorman expansion plug part number 567-017 which appears to have the "large" expansion plugs, but not the "small" plug that is leaking. I understand that I hit the top or bottom of the big plugs to turn them sideways and then pull them out with pliers, but how are these "small" plugs removed? And what do I replace them with?
.jpg.59be618c062e1116afd623c3411d65d9.jpg)
-
I love it! Looks like some successful bargain shopping!
-
rusty bolts inside the airbox
JZLAJeep replied to Pete M's topic in MJ Tech: Modification and Repairs
Can you grind them off from the bottom? -
Weird exhaust Popping when decelerating
JZLAJeep replied to Big_Mark's topic in MJ Tech: Modification and Repairs
As a man that's a certain age to appreciate this, I think this is hillarious! @89 MJ dumb question, but how does one know whether they have a high altitude or regular CPS. Living in Idaho and owning a MJ that was originally owned in Oregon, it's a coin toss on the original quipment. -
Project: Slippery Slope – a ’91 MJ runner
JZLAJeep replied to Gjeep's topic in Member Projects: Your Comanches
I like this idea. -
Wish I'd found this before the Autopian had.
-
Project: Slippery Slope – a ’91 MJ runner
JZLAJeep replied to Gjeep's topic in Member Projects: Your Comanches
Impressive! And so clean! -
Nicely done!
-
Decent long bed in Denver
JZLAJeep replied to derf's topic in Craigslist/Marketplace/eBay... i.e. Not Your Stuff
Looked pretty good until I saw the roof that looks like a tree fell on it. Also, interesting mods under the hood. -
The switch assemblies are surprisingly cheap. As much as you hate it, just replace the assembly and be done.
-
Modified OEM Radios “Feeler”
JZLAJeep replied to ghetdjc320's topic in MJ Tech: Modification and Repairs
Interested. -
When we swapped from BA 10/5 to AX15 we tried fabricating a linkage, that didn't end up working too well so we purchased a new linkage which works great. A quick search came up with this. https://shorturl.at/79r2u
-
-
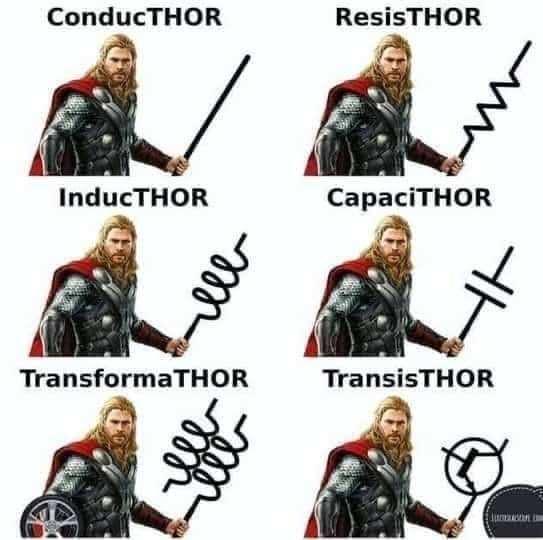
For those of us that need a little help with electrical diagrams
-
I just recently did this on our '97 XJ. A YouTube video recommended Switch Doctor brand replacement part and it's worked well so far. They are surprisingly inexpensive. To be honest, I don't know how much of the issue was the switch or the broken ground in the door hinge, but I went ahead and replaced the switch (and fixed the ground and the check strap). I was able to buy the drivers door switch separately in June, but on Amazon and the Switch Doctor website, I'm currently only seeing the 4 pack for all of the doors. https://shorturl.at/kJRDB Pretty cheap to buy all 4 though. And there are other brands that sell just the drivers door switch. One warning though, the Mrs. discovered last weekend that Simple Green cleaner takes the paint off of the switch... When researching this repair, I did find several people said it's the window lock button that goes out first on these switches and a few people bypassed the window lock and continued to use the same switch. This wasn't a viable option for me, so I replaced the switch, but it might be something to look into for you.
-
Love it! I'd love to get my hands on an LJ. More than a little jealous. Nice job!
-
Engine Cooling - Master Thread
JZLAJeep replied to ghetdjc320's topic in MJ Tech: Modification and Repairs
Thanks for that feedback. That helps for what to try next. -
Engine Cooling - Master Thread
JZLAJeep replied to ghetdjc320's topic in MJ Tech: Modification and Repairs
That's essentially what I did. There were no hoses attached anywhere when flushed so didn't do the heater hose loop you mention though. Heater core and block were flushed separately, in both directions, more than one time.