
White_Comanche
-
Posts
280 -
Joined
-
Last visited
Content Type
Profiles
Forums
Gallery
Everything posted by White_Comanche
-
Mildly Rough Clutch Pedal
White_Comanche replied to White_Comanche's topic in MJ Tech: Modification and Repairs
Great information. Appreciate you looking up the numbers in your books. Spent the afternoon on a side MJ project, but wanted to put an eye on my clutch cylinder. I was presuming all along that mine was original, but clearly it's aftermarket. Looks like some knucklehead in the past used a pair of pliers to remove and tighten this fitting... instead of a flare nut wrench. Thankfully there's just enough meat left that it can be turned with the proper wrench. Hopefully. I'll get a cylinder ordered and will complete this project sometime soon.
-
Mildly Rough Clutch Pedal
White_Comanche replied to White_Comanche's topic in MJ Tech: Modification and Repairs
I'm torn between the two myself, but that XJ/MJ combo sounds logical. If my mind doesn't change I'm leaning towards the #53001163. The guy at the dealership said that is the one he would go for. Question: the NOS I've found never shows the plastic reservoir cup... always just the screw cap. Would I use my current cup on the new one? https://hkresale.com/products/mopar-53001163-master-cylinder-for-brakes-genuine-oem-new-nos-made-by-girling-7 https://www.ebay.com/itm/285386860132 -
Mildly Rough Clutch Pedal
White_Comanche replied to White_Comanche's topic in MJ Tech: Modification and Repairs
Alright, thanks Eagle. Good to know it doesn't matter which one. -
Mildly Rough Clutch Pedal
White_Comanche replied to White_Comanche's topic in MJ Tech: Modification and Repairs
I've decided to replace my Clutch Cylinder with a NOS part in the future. I'd like to know which part number to go with... or will both of these work: While searching Mopar Parts Giant with my truck — 1986 Jeep Comanche 2.5L — it comes up with #52000068. Link is down below. However, when I called up my local Chrysler dealership, they came up with #53001163 when they entered the last 8 digits of my VIN. https://www.moparpartsgiant.com/parts/mopar-cylinder-master-clutch-hyd~52000068.html?vin=&make=Jeep&model=Comanche&year=1986&submodel=&extra1=&extra2=&filter=() -
Mildly Rough Clutch Pedal
White_Comanche replied to White_Comanche's topic in MJ Tech: Modification and Repairs
Guys, no I have not taken apart my Master Cylinder. It probably hasn't been touched in a very long time. I'm a bit apprehensive of bleeding hydraulic fluid because I've not done anything like that before. Would I be able to remove the internal components of the cylinder (spring, plunger, misc bits) from the interior? The 1989 FSM has a section labeled Clutch Cylinder Overhaul, and gives a fairly detailed step by step. Wondering if this would be worth the time, or just go full-hog and purchase an entirely new master cylinder. That would obviously require bleeding, however. -
I'd like to know what I'm up against in the future, because I may tackle this project if what I have could become more of an issue. I have noticed that sometimes my clutch pedal feels a bit rough (not entirely smooth) when pressing down on it. To remedy this, my solution has been squirting on some lube onto the clutch Push Rod at the Dust Boot. This stop-gap has worked fairly well. One application was effective for most of the summer. Just this past weekend I got my pickup out, and had to apply again. The pedal was only smooth for about a day (maybe because it's now cold and winter). All the metal moving parts, and the spring of the clutch pedal assembly are thoroughly lubed as well. Transmission is A-OK, and was recently rebuilt a few years ago. There is no "chattering" going on either... just a clutch pedal with subtle, but noticeable roughness. • 1986 2.5L 5-Speed


-
LH Drivers Side Interior Door Opener ~ FOUND
White_Comanche replied to White_Comanche's topic in Wanted
Sounds great, thank you. -
LH Drivers Side Interior Door Opener ~ FOUND
White_Comanche replied to White_Comanche's topic in Wanted
When taking it out I did see how these things are snap-fitted together. If you have an entire assembly that is in good shape, with a healthy spring I’ll take it… but I’d also consider a handle cup that is all intact. -
I'd like to purchase a Drivers Side Door Opener from someone who has one in this configuration and condition (chrome intact, no dents in the black plastic square). The spring in mine broke, and am getting annoyed by the handle flopping around.

-
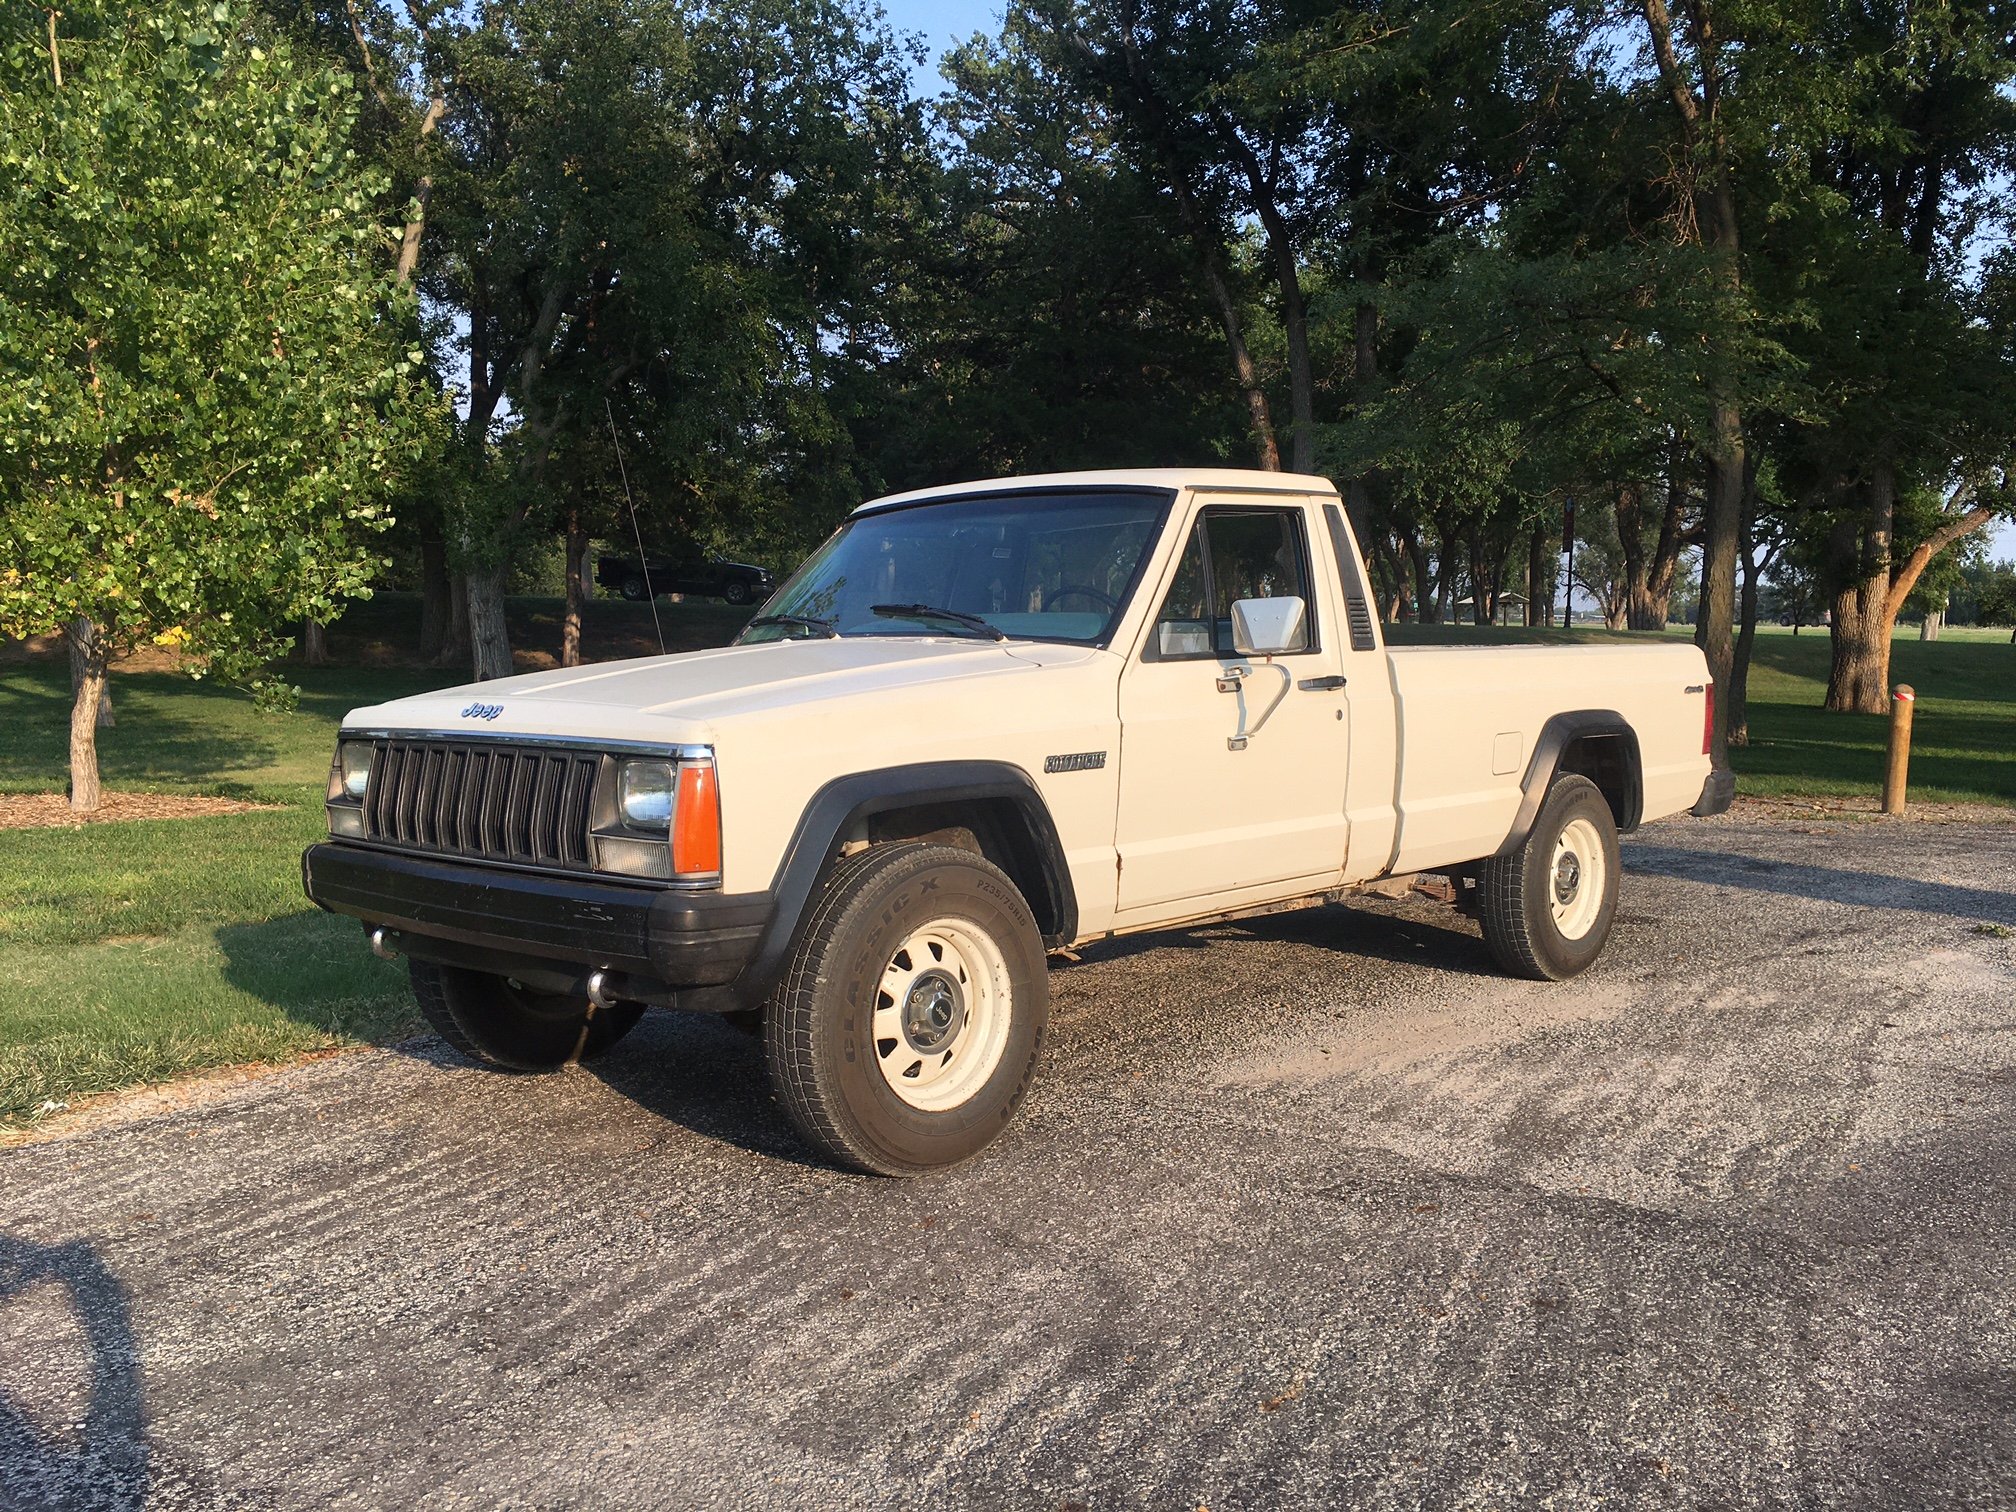
Got the MJ out to represent DJT this weekend. Real great Trump Train we had. Stretched out for many blocks while snaking around town. She performed well. Definitely got its clutch exercised! (ultra-slow, many stops kind of driving)


-
If you can find a nice survivor truck in good mechanical condition... and appearance - then you'll likely be sitting pretty for a while. As a success story, I purchased my MJ with about the same level experience of working on vehicles as a girl :) As with many others on here, you may actually fall in L-o-v-e with your truck. Doing projects on mine has been a real joy. The collective knowledge base on CC is in your favor.
-
Members Map... New and improved and functional!
White_Comanche replied to relyt120's topic in The Pub
+1 in Kansas -
1986 2.5L ~ NO START
White_Comanche replied to White_Comanche's topic in MJ Tech: Modification and Repairs
Recently, I was able to get my Jeep out and daily-drive it for a straight week. It drives very well and starts quickly every time. Replacing the battery cables looks to have been the last weakest link for the no-start issue that plagued my truck. Until next time, thank you. -
Gosh, I hope you'll be happy... by overlooking this major defect.
-
1986 2.5L ~ NO START
White_Comanche replied to White_Comanche's topic in MJ Tech: Modification and Repairs
Yep it has AC, but I have never turned it on because the system needs work. Previous owner said he filled it for going somewhere on hot days, but the gas eventually leaks out. Always wondered what the performance is like with the AC on. -
1986 2.5L ~ NO START
White_Comanche replied to White_Comanche's topic in MJ Tech: Modification and Repairs
My 2.5L two-point-fives again. Between two weekends I properly replaced my battery cables, and also tidied up the wire in looms. Got my cable assemblies custom made locally. Very happy with the product. Definitely beats the price of 'premium' cable kits out there. It took a surprisingly amount of effort, but it was a fun MJ project. So far everything starts and runs fine. It responds quickly to revving up, and also letting off idle throttle. I'll take it on some drives soon, and will get back.

-
cute steering wheel extra grip
-
1986 2.5L ~ NO START
White_Comanche replied to White_Comanche's topic in MJ Tech: Modification and Repairs
As I've been doing this project there has been a few routes that I've considered. 1) get Deka pre-terminated battery cables, or 2) buy the kit from JeepCables. After undoing the wire conduits and old fabric tape I discovered this past repair. From the Starter Relay, the wire gets spliced into (2) paths. One goes to the rear of the Alternator, and the other is plugged into a harness at the top of the Alternator. Is this soldered crimp something that I should address? Should this be two separate wires from the Starter Relay?

-
REM Clock Showing -F° Coolant Temp
White_Comanche replied to White_Comanche's topic in MJ Tech: Modification and Repairs
FOLLOW UP: Think I may know the reason why my REM suddenly "corrected itself" by showing accurate coolant temps. During the weekend I cleaned and re-seated my +positive battery cable. Not only did this solve my REM showing negative coolant values, but it also allowed my truck to start (I've had a nagging and random no-start issue). Soon, both my positive and negative cables will be replaced. Both are very old, and they also have exposed copper wires.
-
1986 2.5L ~ NO START
White_Comanche replied to White_Comanche's topic in MJ Tech: Modification and Repairs
Yes you are correct. It took a bit of time, but I did find the cable bolted by the alternator. I've learned that 'seeing' into an engine bay is a learned skill. -
1986 2.5L ~ NO START
White_Comanche replied to White_Comanche's topic in MJ Tech: Modification and Repairs
A future project was to at least replace the positive cable. What I have looks factory. There is exposed copper wire on both battery terminals. Today I traced where each cable leads to. The positive was easy enough that it leads to the starter. For the negative cable it wasn't at all clear where it leads. Both the POS & NEG cables are in the same loom. I figured the negative terminates to the post by the dipstick. But the cable coming off the engine post heads somewhere backwards and I never saw it exiting from the loom. Am I missing something? Please let me know where the actual negative battery cable leads to.
-
REM Clock Showing -F° Coolant Temp
White_Comanche replied to White_Comanche's topic in MJ Tech: Modification and Repairs
My REM Clock suddenly has corrected itself. So far it continues to show positive and correct F° values. I didn't bother to disconnect the CTS and read resistance. Because I could see the F° values matching what the coolant gauge was showing as the engine was warming to operating temp. I'll continue to keep this post up, incase others come across a wonky temp reading on their REM. -
1986 2.5L ~ NO START
White_Comanche replied to White_Comanche's topic in MJ Tech: Modification and Repairs
Somehow this thing is starting and running again. Today I checked all of these things. Fuel flow inside the TB was strong. When checking spark afterwards I wasn't seeing anything from my new inline spark tester. However, beforehand I did drop the bulb housing by accident, or it may just be defective. CPS shows strong AC volts maxing out at .55 After plugging the CPS back together I decided to try starting anyway. Good news, there is spark. It starts and runs. Idle seems fine, and it responds well to idle throttling. No sputtering was present. The thing that I spent some time on was cleaning and reseating the copper wires of the positive battery terminal. There were times that the + terminal needed tweaking for it to start. Don't know if this is related. A few days ago when I had to get it towed, there WAS positive connection to the battery. It just wouldn't turn over. Will try a few more times this weekend to see it it continues to start. Have not driven it yet. Still not confident with it. Could it be my Ignition Coil or ICM is going south, or something else? -
REM Clock Showing -F° Coolant Temp
White_Comanche replied to White_Comanche's topic in MJ Tech: Modification and Repairs
Thanks Ohm. I will do this test when my truck is operational again. Have a no-start issue that is plaguing it... I currently have an active post figuring that out. This test earlier was static with the truck just sitting in the garage unable to run. Garage air was roughly in the low 80s. Thinking that my REM may be corrupt. -
For anyone who has a version of Nick's REM installed I'd like to know if you guys have noticed this. My coolant temp reading suddenly began show negative -F° values with a cold engine. As the engine warms up to operating temperature the reading doesn't correct itself. The most recent drive it topped out to only 75° when hot. The actual temp gauge appeared normal showing 195° to 200°. I contacted Nick through FB, and after some back and forth he though I may benefit from replacing my Coolant Temp Sensor. HOWEVER, the resistance readings of my CTS appeared accurate. Showing 2,400 to 2,500 with it being 'cold' in an 80°ish degree garage.