
Dzimm
-
Posts
3580 -
Joined
-
Last visited
-
Days Won
11
Content Type
Profiles
Forums
Gallery
Everything posted by Dzimm
-

Issues and Recommendations
Dzimm replied to Omarmartinez33's topic in MJ Tech: Modification and Repairs
Your fuel level issue likely has to do with the float in the tank. It could be bent, rusted, stuck, or broken. Only way to tell is to take it out and inspect but be careful because the MJ fuel pump assembly is specific to the MJ and hard to find a replacement. They pop up here sometimes. Could also be a bad electrical connection along the way but my guess would be the float itself. As for the spring perches in the lift kit, it sounds like it is a SOA (spring over axle) conversion lift kit. If you notice your leaf springs are currently running under the axle, or at least they were when new, this kit will require you to cut the old perches off and weld the new ones on top of the axle to mount the springs up top. There are threads talking about this conversion that will go into more detail but the basics are that you will net about 5inches of lift from it. There are some things to be aware of when doing this like spring wrap can become a problem. Read up in SOA just so you are informed. And as long as your old springs aren't sagged bad and falling apart you will have no issues reusing. Just make sure to replace the ubolts. -
Yes, the MJ has a hook like bracket that holds the dash above the hvac box. Will go back no problem.
-
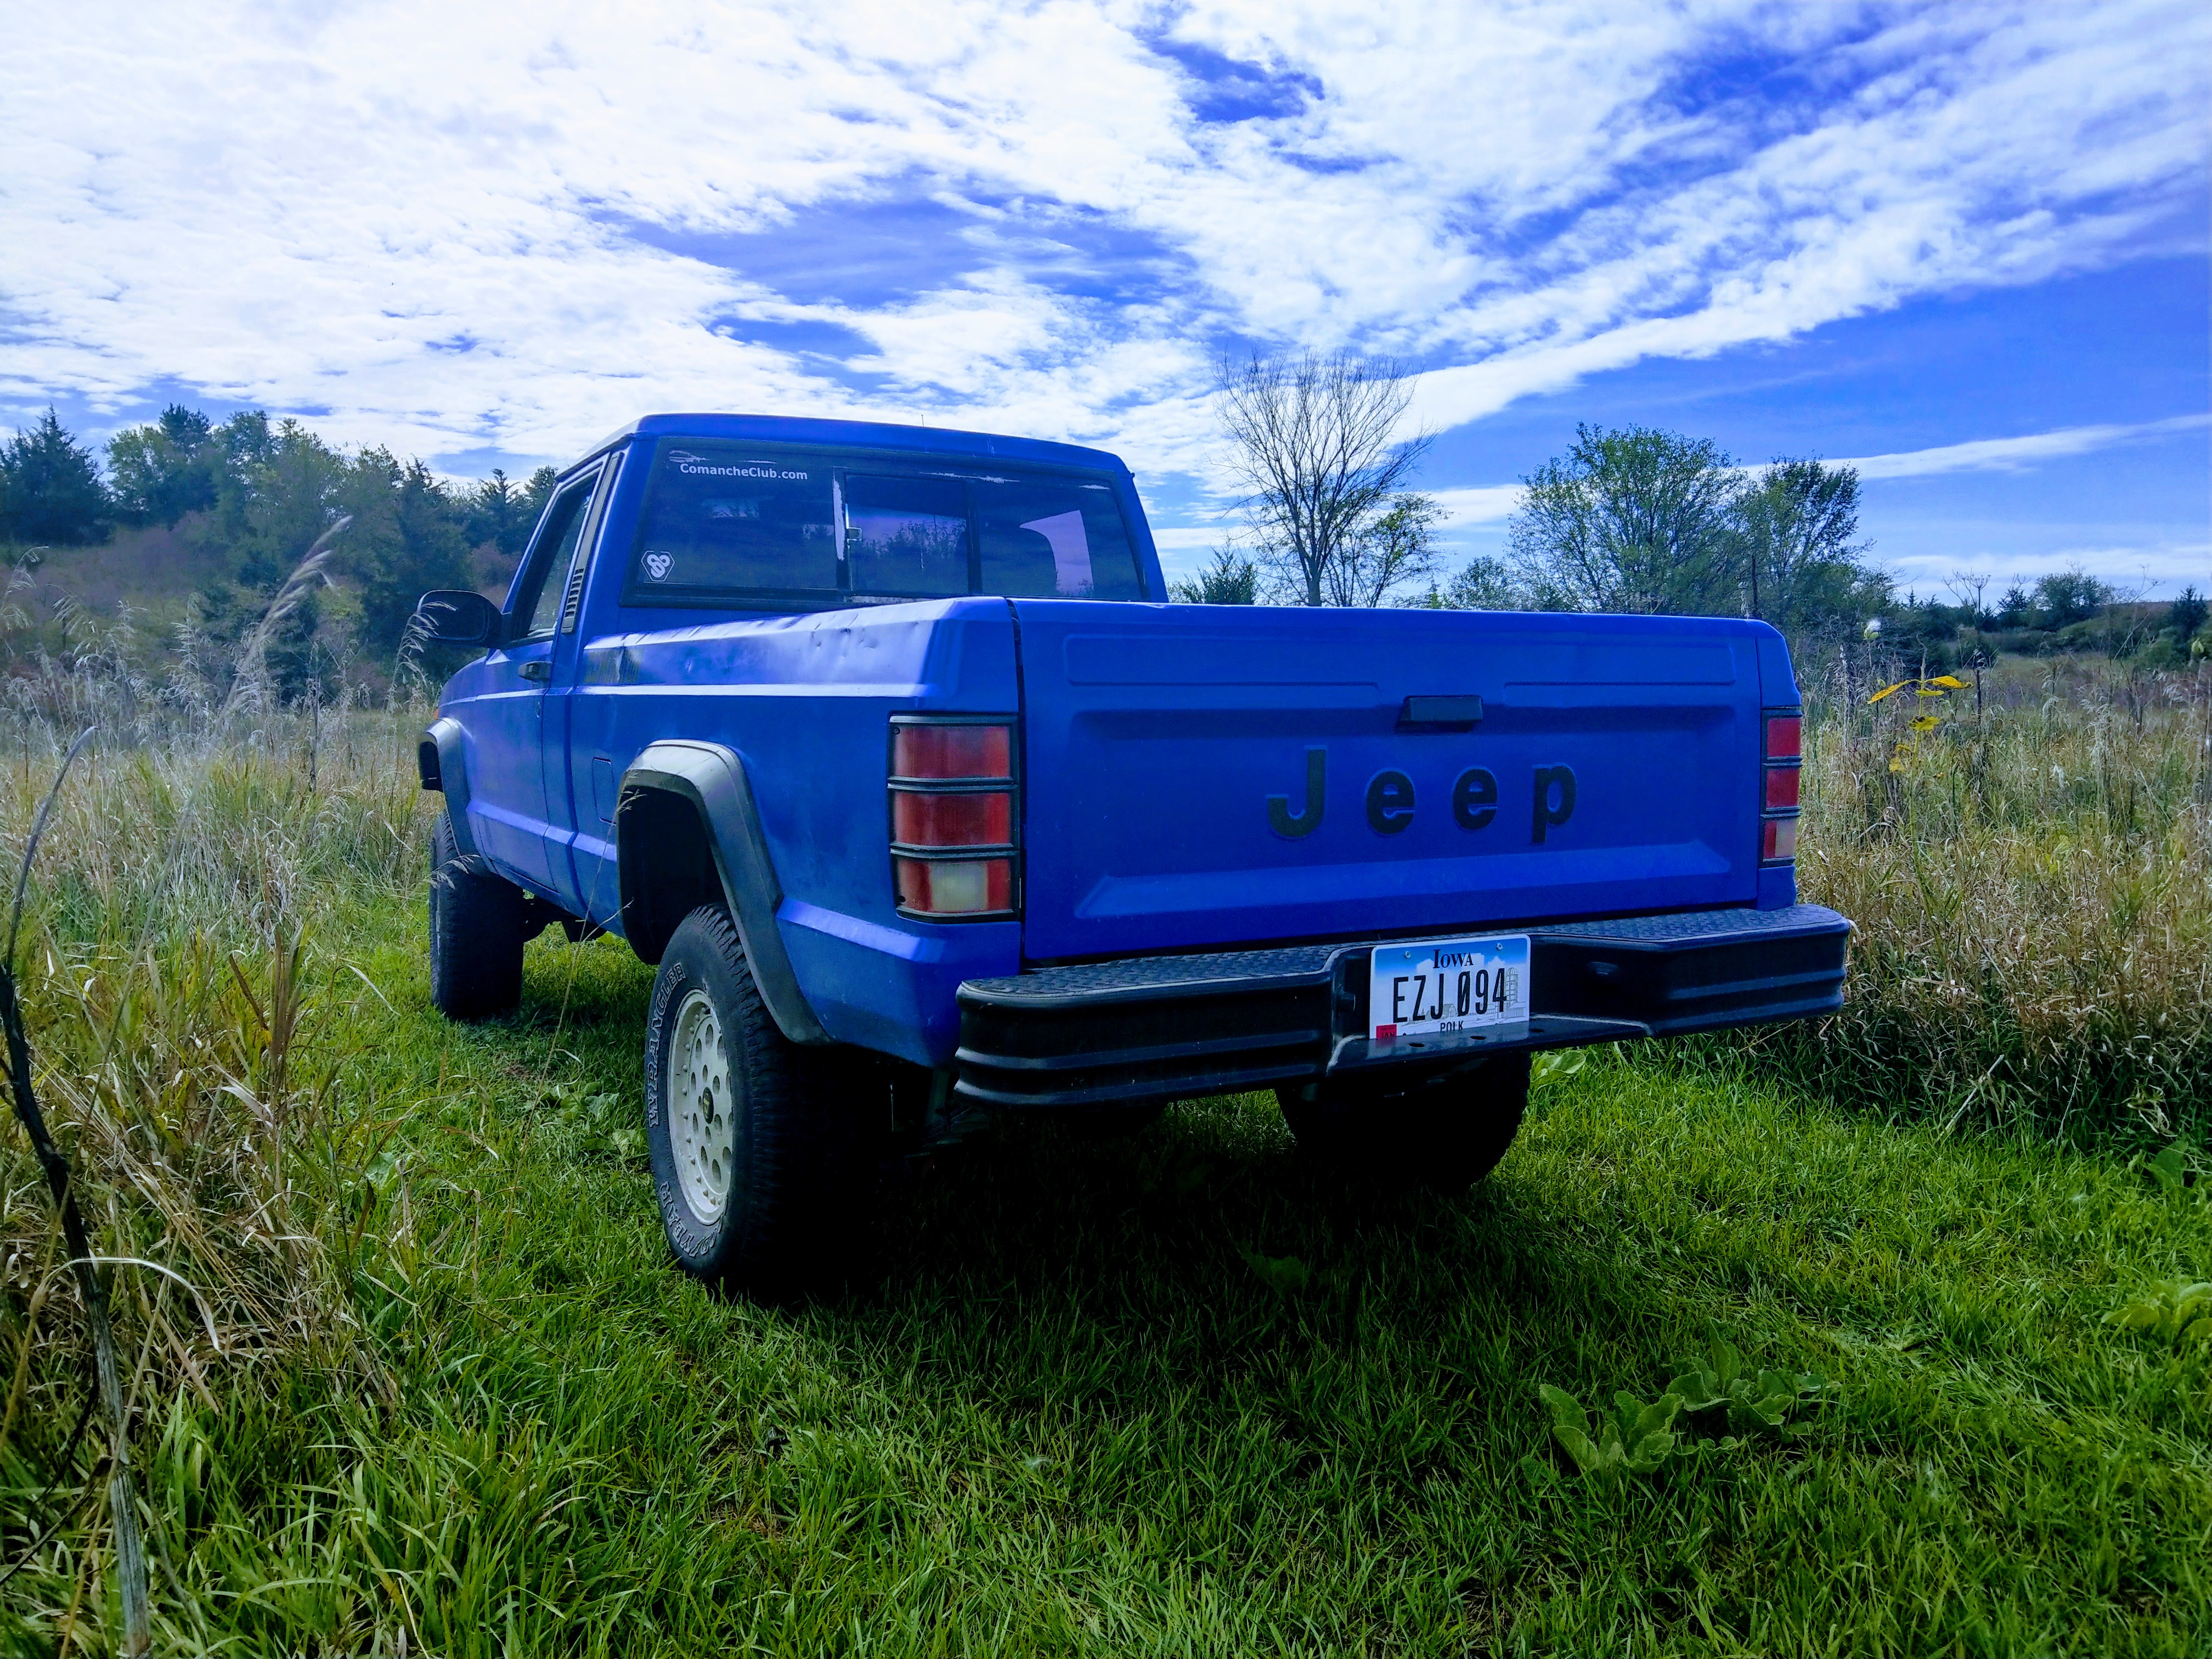
Ebay MJ sold for $11.5K
Dzimm replied to WahooSteeler's topic in Craigslist/eBay... i.e. Not Your Stuff
Very clean truck. Surprised it has as many miles as it does for that kind of shape. Too bad it didn't have the factory radio.. If I'm gonna spend that kind of money on a prestine stock MJ, it better have the correct radio. -
If you are thinking it will bolt right up on the back of an MJ that is not the case. Yeah I'm sure it would physically fit behind the MJ cab and the wheel wells may line up halfway decent but it would require fabrication work to mount it. There is an MJ swb bed for sale in the classifieds right now, maybe youre close to it? Have you considered building a flatbed?
-
Wow glad you're OK. Hopefully the folks that got the worst of it made it out without injury. Natural disasters suck, especially the unpredictable ones.
-
Hope so dash install and removal is not fun.
-
Are you referring to that gap on the pulley being the crack? If I remember correctly all of mine have that gap as well. Last time my belt shredded exactly like that, it was due to the water pump going bad and wobbling. While the belt is off, check every pulley for damage or play in all directions. Also make sure you tighten the belt up enough. These engines require a very tight belt. I've always heard that the belt should twist 1/4 turn around when it's properly tightened. That's always worked for me.
-
Does it smell like coolant in the cab? Did it leak before you replaced the hose that you know of? Did you push hard on the core pipe when replacing the hose? Did you double check that you're not leaking from the hose connection? Double check the seal to the firewall looks good from the engine bay. Its possible that it is disintegrating and it is letting water in from there. From what I can see, it looks to have a green tint on the left most trail towards the bottom of frame. My guess is that from the force of replacing the hose, it caused the core to crack and start leaking. You've got a fun job ahead of you.
-
Spent some time thinking out my cage plans. I've decided to make the front end out of tube as well since the one side is mangled. Went ahead and started cutting out some sheet metal to get a better idea of what I'm working with. Eventually the whole front corner will be cut out. Sent from my HTC U11 using Tapatalk
-
I had these for a while and they are definitely better than stock but the plastic lens scratches and fades quickly. Also don't get these if you get snow or ice in your area. Since they don't produce heat, they don't melt the snow thus requiring you to scratch the lenses getting it off yourself. I would recommend the Rampage H4 conversion instead. They are more expensive ($75 on Amazon, cheaper elsewhere) but way better. They are brighter, have a glass lense, and are a standard H4 bulb. I have since swapped all but one of my XJs over to these. https://www.amazon.com/dp/B001OMPJHM/ref=cm_sw_r_em_apa_fObQAbFTM62C3
-
Got tons of work done on the Zuki today. Spent at least an hour vacuuming up glass before I could even start working on the interior. Got the seats, center console, and carpet pulled up. Surprisingly only broke 1 captured nut loose, everything else came out without issue. I was planning on moving the seats back some but I see no way to do it without removing the sliders. None of the mounting points are on the same plane and there is no way I could keep the sliders without a ton of fabrication, which I don't want to spend the time on for this project. I went ahead and slapped a bunch of antiseize on the seat bolts and stuck the front seats back in for now. I also pulled the headliner out in prep for cutting off the roof. I went ahead and cut the top of the rear gate off. The metal is so thin that it just sliced right through. Cleaned up the edges so nobody cuts themselves and left it at that for now. I needed to find a way to pull the roof back up for now so it wasn't right in my face while driving it back and forth across the yard. Ended up using the scissor jack that I found in the car and a 2x4 to push the roof back up. It worked very well and looks much better than it did. I can also see out that side of the car again. Went ahead and pulled the drivers side fender off only to find a rediculous intake setup. Air come in from the outside of the inner fender at the front, goes to the back of the fender where it has a drain box, then goes up and through the inner fender and back to the filter box located behind the headlight, then up into the engine. I can only imagine how much better this thing will run once I remove this rediculous mess. Anyway I cut and beat the inner fender in to create more clearance for the tire. After getting the drivers fender opened up, I pulled the Zuki up to a tree and used my tow strap to yank the passenger side back out a bit since the tire still rubbed it while turning hard. Couple yanks and the bumper was straightish, couple more yanks and I got the body as far as I could. It's much better but I think I'll just do some cutting instead. After I finished the work for the day I took it up the lane to get the mail and test it out with some speed. Got it up to 37mph before the bungee cord stretched and the hood started to lift up. Didn't seem to pull and no vibrations so I'd say that's a success! Sent from my HTC U11 using Tapatalk
-
Finally more progress. Replacement vsv valves showed up. I got them installed and fixed the other vacuum leaks and that completely fixed the roughness in the engine. Also got the replacement wheel. Changed a tire for the first time. I used some big pry bars that have been on the farm forever. Took me about 2 hours from start to finish on the one wheel. Definitely room for improvement there. To break the bead, I used 2 methods. For the outer bead I put the floor jack under the tire and held it to the wheel with a strap, then cranked it up till the bead broke. For the inner bead I had to use the method with the 2x4 on top of the tire and the jack underneath on the rim, all strapped together. After getting the wheel back on it, I took it for a lap around the yard. Found out real quick some sheet metal needed removed. Broke out the angle grinder and hammer to make the tires clear. Also went ahead and adjusted the toe correctly so it measured the same front to back on the wheels. Still have some negative camber on the front wheel but I may try to make the other one match so it has better corning abilities. Last thing I did was get a bungie cord out to hold the hood shut. Took it out again and did a few laps. Suspension seems good and it runs great. Still has the issue where it revs high before the trans engages. Seems to be better than it used to be in drive but still not great in reverse. The trans was low on fluid so I'm hoping once I get it at the correct level it will be fine. Sent from my HTC U11 using Tapatalk
-
Thanks for posting. Finally was able to justify ordering a nice cordless drill, impact, and recip saw kit!
-
I may have just made a STUPID mistake--Transmission
Dzimm replied to coolwind57's topic in MJ Tech: Modification and Repairs
Good to hear! -
I've never seen one done in this way. Usually the c-pillars and rear doors of the 4dr XJ are retained. I'm curious what they plan on using for rear doors.
-
Check your trackbar bolts on the frame behind your driver's front wheel. Also check your sway bar, sway bar bushings, and sway bar end links.
-
This would be cool to make it work but I would be weary with the airbags. Do your research to make sure you don't hurt yourself.
-
Trust me, if they want in your vehicle, they WILL get in. Bastids..
-
In that case you probably have a clog somewhere that isn't allowing coolant to circulate through your rad at all. You should have coolant boiling out of the cap for sure by 20 mins.
-
That would be an option. ChrisFix did a video where he used the chrome wrap found at most autoparts stores and it looked good when finished. They may carry some other wraps, may be worth a look.
-
Some kind of textured silver may look good. Would give you added grip and won't glare nearly as much. Thing to consider if you paint that section tho, it will probably wear off quickly.
-
There is a trick I found that works on the 97+ doors and may work on the older doors as well. - pull the lower window trim off the outside of the door. This will create a roughly 3/8" gap between the outer sheet metal and the glass. Its hard to get off the first time but will go back on just fine once it's off. - bend a metal coat hanger to form a long hook - run the hook down the lock side of the door about 5 inches from the edge of the door and run it down until it won't go any further - pull the hook towards the rear of the door and pull up slowly until you feel it hook the latch mechanism - once it hooks it, firmly pull up and back and it will unlock and open the door
-
Something just doesn't make sense here. How long are you running it before you decide it isn't getting hot? If it runs for 5-10 mins and you pull the rad cap off, you should have water boiling out no matter what the gauge says. You said you have driven it to test so I assume that's more than 5 mins. Are you sure there is coolant in it?
-
You said you can take your rad cap off while the truck is hot and it doesn't boil over? That there tells me you have a cooling issue not a sender issue. I would pull the serpentine belt off and spin your waterpump by hand to see if it has any play in it side to side or if it is hard to turn. Either way it sounds to me that your waterpump is bad.
-
Tonight was more of a cleanup night for me than anything. I spent some time picking up the trash and bigger chunks of glass. The thing looks much better inside now but it has standing water on the floors from all the snow and rain. I really need to get the capet torn out so it can drain. I did spend some time getting the rear hatch open. I was able to make it line up decently when it's closed but due to the severe damage to the hinged side, the door sticks way up in the air when it's open. It almost looks like those fancy Lamborghini doors when it's all the way open. The front looks much better with the hood flattened. I think I may cut up the front bumper and use pieces of it to make a front grill for it. Holding it up there gave me a few good ideas I want to try out. Sent from my HTC U11 using Tapatalk