
MancheKid86
-
Posts
1590 -
Joined
-
Last visited
Content Type
Profiles
Forums
Gallery
Everything posted by MancheKid86
-
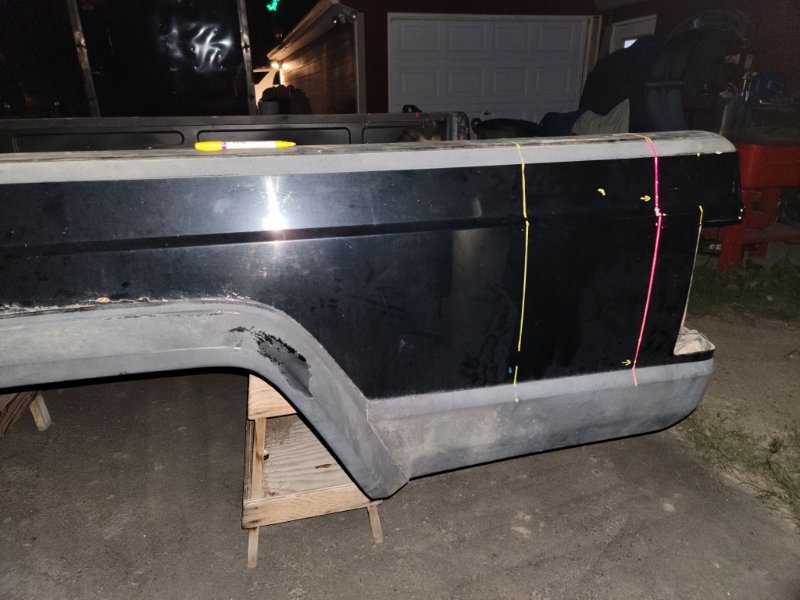
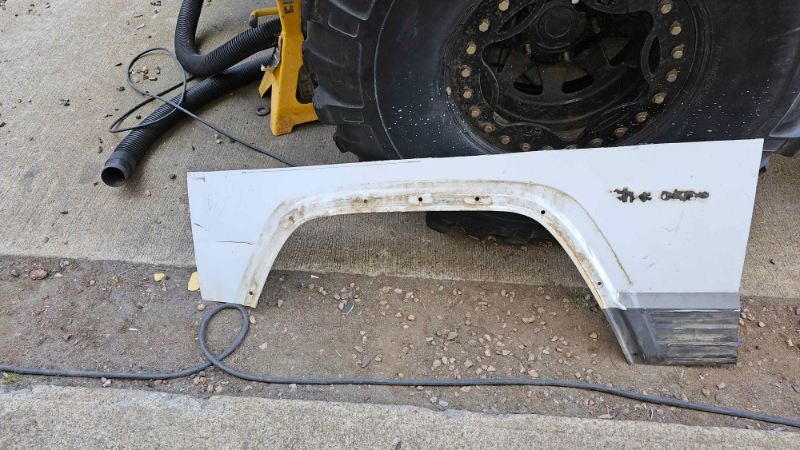
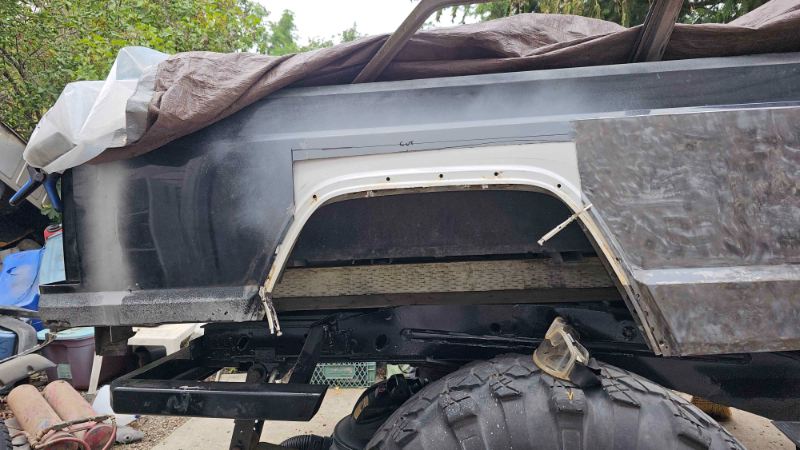
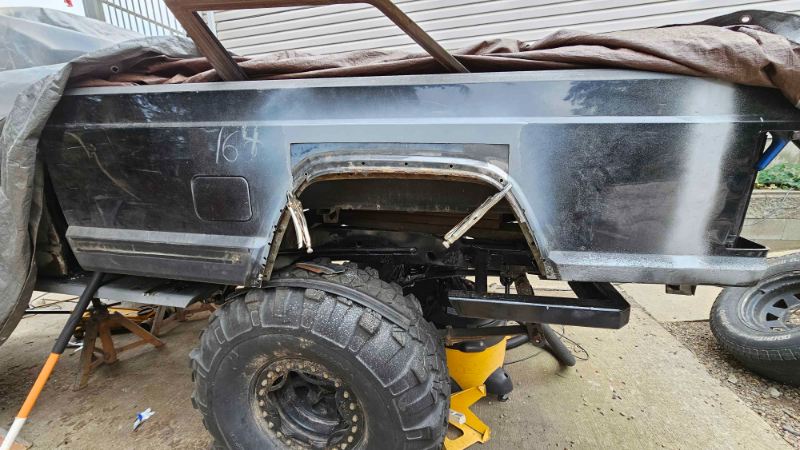
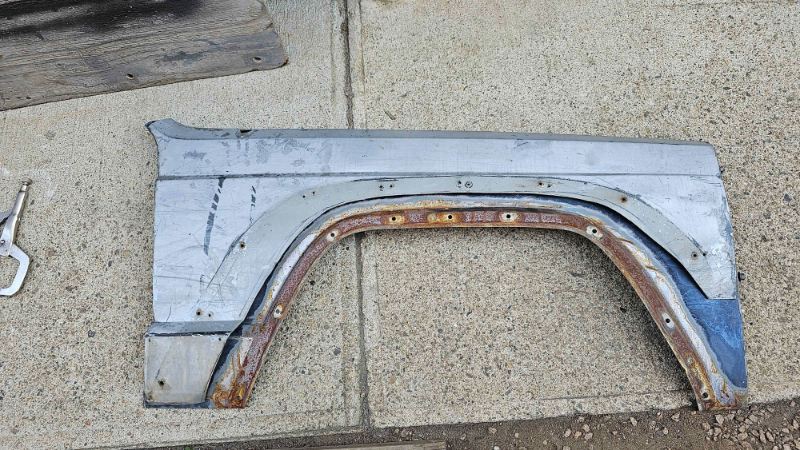
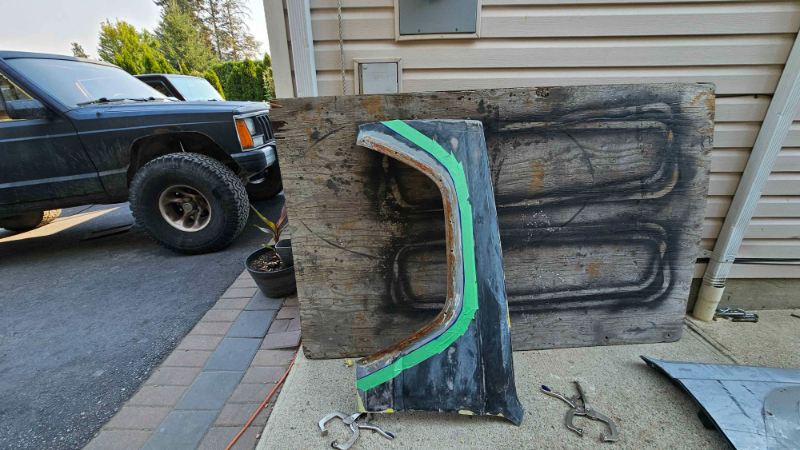
well after trimming the front fenders an idea popped into my head why not just use front fenders for the rear arches? over the years on CC I have read they are slightly different. So... I cut up some perfecly good fenders and seen how off they were they are indeed different, the arches are in different spots. but for me, that doesnt matter. The wheel well is rotten anyways so I can just remake the inners to be bit higher so I can weld the seams together.
-
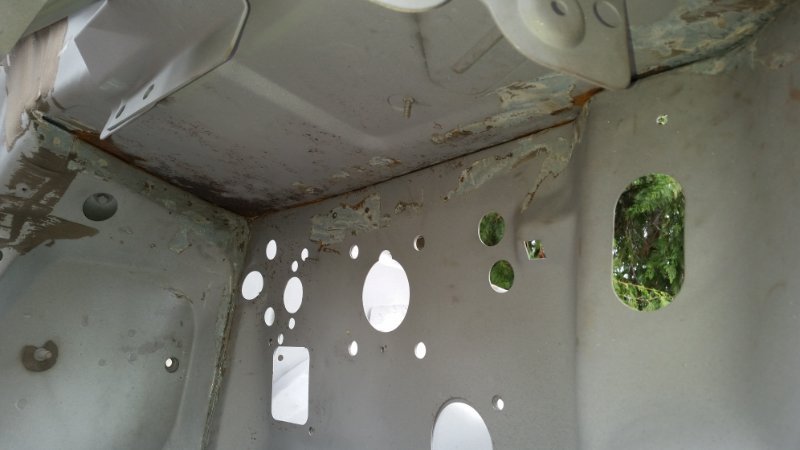
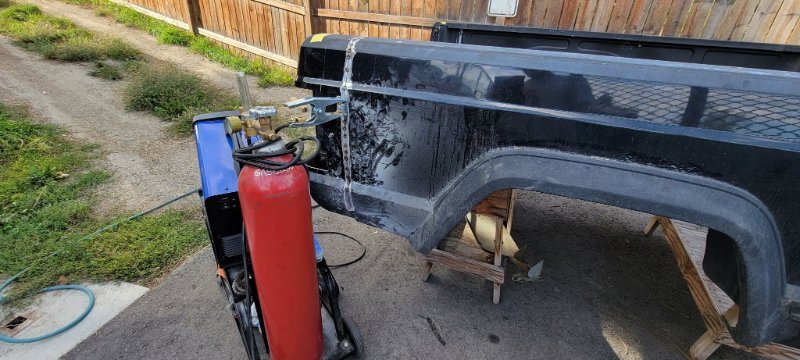
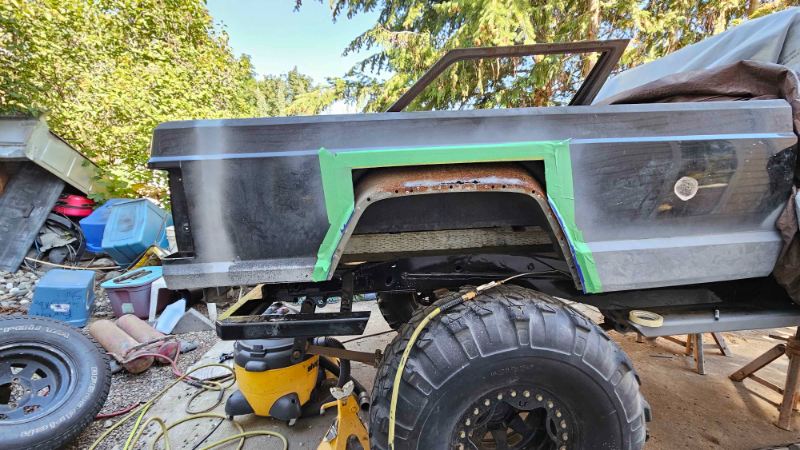
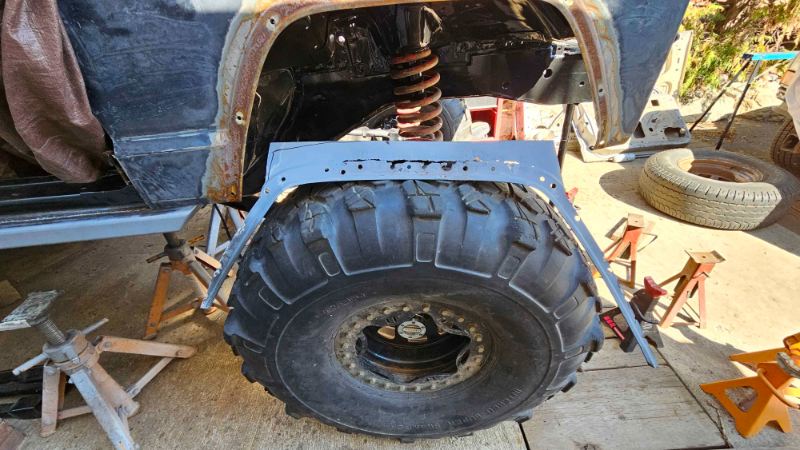
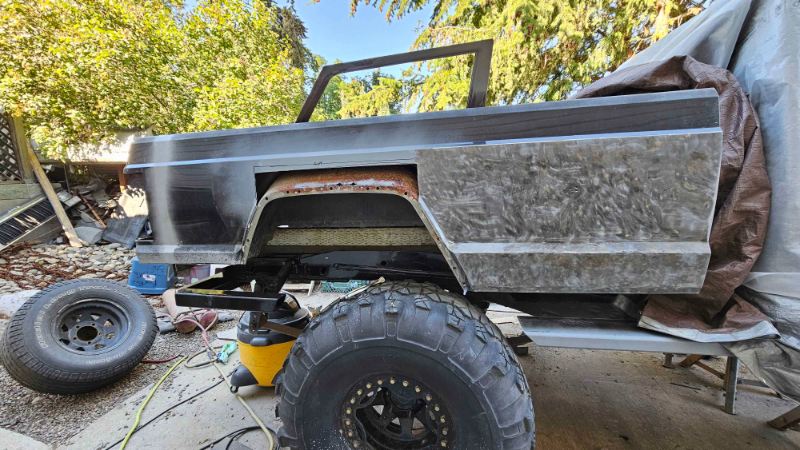
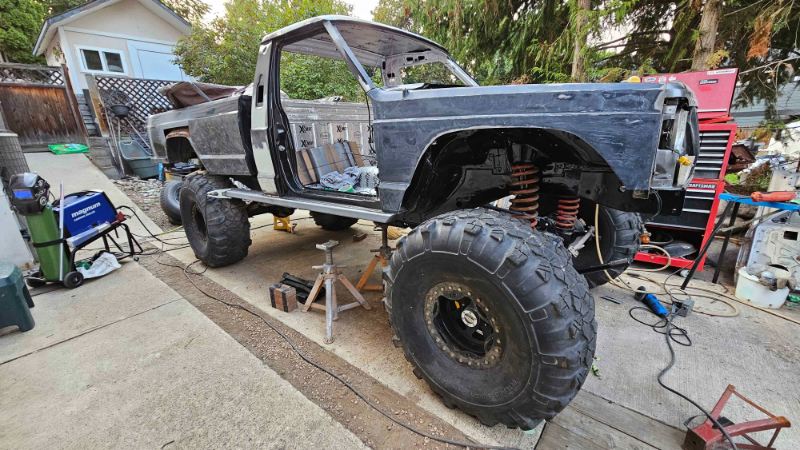
both sides removed, reveals the rot inside the well itself I will be welding the two seams together, instead of the cut and fold. this is why I cut it the way I did afterwards I spent the time to strip all the bondo out of the truck box and weld the piecuts where I cut/folded the taillight corners. I wish I knew how to read brail because this boxside would tell a story. who ever did the body work just beat all the high spots down with a hammer and bondo'd over top. My old fenders went under the knife, removed the frames from them and used them as templates for the new fenders this is why I was not concerned about the rust on the flares I need to make some sort of tab on the rock sliders for the bottom of the fender to mount
-
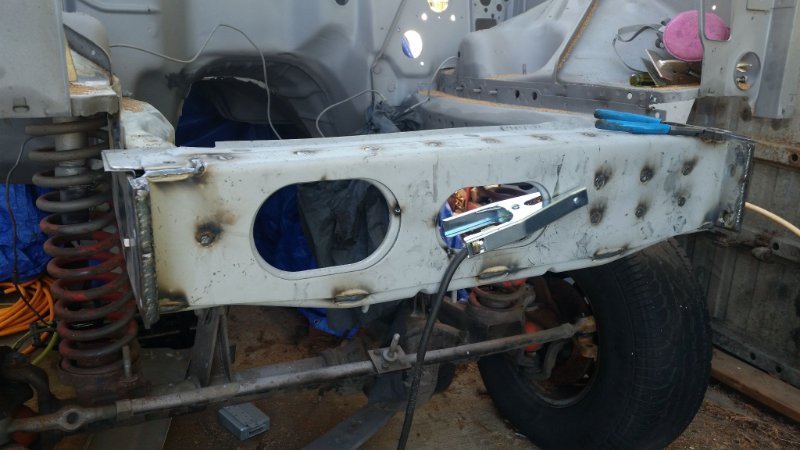
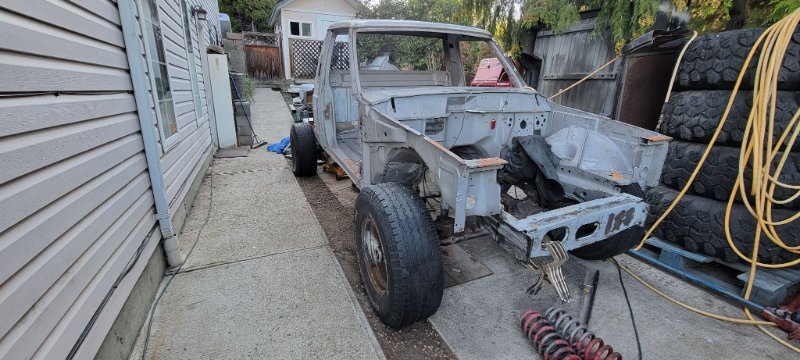
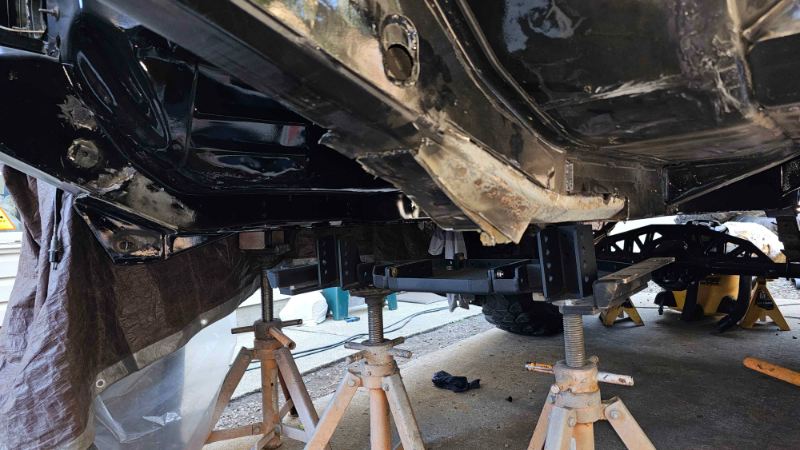
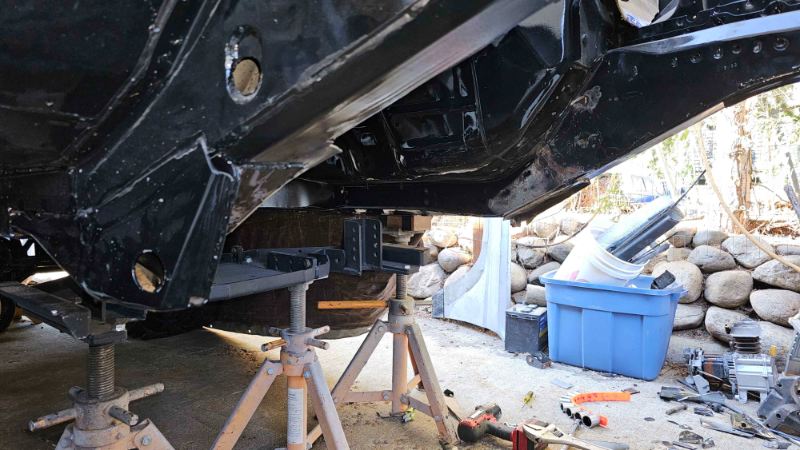
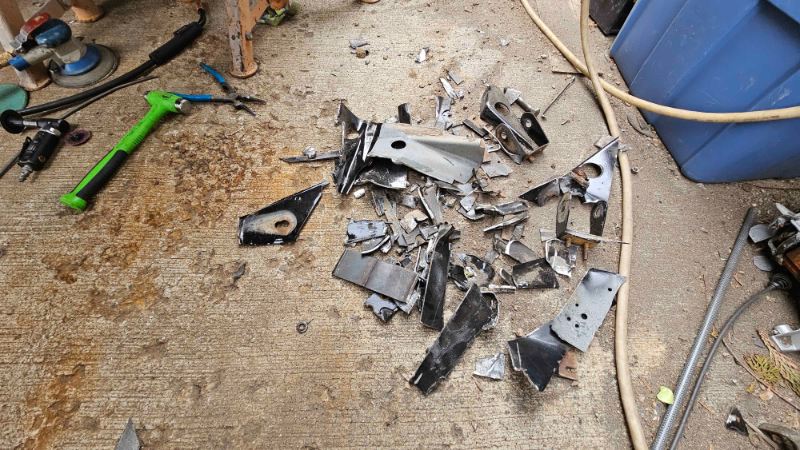
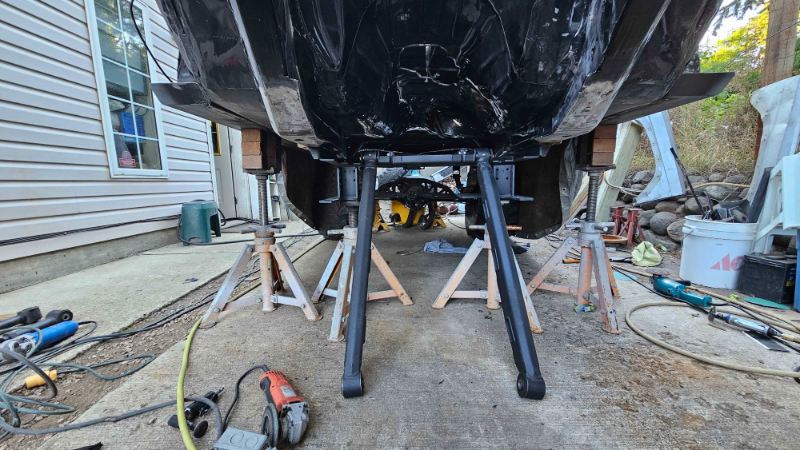
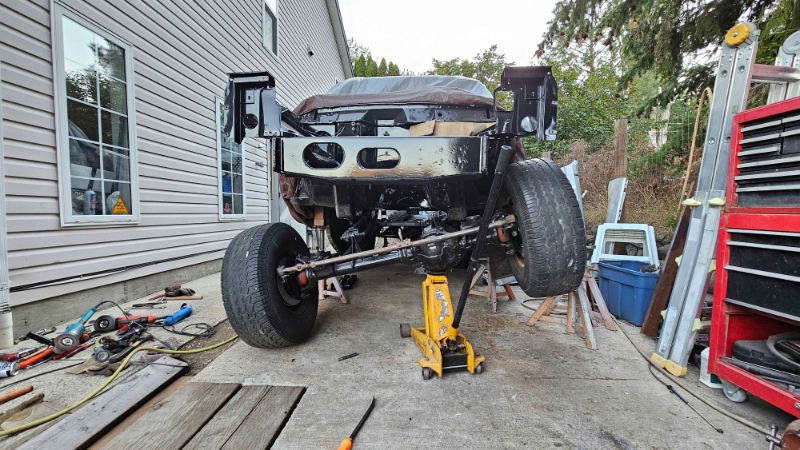
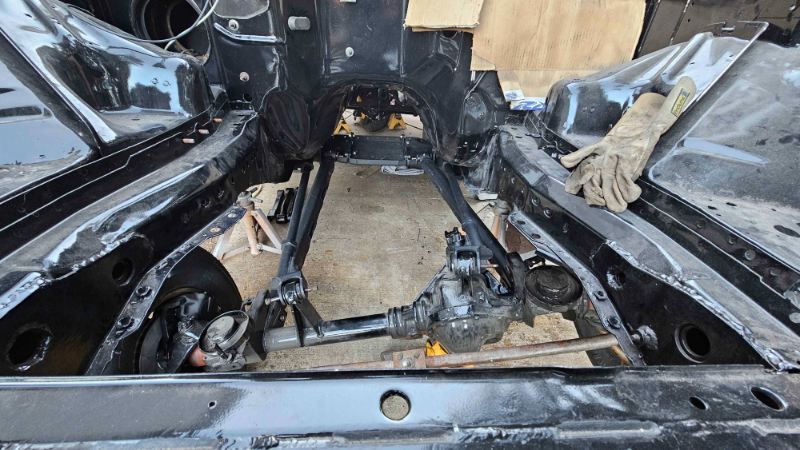
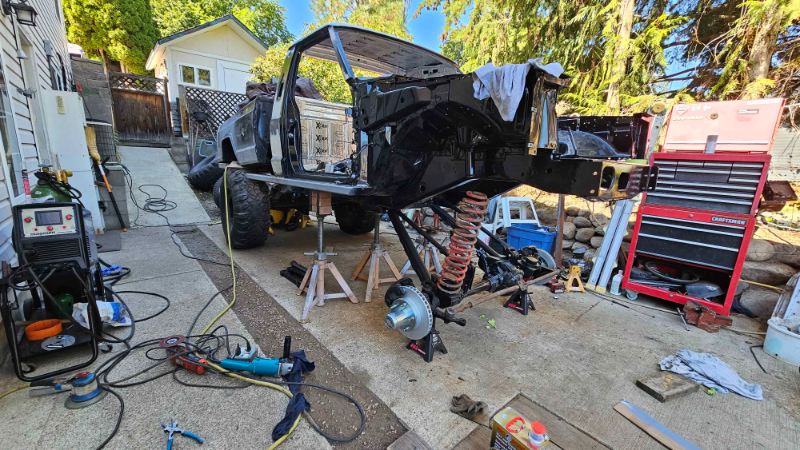
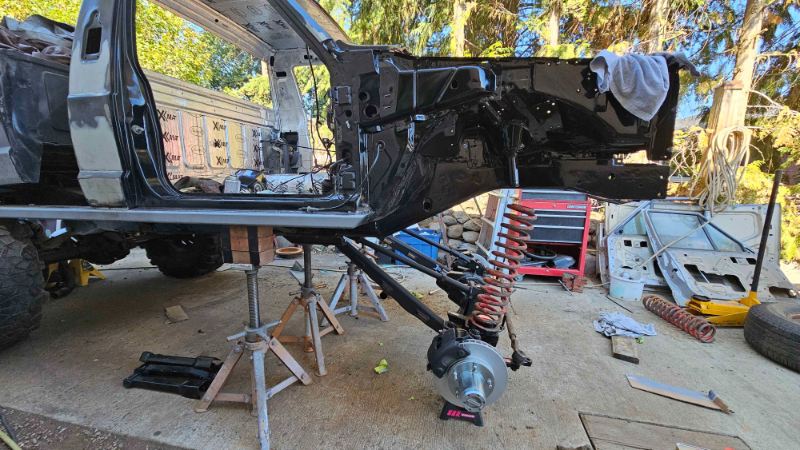
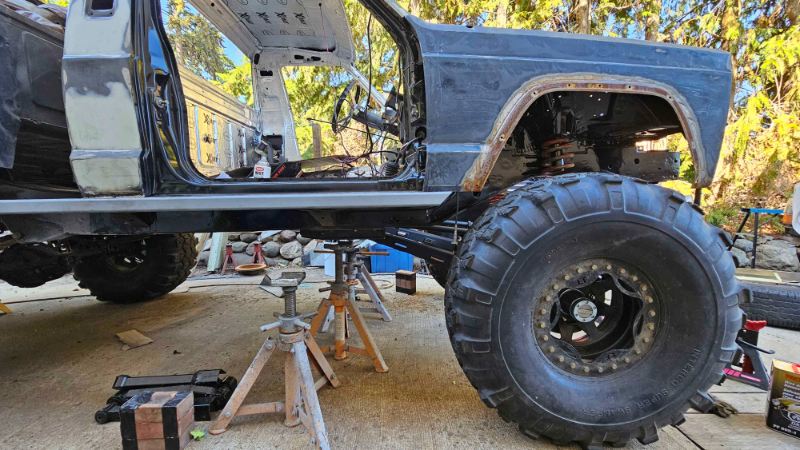
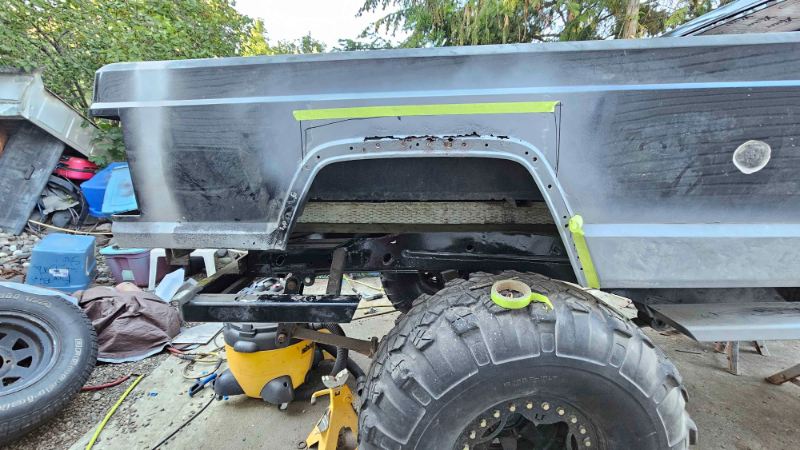
And then.... I started cuttin. after what seemed like eternity I had all the debris removed from the unibody Let me tell you... I have over 30 hours of grinding in the control arm areas. the upper control arm mounts have been torn out and off of the unibody so many times there was an obscene amount of weld. it was like going through the layers of time in your grandparents deep freeze. after all of it was removed and cleaned up, the new suspension went in! yes, there is droop! tires back on, checking clearances. will have to put in steering stops so the lugs don't contact the control arms. (took them out so long ago, I'm sure they are labeled in a bag haha) suspension will be dialed in last, just need it in to have it rolling for the paintbooth at the end of the month onto the last of the rust repair! I have seperated the skin from the wheel wells, today I will cut the affected areas off the box and beadroll some new
-
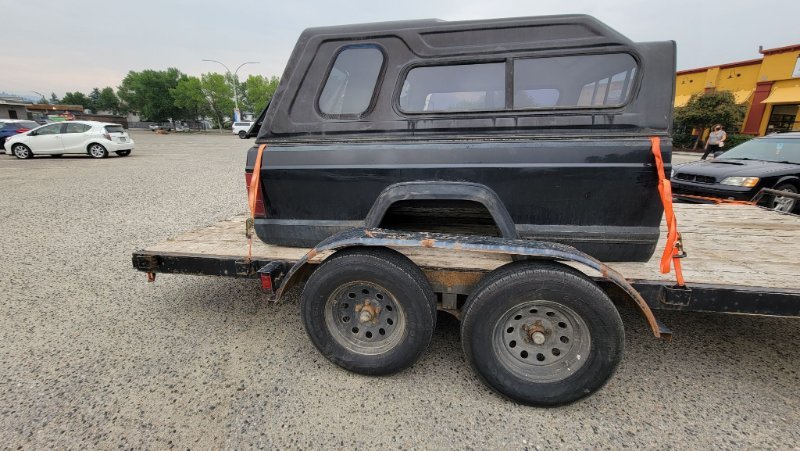
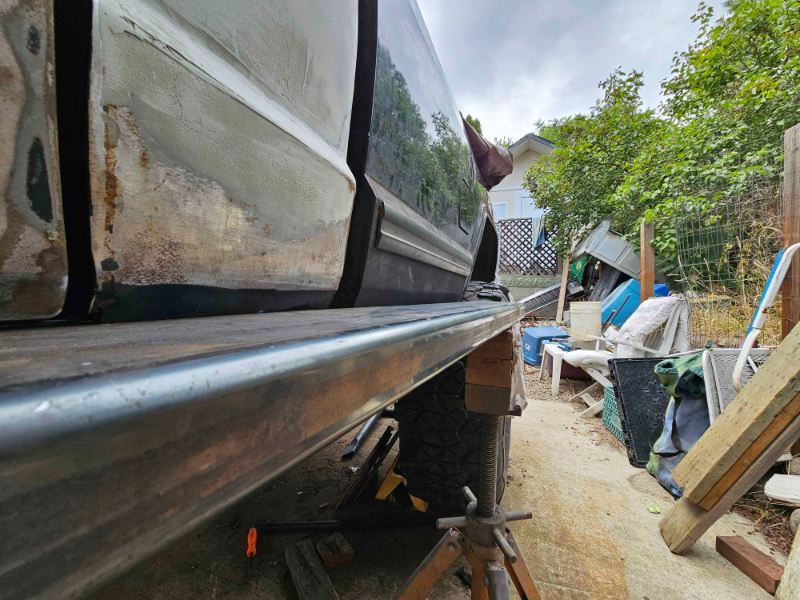
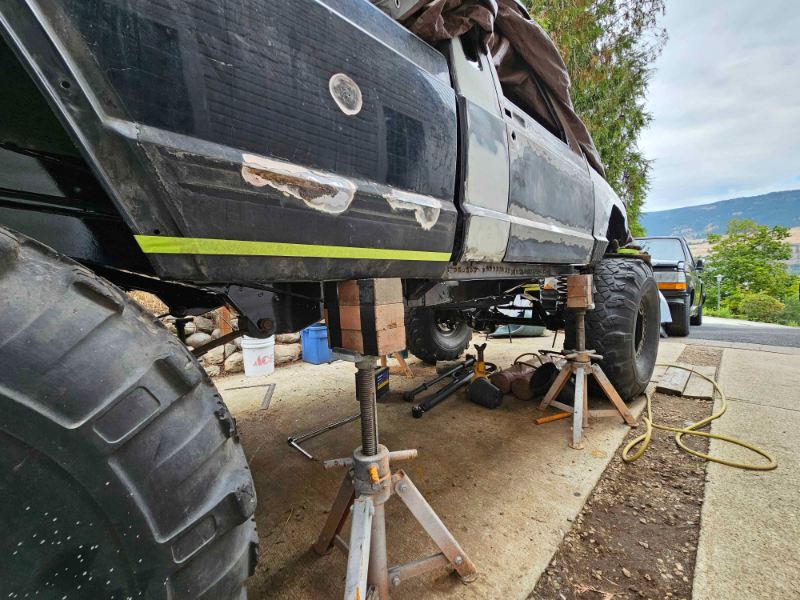
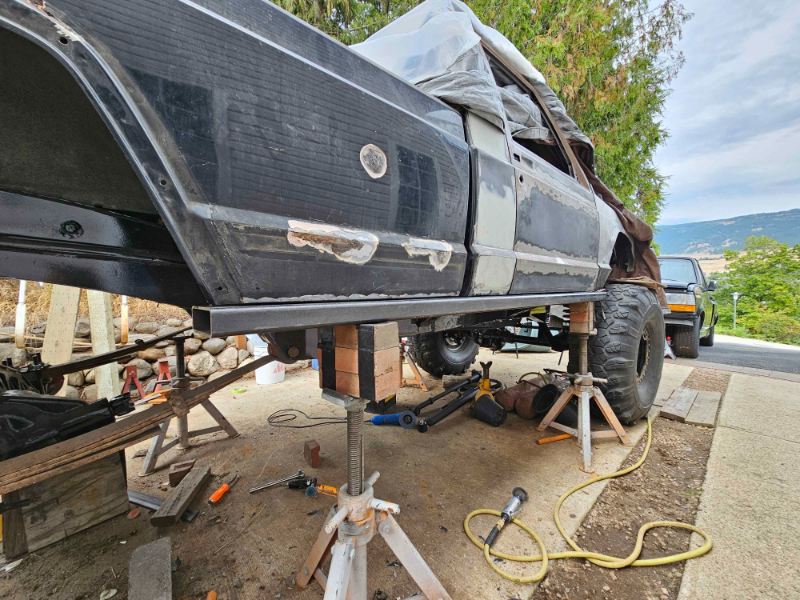
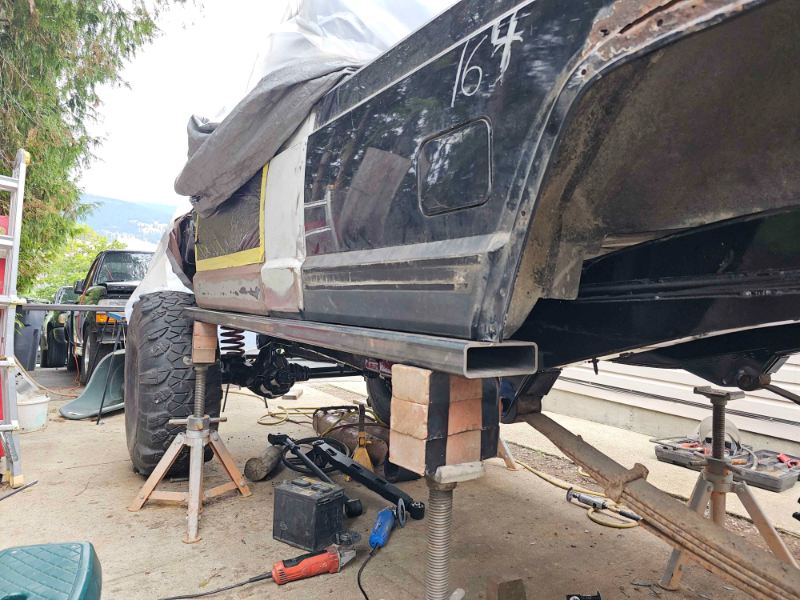
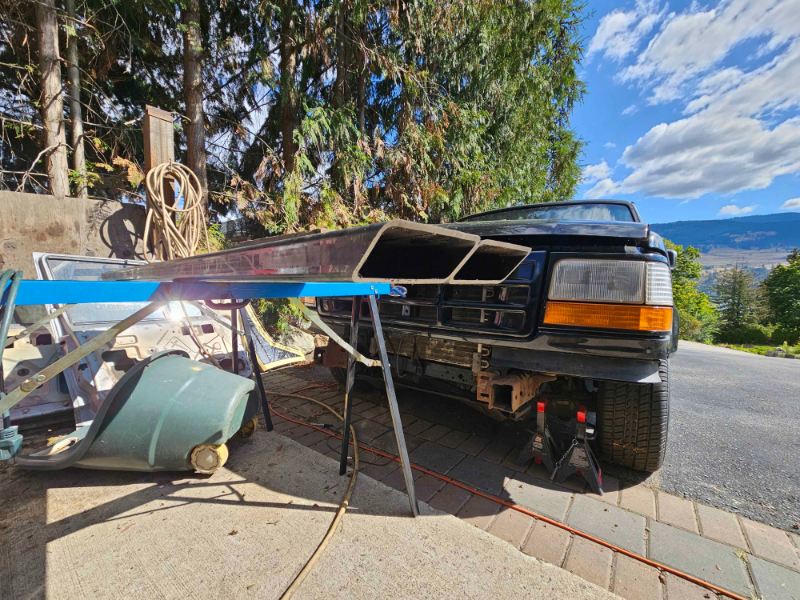
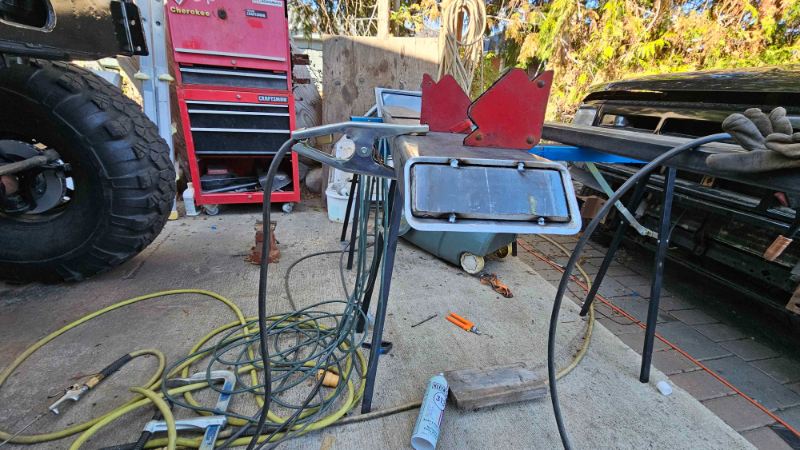
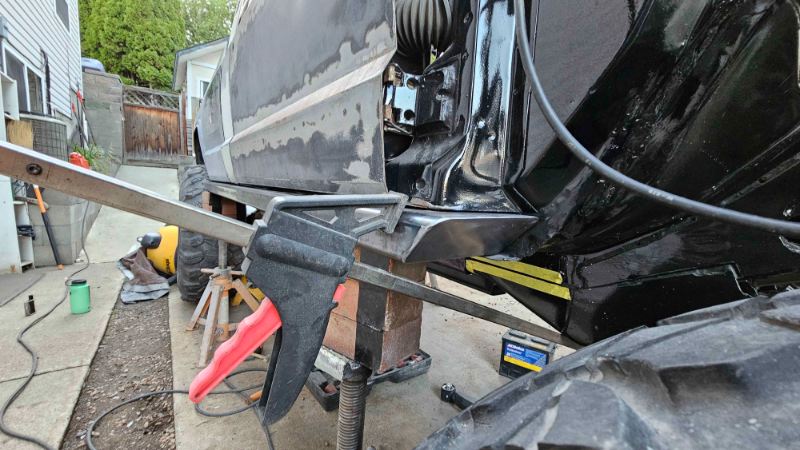
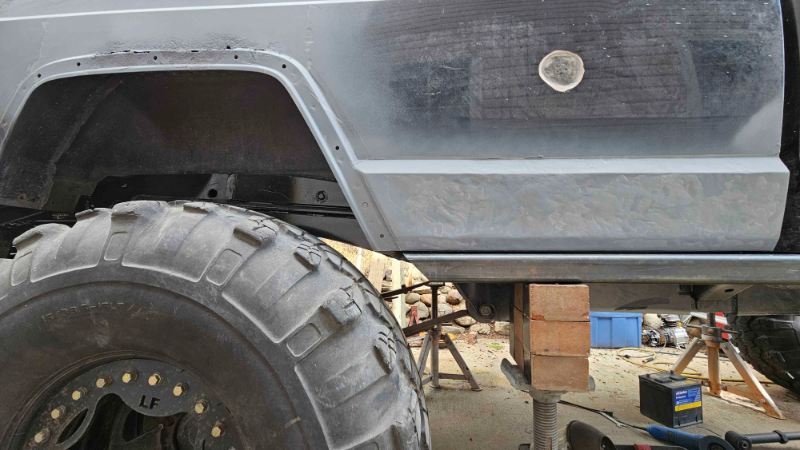
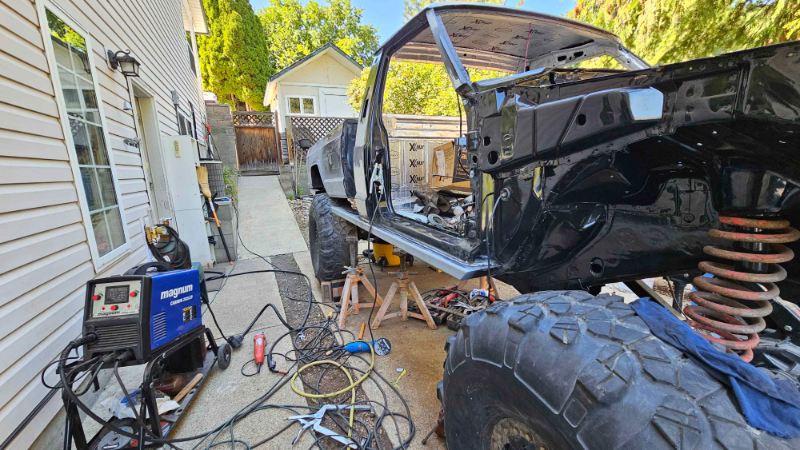
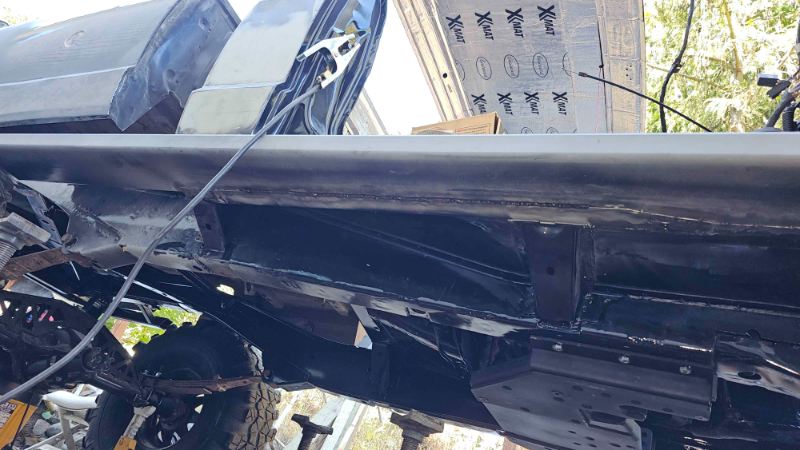
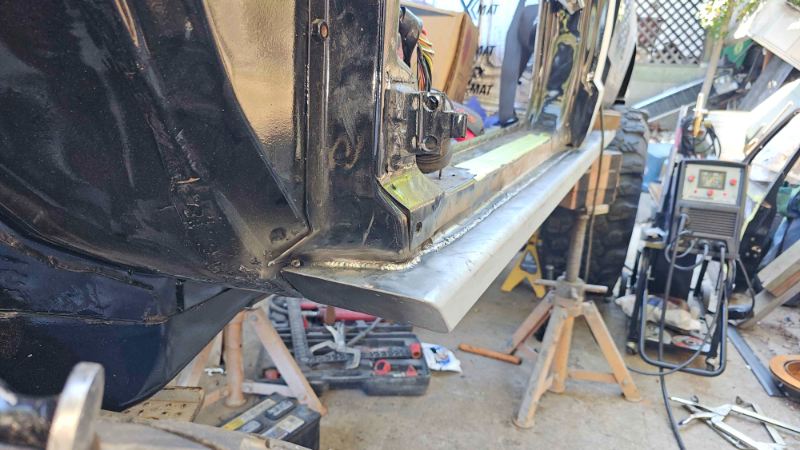
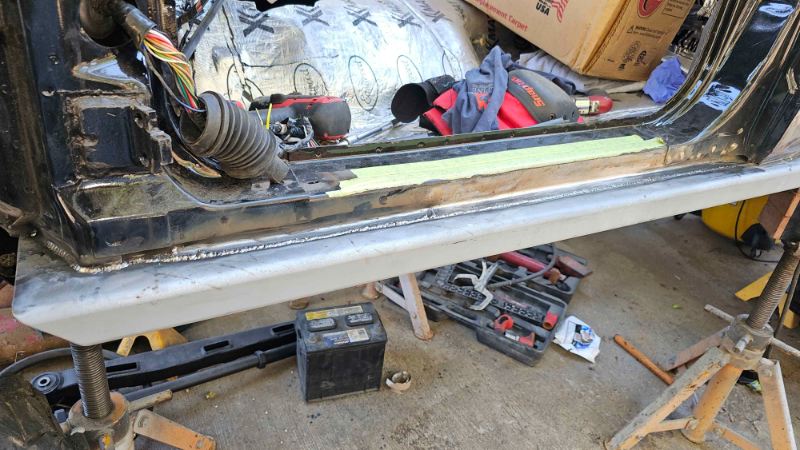
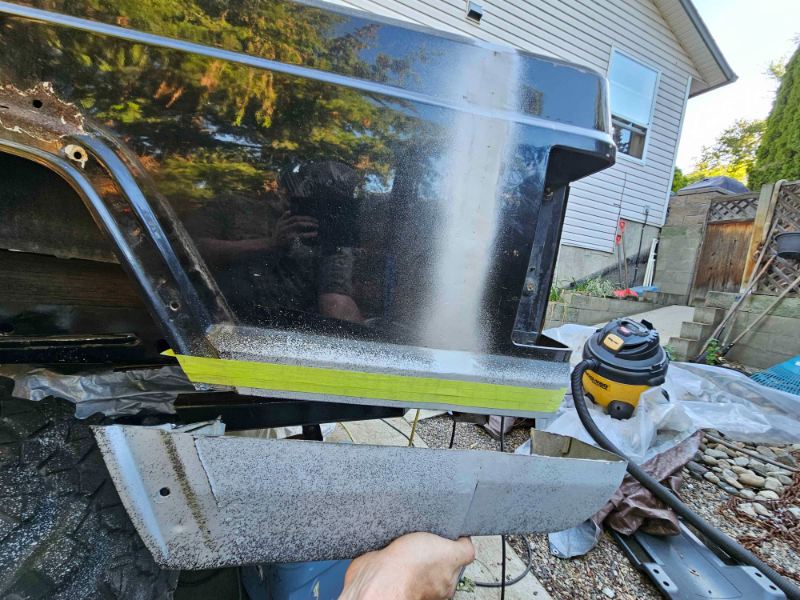
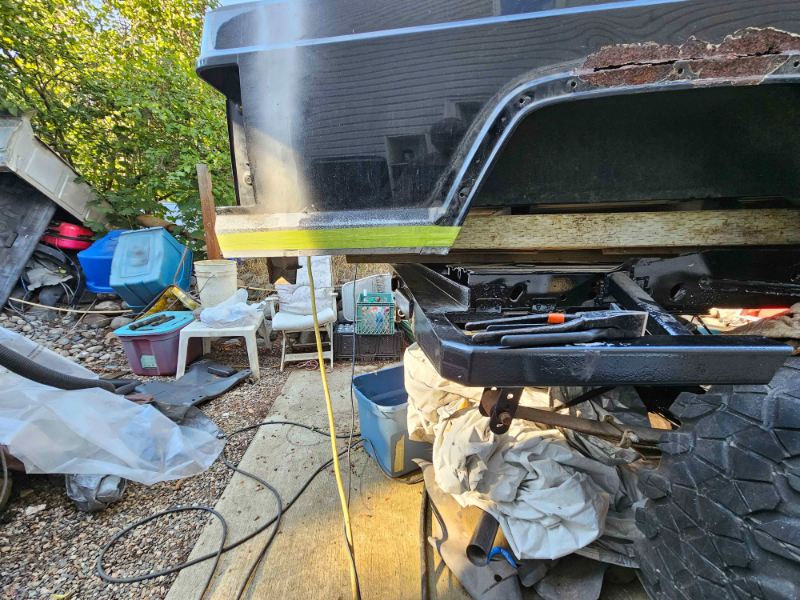
Now I think we are caught up to the final photo on page 4 The truck bed fits and time to finish fitting the sliders Time to line up where needs to be trimmed after a cut and fold and removing a pile of bondo on the lower quarter they fit not bad back to where I picked up the steel to have them trimmed and ends cut at a 45 and capped final test fit prior to some rattle can and being welded in the rockers were siginificantly thinner than the slider material so I wasnt doing any stringers I mean I could have on the new material, but my bend tests prior to welding them to the truck proved this was adequate penetration. once fully welded they became my lifting points for my jacks.... for the next project!
-
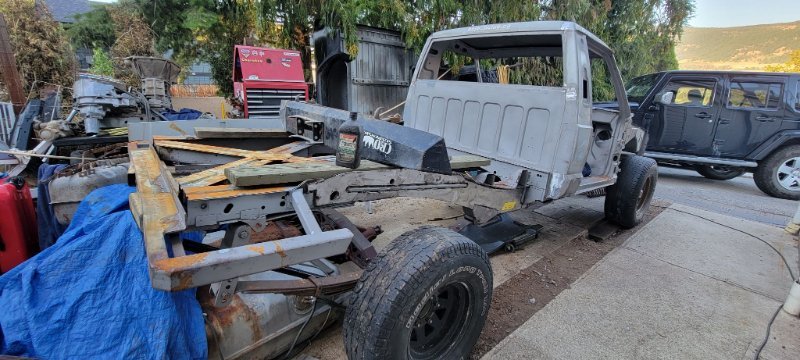
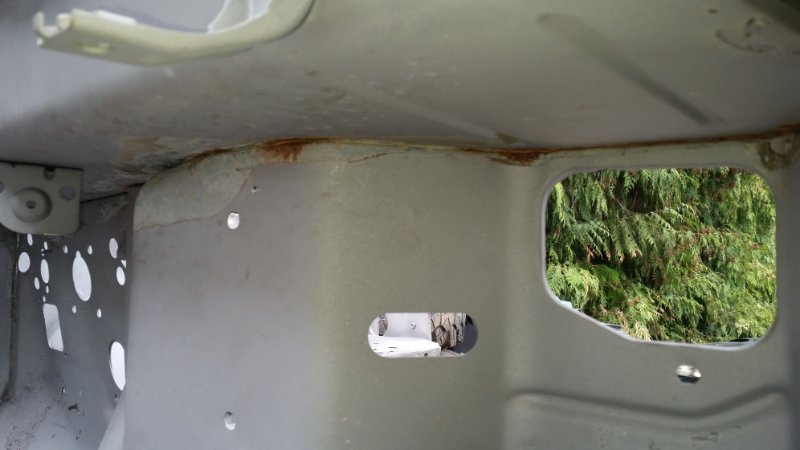
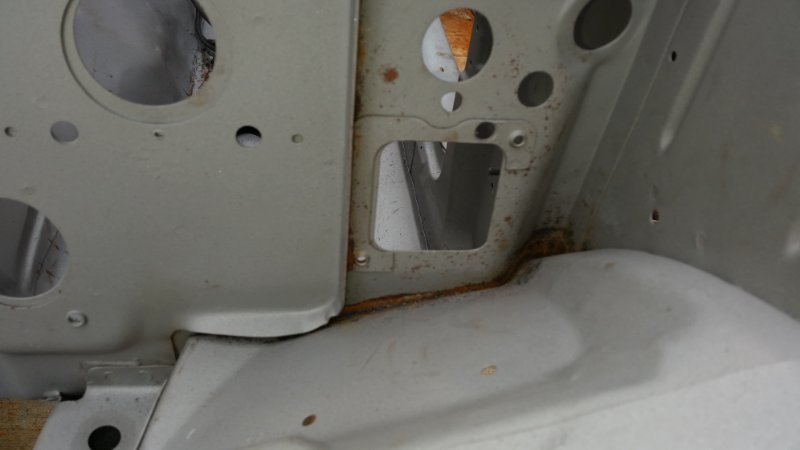
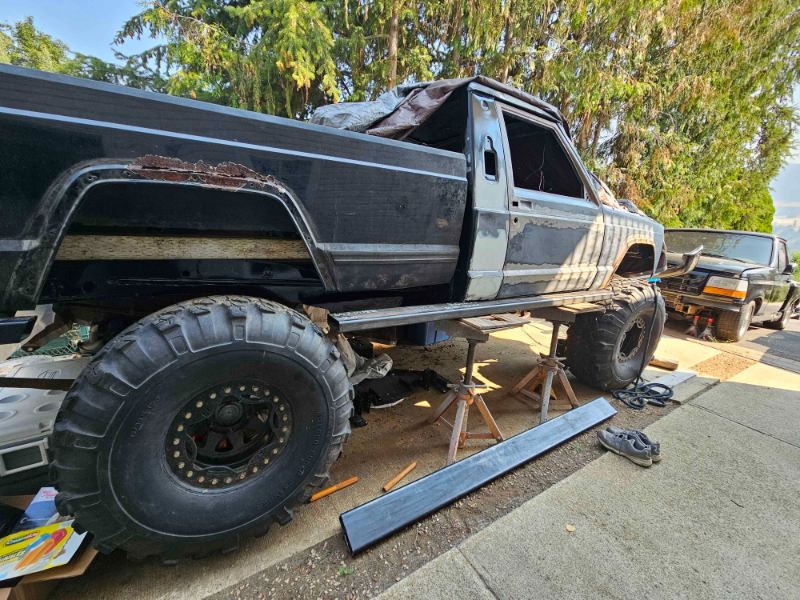
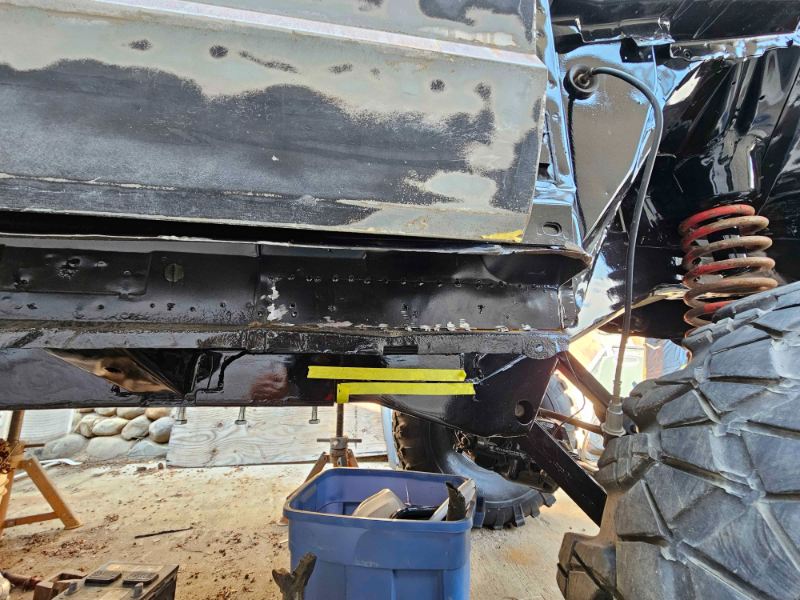
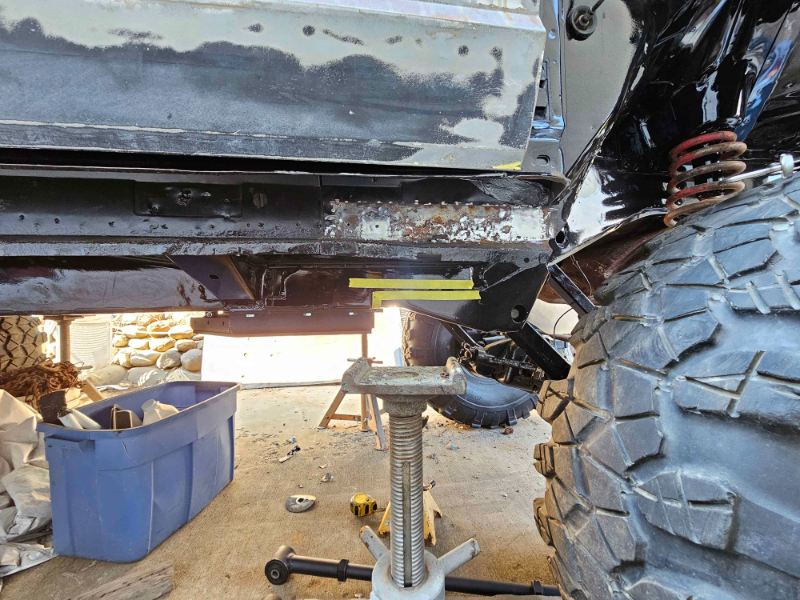
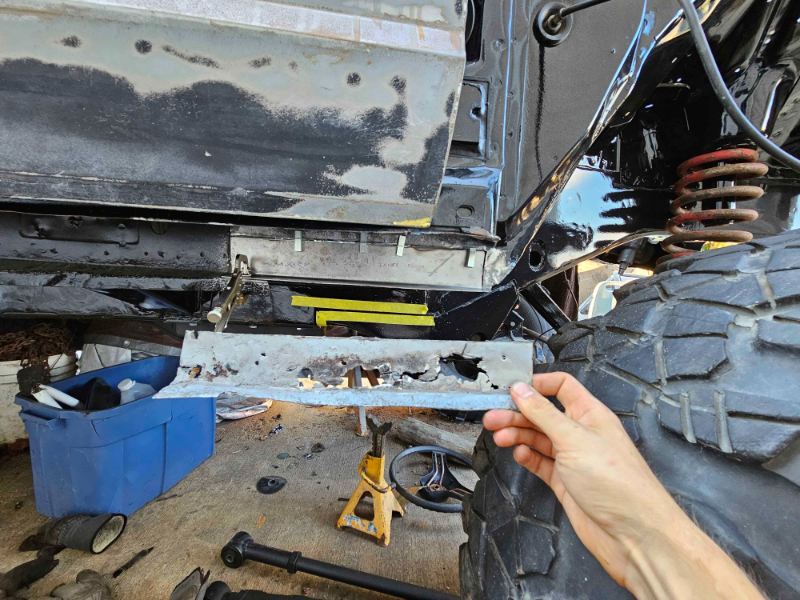
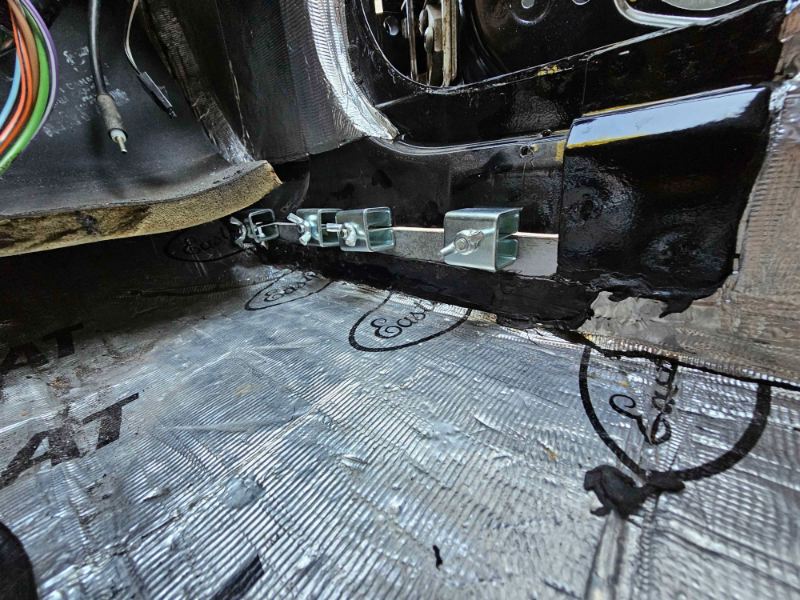
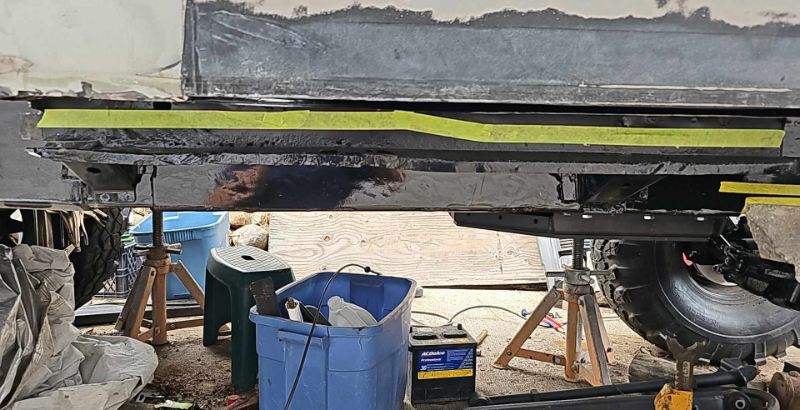
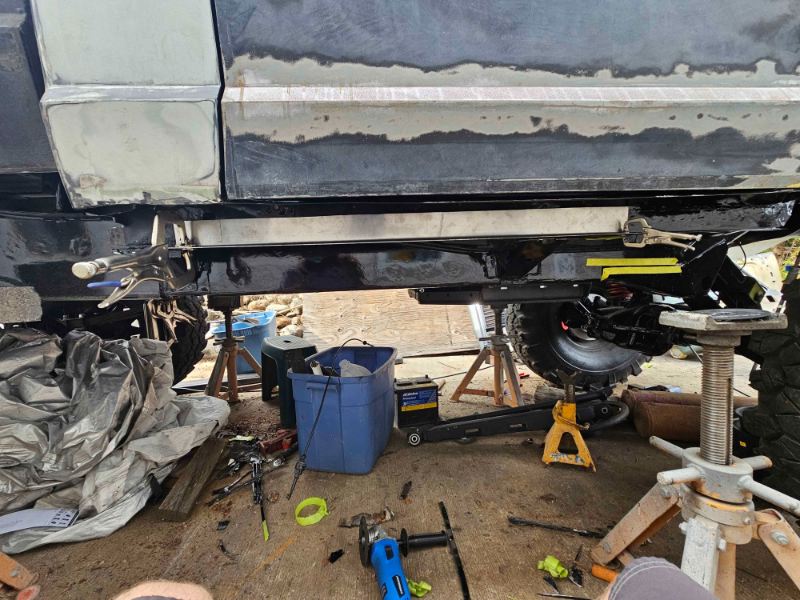
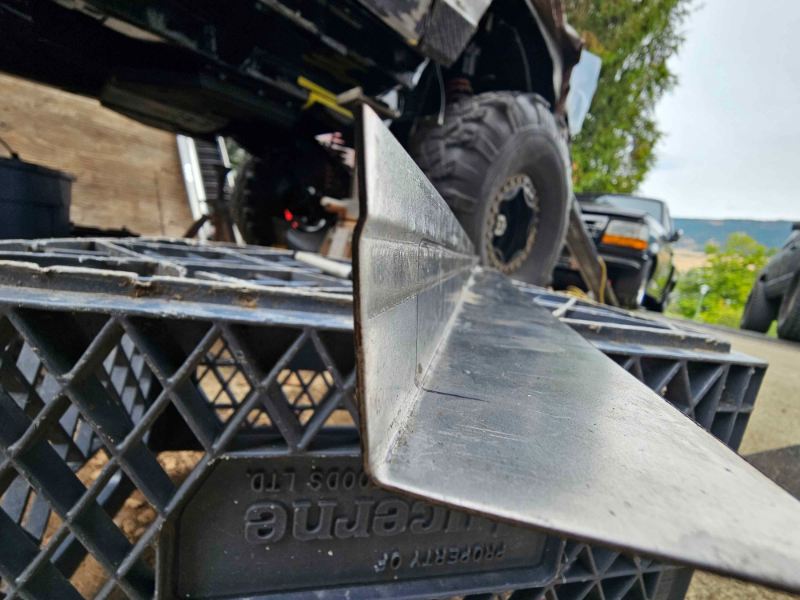
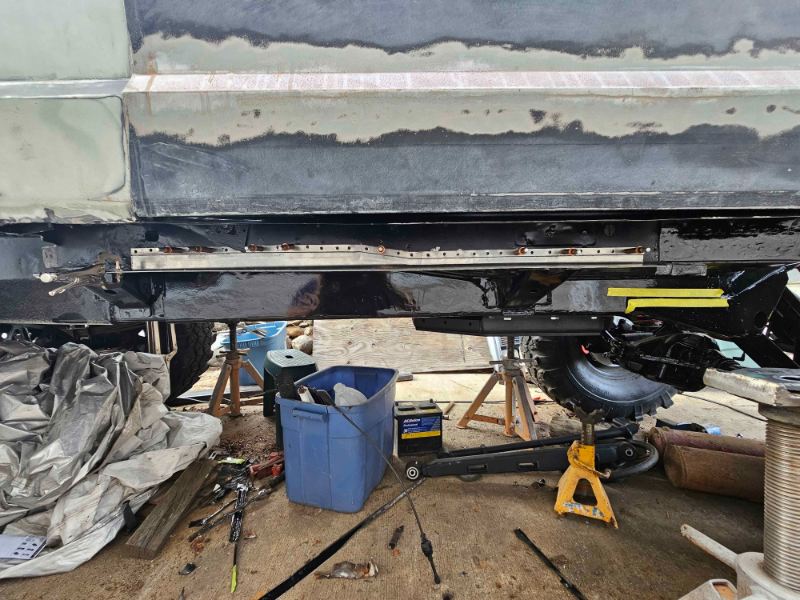
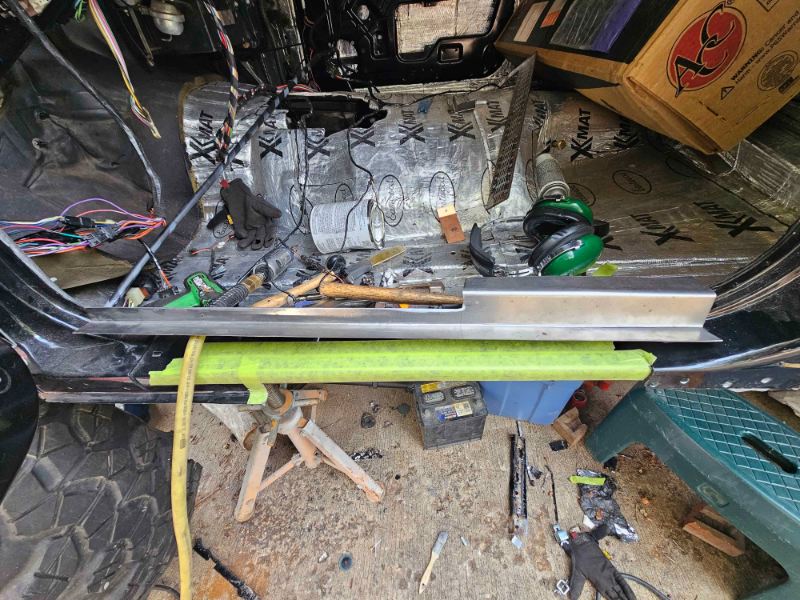
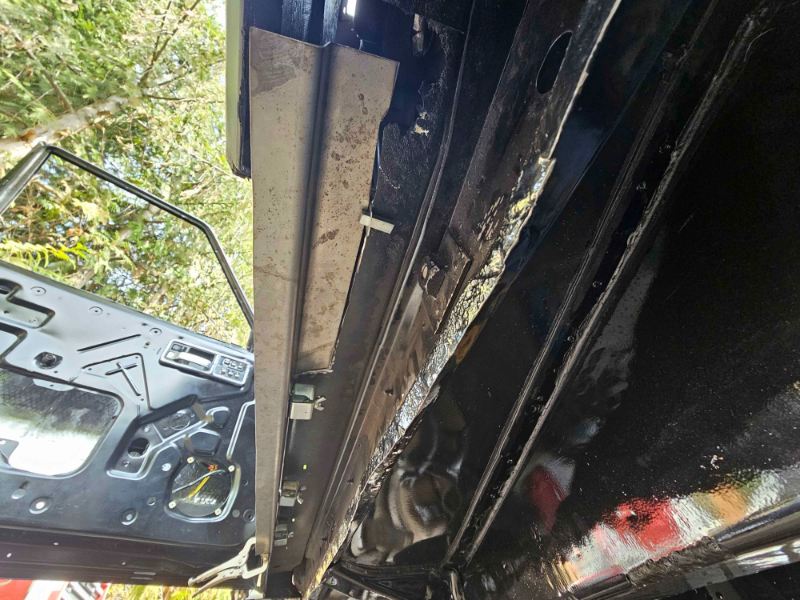
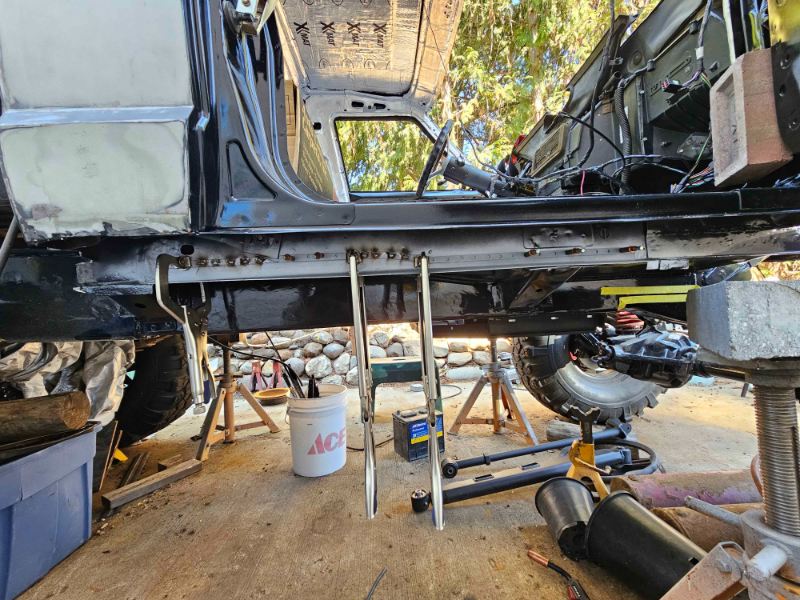
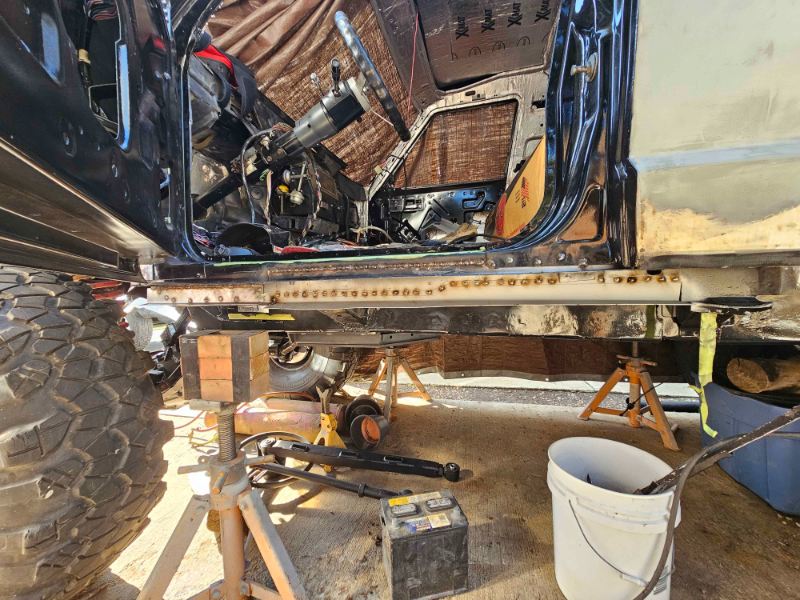
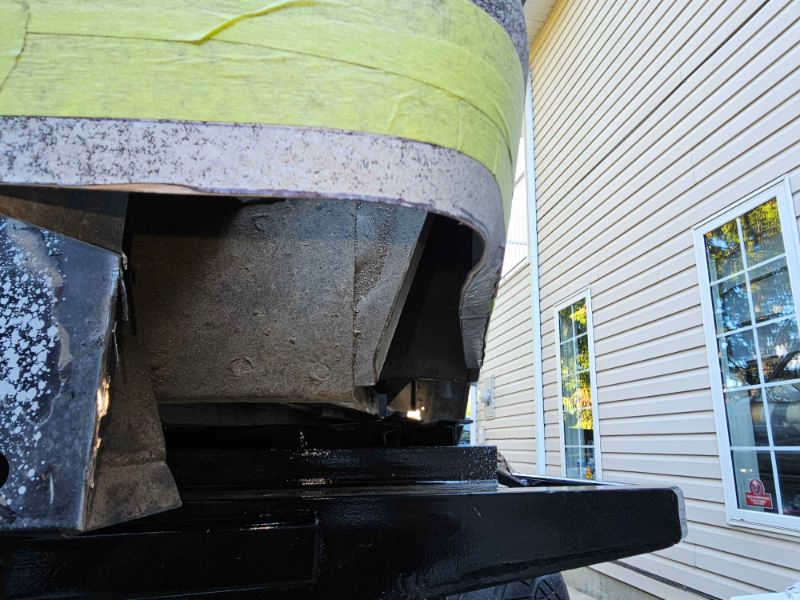
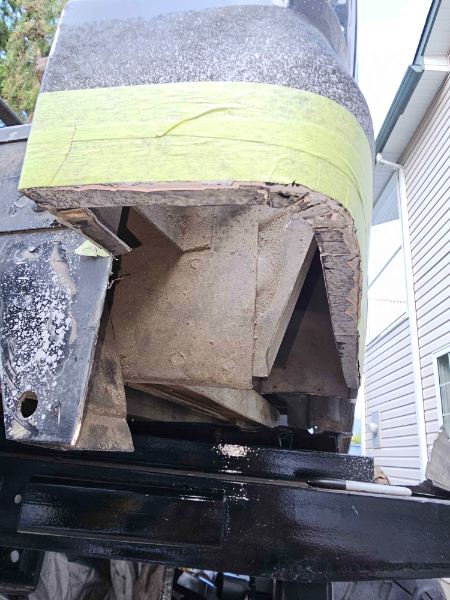
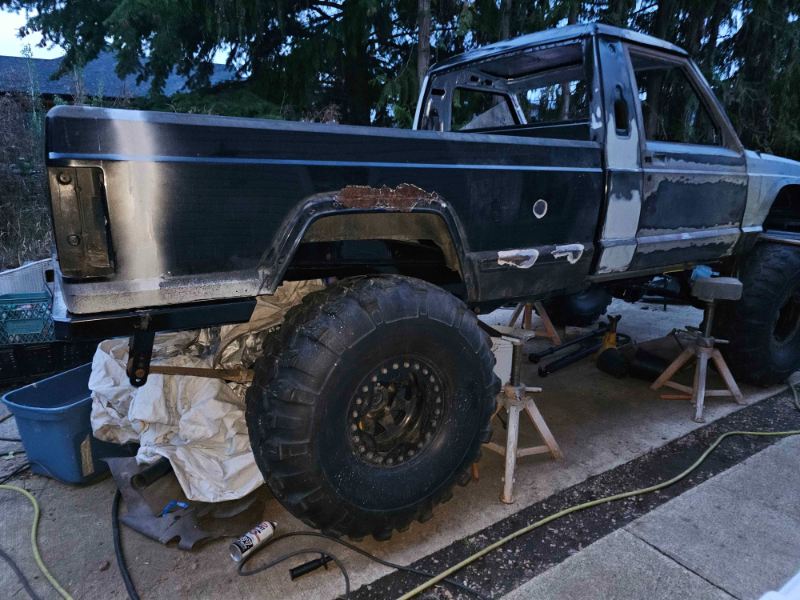
I had been asking a friend about some rockslider material for well over a year finally he delivered 14 feet of 2x6 3/16th rectangular tubing originally was going to use them as air tanks as well, but after some research 1/4 wall thickness was the minimum recomended ( wouldnt that be nice to turn these into cylindrical shapes and the doors not open ) this is what ties the ENTIRE truck together. In order to have them installed its needed to fit every panel to the truck since they all intersect In order to fit the sliders a siginificant amount of rocker repairs were needed. thus I was tasked with removing my first attemps of sheet metal repairs on the truck (man they were SO BAD) both the drivers and passenger rockers were in the same state. So I was tasked with removing the crude repairs which included removing some of my sound deading I worked so hard on once the crude repairs were removed. I was able to proceed on making the rest of the new peices for the upper and lower rockers The Drivers side wasn't In any better condition Finally, I had enough material to weld in the rock sliders but first I needed to fit the box to the truck, ( rear bumper is intergral to the frame and has sliders in the way of box corners) I had cut lower than the needed dimensions because I wanted to roll edges on the material to maintain rigidity the pie cuts will be welded once the box is off again and just like that It fits!
-
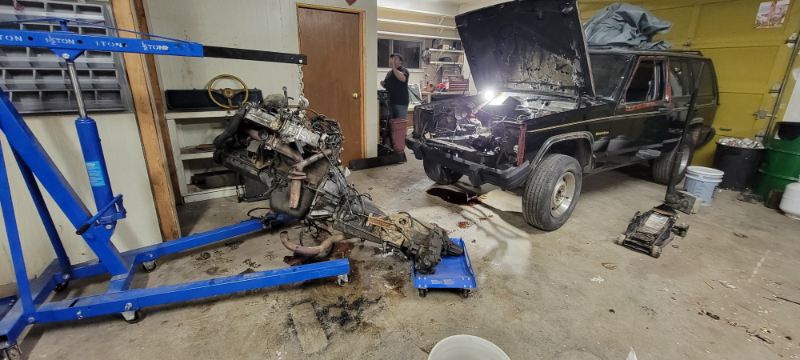
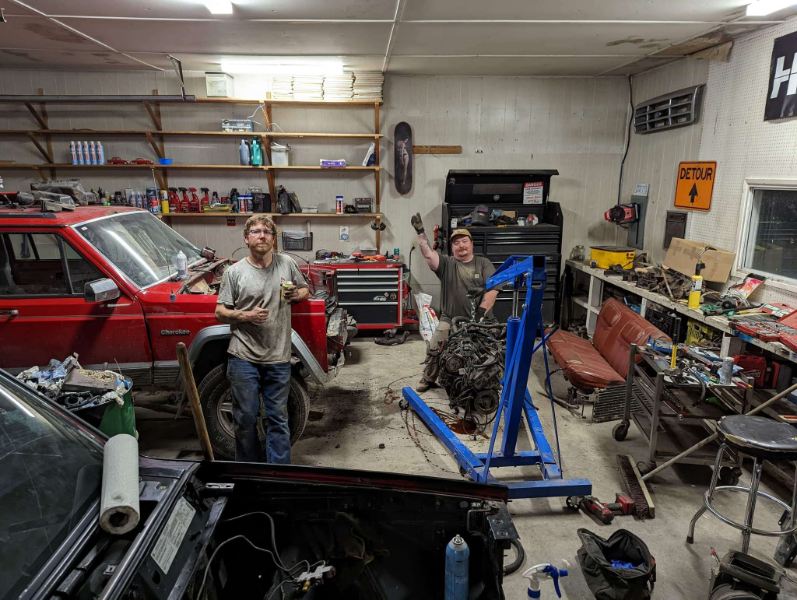
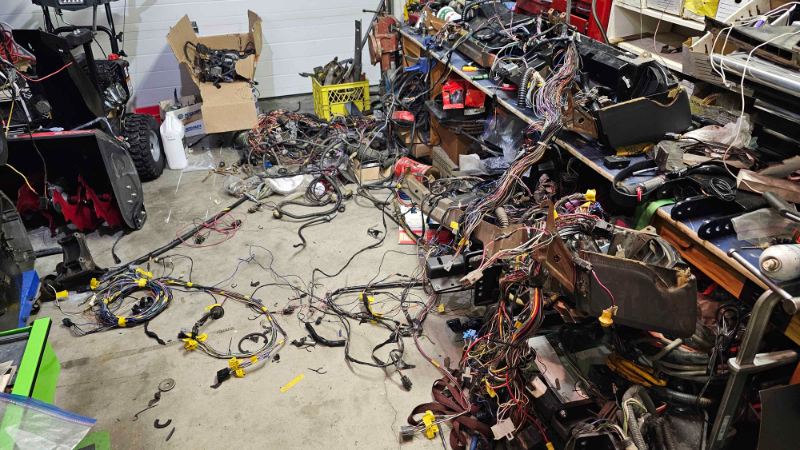
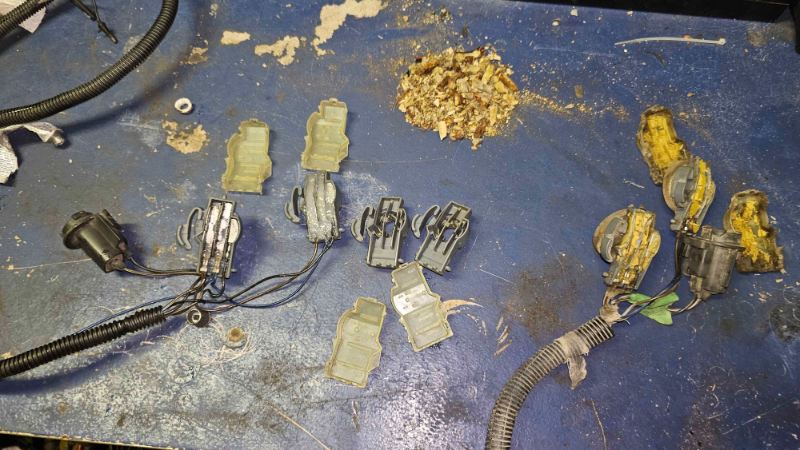
I had a friend who wanted a 90 cherokee Country HO swaped in return I could have everything, and I mean everything renix. so in all the goodies I have acquired an entire Renix XJ Country wiring harness this includes -power locks/mirriors/window actuators -power seat harness (sadly the powere drivers seat wasnt there) -ambient air temp sensor -over head unit would you believe, the 90 xj harness even though its renix is not directly compatible with the mj? I've spent multiple hours and countless wiring diagrams to build a hybrid harness and combine the two, end to end everysingle wire had been labeled, and followed to each termination. any wire that had to be replaced, has been depinned from the fuse box and the full length has been placed in the harness. no splices all OEM. you can't even tell it's been heavily modified excuse the mess. but this multple harnesses astrewn. I mean they were even hanging from the ceiling (not pictured, but i assure you they are) and basically the only picture I have of the wiring besides cleaning up these tailight sockets the wiring is complete like I said end to end. there are a few things I need to tie in still but I need to wait till its in the truck to finish those.
-
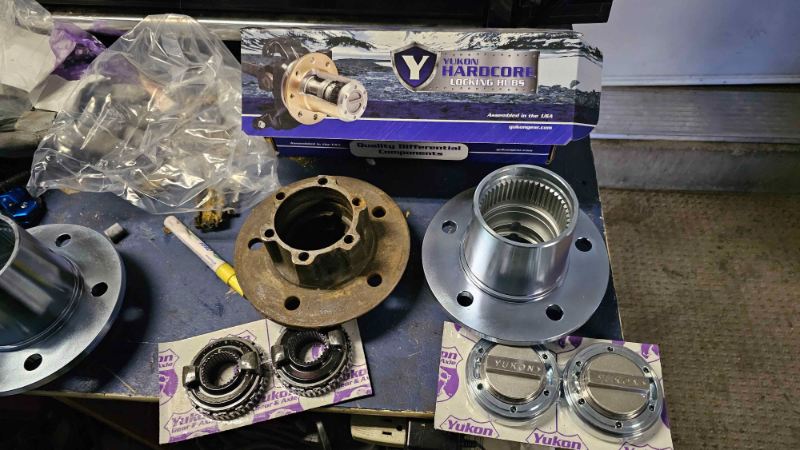
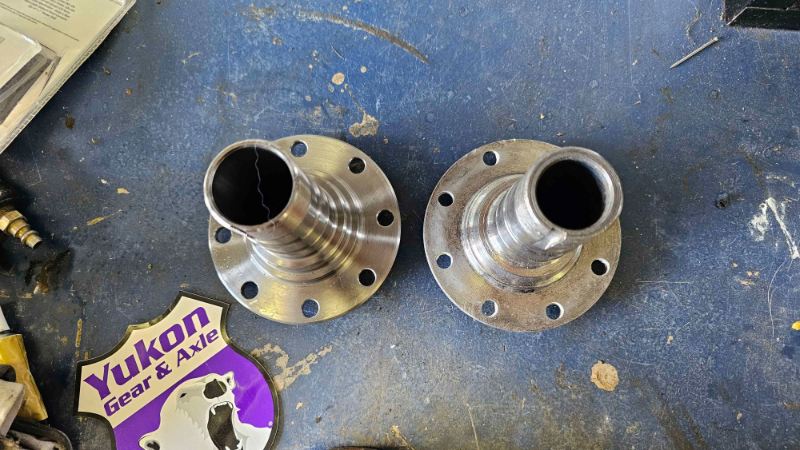
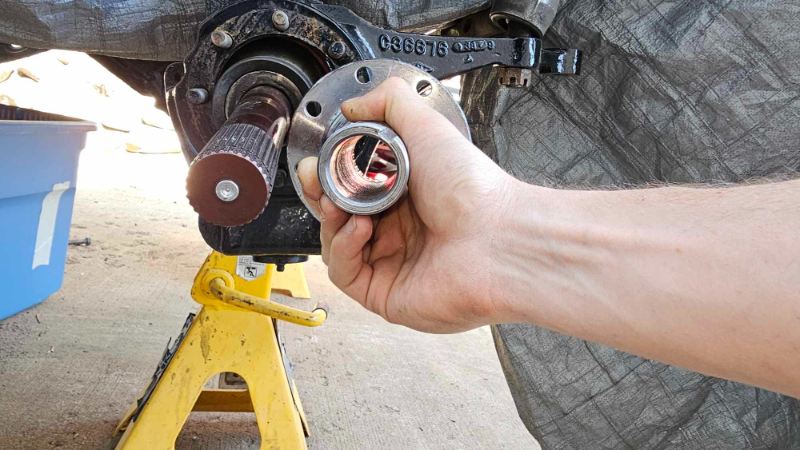
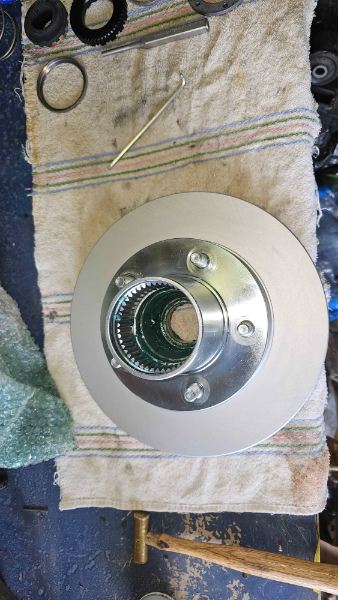
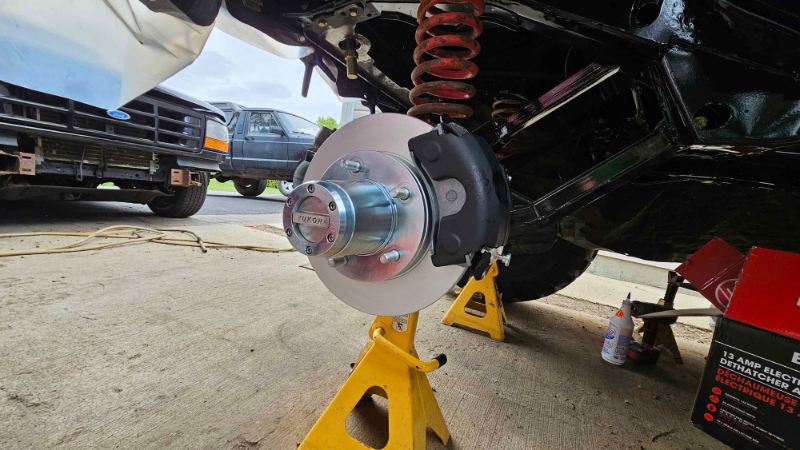
So there I was... searching through amazon and there it was... A deal too good to be true Internal hub conversion for the scout II for about 500 canadian pesos -Front axle is a scout II spicer 44 (tubed, sleeved, pumpkin swapped to drivers) They even sent harddcore hubwith it FOR FREE!!! amazon messed up big time and saved me atleast a grand... or so I thought. As this is a deal too good to be true, thats exactly what it is -The hardcore hubs require 30 spline shafts -Scout II outer shafts are 27 spline -I have RCV's My good deal is starting to seem like It wasnt really at all now two 30 spline shafts had been sent, for more than the cost of the previous package They arrive and as eager as I was, I went straight to work installing them Well, With my luck thats it right? just assemble the rest and good to go That is not the case stub shafts no longer fit the OEM spindle at this rate you can see, my good deal... may have been in the beginning been infact good. but it wasn't in the end. so back to yukon gear to get their spindles as well lmao the rest of the process went as you would expect, drive new races into hubs, hand pack the bearings install seals and suck studs through rotor/hub then install per yukon gears installation literature I am excited for the interal hubs. as the external are inferior and broke all the time hindsight, if I had known how much I would have to buy to get it all working right. I would have just did a big bearing/knuckle conversion from another vehicle which would have given me everything except the hardcore hubs (obvious answer would be just to invest in 1 tons lmao) but it's done
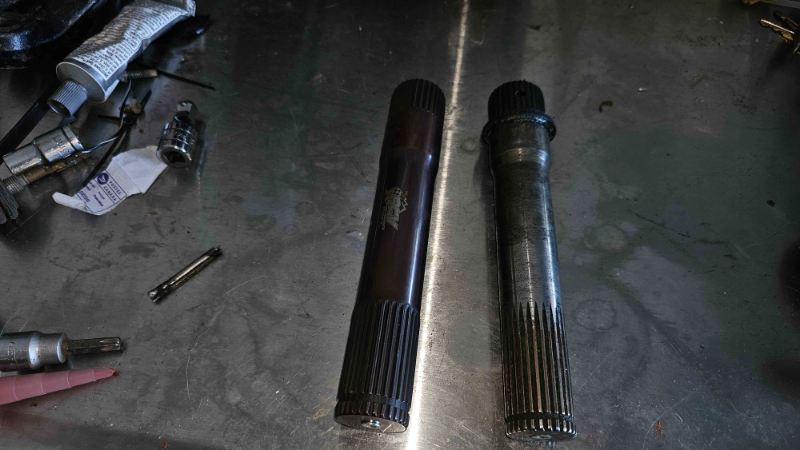
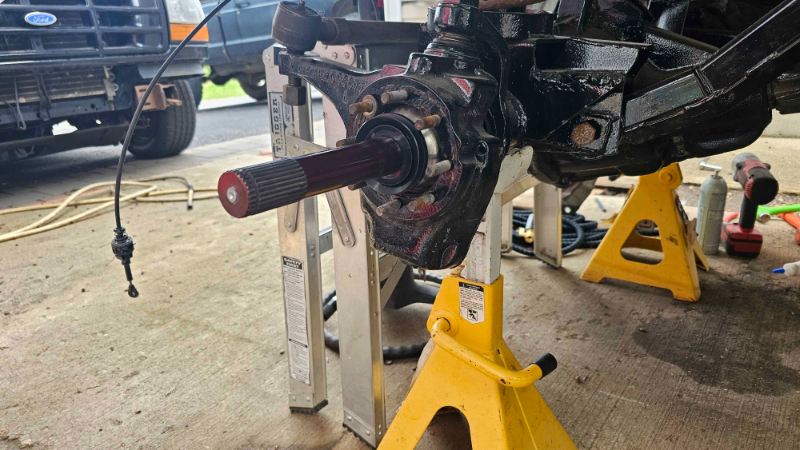
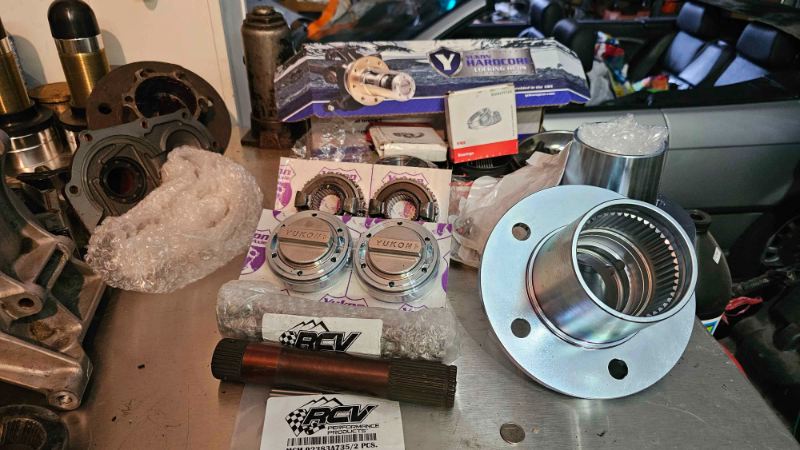
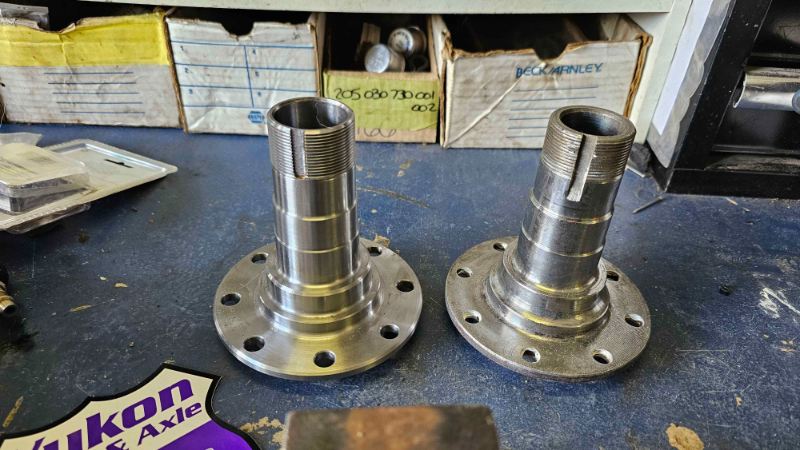
-
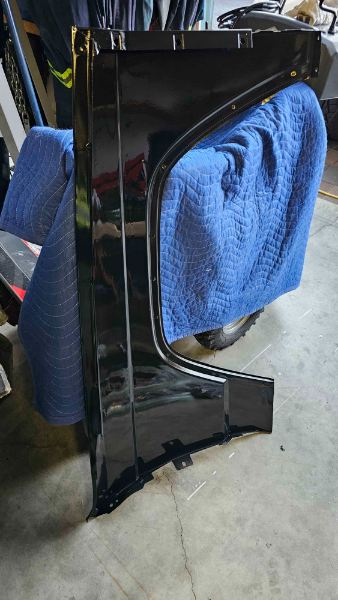
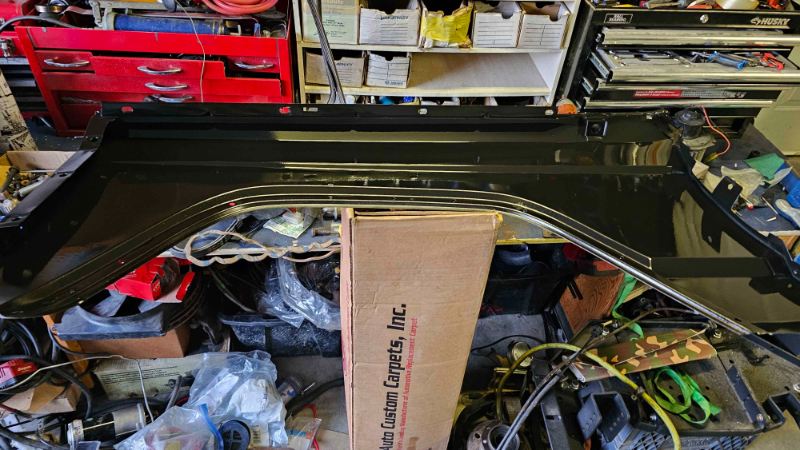
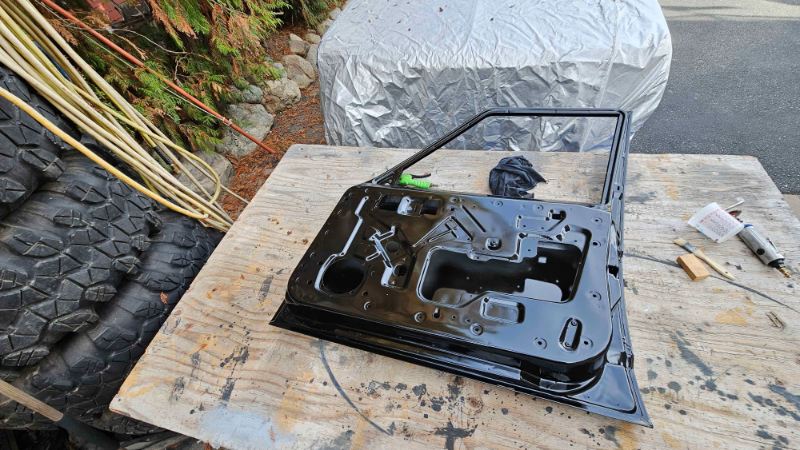
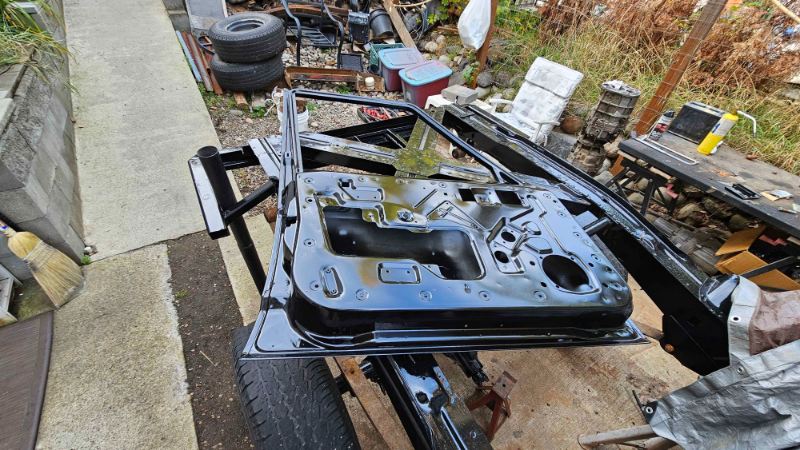
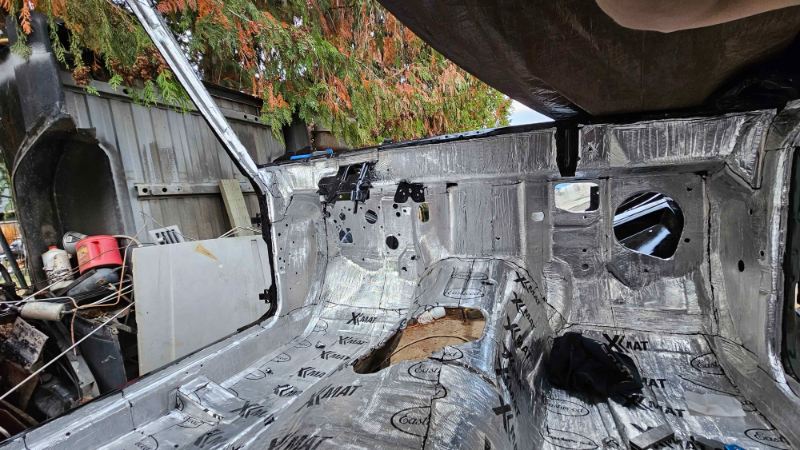
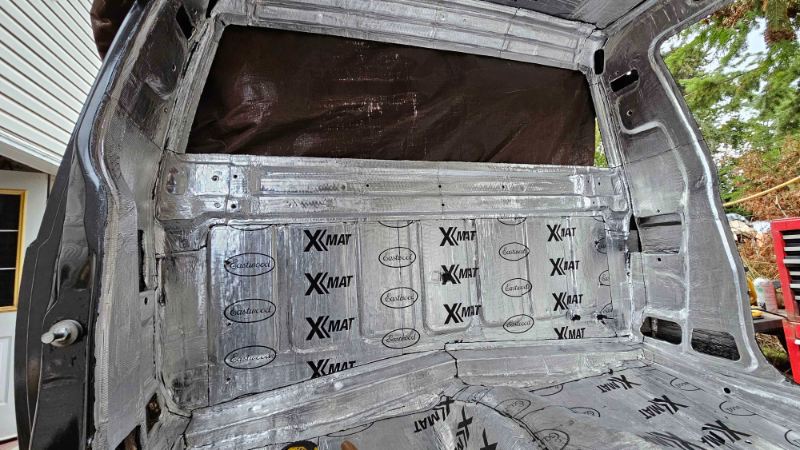
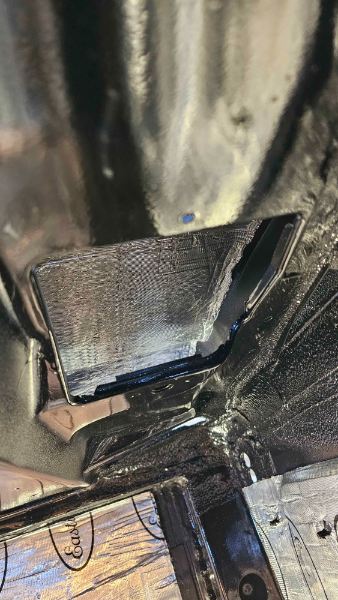
thanks! I ended up prepping the inner doors andfenders with por 15, took a little bit to find the right dillution of the correct thinner to por15 Once the por-15 was good and setup I started on sound deadening. I picked up one box, which by my calculations... there should have been more to spare. yeah, I was wrong. two more boxes later.... even inside the doors and pillars with it let me tell you, papercuts aint got nothing on this stuff. its impressive how just a little piece can be so sharp!
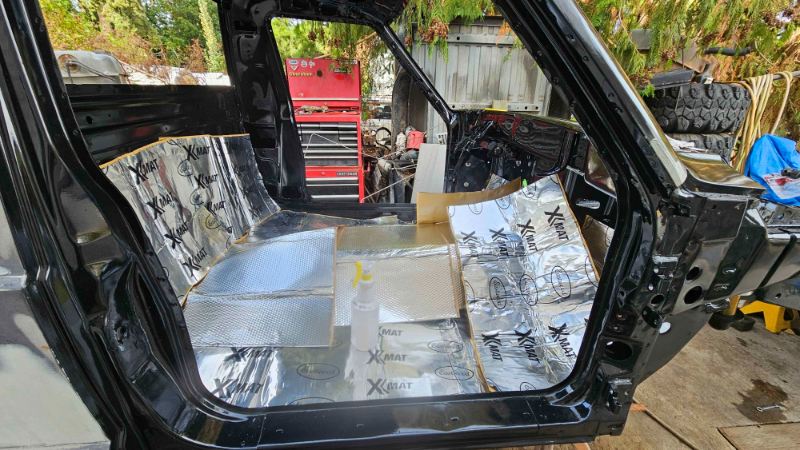
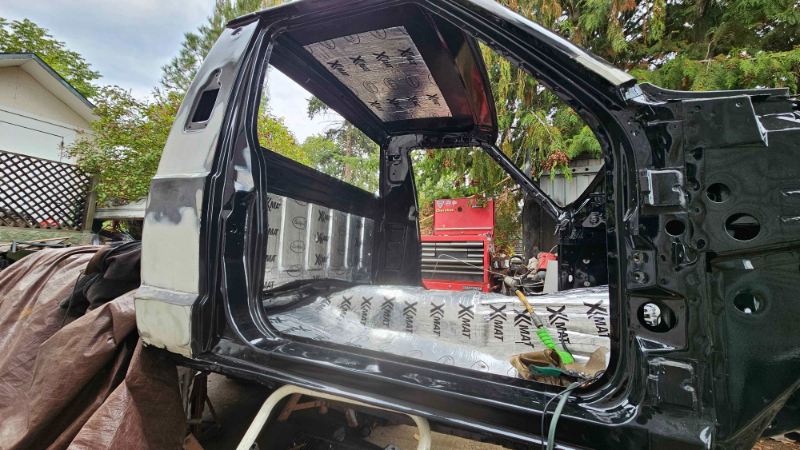
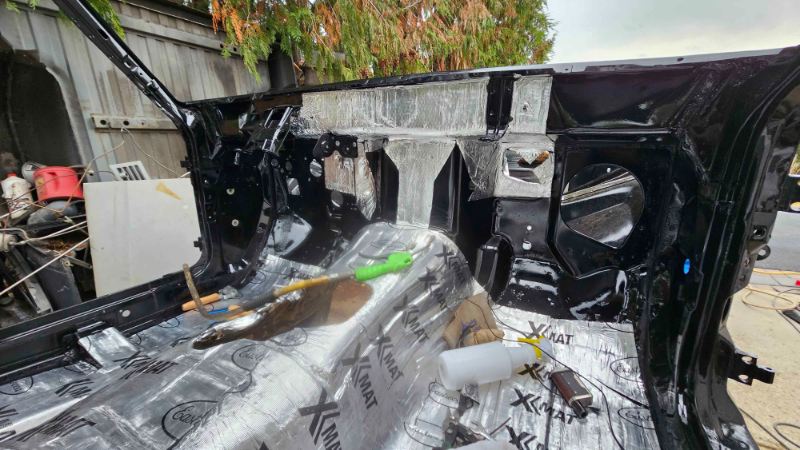
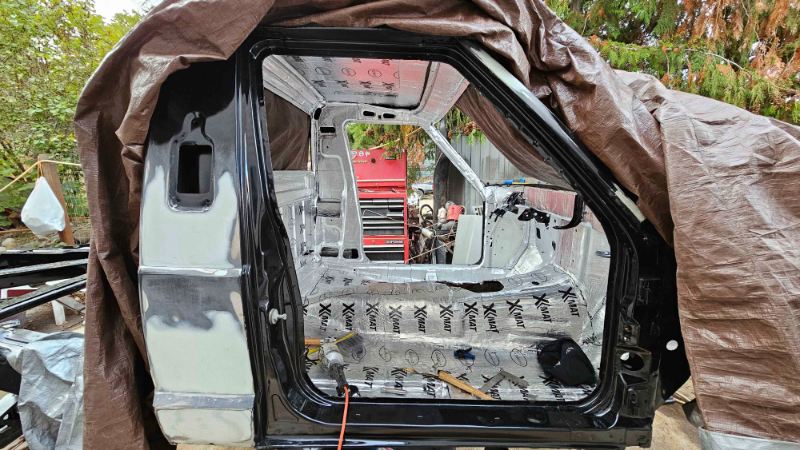
-
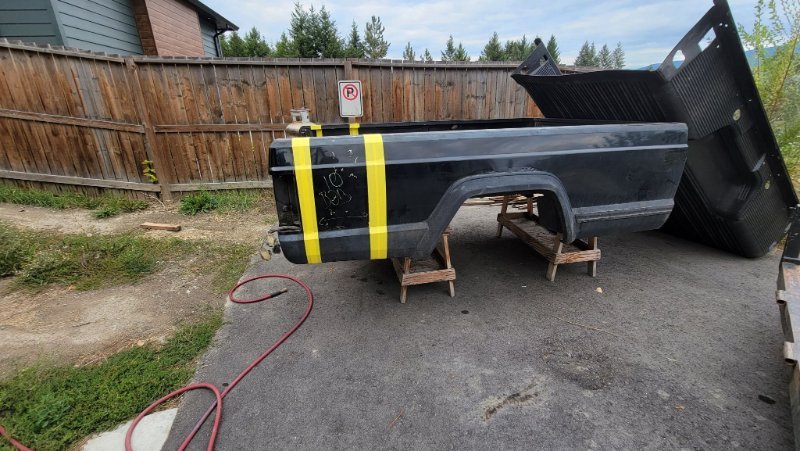
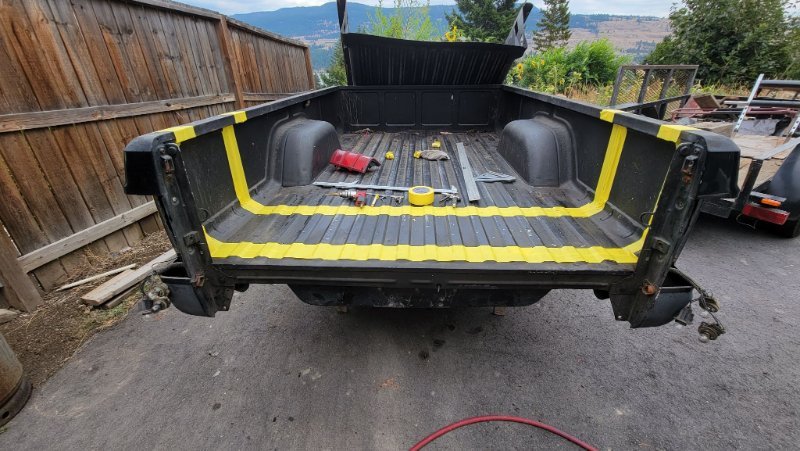
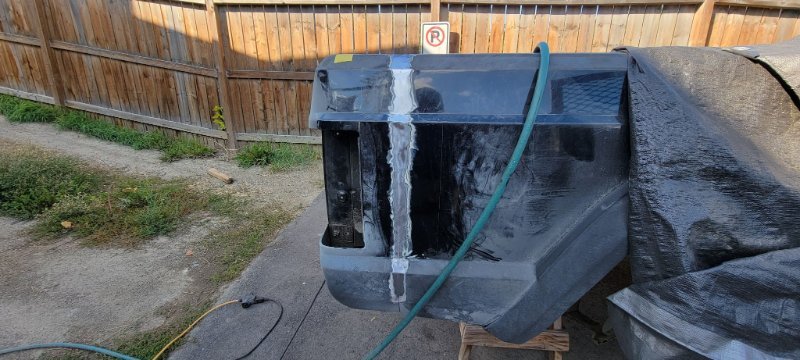
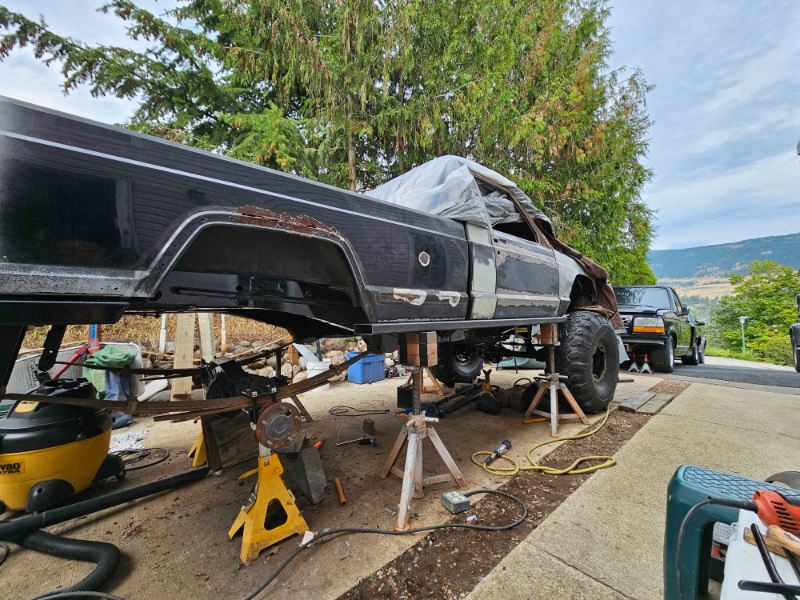
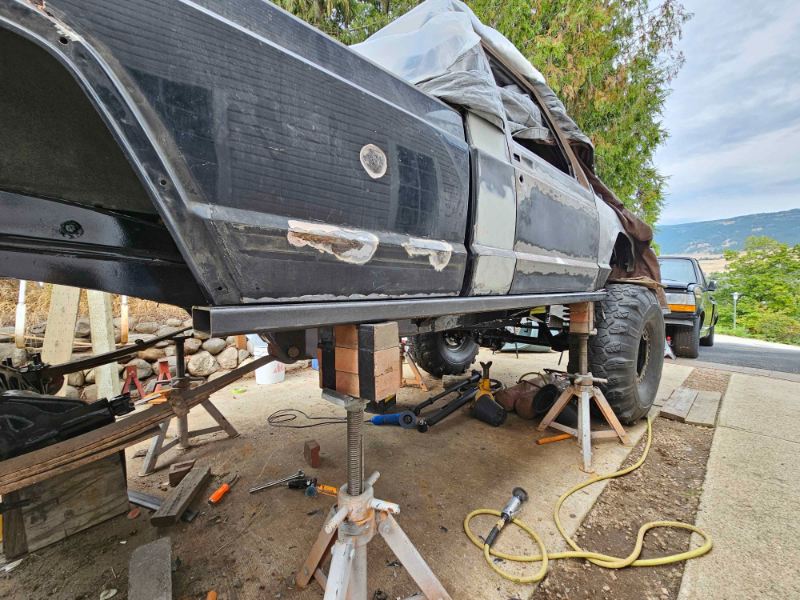
Not sure what happened, but couldn't log in for months. couldnt reset/recieve reset. and didnt accept my password. fast forward to now. put same password in and BAM logged in. strange.... here is a picture of what I am working on now. Maybe tonight I will take sometime and upload my progress, since I can log in again. PS.... that mint longbox I cut up was a bondo betty of a lemon, So Its okay it got the grinder treatment. don't worry. the box is cut and folded on the lowers
-
finally getting around to welding in the x-member in the MJ, looking for some input on how much of the lower control arm mounts to remove
-
4wd ax15/np231 swapped from 2wd ba10/5 As i am repinning the 4 pin connector for reverse lights (melted connector) noticed the red/black wire to ecu and black/blue wire b5 in firewall junction. which in the fsm electrical confirms upshift circuit +when probed upshift light comes on. iirc the upshift indicator is preprogrammed to come on at a specific rpm range of engine does it connect to anything or is it just used as a diagonstic port to ensure function of the factory set up shift indicator?
-
AX-15 Fill Plug Replacement?
MancheKid86 replied to acfortier's topic in MJ Tech: Modification and Repairs
Crown Automotive 83500623 guess it helps if i read the whole post, i see you are looking to source local first -
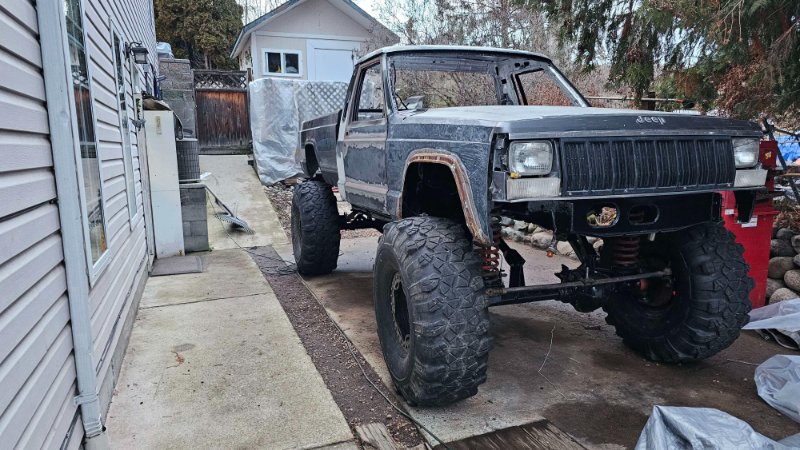
not much of an update but atleast it looks cool right? need to undercoat and paint it before I reassemble
-
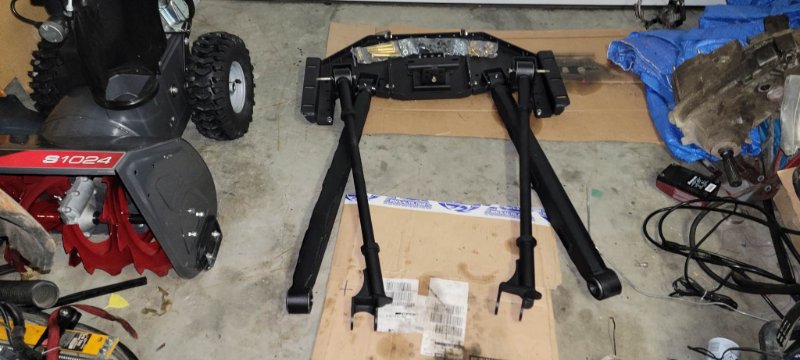
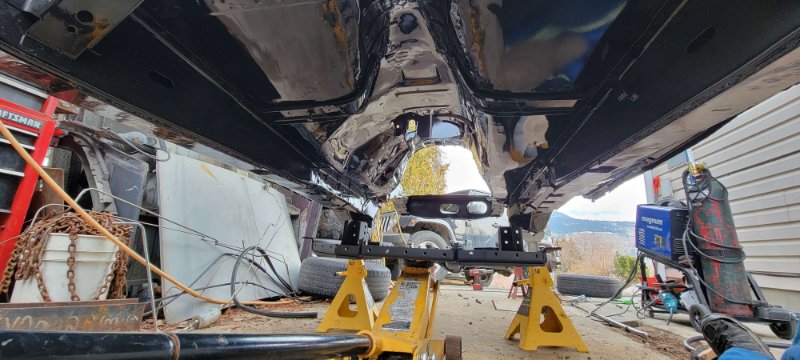
spring is here finally, and so is the long arms from Iron Man 4x4 Fab Andy is great to deal with, and even had him powder coat the kit for me. I think it turned out wonderful. just need to ensure it is 100% lined up before it burn it into place.
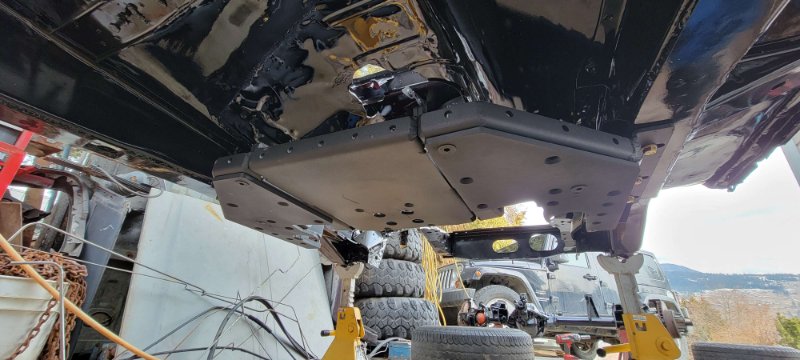
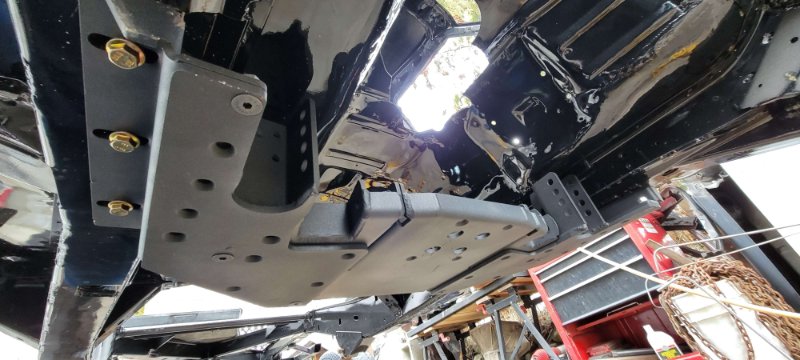
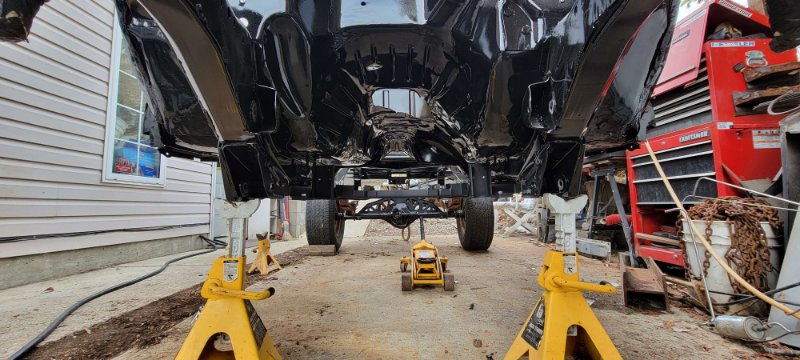
-
thought about working on the jeep and posted the wrong content in this thread lmao
-
I'm a little late to this thread, but 100% agree with 89elim and Eagle. shackle is still inverted, no good. I would be contacting rusty's again and be adamant you want to swap the leaf springs out.
-
wanting to switch my coilsprings (7.5" sky jackers from decades ago) looking to go with an acos system and 4.5" coil of sorts for better spring rates is Rubicon Express still the go to? are the "dual rate long travel "rock krawler(as one brand labels them)"" coils a gimic? or are they worth buying? eventually going coil overs but wantsomething decent to run in the meantime
-
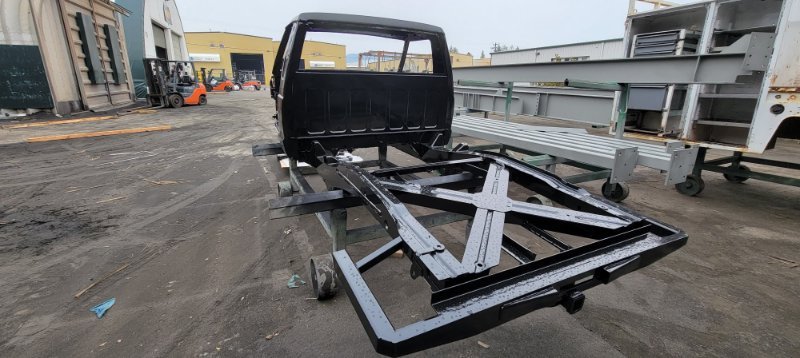
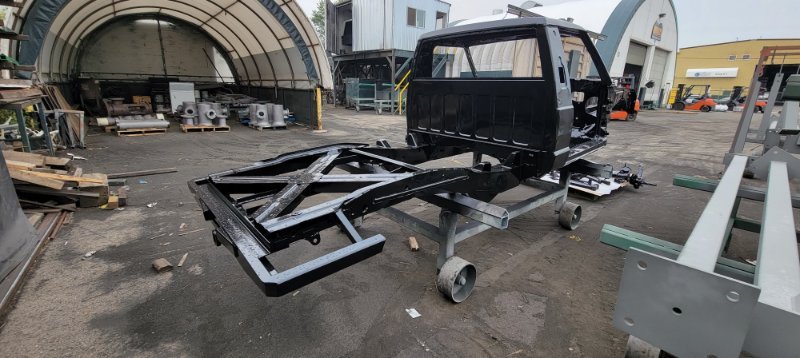
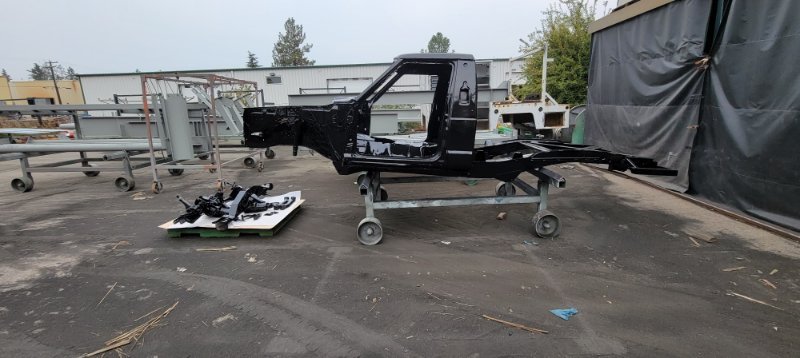
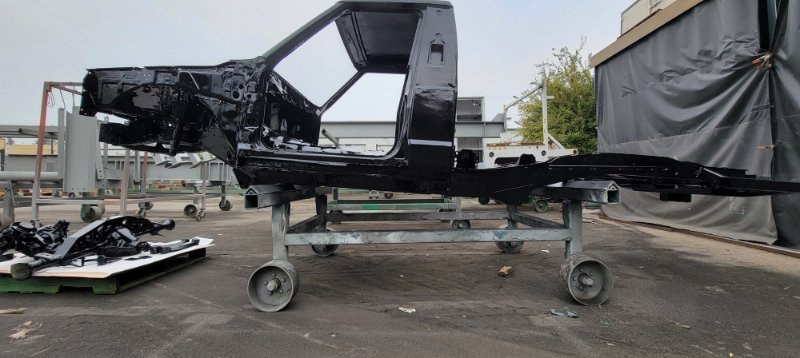
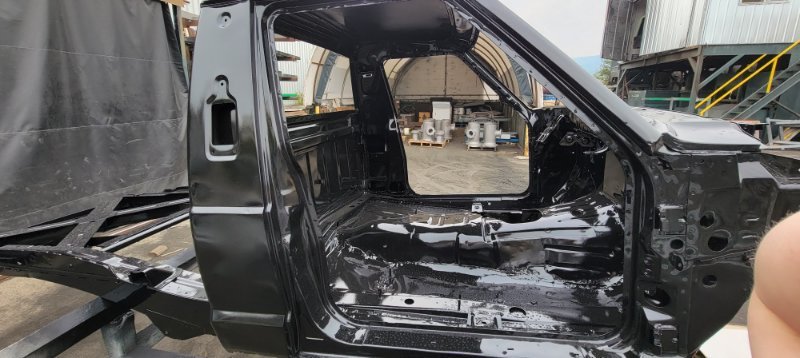
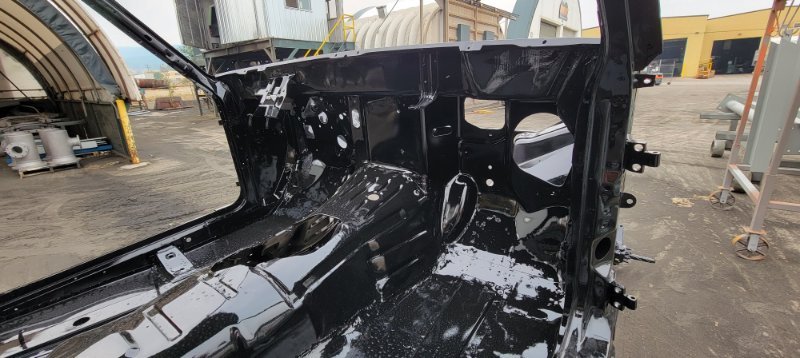
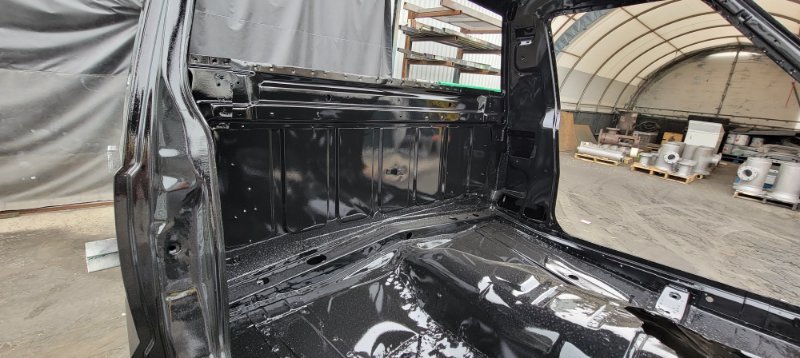
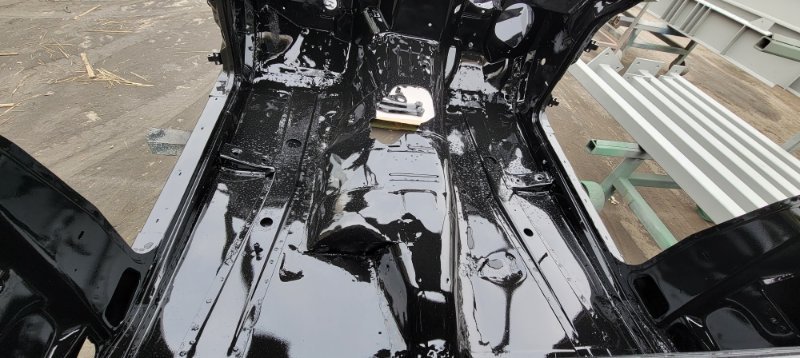
Got the call! I think it turned out great, still need to do body work on the b pillars and roof but atleast the whole thing is sealed. they used endura 3:1 primer and some industrial gloss black ontop. enough of the talk here's what you came for. will have more soon
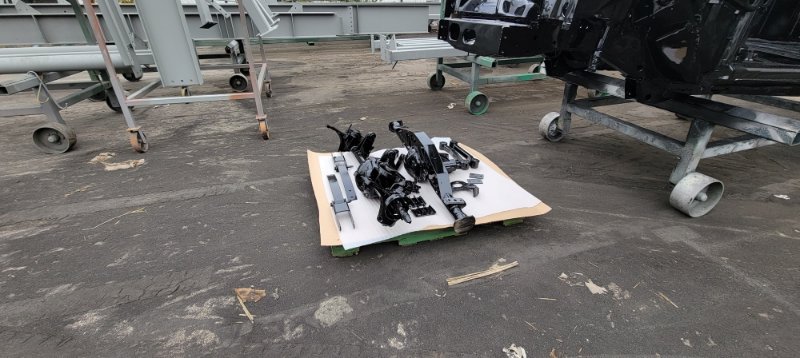
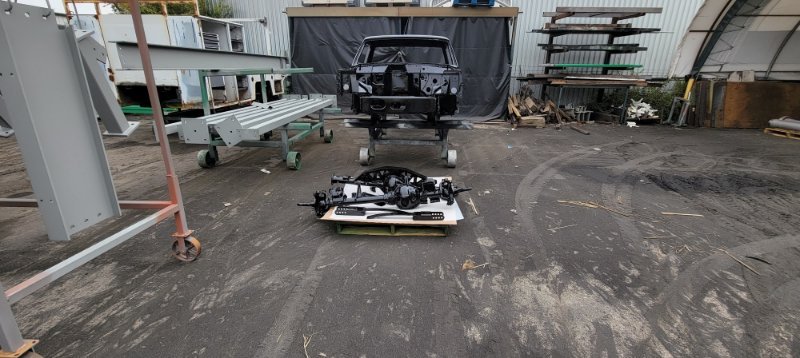
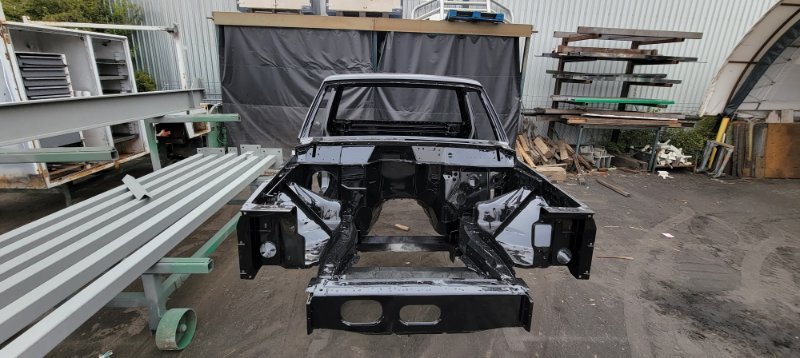
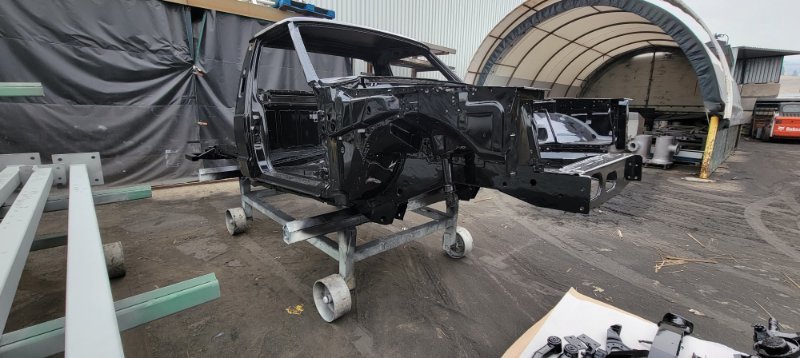
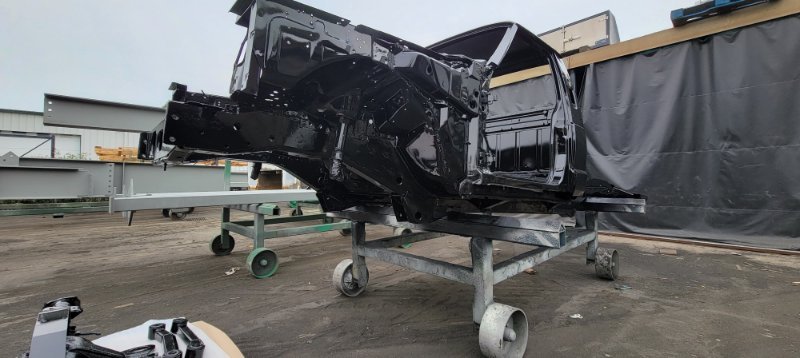
-
axles and cab painted! will be painting outside some sort of metallic grey how the floor pans turned out!
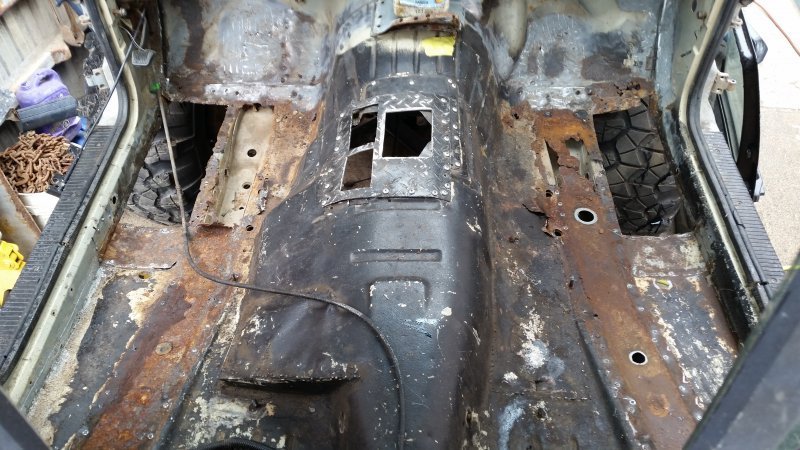
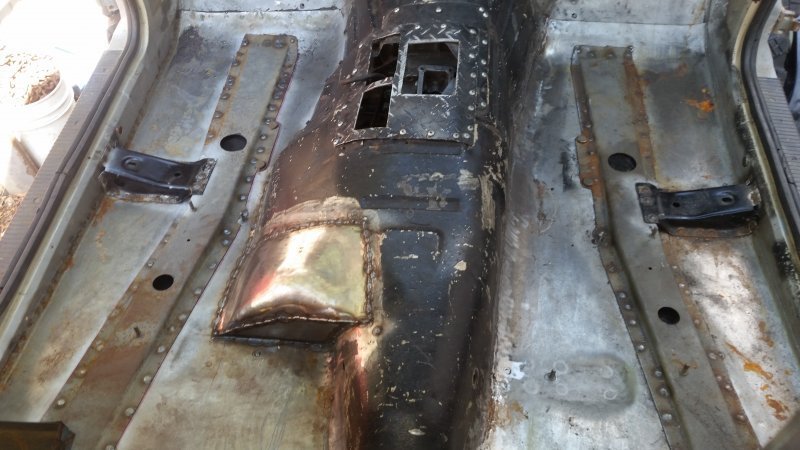
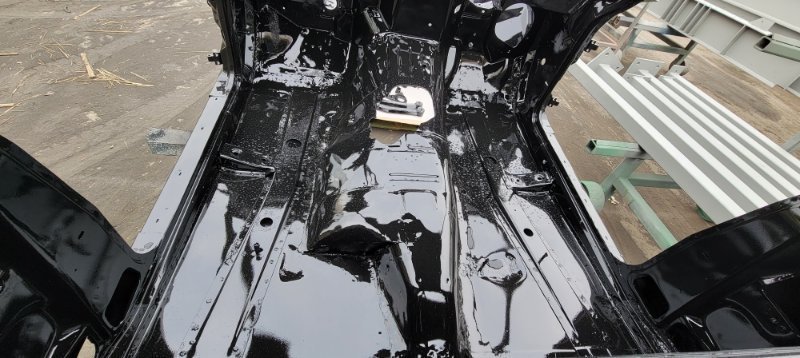
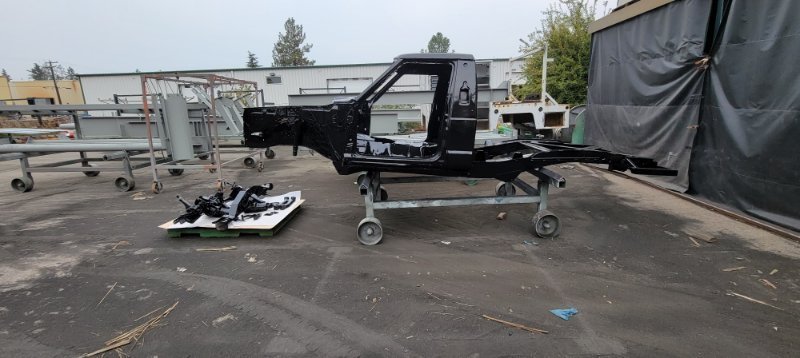
-
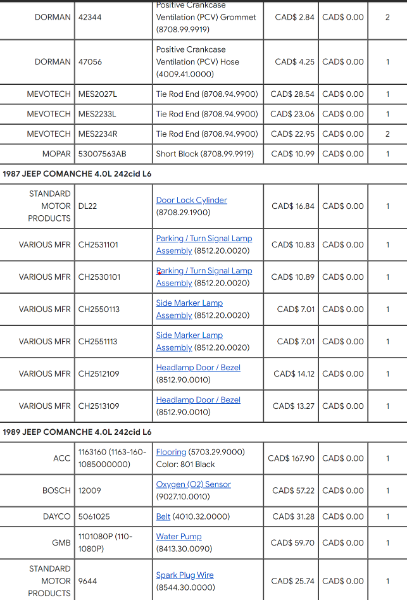
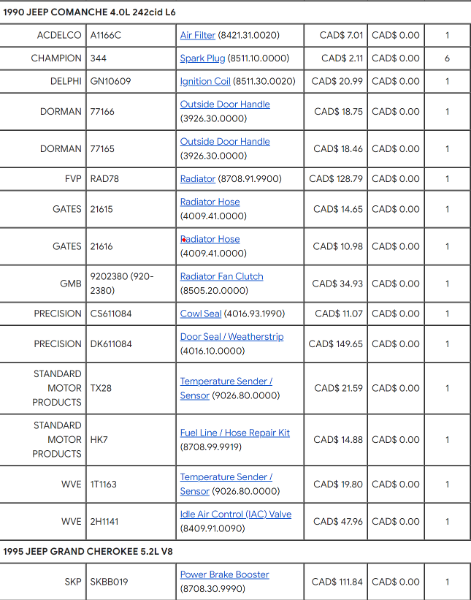
out of the 10 packages coming from rock auto I hope to get Brents Comanche mangnet once again. (Co worker stole mine knowing it was the only one i cared about) may have gone a little crazy with ordering parts. they arrived!
-
yeah... this is pretty sick! great work
-
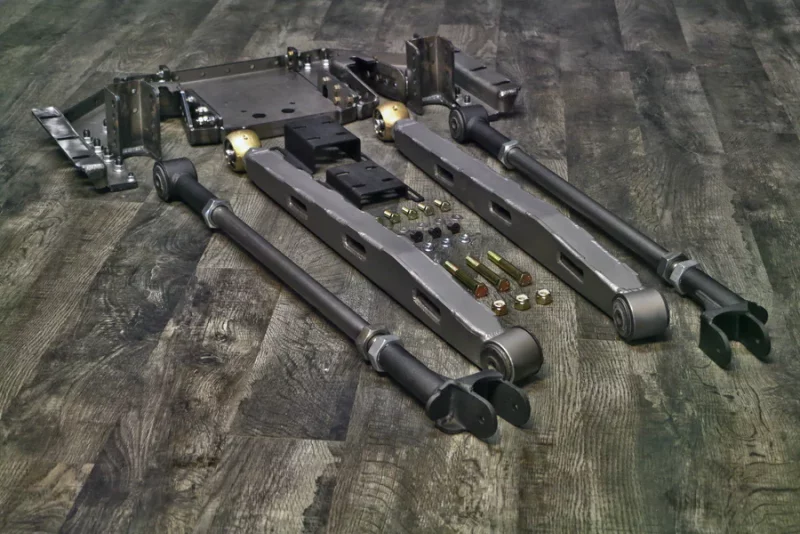
finally bit the bullet and ordered the 4 link from Andy at ironman4x4fab!
-
rebuilt a few bell 214's with these fine spring punches you can get -3 -4 -5 and up for all your rivet needs
-
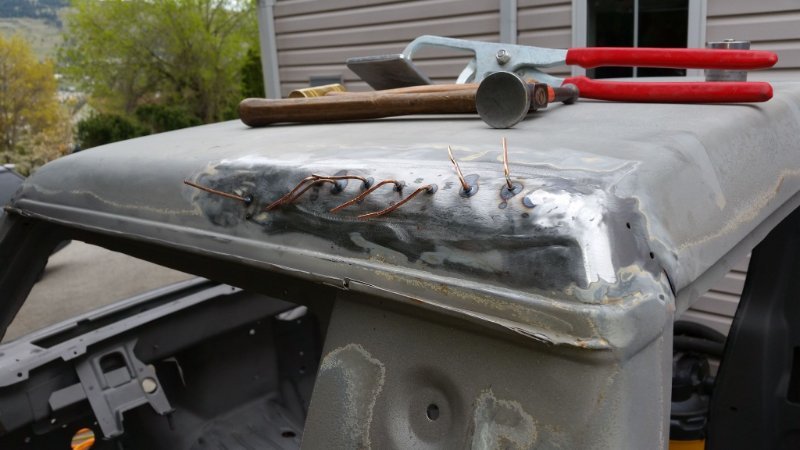
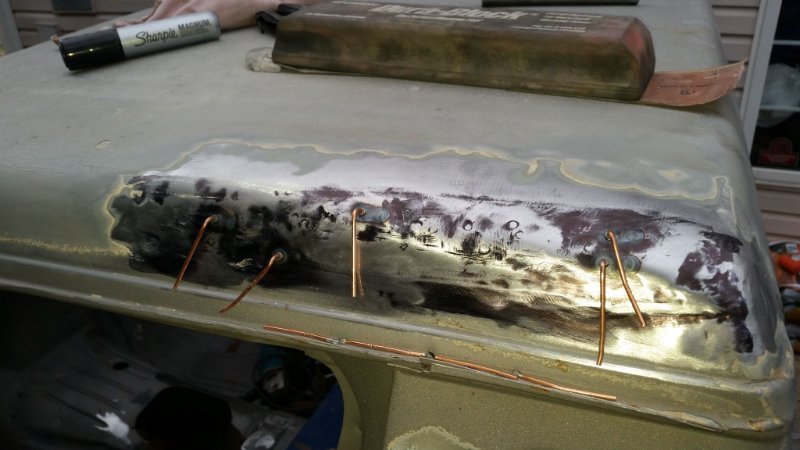
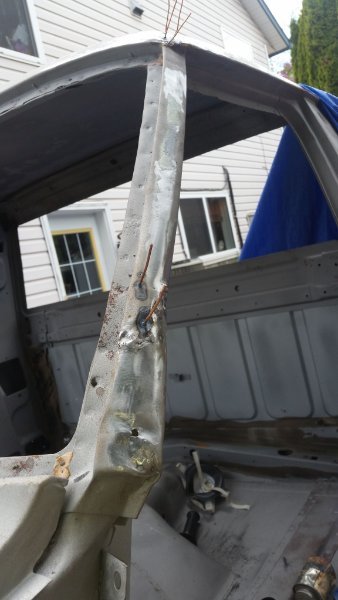
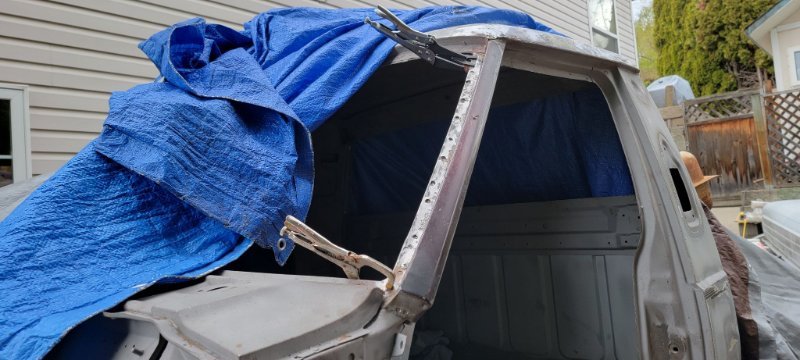
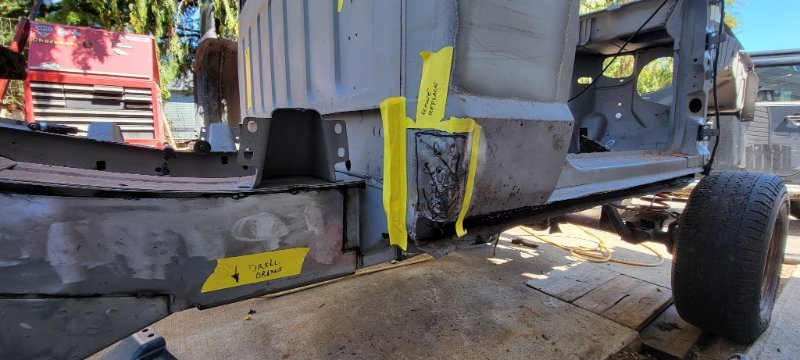
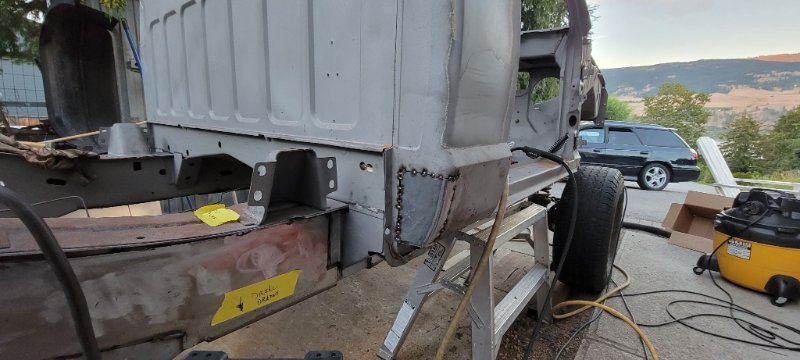
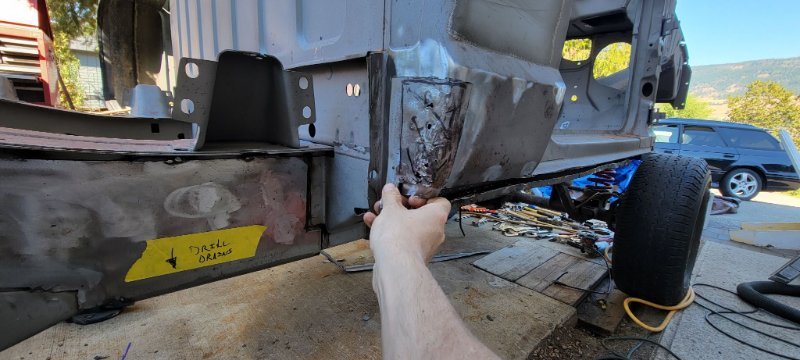
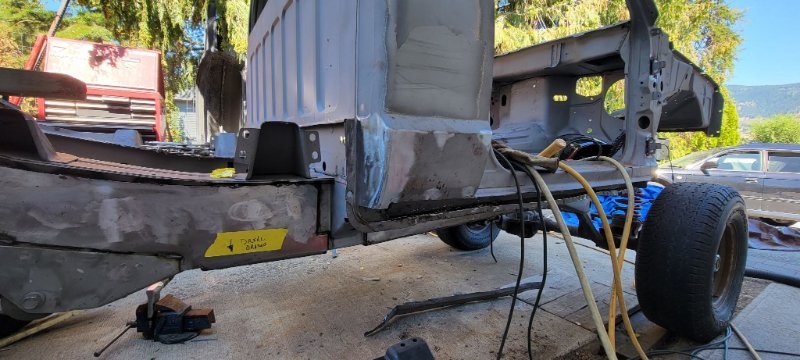
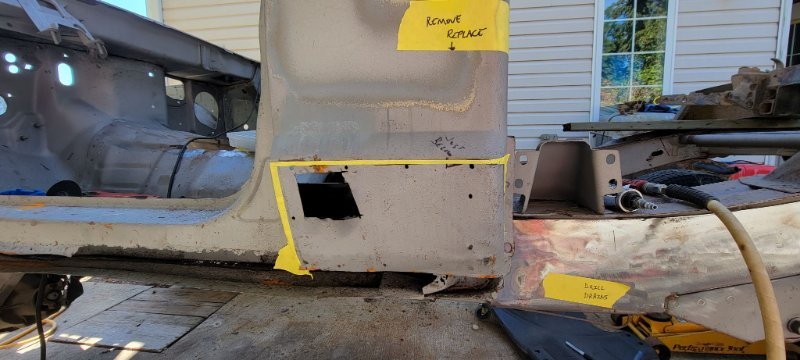
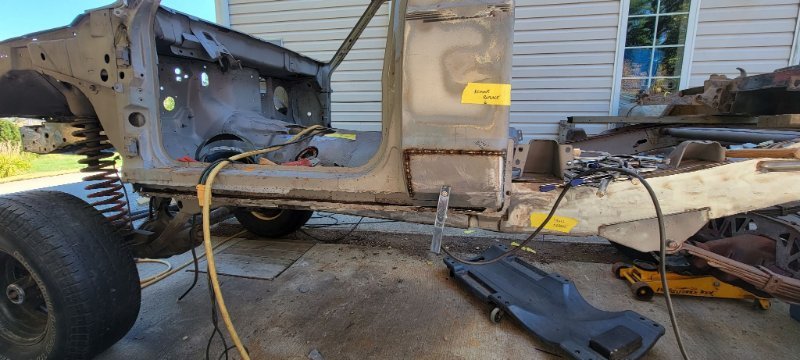
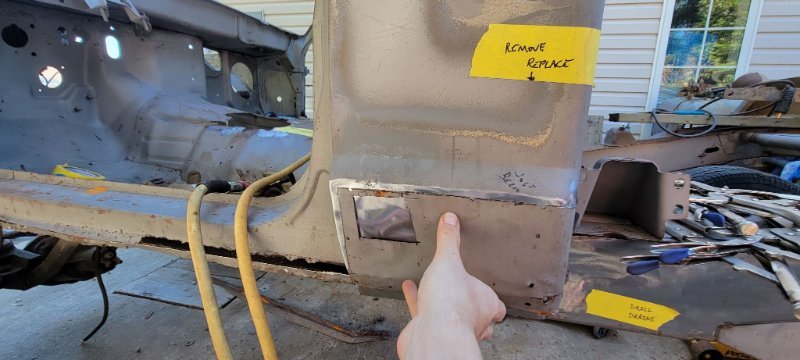
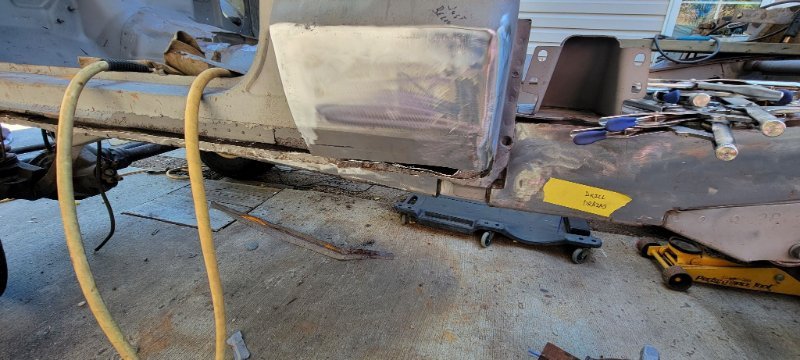
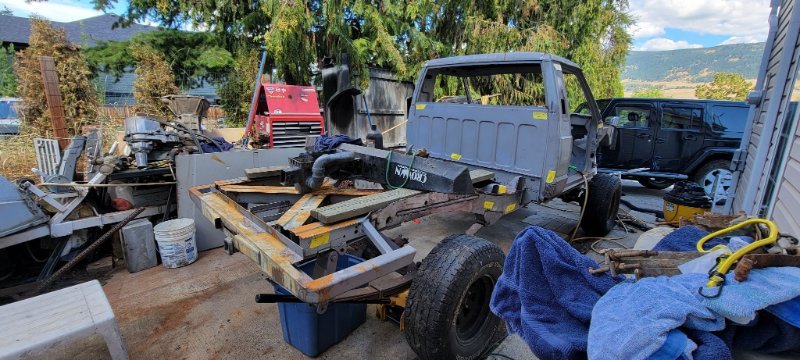
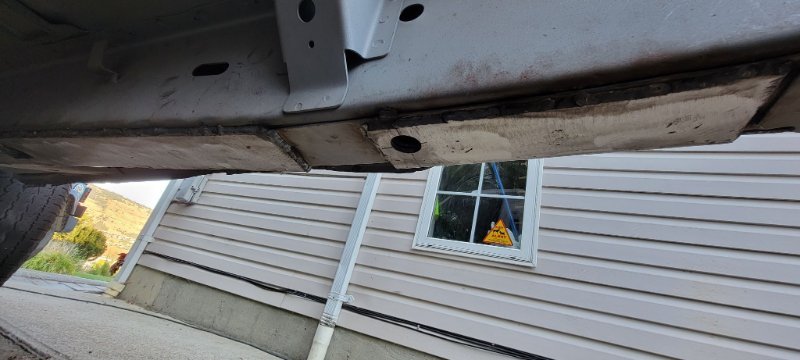
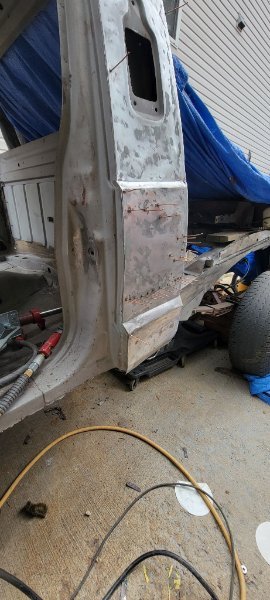
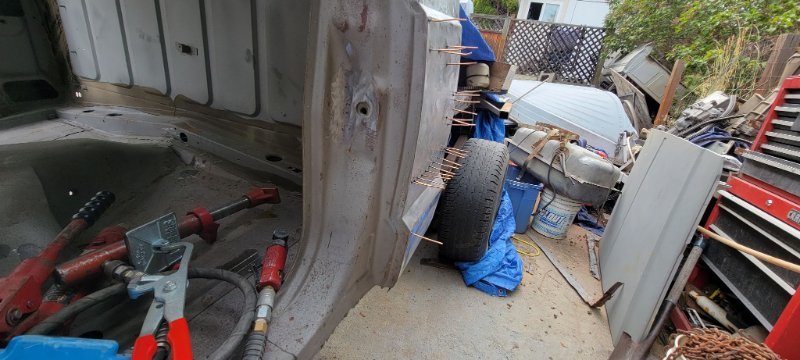
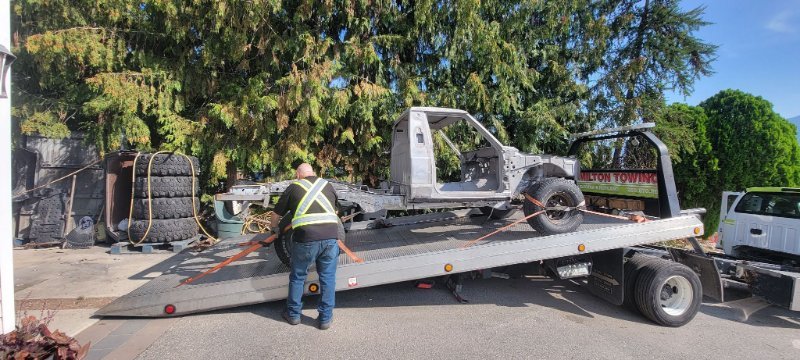
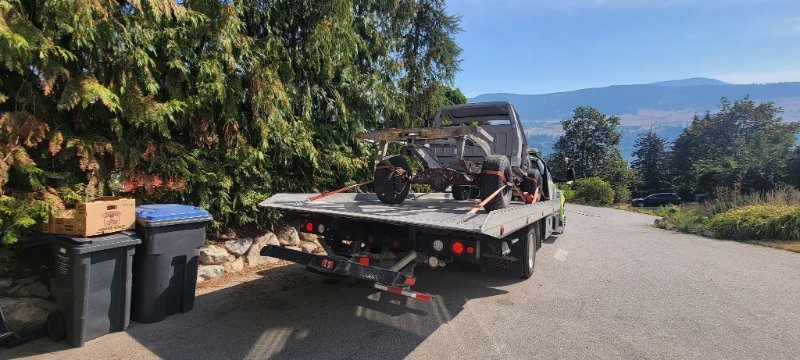
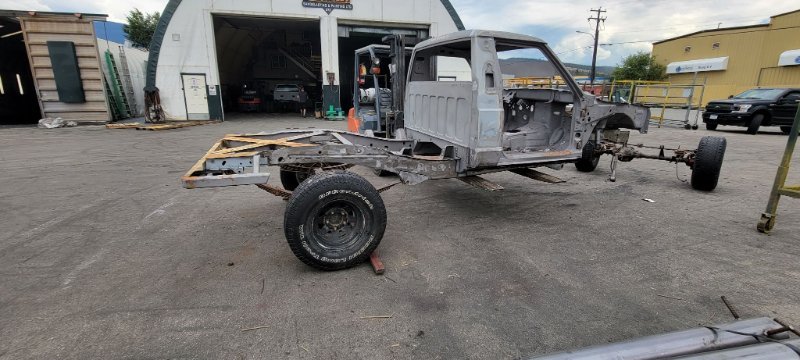
Part 2 of update all the to do's Started chasing bondo and pulling dents. the A pillar was too far gone, I ended up replacing it with another one, even brazed the joints just like factory the roof had a forearm sized dent from a cherry tree I am happy with how much of it i was able to pull back out finally drilled those drains back open Then I sent her off to get mediablasted and paint. stripped the axles and suspenion off at their yard to get painted as well. can't wait to get it back to start assembly Edit: Thanks Pete
-
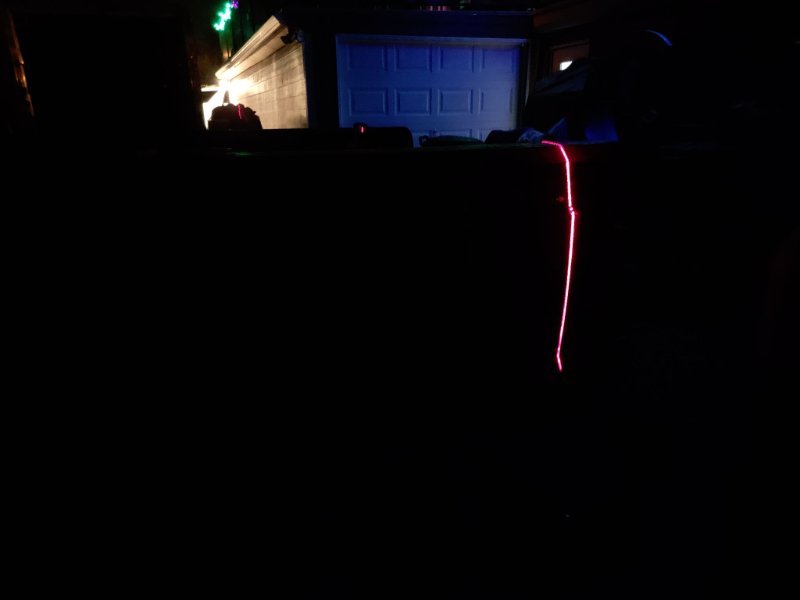
Been a while since an update has happened. recently I have been inspired to "finish" the truck last of the frame stiffeners installed removed majority of the seam sealer in problem areas I ended up finding a MINT (for this area) lwb box so i promptly sold my other one off broke out the laser line and marked my lines and got straight to cutting