


ghetdjc320
-
Posts
5079 -
Joined
-
Last visited
-
Days Won
1
Content Type
Profiles
Forums
Gallery
Everything posted by ghetdjc320
-

Project “Tomahawk”
ghetdjc320 replied to ghetdjc320's topic in MJ Hardcore Tech: Epic Journeys to Greatness
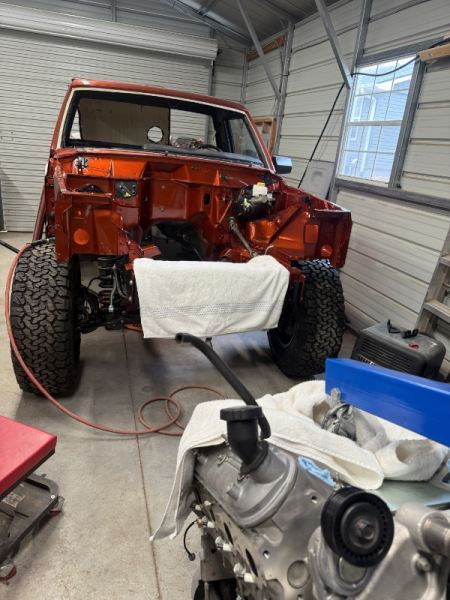
Yeah, my transmission is just on a jack stand at the moment and is sitting a bit too high. But I also moved the engine back to the middle alignment hole. I think it’s going to be spot on with about 1/2” of clearance or a tad more when in final position -
Not sure. I’d always heard to adjust the door gaps first then install the seals but maybe there is a better way?
-
Project “Tomahawk”
ghetdjc320 replied to ghetdjc320's topic in MJ Hardcore Tech: Epic Journeys to Greatness

-
Project “Tomahawk”
ghetdjc320 replied to ghetdjc320's topic in MJ Hardcore Tech: Epic Journeys to Greatness
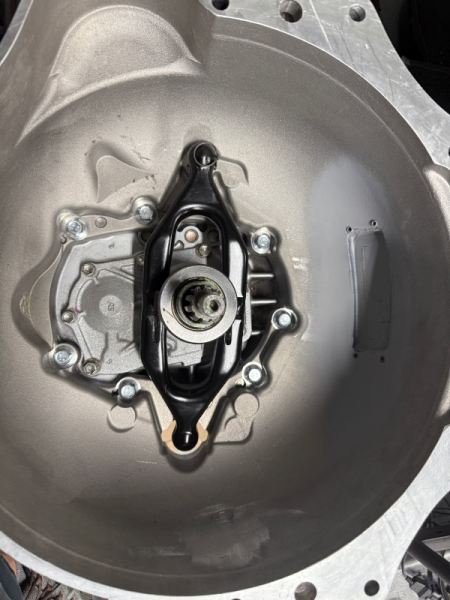
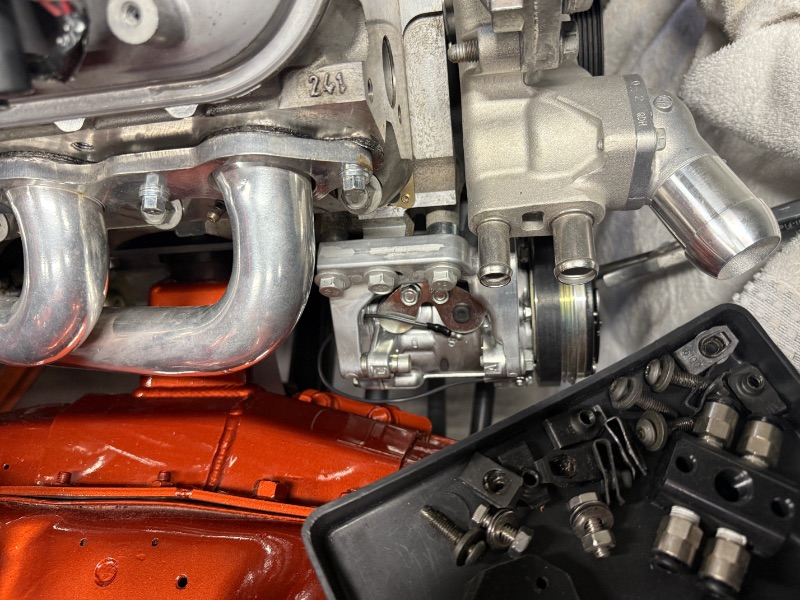
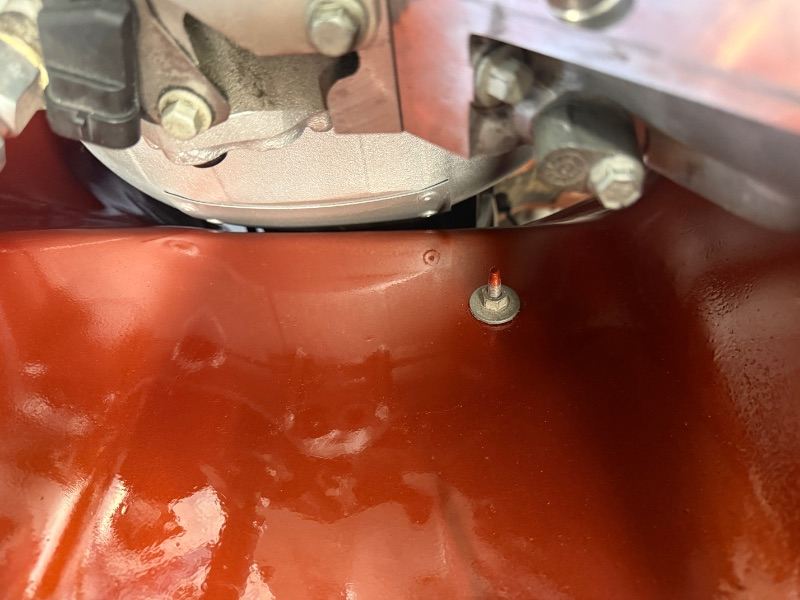
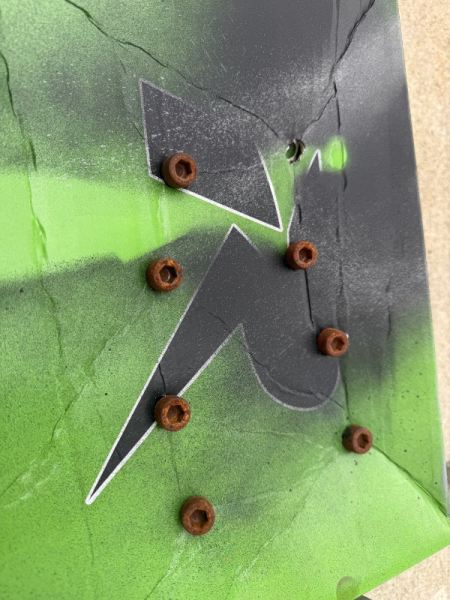
Is it too much to ask that the aftermarket spend an extra few minutes on engineering the products they think are worth their weight in gold?? Quick draw could have just made a small 45* flat slope on their ax15 bell housing just like the oem jeep ax15 bell housings have. That would have provided almost universal clearance. And maybe spend a few more pennys to upgrade the insta-rust bell housing bolts they send along to something coated in say… zinc? I had already marked where I’d like more clearance on the bell housing with the engine positioned. I cutout that area and made a small plate to cover it. Then I seam sealed the back and riveted it to the bell housing. It shaved off about 3/4” in the area that was interfering. Doesn’t look like much in the pictures but the hole is about 2x5”. I ground down the sourrounding areas to provide a more “flush” mating surface. Primed and painted the bell housing with VHT cast aluminum paint.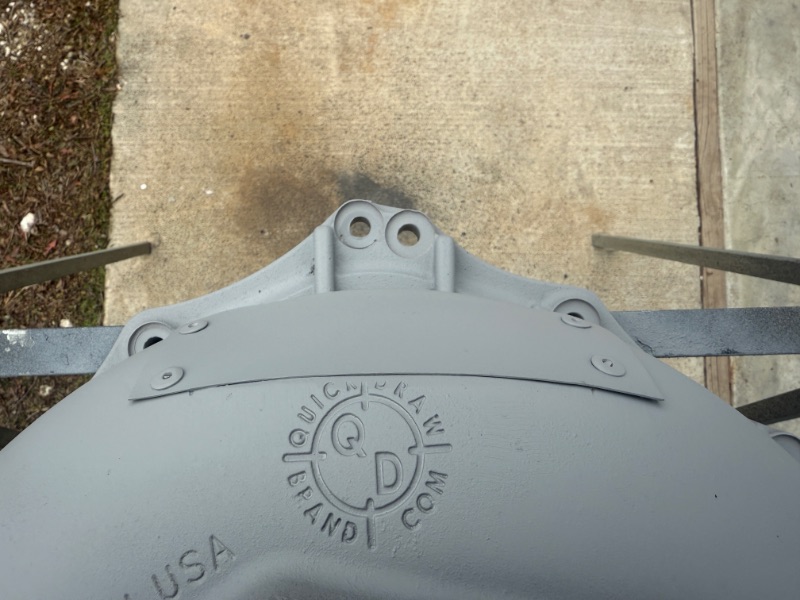
-
Bosch fuel pump in mts sender
ghetdjc320 replied to camjeep3's topic in MJ Tech: Modification and Repairs
I’d suggest using that Bosch pump. Better performance and longevity. If you purchase the right part number (which seems to have been discontinued) it should have come with the adapters to fit in place of the old rotary vane pump. -
Project “Tomahawk”
ghetdjc320 replied to ghetdjc320's topic in MJ Hardcore Tech: Epic Journeys to Greatness
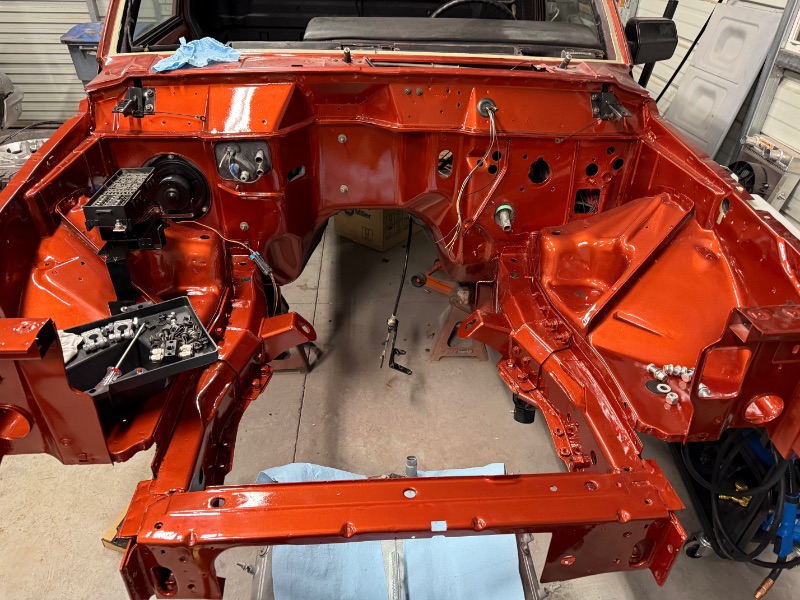
Pretty much. Just need driveshafts, a battery, exhaust and some bunch list items. The final task will be body work. The next major project will be electrical. -
Project “Tomahawk”
ghetdjc320 replied to ghetdjc320's topic in MJ Hardcore Tech: Epic Journeys to Greatness
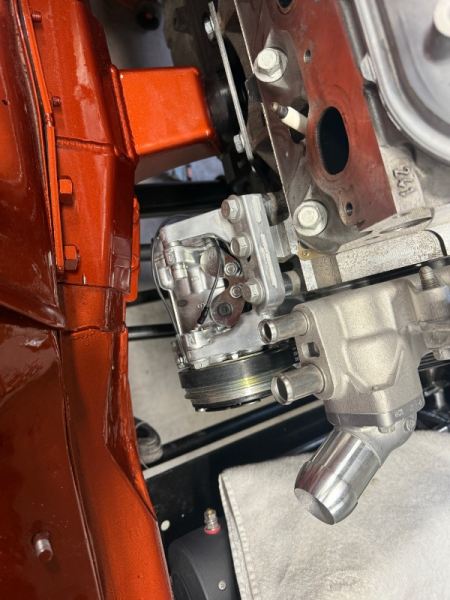
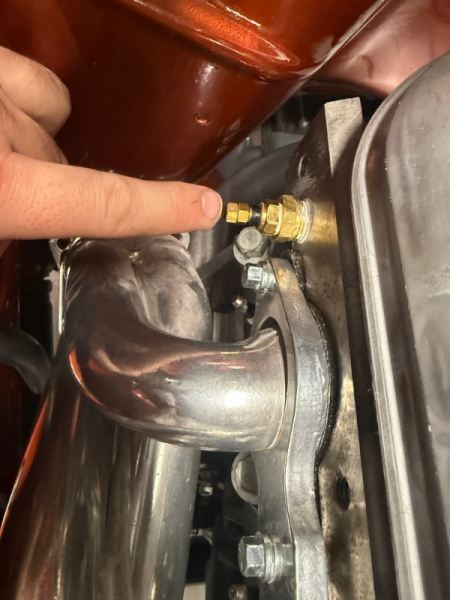
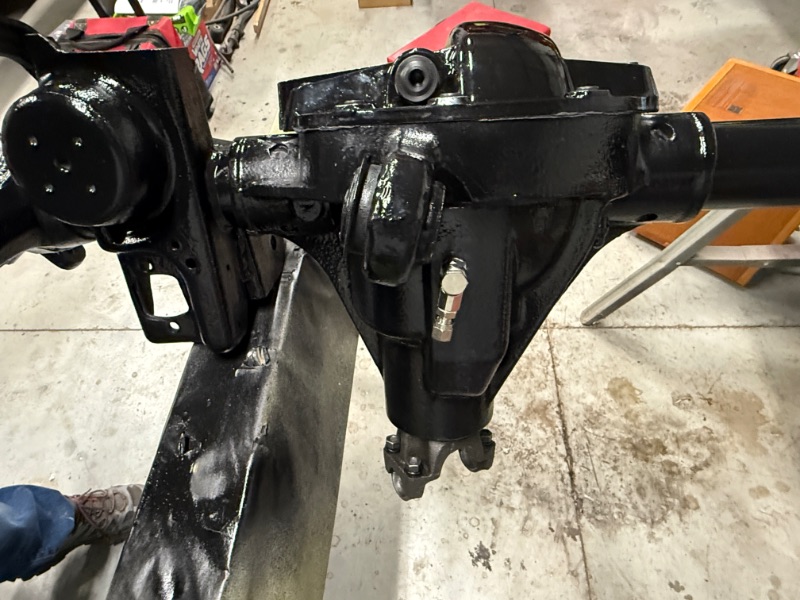
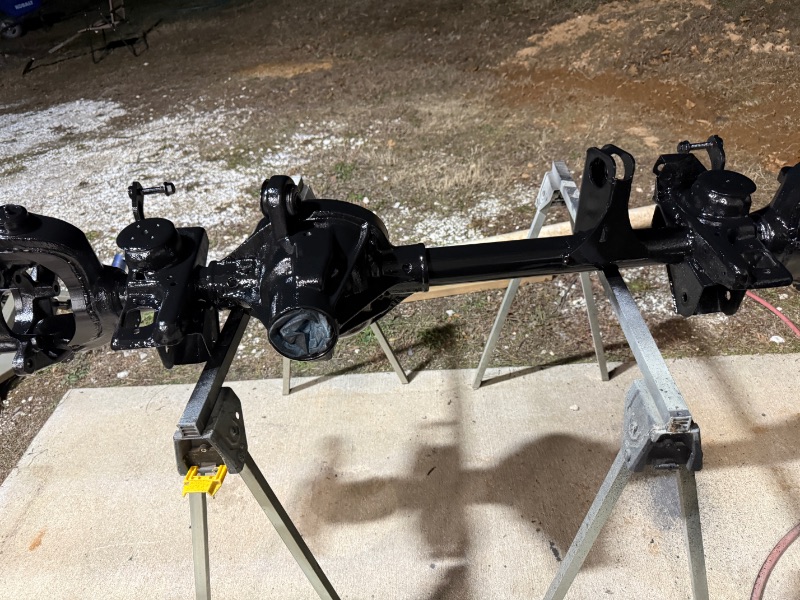
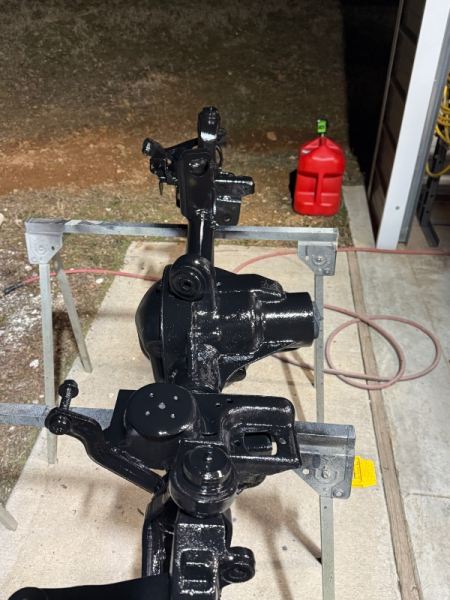
Yeah I went back and forth on what to do with the axle tubes. My use case is probably a bit different than most who get these. This is mostly a street truck but due to the heavy weather we tend to get along with the salt spray, I thought they’d be a good idea. Plus having coated the inside of the tubes makes me feel better about running them. Next up is finishing the firewall accessories then move to engine/tranny/tcase install. Lots of little mods along the way. Of note, when using the WK2 calipers, they use a 10mm banjo bolt. The YJ lines I have use a 3/8 banjo bolt so I filed them out until the 10mm banjo bolt fit perfectly. Turned out very nice -
Project “Tomahawk”
ghetdjc320 replied to ghetdjc320's topic in MJ Hardcore Tech: Epic Journeys to Greatness
Back on its own weight.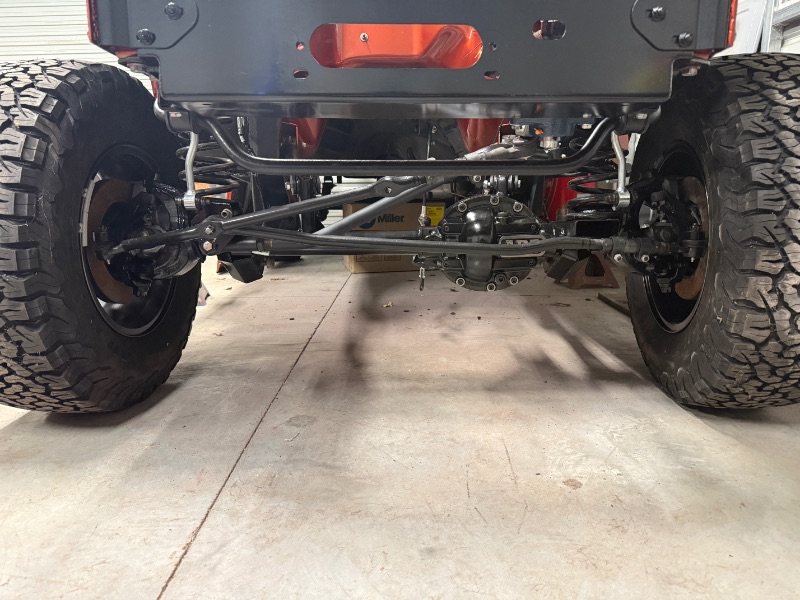
-
Project “Tomahawk”
ghetdjc320 replied to ghetdjc320's topic in MJ Hardcore Tech: Epic Journeys to Greatness
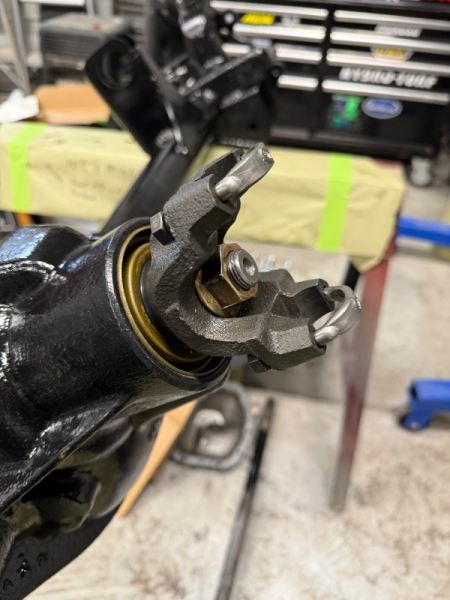
Np242 gate swapped. There’s no difference in throw, it’s just the placement of the “gate” that makes the difference. Also added some tube seals. Need to get creative with the grease zert as I have inner C braces but I packed them with green grease already. The tubes were so full of scale, rust and mud that I really wanted a better solution. The plastic dust caps help but not as much as I’d like.

-
Project “Tomahawk”
ghetdjc320 replied to ghetdjc320's topic in MJ Hardcore Tech: Epic Journeys to Greatness
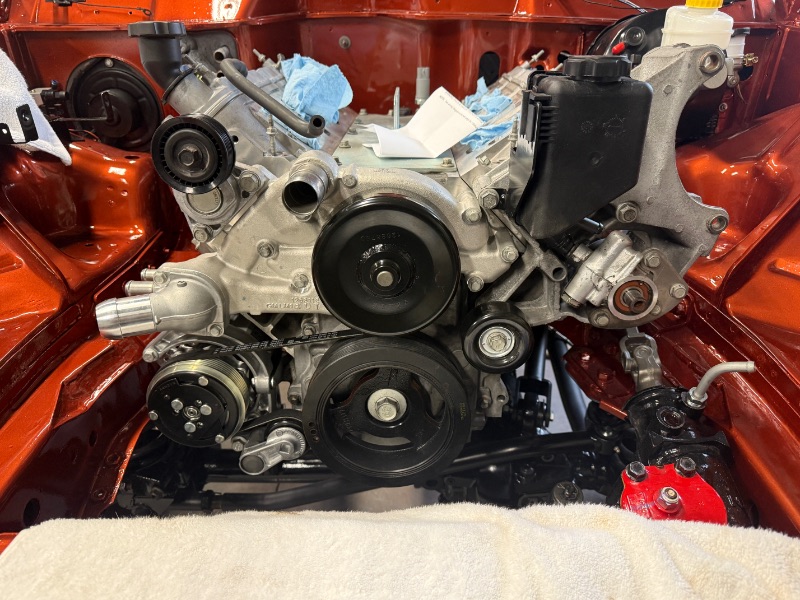
Some picture updates: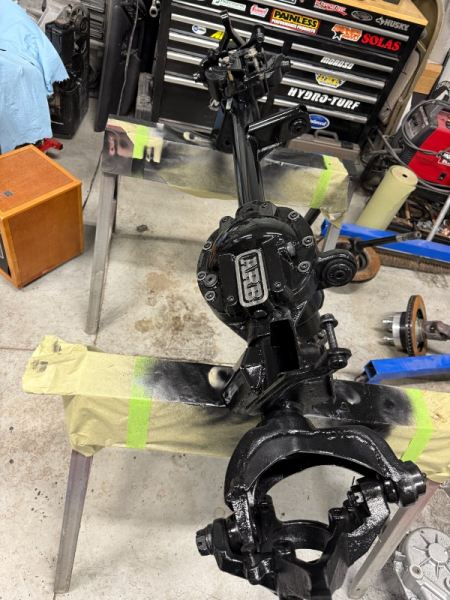

-
1984 CJ running rough
ghetdjc320 replied to eaglescout526's topic in MJ Tech: Modification and Repairs
I’m familiar with these kits. Had one in my 88 YJ with the 258 for a while before building a stroker. These kits run a dampener mounted CPS. Those were problematic as they were exposed much more than the bell housing mounted units. They are Hall effect cps units. -
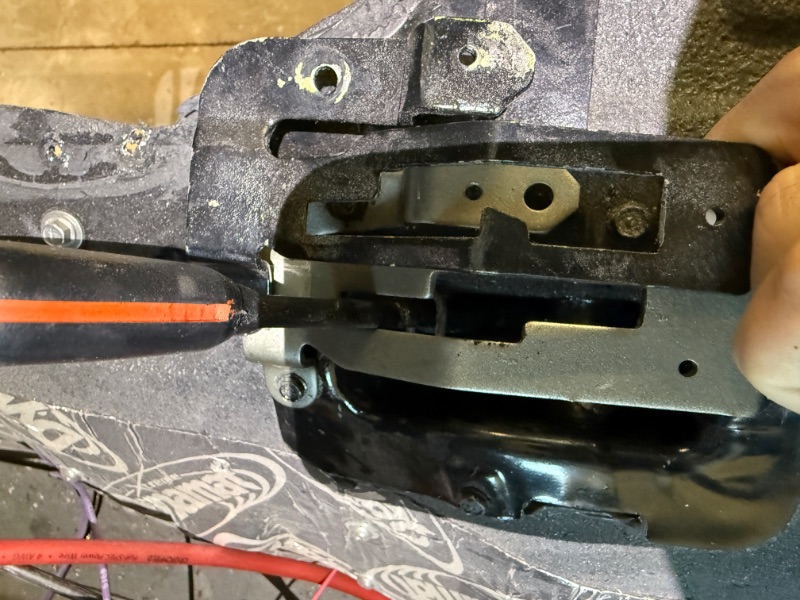
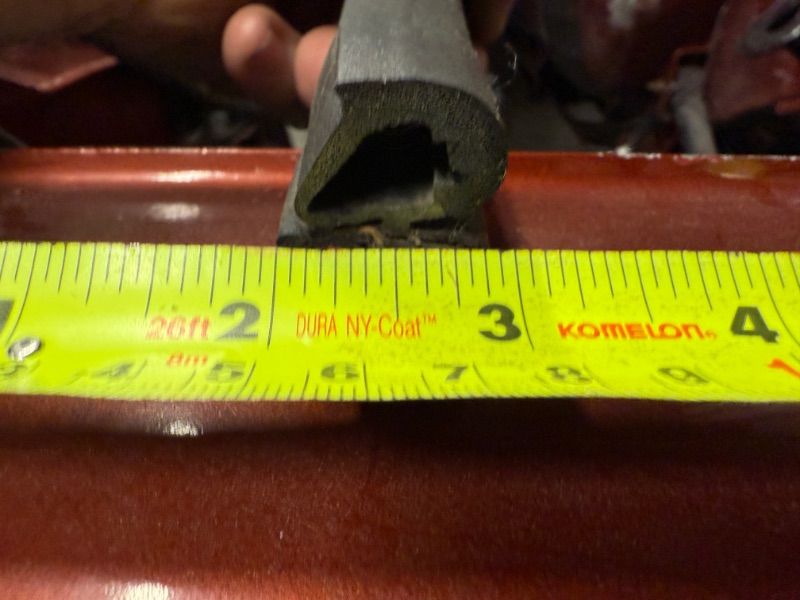
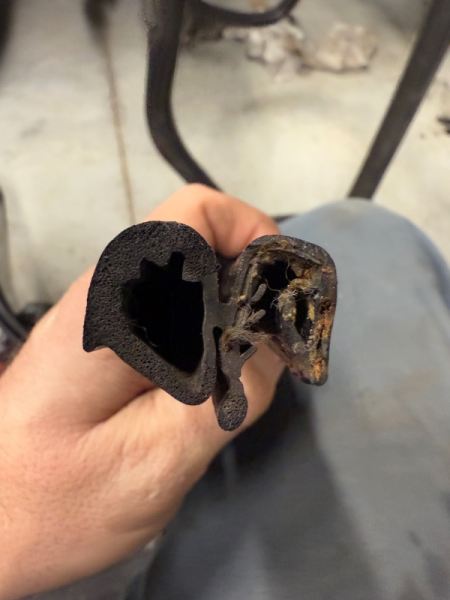
Any chance you can get a closeup profile picture of those pro seals like I did with the oem above?
-
Project “Tomahawk”
ghetdjc320 replied to ghetdjc320's topic in MJ Hardcore Tech: Epic Journeys to Greatness
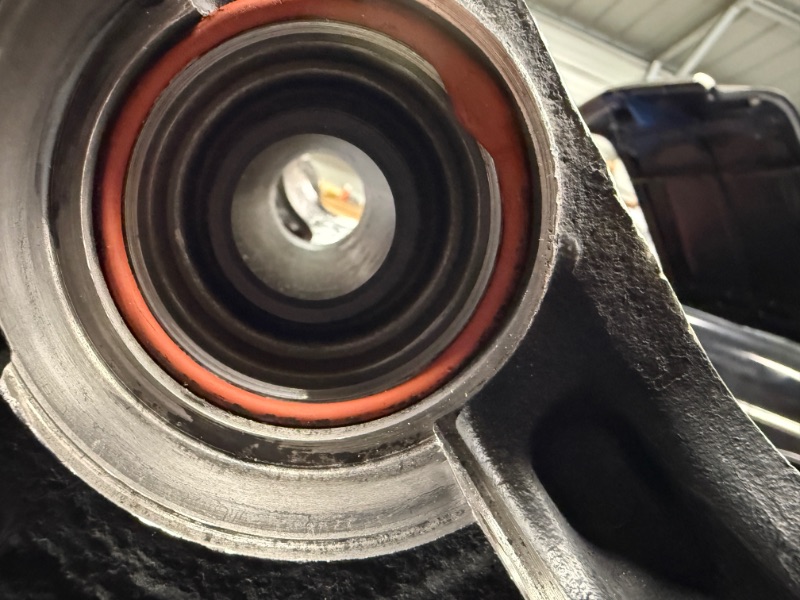
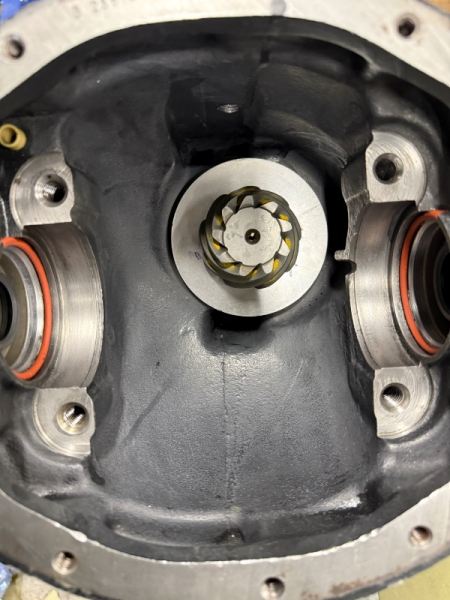
This differential had been rebuilt at some point and it was done very poorly. It’s unfortunate since I didn’t have reliable numbers to start from. I suspect many people get away with less than ideal settings in the front axle as they see less torque and use than the rear. -
Project “Tomahawk”
ghetdjc320 replied to ghetdjc320's topic in MJ Hardcore Tech: Epic Journeys to Greatness
Dana 30’s are quick but finicky to setup gears on. Got the pinion depth acceptable on the second try but took 7 attempts to get the bearing preload correct. Anyways, here are the specs: carrier backlash .009, carrier prepoad .015 (added .015 to the shims after getting to zero play), pinion rotating torque 15inlbs with no carrier installed, pinion depth shim stack .070 including the oil slinger. I could have gone maybe .001-.002 deeper on the pinion but the pattern is within spec.

-
Aftermarket fuel pump
ghetdjc320 replied to 70barracuda's topic in MJ Tech: Modification and Repairs
I used this sender and adapted the deatschwerks dw200 pump to it. There are some pics on my build thread somewhere. Limey also used the same pump and made a nice custom setup -
Project “Tomahawk”
ghetdjc320 replied to ghetdjc320's topic in MJ Hardcore Tech: Epic Journeys to Greatness
I made a tool that I could attach to the drill and run a scotch bright pad on. Then used a 2.25 wire wheel on an extension. Finished with mineral spirits soaked rags I’d push through with more pipe. Turned out great. I’d prefer not to add any extra weight from sleeving. Trying to keep unsprung weight to a minimum -
Project “Tomahawk”
ghetdjc320 replied to ghetdjc320's topic in MJ Hardcore Tech: Epic Journeys to Greatness
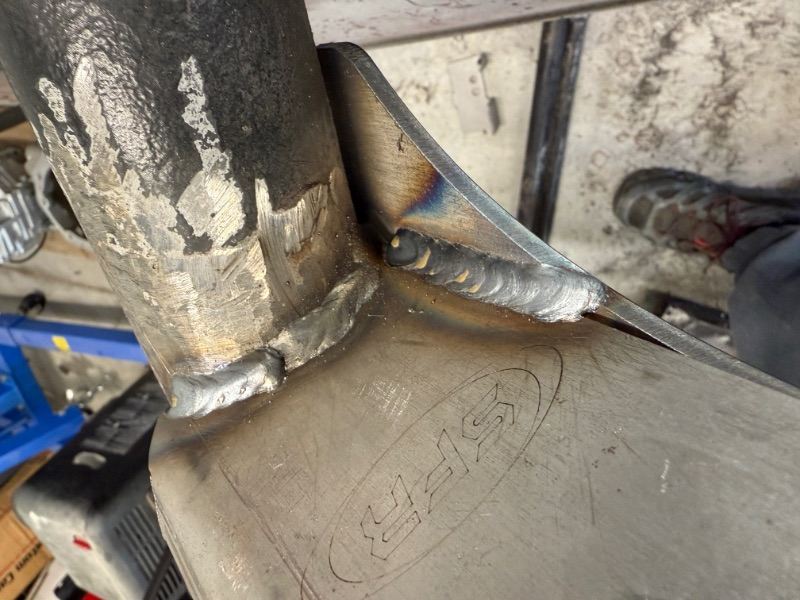
Front axle completely disassembled. Managed to completely clean out the axle tubes, weld on new upper control arm mount and HD track bar mount. The brackets are from stinkyfab off-road and are very well made. Sanded the entire housing, primed and painted. Regear up next with arb then back under the truck. Moog control arm bushing and spicer ball joints installed. Sprayed the inside of the tubes with Eastwood internal frame coating.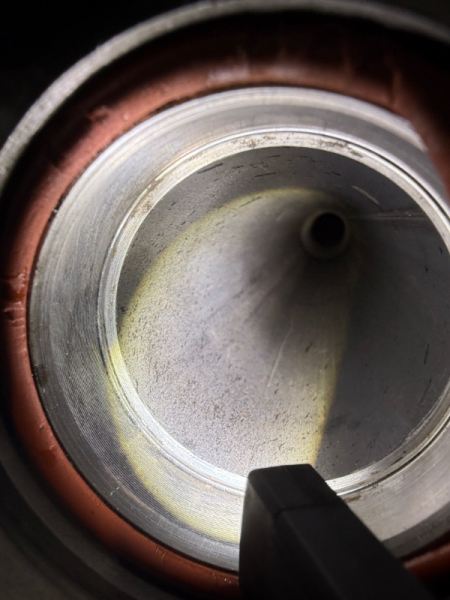

-
Good to know. I’m wondering if the actual door profile is any different between the 96/97 break. I have both sets of doors and will try to compare
-
Yes you can. The factory ones were not molded in any way, they were just bulk length cuts that you trim to fit. There is a marine side bulb seal that has an excellent profile but is not the proper thickness. I’m thinking that I’ll align the doors with no seals then once they are set perfectly, I’ll use some clay and get a profile and dimension for the seal location in different positions around the door.
-
These are noted as being dual durometer and seem like they have the correct design: https://metrommp.com/door_sealfront_9701_jeep_cherokee_4_door_models_lm_97e/?Year=2001&Make=Jeep&Model=Cherokee But I have no experience with these. I prefer the 97+ design as it has a better profile
-
Want to collect some info and get some input on what door seals you have found to be the best overall. My criteria is: the door should close easily without being slammed, it should seal well without any bunching or wrinkling, it should reduce wind noise and it should fit the interior trim like oem I currently have Mopar nos seals installed if the 96- design. I have used Fairchild as well in the past. The Fairchild seals required a hard slam to close. I have a set of used 97+ seals (see attached pictures for profile views). The 97+ seals have a slightly different design that looks like it may provide a better seal to the door. I’ve seen many people say the 97+ seals don’t work but that seems to mostly be the aftermarket seals which don’t fit right to begin with and require hard slams to get your door to close. It should be noted as well that the Fairchild seals I had spent two years in the truck in the sun and heat and still wouldn’t allow for a good close. The durometer of the rubber was just wrong for the seal. The factory mopar ones also use a white gummy adhesive that helps seal the pinch seam in the body a bit. Essentially, these are “side bulb” trim seals and are available in a wide variety. Finding NOS 97+ seems quite difficult. I’ve also heard that fox body mustang seals work and their profile is similar to the 96- seals. Any thing anyone has come across that works well overall?
-
Love the design of the GTO. Feels like the culmination of early 2000’s late 90’s styling
-
I think the 02+ GTO/C5/CTS ls1’s pull a little over 400hp at the crank stock from the dynos I’ve seen. Those versions of the ls1 are the premium performers. Stock ls6 intake and the 241 heads flow better exhaust than the 243’s in the ls6. Well balanced engine for performance & longevity imo. Even the accessories for those engines were top shelf.
-
best aftermarket oem style fuel tank?
ghetdjc320 replied to Pete M's topic in MJ Tech: Modification and Repairs
That waxy residue is a nice anti corrosive coating. I just left mine on and will spray it down with more anti corrosive from time to time. -
The Guamster - 5.3LS Longbed
ghetdjc320 replied to Yellowoctupus's topic in Member Projects: Your Comanches
Oh, thats awesome it's already on island! I'm off island for a few more weeks but will definitely have to do a Comanche takeover at some point. You may see my old Comanche driving around there from time to time too. If they told you on island that the evaporator is bad, that is literally what they tell everyone. Of course if you're sure it has gone bad, at least you're familiar with the removal process .